December 2023 Accessory Sew Along · Rose Cards · Tips and Tricks · villa rosa designs

Villa Rosa Designs Accessory Rose Card Pattern December Sew Along Week 3 — Catrina Jane

Happy Thursday to you!

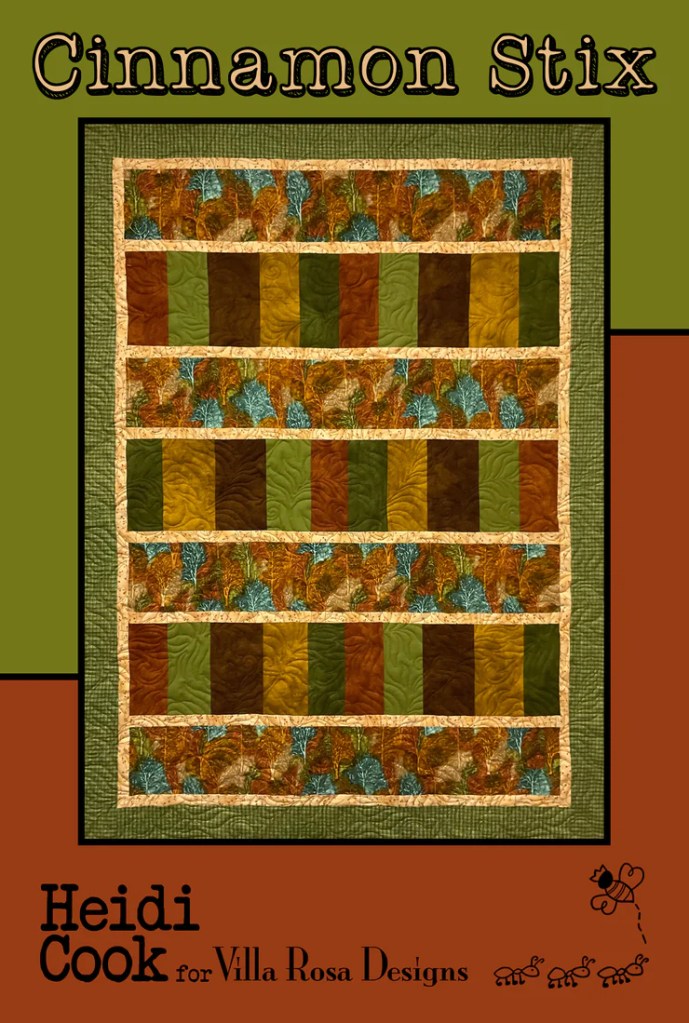
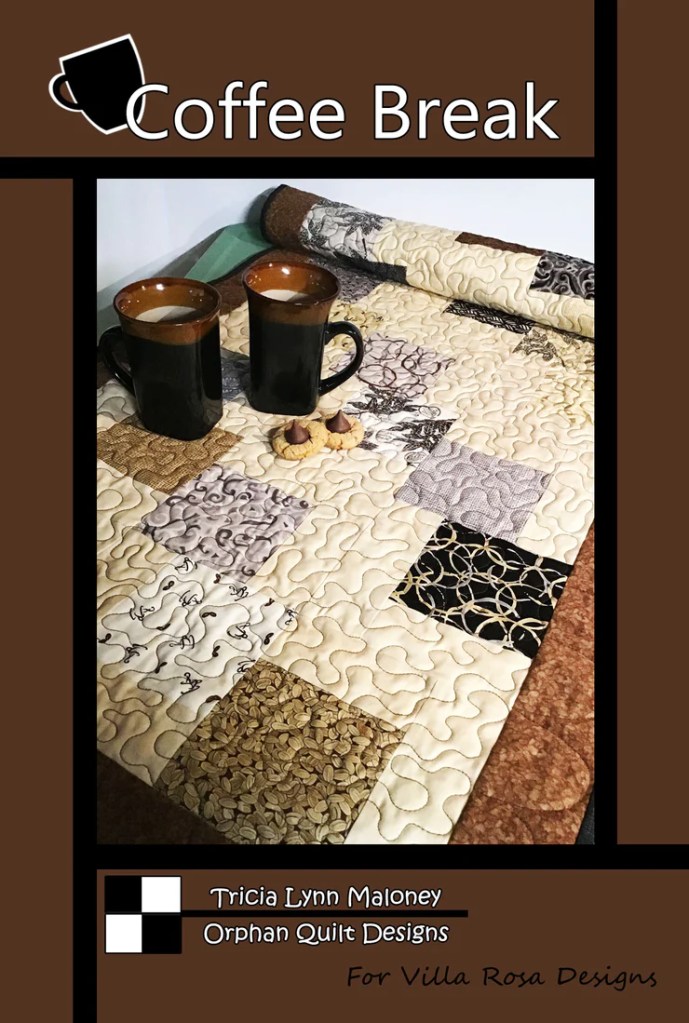
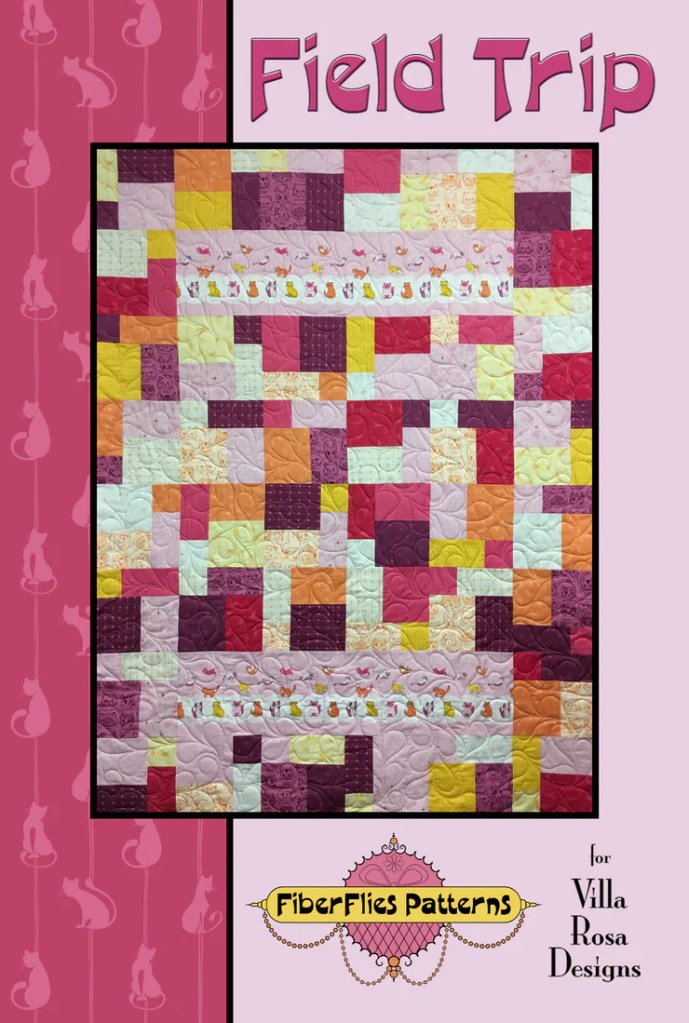
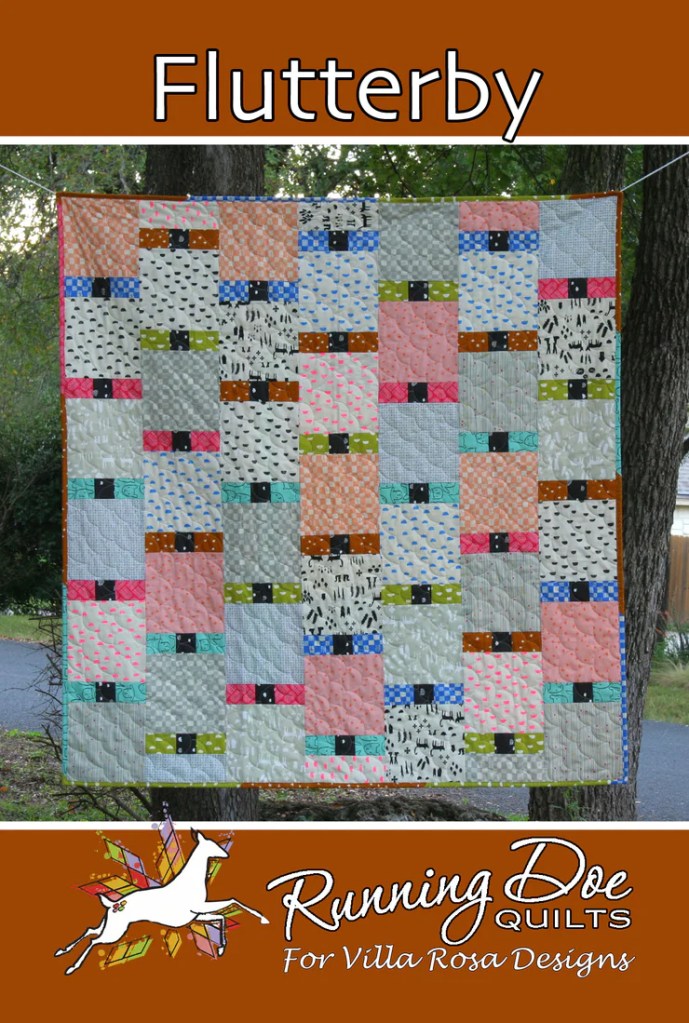
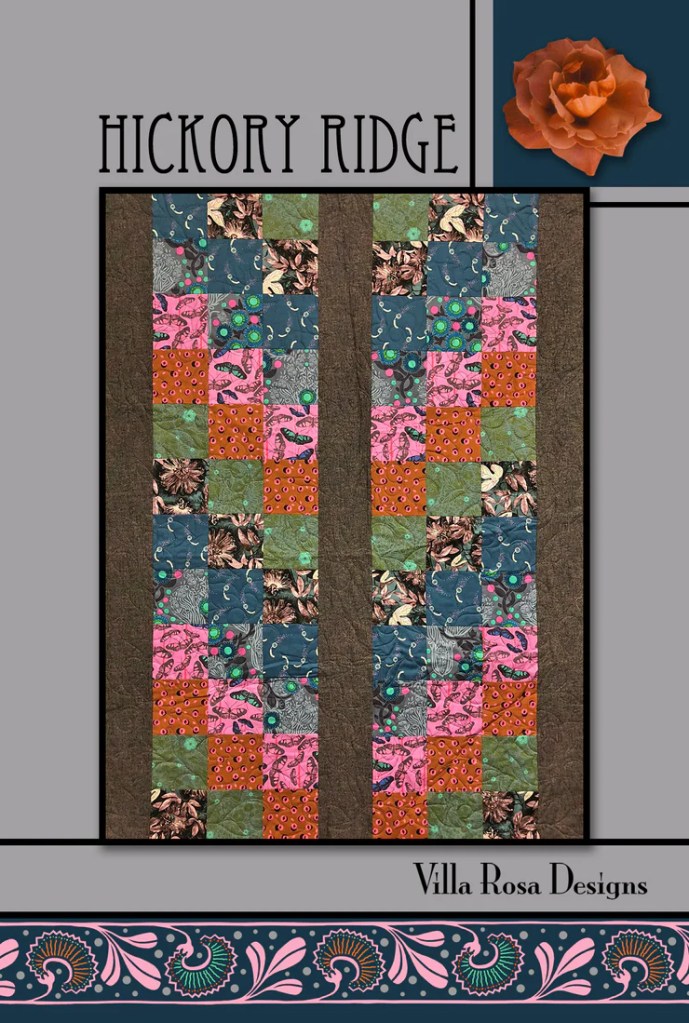
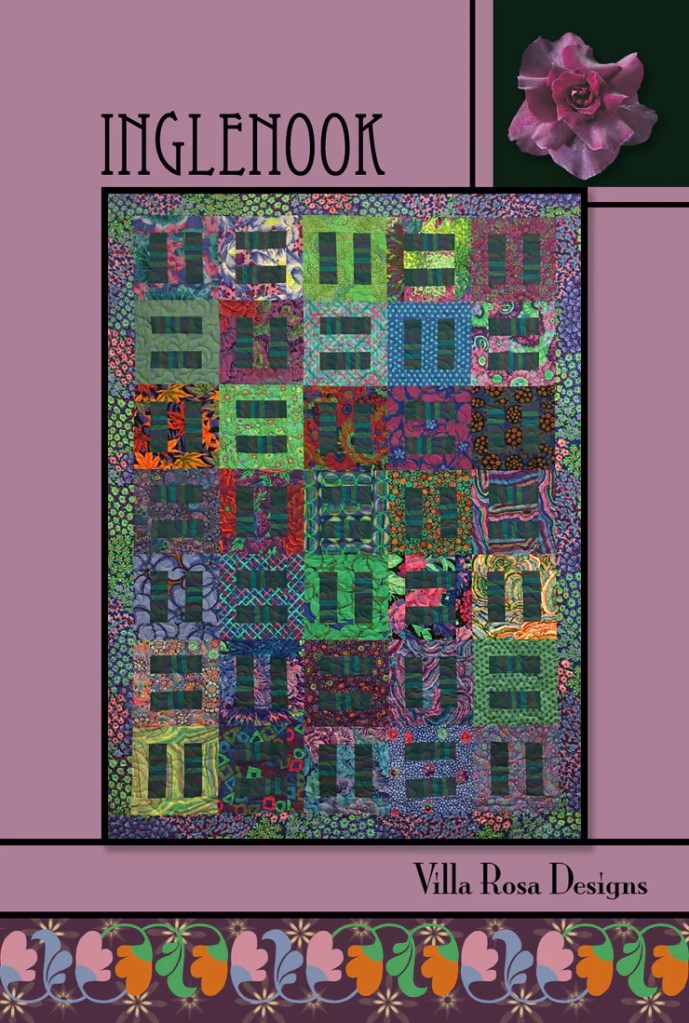
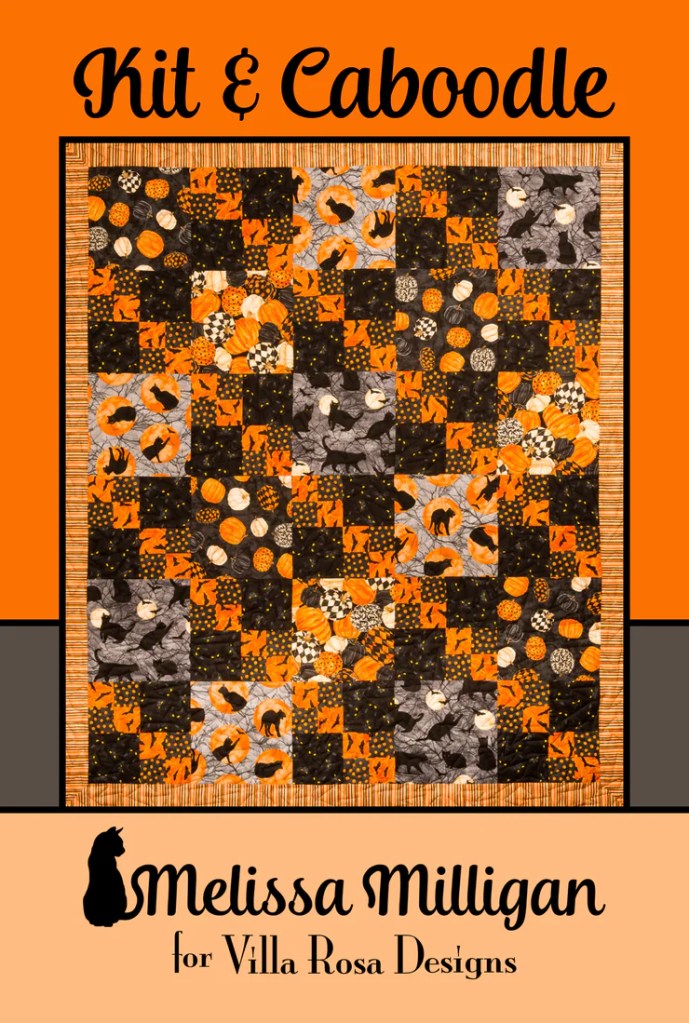
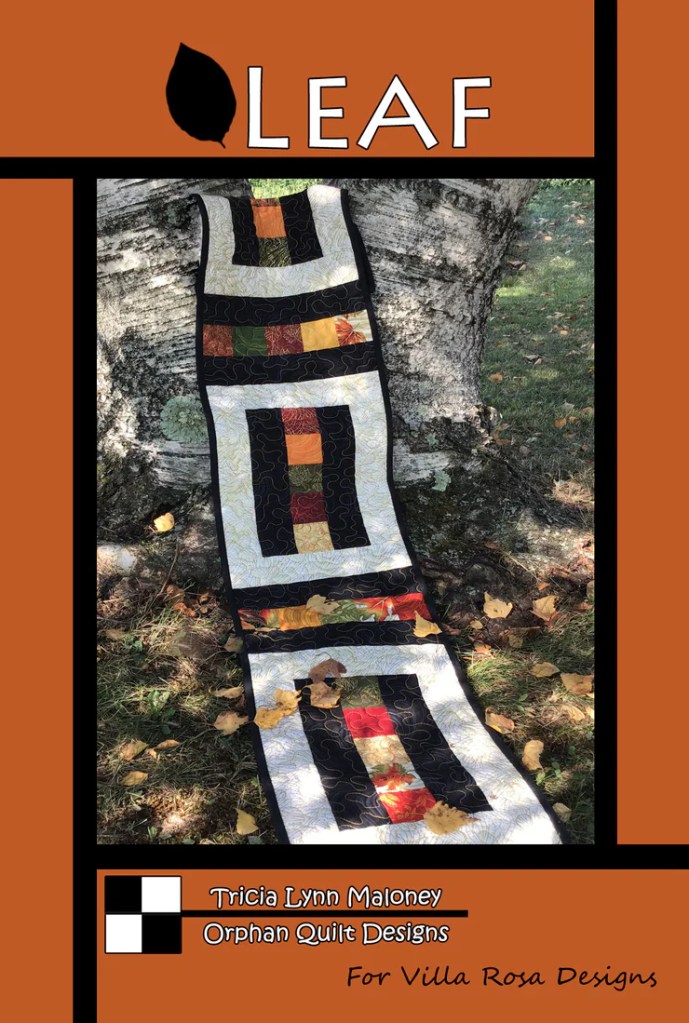
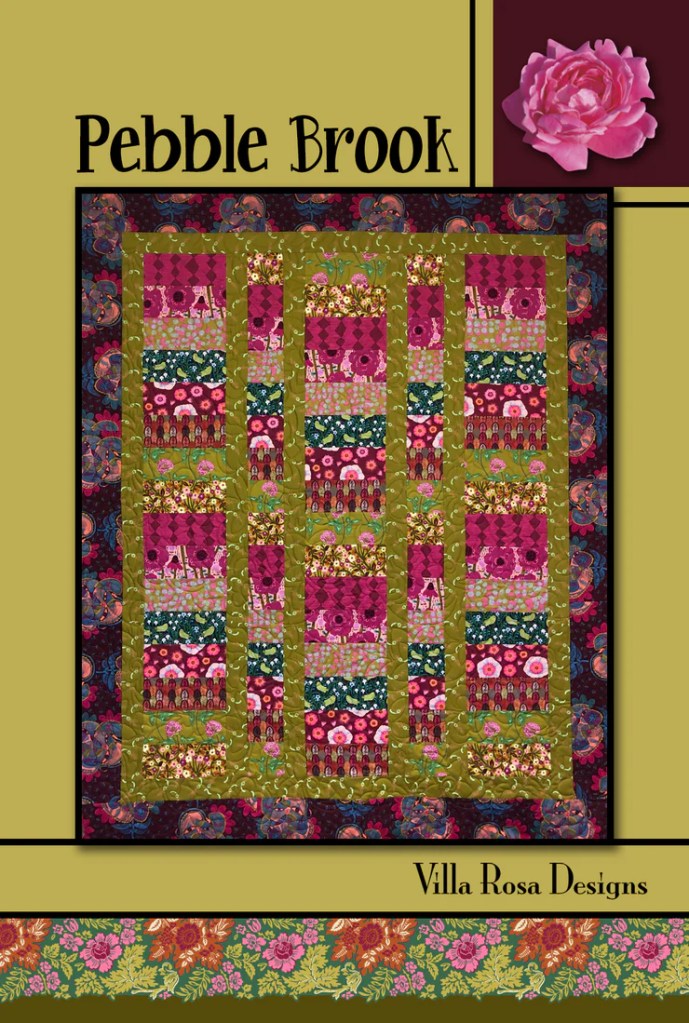
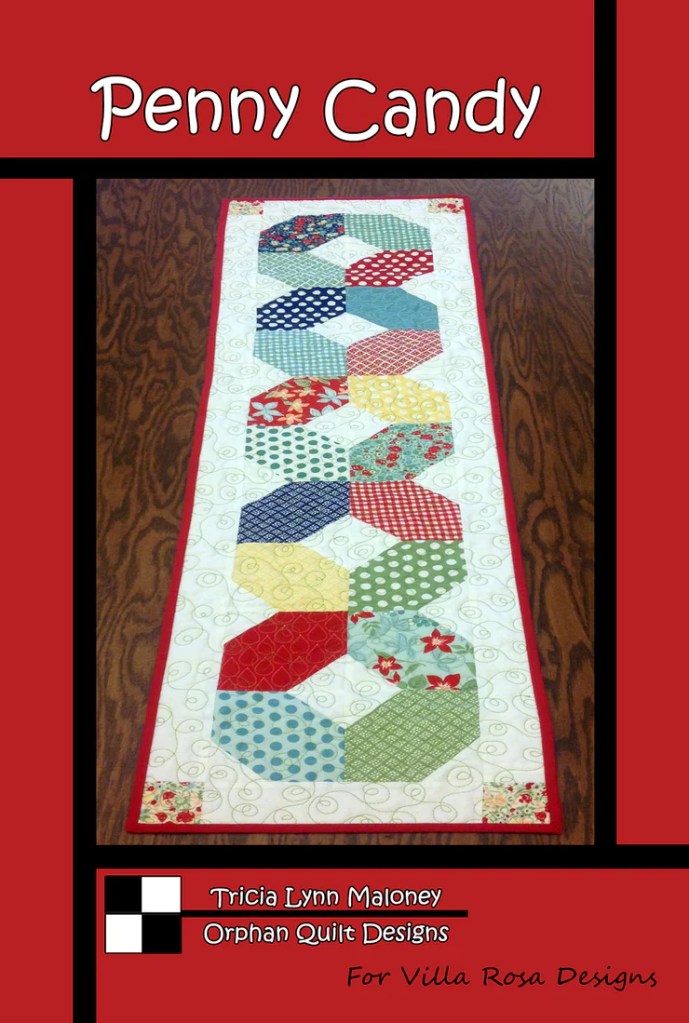
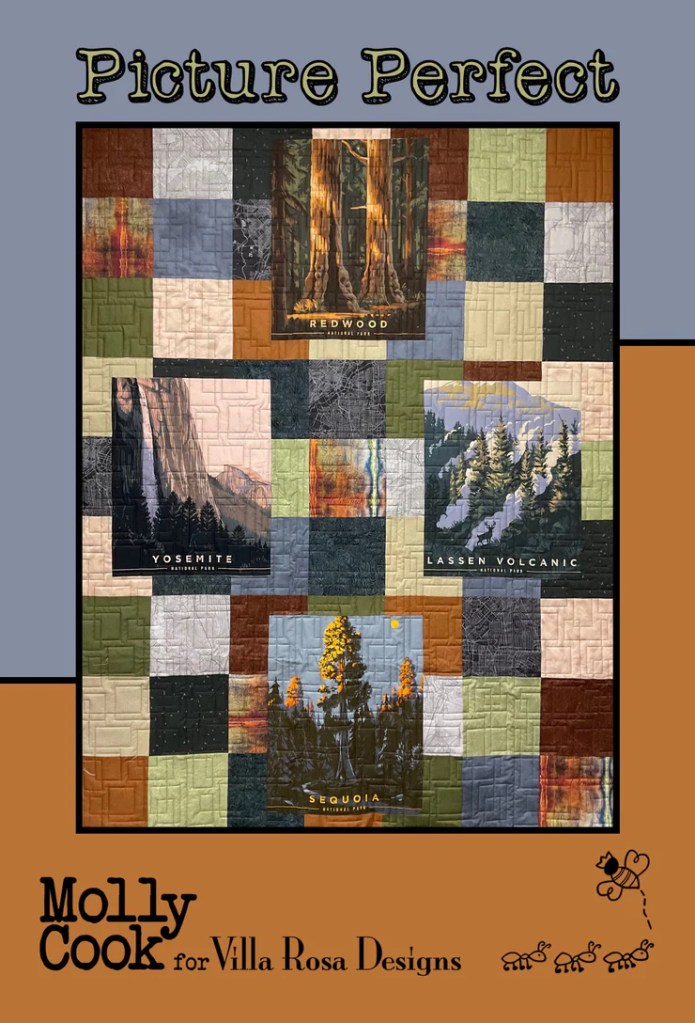
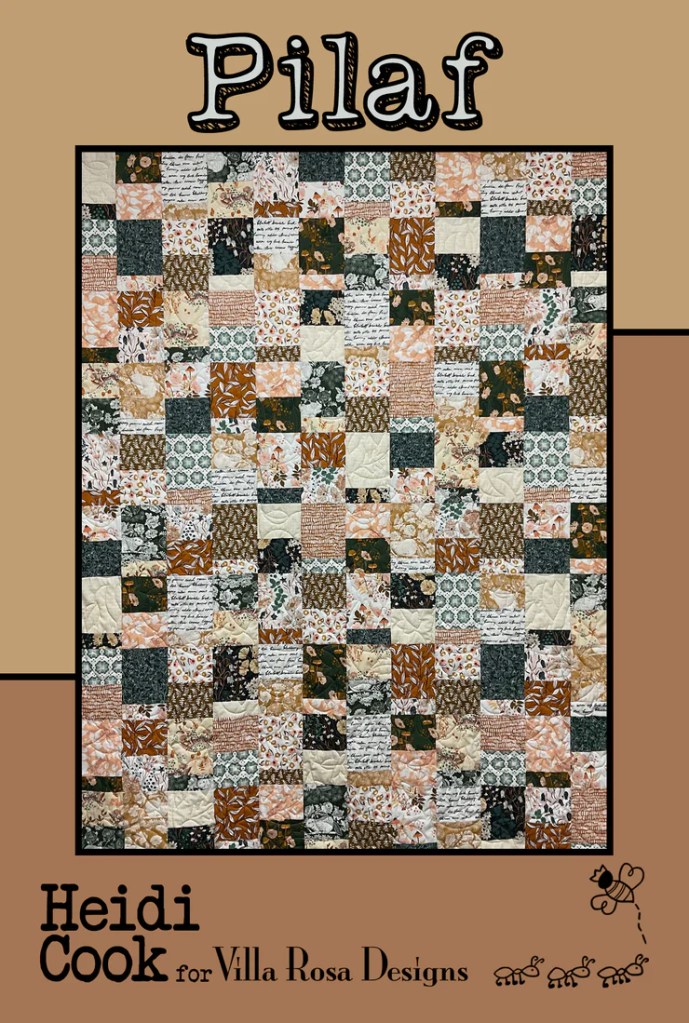
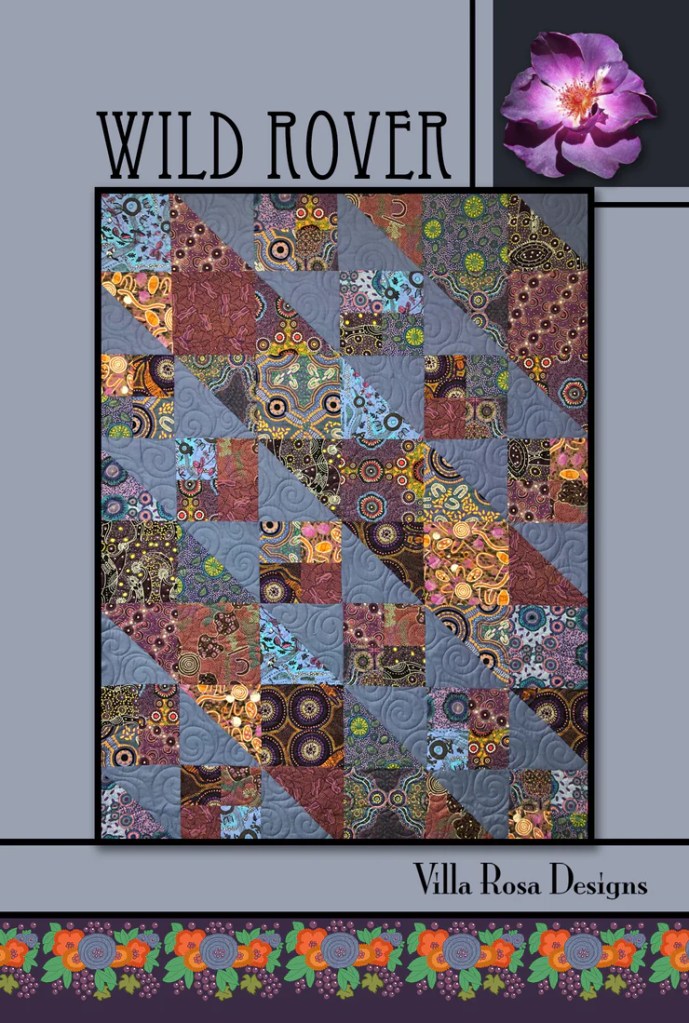
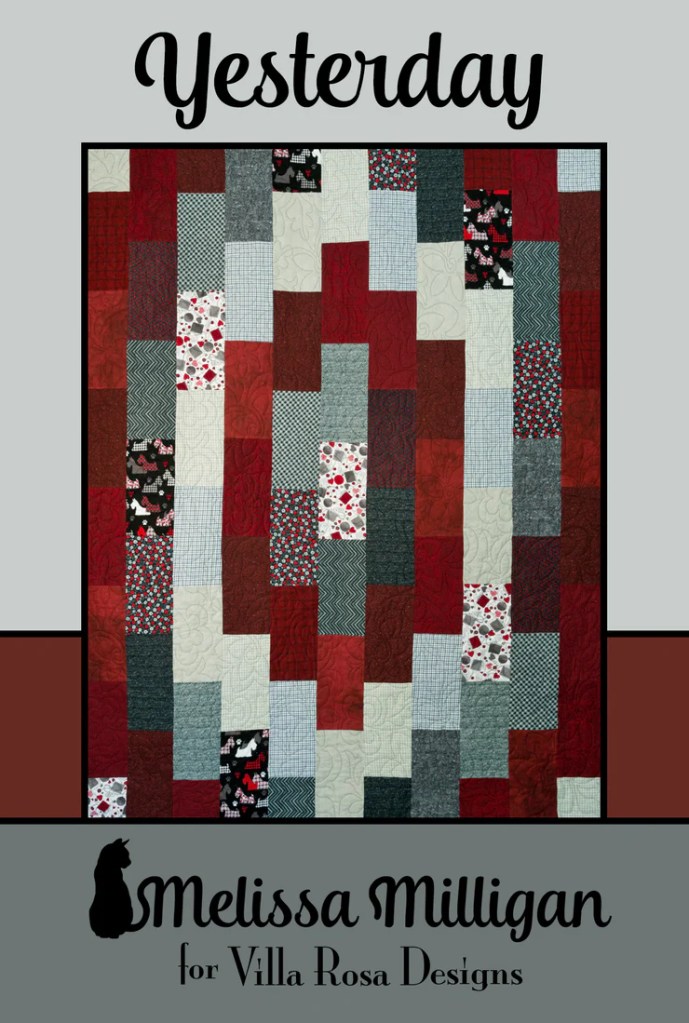
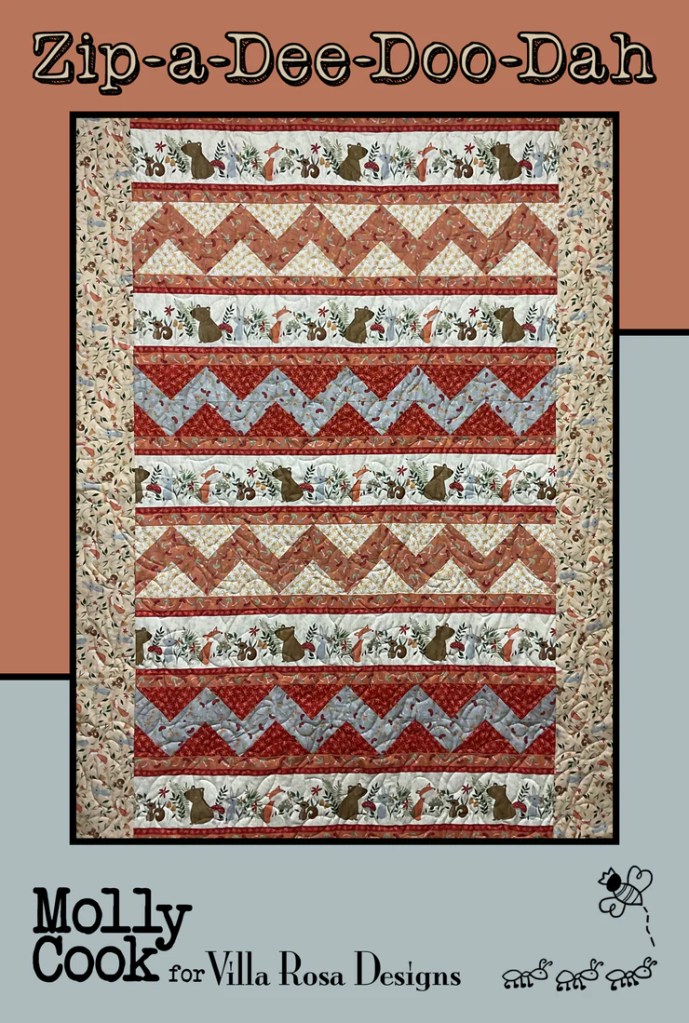
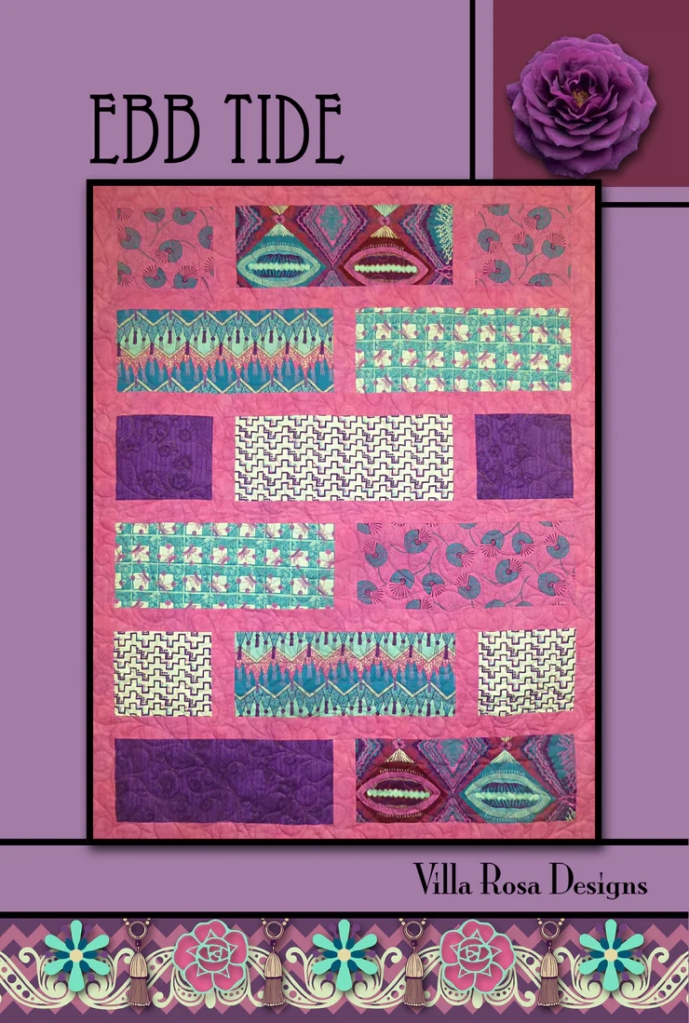
Are you ready for another fun Accessory pattern project for Week 3 of our December Sew Along? I really hope that you are sewing along with me. These accessory Rose Card patterns are not only fun, but fast, too! Of course, I’ve only picked 5 for this Sew Along, but there are more. You can find all of our current Accessory patterns HERE. Don’t forget that we are planning to add more Accessory patterns in 2024, so you’ll have to stay tuned….

Did you order your set of 5 patterns for the December Sew Along yet? There’s still time for you to jump in (you’d better get cracking,though!) and sew along with me.

Or you can save the projects for when you’re ready to do a little fun sewing after the hustle and bustle of December. I will add the December Sew Along to the right side of the blog so you can find the posts whenever you’re ready to sew. That’s definitely one of the cool things about an online Sew Along, you can do it anytime you’re ready, even in the middle of the night wearing your pajamas and eating a bowl of ice cream.

Get your pattern set HERE.

If you missed the December Sew Along projects so far, you can find them here:
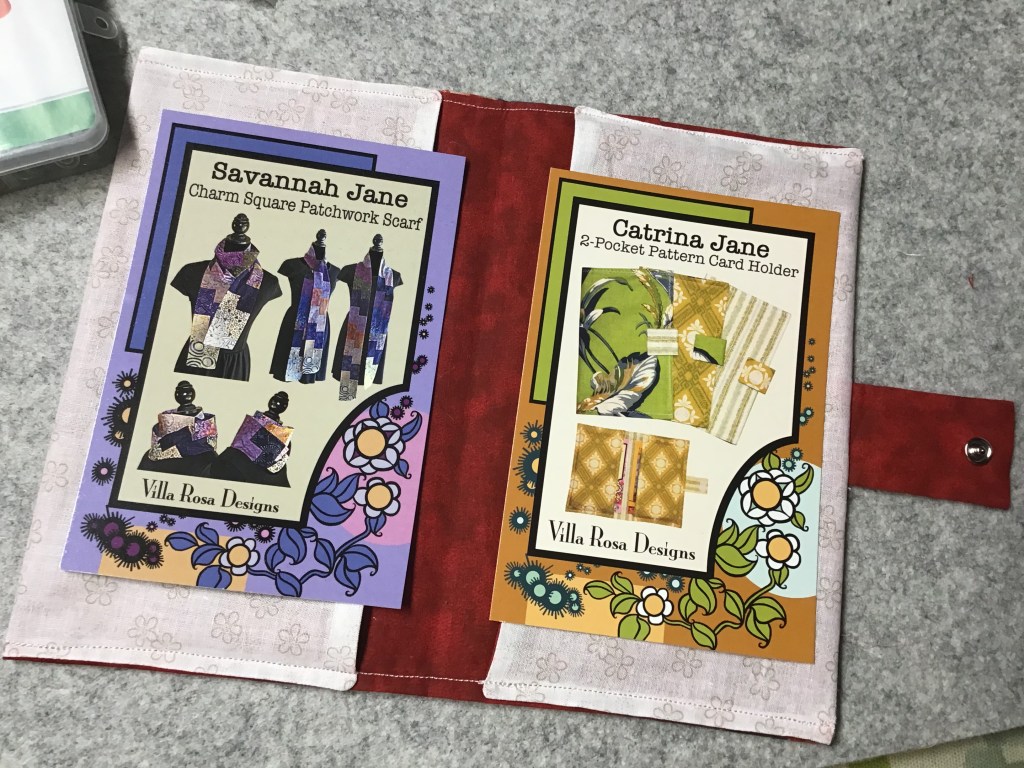
Amanda Jane

Savannah Jane

VRD December Sew Along Week 3
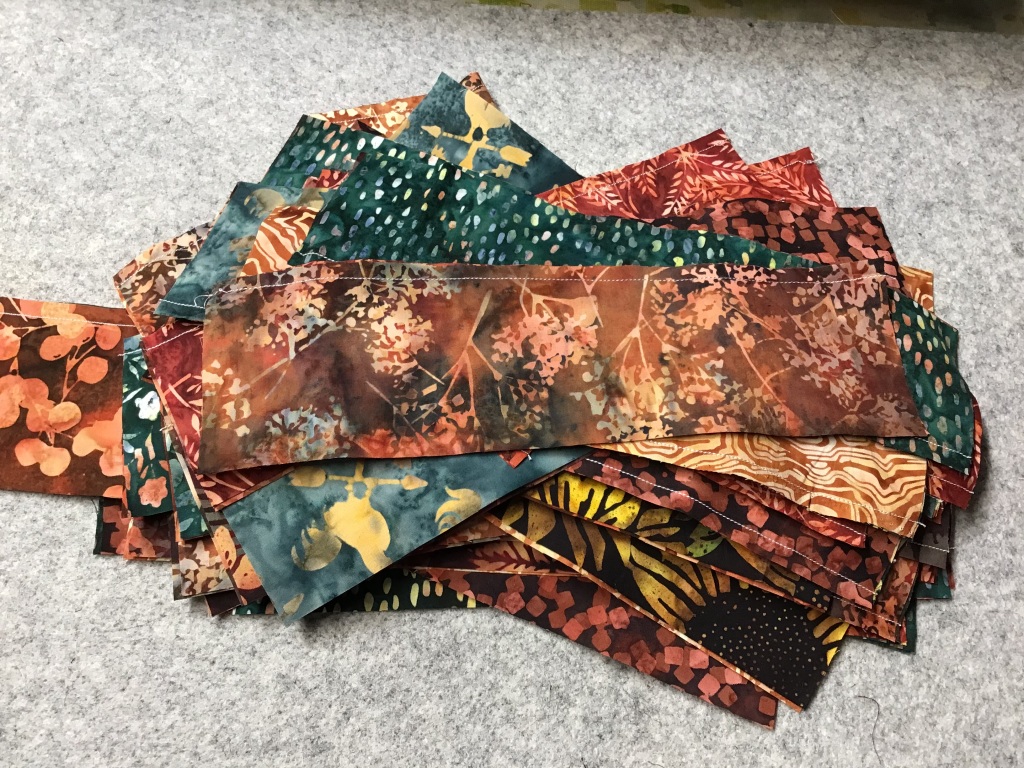
Catrina Jane is a scrap saver, but more importantly, she is a scrap user.Quilts are just not complete until you use at least 100 different prints in them.One background fabric???Absolutely not -- when 57 are better!Catrina Jane dove into her stash of scraps and small pieces and whipped up a dozen of these delightful little Pattern Card Holders!Now to decide which quilty pal gets which one.Decisions....Decisions.... And of course, Catrina Jane plans to slip a few Villa Rosa Designs Rose Cards into her cute little Pattern Holders before gifting them.

That’s right — this week, for Week 3 of our December Sew Along, you need to have your pattern pack in hand. Grab your supplies and create your own one of a kind unique 2 Pocket Pattern Holder.

Please make sure to join us on the Villa Rosa Facebook page to share your project this week and to check out the projects of your fellow VRD enthusiasts. The “social connection” is what makes sew alongs SEW much fun! Show us your fabrics! Any tips or hints for construction? Anything you need help with or don’t understand? Did you customize your project? Maybe you’re making 10 of them for Christmas! Please share because we ALL want to see your Sew Along “sew and tells.”

Villa Rosa Designs Facebook Page — you can use this link to take you to the VRD Facebook page. Make sure you are signed into your Facebook account and on the VRD page you can “like” us to join in the fun. The more folks that join in, the more fun it will be!

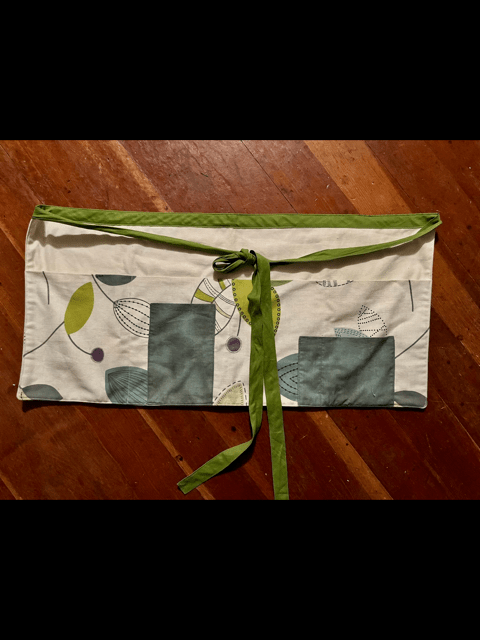
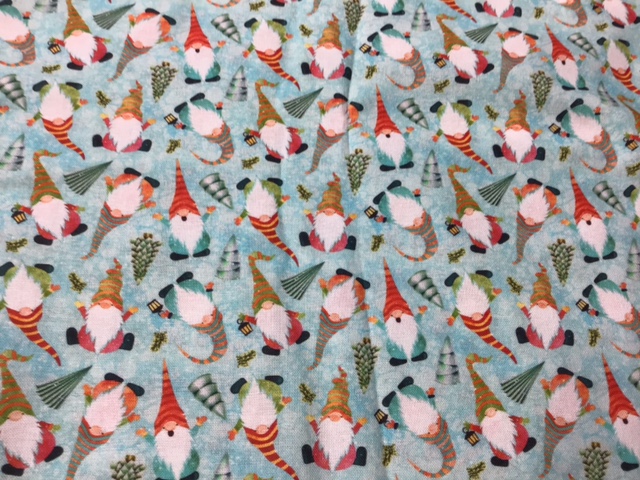
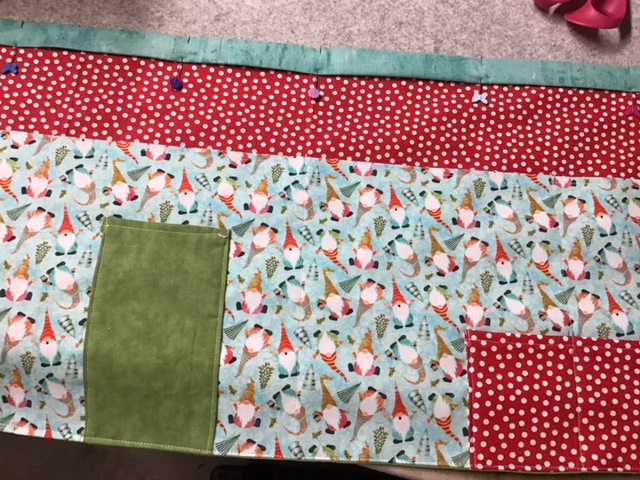
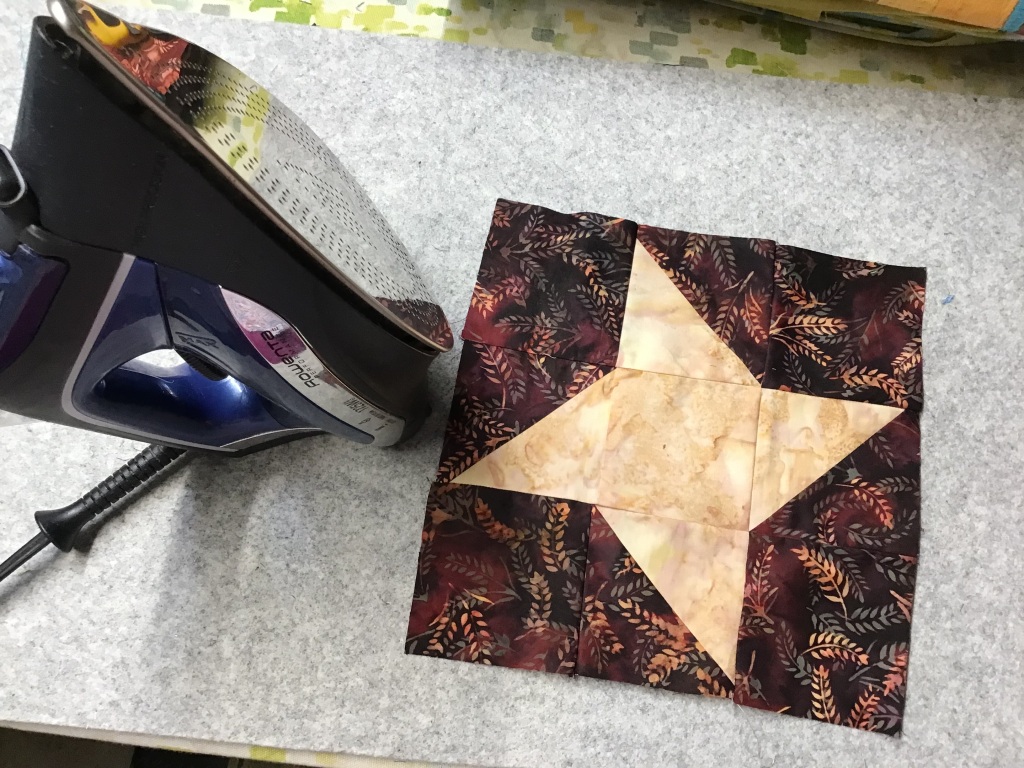
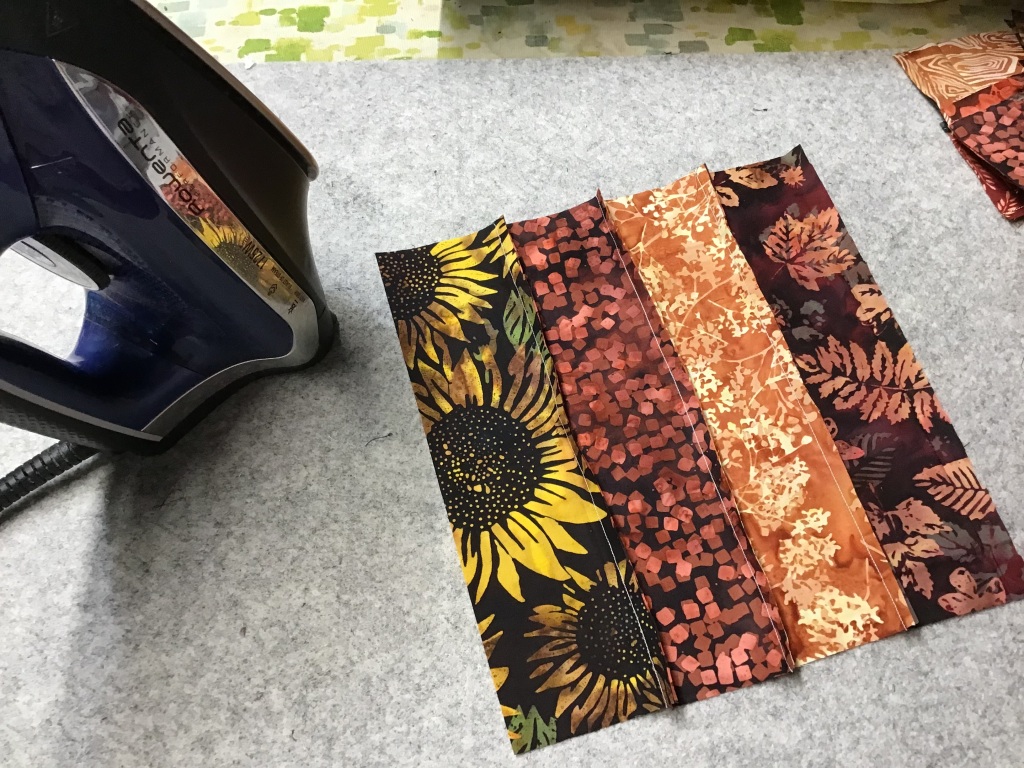
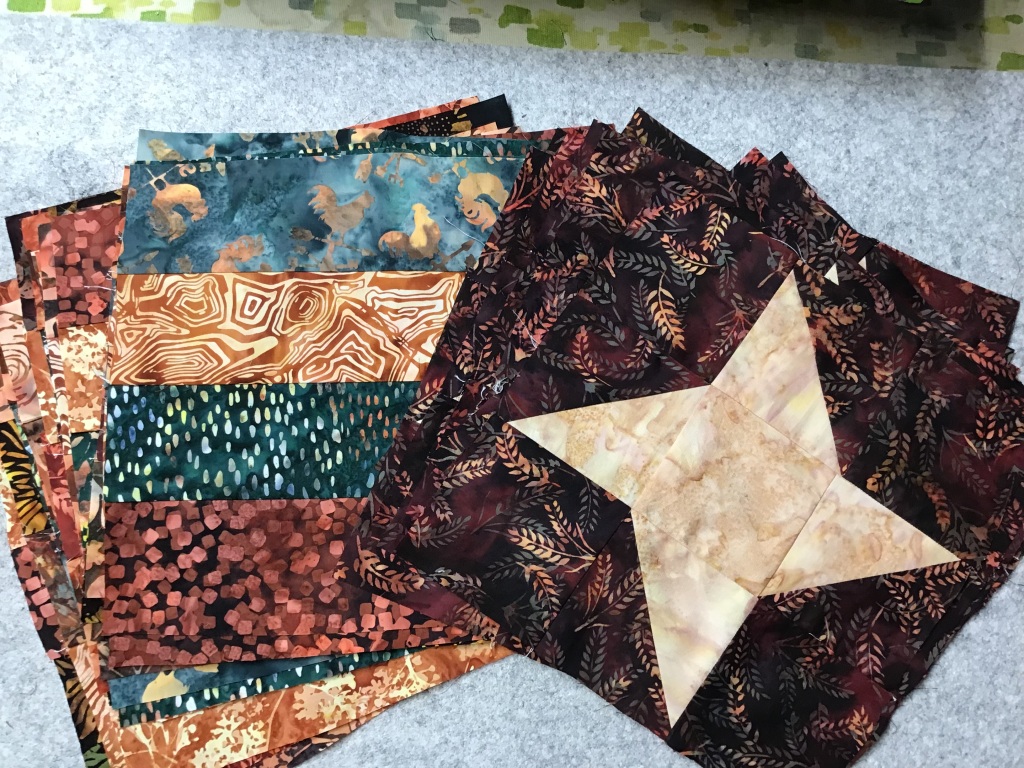
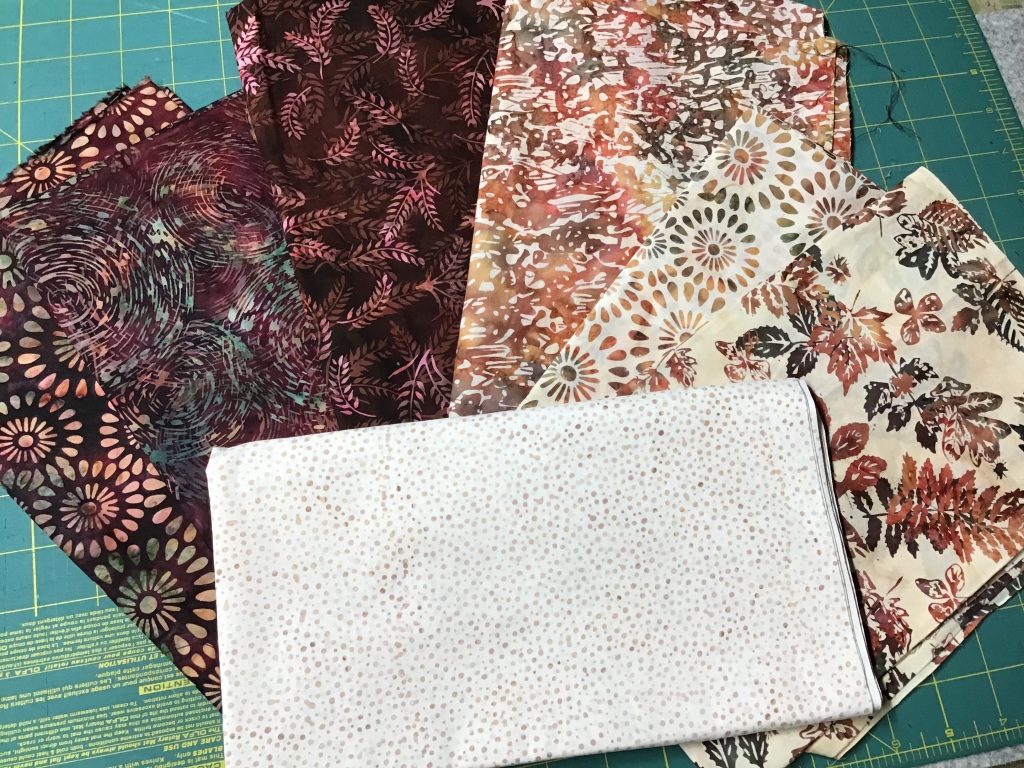
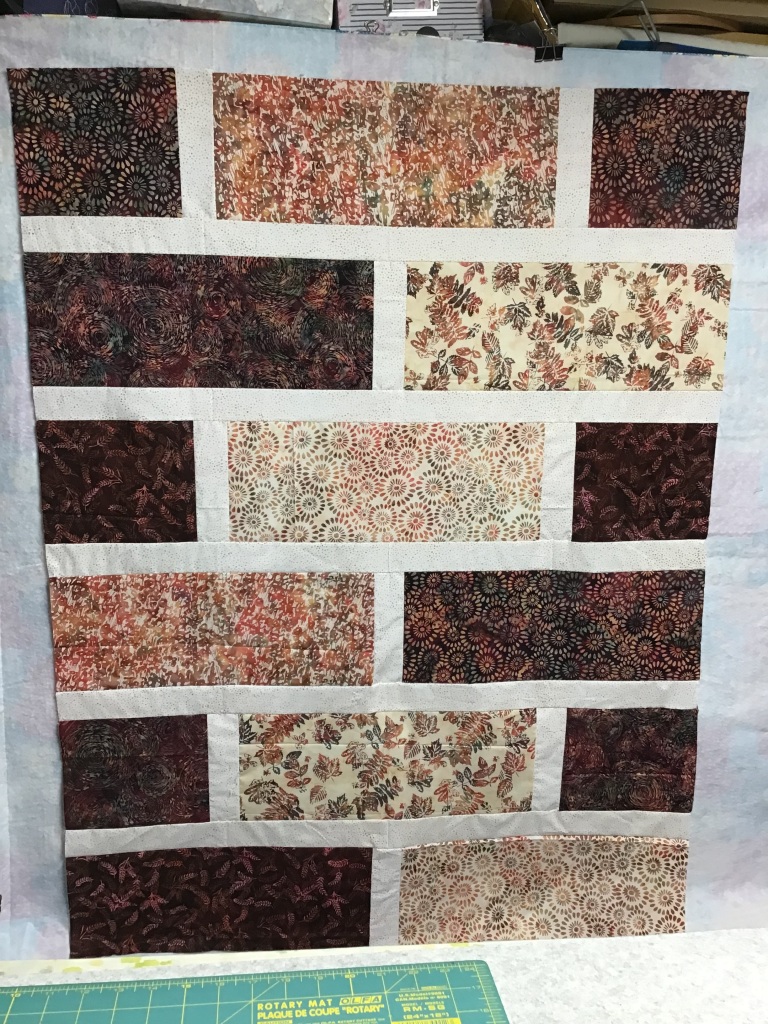
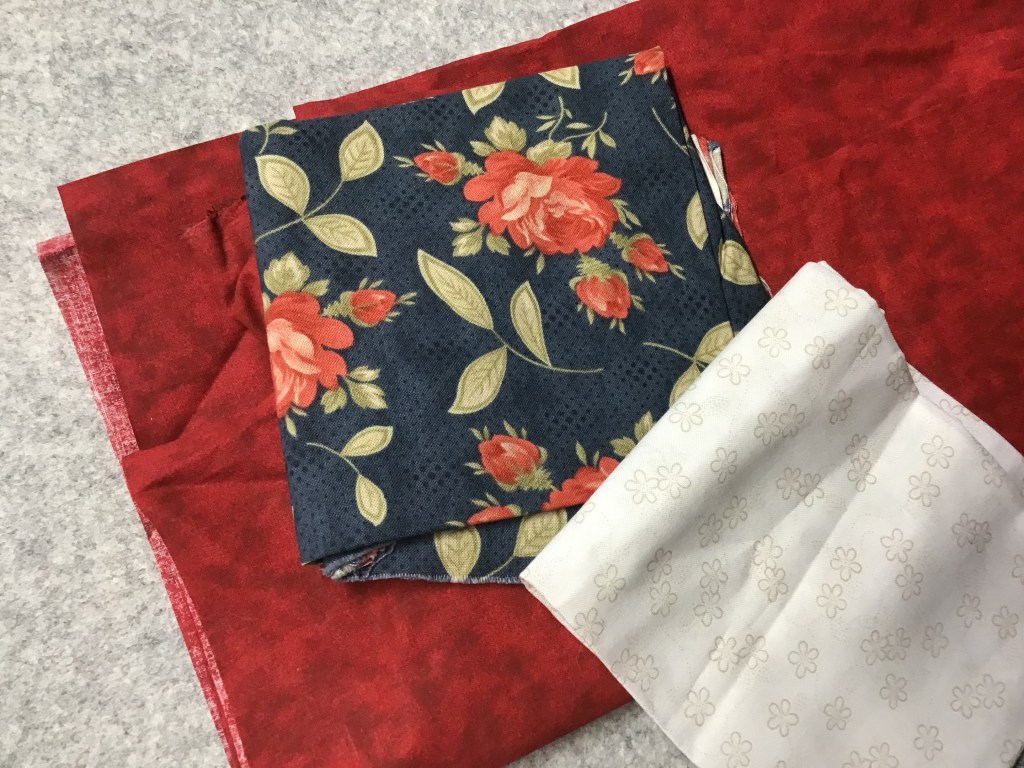
Like Catrina Jane, I perused my own oversized stash and settled on these fun fabrics. The red and blue floral is an older Minnick and Simpson print. Then I added a tonal red and a creamy white to the mix. Yes, you can make a Pattern Holder out of a single fabric, but also like Catrina Jane, I love a scrappy but coordinated look. 

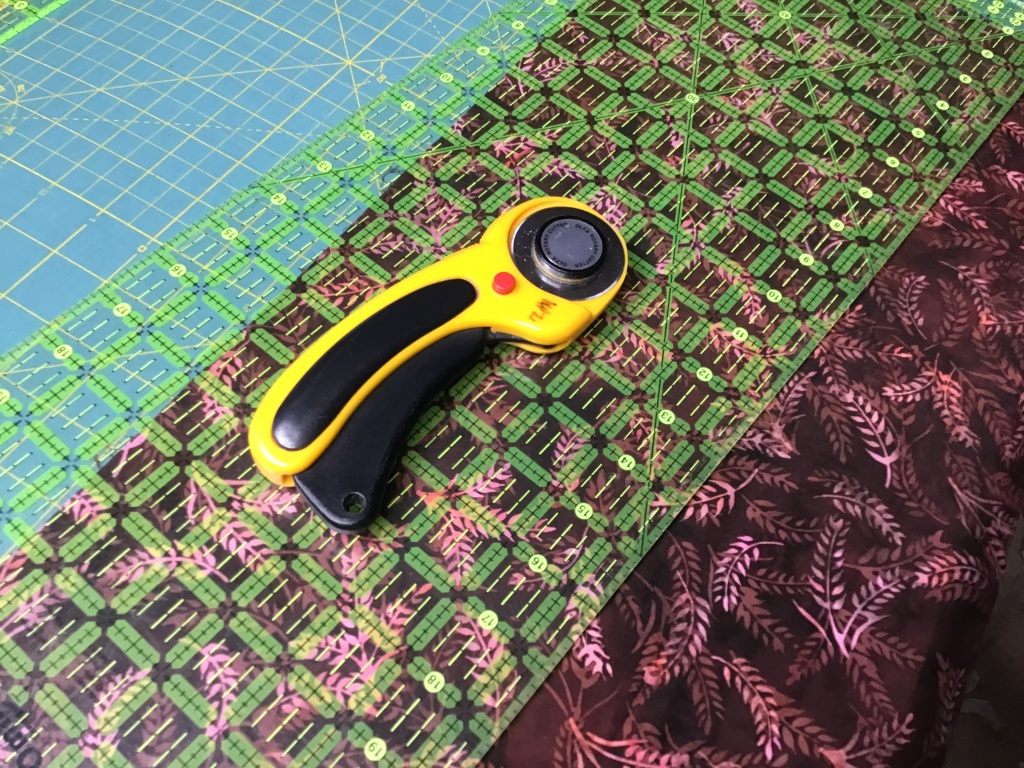
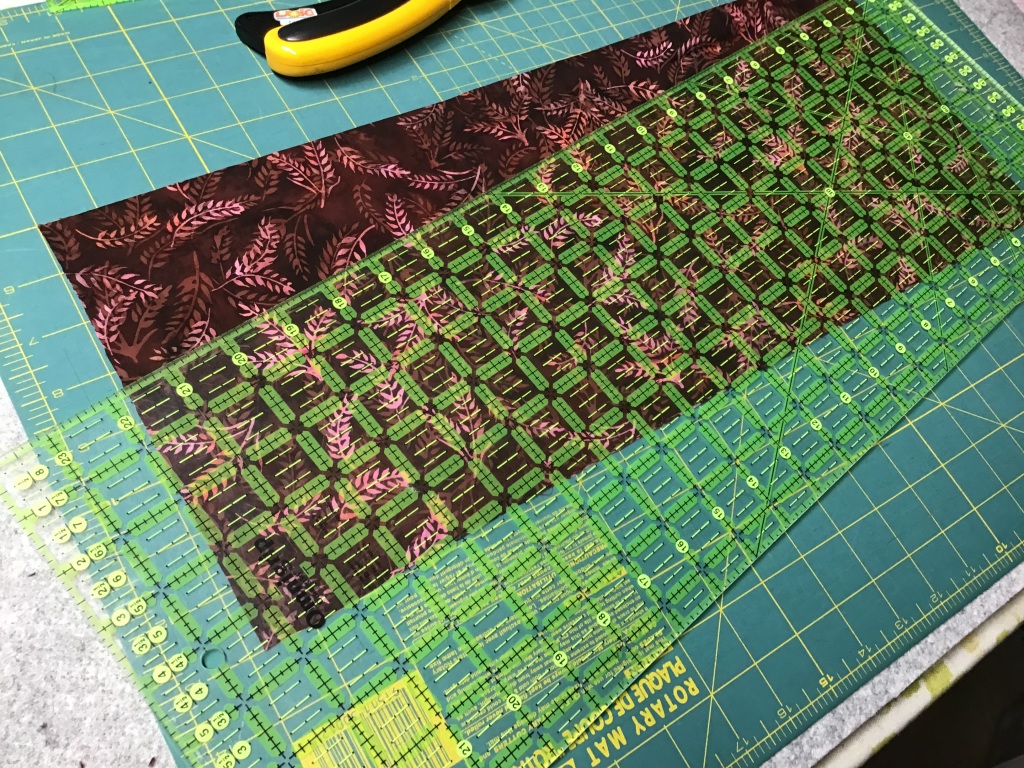
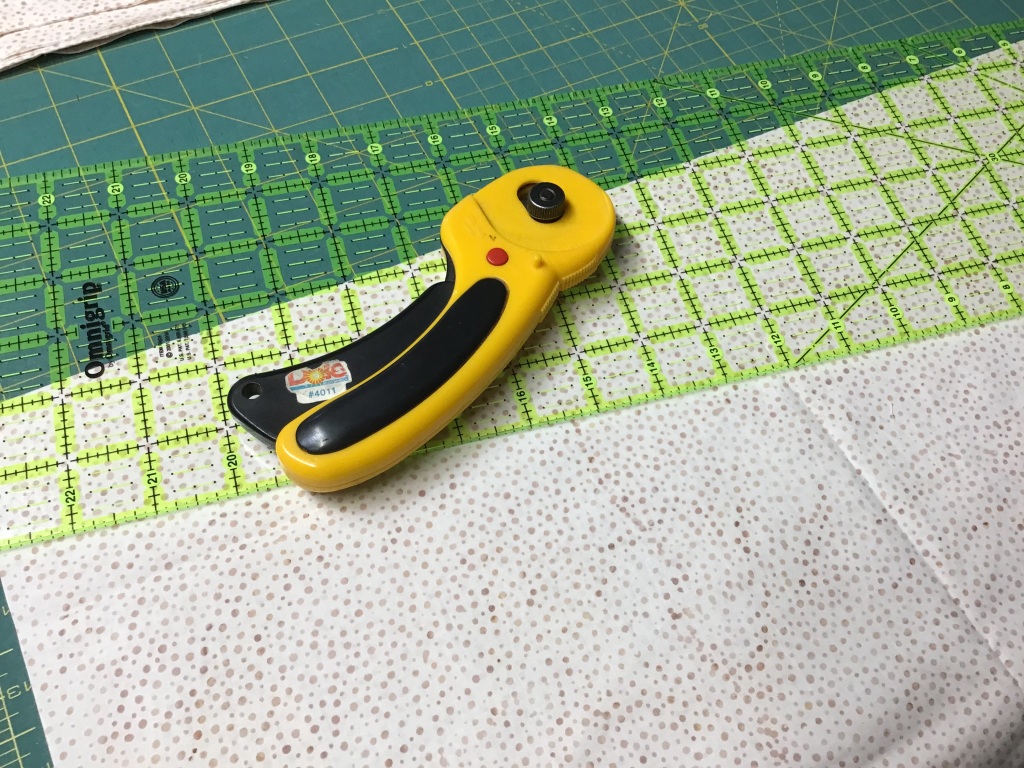
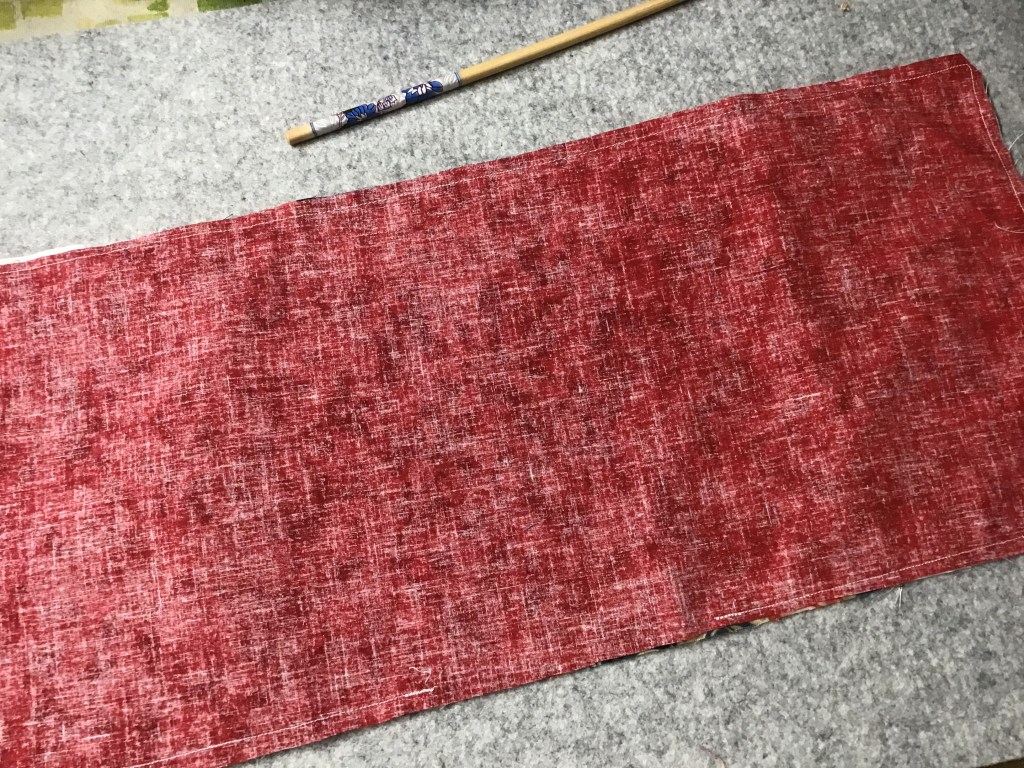
Now to cut out all the pieces and get sewing!

After I made my tab, I centered it on the left side of the main print. Nope, I didn’t measure a thing! My secret to finding the center of pretty much anything is to fold it in half and make a crease at the center. Then I just line up the creases and done. Easy Piezy!

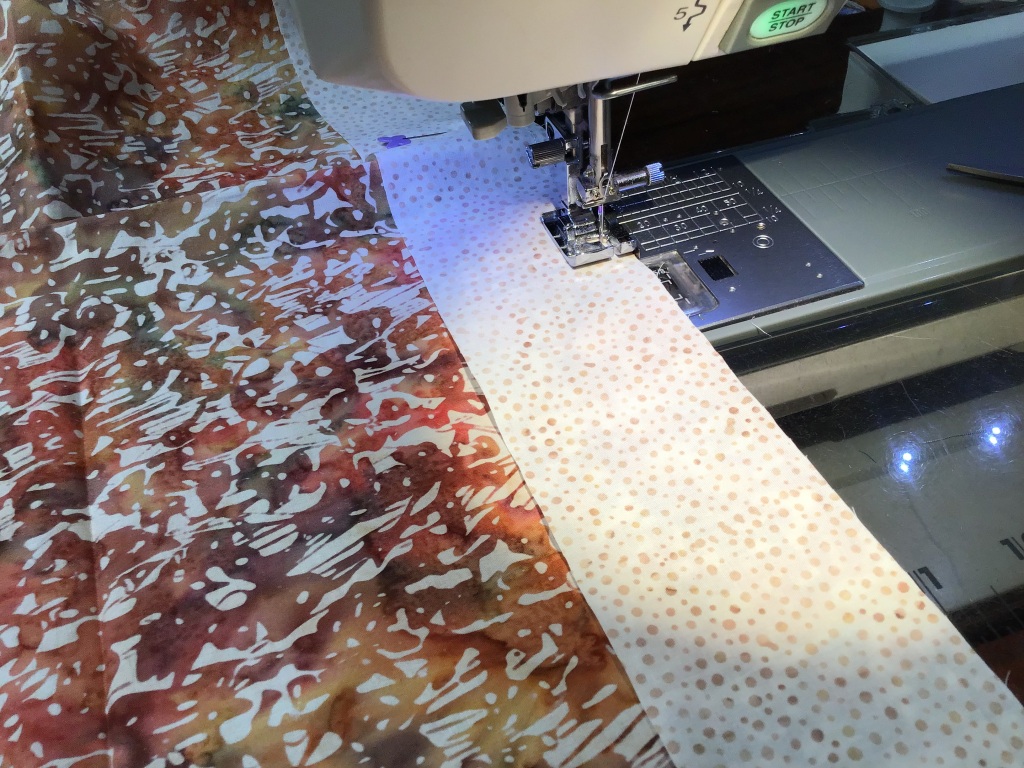
Once I centered the tab on the main print, I placed the pocket fabric right sides together on top on both sides of the main print. If needed, go ahead and add a couple pins to hold things in place. Then I stitched the sides. I pressed my seams towards the main print on the back and voila! My tab ended up in the right place. Whew!

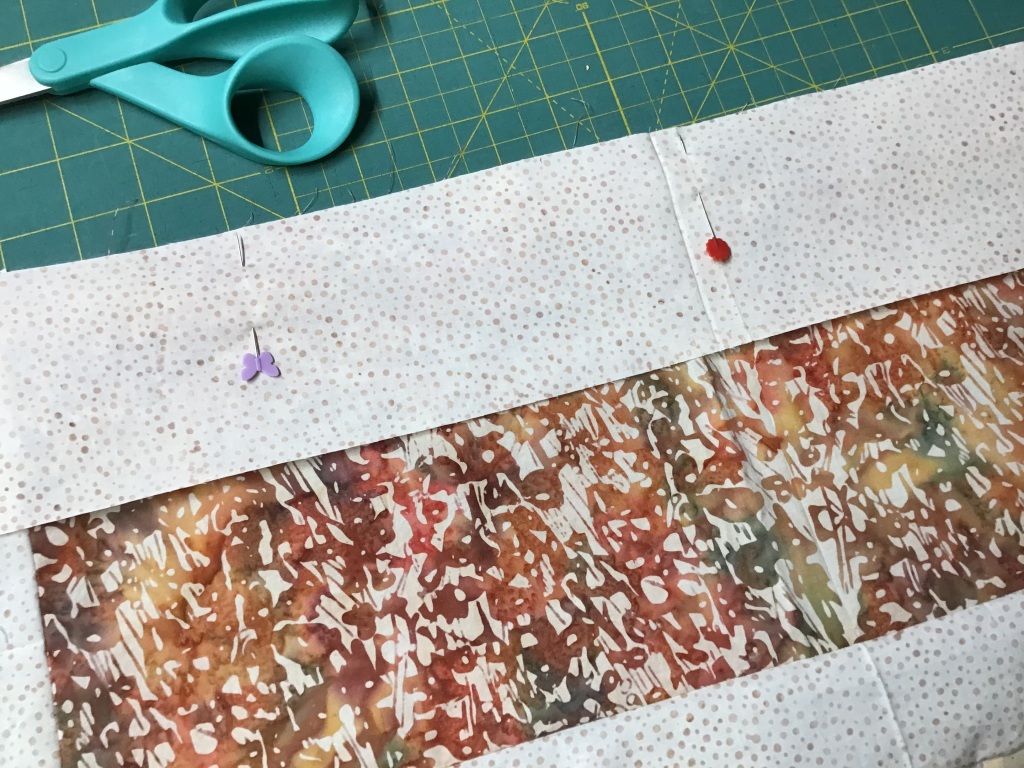
Now let’s place the lining fabric right sides together with the main print/side pockets. I learned a great little tip a while back at my quilt guild — at the corners, instead of trying to make them 90 degrees, pivot and stitch a couple stitches at the corner to gently round the corner instead of making a sharp corner. It makes a much nicer, smoother, and sharper corner than turning 90 degrees! Try it sometime. Don’t forget to leave an opening for turning your Pattern Holder right sides out.

I turned my Holder right sides out and used my handy dandy chopstick to gently push out the corners. I also like to run my chopstick along all the seams on the inside to help the seams to behave.

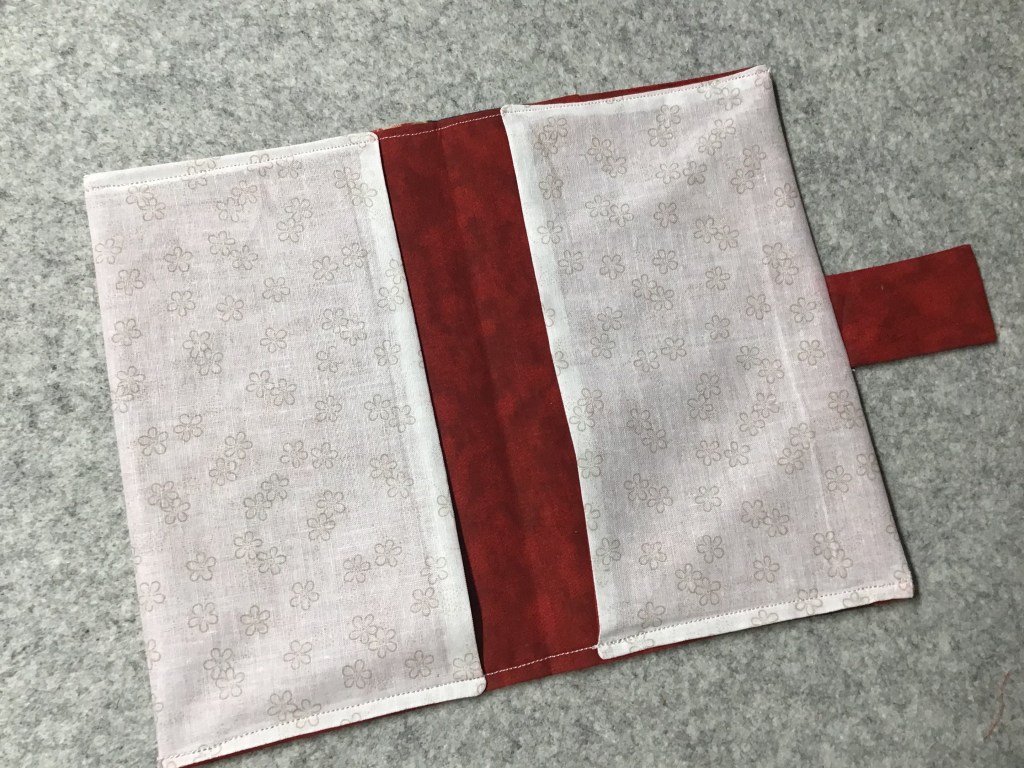
Time to fold over the pockets and sew. The directions called for using a zig zag stitch, but I chose to use a straight stitch on mine. Do the same if you like, or maybe you’ll explore some of the million embroidery and fancy stitches on your machine. 

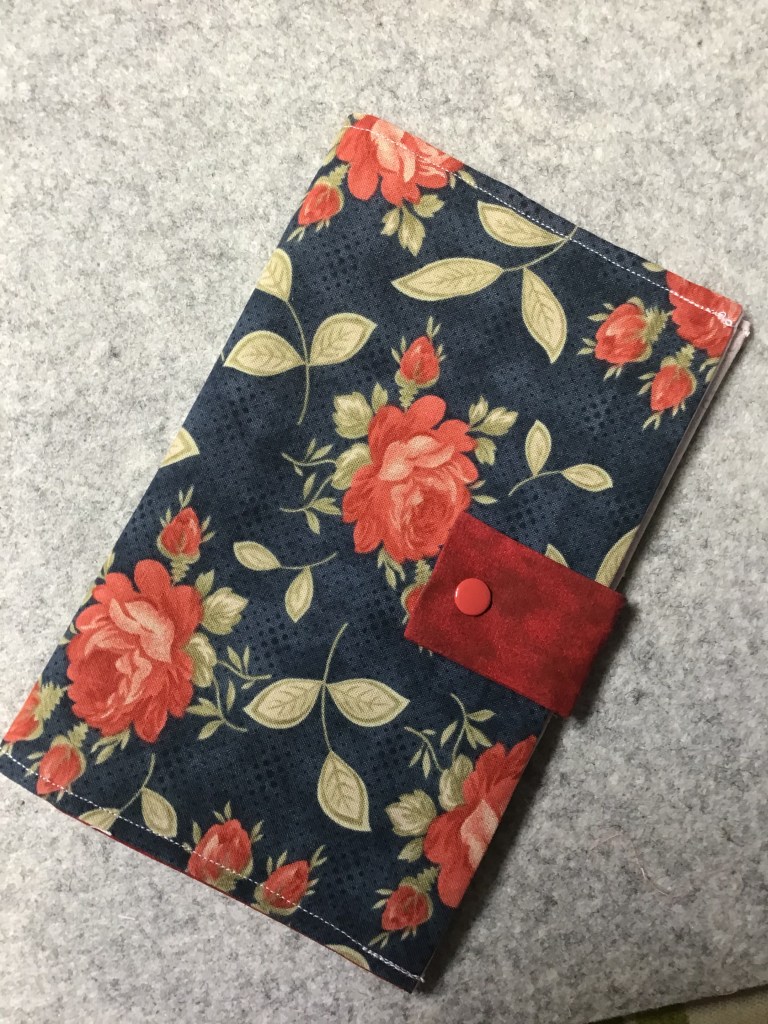
Instead of velco, I decided to put a cute little red snap to secure my Pattern Holder. Fun, fun, fun!

The very last thing to do is to fill up the pockets with cards!

Wouldn’t this be a great little gift for your favorite quilting friends? Add a couple Rose Card patterns inside and instant swoon-worthy gift. The Pattern Holder takes around an hour to make, depending on your finishing options, so it truly is a great last-minute gift idea.

Some Fun Ideas to Personalize Catrina Jane:

  1. Add ric rac, buttons, or other embellishments.
  2. Add a monogram or initials to the front cover if your machine can do that.
  3. Try a fun button as a closure instead of velcro or a snap.
  4. Add a few small pockets to the front cover and/or inside to stash cash, a credit card, or even more Rose Card patterns.
  5. Make it bigger to hold more cards — with 4 pockets instead of 2. You would need to basically double the width of the lining and main fabric while keeping the length the same. Hmmm. Maybe I’ll try this idea sometime.
  6. Shrink it down and use it to hold business cards.
  7. What else could you stash inside the pockets? How about handmade note cards? Wouldn’t that be a sweet gift to yourself or someone else?
  8. Add a layer of fleece or batting to make a firmer Pattern Holder.

Okay, now it’s your turn!

Time to get your Pattern Holder made this week (between Thursday December 14th and Thursday December 21st) and share it on the VRD Facebook page. I’ll see you there and I can’t wait to see what you make and hear your Catrina Jane sewing story! Let’s add where you’re from, too! It’s lots of fun to see where all our VRD friends hail from!

See you next Thursday for Week 4 of our December Sew Along.

(PSST! If you’re one of those work ahead kind of folks — our Week 4 project is Olivia Jane which will officially begin next Thursday, December 21st. Feel free to have at it, but please don’t post any of your photos or progress on Olivia Jane until after next week’s blog post. Between now and then, let’s focus on Catrina Jane. Thank you!)

See you on the VRD FB page!

Always,

Tricia @ VRD

December 2023 Accessory Sew Along · Quilt Stories · Rose Cards · Tips and Tricks · villa rosa designs

Villa Rosa Designs Accessory Rose Card Pattern December Sew Along Week 2 — Savannah Jane and Our NEW VRD Patterns for December

Happy Thursday to you!

Are you ready for another fun Accessory pattern project for Week 2 of our December Sew Along? Of course, I also have the NEW December Rose Card patterns to share with you, too. Lots of great fun this week.

So, how’s your holiday shopping and preparations coming along? I am happy to say that I’ve gotten started a bit this last week. I put up the outside Christmas decorations and lights (not that I do a lot of decorating, but at least we’re not a dark house for December). I don’t have that much more Christmas shopping to do, but I do still have some Christmas sewing and makes to get done. I haven’t started decorating inside yet nor have I started baking or wrapping gifts. Guess I’d better get to it, huh?

Speaking of gift gifting, I think you’re going to love Savannah Jane, our wonderful and quick Week 2 Sew Along project.

Did you order your set of 5 patterns for the December Sew Along yet? There’s still time for you to jump in and sew along with me.

Or you can save the projects for when you’re ready to do a little fun sewing after the hustle and bustle of December. I will add the December Sew Along to the right side of the blog so you can find the posts whenever you’re ready to sew. That’s definitely one of the cool things about an online Sew Along, you can do it anytime you’re ready, even in the middle of the night wearing your pajamas and eating a bowl of ice cream.

Get your pattern set HERE.

If you missed it, you can find the December Sew Along Week 1 — Amanda JaneHERE.

Here’s Molly’s version of Amanda Jane! Don’t you just love her mod fabric choices??? isn’t she just rockin’ this Amanda Jane apron with style?

Thanks for sharing your project, Molly!

Savannah Jane is a sophisticated gal with an artsy streak.  She just loves this wonderful and versatile pieced scarf -- she can add an artsy touch to her wardrobe without breaking the bank.  Savannah Jane can make this scarf in about an hour, so it's a snap to whip up a new scarf for any occasion or outfit.  Shhh!  Don't tell anyone, but she's made at least a dozen already.  And when she meets her gal pals for lunch, they ooohhh and aaahhh over her latest scarf creation.  Savannah Jane just smiles because she knows something they don't -- they are all getting their own one of a kind scarf for Christmas.

That’s right — this week, for Week 2 of our December Sew Along, you need to have your pattern pack in hand. Grab your supplies and create your own one of a kind totally you Savannah Jane pieced scarf. Bet you can’t make just 1 (wink, wink)….

Please make sure to join us on the Villa Rosa Facebook page to share your project this week and to check out the projects of your fellow VRD enthusiasts. The “social connection” is what makes sew alongs SEW much fun! Show us your fabrics! Any tips or hints for construction? Anything you need help with or don’t understand? Did you customize your project? Maybe you’re making 10 of them for Christmas! Please share because we ALL want to see your Sew Along “sew and tells.”

Villa Rosa Designs Facebook Page — you can use this link to take you to the VRD Facebook page. Make sure you are signed into your Facebook account and on the VRD page you can “like” us to join in the fun. The more folks that join in, the more fun it will be!

Now, I’ve never made a pieced scarf before, so I was pretty excited to give Savannah Jane a whirl. And guess what??? If you like Savannah Jane, you’re going to LOVE her sister, Inessa Jane. Inessa Jane is an Infinity scarf!

Get Inessa Jane HERE

Let me show you my Savannah Jane pieced scarf! Or should I say scarves??? I’ve already made 2 and have plans to make a couple more for holiday gifts. And maybe even one for myself. LOL!

I chose this charm pack for my Savannah Jane scarf. Don’t you just love the yummy colors? I have a special someone in mind for this one already!

The instructions are simple to follow and Savannah Jane goes together in about an hour! Nice — my kind of project!

Here you can see my squares all sewn together into 2 long long strips! I sewed them together randomly, just making sure not to put two like colors together.

I pressed all my seams in the same direction, pressing first on the back and then also on the front so those seams would stay as flat as possible. Who wants a lumpy scarf??? I even used a little of my favorite Best Press.

Are you familiar with Best Press? My favorite scent is Peaches and Cream, it’s so yummy (No, I don’t drink it, silly you for wondering that!). Of course, if Peach isn’t your scent, there are lots to chose from, including an unscented one which is perfect if you’re sensitive to scents. I’ve personally tried most of them and found Peach to be the scent for me.

Find Best Press HERE.

Anyway, after my seams were all nice and flat, I was ready to sew my 2 long long strips together on both sides — basically making a long tube with both ends open. I layered them right sides together, offsetting the ends.

Yay! Here it is all ready to turn right side out.

Ta Da! Here’s my scarf partially turned right side out. It reminds me of a snake shedding its skin — ick — not my favorite image, I can assure you.

Whew! All turned right side out now. Time to flatten the tube with the long seams centered on the front and back of the scarf so you see the offset piecing effect. Isn’t that the coolest thing? Sew clever! Sew easy! Sew beautiful! Especially with these batik fabrics!

Let’s finish the ends now. I folded them under about 1/4″ or so and tried to make each end as straight as possible, which meant I had to do a little fiddling as I pressed the ends flat.

At this point you could hand-sew the openings closed if you didn’t want to see any stitching, but I opted for simple and quick, sewing a straight line across the ends about 1/4″ in from the edge, back-stitching at each end.

Another thought would be to try out some of the wonderful fancy stitches on your sewing machine to finish your edges — that would add a little bit extra something something to your scarves. Or maybe just a edgy modern serged effect? Bet you can come up with even more finishing ideas for your scarves!

Done! In about an hour, no less. LOVE IT!

It was such a fun and quick project, I knew I had to make another one. Like I said, bet you can’t make just one….

Hmmm…..I’m thinking I might need to make 2 or 3 more for Christmas, too. Now that I have this great go-to pattern, it’s going to be loads of fun to personalize my fabric choices for each recipient.

It’s also easy to customize if you need a shorter or longer scarf. Use a charm square pack or cut your own squares from your stash — it’s all up to you.

I’m thinking a flannel charm pack might just be the ticket for my own scarf for this winter. Now to hunt down some squares! Where did I put that flannel charm pack???

Now that we’ve had some fun with Week 2 of our December Sew Along, it’s time to show off our newest patterns!

Aren’t they awesome! Every month just gets better and better. Our designers are simply the best! You can get the set of 5 new patterns HERE.

I promised a new table runner pattern for December, too. Sorry we didn’t have enough time to get one out for last month, but I think you’ll like my December runner. It’s fun and very fast. I chose a background fabric with metallic stars and assorted grey fabrics for the strips.

Get your own Frosted Window Panes runner HERE.

Before I close this post, I wanted to take a moment and update you on the projects we’ve been feverishly trying to get done for you.

Quilts of Honor (Quilts of Valor) Collection — this wonderful set of 12 VRD patterns sized just right for your Quilts of Valor donation quilts will be out very soon. You’re going to want this collection! And a portion of each purchase will be donated to the QOVF.

12 Quilts of Christmas — Sadly, we’re a little bit behind schedule with this one, but it should be out soon as well, just in time for Christmas. This collection features 12 brand new Christmas-themed quilts designed just for you by our talented VRD designers.

2024 Blog Hop — The 2024 Blog Hop is going to be pushed back a little bit to February/March as we’ve been working so hard on the other projects.

Okay, now it’s your turn!

Time to get your pieced scarf made this week (between Thursday December 7th and Thursday December 14th) and share it on the VRD Facebook page. I’ll see you there and I can’t wait to see what you make and hear your Savannah Jane sewing story! Let’s add where you’re from, too! It’s lots of fun to see where all our VRD friends hail from!

See you next Thursday for Week 3 of our December Sew Along.

(PSST! If you’re one of those work ahead kind of folks — our Week 3 project is Catrina Jane which will officially begin next Thursday, December 14th. Feel free to have at it, but please don’t post any of your photos or progress on Catrina Jane until after next week’s blog post. Between now and then, let’s focus on our Week 1 project Amanda Jane and our Week 2 project Savannah Jane. Thank you!)

See you on the VRD FB page!

Sew. Laugh. Get your Merry on. Repeat.

Always,

Tricia @ VRD

December 2023 Accessory Sew Along · Quilt Stories · Rose Cards · Tips and Tricks · villa rosa designs

Villa Rosa Designs Accessory Rose Card Pattern December Sew Along Week 1 — Amanda Jane

Hello Quilty Friends!

Happy Thursday to you!

Are you all geared up and ready for our fun December Sew Along? It’s not too late to join us if you haven’t gotten your Sew Along pattern set yet. You can get the set of 5 patterns HERE for the special price of $8.95.

This week, we are kicking off Week 1 of our December Sew Along with our Amanda Jane pattern.

Amanda Jane is a super busy and hard-working gal.  It's hard enough to find time in her crazy life to spend some quality time doing her favorite hobbies and interests, so losing important items like her scissors and measuring tape are totally out of the question!  Amanda Jane has it all covered in her cute and sensible work apron featuring 7 pockets!  Hello supplies!  And good bye wasted time looking for notions.  Amanda Jane loves her work apron sew much, she just might make a different one for each day of the week, just because she can!  And one for each of her crafty besties for the holidays, too!

That’s right — this week, for Week 1 of our December Sew Along, you need to have your pattern pack in hand. Grab your supplies and create your own one of a kind totally you Amanda Jane apron.

Please make sure to join us on the Villa Rosa Facebook page to share your project this week and to check out the projects of your fellow VRD enthusiasts. The “social connection” is what makes sew alongs SEW much fun! Show us your fabrics! Any tips or hints for construction? Anything you need help with or don’t understand? Did you customize your project? Maybe you’re making 10 of them for Christmas! Please share because we ALL want to see your Sew Along “sew and tells.”

Villa Rosa Designs Facebook Page — you can use this link to take you to the VRD Facebook page. Make sure you are signed into your Facebook account and on the VRD page you can “like” us to join in the fun. The more folks that join in, the more fun it will be!

I’m really excited to show off my Amanda Jane apron!

I had this adorable gnome Christmas fabric in my stash — it’s been begging to be made into something fun — and I thought it would be an awesome starting point for my apron! Not sure where it came from originally, but it is totally too cute NOT to use.

Who’s gonna rock Christmas in her apron this year, yeah??!!

Next I paired some coordinates straight outta my stash. What do you think? I wasn’t sure about the green, but I tried some other greens and this was the one that looked the best. Besides, I’m going to use the green on the back, so it really doesn’t have to be perfect. The teal was a complete no-brainer. And it had to have red polka dots, am I right here?

Hmm. I think I’ll use the red as the main fabric instead of the gnomes. And the gnomes as the big pocket so I’ll get to see more of the gnome fabric, because it really is all about the gnomes. The green definitely works as the back. Finally, the teal would make a great strap. What do you think? Oh! Then I’ll have a red pocket and a green pocket on the front. Cute. Let’s do this!

Well, I’d better stop chit chatting and starting cutting out my pieces.

Okay, I’m back. I got everything cut out, which wasn’t too hard, but I did have to dig out my really big square ruler to rotary cut my large pieces.

Here’s my gnome pocket, folded and ready to go. I’ve got the smaller pockets cut from leftovers of the red and green pinned and ready to stitch onto the gnomes.

You know, if you wanted even more color and fun, you could raid your scraps to find some coordinating fabrics for the smaller front pockets. Wink, wink. Just sayin’……

I know, I know…..I’d better get back to work. Can’t wait until I have a fun apron to use soon.

I think it would be great for wrapping gifts this holiday season. I’m always losing my scissors and tape in piles of paper…. What are you going to do with your apron?

Now I’ve got my big gnome pocket layered on my red dot fabric. I don’t know if you can see in the photo, but I’ve already got my sewing lines marked to create the large large pockets. I think it’s cool that one of the sewing lines goes right through the middle of my little red polka dot pocket to divide it into 2 smaller pockets. Nice! Now all the stuff I cram into the red pocket is less-likely to fall out when I bend over while wrapping.

Tags! Tags, anyone? I’ll know exactly where to find ’em when I need them. And I can tuck a pen or two in my handy dandy apron, too. Wow! I’m going to be the Inspector Gadget of Gift Wrapping this year!

Next I layered my apron front and back Right Sides Together (RST) and sewed along the bottom and the sides. Fingers crossed, I sewed relatively straight…. The I turned it right side out, smoothed and pressed the edges. And for a nice finish, I stitched about an 1/8″ inside the outside edge on both sides and the bottom of the apron.

Moving on to the strap — my goodness, that is a lot of strap. I think I could wrap my little house up in this strap. Wow! This step took me some time, but I nailed it!

AHA! Here I pinned my layers together with the apron sandwiched in between the long folded edges of the strap. To find the center of the apron, I folded it in half and marked the center top. Then I folded that long long strap in half and found the center, too. Finally, I matched up the centers and pinned that crazy strap into submission.

That strap seemed to have a mind of its own, though — it kept slithering away from me. Ugh! I think I need MORE PINS!

Huh! It worked! I got the apron pinned into the strap folds, sewed it, and it all worked. And it looks so so cute. Really! And it wasn’t difficult, once I got the hang of it. Take that, you crazy strap!

The final test — does it fit???

It fits! It actually fits me AND the strap wraps around my body back to the front just like in the photo on the front of the pattern — I won’t have to be a contortionist to tie it in the back, like most aprons! Awesome! I’m no skinny Minnie either — I’m a plus-size kind of gal and it fits me perfectly! I am thrilled.

Okay, now it’s your turn!

Time to get your apron made this week (between Thursday November 30th and Thursday December 7th) and share it on the VRD Facebook page. I’ll see you there and I can’t wait to see what you make and hear your Amanda Jane sewing story! Let’s add where you’re from, too! It’s lots of fun to see where all our VRD friends hail from!

See you next Thursday for Week 2 of our December Sew Along.

(PSST! If you’re one of those work ahead kind of folks — our Week 2 project is Savannah Jane which will officially begin next Thursday, December 7th. Feel free to have at it, but please don’t post any of your photos or progress on Savannah Jane until after next week’s blog post. Between now and then, let’s focus on Amanda Jane. Thank you!)

See you on the VRD FB page!

Always,

Tricia @ VRD

December 2023 Accessory Sew Along · Rose Cards · villa rosa designs

December Sew Along with Villa Rosa Designs Accessory Rose Card Patterns

Happy Thanksgiving to you!

I will keep this post short and sweet so you can get back to your family and friends. And pie, don’t forget the pie. With lots and lots of whipped topping. Yum!

You can find my FREE Pieced Turkey Quilt Block Tutorial from 2022 HERE.

Let’s jump right in!

For the month of December, I thought it would be fun to do a VRD Sew Along with some of our Accessory Rose Cards. Are you familiar with our accessory patterns? They are quick and fun small projects to use up your stash…..or an excuse to head to your local quilt shop and buy more fabric just for these great little projects. You can find all of our current accessory patterns HERE.

They make great last-minute gifts you can whip up in a hurry for family and friends……or even just for yourself. Who doesn’t love an excuse to do some holiday sewing in December, when everything is so fast-paced? We all need to slow down a little bit and get a touch of sewing in, don’t you think? And you may just be seeing more smaller accessory patterns coming in 2024 — think mug rugs, bags, place mats, pillows, and more.

Speaking of 2024, we certainly have some exciting things coming for Villa Rosa Designs! Watch for our second Fast and (Even More) Fun Blog Hop coming in January/February 2024. I am still working on the dates right now, so stay tuned….

So, let’s keep this post moving!

What’s a Sew Along, anyway? It’s simply an opportunity for quilters and sewists to sew the same projects together from wherever they are. The magical Internet makes it so easy for us to sew together without getting together physically. We will all sew the same project each week and post our photos on the Villa Rosa Designs Facebook group. Sounds like fun, doesn’t it?

I have selected 5 patterns for us to make together for the month of December. Here are the dates and the projects along with the links to purchase the patterns at Villa Rosa Designs. Maybe you have a few already and only need certain ones. If so, just follow the individual links to the patterns you need below OR you can grab the whole set of 5 patterns for the special price of $8.95 HERE. Don’t forget — shipping is always free for patterns!

All 5 patterns for the Sew Along for $8.95!

What are you waiting for? Get your patterns now and start organizing your fabric for each of the projects so we can SEW ALONG together, starting next Thursday, December 2nd.

November 30th — Amanda Jane (7 Pocket Apron)

December 7th — Savannah Jane (Charm Square Patchwork Scarf)

December 14th — Catrina Jane (Rose Card 2 Pocket Pattern Keeper)

December 21st — Olivia Jane (Charm Square Tote Bag)

December 28th — Petula Jane (Roll and Go Place Mat and Napkin)

I hope you’ll join us for some much-needed sewing fun in December! And ask a quilting/sewing friend, so you can double your fun! If you haven’t joined our Facebook group, please do so now — that way we can all post photos of our Sew Along projects, give each other high fives, and oohh and aahh over each other’s fabric choices for each project! You can find our FB group HERE.

And don’t forget to subscribe to the blog so your weekly Villa Rosa Quilts blog posts will be delivered right to your email inbox. How easy is that???

Here’s to a December filled with sewing and giving. Love and laughter. And cookies. We must have cookies….

See you next Thursday for our first Sew Along project — Amanda Jane!

Always,

Tricia @ VRD

Just Quilty Stuff · quilt market · Rose Cards · villa rosa designs

NEW November VRD Rose Card Quilt Patterns and International Quilt Festival Quilts

Here I sit at the Hobby airport grabbing some lunch while I wait for my flight back to good ol’ Pennsylvania. Wow! What an awesome Quilt Market and Festival! I am so excited to get back to my studio and get to work on new projects — my head is just exploding with inspiration and ideas.

I did figure out how to get Harold the quilt home — I bought a duffel bag at WalMart since I’d only brought one suitcase and “2 bags fly free.” The only problem with the duffel is that with only Harold in it, it was kind of empty so I just had to shop for awesome cool stuff at Festival to fill it up so Harold wouldn’t be lonely on the trip home. So sad, huh? I’ll be showing you some of my favorites in next week’s post, so stay tuned……

Now let me show you our NEW VRD Rose Card patterns for November.

Yay! It’s the Thursday after the first Friday of the month and you know what that means — NEW PATTERNS!

Aren’t they great??? As always, you can get the set of 5 regular patterns for the special price of $8.95 HERE.

We’re happy to welcome our newest Villa Rosa Designs designer — Deanne Moore of Creative Sewlutions. Most of you are probably already familiar with her classic Oh Henry pattern — Deanne selected the most popular size for her Rose Card Oh Henry pattern. Find the kit, featuring fabric from Wild Wander, HERE. And Deanne’s other new pattern, Messages is just tons of fun, isn’t it?

Peking Duck is an awesome pattern by Heidi to showcase those gorgeous large prints you just cannot cut up. I’m thinking Charley Harper fabrics would look great in her pattern, what do you think?

Molly’s fast and fun pattern Underline would also look great with larger prints or novelties paired with an accent. This is a good size for a kid’s quilt. You can find the kit HERE.

And don’t forget Farmhouse Blues, my new November pattern. I was sew inspired by the blue and white Moda collection, Blueberry Delight, that I just had to design a quilt around it. I had the most fun photographing it on my Dad’s vintage tractor. I think this is one of my best cover photos ever.

Here’s the original uncropped photo for the Farmhouse Blues cover. Definitely one of my favorite covers ever!

Molly created a sample using the red, white, and blue collection, Patchwork Americana by P&B. You can find the kit HERE.

Molly’s version of Farmhouse Blues, available as a kit.

I’m sorry that we don’t have a table runner for this month — there just wasn’t enough time to get everything ready and to press before Market and Festival. We will have a runner coming for December, though, so hang in there.

Now let’s get back to Quilt Market and Festival!

During Festival, I was able to spend quite a bit of time enjoying the quilts on display. Oh my goodness, talk about amazing and inspiring! I was really blown away with the creativity and skill. Truly amazing! Pair all of the quilts with all of the shopping and you have an amazing experience. If you haven’t attended Festival, I really urge you to go to one sometime, you won’t be sorry. I do suggest that you plan for at least 2 days, although staying for the entire show would be awesome. There is absolutely no way you can see and experience everything in just one day. It really is sensory overload, so a couple days is a must so you don’t get too overwhelmed.

Anyway, I thought I’d share some of the amazing quilts on display. In the image after each quilt, I’ve included the maker information. Please enjoy my little slide show!

Well, that’s it for me this week. I hope you stop in next week for another little slide show and my favorite finds from Quilt Market and Festival. Until then, spend some quality time with your sewing machine!

Always,

Tricia @VRD

Rose Cards · villa rosa designs

NEW October 2023 VRD Rose Card Patterns and Fall VRD Patterns

Happy Thursday to you!

Tricia here again. I hope you all enjoyed Molly’s Lickety Split tutorial last week. If you missed it, you can find it HERE.

Today is the Thursday after the first Friday of the month. You know what that means — NEW PATTERNS! YAY! I can’t tell you how much I love showing off our latest patterns. I know I always say it, but our family of designers amazes me every month with their inspiring designs. Sigh, I just wish I could make every single quilt…

Throw the confetti! Blow the trumpets! Here they are!

Aren’t they great??? You can get the October set of 5 patterns for the discounted price of $8.95 HERE. So go, what are you waiting for? Tehehehe……

We do have some kits left —

Picture Perfect kit 1

Picture Perfect kit 2

Pascali

Acrobatic

Veggie Sticks

Sorry, there are no kits for Quickstep. 😦

And here’s my October table runner, Ghosties! Who doesn’t need a ghost table runner for Halloween??? I used Hoffman 1895 Watercolors and 885 Dot Batiks. I love how it turned out, but I find my ghosts ended up kind of reminiscent of the ghosts on Pac Man. Hmmmmm. Do you remember Pac Man in the 1980’s? Oops, I’m dating myself, aren’t I?

Oh well, here’s Ghosties!

You can get the pattern for Ghosties HERE. It’s also available as a digital pattern HERE.

No kits available, sorry.

Can’t wait to see all your cute little Ghosties! Did you know that in old Transylvania, a group of ghosts was called a “ghossling? And in old European books, supposedly a group of ghosts was called a “tilling.” Apparently there really isn’t an official name for a group of ghosts, but some current options include a “fright” of ghosts or even a “haunting.” Just a little Halloween trivia fun for you. Who doesn’t need a little trivia in their life?

By the way, did you know that a group of crows is called a “murder”????????

I haven’t done a VRD Rose Card theme list for a while, so thought it was time for Fall-themed patterns. Enjoy!

There’s been a nip in the air recently and the leaves are changing colors. I just love Fall. The colors, the sounds, the smells. Fall is definitely here. Check out this apple barrel of VRD Rose Cards.

Get Baskets HERE

Get Bat Dance HERE

Get Batty HERE

Get Beatrice HERE

Get Cidermill HERE

Get Cinnamon Stix HERE

Get Coffee Break HERE

Get Falling HERE

Get Farmyard Fun HERE

Get Field Trip HERE

Get Flock Together HERE

Get Flower Market HERE

Get Flutterby HERE

Get Fly Away HERE

Get Game Play HERE

Get Ghosties HERE

Get Gingersnap HERE

Get Harvest HERE

Get Heirloom HERE

Get Hey Day HERE

Get Hickory Ridge HERE

Get Inessa Jane HERE

Get Inglenook HERE

Get Kit & Caboodle HERE

Get Landino HERE

Get Lantern Hill HERE

Get Leaf HERE

Get Maple Grove HERE

Get Migration HERE

Get Mod Tiles HERE

Get Mountains HERE

Get Newsflash HERE

Get Oakmont HERE

Get October Sky HERE

Get On Key HERE

Get Orange Waves HERE

Get Out West HERE

Get Pebble Brook HERE

Get Penny Candy HERE

Get Picture Perfect HERE

Get Pilaf HERE

Get Planters HERE

Get Pointless HERE

Get Portlandia HERE

Get Pumpkin Hollow HERE

Get Pumpkin Patch HERE

Get Pumpkin Pie HERE

Get Rail Fence HERE

Get Random Shuffle HERE

Get Red River HERE

Get Remember Me HERE

Get Royal Sunset HERE

Get Ruby Road HERE

Get Saffron HERE

Get Savannah Jane HERE

Get Solar Flare HERE

Get Splash HERE

Get Sport’n HERE

Get Teaberry HERE

Get Tiles HERE

Get Tiramisu HERE

Get Toasted Marshmallows HERE

Get Vineyard HERE

Get Westerland HERE

Get Wild Rover HERE

Get Winchester HERE

Get Yesterday HERE

Get Zip-a-Dee-Doo-Dah HERE

Wow! This group was a lot bigger than I thought it would be. I hope you made it all the way through! If you did, snaps to you!

One of the reasons I really like creating a themed list of patterns is because it helps me to get more familiar with our VRD patterns and our designers. And, of course, I can introduce you to patterns you might not have seen before. Because, let’s face it — with over 600 patterns in print, it’s kind of hard to keep track of every single one!

So, my question to you is — how many of these patterns do you already have? And how many are you going to add to your growing VRD Rose Card collection? Finally, how many of these quilts have you or will you make?

Well, that’s it for me this week.

Take care. Be safe. And quilt.

Until next time —

Always,

Tricia @ VRD

Guest Bloggers · Rose Cards · Tutorials · villa rosa designs

VRD Lickety Split Quilt Tutorial

Happy Thursday to you!

PSST!

Hey, it’s me, Molly!

I’m stealing the blog from Tricia this week!

I’m here to talk about one of my own favorite patterns, Lickety Split. I designed this fun and fast pattern using only 10 fat quarters and a background fabric. When I was sewing it up the first time, it went together really quick — hence the name “Lickety Split”.

You can find the Lickety Split pattern HERE.

There’s also a digital download pattern, too. You can find the digital pattern it HERE.

Today I’m using fabric from the Morning Light collection by Northcott, which features digital prints. They do a good job with their digital prints and the colors are just so beautiful. These are definitely my colors — Northcott must have been thinking about me when they designed them. LOL!

Guess what??? We created Lickety Split kits just like my fabrics, above. You can find them HERE.

Or maybe you just want to grab some of your own Morning Light Fabrics? You can find the collection HERE at the VRD shop. Be warned — they’re going fast and when they’re gone, they’re gone. So get ’em while they’re hot!

Let’s get started!

So first things first (well, after you find your fabrics, of course), you need to cut out your rectangles. Grab your fat quarters, and cut them into strips. Then subcut the strips into rectangles. You’ll have a narrow strip leftover — you can use it in another project.

Next it’s time to cut your background pieces. I cut my big pieces first. Then I used the leftover background pieces to cut the smaller/narrower pieces.

Molly’s Tip: Go ahead and pair up your rectangles so the same 2 fabrics are sewn together in each block like I did.

Or scrap it up and be totally random! You do you!

Here, you can see how I stacked up my fat quarter rectangles with the background strips. Now I’m ready to take all my block pieces to my sewing machine. No need to get up and down to get fabrics, because they will all be right next to my machine.

Yay! Time for the fun part — sewing the blocks together! Make sure you sew the pieces all the same for each block or else you will have blocks going in all kinds of directions. Silly blocks!

Look! Here’s a block AND it went together Lickety Split!

Lay out your blocks, turning every other block sideways. The 1st, 3rd, and 5th rows will be the same layout while the 2nd, 4th, and 6th rows will be the same layout.

Sew your rows together and — TA DA — your Lickety Split top is done. Now it’s time to layer, quilt, and bind. And don’t forget your label!

Check out these other color combinations of Lickety Split. Which one is your favorite?

Don’t forget to post your Lickety Split quilt pictures on our Facebook page. I can’t wait to see them!

That’s it from me.

Until next time —

Later,

Molly

Quilting Partners · Rose Cards · Tips and Tricks · Tutorials · villa rosa designs

VRD Beatrice Quilt Tutorial and the Fall 2023 Hoffman Project Catalog

Happy Thursday to you!

I hope you are all getting some sewing and quilting tucked in around your busy fall schedule. I don’t know about you, but if I don’t get regular access to my sewing machine, I get — well, grumpy. I am not kidding. I have found over the years that if I don’t get time to devote to my creative endeavors, I become out of sorts — you can ask my family. LOL! So when I get short-tempered, the best cure is sewing and quilting, even if it’s only a half hour here or twenty minutes there, I absolutely have to have time to be creative.

So I must say that using the excuse of creating a series of fall quilt tutorials with all these glorious Hoffman batik fabric collections, I am feeding my creative soul AND at the same time, I have rekindled my interest in getting back into quilting after basically taking the summer off. Of course, the next part of my making a quilt top or two a week, is to actually get them layered, quilted, bound, labeled — FINISHED. I have started this process by going to my local quilt shop, Homespun Treasures, to pin three of the recent quilts, and now they are ready for machine quilting. I use the tables in the classroom to layer my quilts and maybe I check out the new fabrics while I’m there….

But first, I have another Villa Rosa Designs Rose Card quilt tutorial, Beatrice, for you!

Ever since Beatrice came out earlier this year, I’ve been eager to make it. I love that it pairs two classic blocks — a Rail Fence and a Friendship Star (which is really a Nine Patch block in disguise) — together. You can check out our Rail Fence post and Nine Patch post, which are part of our Quilt Block Basics series, for more block fun and inspiration.

I also love how the Friendship Star blocks are arranged in diagonal rows cascading through woven Rail Fence blocks in a less-than-typical arrangement. Beatrice finishes at a generous 54″ x 72,” which is a very nice-sized throw quilt.

I hope you’ll give this one a try!

Get Beatrice HERE

Let’s take a look at the gorgeous Hoffman Bali Batik collection, Homestead, I am using for my Beatrice quilt. Ask for it at your favorite quilt shop or online retailer!

Isn’t this collection delicious? I added an 1895 Watercolor batik as my star fabric — can you find it?? (Hint: it’s the lightest fabric….)

Ready? Set. Go! Let’s get started on Beatrice!

1. We’re going to cut all of our fabrics before we start to sew. Do you do that or do you cut your pieces out as you sew? Or do you make a sample block before you cut everything out? For my VRD quilts, I feel totally comfortable just jumping in — no need to make a sample block to make sure everything fits together properly because I know that everything will fit together perfectly. Just another thing I love about our Rose Card patterns.

2. Now let’s sew some Friendship Star blocks! The first thing we need to do is make some Half Square Triangles (HSTs) for the star points. When I first started quilting, I did not enjoy making HSTs, but the more I made them (so many quilt patterns use HSTs!), the more I found I actually liked them. Of course, the more I made them, the more accurate my HSTs became, too.

Layer your squares right sides together (RST). Draw a diagonal line from corner to corner. Sew 1/4″ away from both sides of your drawn line. Cut on the drawn line to make 2 HSTs. Press the blocks open. And don’t forget to trim off your little dog ears at the corners (this will help the accuracy of your piecing — trust me).

3. Next we’re going to lay out a Friendship Star block, which is a Nine Patch block with HSTs. That way, we know how the block should look. With Friendship Star blocks, it’s easy to turn the HSTs the wrong way, which makes for some wonky stars. I actually kept this block layout up on my flannel wall so I could use it as my reference as I sewed the blocks together.

4. Time to sew the blocks together. I am happy to say, I only stitched one block wrong, which of course meant that I had to unsew it and then sew it back together the right way. Mea culpa. Press your blocks. Stars done — yay!

5. Moving right along — let’s make some Rail Fence blocks. Now, the pattern walks you through sewing strip sets together and then sub-cutting the strip sets into the units for the Rail Fence blocks.

I prefer cutting my fabrics before sewing them together. I used to do the strip set method, but I always had a problem keeping my strips straight — mine would bow like a rainbow. This, of course, affected the accuracy of my piecing. This frustration is what led me to determining what the (unfinished) length of the unit would be and then cutting all my pieces before sewing the units. The easiest way to figure out the length is to look at the size of the unit you’re cutting out of the strip sets — usually that measurement is what you need.

Here are my rectangles ready to sew together into Rail Fence blocks.

6. Time to sew the Rail Fence blocks together. First, I sew the rectangles into pairs, then I sew the pairs into quads. Another thing I like better about sewing the rectangles together versus strip piecing is that I get a lot more variety in my blocks. After all the blocks are pieced, go ahead and press them. Rail Fence blocks done. Yippee!

7. All the blocks are finished!

8. Boy, am I glad that I have my handy dandy flannel backed table cloth already clipped up on my fabric storage cubes because the next step is to lay out the blocks according to the diagram on the pattern. Whoever discovered that fabric sticks to flannel was a genius! Thank you, thank you!

This quilt is big and I can’t get the entire thing arranged on my flannel wall so I will have to divide the quilt into sections and then sew the sections together. While the blocks are up in the first larger section, I moved a few things around so that the fabrics are well-distributed throughout and not concentrated in any one area.

I will say that these fabrics from the Homestead collection definitely make a gorgeous quilt! It just looks so warm and inviting, like a cup of hot apple cider. Where’s my doughnut??? Boston creme, if you please….

9. I sewed the blocks into rows and then I sewed the rows together into the top section of the quilt.

10. I folded the top section in half and moved it to the top of my flannel wall to make room at the bottom the last rows. That way, I will still be able to move blocks around in the bottom rows if needed. Next I sewed the blocks into rows and the rows into the bottom section. Finally I sewed the bottom section to the top section.

11. Here is my Beatrice quilt top, or flimsy. Yay! I am very happy with how it turned out. It is simply beautiful!

While I was sewing Beatrice together, I kept wondering how it would look in patriotic colors (the quilt diagram on the back of the pattern is done in red, white, and blue). But for this quilt to be large enough to be a Quilts of Valor quilt, you would have to add a border or another column of blocks because it’s not quite wide enough.

Adding a 4″ finished border all the way around would make the quilt 62″ x 80″ which is a wonderful size for a QOF quilt as well as a twin-sized quilt. You would need about 1 1/4 yards fabric for the border (cut strips 4 1/2″ wide) and a total of 5/8 yard for the binding for this larger size.

Who knows, maybe Beatrice will be my next QOF quilt project to make and donate. You’ll have to check back later to see if it is. LOL!

I look forward to seeing your Beatrice quilts! You can post them on our VRD Facebook page. Hope to see you there!

Speaking of Hoffman Fabrics, the new Fall 2024 catalogs have just come out. Check out the Project Book, filled with loads of inspiration and Villa Rosa Design Rose Card patterns featuring the latest Hoffman collections. Truly, a feast for the eyes. Ask at your favorite quilt shop or online retailer for the patterns, fabrics, or maybe even kits. ENJOY!

What quilt will you make first?

Until next Thursday —

Always,

Tricia @ VRD

Quilting Partners · Rose Cards · Tutorials · villa rosa designs

NEW Villa Rosa Designs Rose Card Patterns for September, New Website Content, and VRD Ebb Tide Quilt Tutorial

Happy Thursday to you!

Welcome to September! Now that fall and back-to-school is in full swing, we all need to turn our thoughts to MORE QUILTING! In order to help you get sewing again, today’s post is brimming over with quilty goodness.

First up is our brand new collection of September Rose Card patterns.

YAY! By now most of you know that I just love the Thursday after the first Friday of the month because that’s New Pattern Day here on the blog. So, here they are — Candies, Icing, Elsie May, Delphinium, and Jolie.

Every month the VRD designers never fail to create a new collection of wonderful quilt patterns. I am sew blessed to be part of this VRD family. Just looking at the new patterns every month, I get inspired and can’t wait to spend some quality time with my sewing machine.

You can get all 5 patterns HERE.

But wait……..there’s more! Here is my new September table runner, Carousel.

Get Carousel HERE

I’m not sure if you can really see the background fountain in the cover photo, above, but I took this photo at Diamond Park, a lovely tree-lined park in the heart of my hometown. The land for the Park was gifted to the city in 1795 (Meadville was founded in 1788) by the city founder, David Mead. This gorgeous fountain was then gifted and constructed in the park in 1863 by the Shippen family. It still stands and functions today, after being renovated a couple times through the years.

Image from Meadville Calendar,
https://www.facebook.com/MeadvilleClub

Here’s a photo of the fountain with the park in the background. I didn’t even think to take any photos of the fountain itself when I was taking photos of Carousel. Silly me! Sorry for that. It truly is a beautiful fountain — and well over 150 years old.

As much as I’d like to keep talking history (another of my favorite things), we’d better keep moving or we’re never going to get to today’s tutorial. LOL!

Just this week, a new feature was added to the VRD website — a printable list of all the FAT QUARTER patterns in our VRD Rose Card catalog!

People and fabric companies have been asking for such a list for a while now. The fat quarter patterns on the list are thoughtfully organized by the number of fat quarters needed for each pattern — how ingenius! This awesome list will be updated monthly to include all new fat quarter patterns going forward, so the list will always be current and up-to-date. WOW!

You can find the printable list at the bottom of the website under Patterns (see the screenshot below). In fact, there is LOTS of stuff at the bottom of the website. If you’ve never scrolled down that far, you should. You might just be missing something good down there, like a directory of the tutorials on the blog, for example. Or maybe something important like Corrections.

Here’s a screenshot of the bottom of the VRD website, showing the things
you will find down there.

You can find the printable Fat Quarter Quilt List HERE.

Now on to our tutorial!

Keeping with our recent Fall fabric theme, I have another great VRD quilt tutorial for you today. You will want to add Ebb Tide to your collection of VRD Rose Cards if you don’t have it yet. So far, it’s the fastest and easiest VRD pattern I have made. It also looks great in any fabric, and can even handle large prints with ease. Ebb Tide will definitely become one of your go-to Rose Card patterns, if it hasn’t already.

Get Ebb Tide HERE

Today I’m working with Hoffman batiks again — more yummy luscious fall fabrics. Aren’t they beautiful??? This collection is appropriately called Shades of Autumn. Ask for it at your favorite quilt shop or retailer.

I want to point out a couple things about the fabrics I am using for Ebb Tide. It takes 6 fabrics plus a background. I chose 3 light fabrics and 3 dark fabrics. I liked the idea of a color-balanced quilt. Some other options might be to choose 6 medium or dark fabrics with a light background or 6 light fabrics with a medium or dark background. The fun thing about this quilt is that it really does go together lightening-fast and you’ll probably want to make more than, which will then give you more opportunities to play with different fabric options.

Let’s make Ebb Tide!

1. After you’ve gathered up your fabrics, it’s time to cut your pieces out. This doesn’t take very long, but keep in mind the pieces you cut out of the fat quarters will be large and you might need a bigger ruler. I used my 8 1/2″ x 24″ ruler to cut the rectangles out. This really helped to keep my cutting more accurate as I didn’t need to joggle multiple rulers around to get the wider strips. I also layered and cut three fabrics at a time, but don’t feel you have to layer your fabrics for cutting if you’re not comfortable doing that. Cutting one layer at time works just as well.

Don’t have an 8 1/2″ x 24″ ruler? You can find it HERE. You can find the my absolute favorite rotary cutter, the Olfa ergonomic cutter, HERE.

2. Now that my fat quarters are cut out, it’s time to cut the background pieces. For this part, I switched to a 2 1/2″ x 18″ ruler, which makes cutting my 2 1/2″ strips and rectangles a breeze. Don’t have a 2 1/2″ ruler? You can find it HERE.

3. I’m going to use my new handy-dandy design wall to lay the quilt out so I can arrange the fabrics before I sew everything together. The beauty of Ebb Tide is that because you aren’t piecing the quilt blocks, you can get right to laying out and arranging the entire quilt. Sew simple!

PSST! In case you didn’t know — my fancy-smancy design wall is actually a flannel-backed large rectangular table cloth clipped to the top of my fabric storage cubes doors with large binder clips. Here’s a great traditional plaid flannel backed table cloth that comes in multiple colors and sizes. What a HUGE improvement this has been for putting quilts together — so much easier than laying blocks out on the floor or on a bed to shuffle things around.

Here is my final layout for the Ebb Tide, not including the horizontal background strips in between each block row. What do you think of this layout? I really like how your eye travels down the quilt, following the light fabrics path, kind of like stepping stones.

4. Now that I’m happy with my layout, it’s time to sew the horizontal rows together. I just gathered one row at a time and took it right to my sewing machine (which is close to my flannel design wall). I sewed the large rectangles and the sashing strips together one row at a time, then I put the rows back on the flannel wall, so I didn’t get things mixed up as I worked.

5. Now I’m ready to sew the long sashing strips in between the pieced rows. One last look to make sure I have the rows in the right order, and back to the sewing machine. I sewed the rows and sashing strips into sections and then sewed the sections together, that way I didn’t have to struggle with the growing quilt top with each row I added.

6. One more step and Ebb Tide will be done (or at least the quilt top will be done). Did you know that a quilt top is called a flimsy in quilt lingo? Isn’t that fun??? Sorry, I’m easily distracted — did someone say squirrel??? Tehehehe……..

Now that the quilt center is finished, let’s sew the top and bottom borders on. But before we do that, I need to cut my border strips to the right size. I like to lay my border strips across the center of the quilt, trimming the strips to the width of the quilt center. I use the center because the edges can sometimes stretch out. By cutting my strips to the center width, I can bring those stretchy edges back to square. I know this sounds weird, but trust me, it works.

Next I pin my borders to the quilt top. I start by matching the center of the border to the center of the side I’m sewing the border to ( I fold them in half to find the centers, making a crease at the true center). Then I match and pin the outside edges. After the edges, I straighten and smooth the quilt and border, adding more pins between the center and outside edges to keep everything in place while I sew. Finally, it’s time to sew them together, knowing that my borders will be flat and not waving all over the place.

7. The side borders are the last thing to sew to the quilt. They will need to be pieced so the border strips are long enough. For this quilt, I used a straight seam to sew the strips together, but sometimes I use a diagonal seam (I do this when fabrics are busy in order to hide my seam a little better).

Yay! Ebb Tide is done. Eventually, I will back it with cozy fleece, machine quilt, bind, and label it. Hopefully sometime in the next 100 years. Ha!

By the way, I wanted to let you know that it took me about 2 hours to make the Ebb Tide flimsy — that included cutting the fabrics, laying it out, and doing the photography for this tutorial. I wonder how long will it take you to make it?

Here’s a “beauty” shot of my Ebb Tide flimsy — I really wanted to get a pretty picture with my Black-Eyed Susans. Sadly, the breeze wouldn’t cooperate with me, so the bottom of the flimsy kept blowing under the porch. Oh well…….

Thanks for sticking with me through the entire blog post, I know it was a long one, but I hope you enjoyed all of the quilty inspiration.

Take care and get quilting!

Until next week —

Always,

Tricia

Rose Cards · Tutorials · villa rosa designs

VRD Alassio Quilt Tutorial

Happy Thursday to you!

Yep, I am still in my fall quilt-making zone. Which is not a big surprise really because for the last couple weeks, here in NW PA, we’ve been having very fall-like weather. Today is quite cool with a high temperature only in the 60s and it feels really really chilly. Usually, August is in the 80s and even 90s occasionally. You know the “dog days” of summer? So the 60s is kind of a shock to the system. Our nights have even dipped down into the 40s a couple times. Just chalk it up to the ever-changing world of weird weather, I guess.

So in honor of our early autumn weather in August, I am going to show you how to make anther great Villa Rosa Designs Rose Card pattern, Alassio. Do you really have to use a fall-themed fabric collection like I am doing? Nope, not at all. This pattern will work beautifully with any fabric collection!

Get Alassio HERE

I made my Alassio quilt sample with the Hoffman All Things Spice batik collection and coordinating 1895 Watercolors batiks. Isn’t it sew yummy? I just want to crawl into those fabrics with a good book, a cup of cider, and a donut………

On that note, let’s make Alassio together!

  1. First, we need to cut out our background squares.

2. Next up is cutting the pieces for our framed blocks from our fat quarters. I like to stack my fabrics and cut 3 or 4 at a time. Do likewise if you want, but it’s perfectly fine to cut them one at a time, too.

3. Moving right along, let’s mix and match our fabrics so each square will have a different fabric frame around it. And after that’s done, we’ll sew matching shorter strips to opposite sides of the squares.

4. Now we need to press our blocks so far before we add the long strips on the other sides of the center squares. I don’t normally do a lot of pressing when I’m making blocks but I do think pressing these blocks as you go results in crisper seams and better blocks.

5. Okay, now we’re ready to sew the long strips on the opposite sides of the center squares. Make sure the long strips match the strips you’ve already sewn onto the squares.

The again, who says your strips have to match — just sayin’…….

6. Head over to your iron again and press those blocks one more time — now our blocks done. That was fast, wasn’t it?

7. I just clipped my flannel-backed tablecloth up on my fabric storage cubes, which is my new design wall. I have to hang it sideways because it’s too long to hang up and down. And because this quilt is so big, I’m going to need to lay it out sideways, too. Fingers crossed that the tablecloth is long enough (or wide enough because it’s hung sideways) to lay out all the blocks.

How do you lay out your blocks before sewing them together? When I first started quilting, I used to lay my blocks out a cement floor. Yikes! Then for a really long time, I laid them out on a queen sized bed, which accommodated most of the quilts I made and saved some stress on my knees and my back. Now I have my very own portable design wall, otherwise known as a flannel-backed tablecloth. And it works great!

So, while we’re laying out the blocks according to the quilt diagram on the back of the pattern, go ahead and move the blocks around so fabrics and colors are well-distributed throughout the entire quilt.

Then once we’re satisfied with our layouts (yay — all the blocks fit on the flannel tablecloth!), it’s time to sew them into rows. Then we will sew the rows together. Quilt top done! Easy piezy!

I am so pleased with how my Alassio top turned out! I can’t wait to get it layered with pretty autumn-themed fleece, machine quilted, bound, and labeled so I can start enjoying it right away!

Alassio finishes faster because it doesn’t have a border, but if you want to make the quilt larger, you could add a border. It would look kind of like this:

This version of Alassio features a 4 1/2″ finished border. With this border, Alassio would finish at 64″ x 82″, which fits a twin bed or makes a nice big comfy throw.

To make Alassio with the border, you need 1 1/4 yds for the border (cut 8 strips that are 5″ x WOF) and a total of 5/8 yard (cut 8 strips that are 21/2″ x WOF) for binding.

Isn’t this a great quilt? Bet you can’t make just one!

I’d love to see your Alassio quilts! You can share them on our Villa Rosa Designs Facebook group page.

Until next week —

Always,

Tricia