Hello Quilty Friends!
Happy Thursday to you!
Are you ready for a FUN and exciting new year of quilty goodness here on the VRD blog? We’re working on all kinds of cool ideas for 2026, including another 6 Quilts in 6 Weeks Challenge, lots of new patterns (as you probably already know we release 5-7 brand new patterns each and every month), and lots of other great stuff. You just need to hang out every Thursday with us to see what’s up.
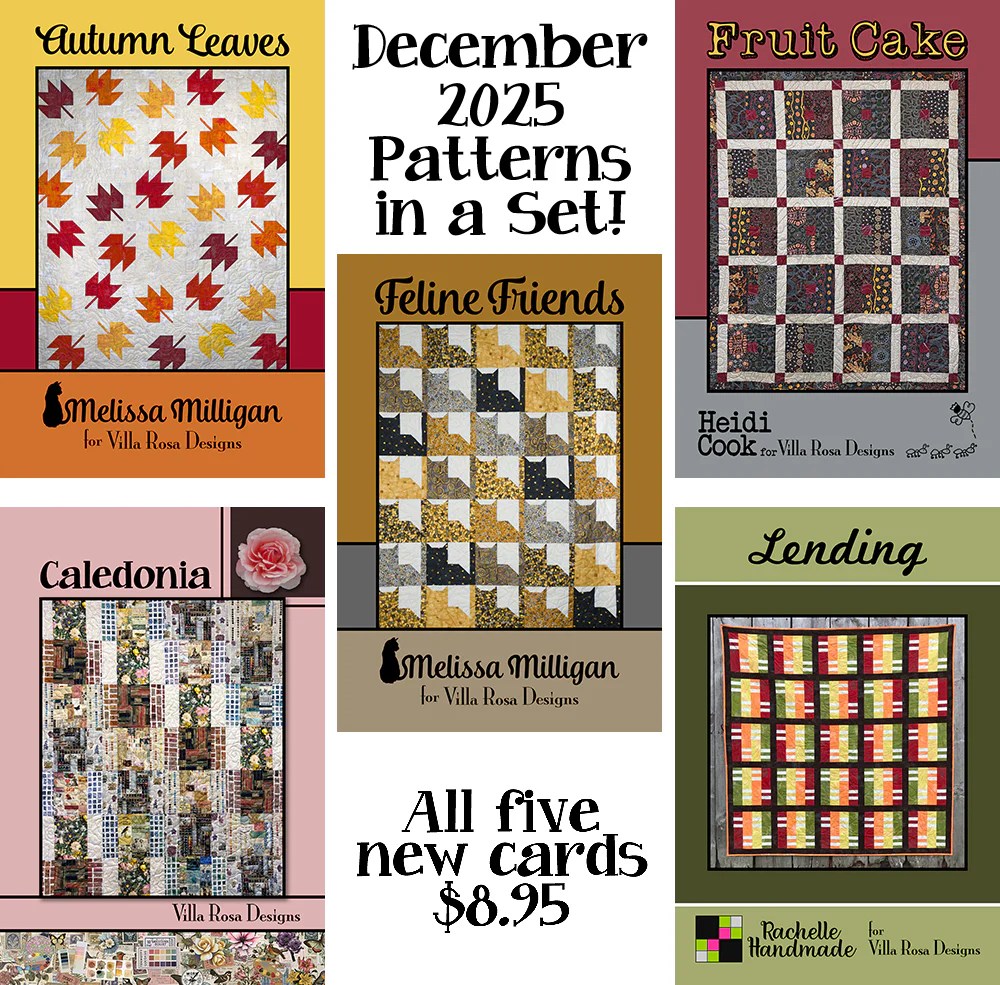
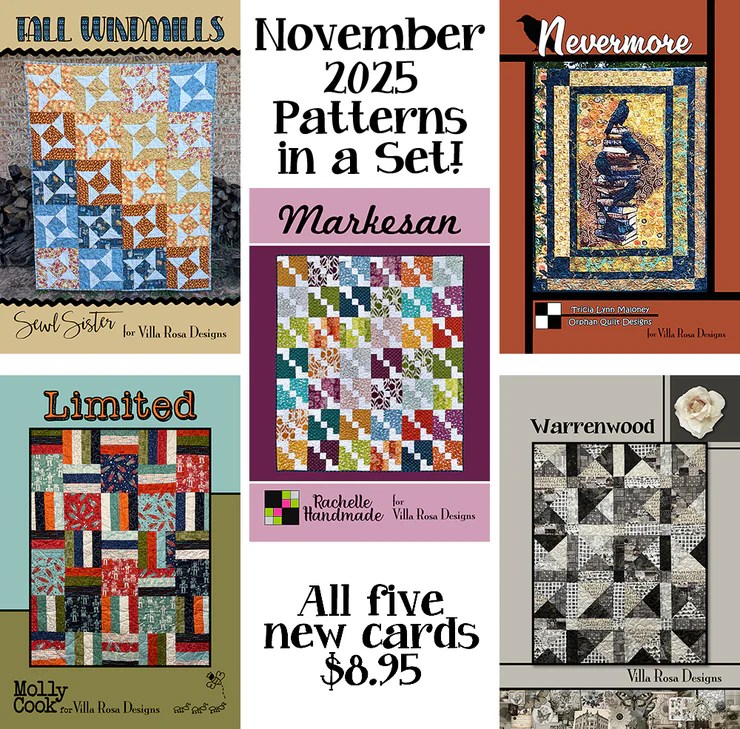
Speaking of new patterns, I’m excited to share with you our brand new January patterns. If you’ve been hanging out with us for a while, then you probably already know that I totally live for the Thursday after the first Friday of every month. If you’re new to the blog, first – WELCOME, we’re SEW glad you’re here – and second, our new monthly patterns are released on the first Friday of each month. Here on the blog, I love to share our new monthly patterns on the Thursday post following Pat’s reveal of the new patterns on the first Friday. Whew! I hope that makes sense.
Cue the confetti and the music! Here they are!
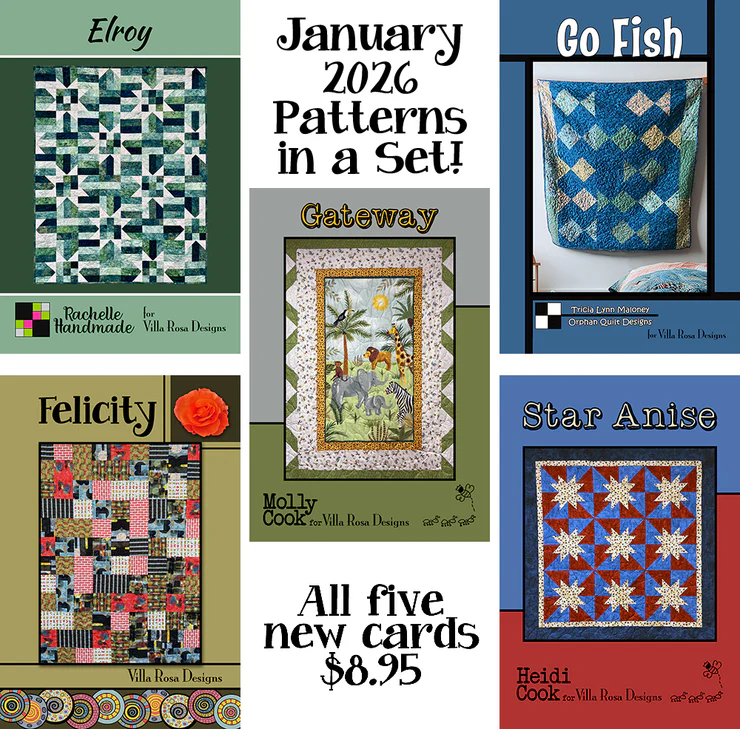
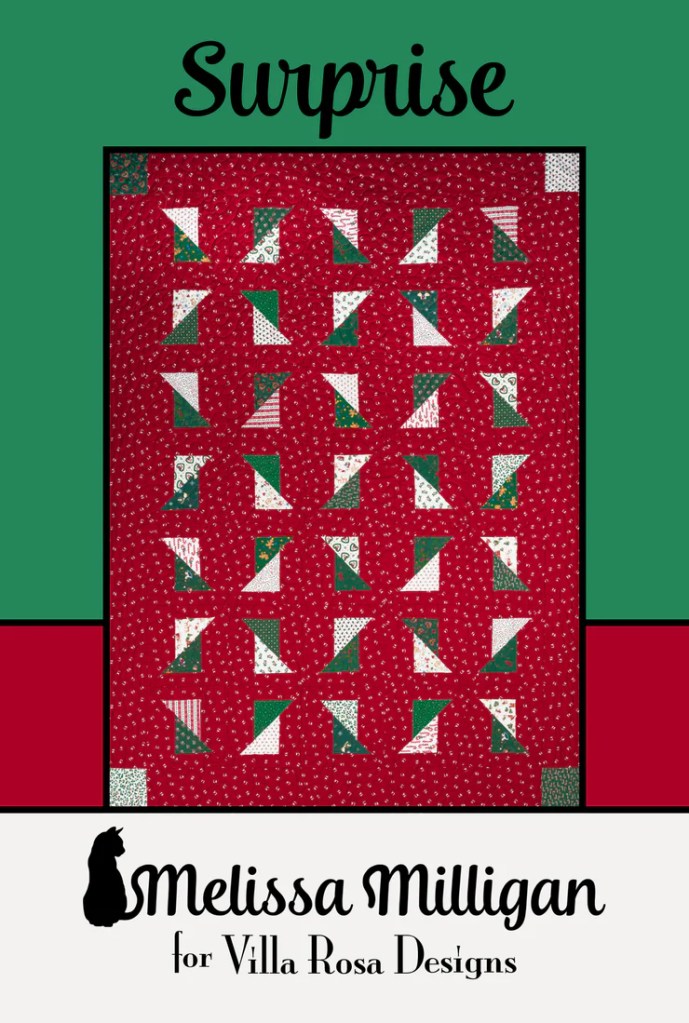
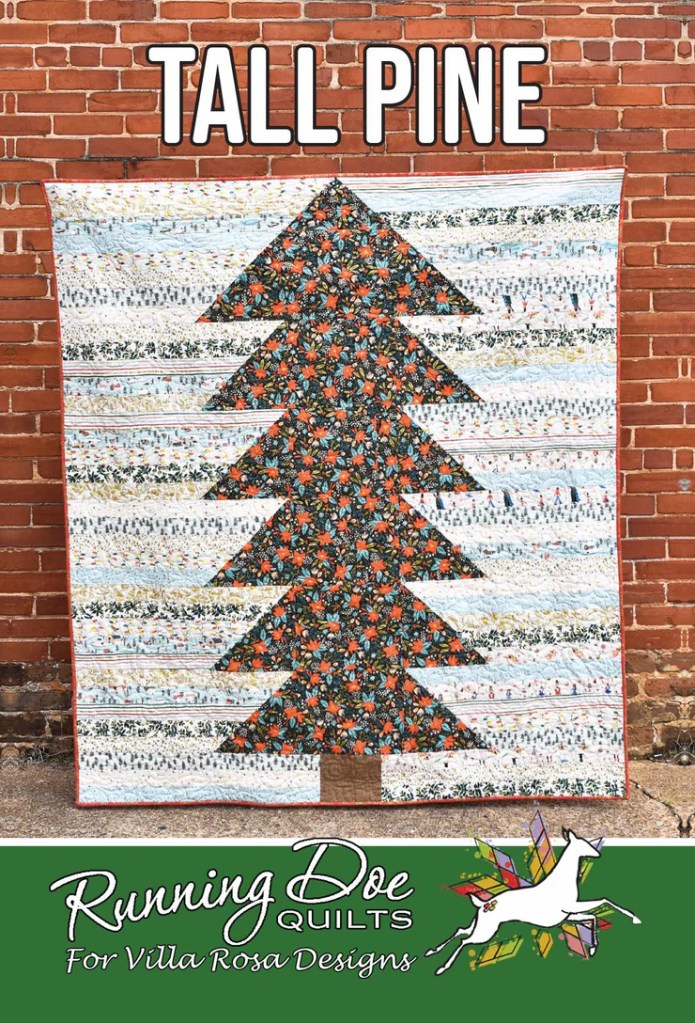
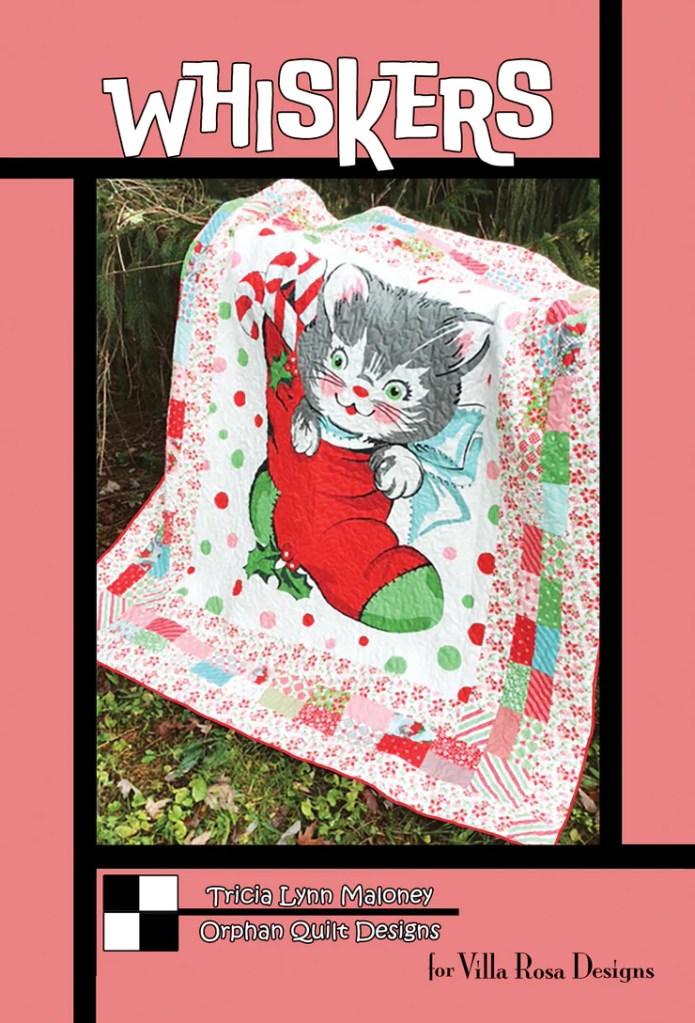
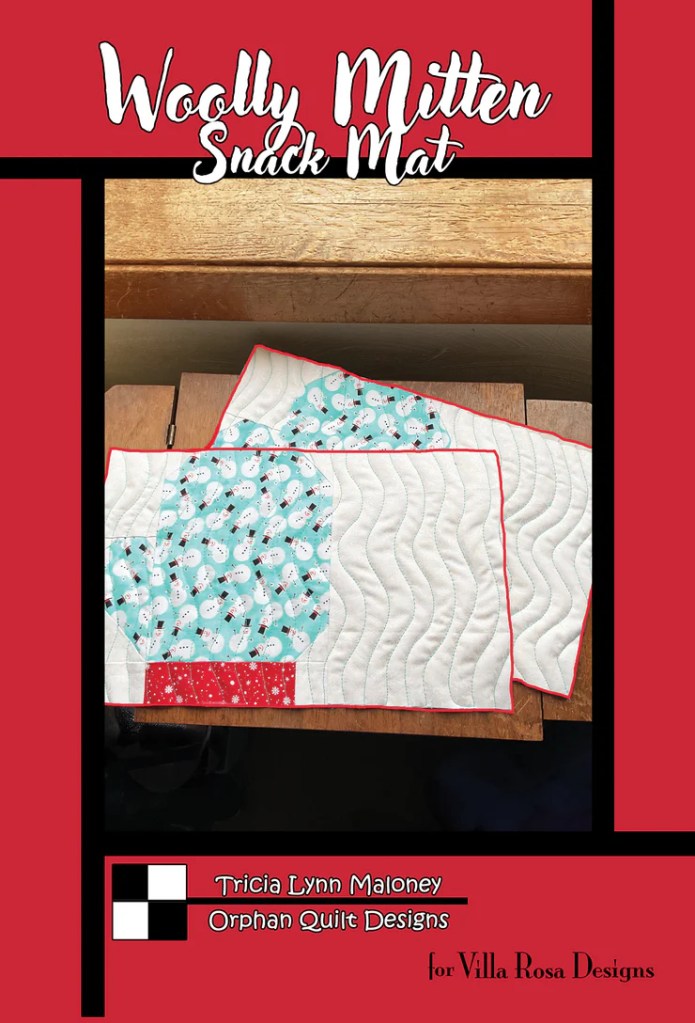
You can get all 5 print patterns HERE
(patterns are also available individually as both digital downloads and printed patterns)
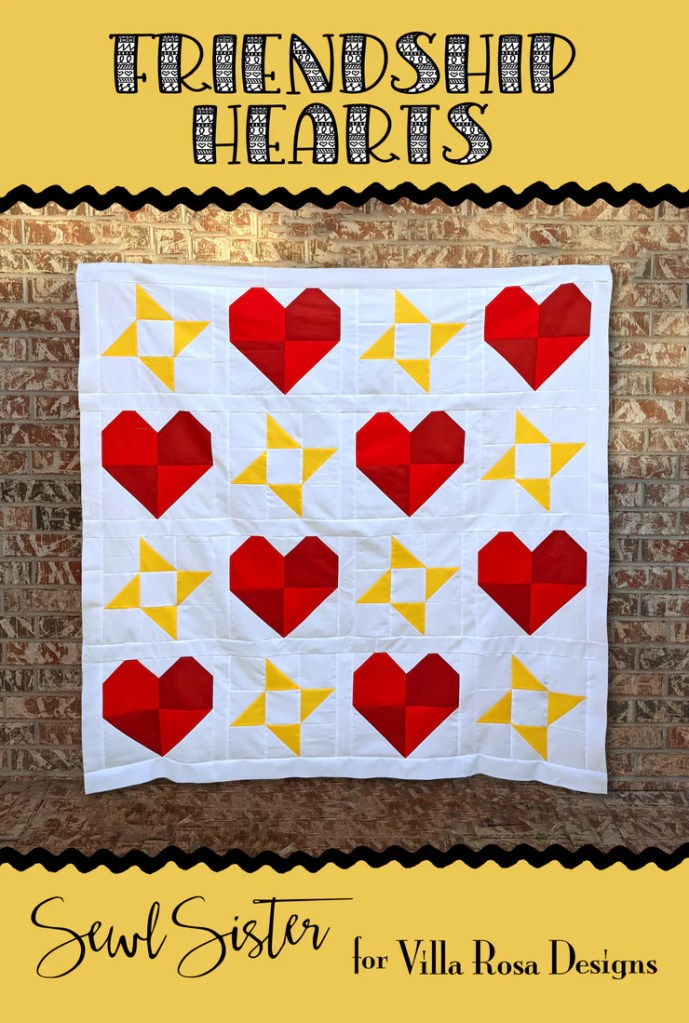
Elroy – Rachelle Handmade is back with this clever star-worthy fat quarter friendly quilt that finishes 48″ x 60″. So grab your favorite FQ collection and this quilt go together in a jiffy.
Felicity – Here’s another super quick fat quarter patterns from Pat. It finishes at 42″ x 54″ and makes a fun throw or kids’ quilt.
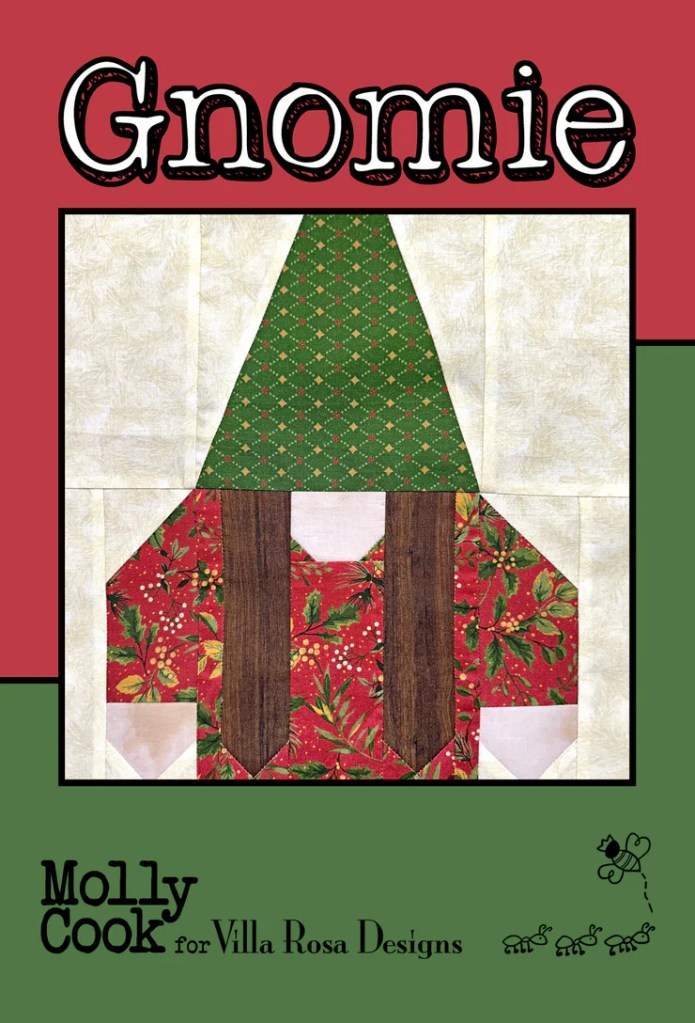
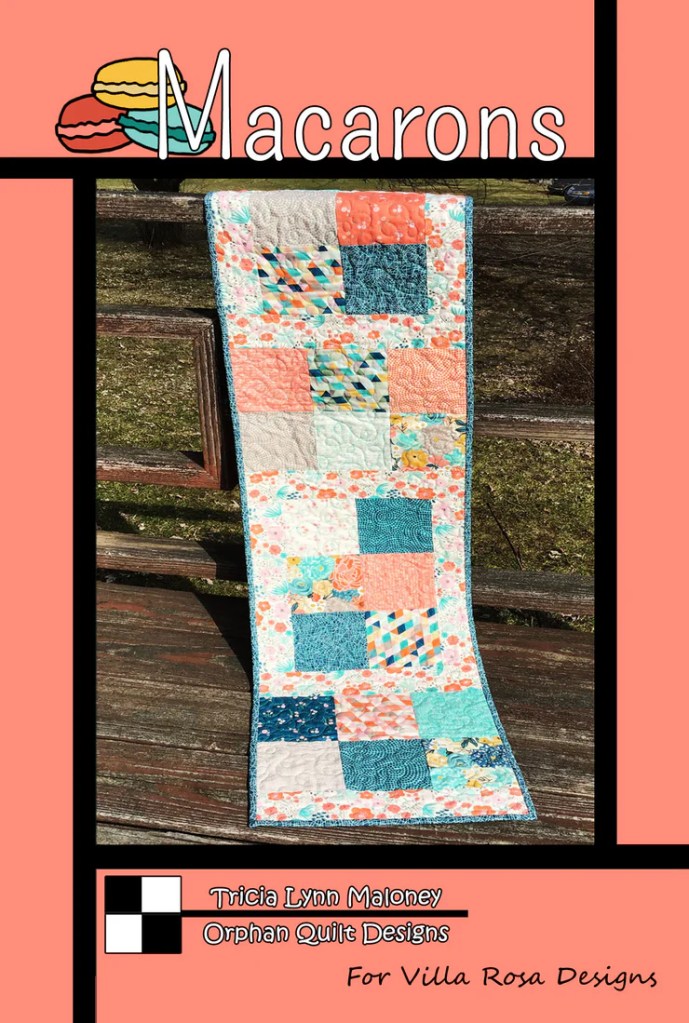
Gateway – This is Molly’s latest panel quilt design. It finishes at 42″ x 62″, which is a nice small throw or even a large wall quilt.
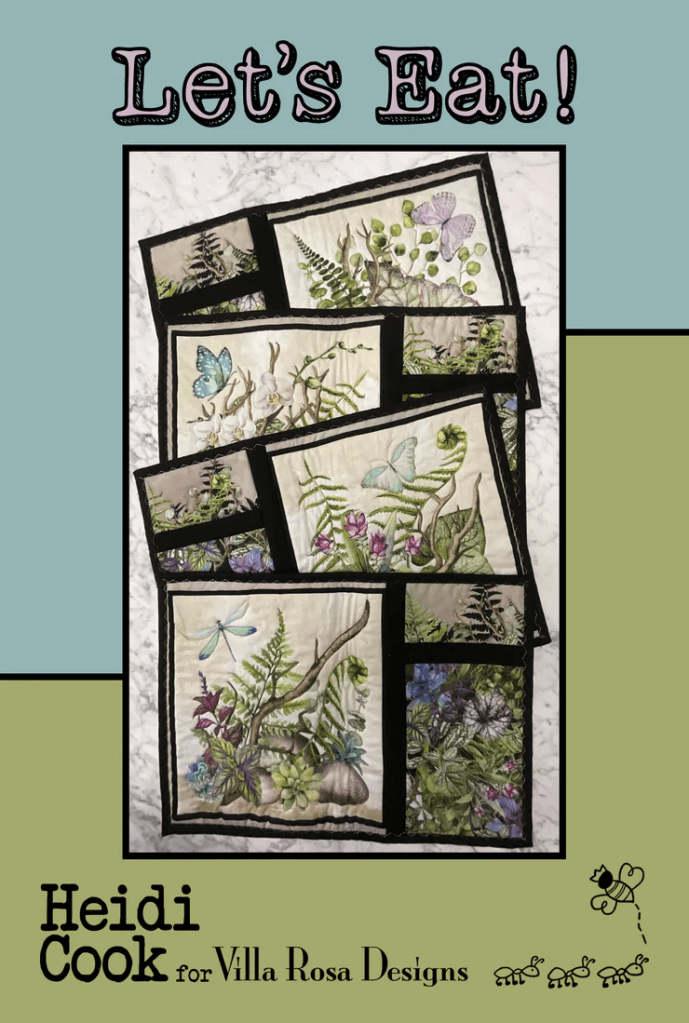
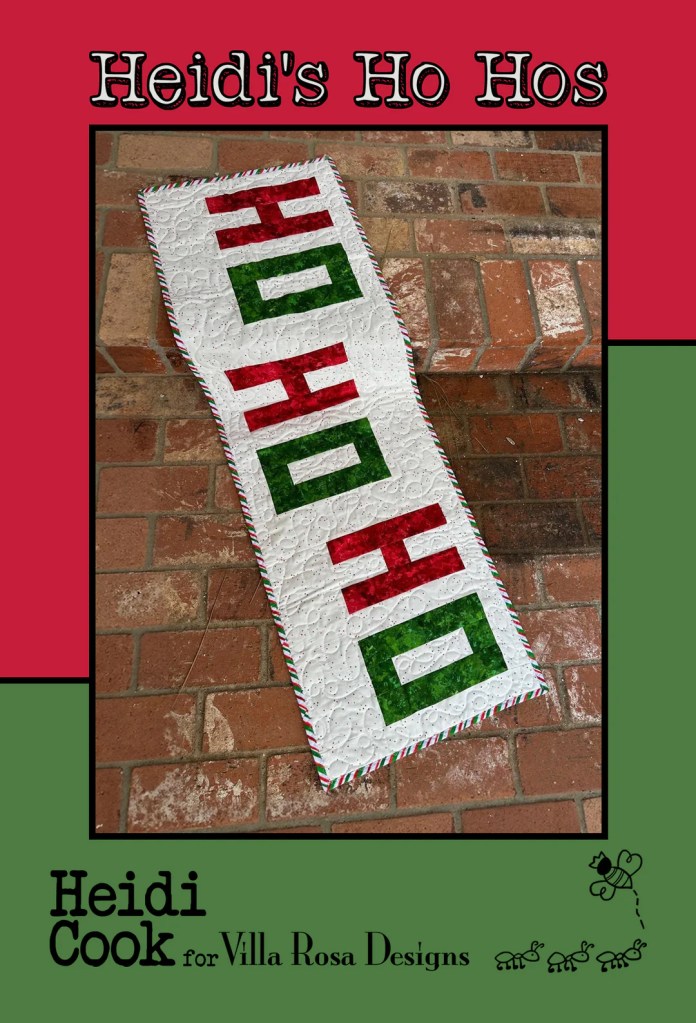
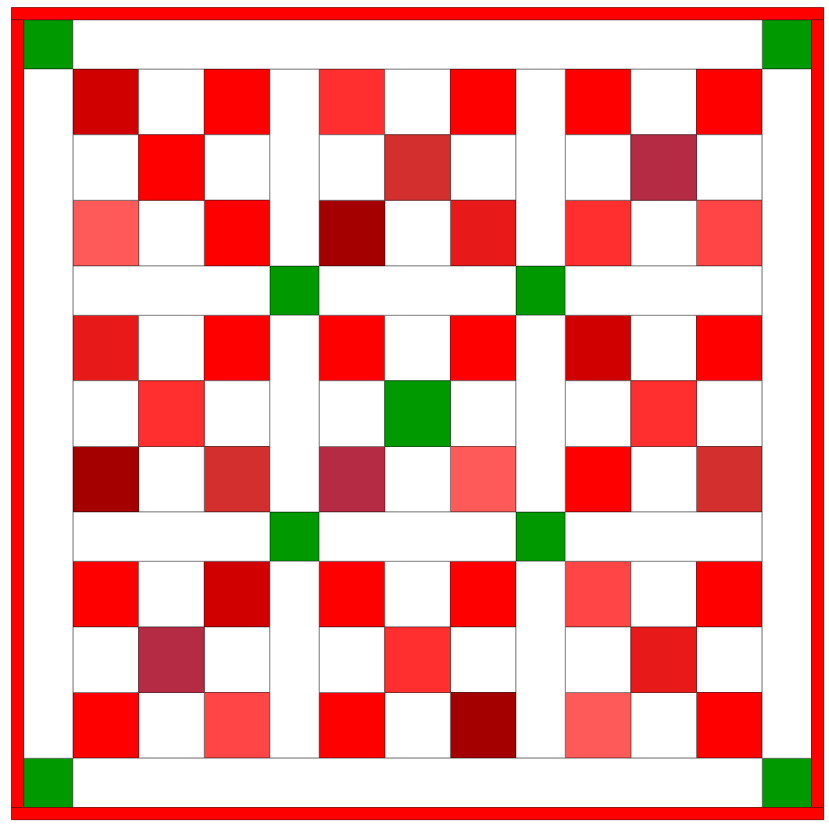
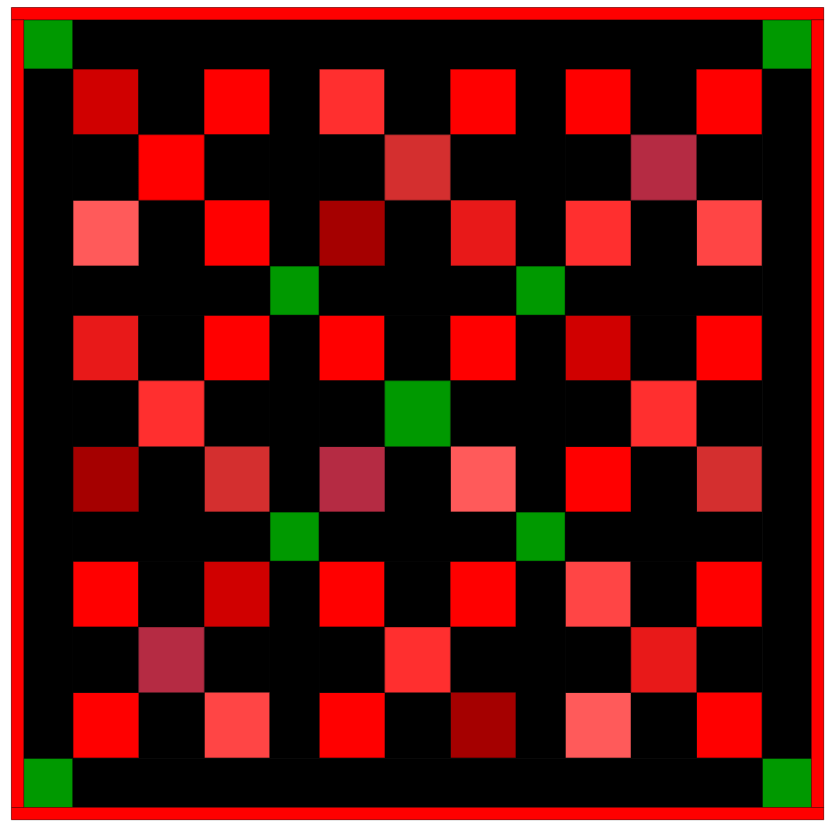
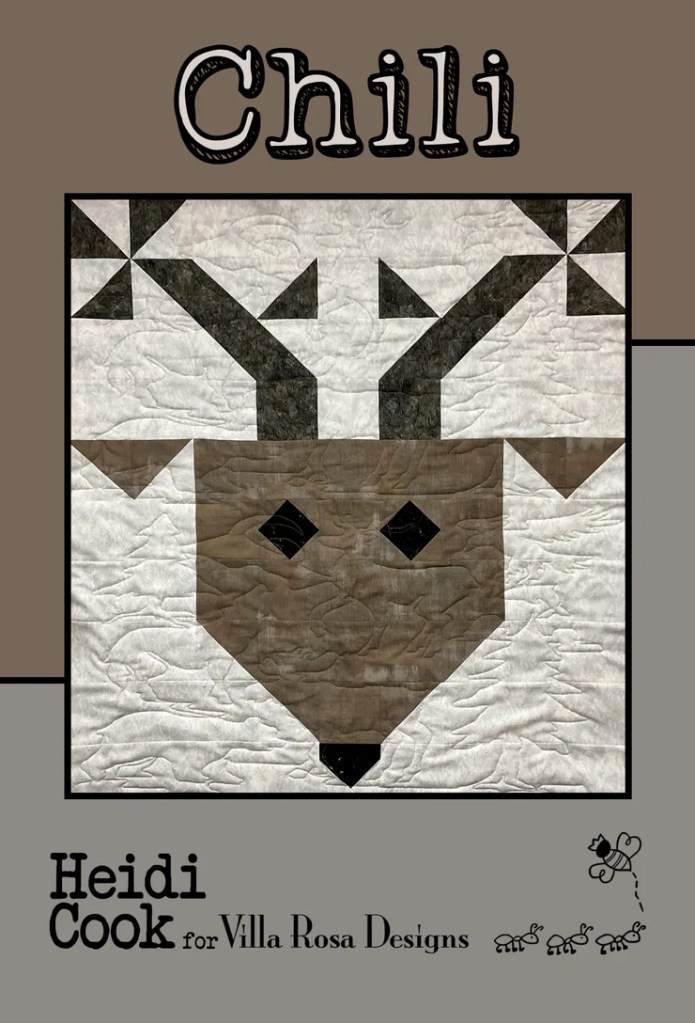
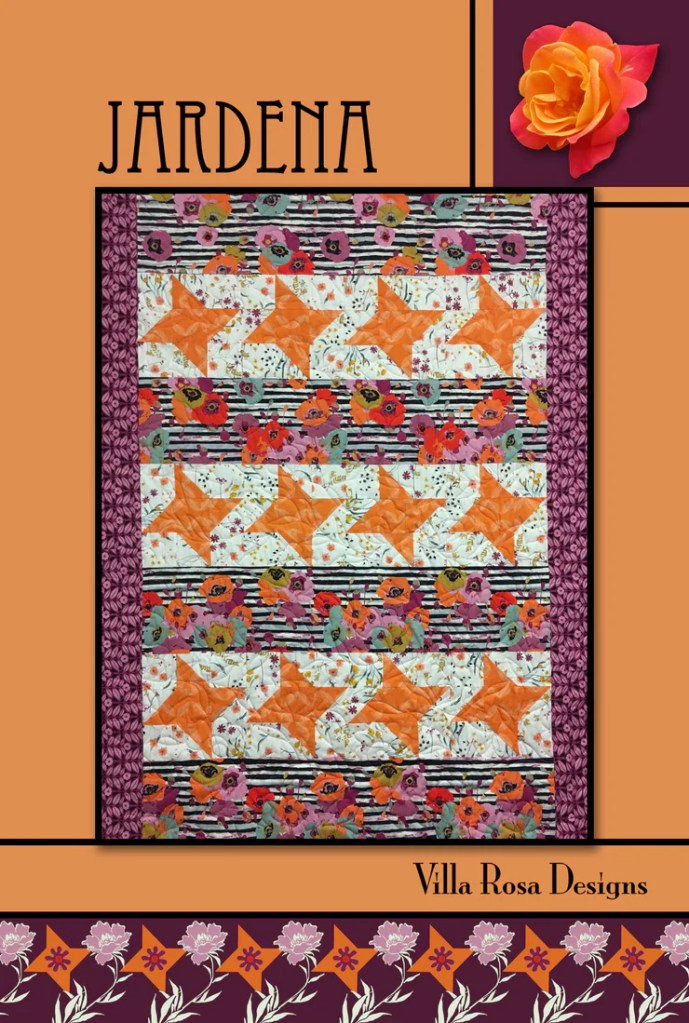
Star Anise – Heidi’s new design this month is a fab graphic star pattern. It finishes at 58″ x 58″ and makes a good-sized throw. You could add another row at the bottom to make this quilt longer if you wanted to and it would be the right size for a Quilts of Valor quilt.
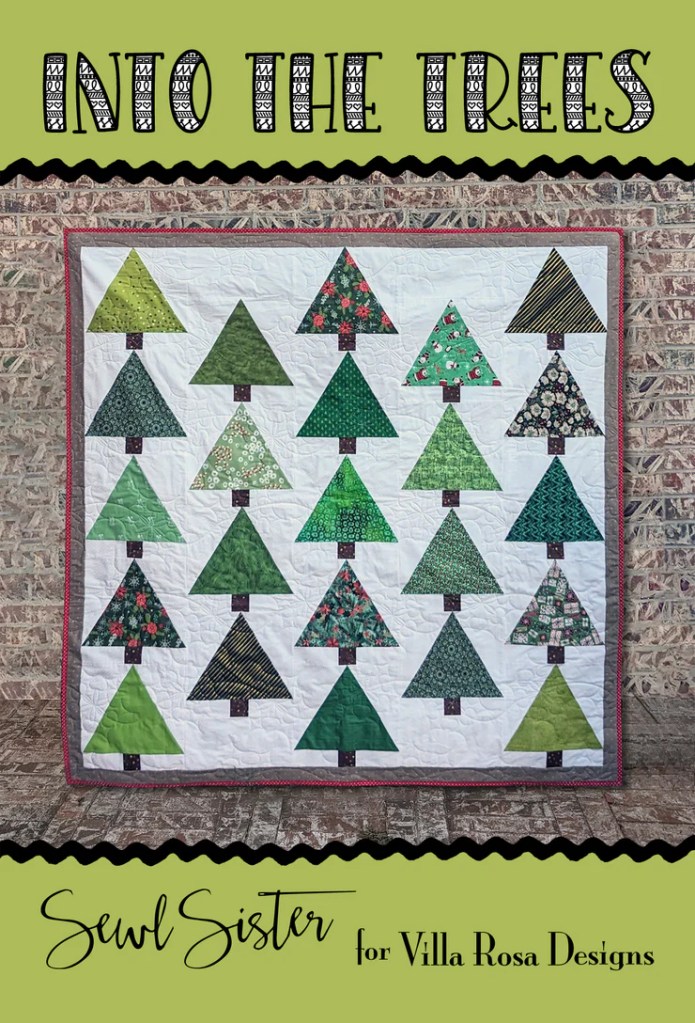
Go Fish – This cutie was created as a child’s quilt for a new baby in my cousin’s family. It finishes at 46″ x 52″ and uses fat quarters.
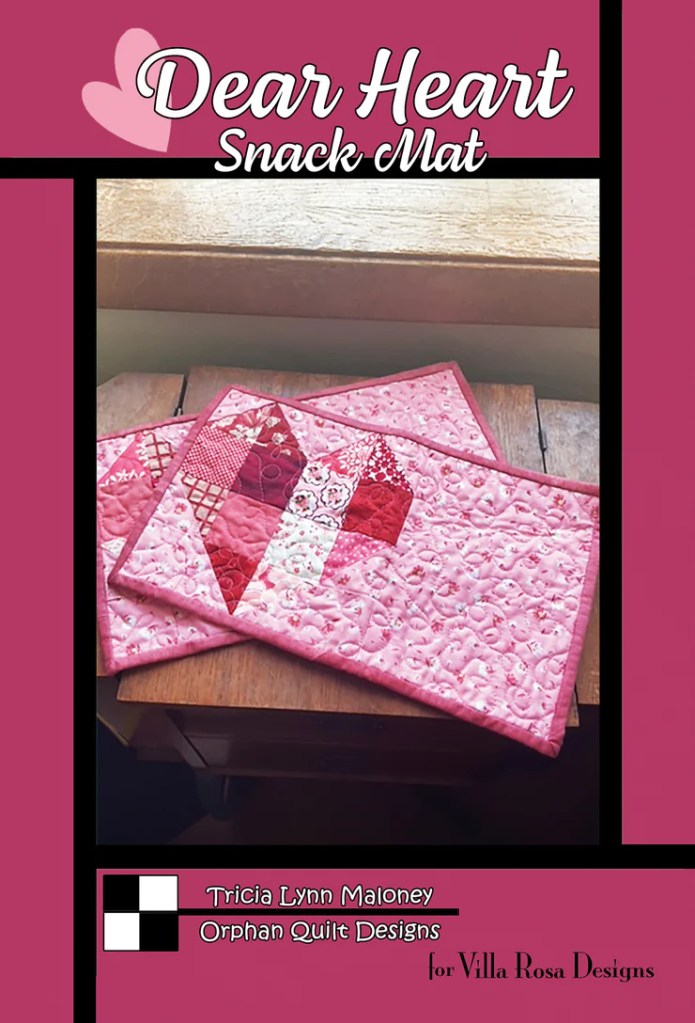
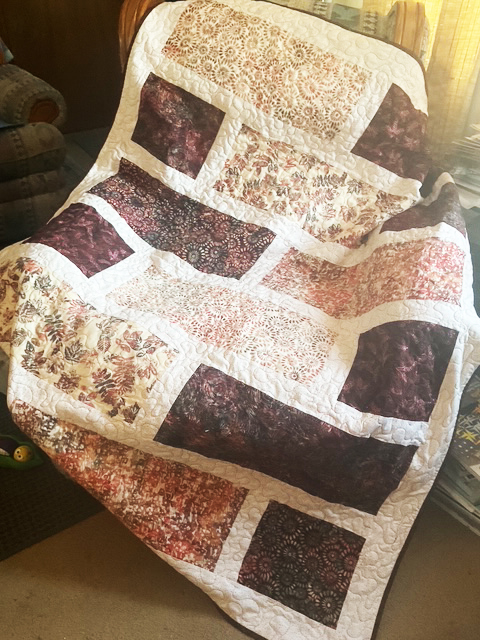
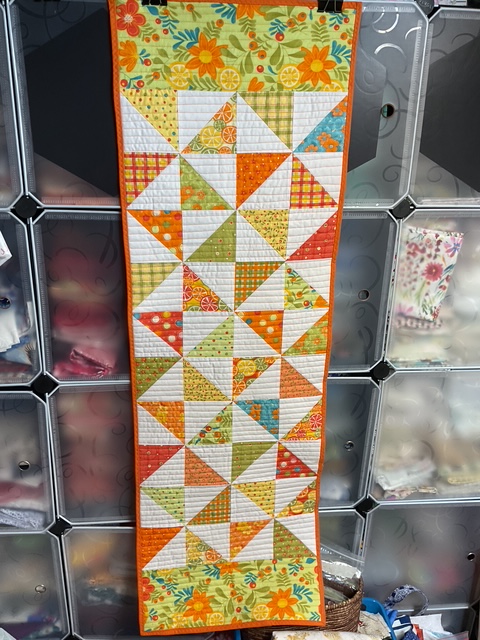
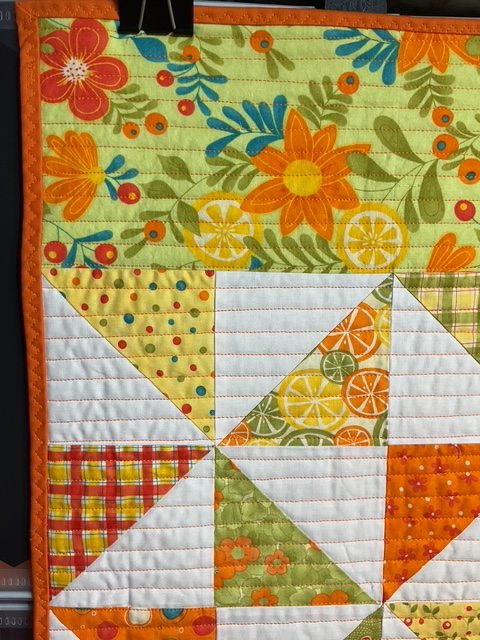
Because of the holidays, I didn’t get a runner finished in time for January, but I have something else for you this month!
New Seasonal Series for 2026
I hope you enjoyed the Seasonal Snack Mat Pattern Series from 2024-25 as much as I did. It was really fun to come up with a new design for each month of the year.
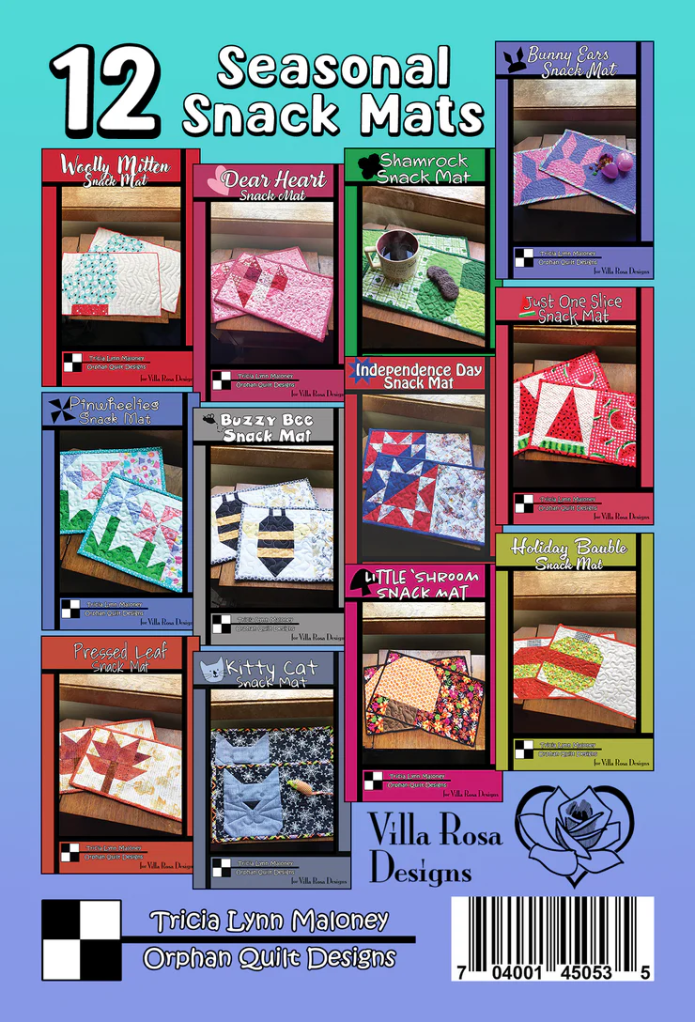
Did you know we have all 12 Snack Mats together in a print collection now? You can find it HERE.
Hey! How about another Seasonal Series for 2026???
Great idea – it just so happens that this month we’re kicking off a new Seasonal Accent Pillow series. The patchwork pillow covers will finish at 18″ square and can be used as small wall or table quilts.
WOOHOO!
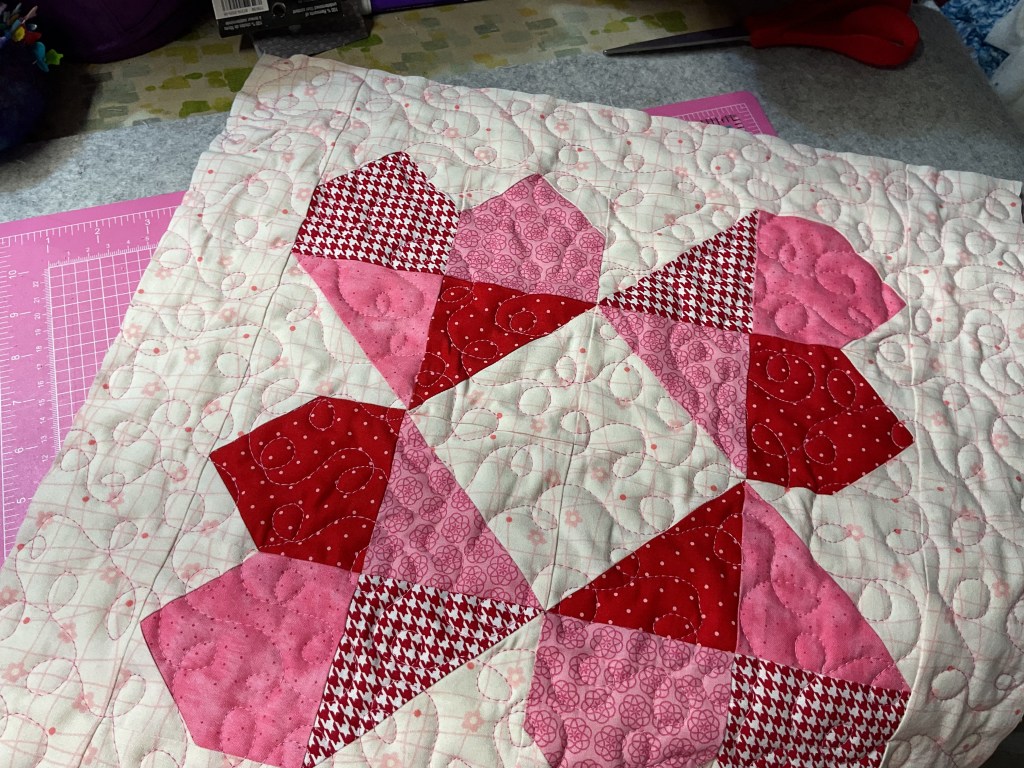
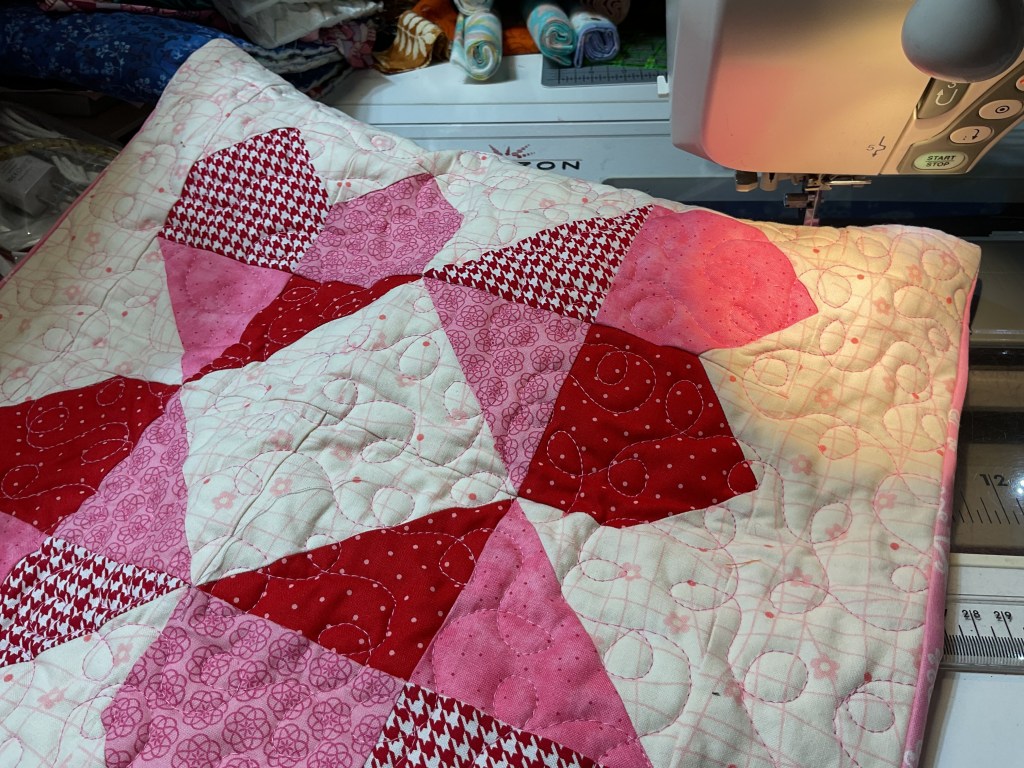
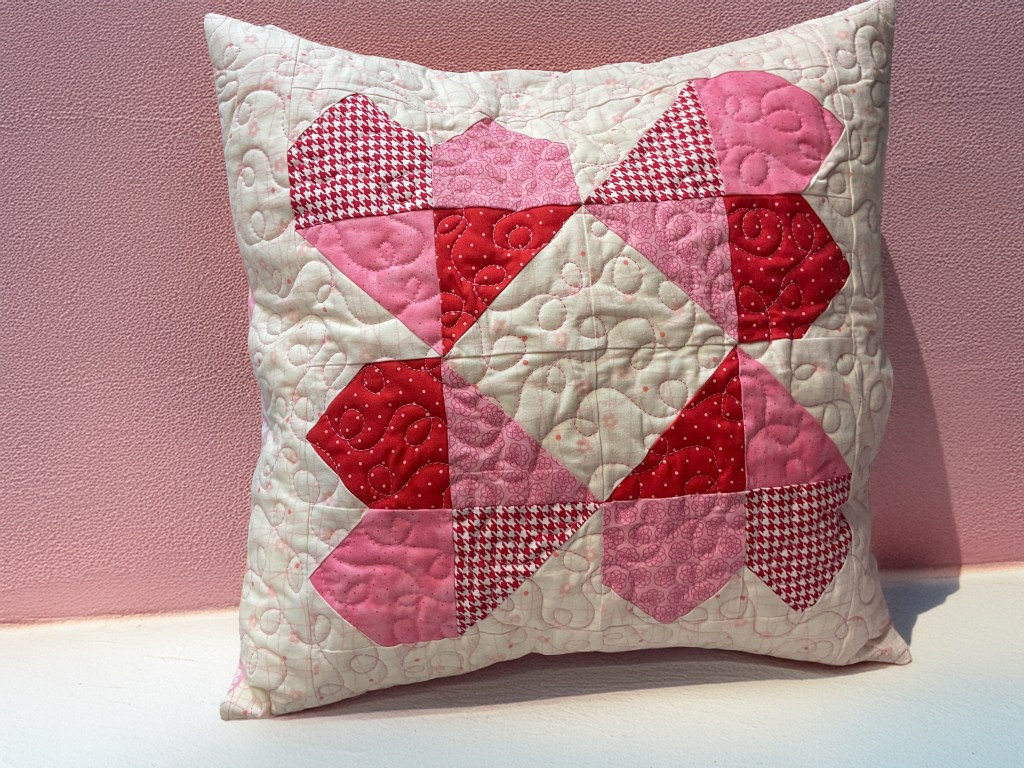
This month’s Pillow is called Happy Hearts.
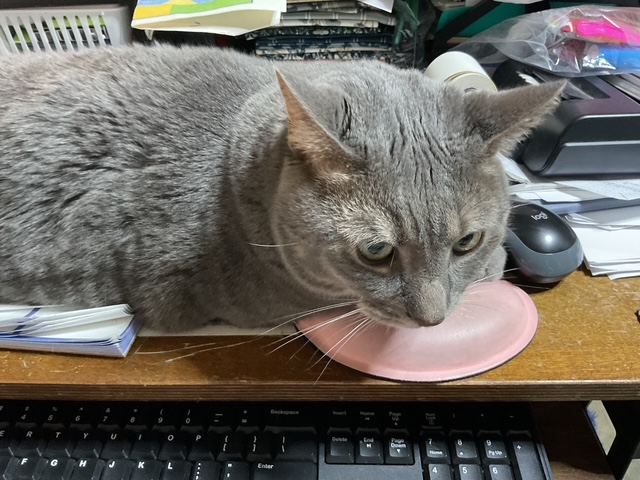
My furbaby, Bailly, decided she wanted to be in the photo with the pillow. To be fair, I did use her favorite chair. LOL! Silly Bailly.
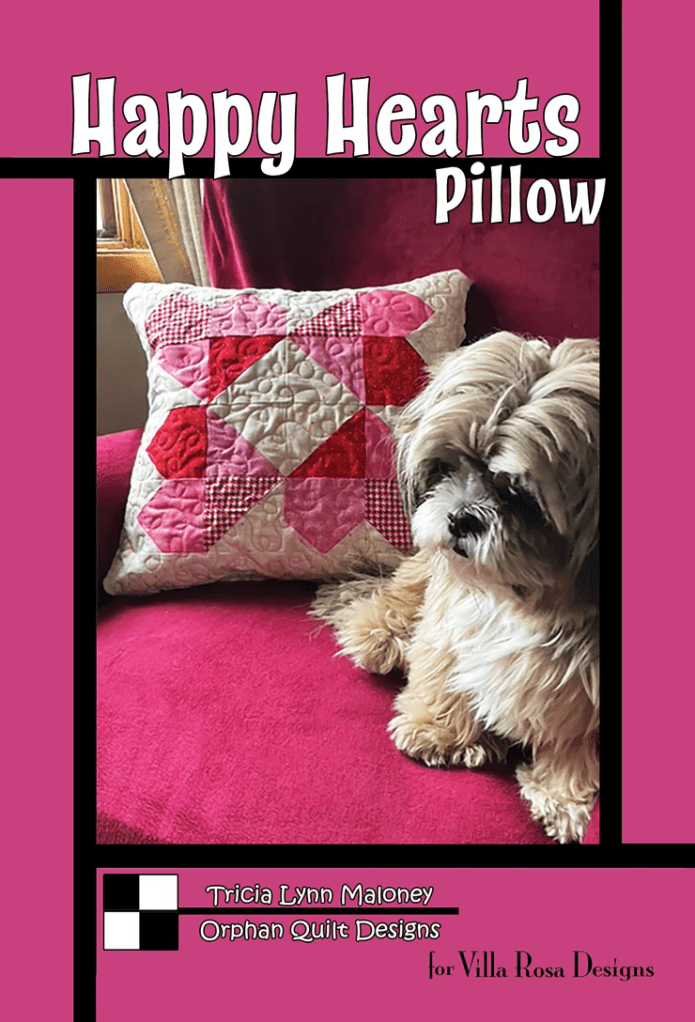
You can find the digital pattern HERE or the print pattern HERE
I hope you are as excited about this new series as I am. By now, you’ve probably noticed that I tend to create a lot of seasonal and holiday patterns. I wonder if that comes from living my entire life here in northwestern Pennsylvania where we can have all 4 seasons in one day. Yeah….maybe.
To jump-start your Year of Seasonal Pillows, I thought it would be a good idea to share with you how I like to finish the backs of my accent pillows. Yep, there are lots of different ways, but my absolute favorite is the Envelope Pillow Back.
Read on for a quick tutorial.
Envelope Pillow Back Tutorial
Have you ever made a throw pillow and wondered how to finish the back? Maybe you added that unfinished pillow top to your stash of UFOs and forgot all about it.
Let me show you my favorite method for finishing a pillow top with no zippers. Yep – you heard me right – no zippers! And that’s a good thing, too, as I am terrible at sewing zippers.
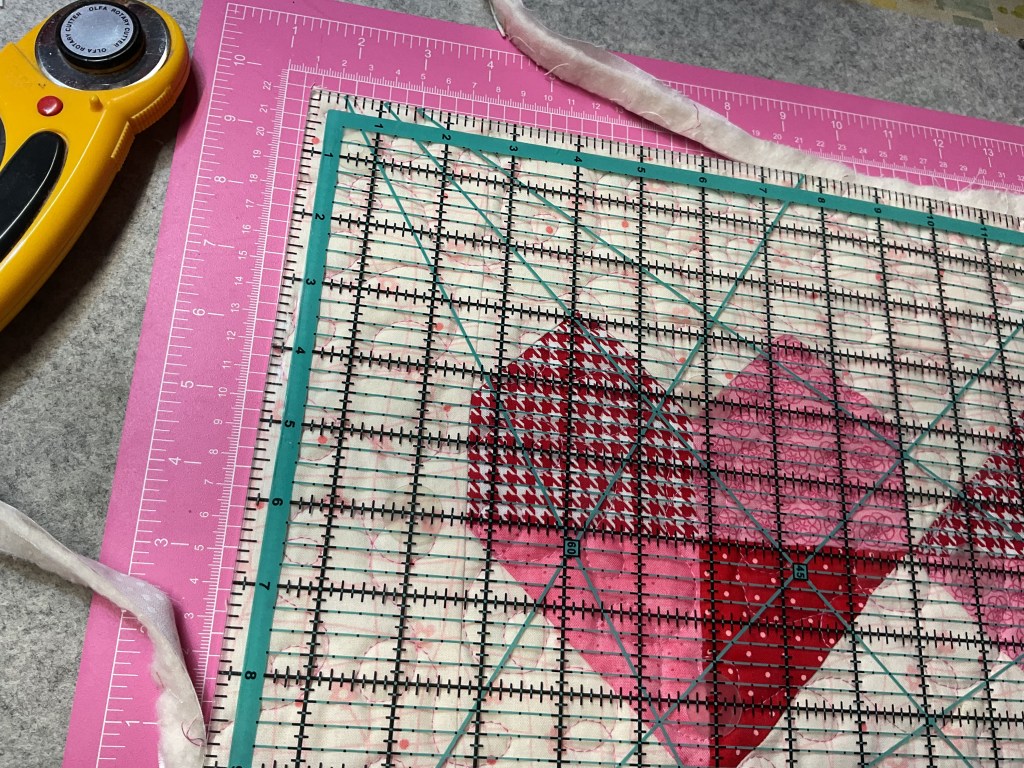
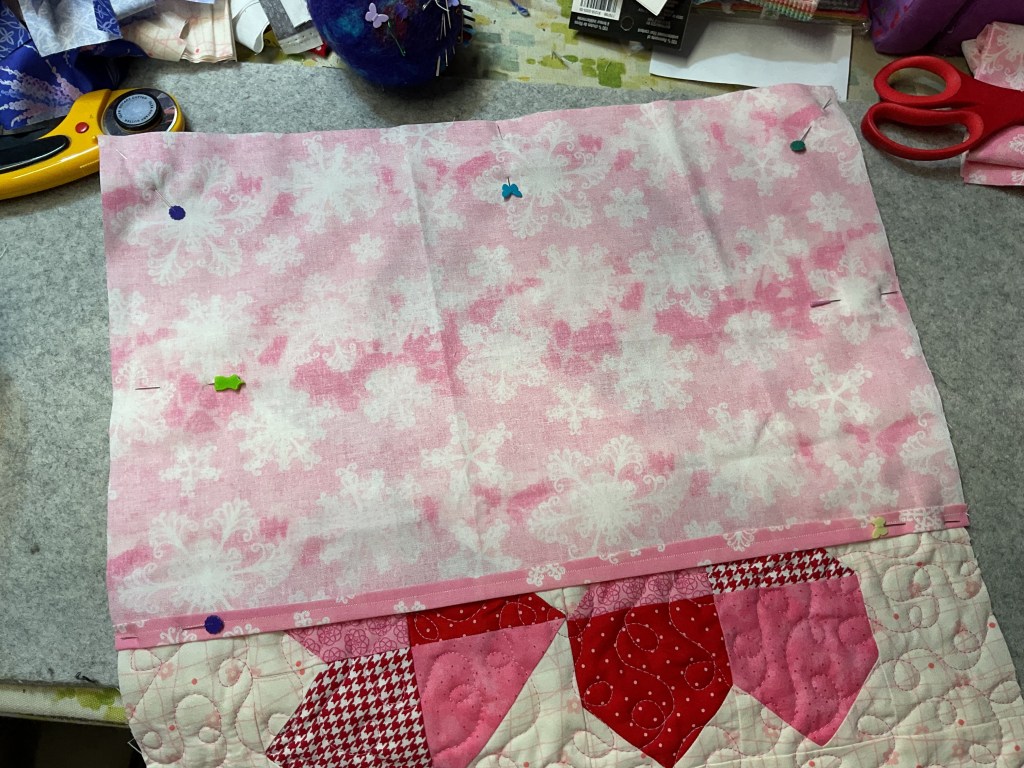
I layered my pillow top with batting and lining fabric and machine quilted it. Then I squared it up to 18 1/2″ x 18 1/2″. Now we’re ready to rock and roll!
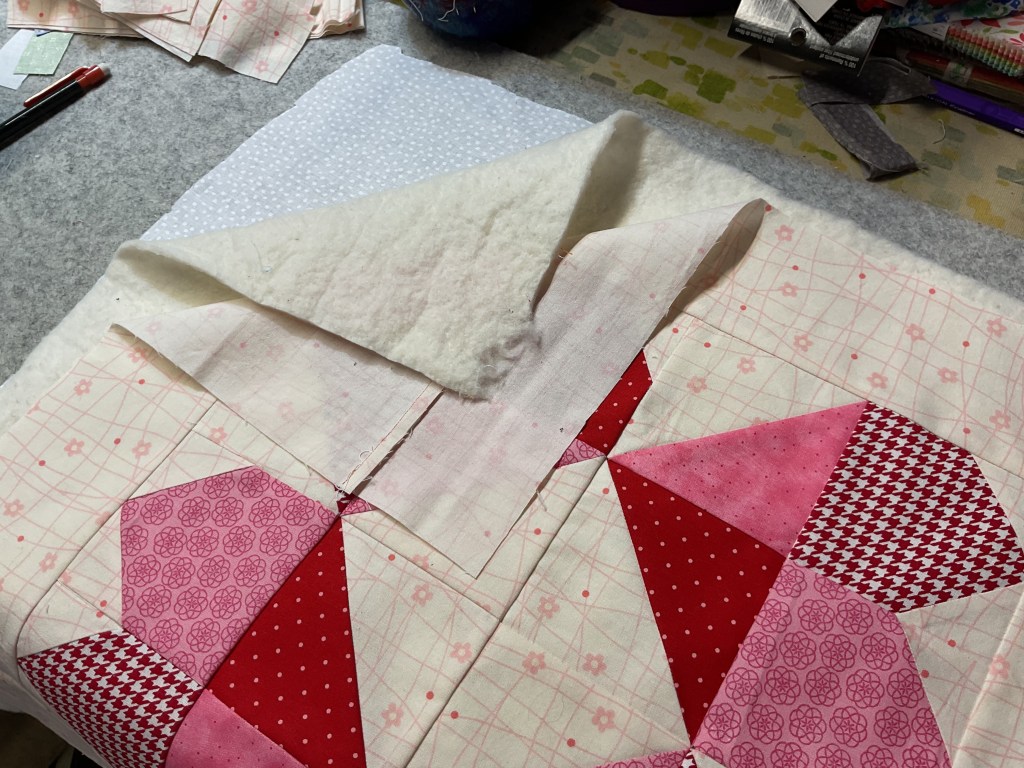
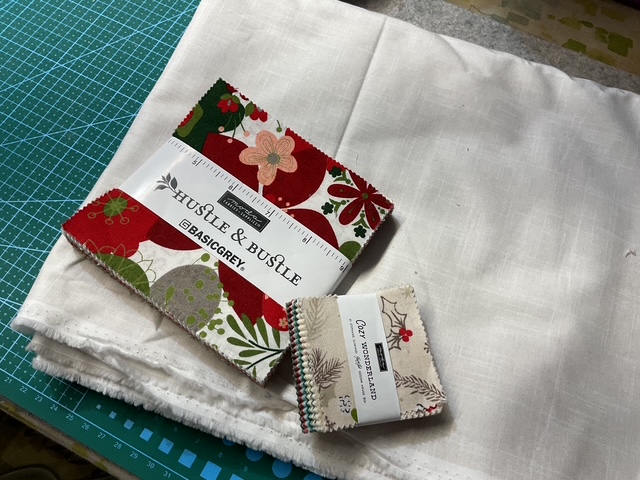
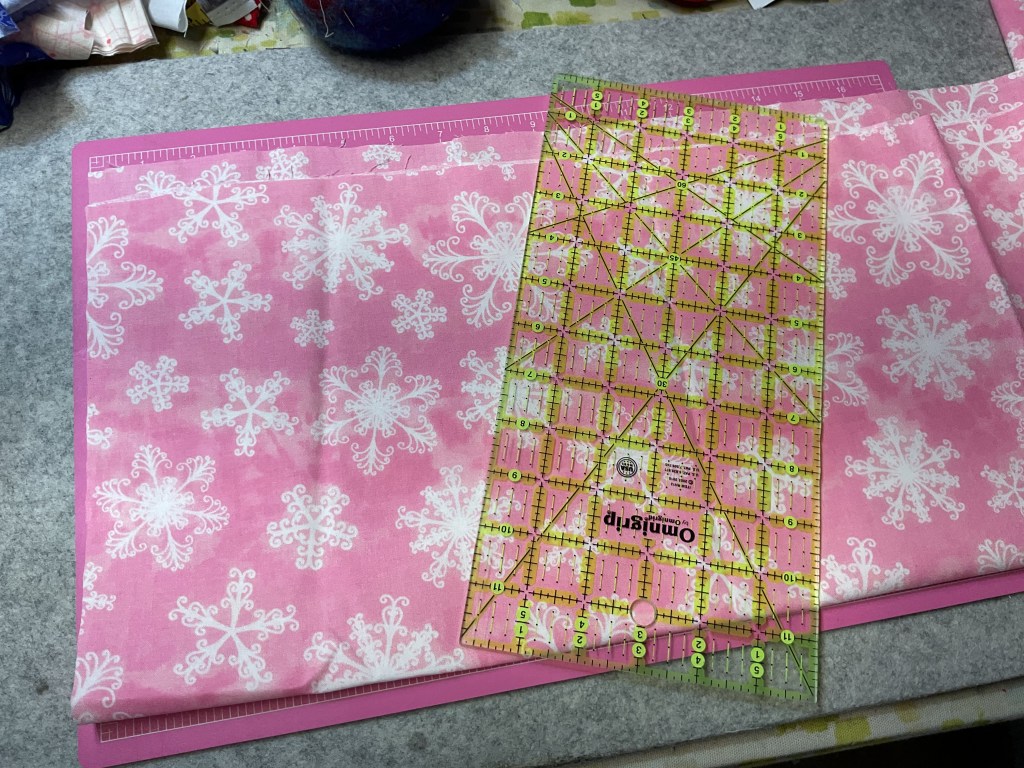
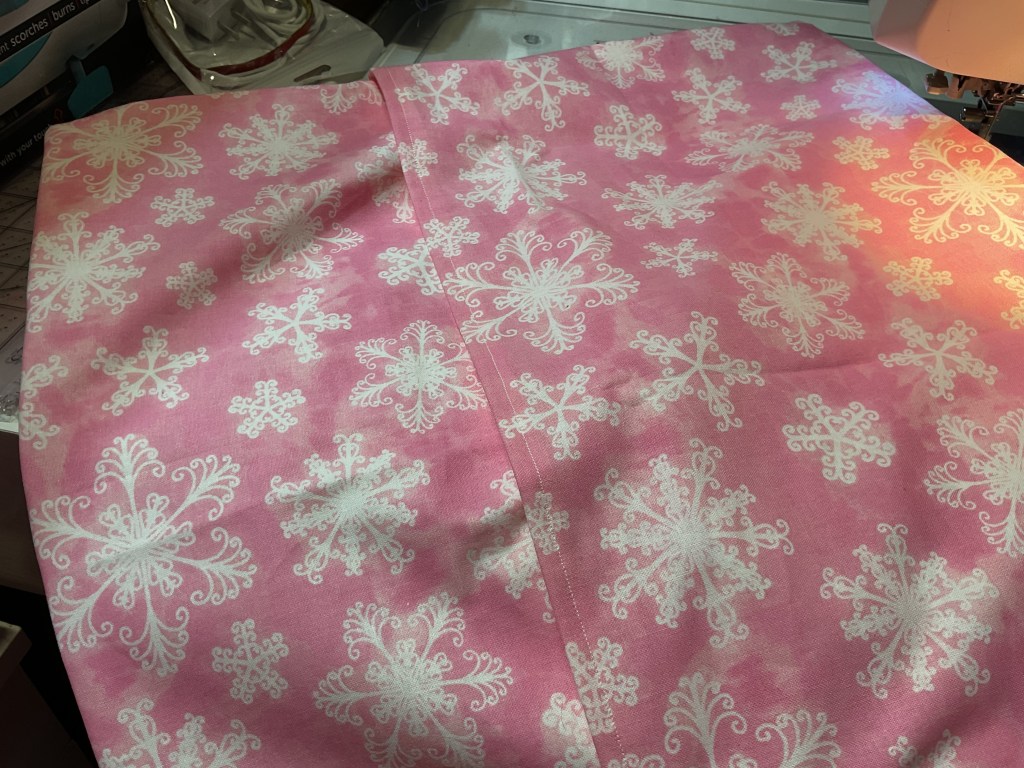
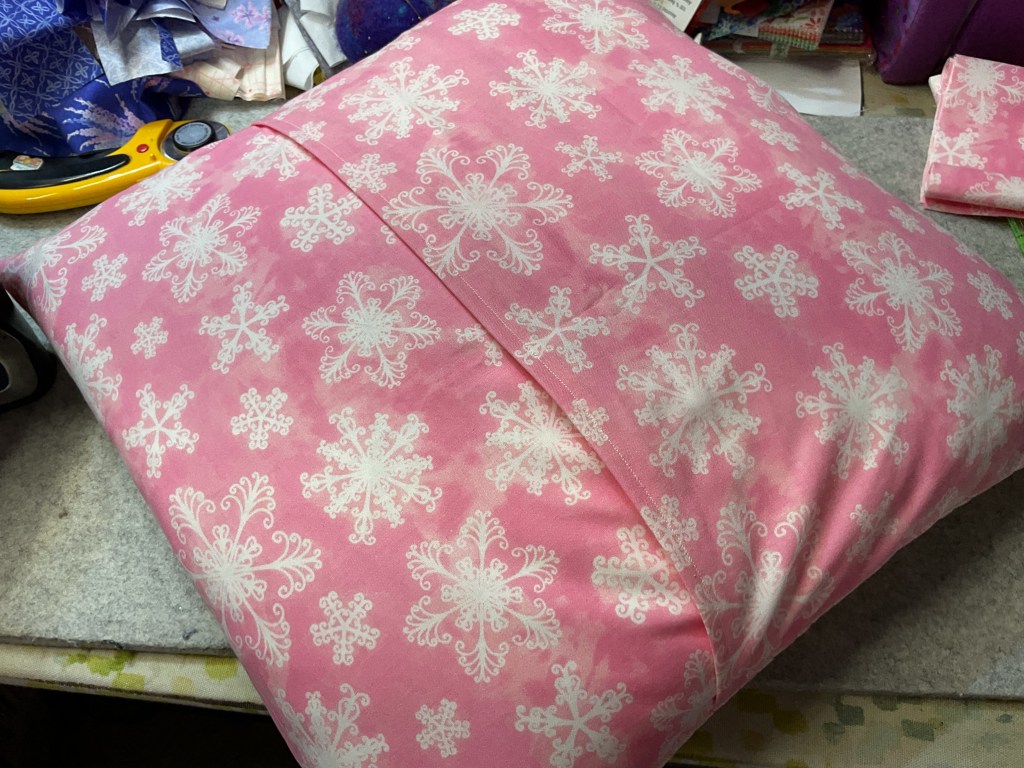
I chose these cheeky pink snowflakes for the back of my Happy Hearts Pillow since we’ll still be having snow for Valentine’s Day around here.
I decided to cut my 2 backing pieces of fabric 12 1/2″ x 18 1/2″ so that I would have a 6″ overlap. There aren’t any real rules for how much overlap to have on an Envelope back, but if you don’t have enough, you’ll know it because the opening on the back will bulge out, exposing the pillow insert. Better to have a generous overlap than not enough.
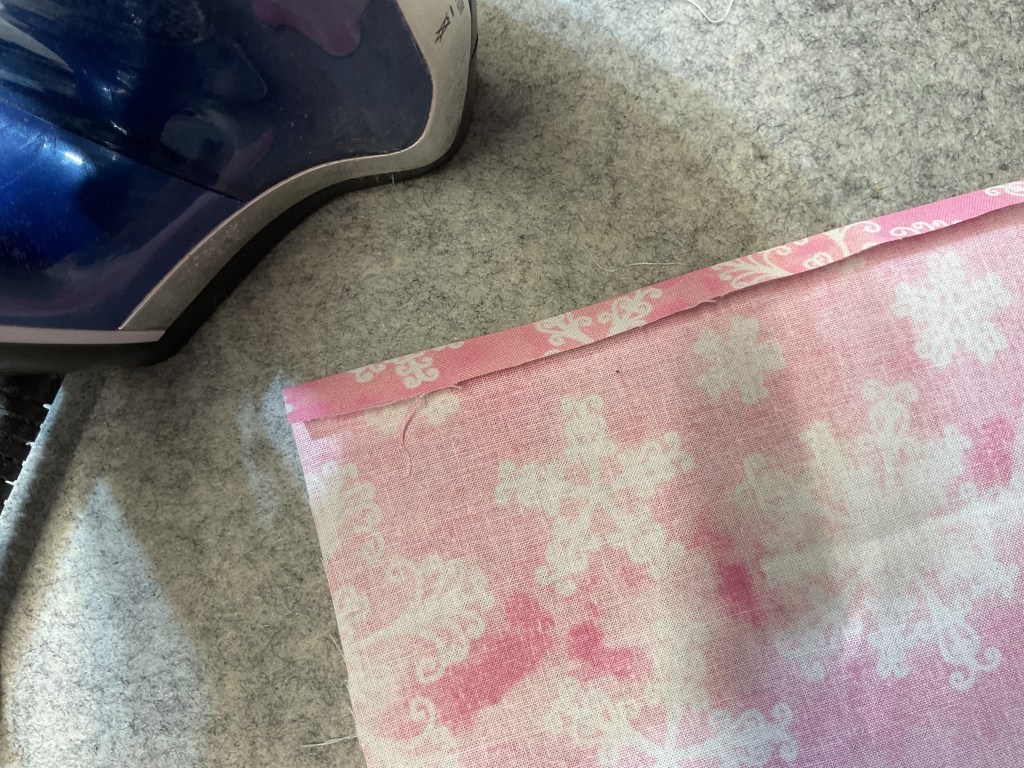
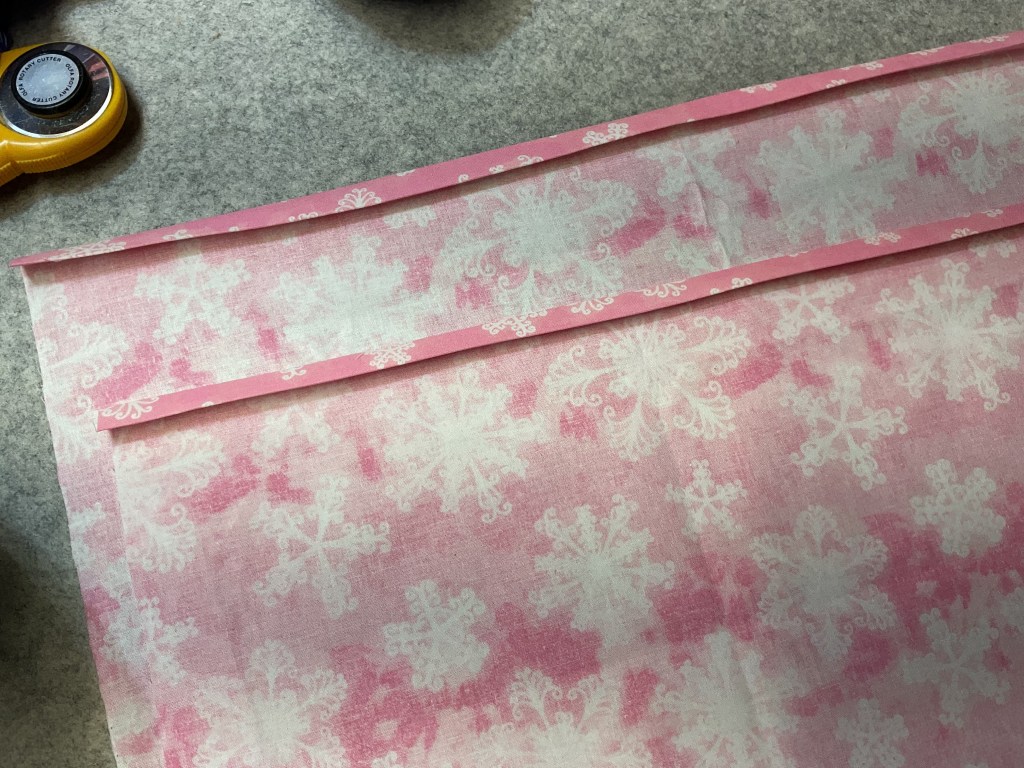
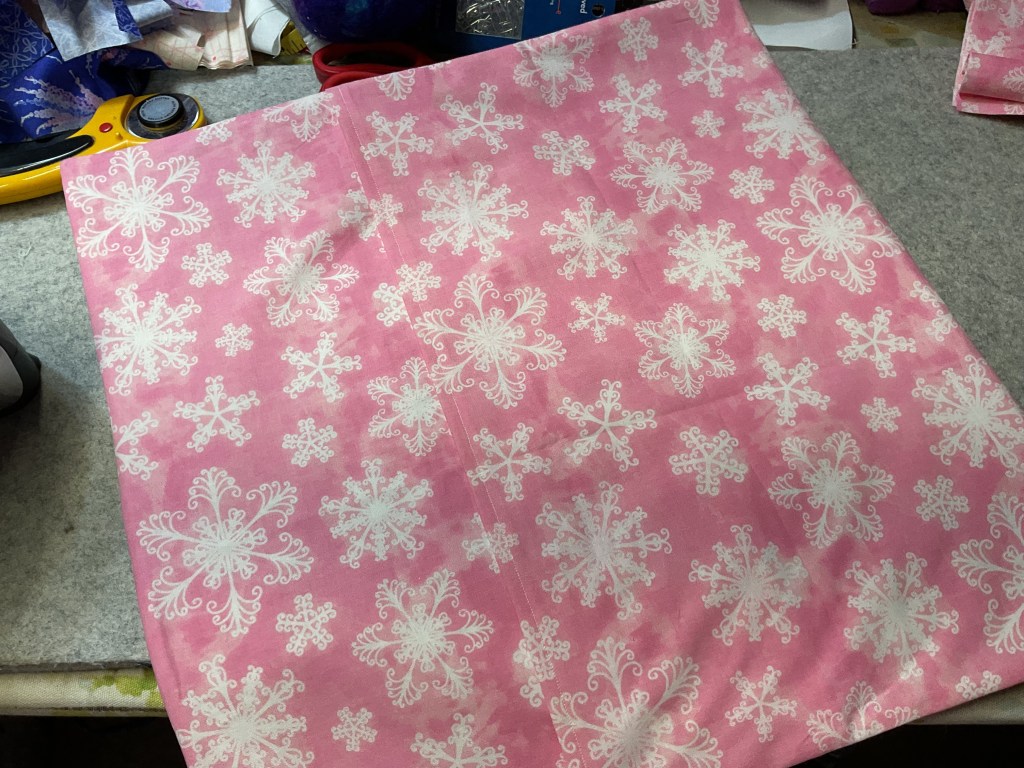
Next, I’m going to press a 1/4″ hem along an 18 1/2″ side on BOTH of the backing pieces.
Then we’ll fold it over one more time so that the raw edges will be sandwiched in the hem. You can pin them in place if needed, but since I pressed them, they’ll hold up while I sew.
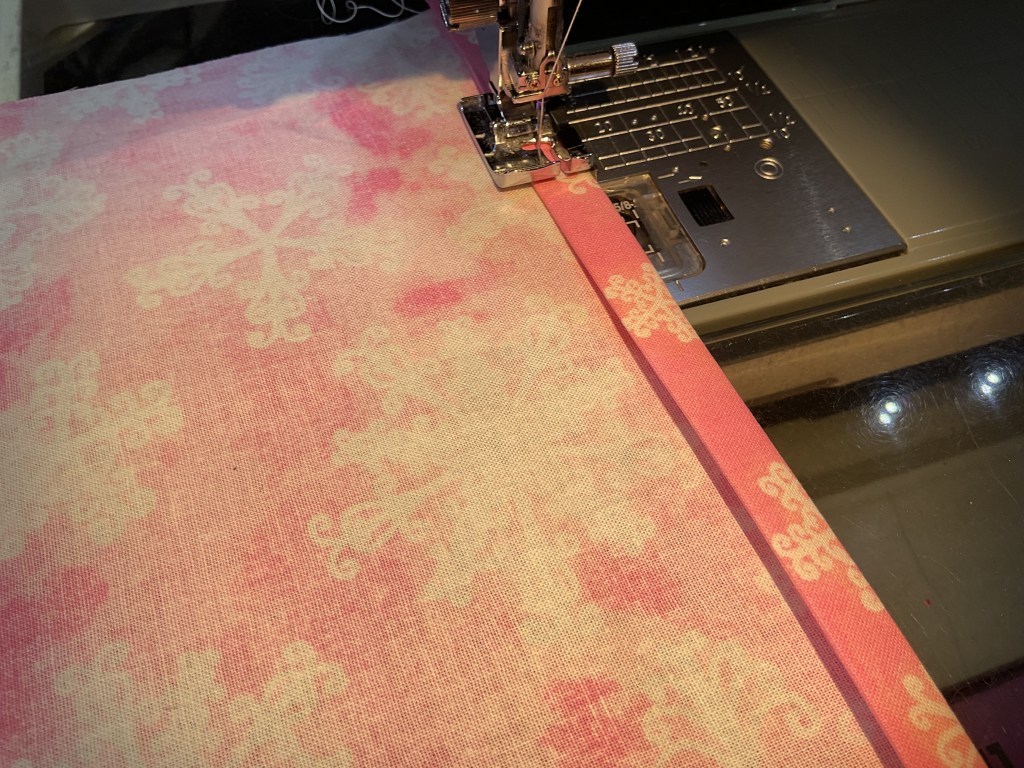
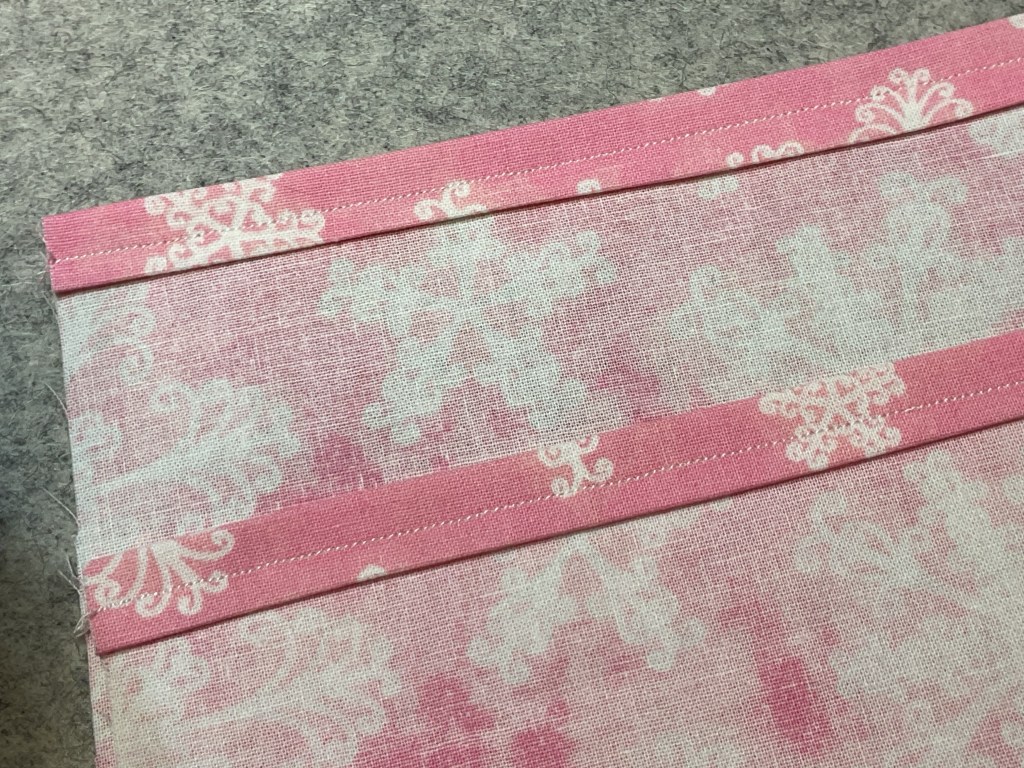
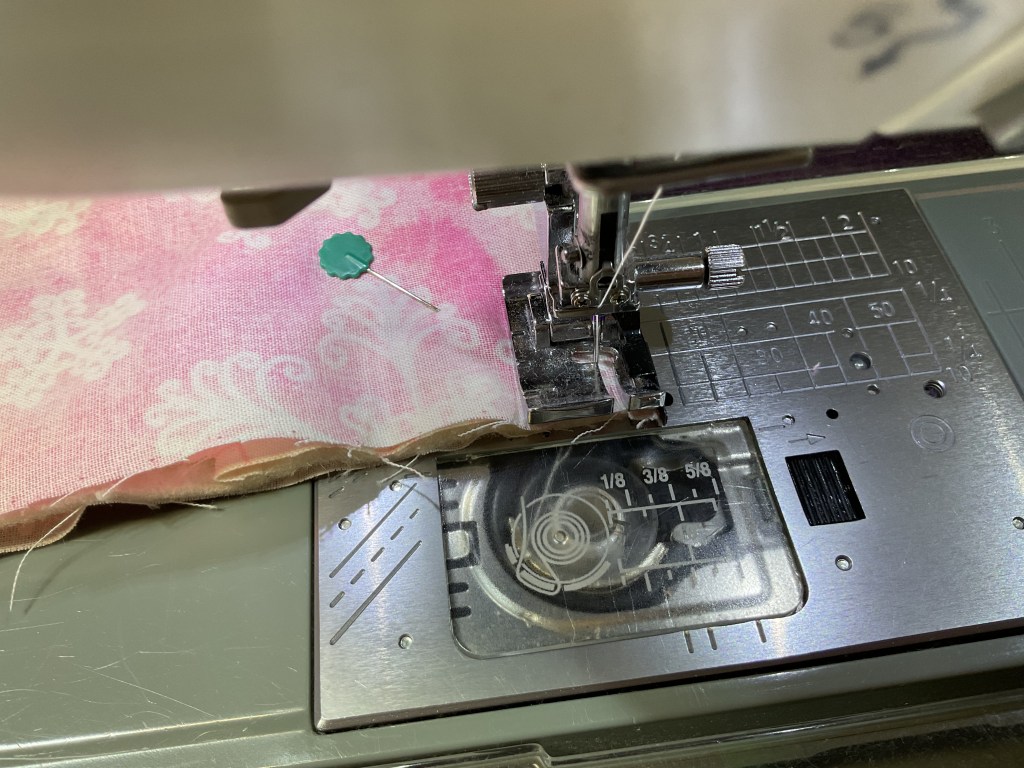
Alrighty, now we’re headed to the sewing machine to sew down the hem on both sections.
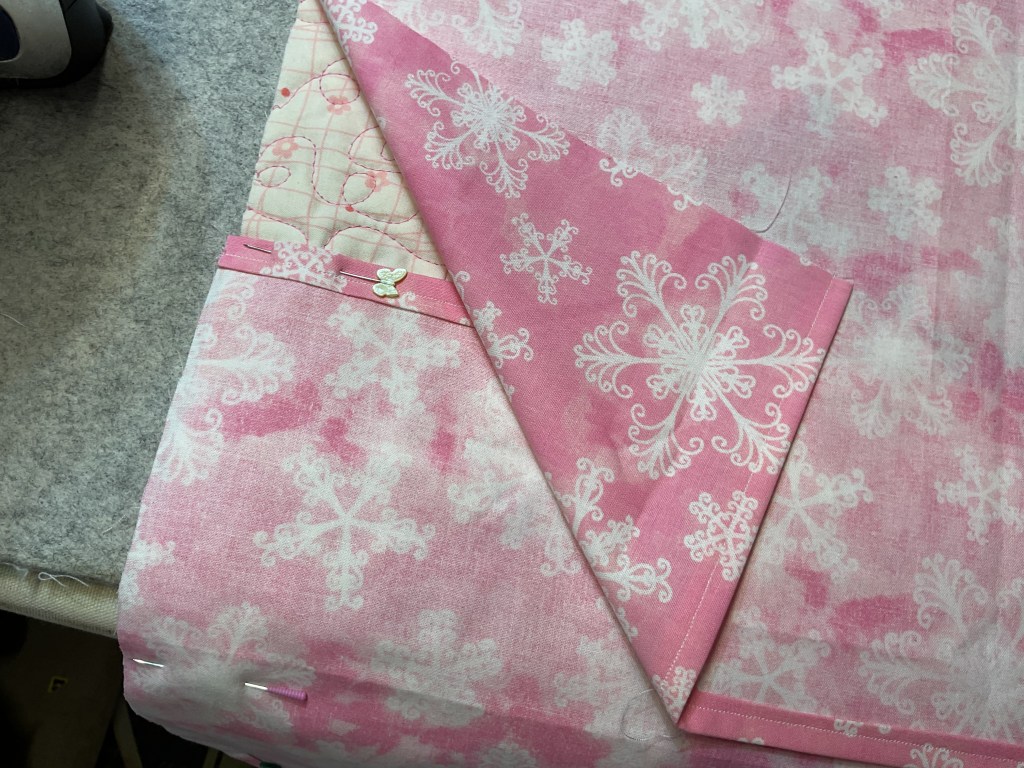
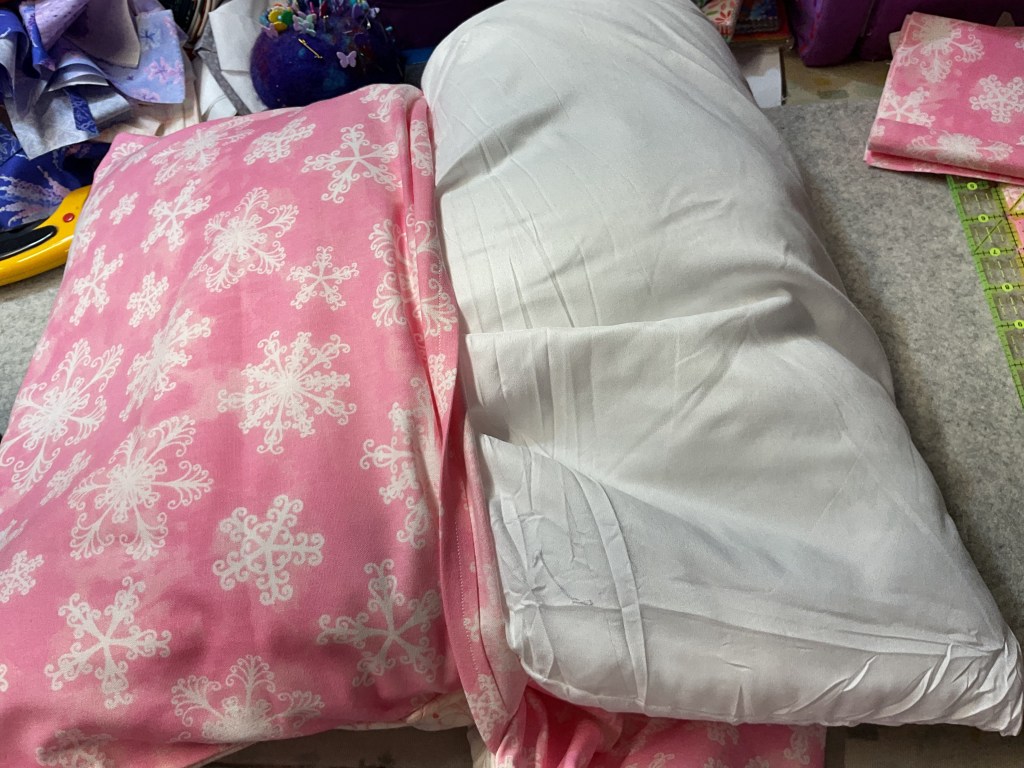
Our next step is to layer one of the back sections right sides together (RST) with the pillow cover, lining up the outer edges with the hemmed edge towards the middle. This time I’m going to pin generously because I really don’t want anything moving out of place.
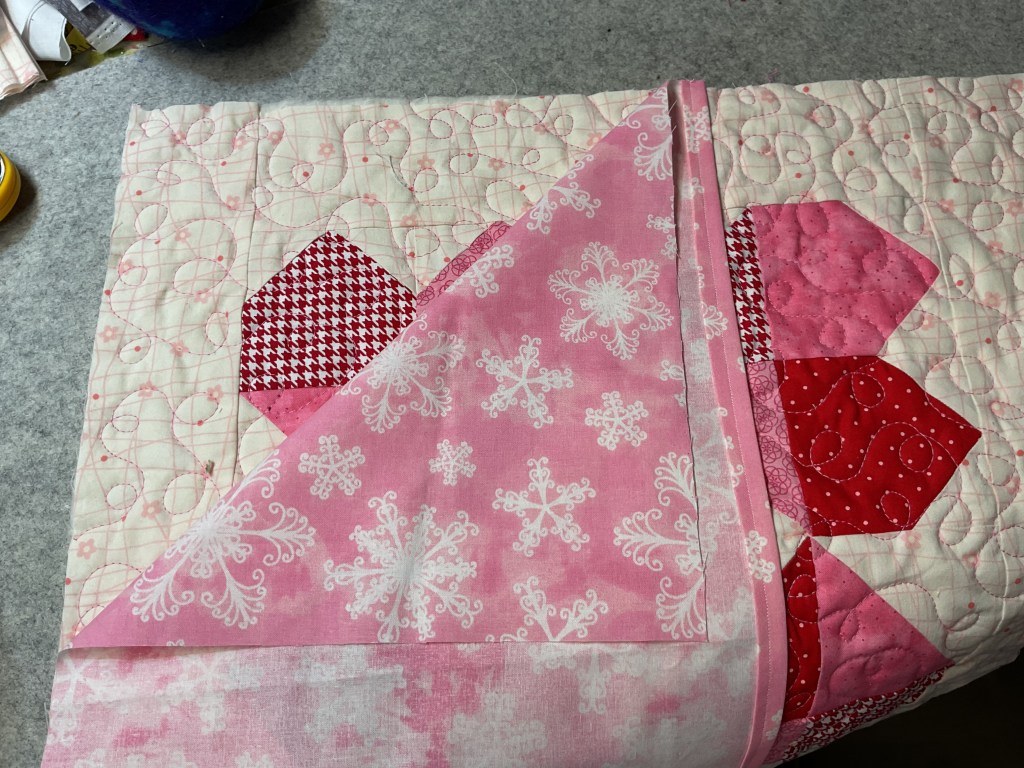
So far, so good. Let’s layer the second backing section now, again with the hemmed edge towards the center, overlapping the hemmed edge of the first section. I pinned everything into submission.
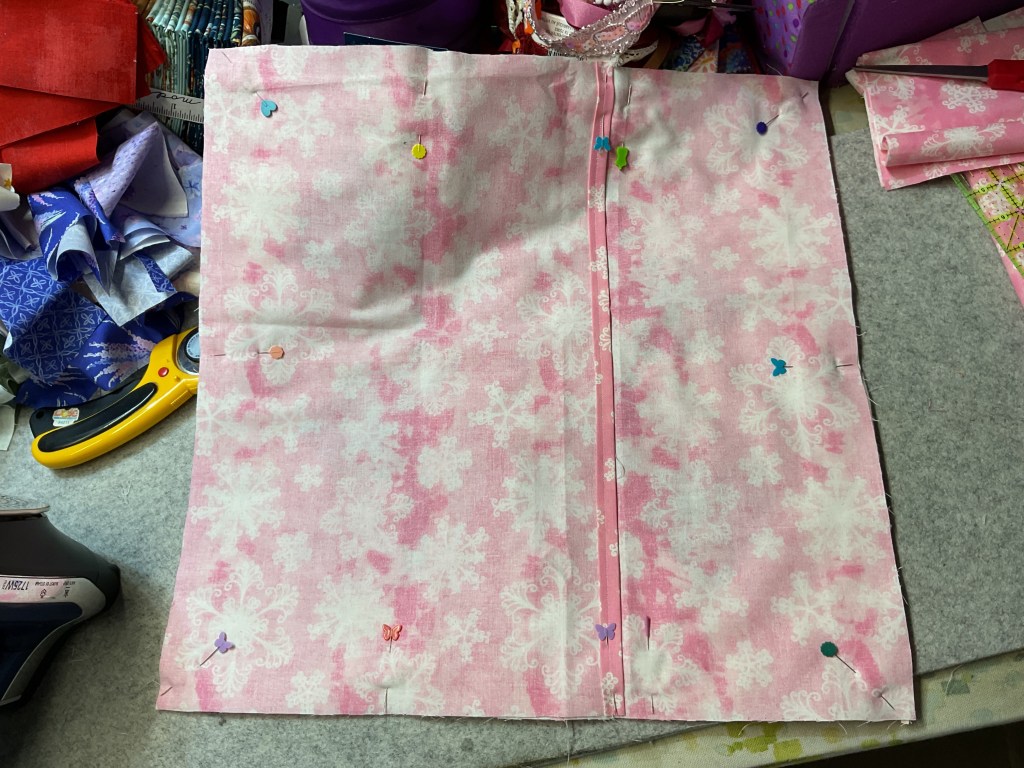
Back to the sewing machine to sew all the way around, using a 1/4″ seam allowance.
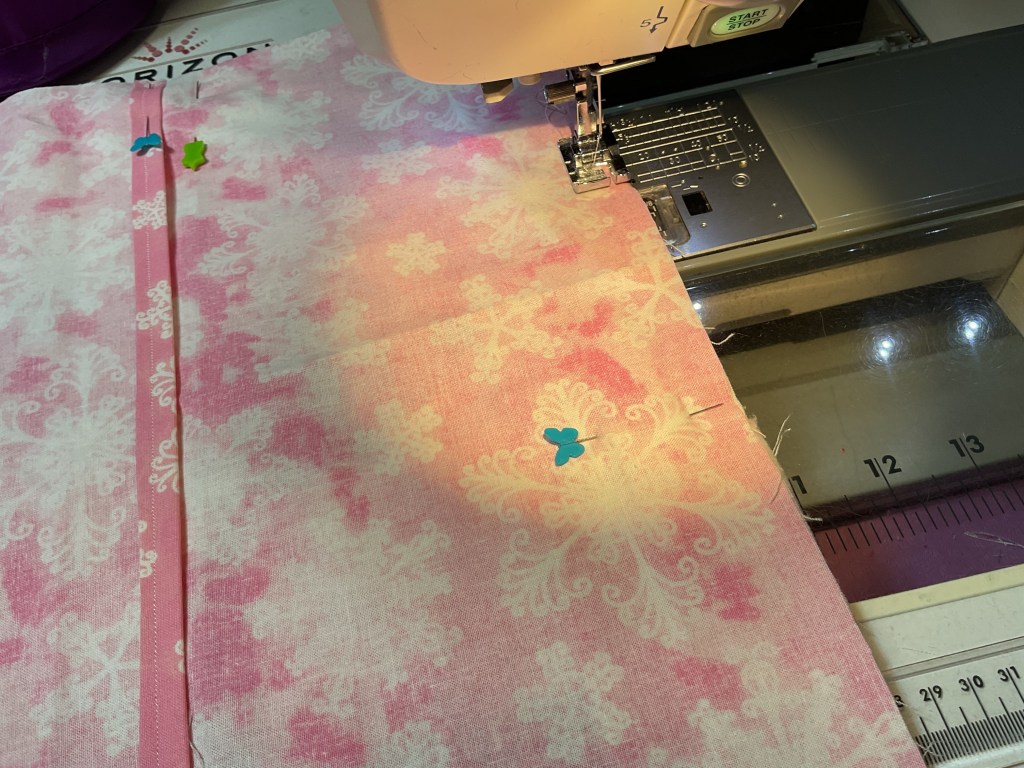
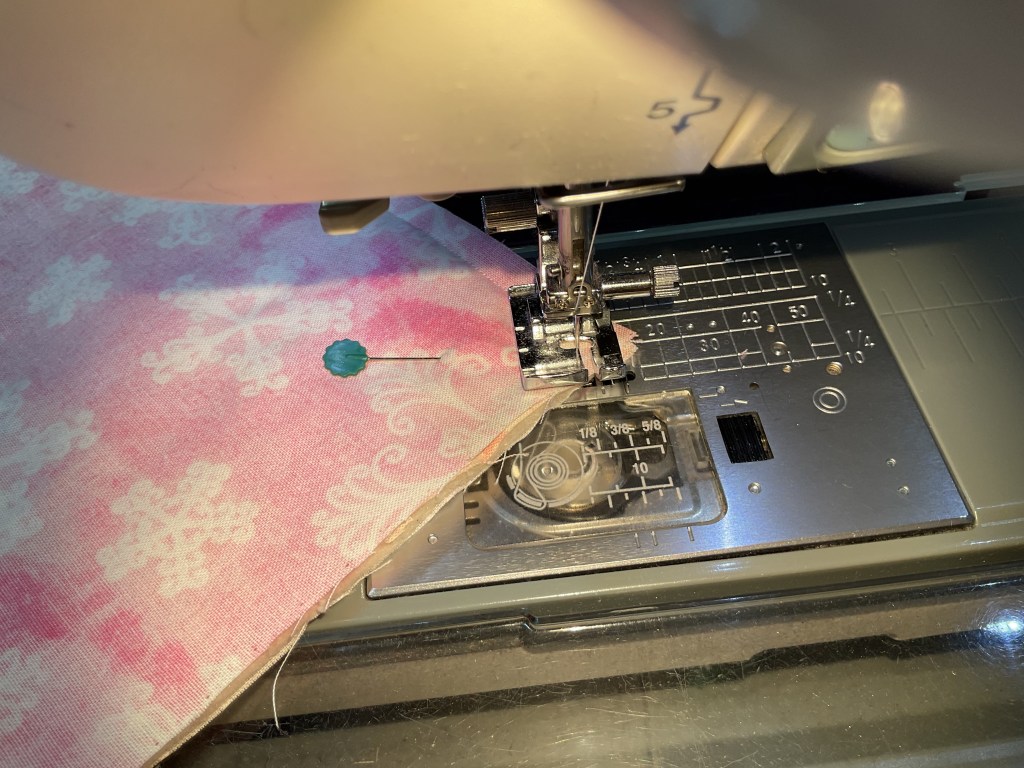
I want to take a minute and share a really good tip about sewing corners – I learned this great idea from a fellow quilt guild member years ago.
When you are a few stitches from where you plan to stop and turn the corner, pause and turn your project 45 degrees and stitch a couple stitches, then turn it the rest of the way and continue sewing on the new side. These couple of stitches give your corner a little ease and room for turning. You’ll actually end up with neater corners when you’re turning things right sides out if you do this.
Oops – you caught me – I just sewed over my pin instead of pulling it out. Call the Quilt Police!
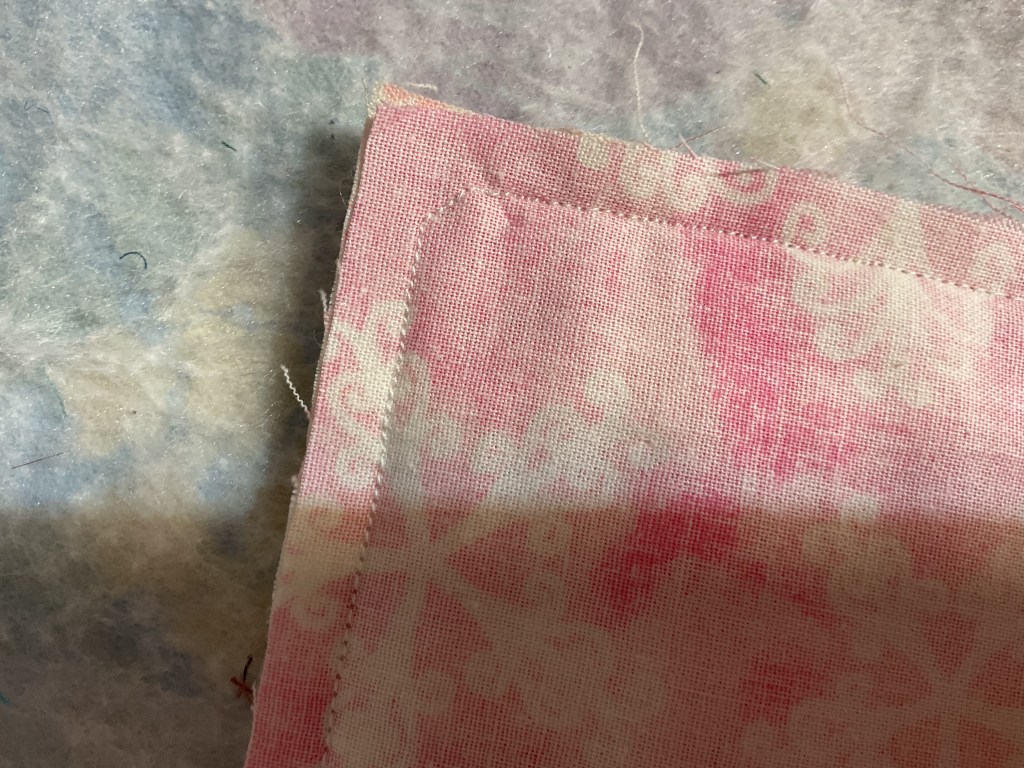
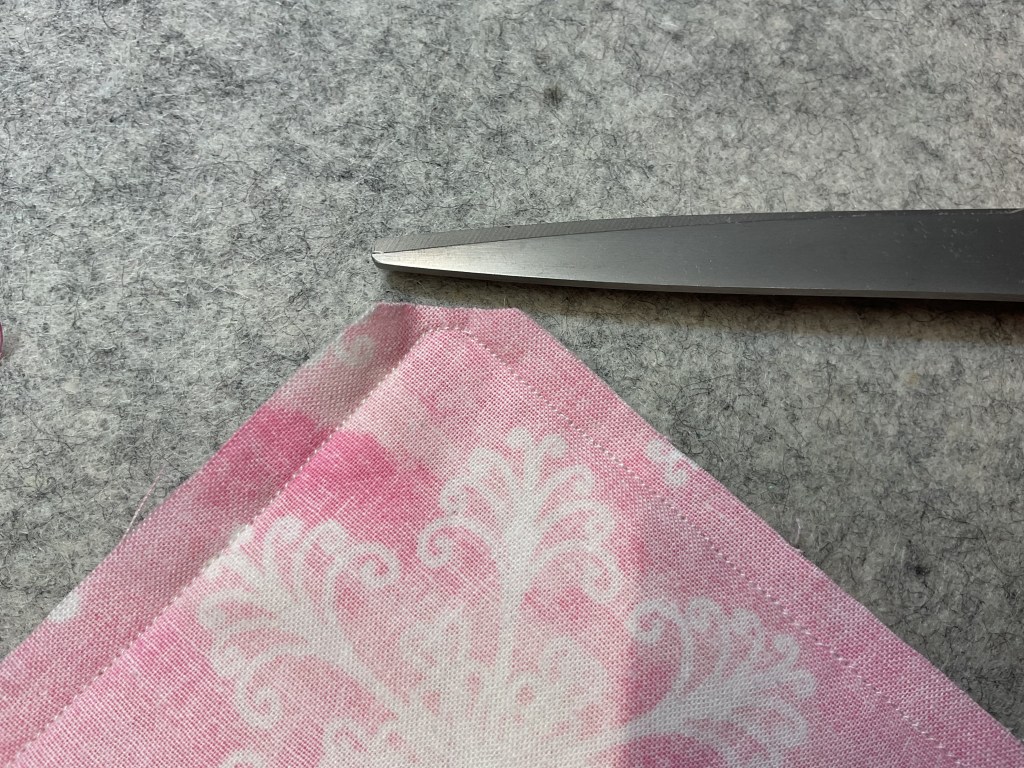
I’m also going to cut across all 4 of my corners to reduce the bulk which will help those corners to turn out neatly. Be careful NOT to cut through your stitching.
Since my inside edges are going to be unfinished, I think I’ll take a little extra time to zig zag around the outside before turning things right sides out. This will just help to keep things neat and tidy so they don’t fray. If you have a serger, you can easily serge around the outside edges. And if you know how to use your serger, somebody please teach me – mine is still new in the box three years after purchase…….

Okay, let’s turn this pillow cover right sides out through the Envelope Back opening. Yippee!
I’m going to take a little time to press things really well and smooth my edges so the pillow back won’t be showing around the front edge of the pillow. Much better.
Time to pop an 18″ pillow insert into my now-completed pillow cover.
And here is the completed Happy Hearts pillow with Envelope Pillow Back. Done and done. I think it turned out pretty well!
Well, that’s it for me this week.
Hope to see you here again next Thursday for more VRD fun! Bring a friend!
Until then –
Sew. Laugh. Repeat.
Always,
Tricia @ VRD