Hello Quilty Friends!
How are you this fine Thursday? Getting some quilts finished, I hope?
I’ve been having a great time checking out the finished quilts for Week 1 of our 6 Quilts in 6 Weeks Challenge. It’s almost like, in 1 week, I’ve completed a lot of quilts! Yay! But I didn’t actually have to do all the work. To me, that’s a perfect scenario!
So, if you finished a quilt for Week 1, pat yourself on the back and get ready to repeat this week!
And our Week 1 drawing winner is…………… Jill S.
Want to get in on the action? It’s not too late – just email me at tricia@villarosadesign.com to join for the remaining 5 Weeks of the Challenge.
You can get all the info HERE.
Now let’s jump into Week 2 of our Challenge.
6 Quilts in 6 Weeks: Week 2
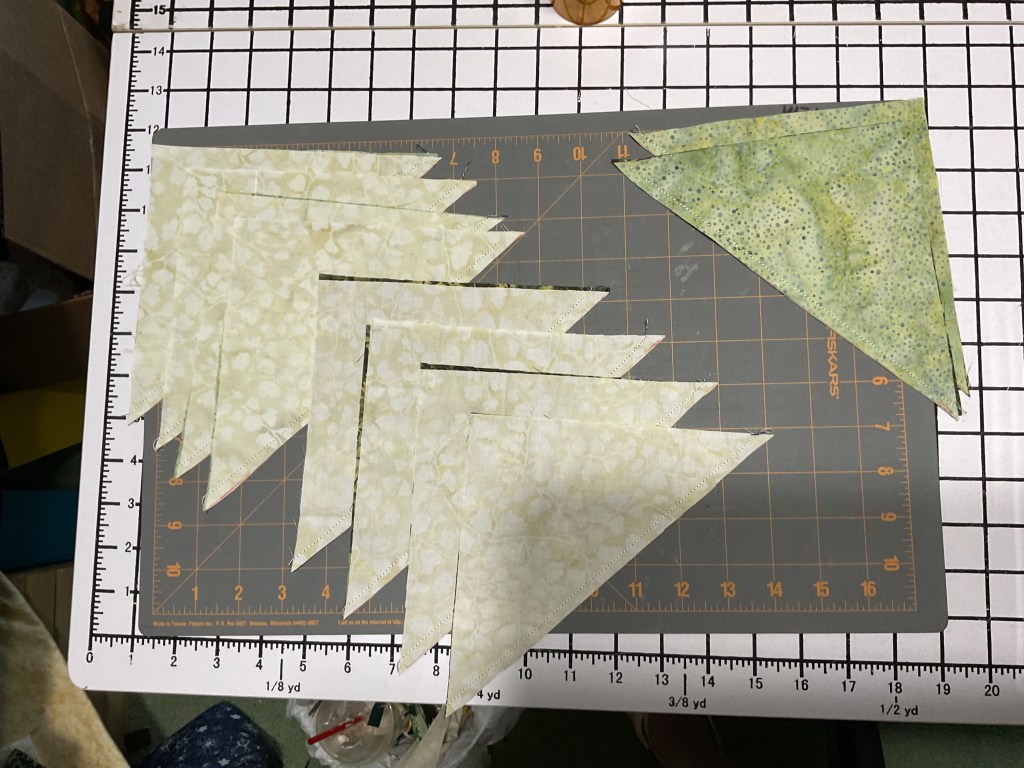
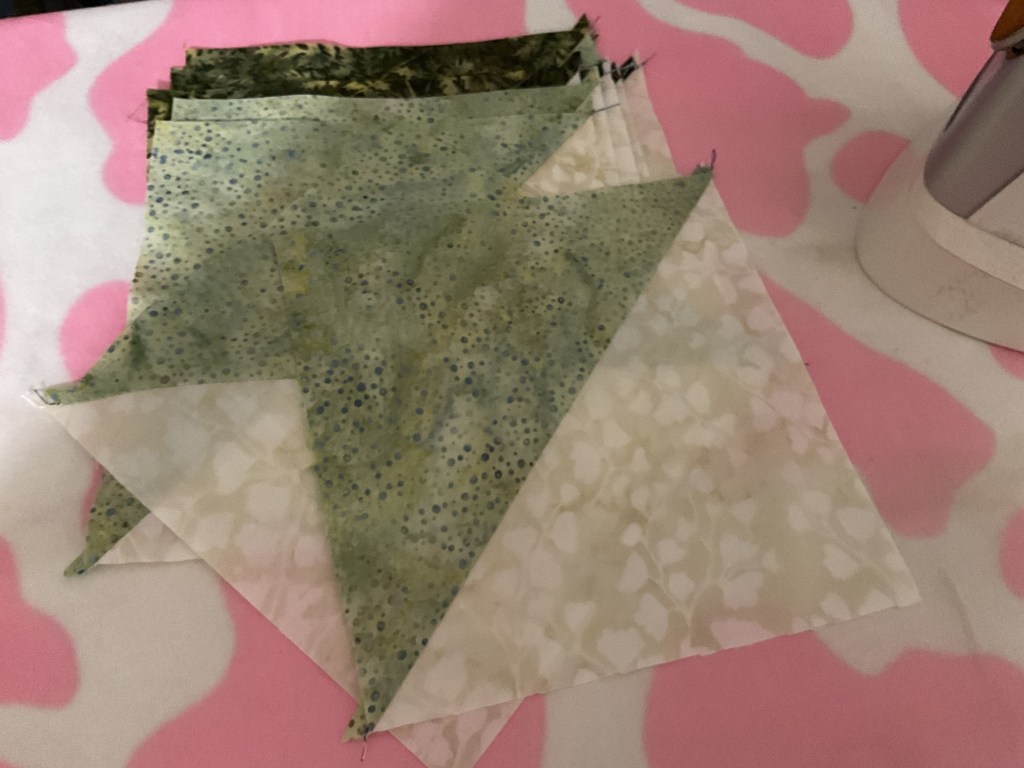
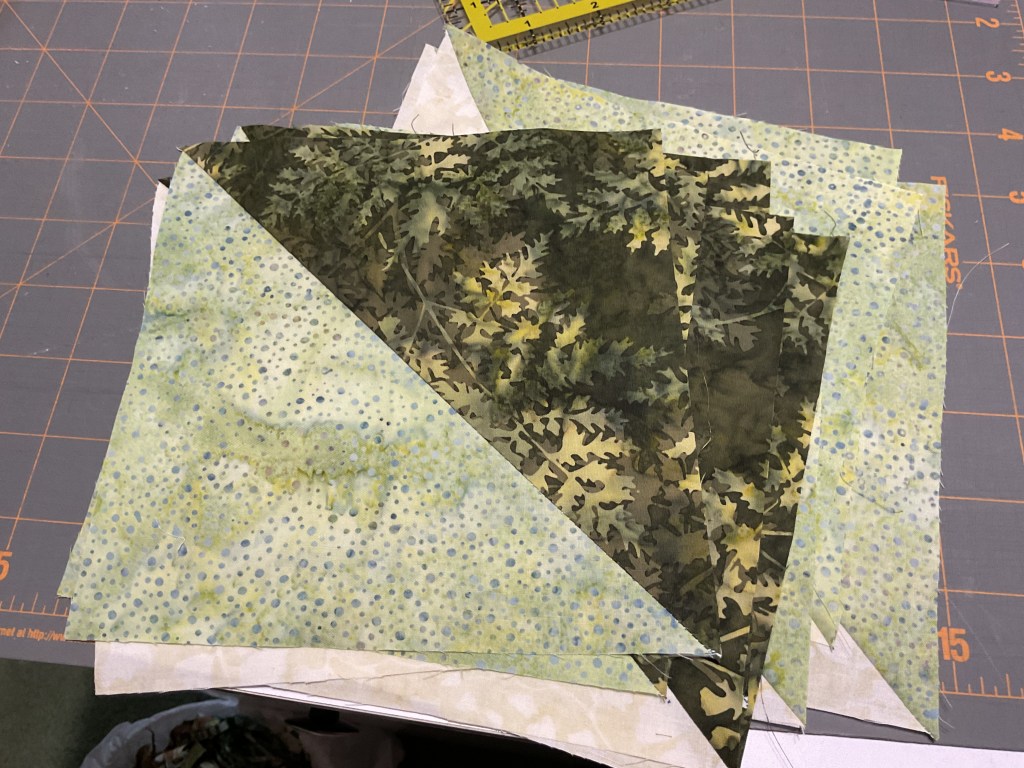
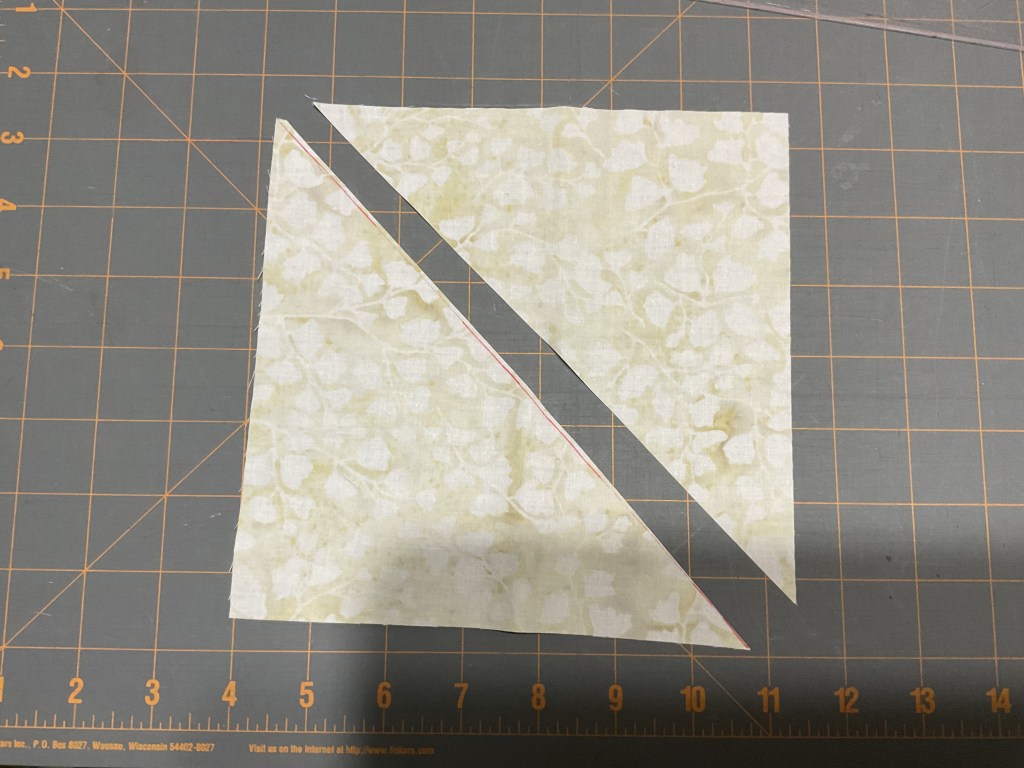
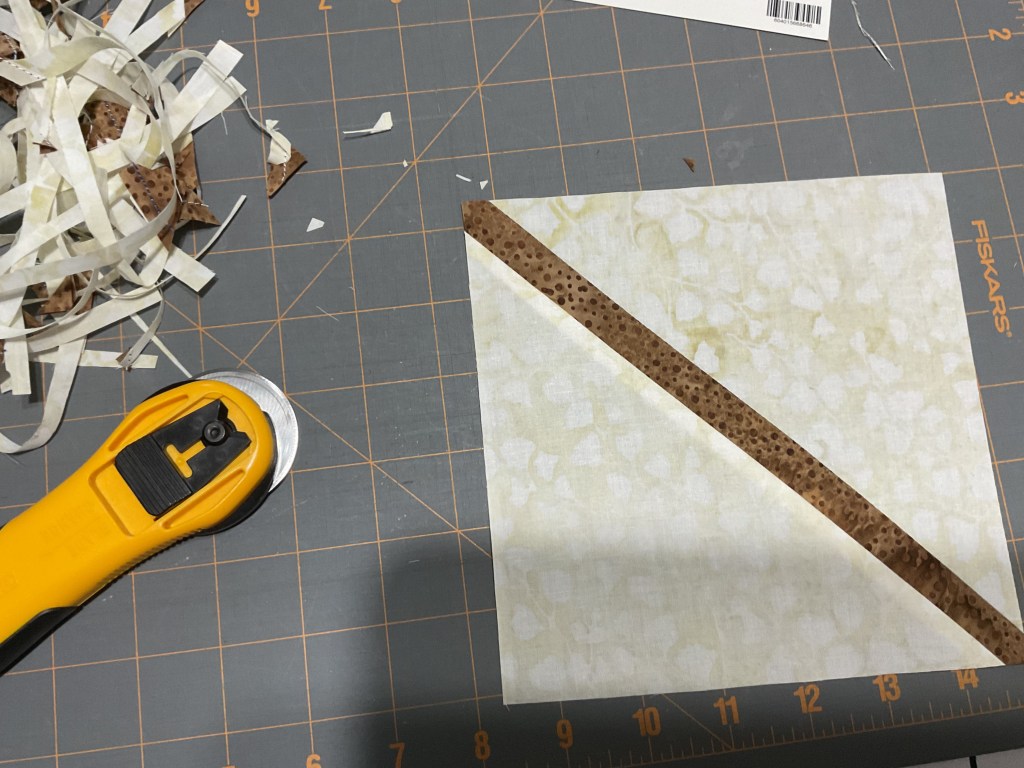
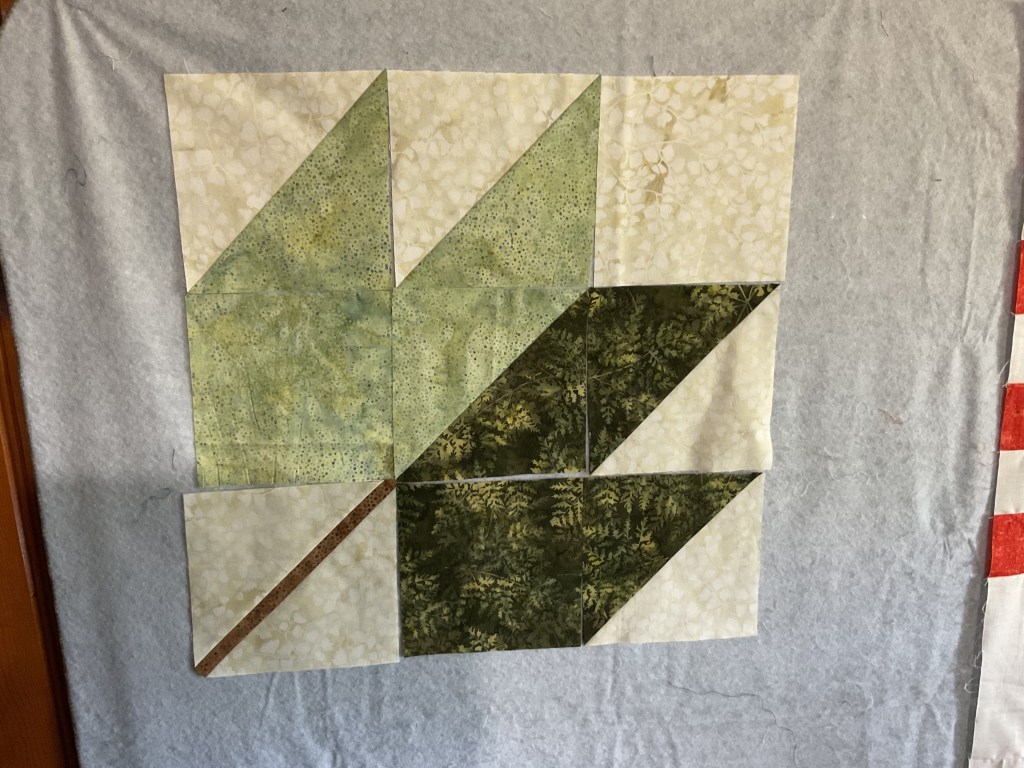
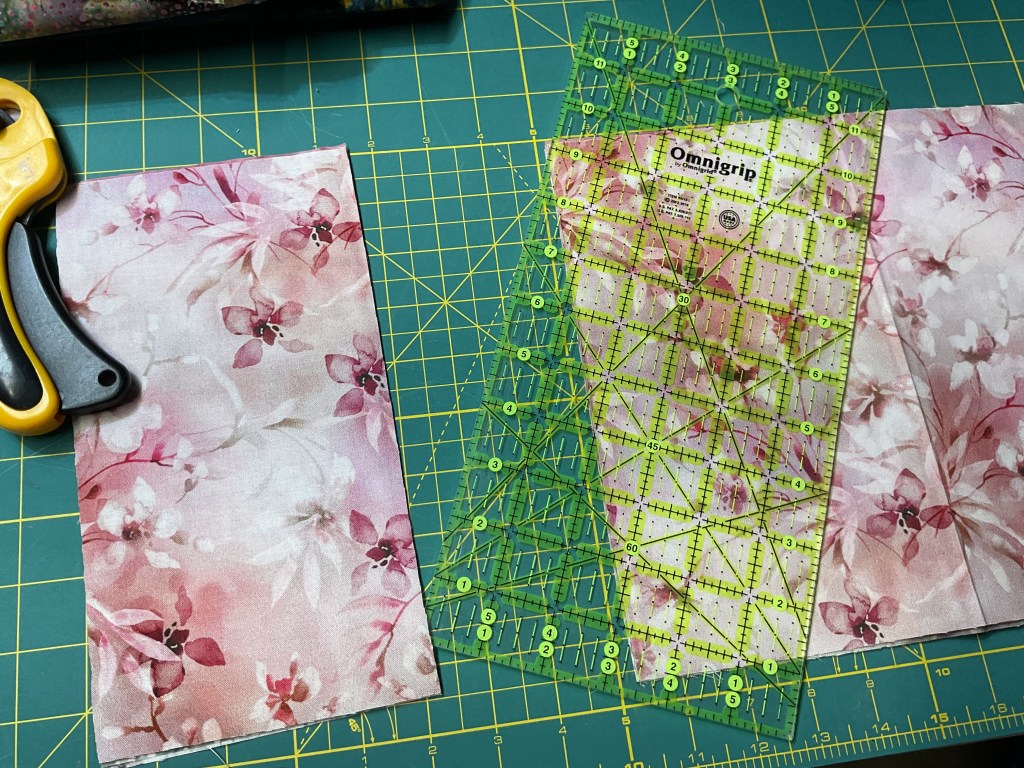
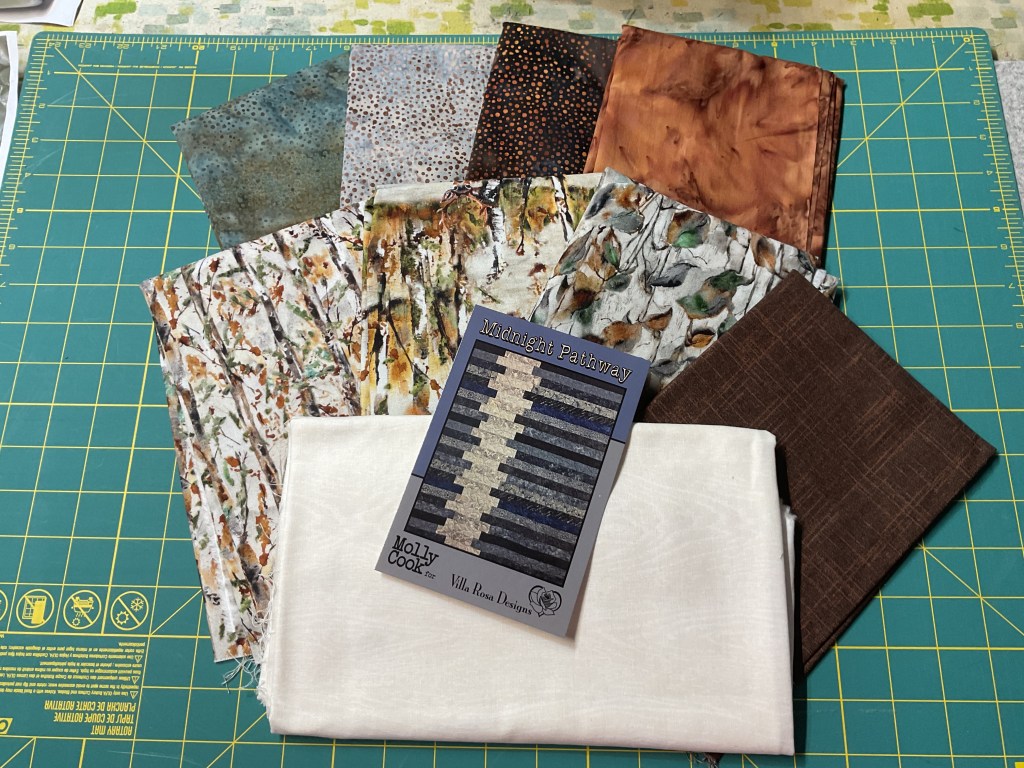
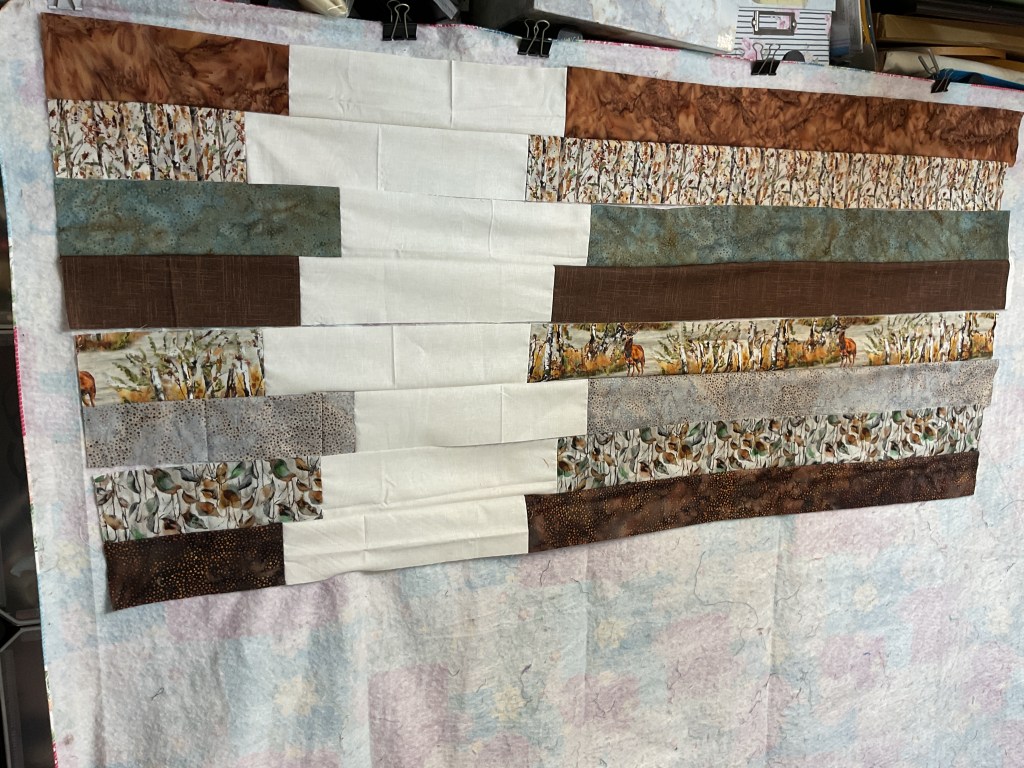
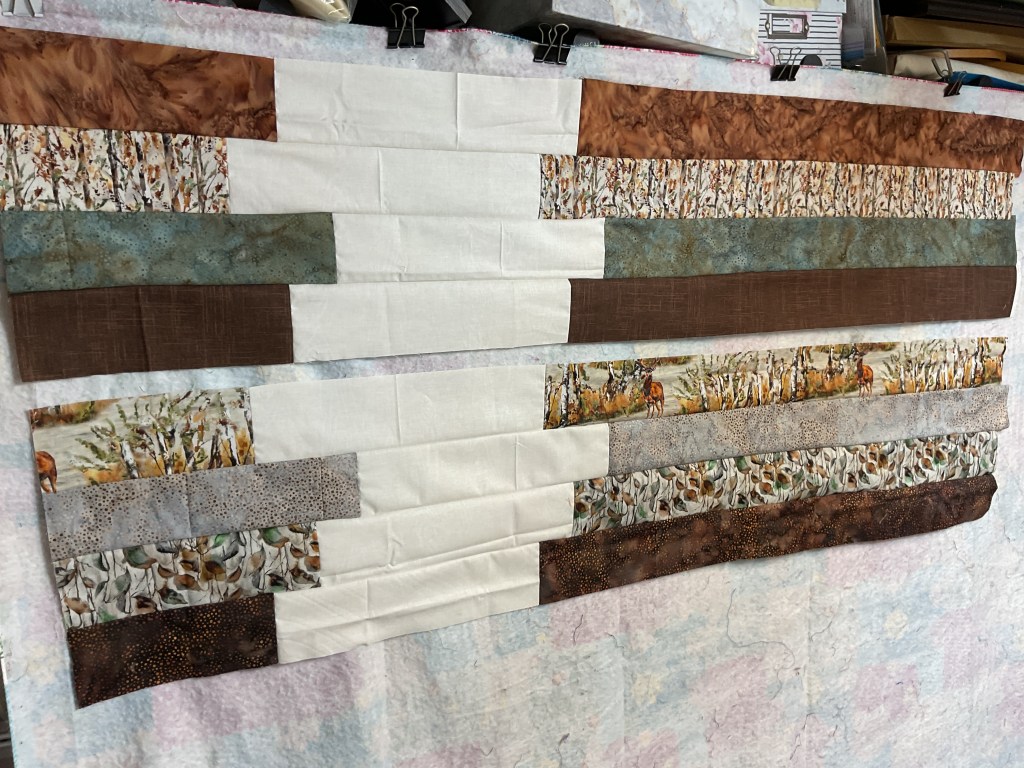
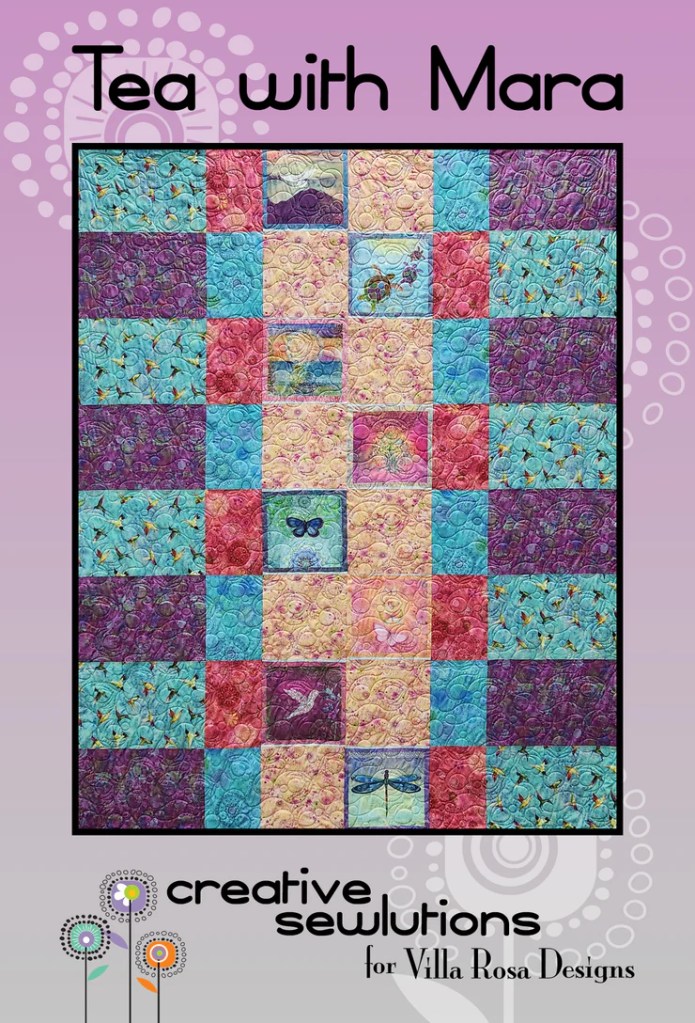
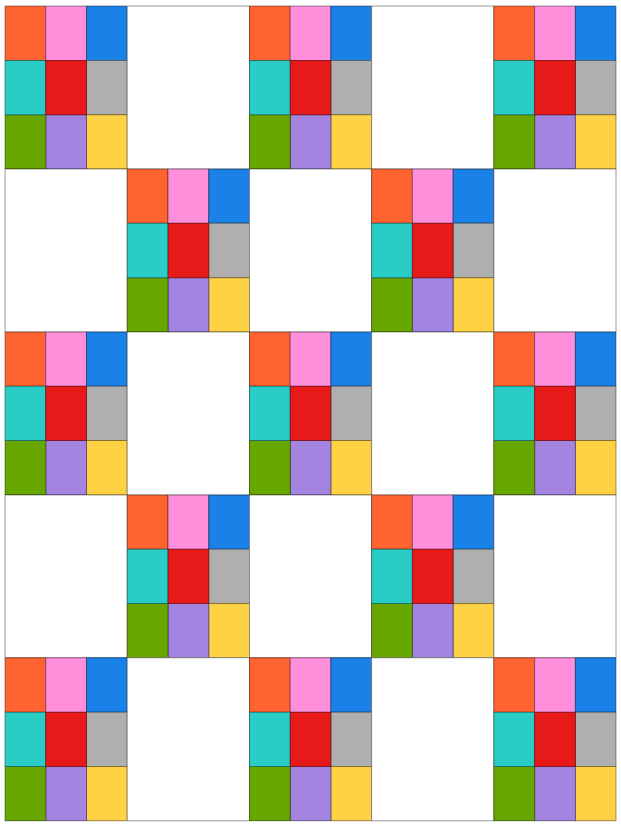
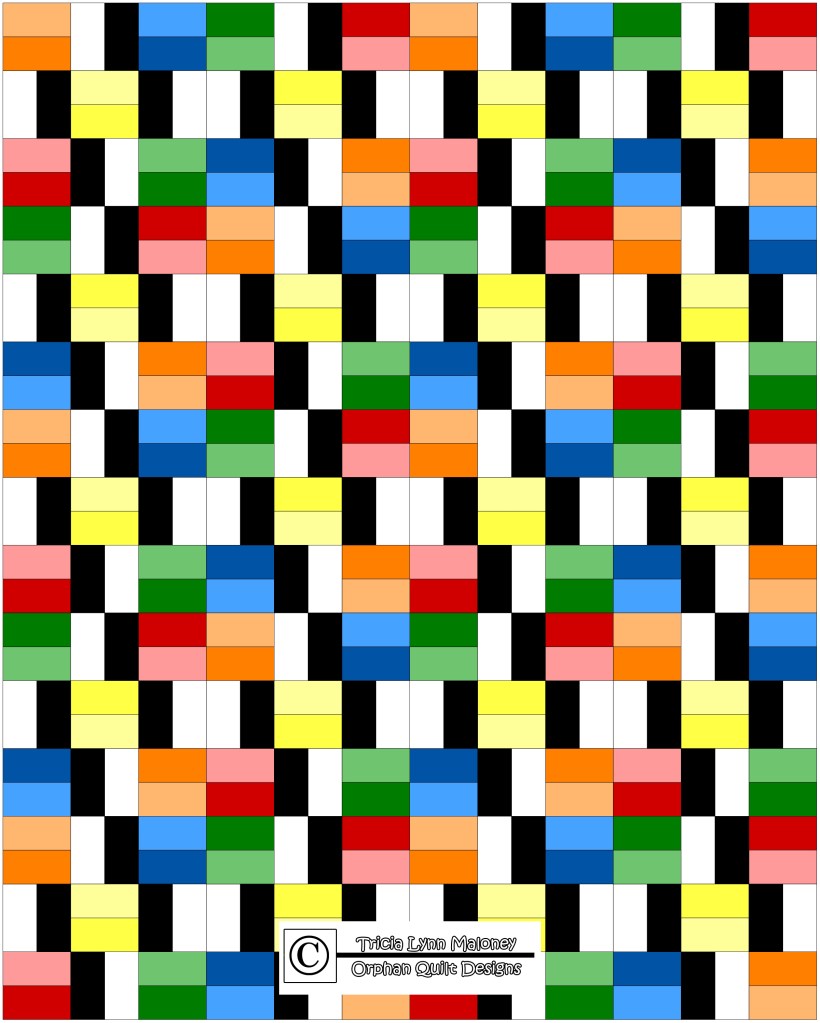
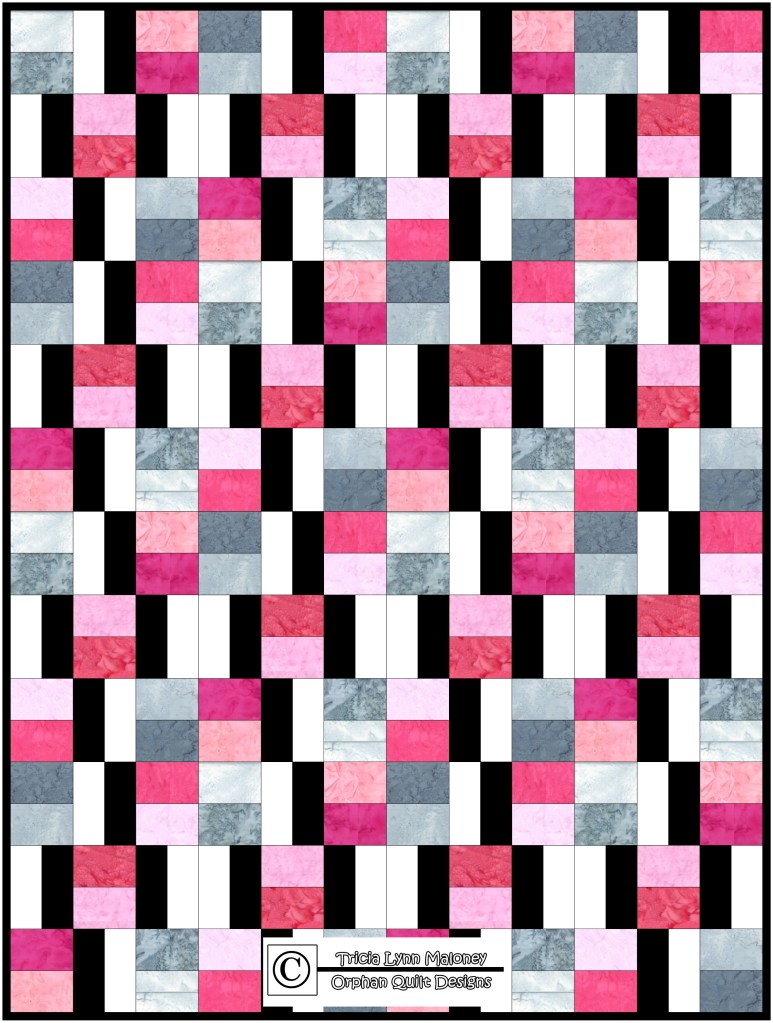
I knew I wasn’t going to have a lot of extra time this week, so I decided to tackle one of my table runners UFOs for Week 2, Steppin’ Up.

Don’t have Steppin’ Up yet?
Get your digital pattern HERE or your print pattern HERE
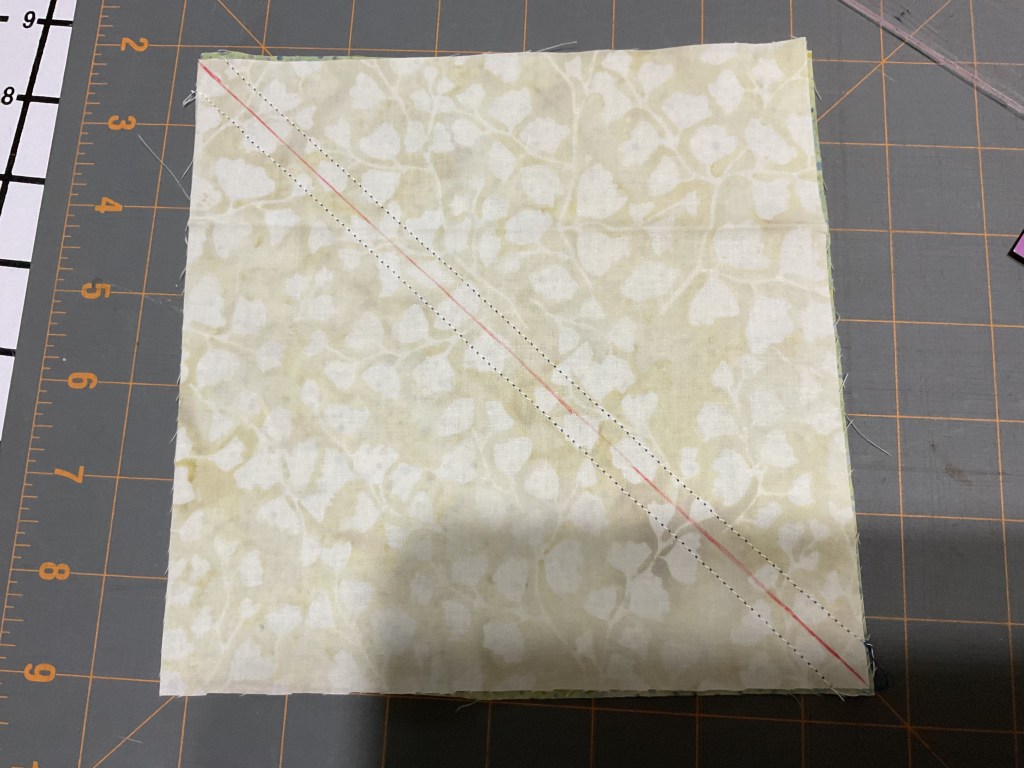
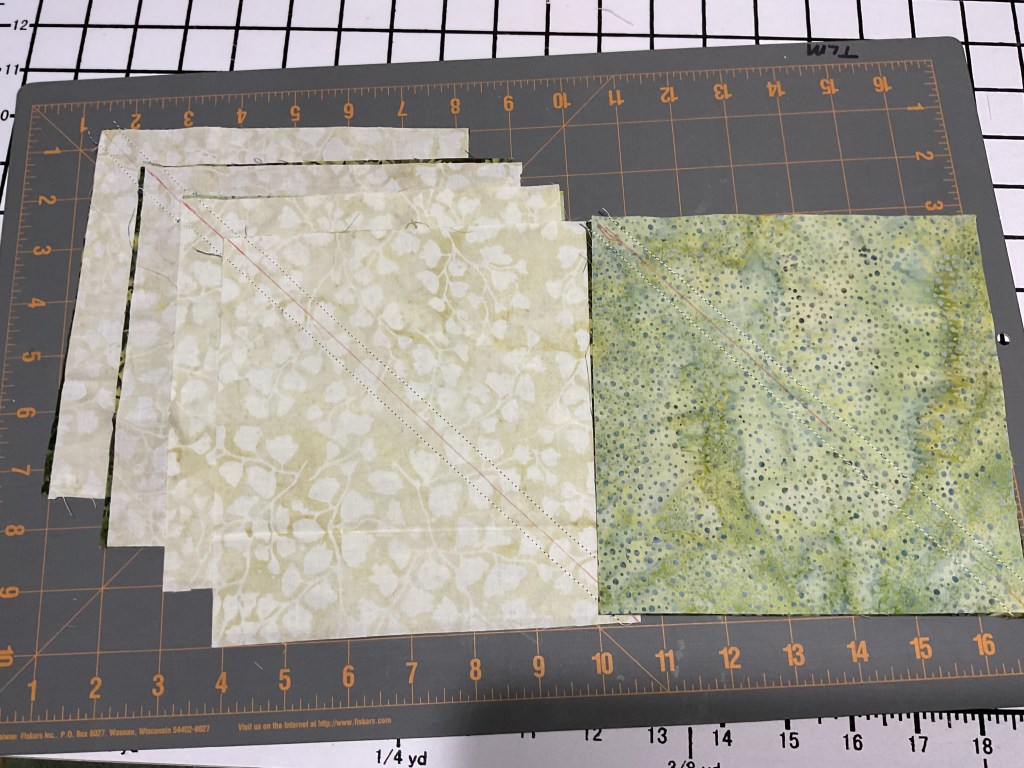
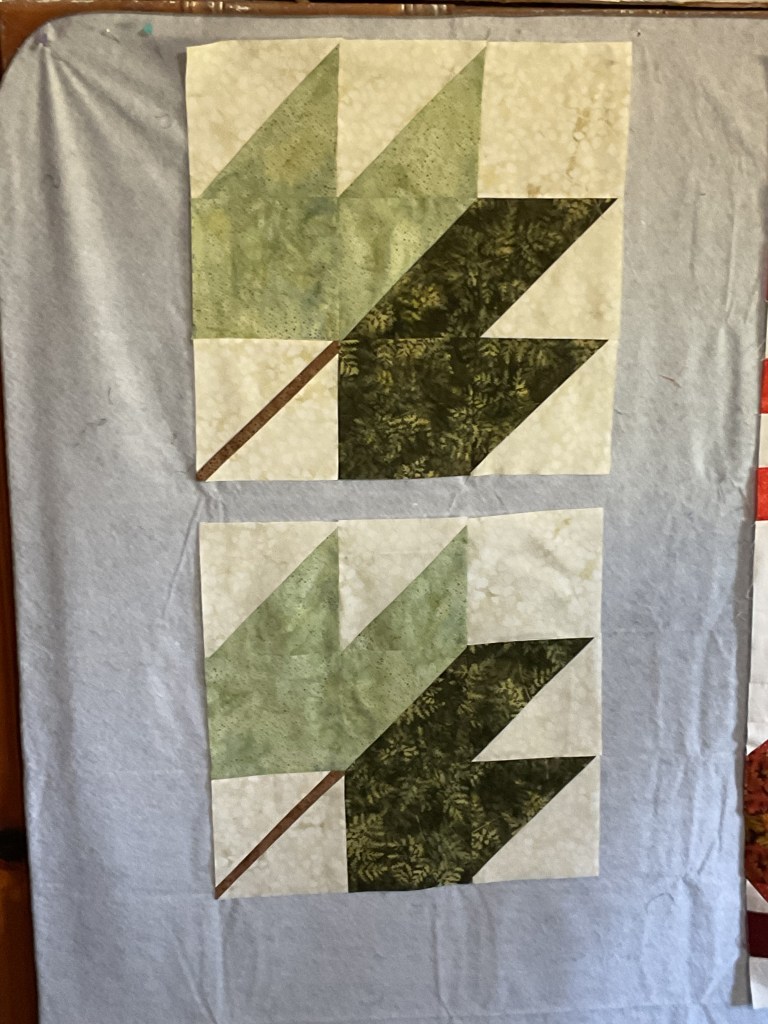
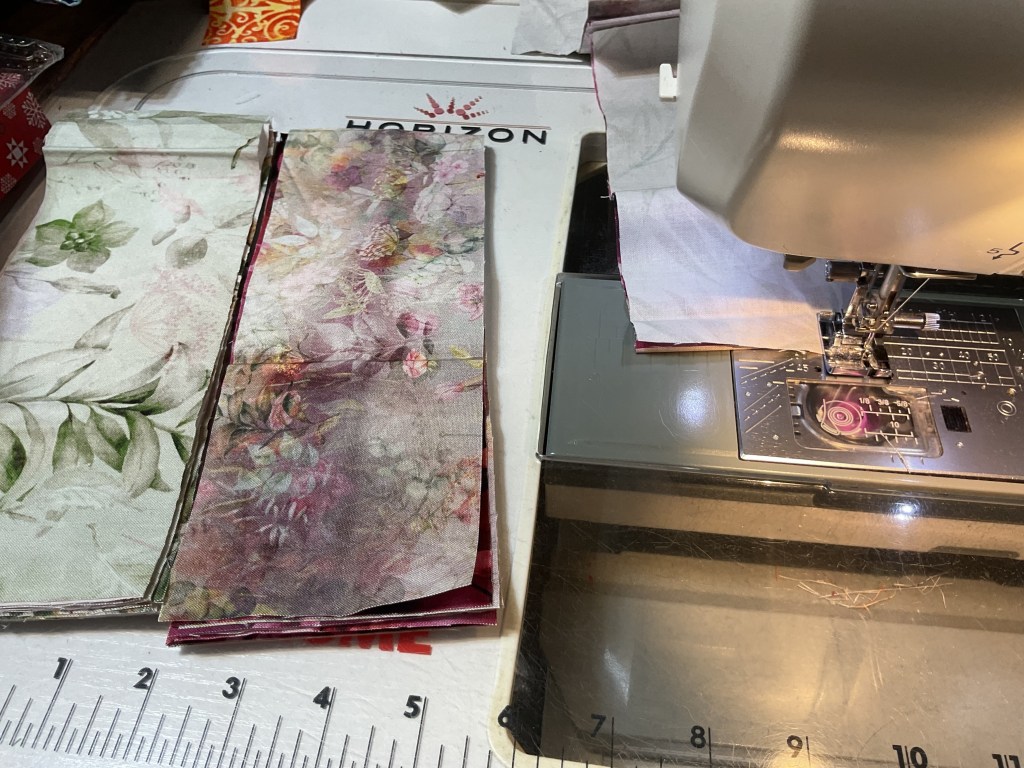
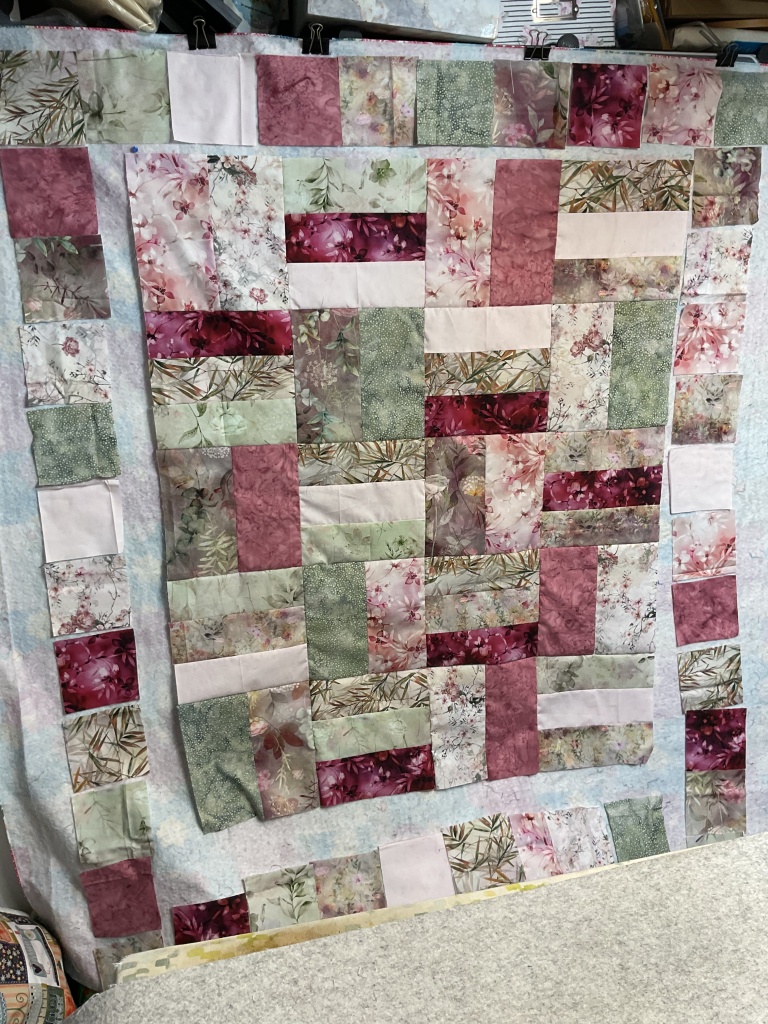
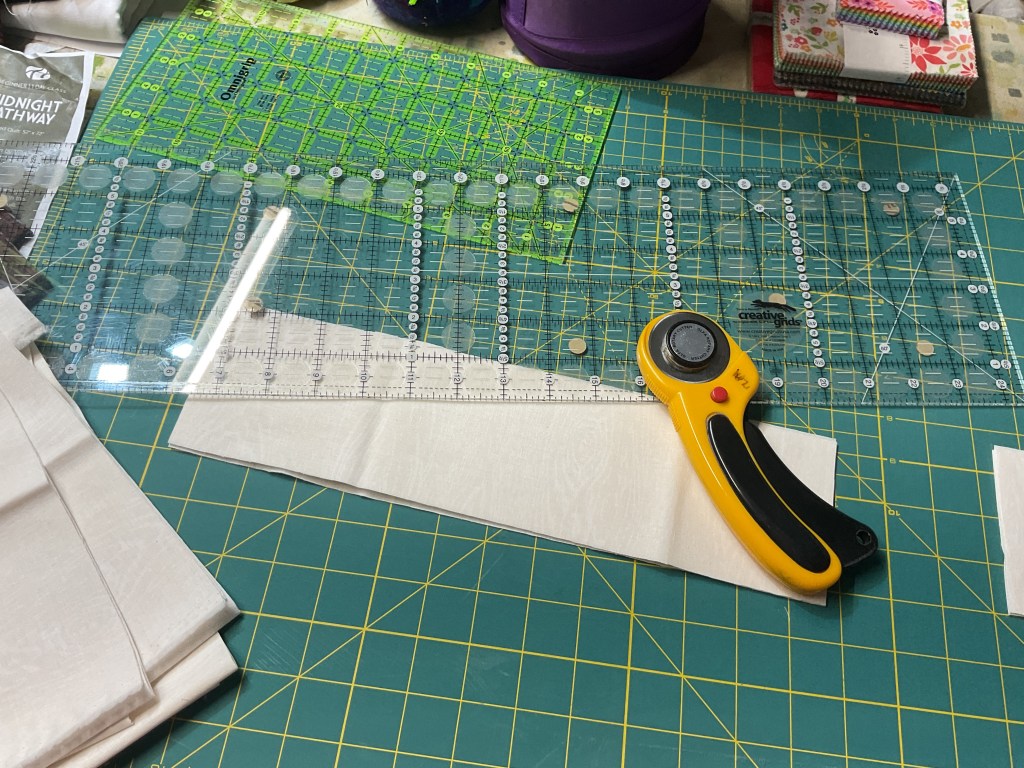
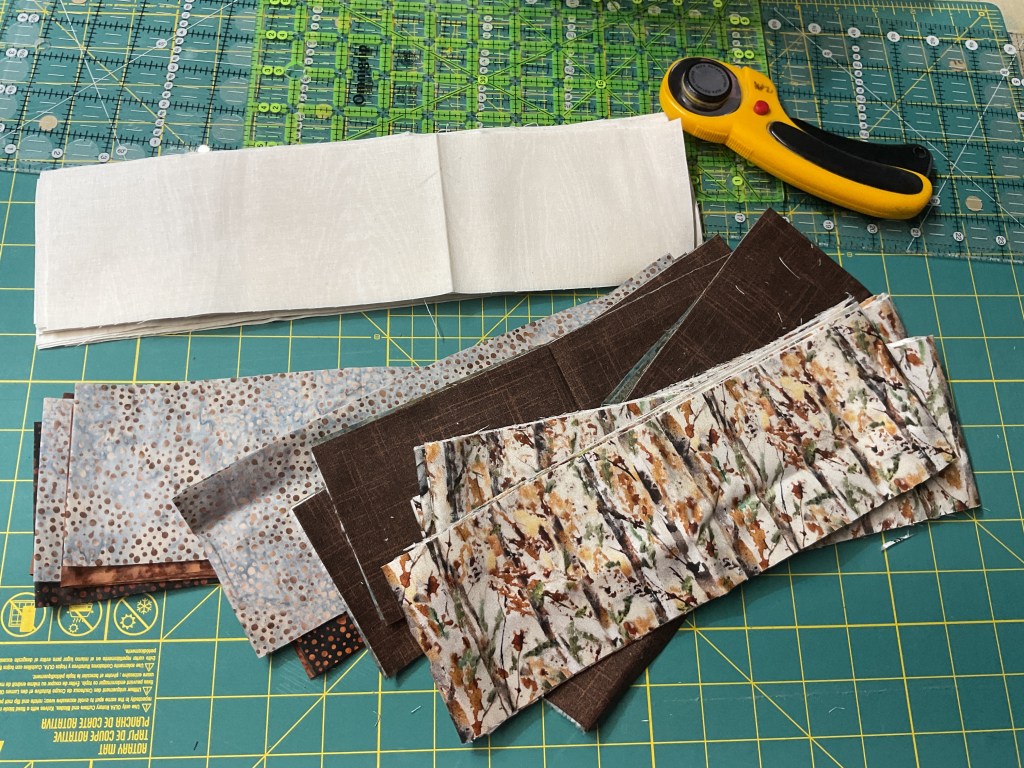
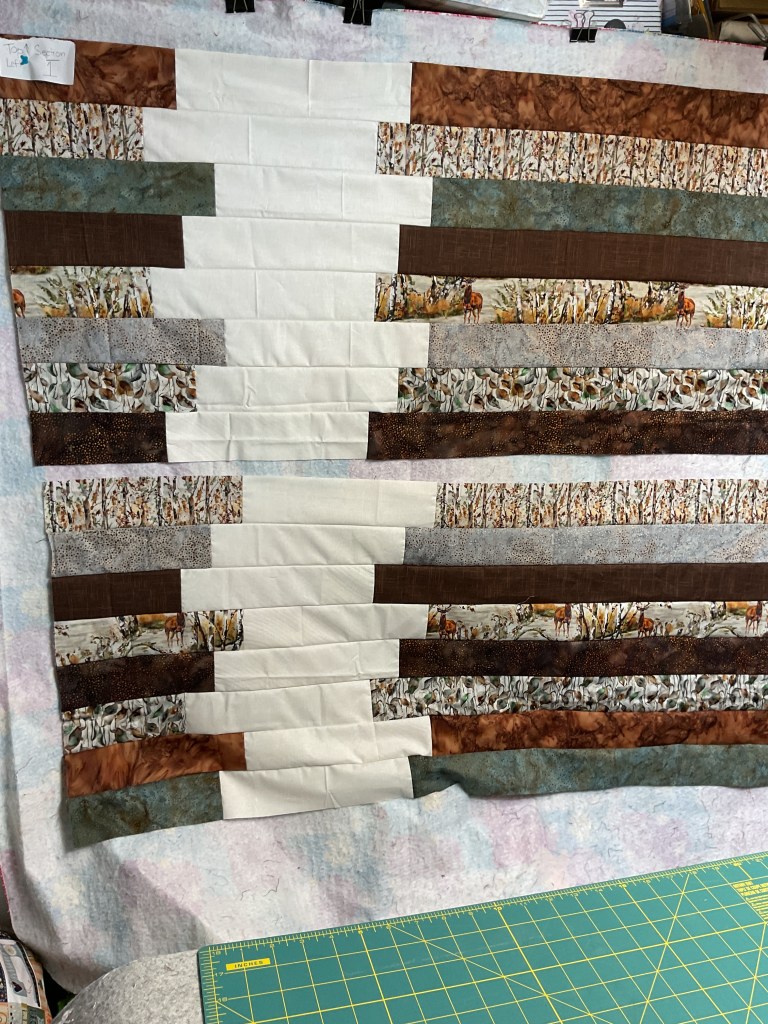
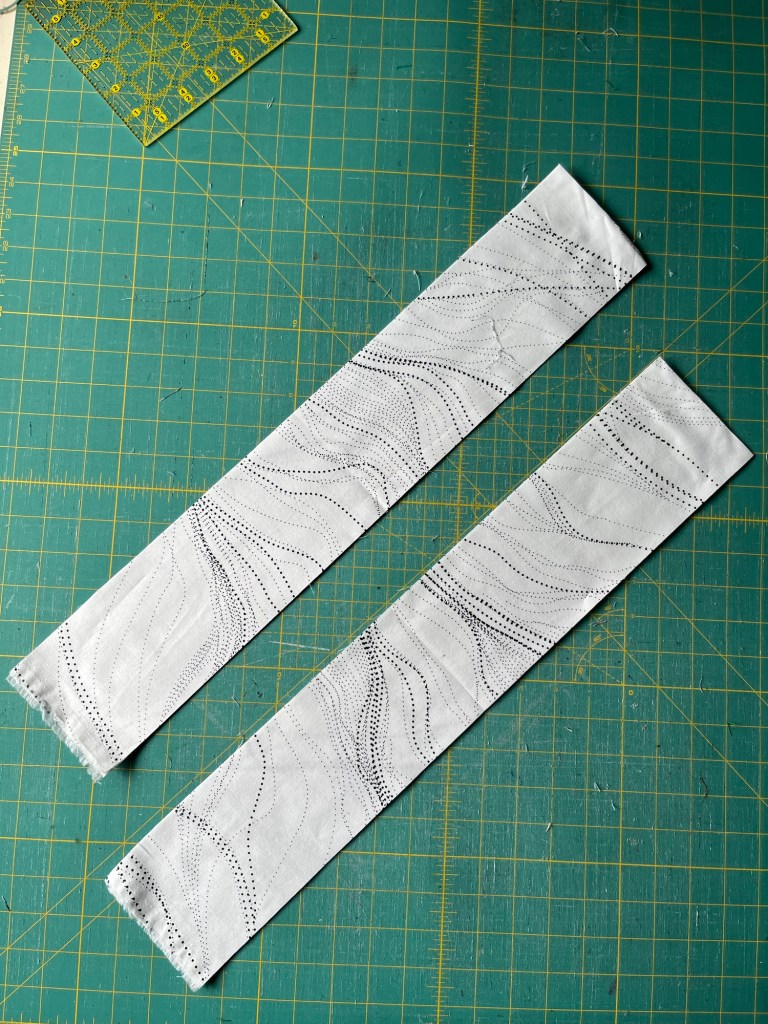
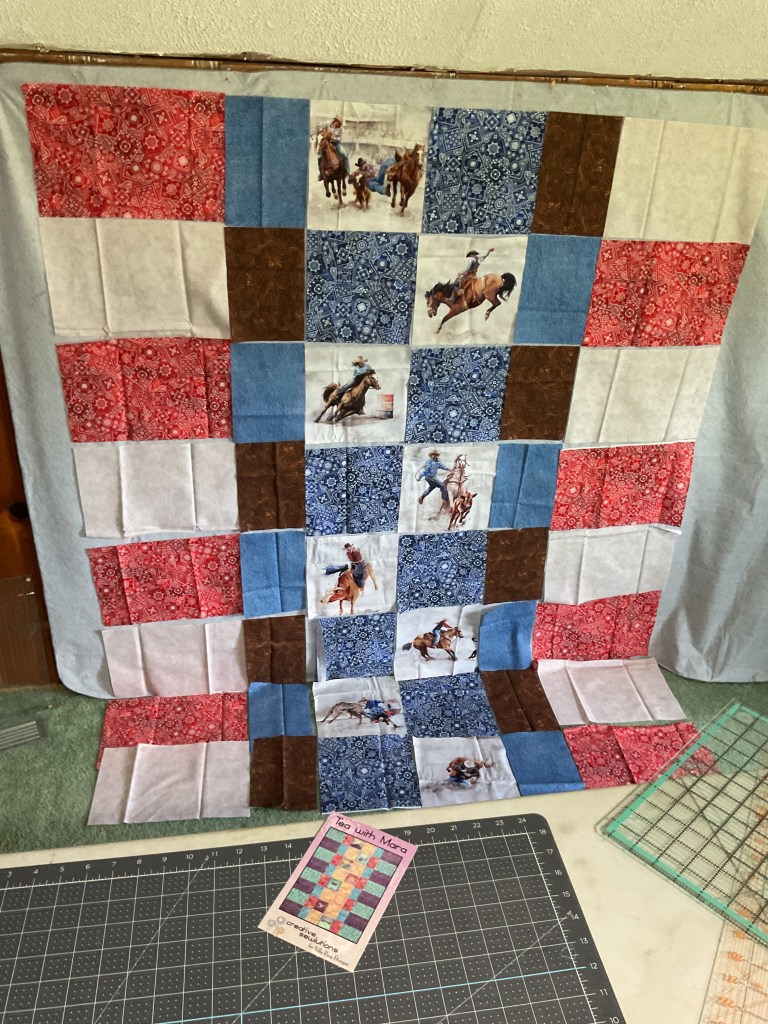
My Before Photo (layered and ready to quilt):
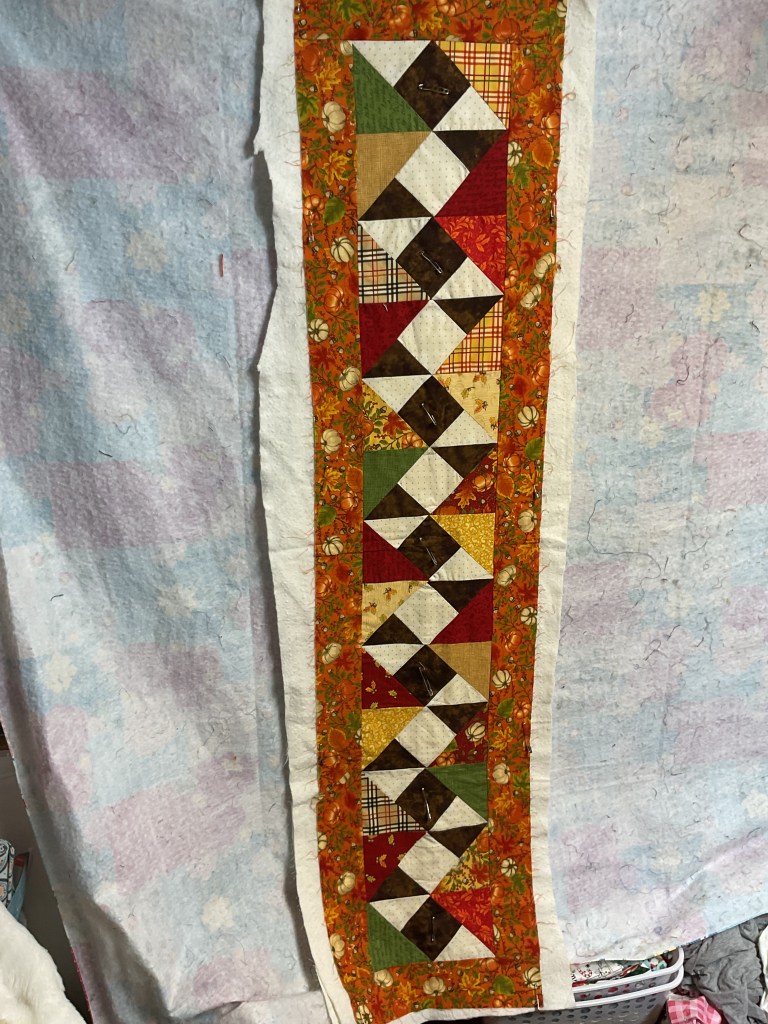
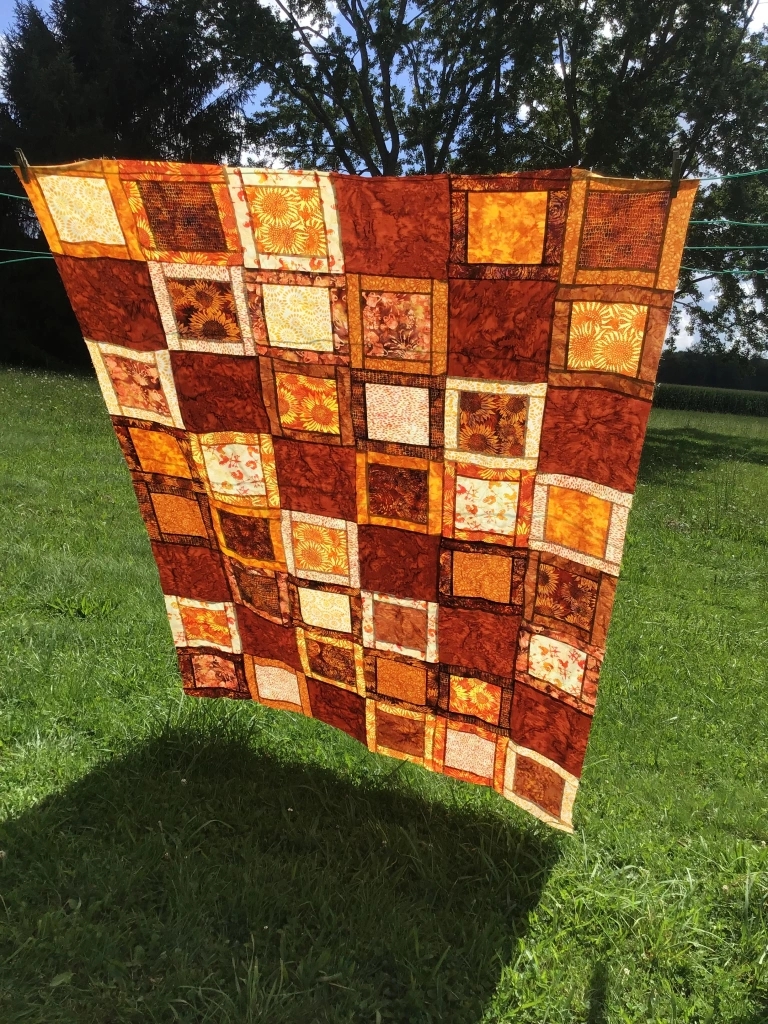
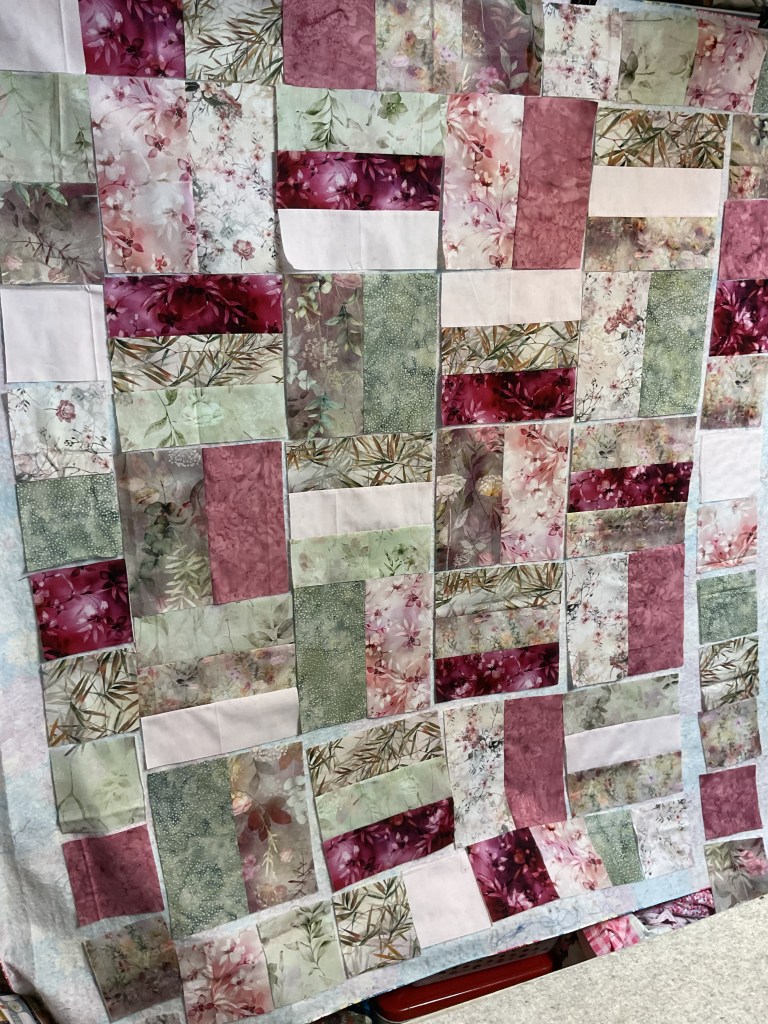
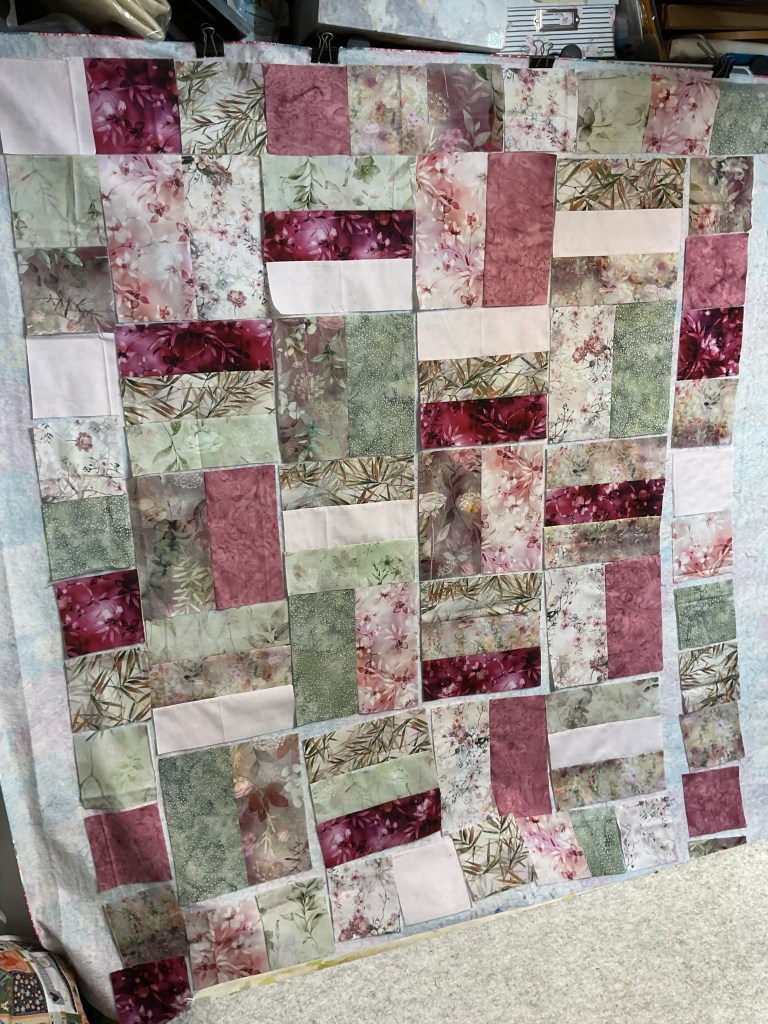
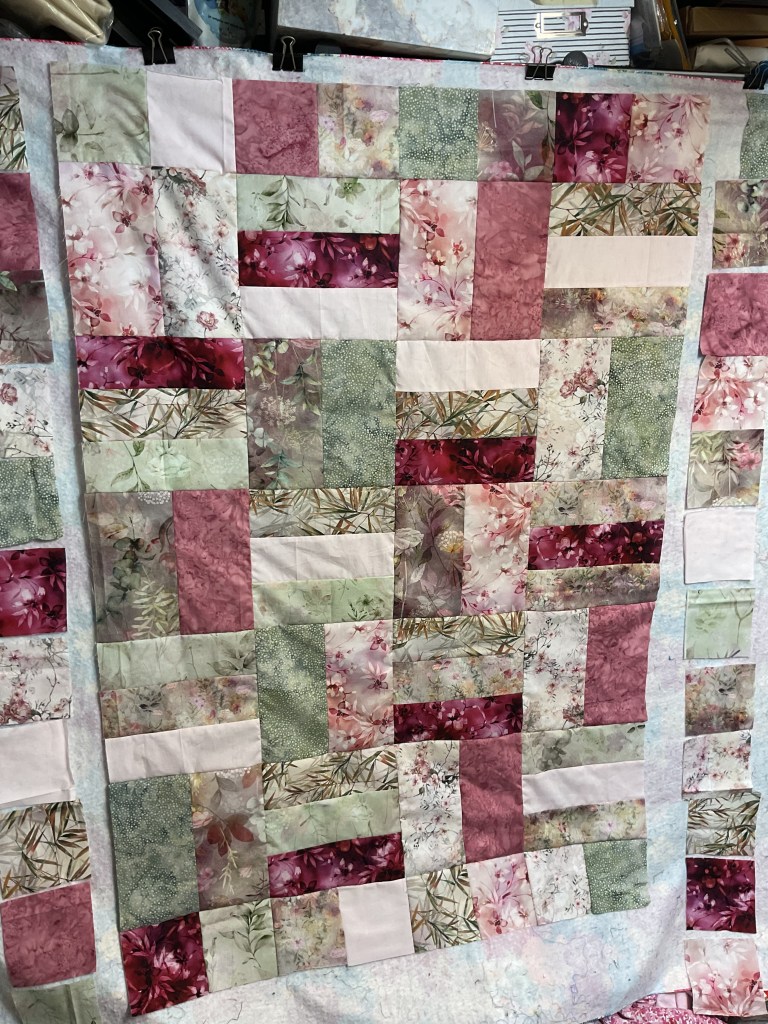
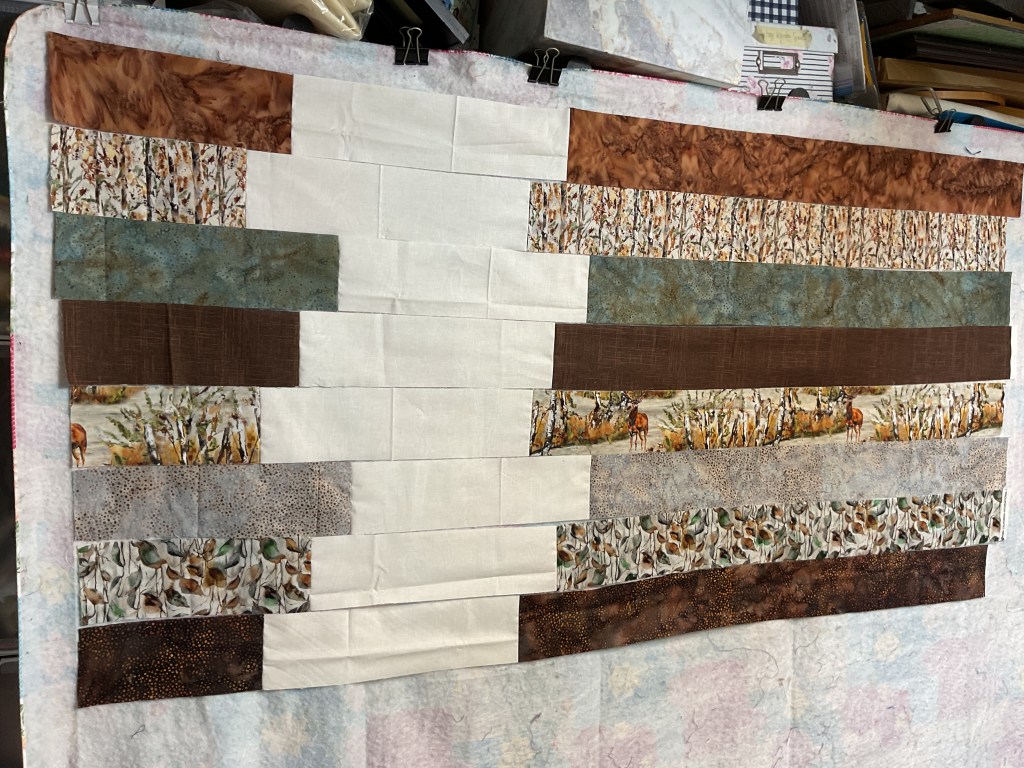
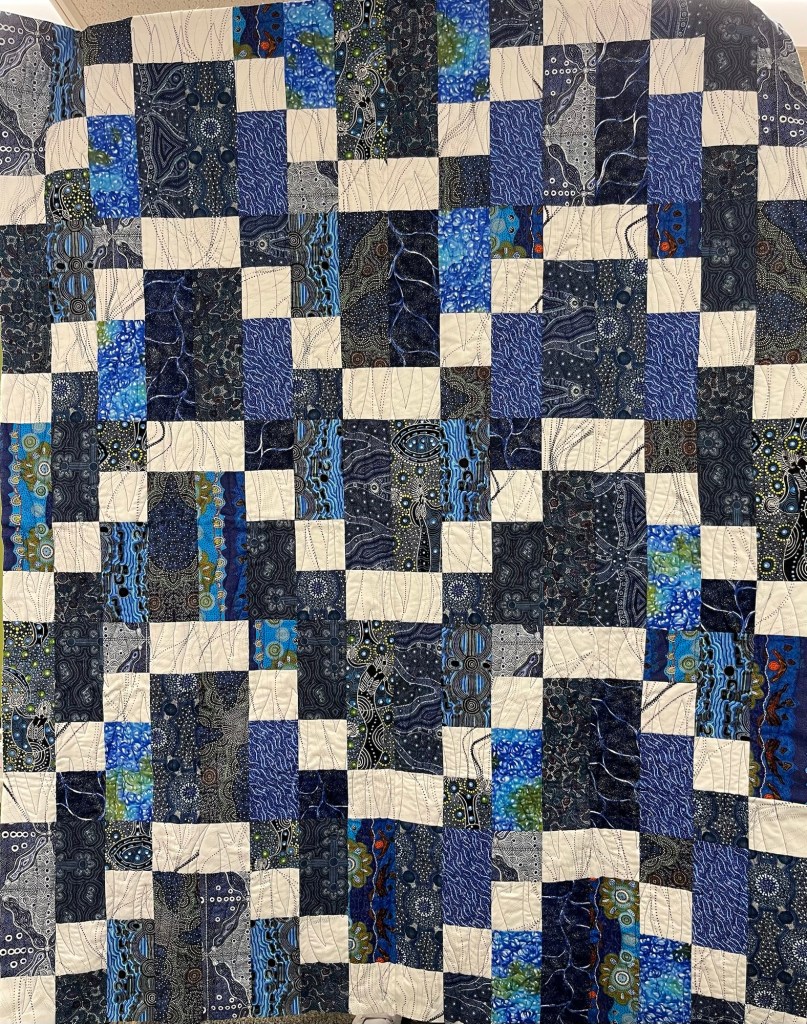
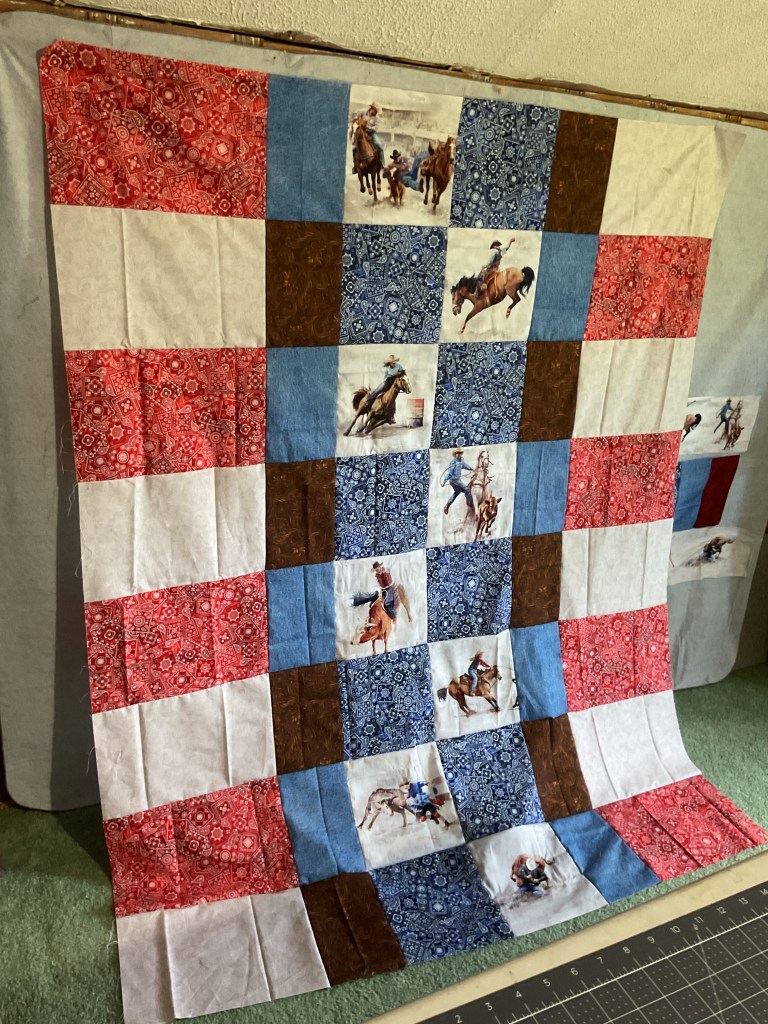
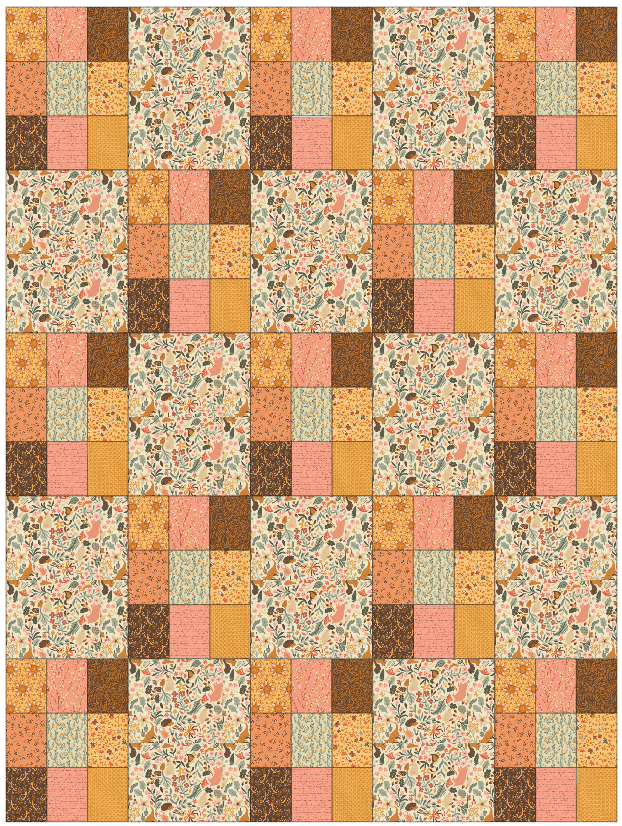
My After Photo (Done and Done!):

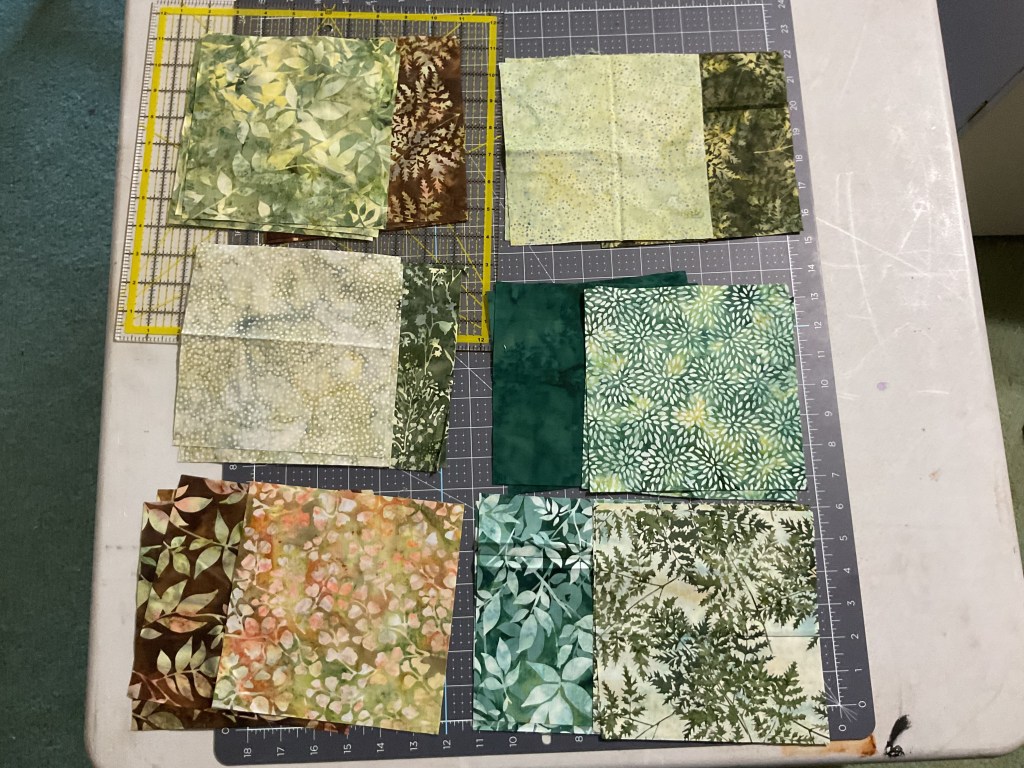
I made this Autumn version of Steppin’ Up a few years ago when my Friday Quilt group did a whole year of VRD Table Runners. Of course, I made the top as a class sample and never finished it. I don’t remember the name of the collection anymore as the fabrics were left over from another project from way back when. Of course, if you want to make an Autumn version yourself, now’s the time to gather up a gorgeous selection of warm fall fabrics.
I backed it with a neutral backing fabric and a layer of thin cotton batting. I free motion quilted it with an allover loop design (one of my absolute favorite designs which also quilts up really fast – you can see how I do loops HERE). I machine stitched the brown tonal binding on and guess what – it actually turned out pretty well. Last, of course, I added a label.
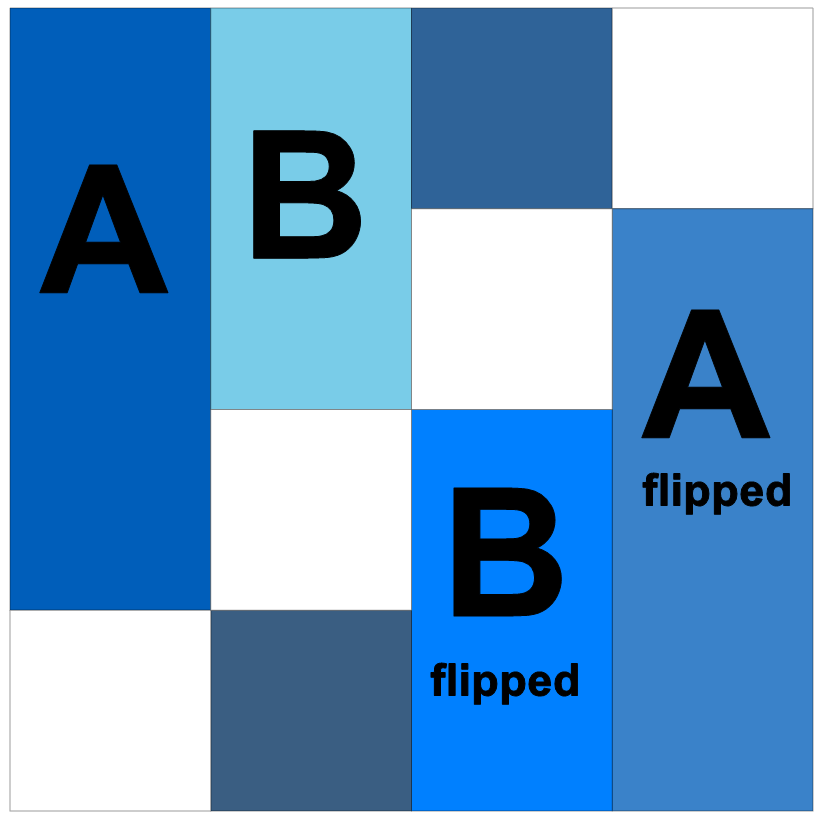
Have you ever made Steppin’ Up? It’s a really fun one if you haven’t. You can actually arrange the blocks in a lot of different ways to make your runner your way.
So, what are you finishing for Week 2? You have until Friday at midnight to email or post your before/after photos of your Week 2 projects to be entered in our Week 2 drawing.
October VRD Accessory Challenge
Speaking of my Friday group, this past week for our October meeting, we had a group challenge reveal – VRD Accessory patterns. Have you ever made any of our really fun Accessory patterns? You can find all of them HERE. I’m excited to tell you that we are going to be adding NEW Accessory patterns going forward. In fact, I’m working on a few ideas right now.
So, my quilty pals rose to the October Accessory Challenge. Check out their makes, below. Of course, they all rolled their eyes at me when I started snapping pictures because they just knew I was going to show off their projects on the blog. Sorry, not sorry…….
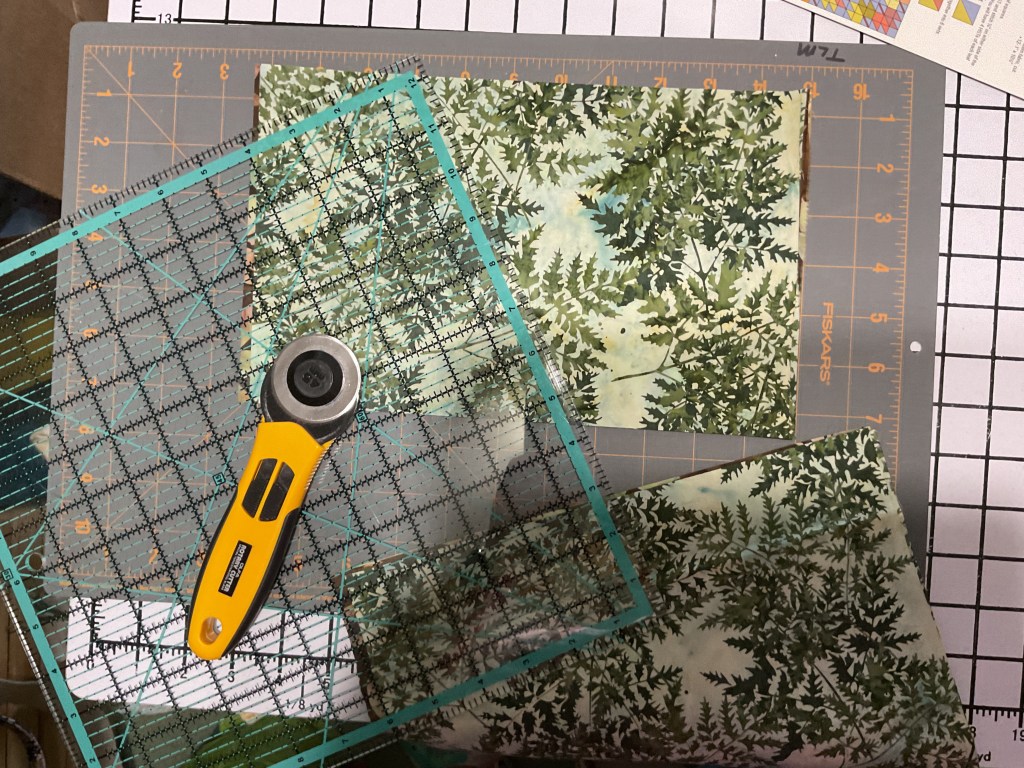
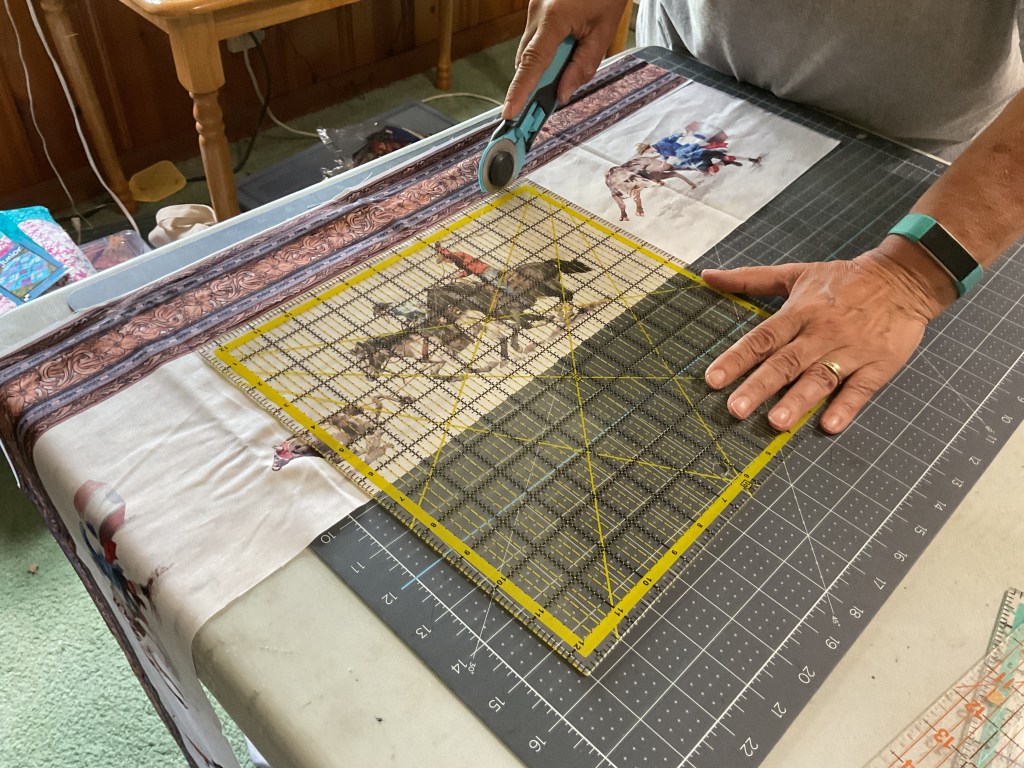
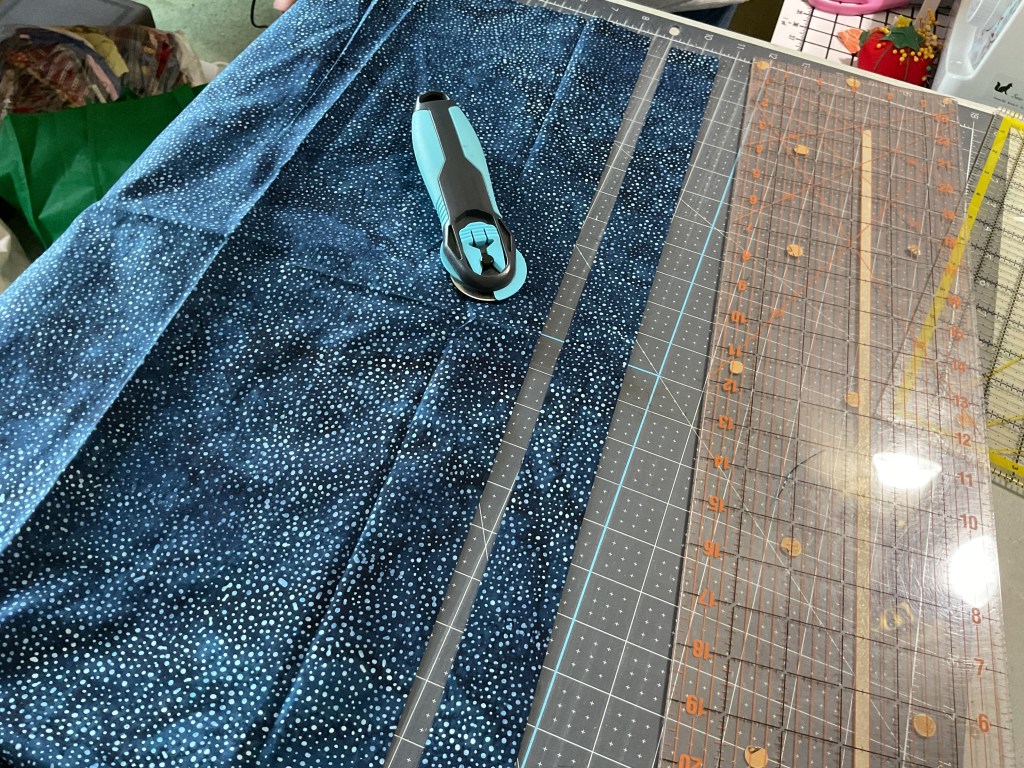
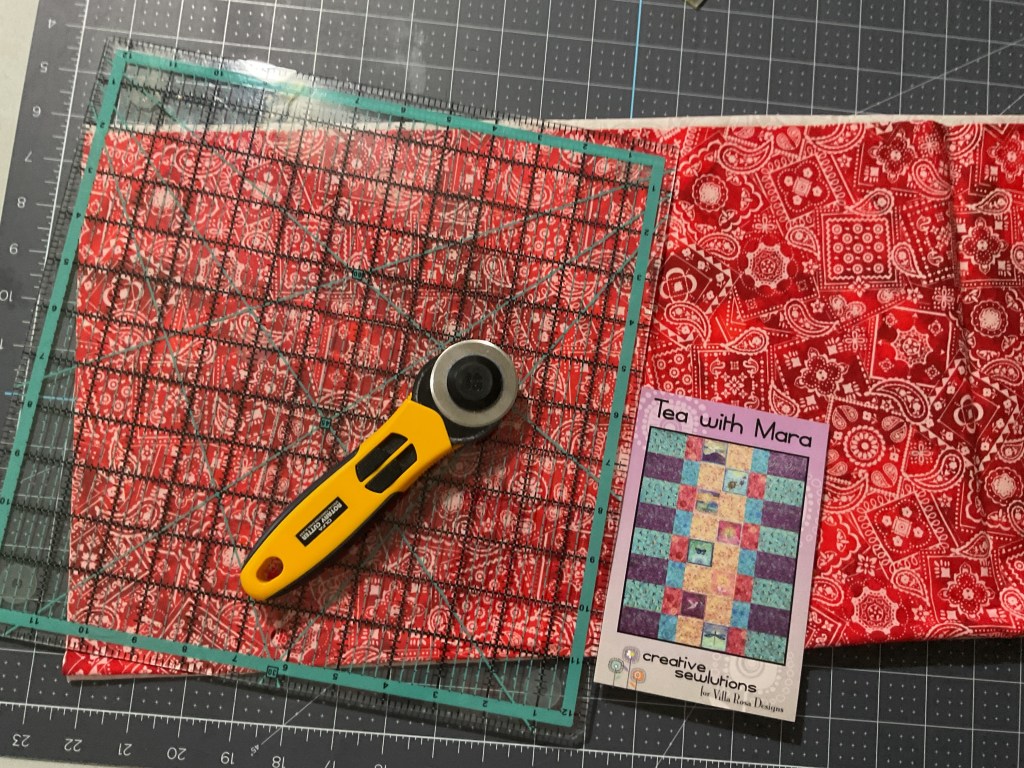
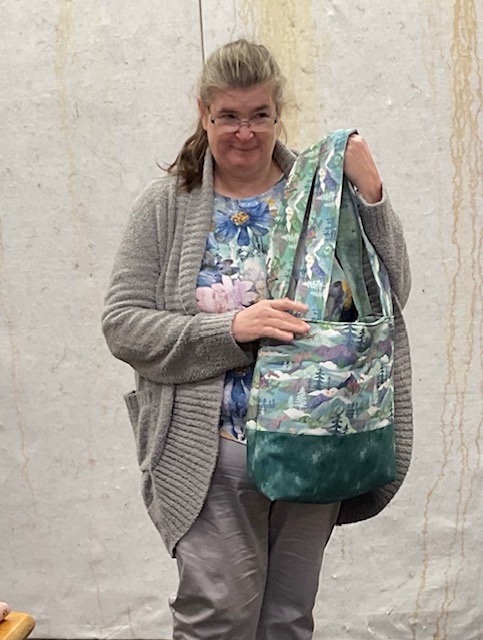
Gaynel made the Olivia Jane pattern. Gaynel discovered that Olivia Jane was the perfect tote to hold a 12”x 12” rotating cutting mat.
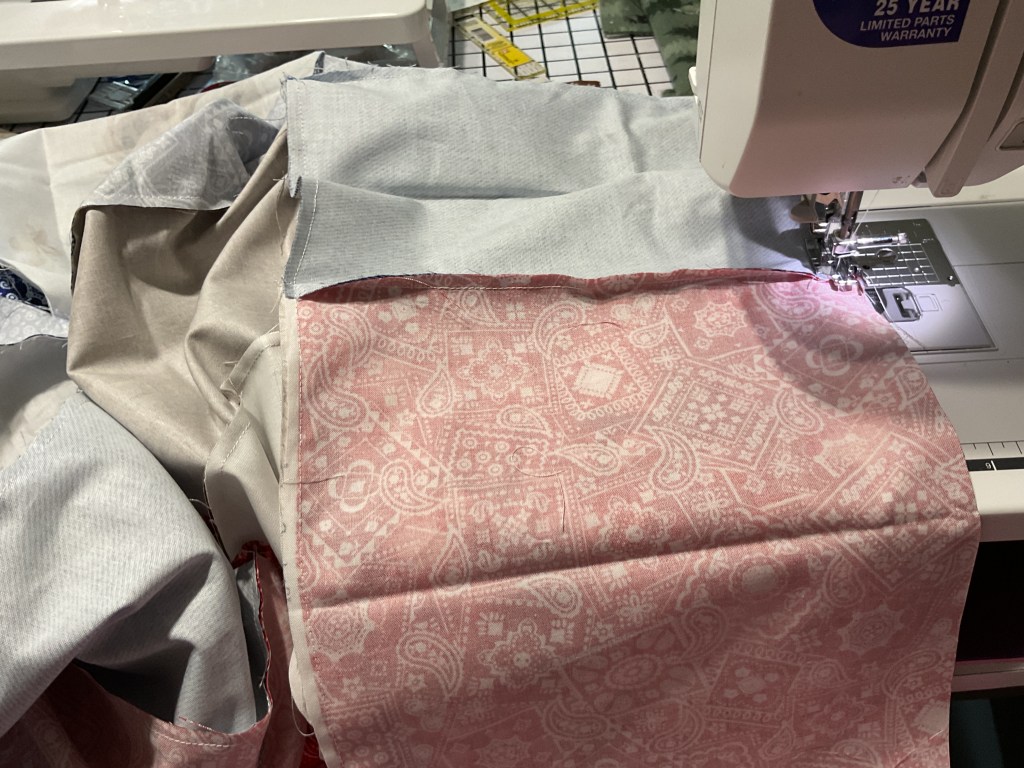
Mary Lee made Catrina Jane, a 2 Pocketed VRD Rose Card Pattern Keeper. You can’t tell in this photo which shows the inside, but her outside fabric is a really cool African batik, which is more like an embossed fabric than the usual batiks we are familiar with.

Robin made the Dinner Party Place Mats. She did alter them a bit by making 4 identical mats instead of swapping the fabrics in each place mat. Find the digital pattern HERE or the print pattern HERE.

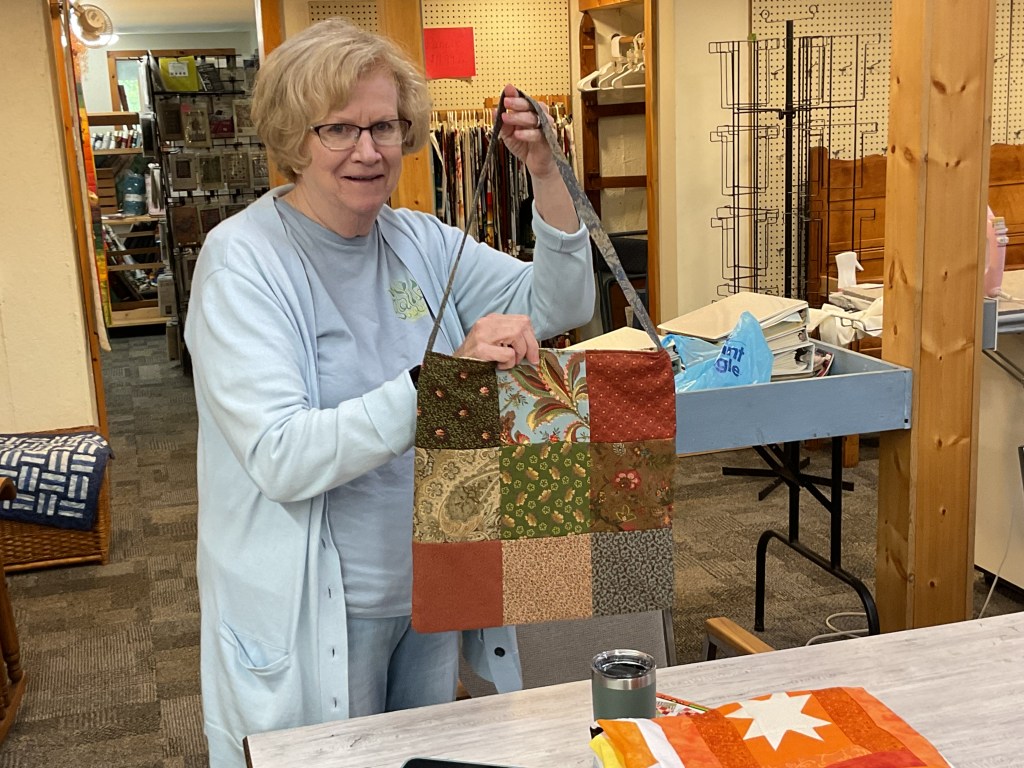
Donna made not only 1, but 4 tote bags using the Tabitha Jane pattern. Here is the one she made herself. The other 3 will be holiday gifts. Good thinking, Donna!
Kim made a set of these uber adorable Buzzy Bee Snack Mats. You can find the digital pattern HERE and the print pattern HERE.

There would no way at all I could choose a favorite from their projects because in my book, they are all winners because they finished their projects, so everyone got to pick out a fat quarter as a prize.
I hope these fun Accessory projects will inspire you to make some of your own – HEY! You could even make some as part of our 6 Quilts in 6 Weeks Challenge – we have 4 more weeks to go yet. You could make some great holiday gifts, or maybe a little something something for yourself.
Okay, time to get back to work on your Challenge projects. And mine too.
Have a great week. Get SEW much done!
Sew. Laugh. Finish. Repeat.
Always,
Tricia @ VRD