Hello Quilty Friends!
Happy Thursday to you!
I’ve been thinking about ideas for summer posts and I think I’ll do a series of Summer Quilt Tutorials. Creating tutorials gives me a reason for getting some sewing in AND I have a stack of wonderful kits just waiting for me to make into quilts. The only problem with making a bunch of tops will be getting them quilted. LOL!
I can’t promise one tutorial a week over the summer, but I will definitely try. I may need to alternate tutorials with text posts because sometimes making the top and doing the photography takes me longer than a week to get ready, especially as summers get busier and busier.
Well, let’s get to it.
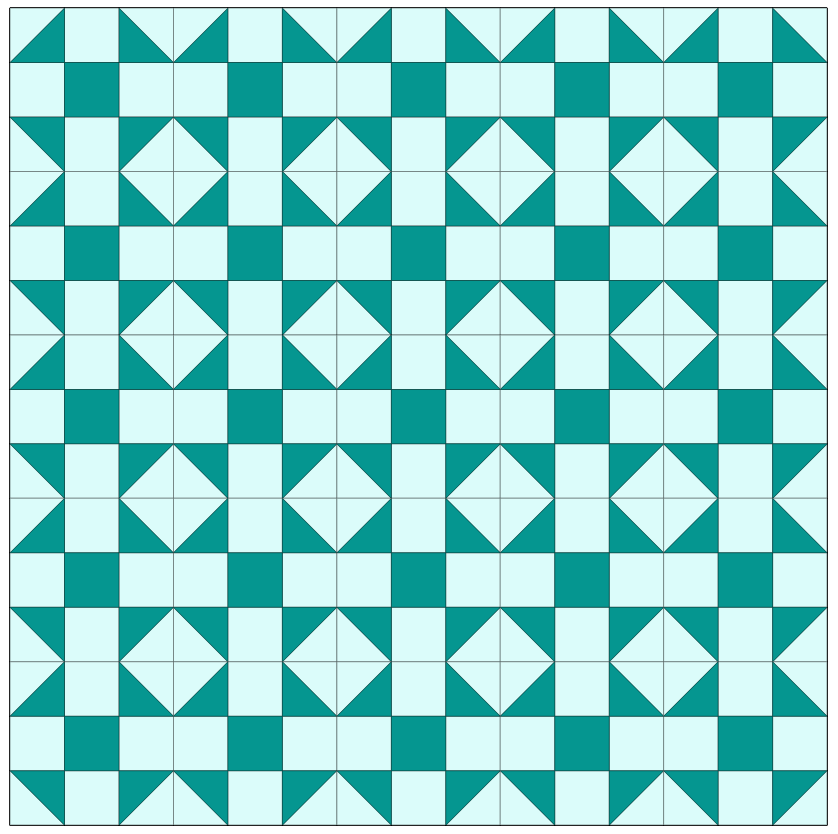
I chose Dusk Delight as my first summer tutorial because this pattern has been on my mind recently. I’ve done a few “digital” quilt mock ups with it recently and it really resonated with me for some reason. Maybe because of the controlled scrappy look? Or perhaps the vertical arrangement? Whatever it was, I was itching to make this one. Isn’t it wonderful that I had a quilt kit to make one???
Dusk Delight goes together easily, but I will caution you that making a big stack of blocks does take a little time. The assembly is not difficult, but can take some time to get everything put together. I would call Dusk Delight a quilt that you can make in a long weekend.
Read on!
VRD Dusk Delight Quilt Tutorial

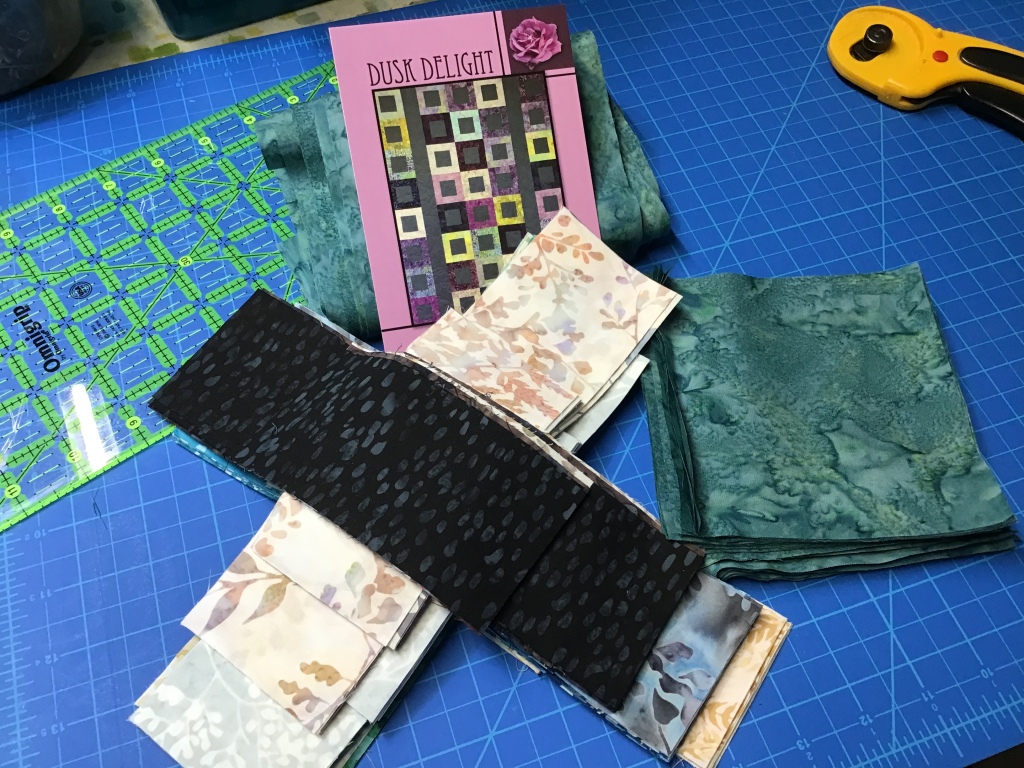
Get your Dusk Delight physical pattern HERE or your digital pattern HERE.
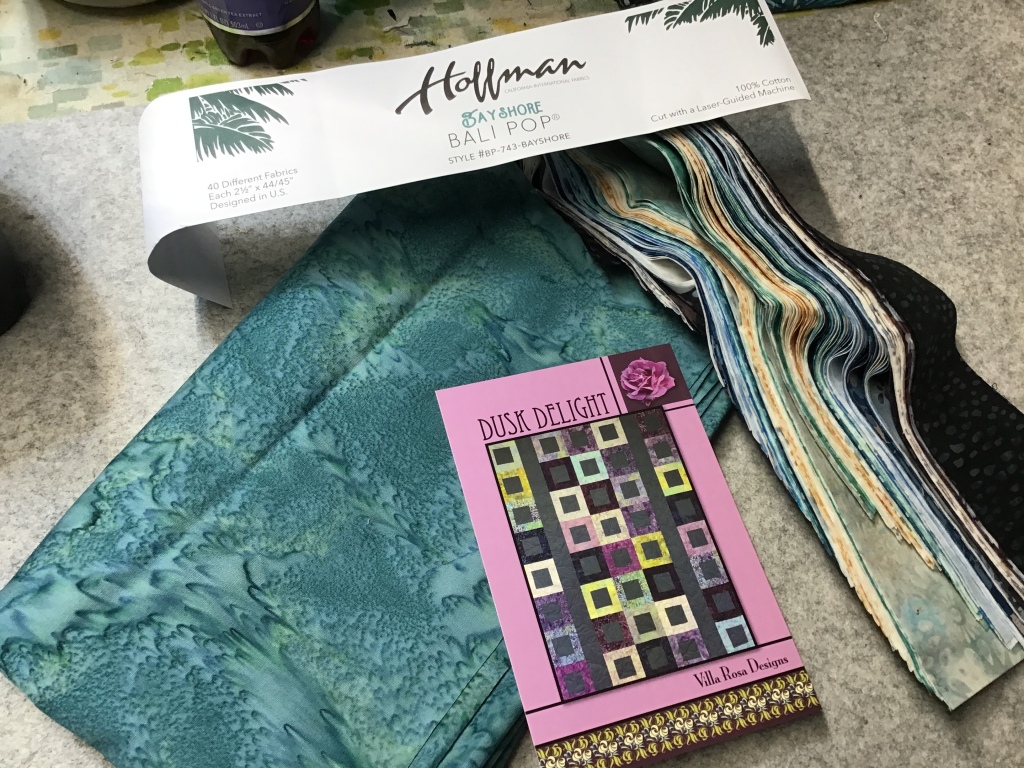
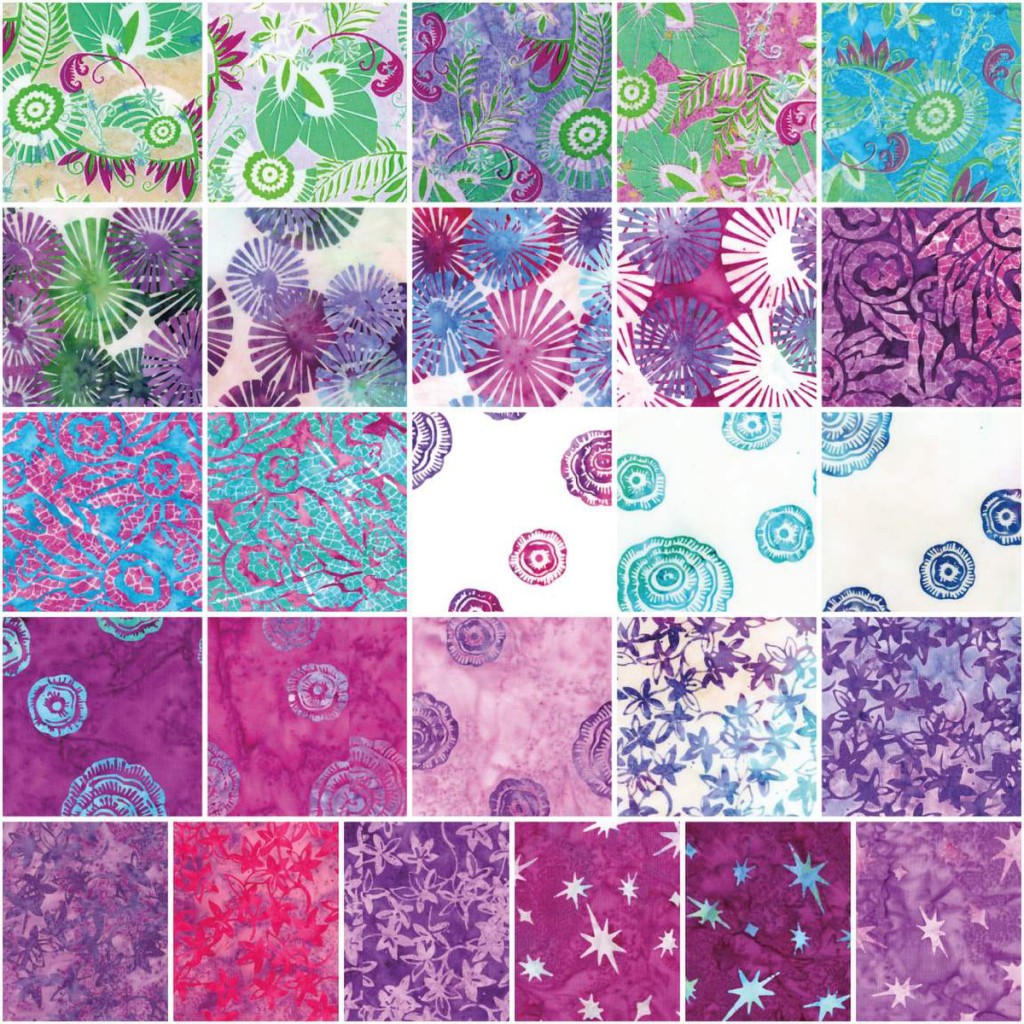
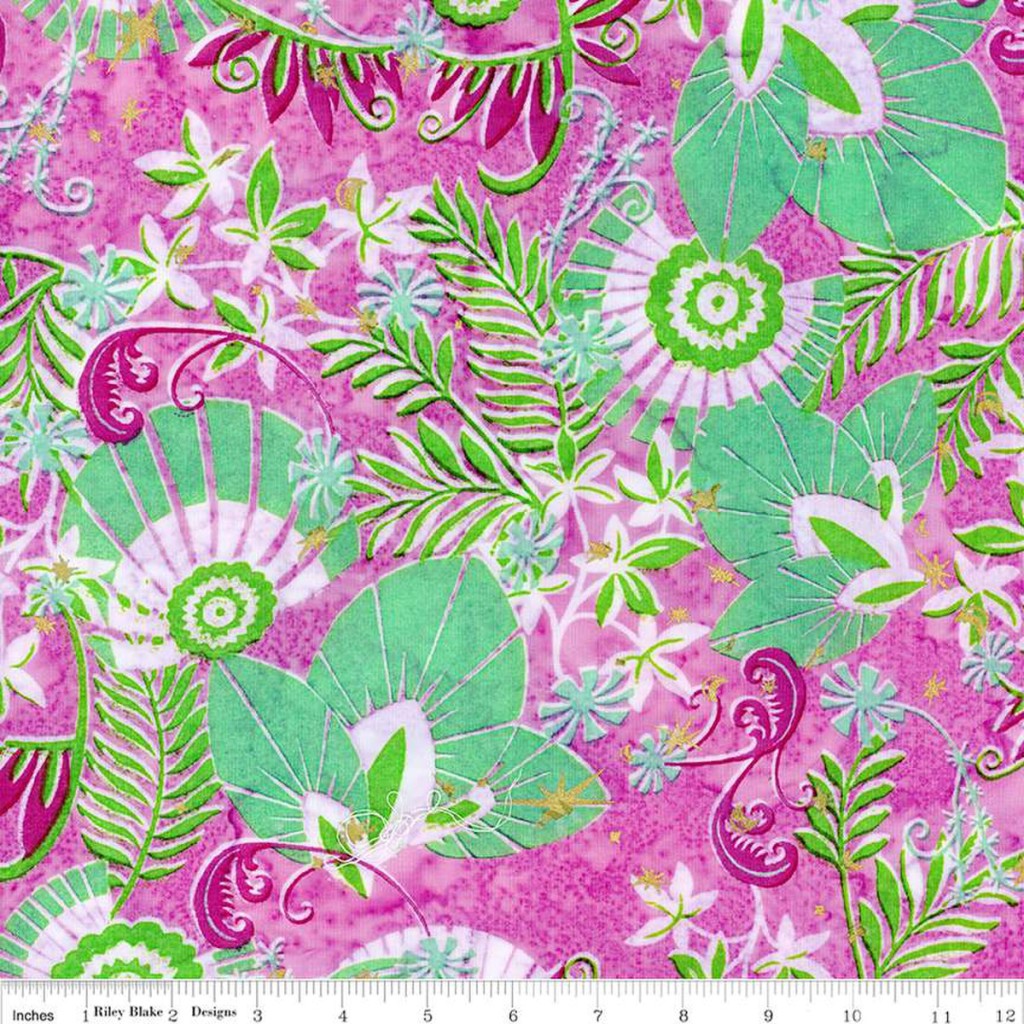
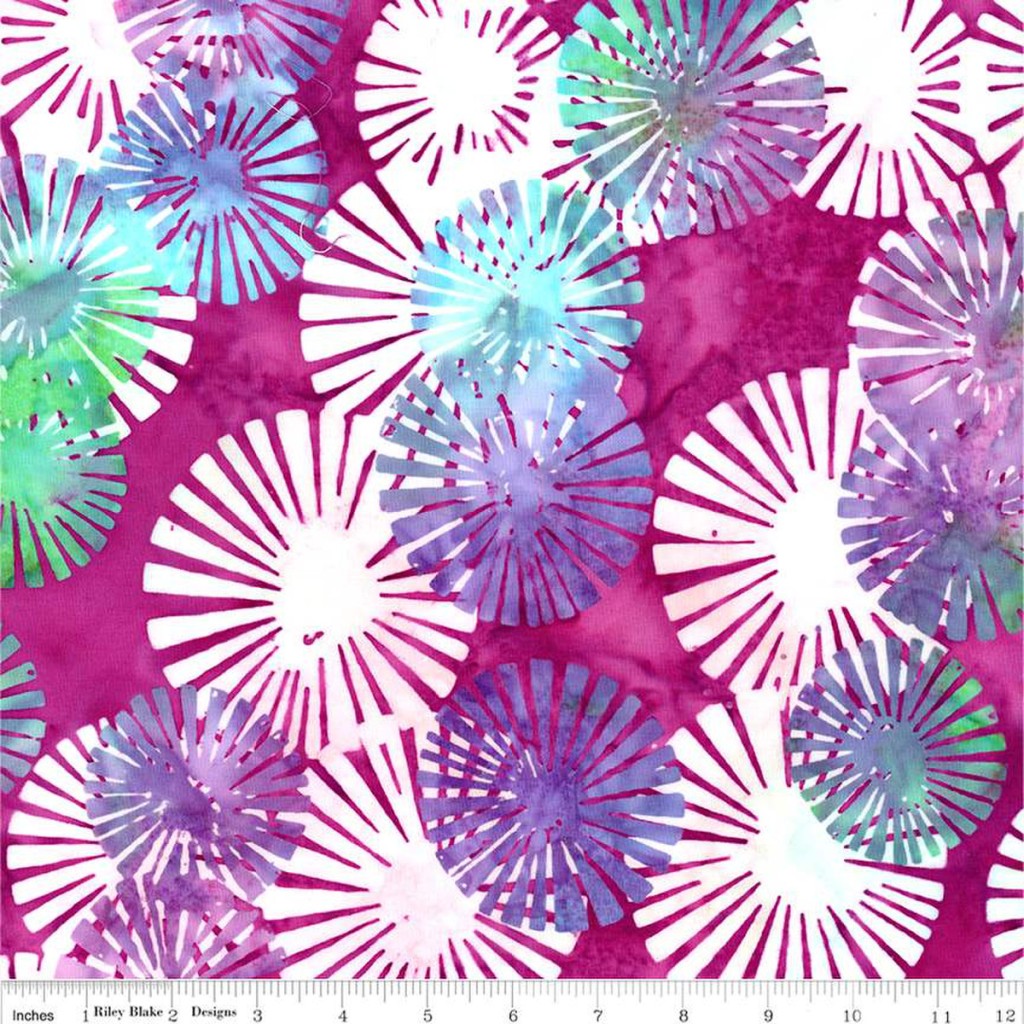
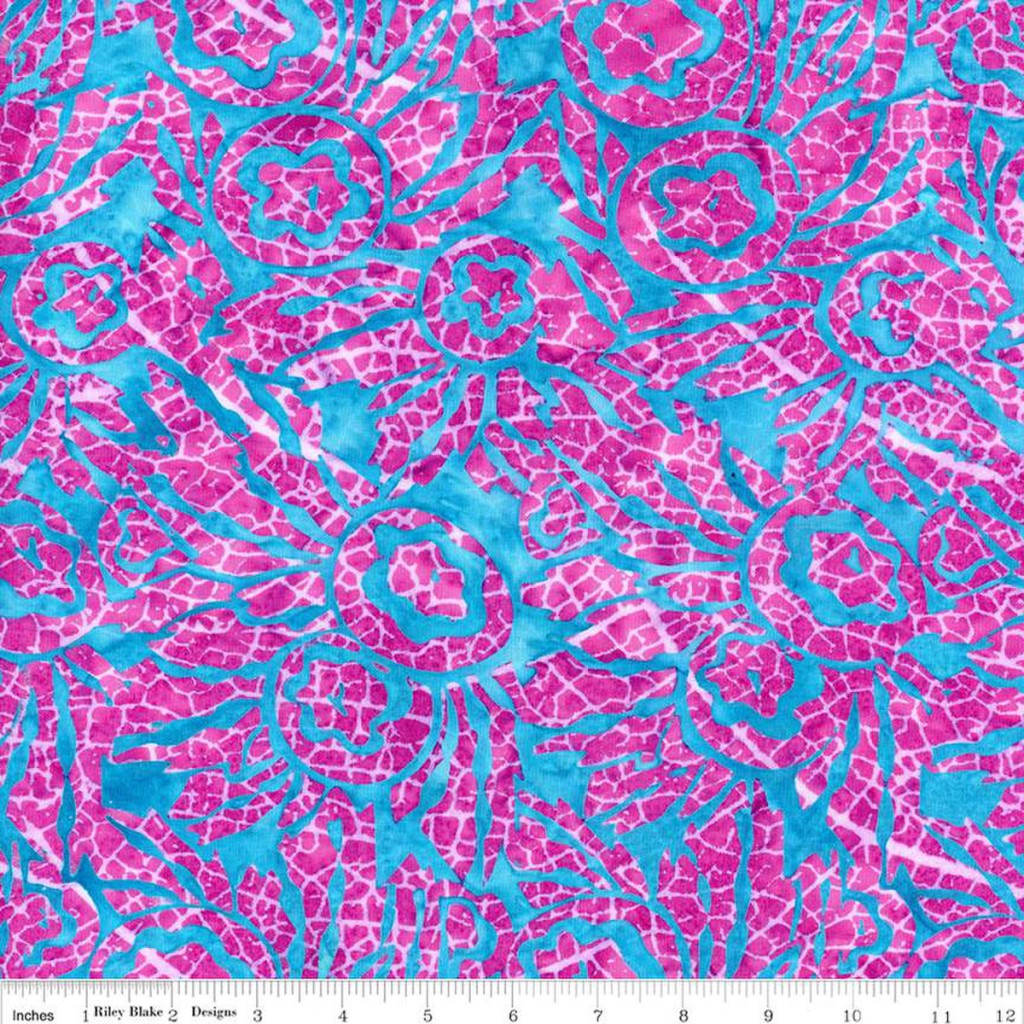
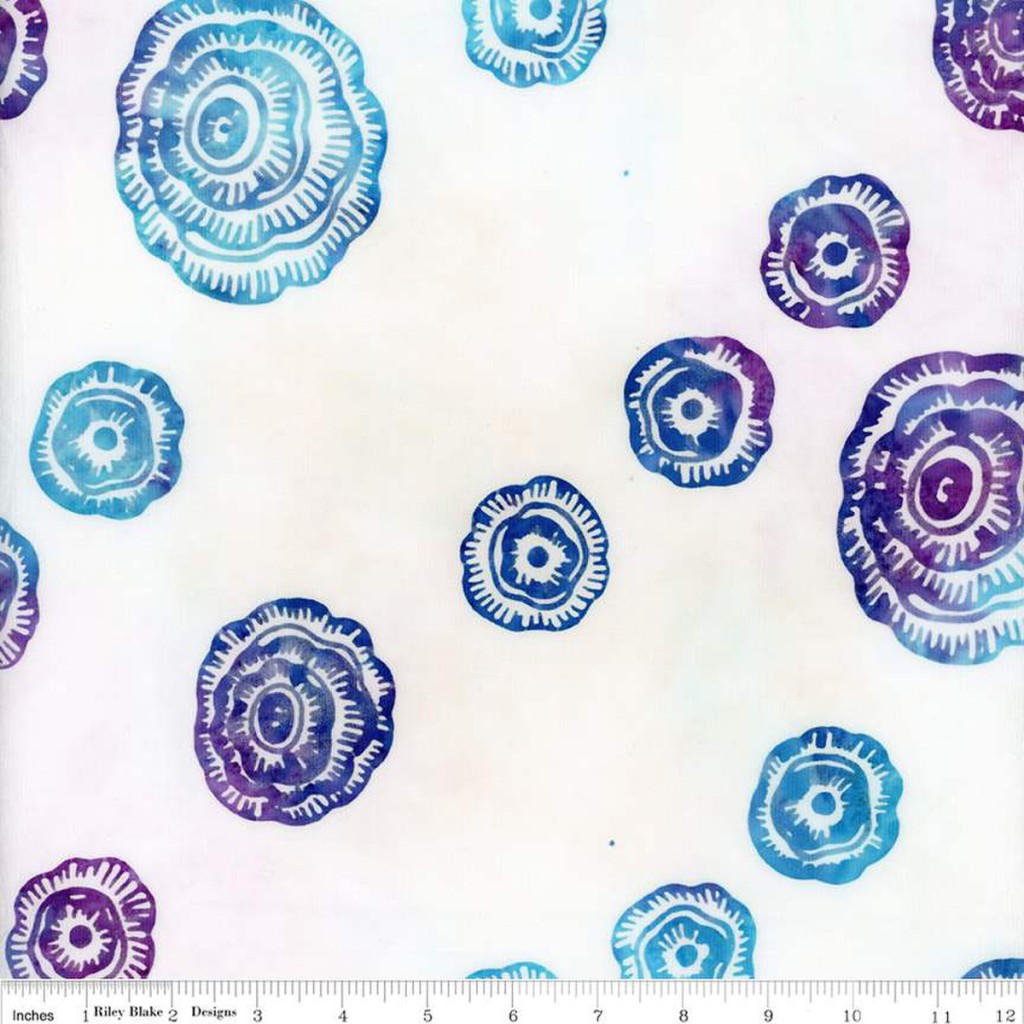
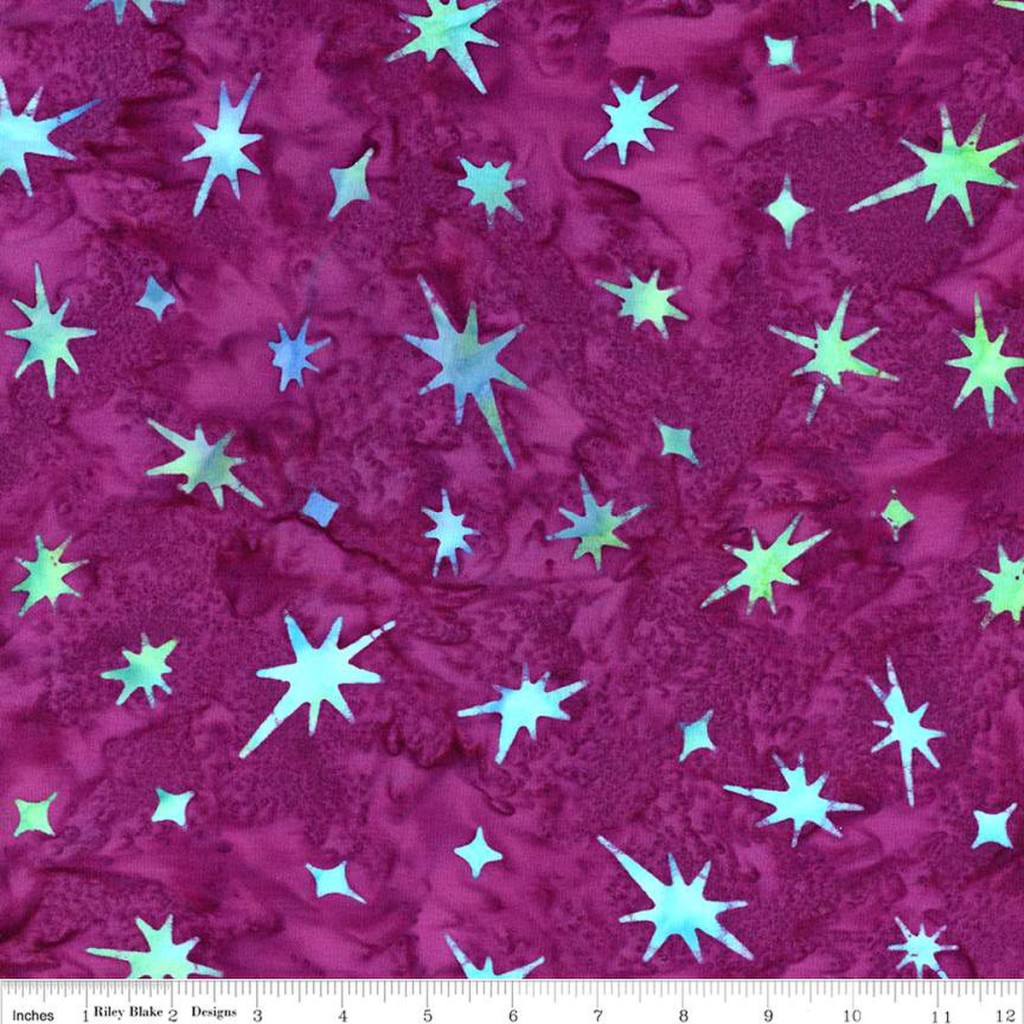
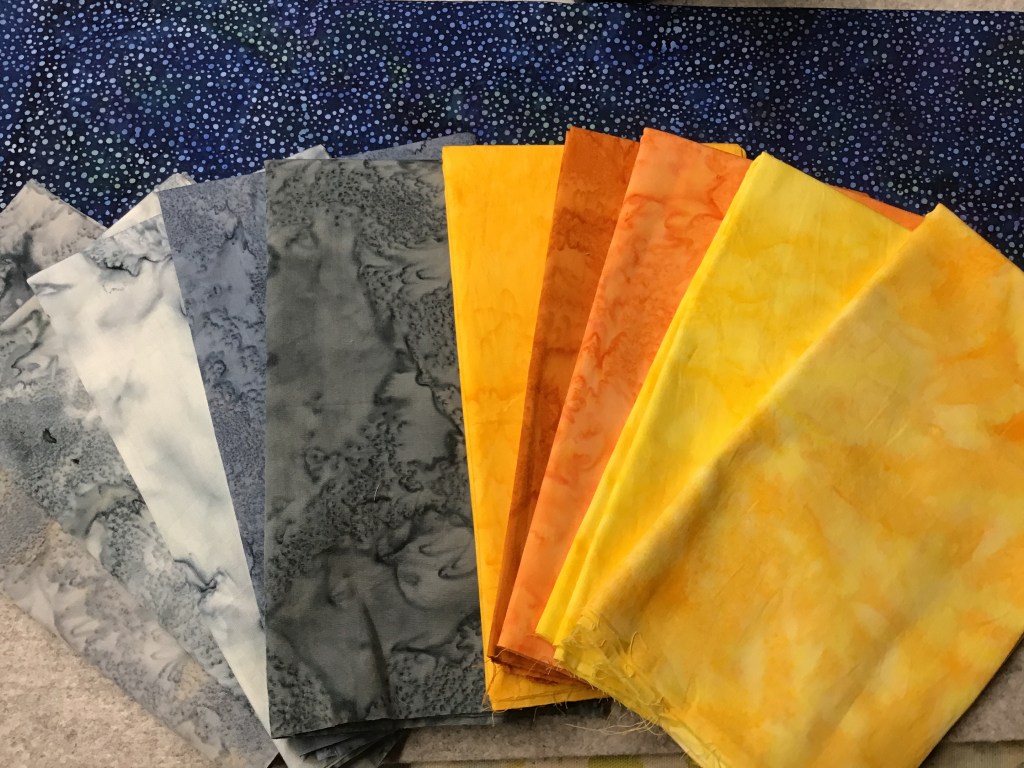
Here’s the fabric I’m using for my Dusk Delight quilt. I just love pairing Hoffman batiks with our VRD Rose Card patterns! I’m using an 1895 Watercolors batik for the block centers and the vertical strips and a Bayshore Bali Pop for the blocks. I can’t wait to see how this turns out because I just love these beachy colors!

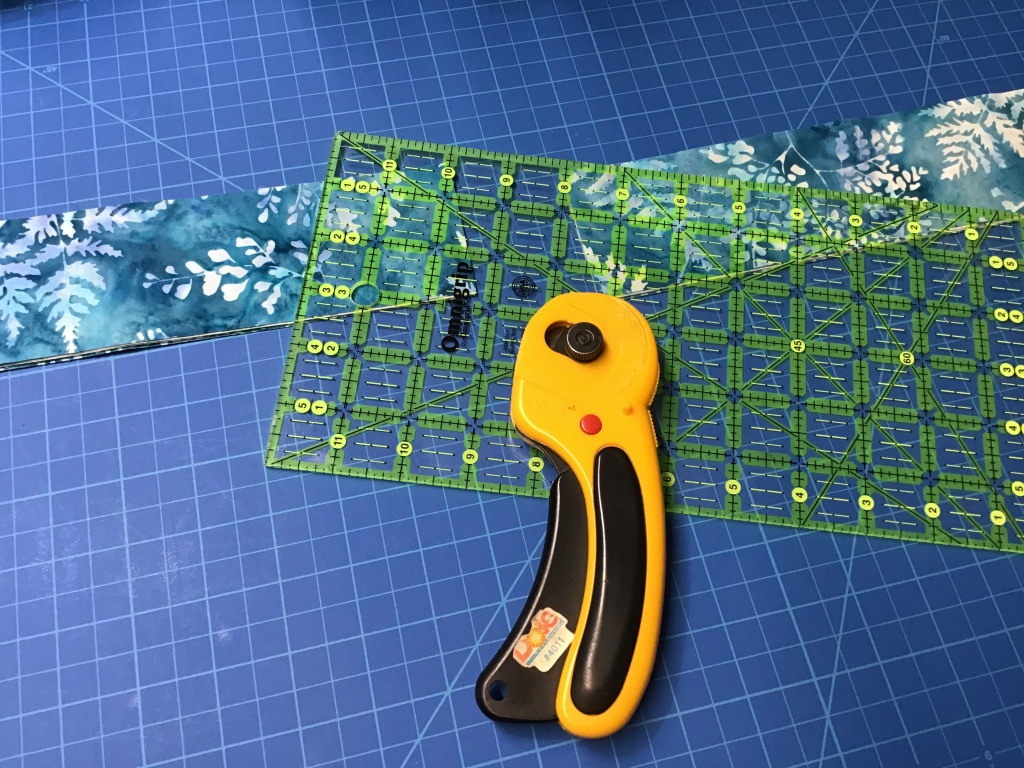
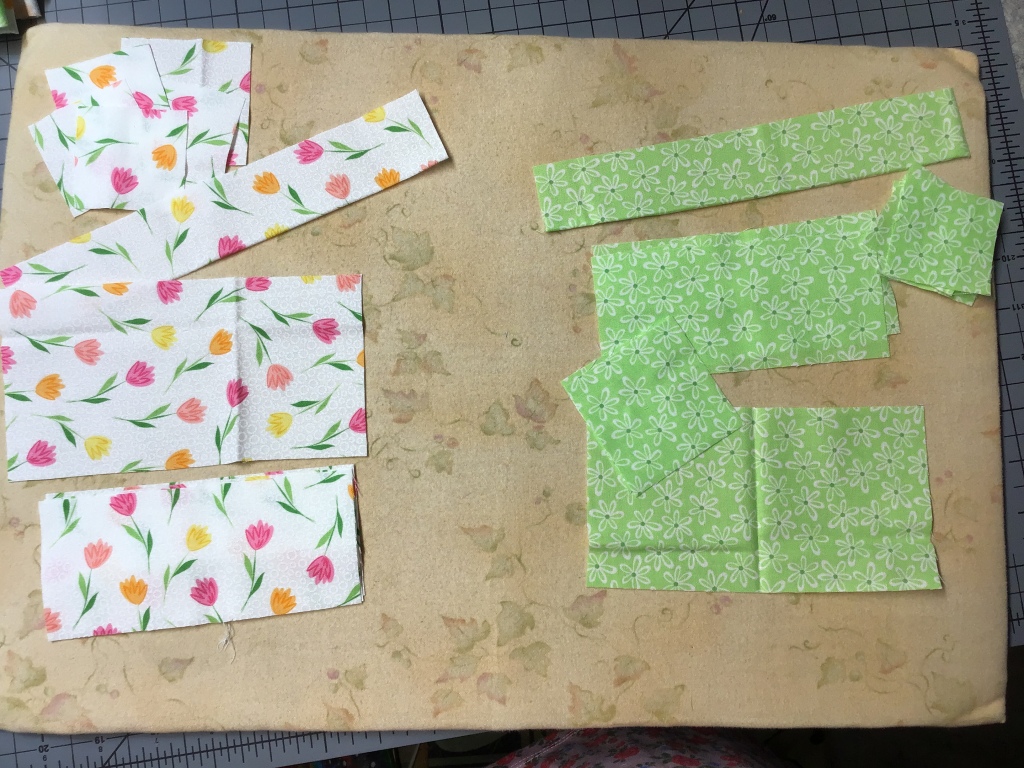
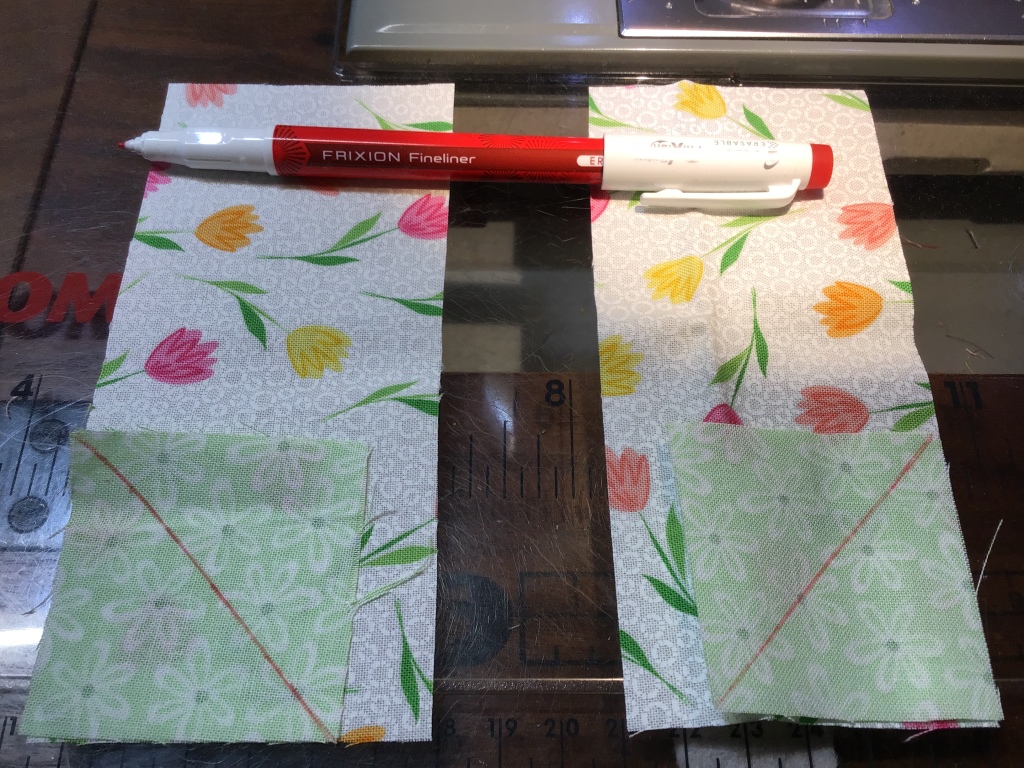
The first thing we’re going to do is cut all of our fabrics. We need block centers, vertical strips, and 2 sizes of rectangles for the blocks.
Here’s a couple tips for working with batiks:
- Start with a new machine needle because a dull needle will only damage the fabric.
- Use leaders and enders so that your machine doesn’t try to eat your fabrics at the beginning of a seam. Want to know more about leaders and enders? Check out this post HERE.
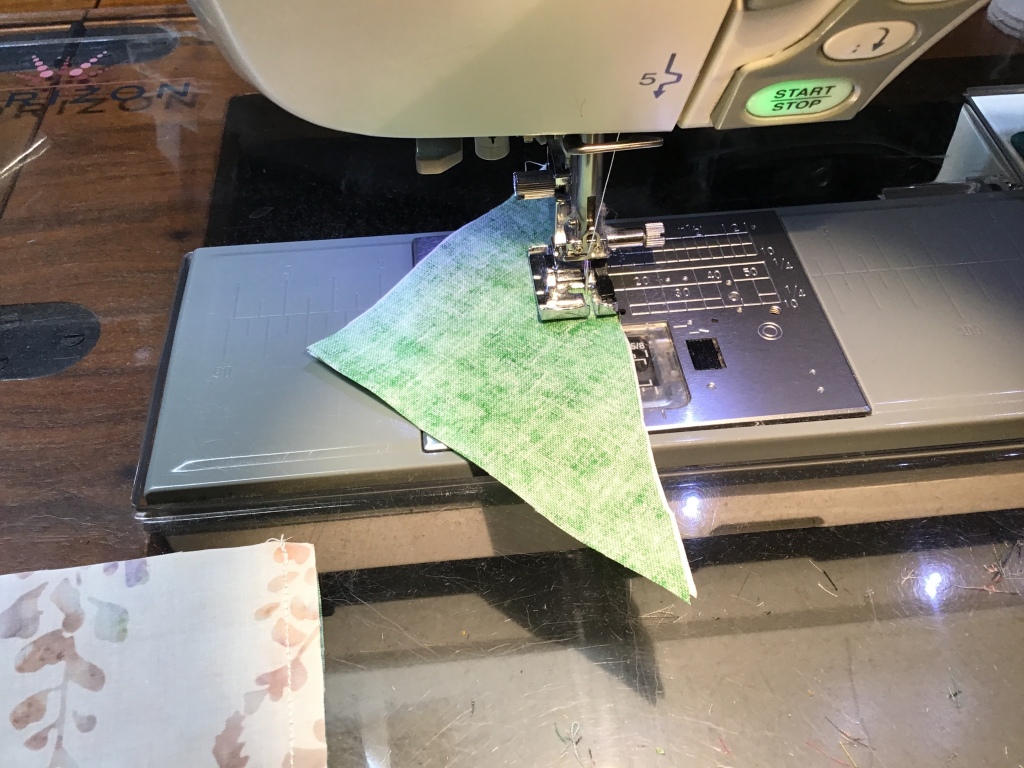
For my leaders and enders, I ‘m using a stack of green and white triangle cut-offs from a previous project. Who knows? Maybe I’ll get another little project out of these cut-off triangles.


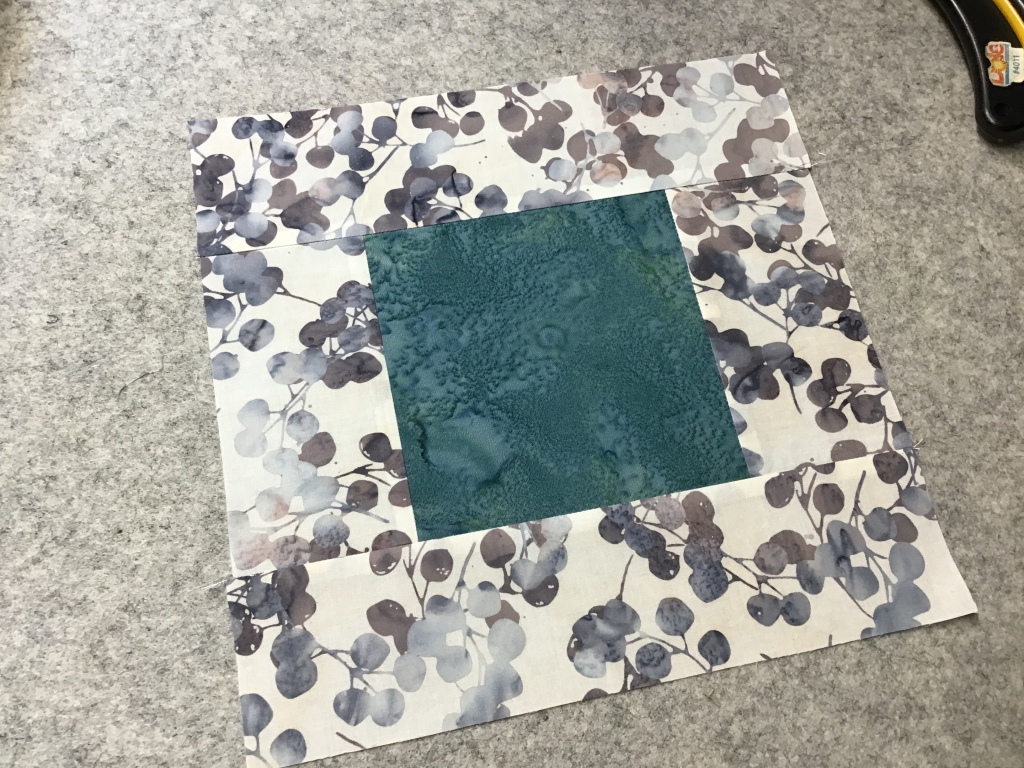

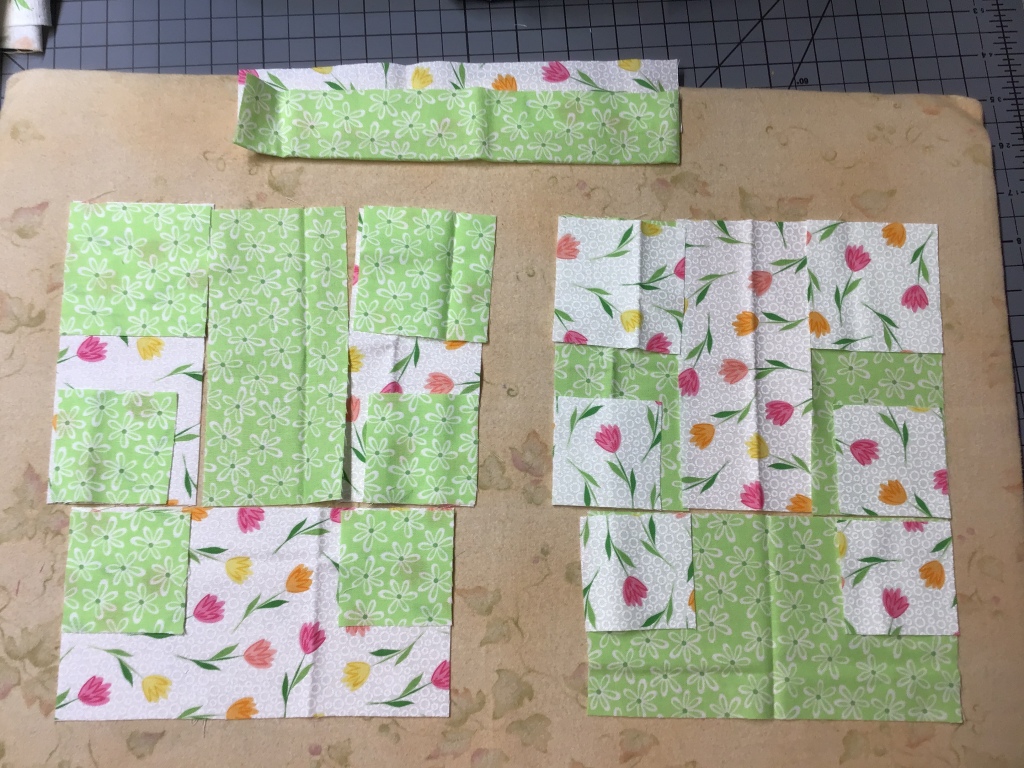
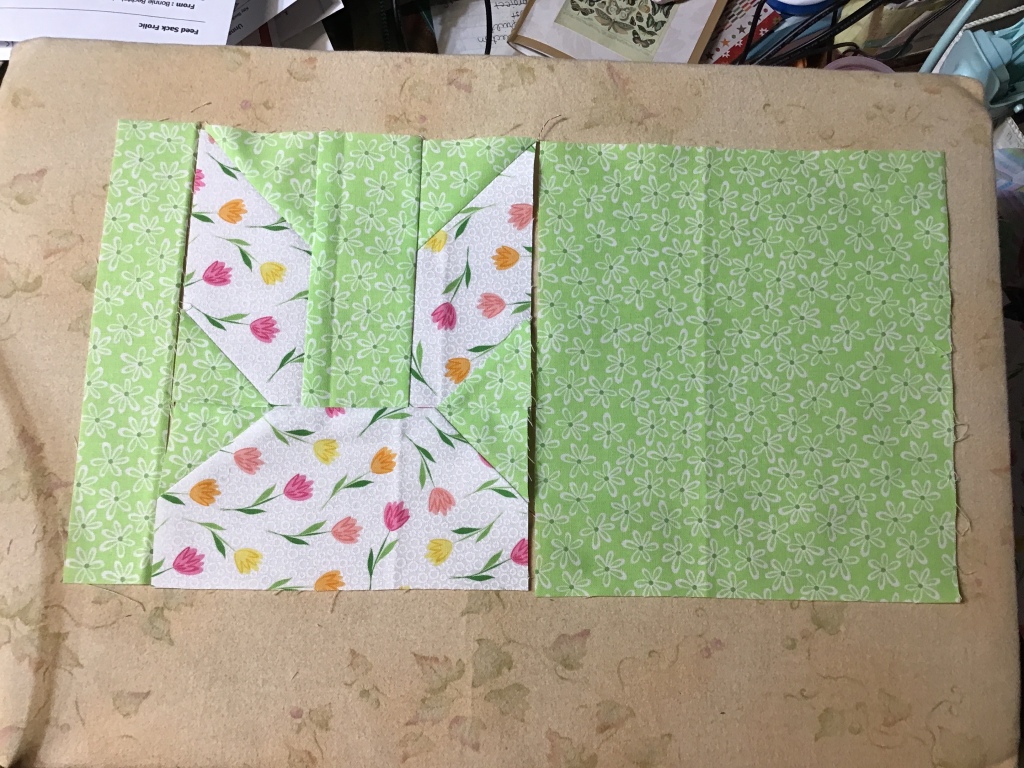
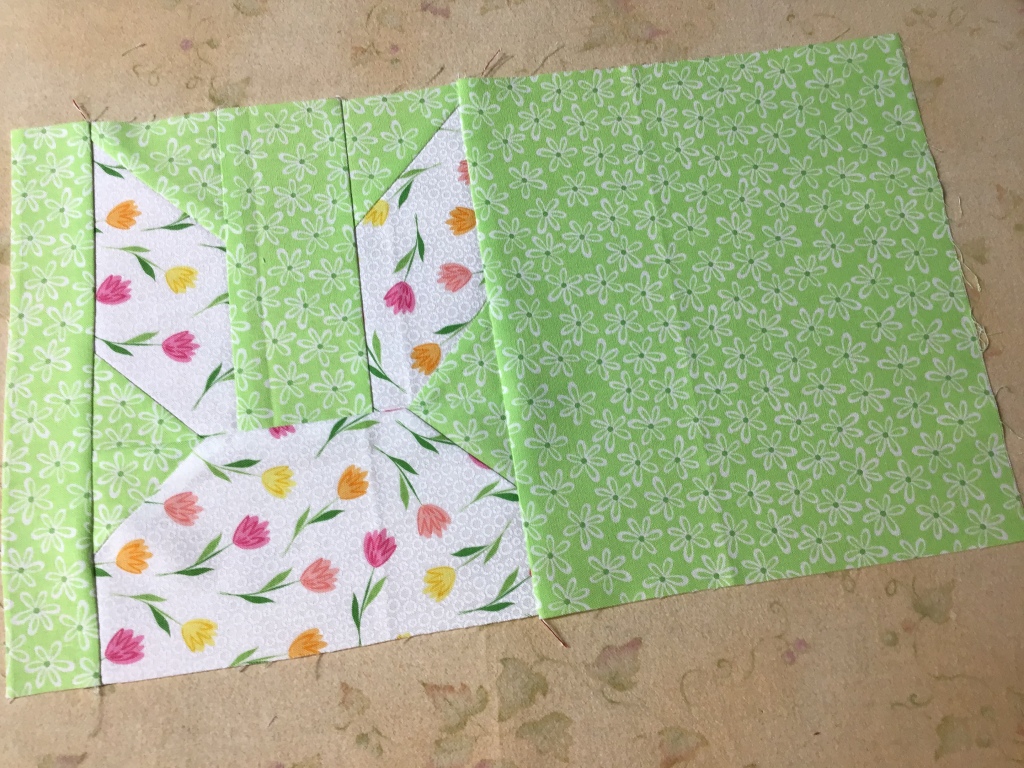
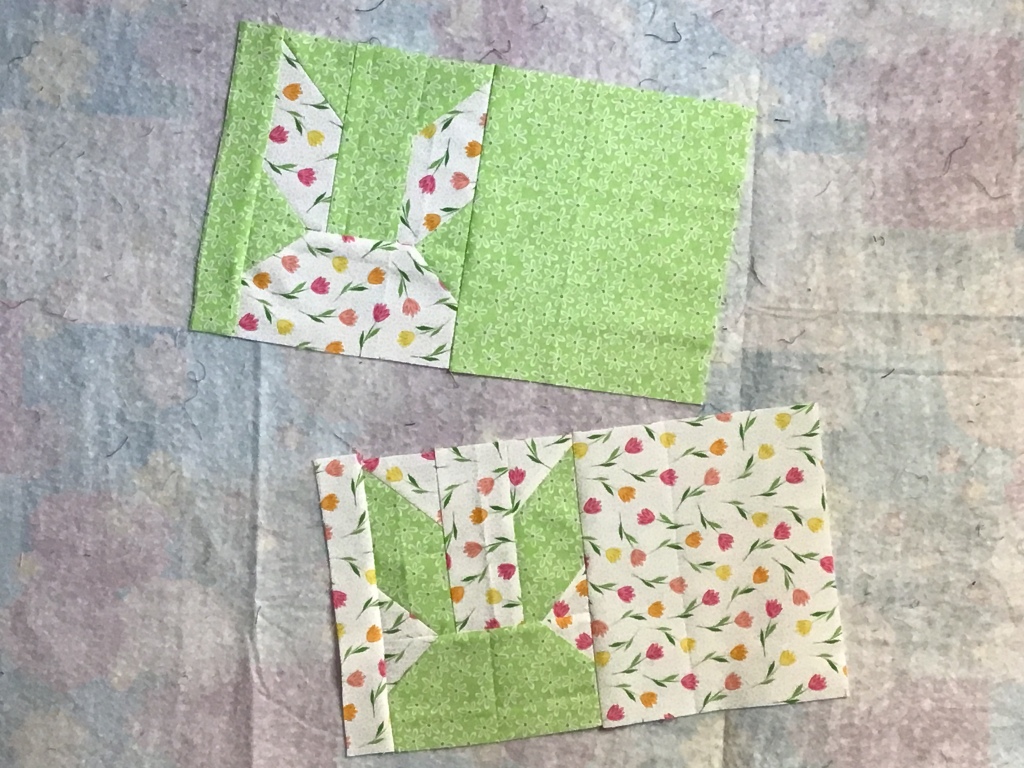
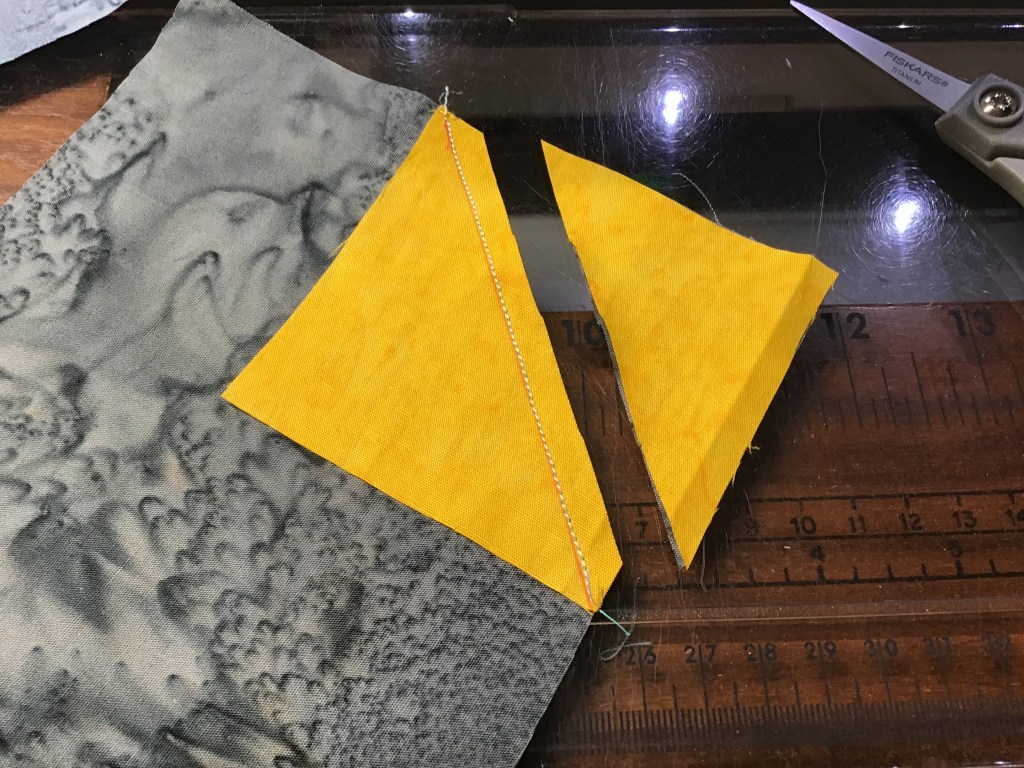
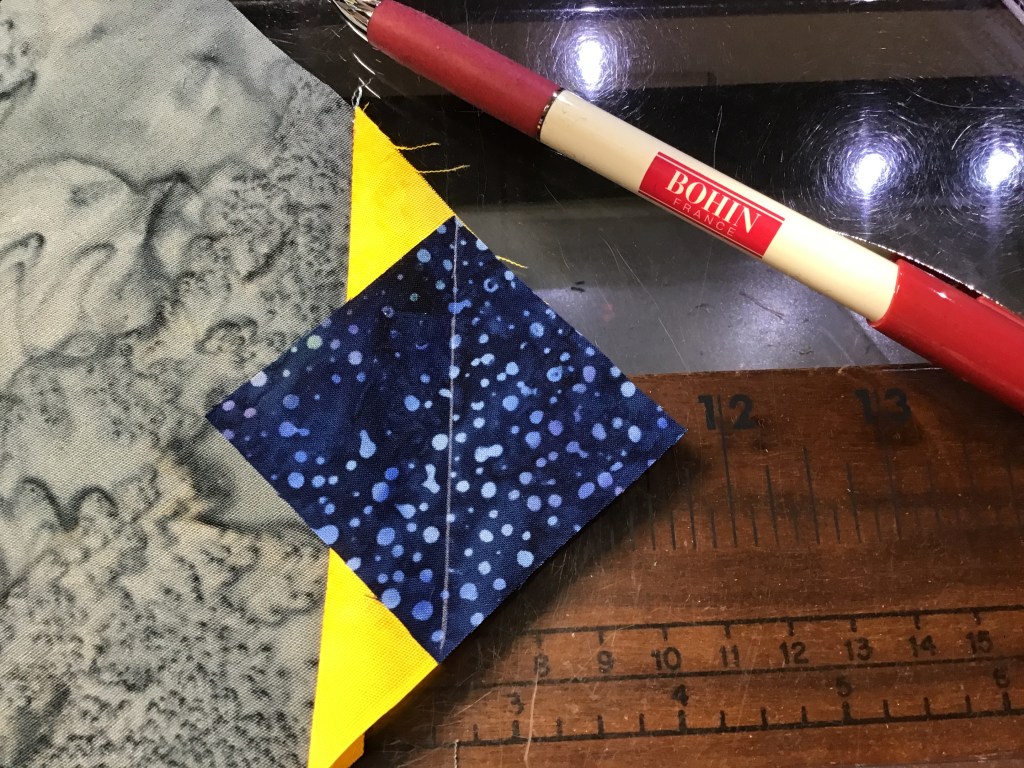
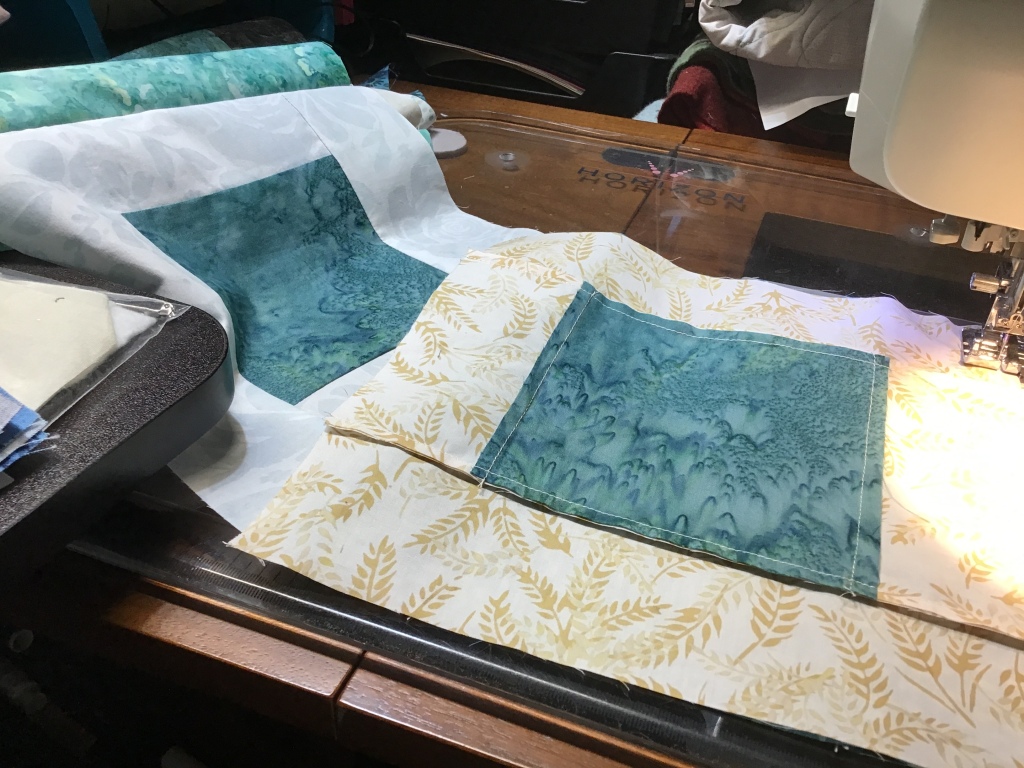
Okay, let’s make blocks! A lot of blocks….
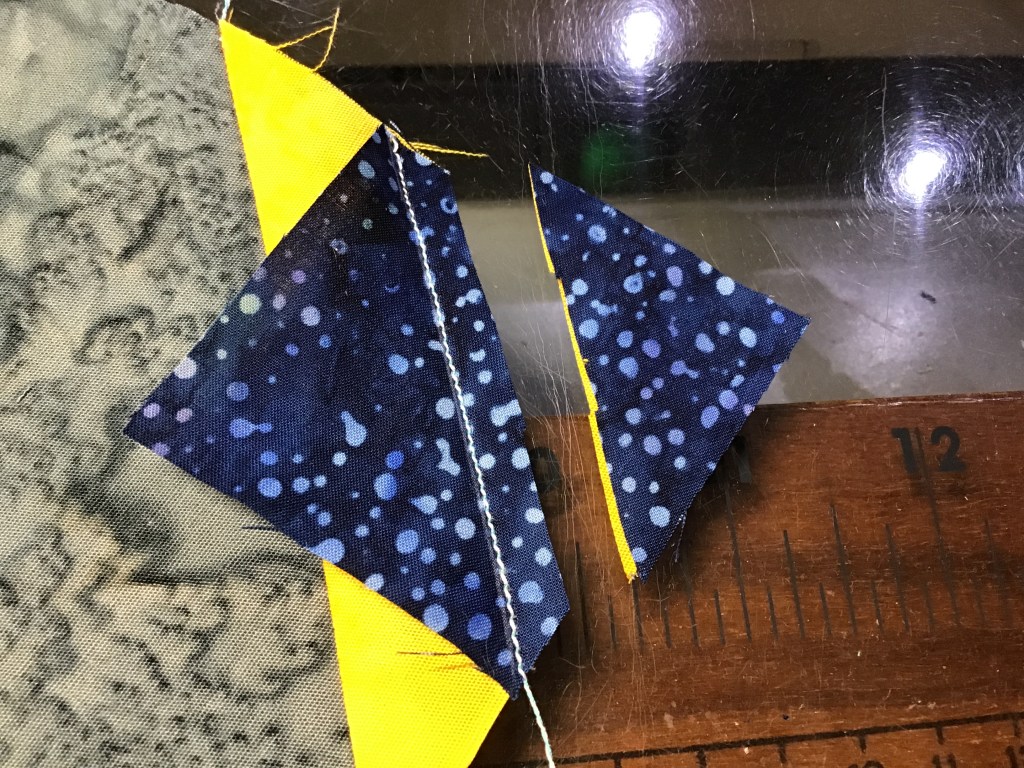
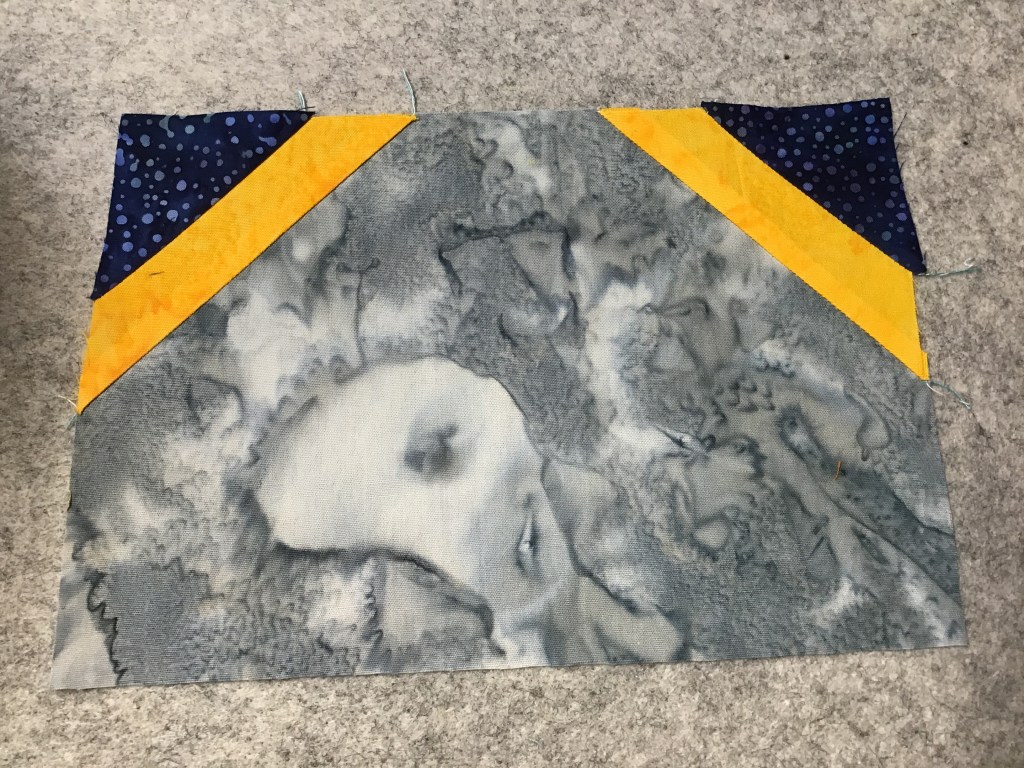
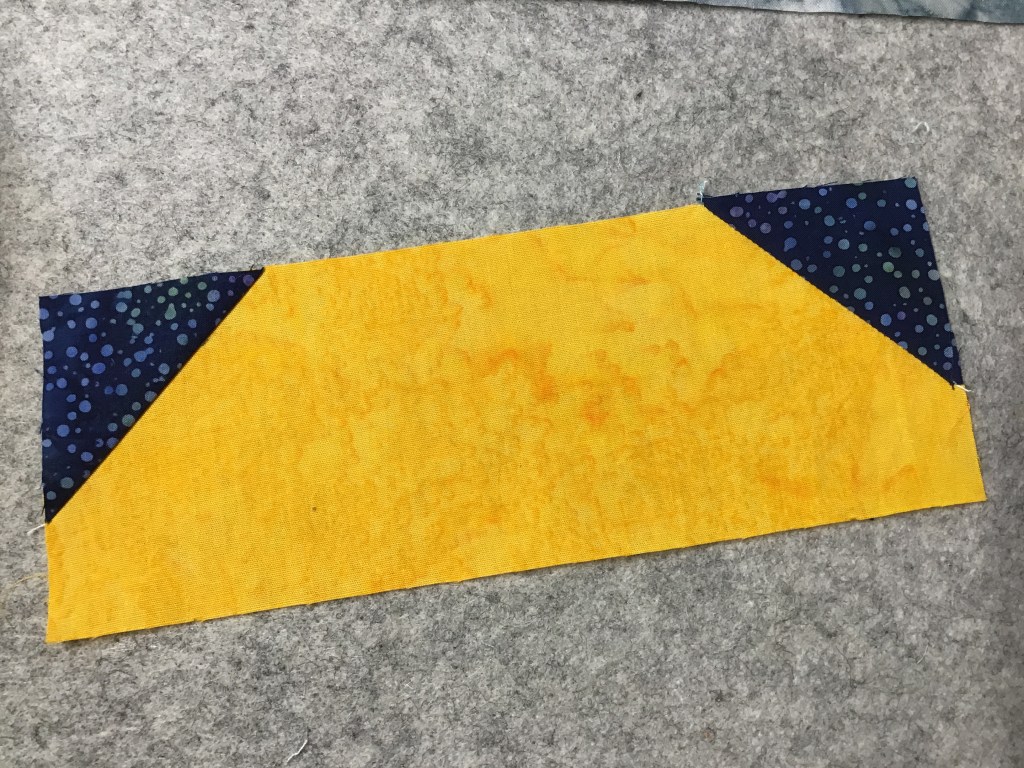
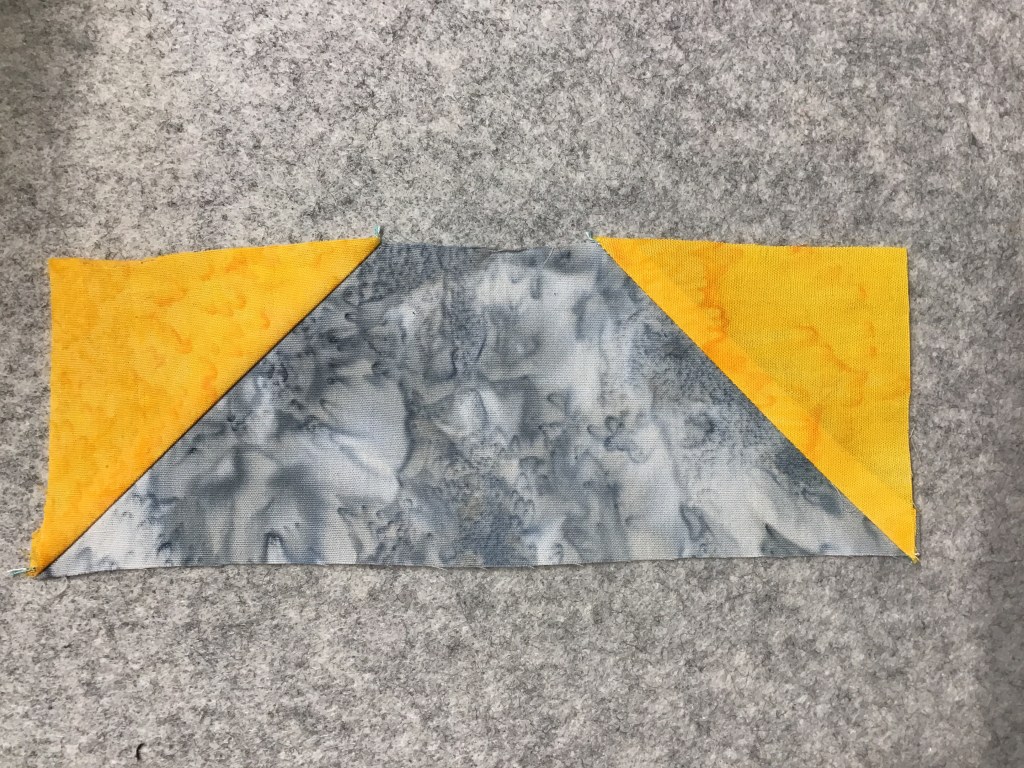
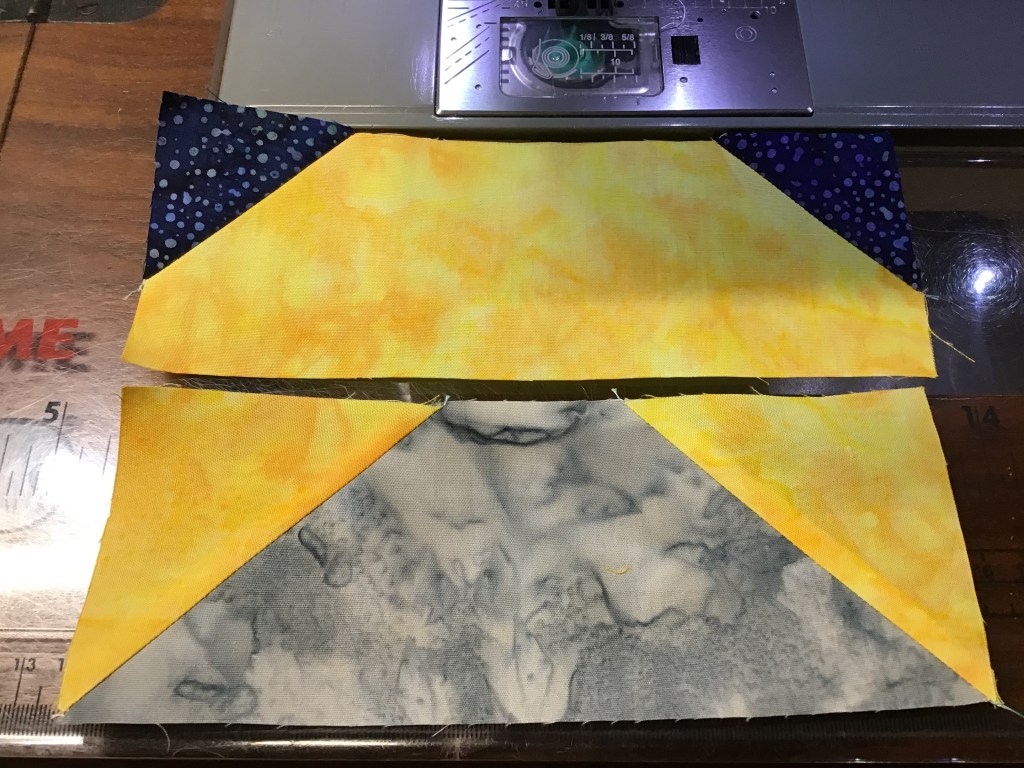
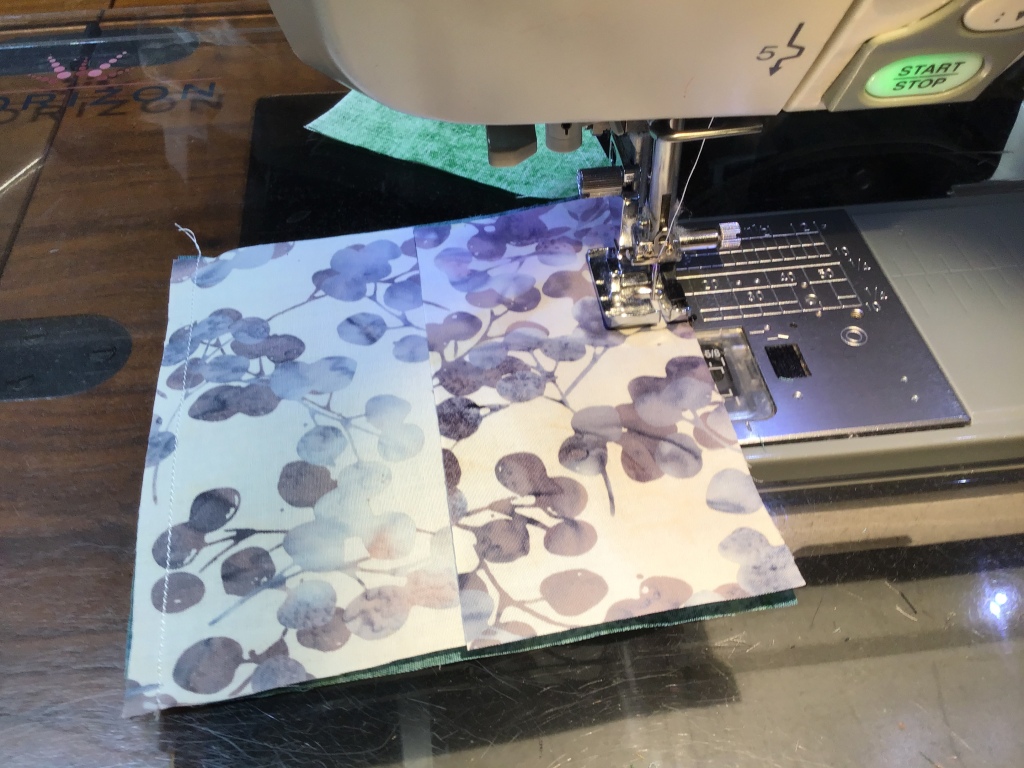
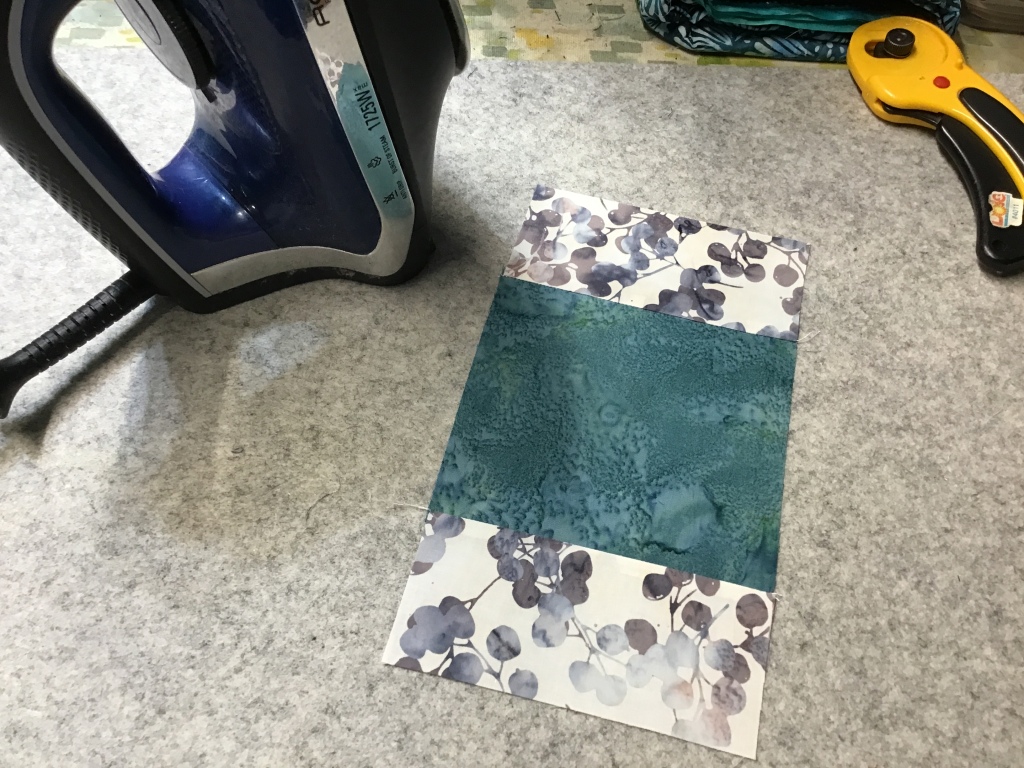
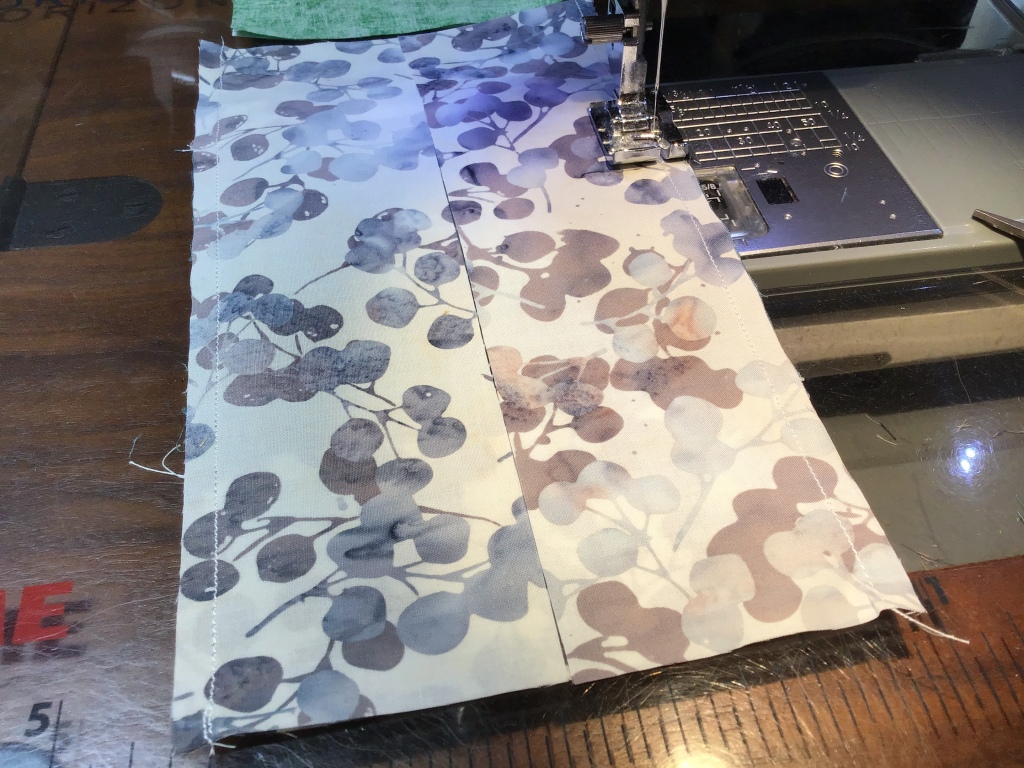
- Sew a small block rectangle to the side of a block center.
- Sew a matching rectangle to the other side of the block center.
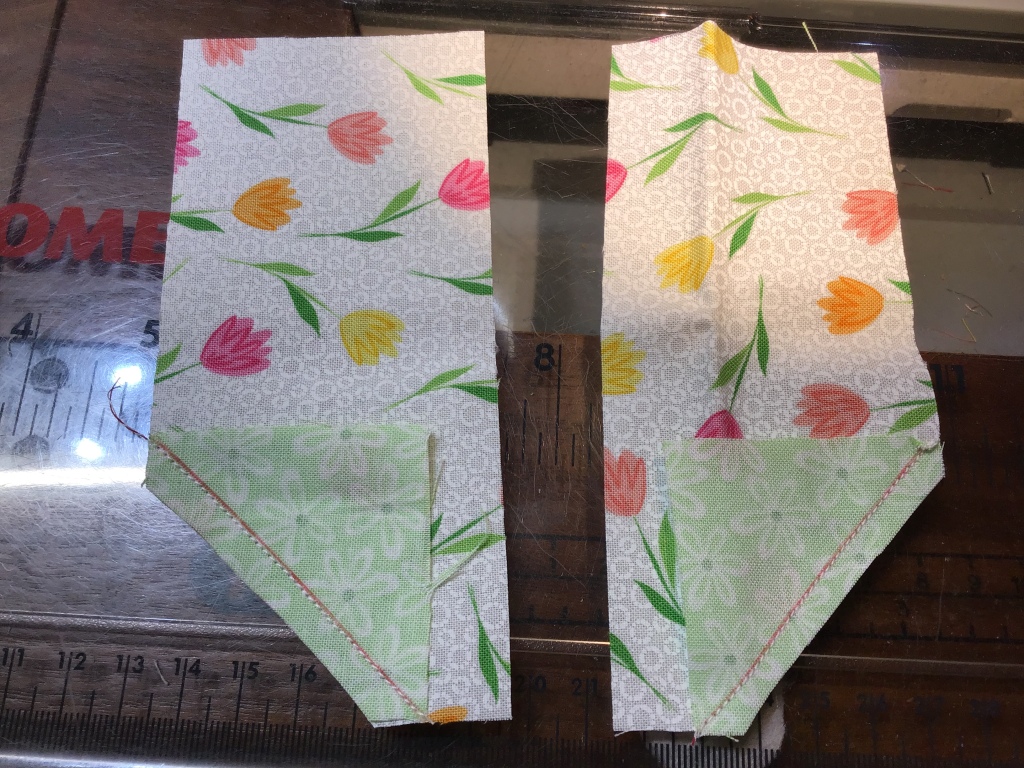
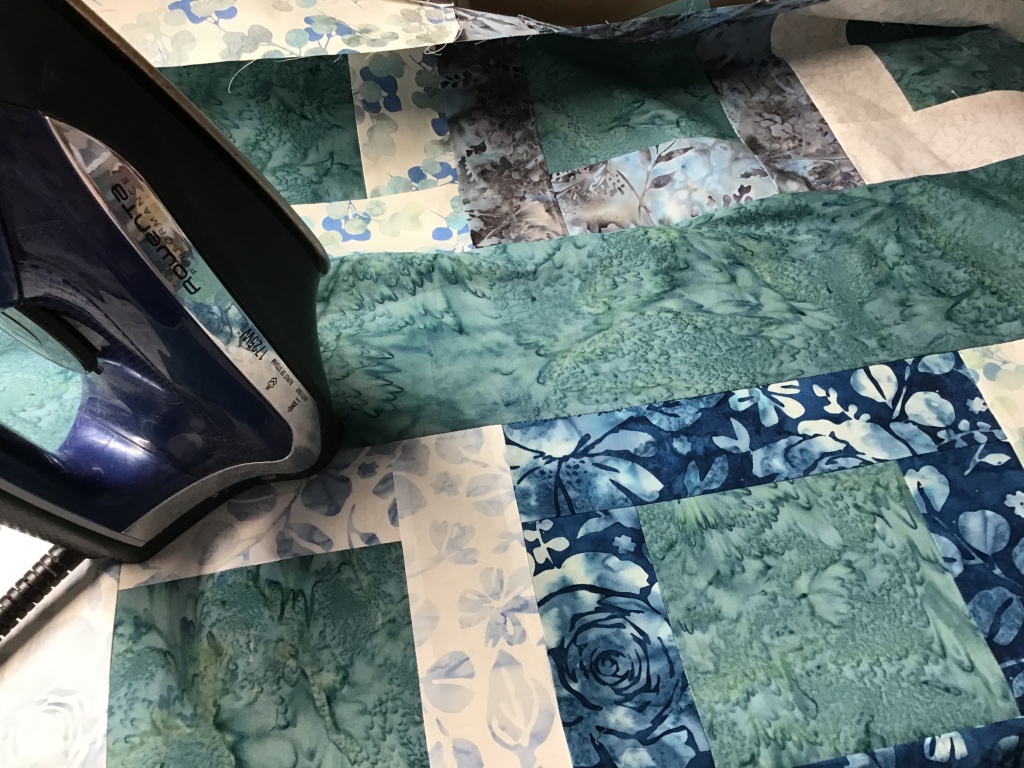
- Take a moment and press your unit so far. This helps to keep the block square as you add the next pieces.
- Sew a big rectangle to the side of the unit.
- Then sew the last matching rectangle to other side of the unit.
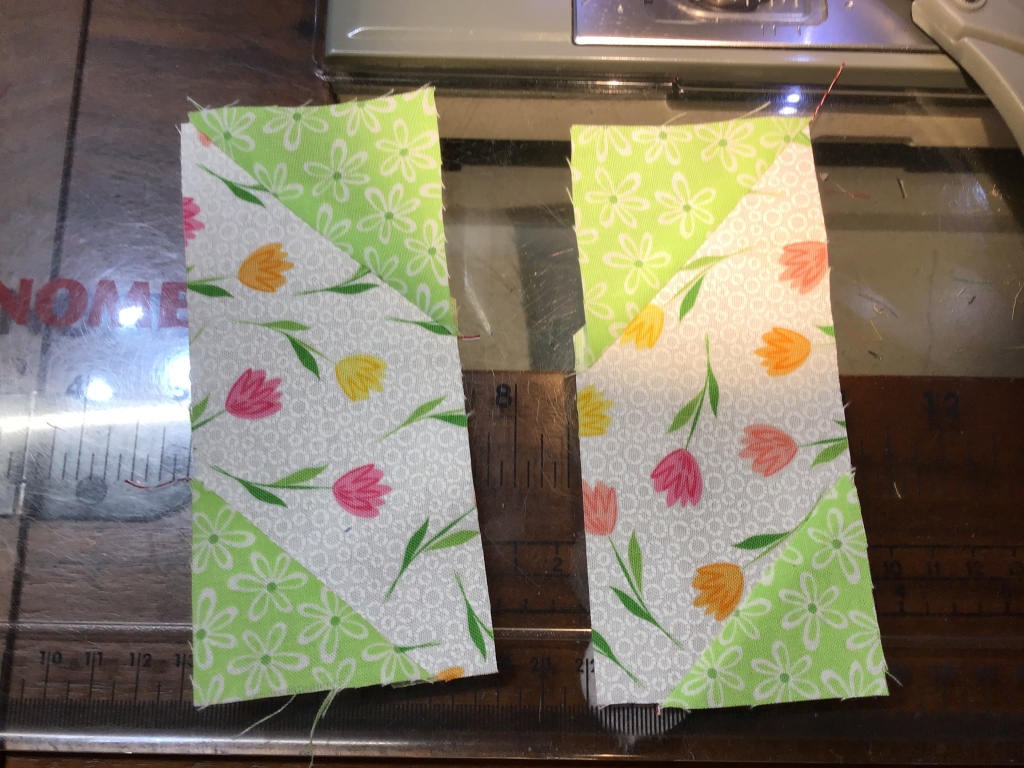
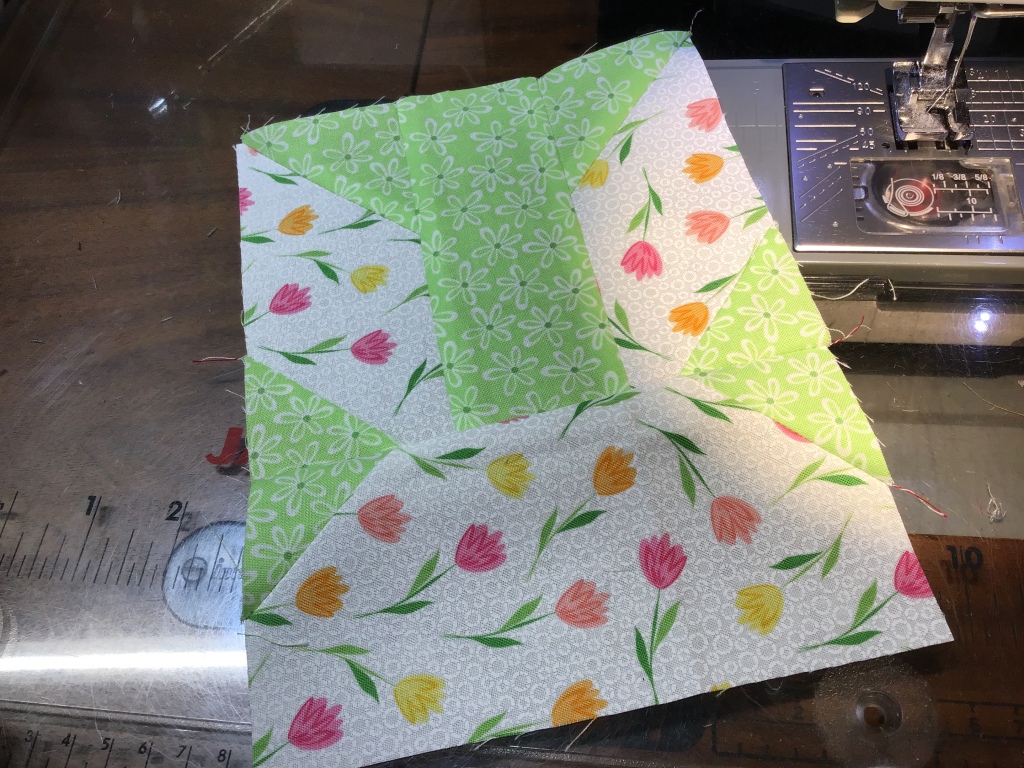
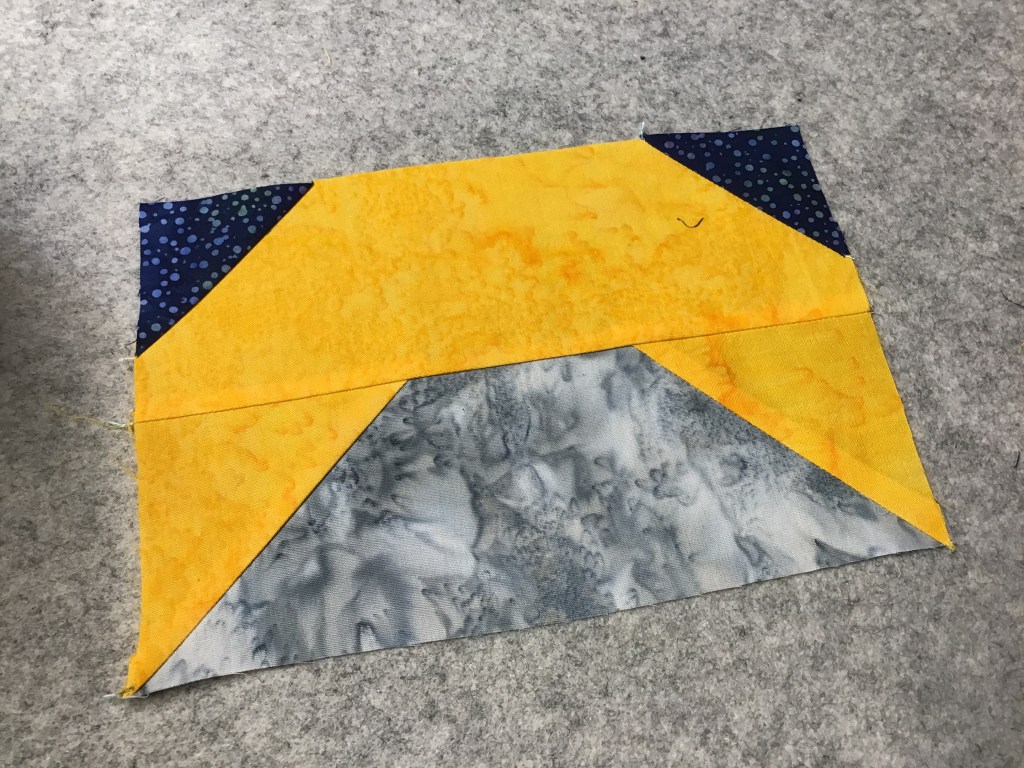
- Press your block and voila! One block done.
- Now make 39 more blocks! LOL!
Another tip — I made 5 or 6 blocks at a time so that I didn’t get the rectangles too mixed up as I sewed. This went faster than sewing a single block together at a time.
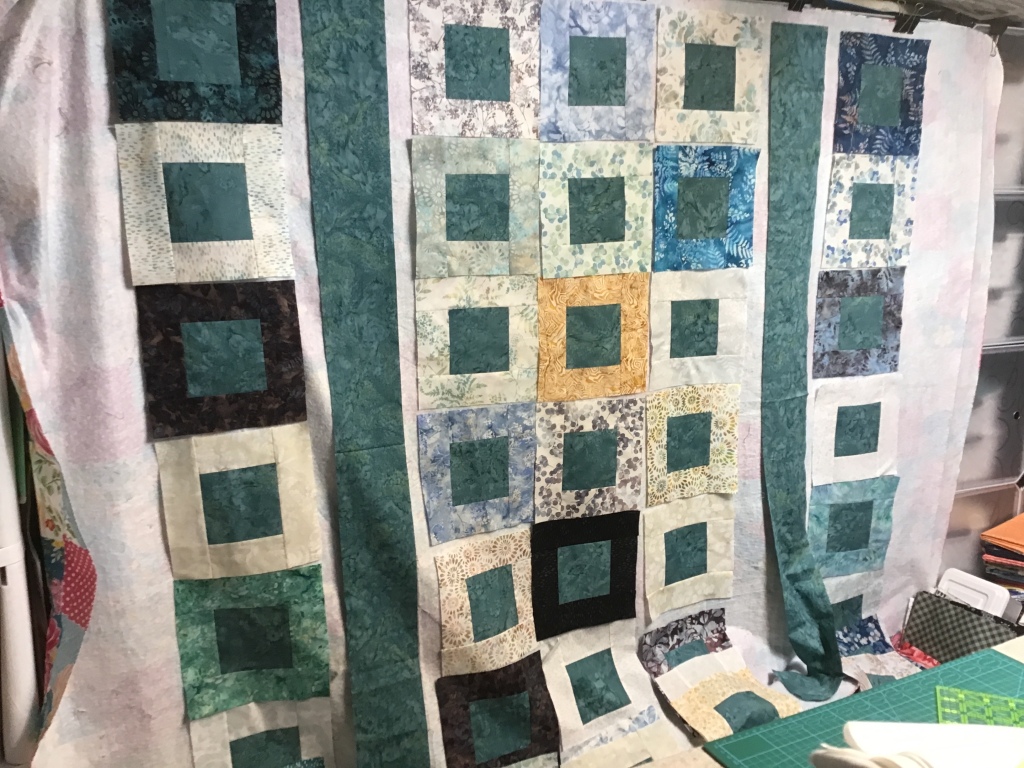
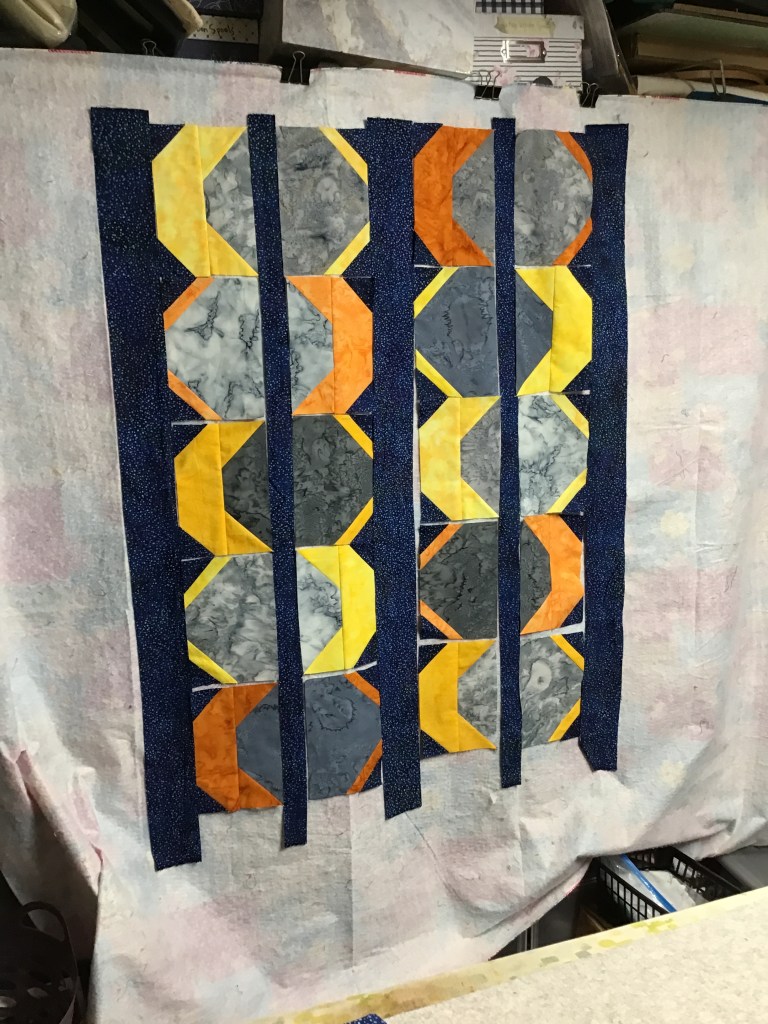
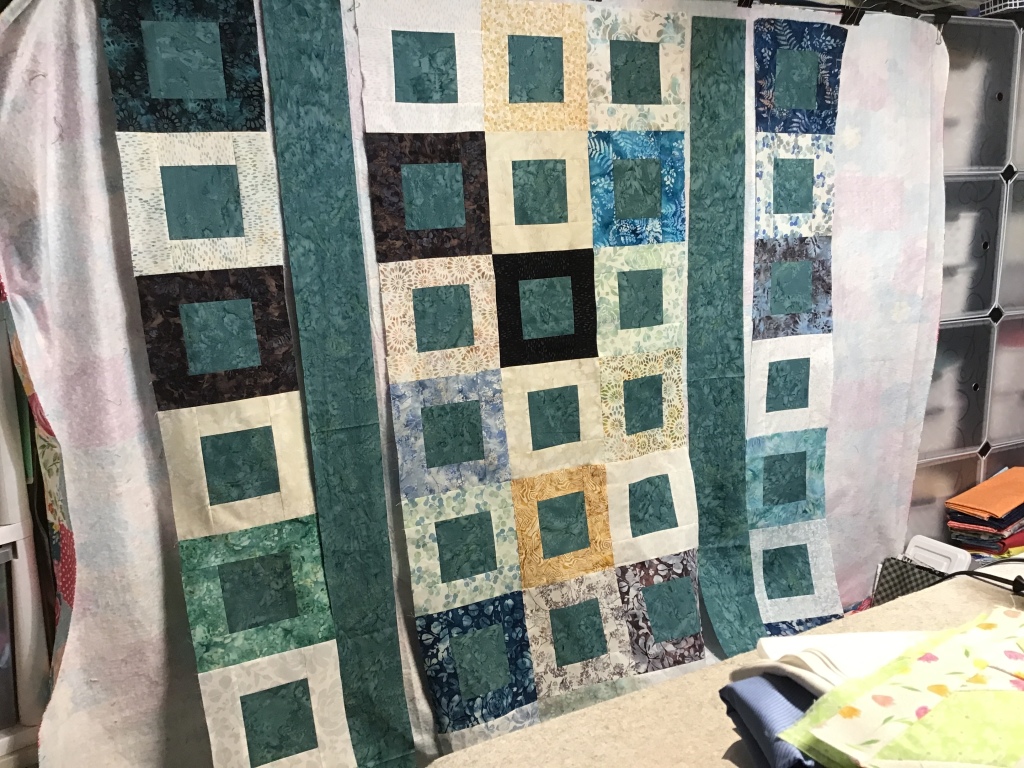
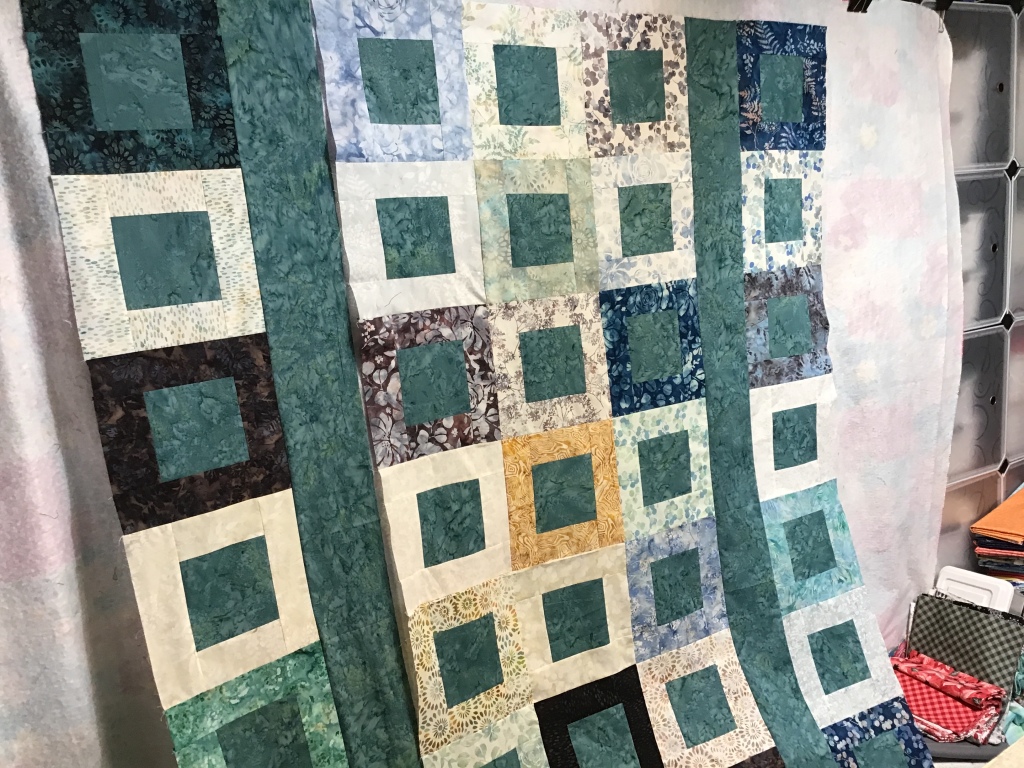
Oh goody! Now one of my favorite things — laying out the blocks. Of course, sometimes this part of the quilt-making process takes me longer than actually sewing everything together. The more I look at the arrangement, the more I move things around. But I do definitely love mixing and matching the colors….
To help me arrange the blocks, I put all the blocks and the vertical strips up on my handy dandy flannel board. It really is handy dandy — I use it way more than I ever thought I would. I have no idea why it took me so long to put one up. The only issue I ran into was that the quilt was longer than my board, so I had to do some creative layering at the bottom so I could see the bottom 2 block rows.
If you’re experiencing flannel board envy, let me tell you how to have your own handy dandy flannel board in a matter of minutes with very little cost. I stole this idea from my quilty pal, Mary Lee (Hi Mary Lee!), who has one up tacked to the top of a set of double doors that lead to her front enclosed porch (which she uses for storage).
Go ahead and get yourself a rectangular flannel backed tablecloth. You will want a heavy duty one with a thicker flannel on the back so that it will grab and hold your fabrics. They do come in different sizes — mine is 50″ x 72″ — so you can choose the one that fits your space. Now that it’s the good ol’ summertime, it’s the perfect time to find your very own flannel backed tablecloth.
There are lots of different ways to put your flannel backed tablecloth up. I use binder clips to clip my tablecloth to the top row doors of my cube storage wall. This way, I can remove it when I need to. If yours is removable like mine, you could even use it as a tablecloth so make sure to pick out a fun pattern on the front that matches your outside decor.

Well, I guess I’ve got the blocks arranged the way I want them…..maybe…….
So let’s sew them together before I change my mind again. LOL!
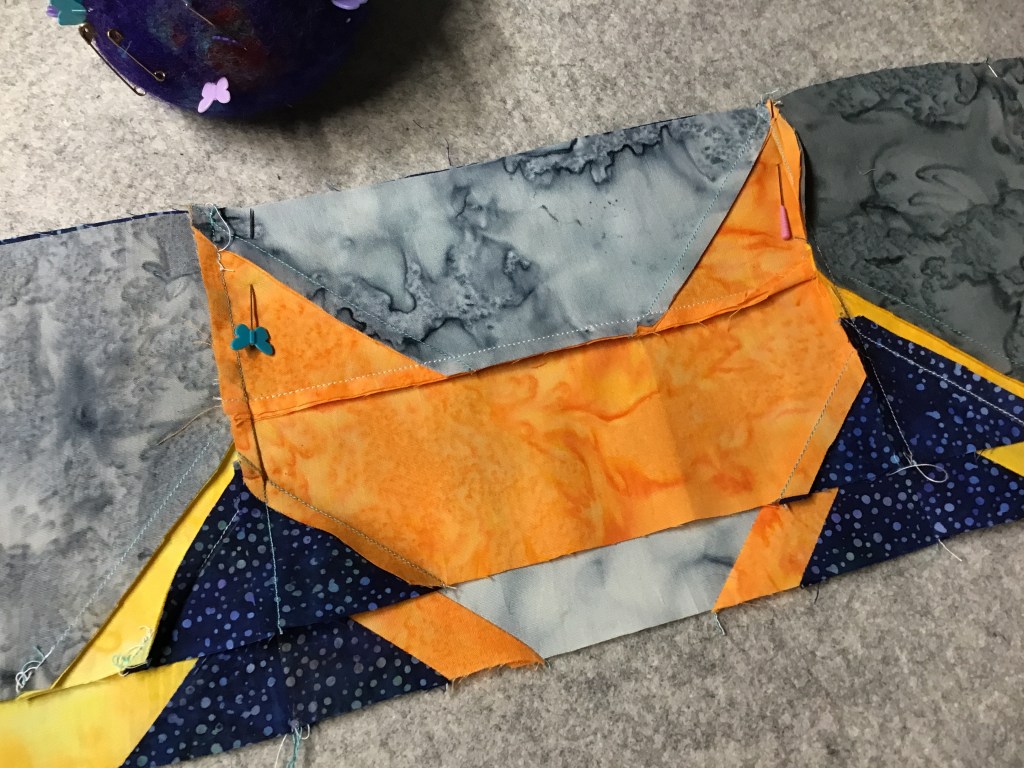
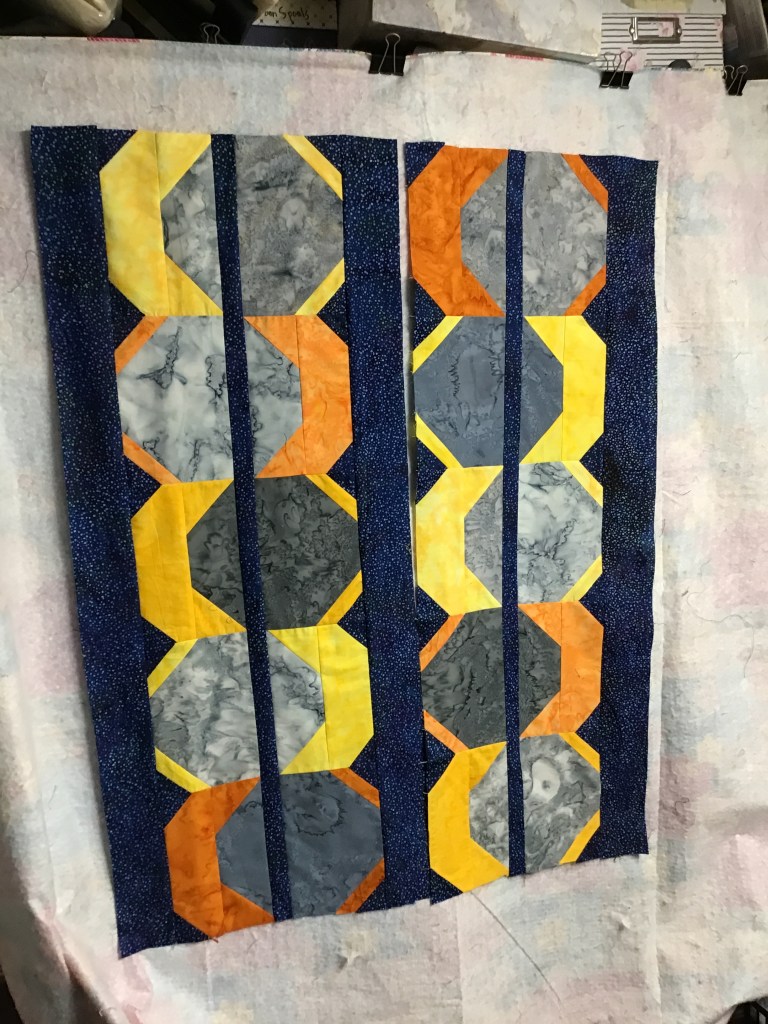
I’m going to sew the outside blocks together into rows before I tackle the center block section.
Now that the outer blocks are sewn together, I can no longer move them around.

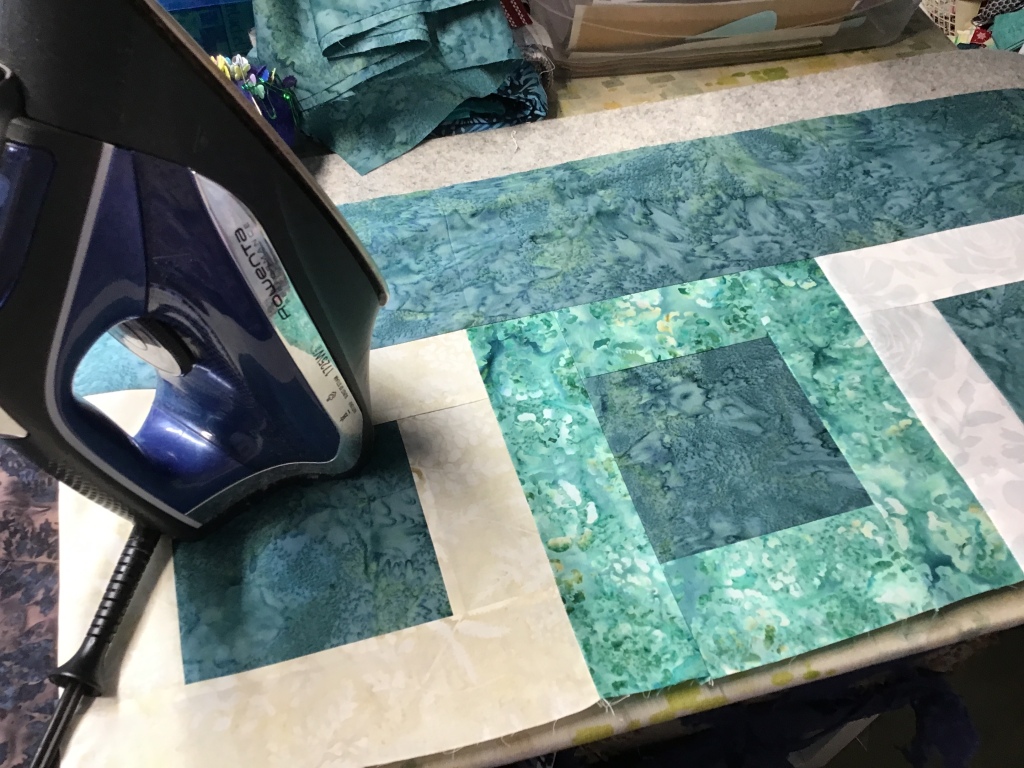
Before I start the center block section, I need to piece my vertical strips together to make longer strips. I don’t want to forget to do this step or else my strips won’t be long enough.


Sew…..sew……sew. Press…..press…..pres…… Yay! The center section blocks are now sewn together. Of course, I had to play switcheroo a couple — or maybe a dozen — times before I sewed them together.
Wait! Which way do I want the center section? Gah! I’m still not done arranging, even though the blocks are sewn together. Which one do I like better — right side up in the left photo or upside down in the right photo. Decisions…..decisions…….
Which ever one I choose, this will be the final arrangement. Of course, I could flip the whole quilt upside down……ARGH!
I take it back, maybe arranging the blocks isn’t my favorite step after all!

Before I can sew the vertical sections together, I need to cut my vertical strips to the right length. Holding my breath here that it will be the perfect length. Of course it will, right?


Time to sew again. I pinned the vertical strip to the inside edge of each of the outer single block sections, matching centers and outside edges before stitching them together.
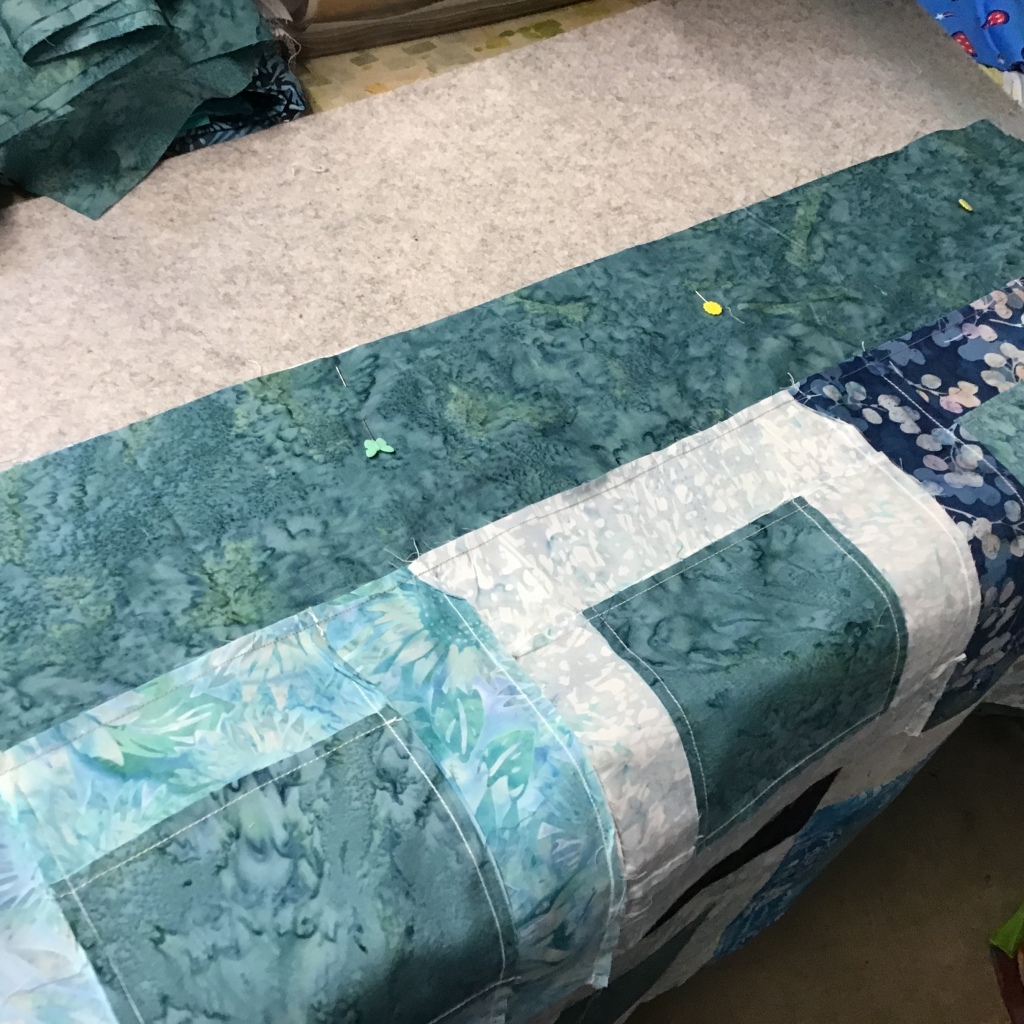
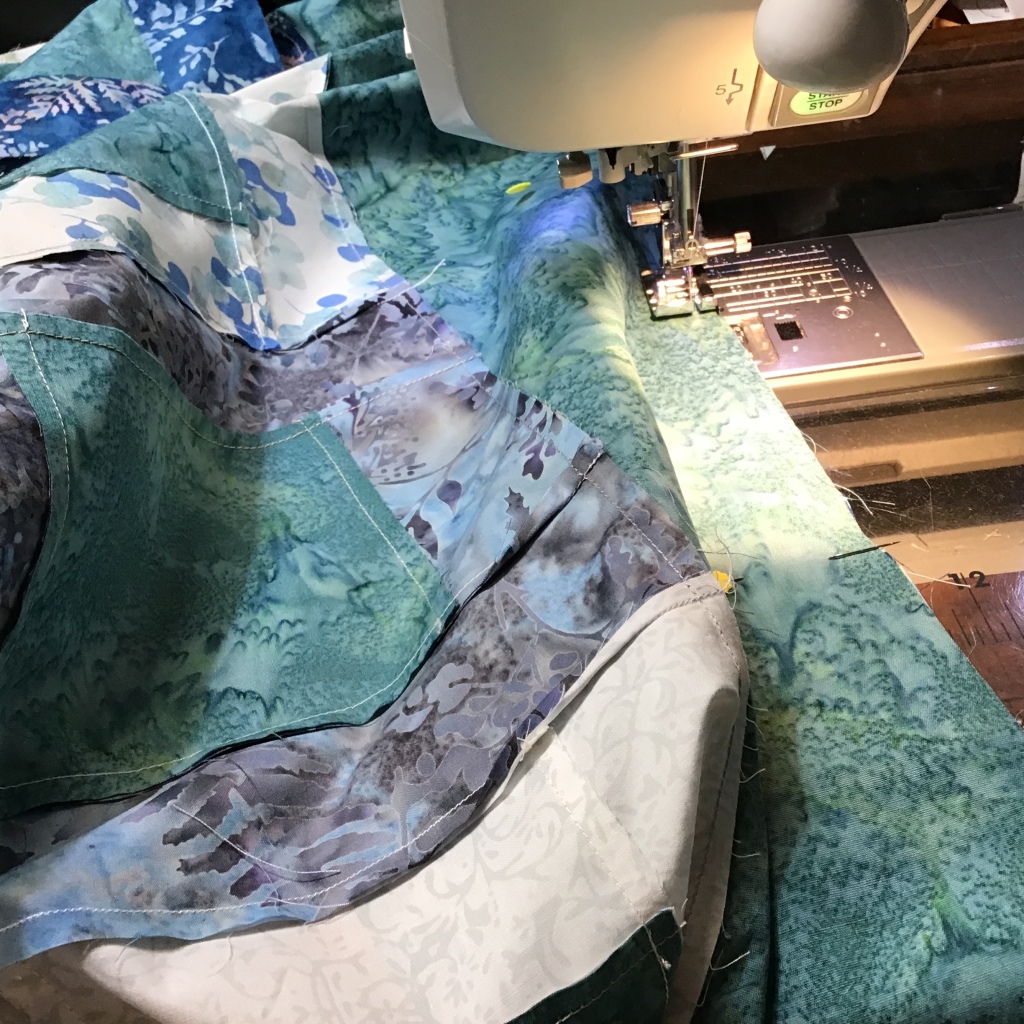
This part looks easy in the photos but it took me quite a while because my work space is so cramped right now. It was like wrestling an alligator from time to time.
I matched up the centers and ends of the left section with the left side of the center section. I crossed my fingers that the blocks would be decently lined up across the vertical strip.
Then I lined up, pinned, and sewed the right section to the right side of the center section.
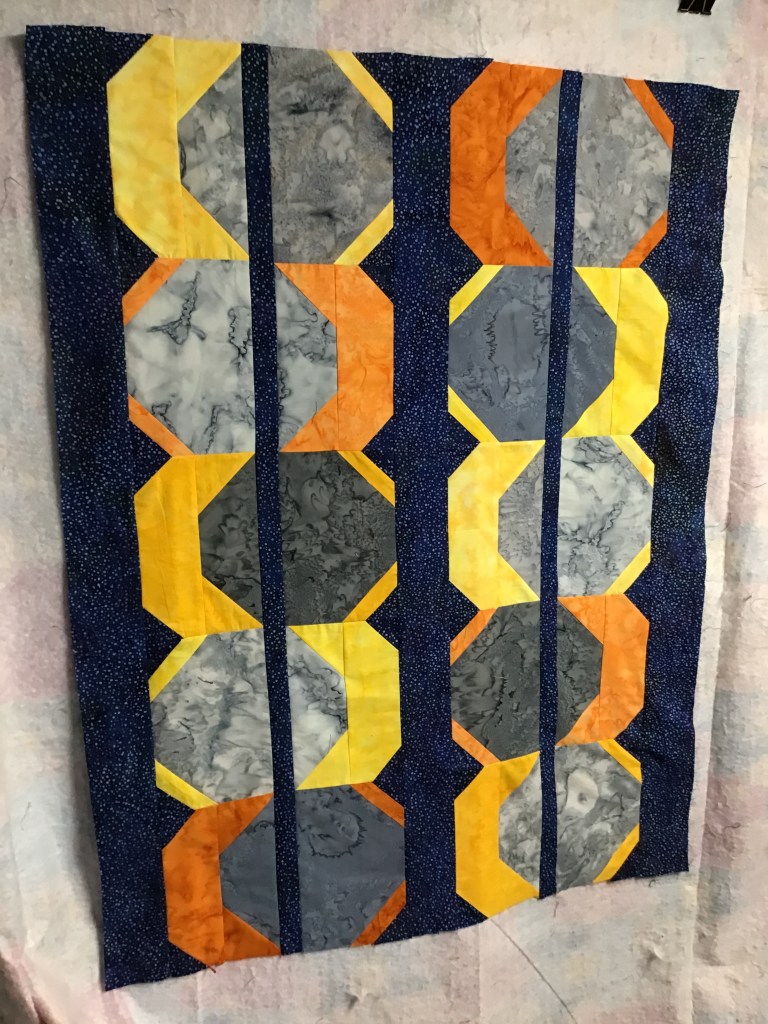
Yay! Top done!

Wowzer! Why was I even worried??? It turned out great and the colors are just so calming. Ahhhhh! Now to get it layered with batting and backing (or with just fleece) so I can machine quilt it……someday!
I’d love to see your Dusk Delight quilts! If you haven’t joined our rockin’ fun and uber cool Facebook Group, please do! You can find the Group HERE. And post your Dusk Delights so we can all ooooh and ahhhh over them!
Back to my summer sewing, what fun! Next week’s tutorial will be a table runner, so stop back next Thursday to see which one.
Until next week —
Sew. Laugh. Repeat.
Always,
Tricia @VRD