Hello Quilty Friends!
Happy Thursday to you!
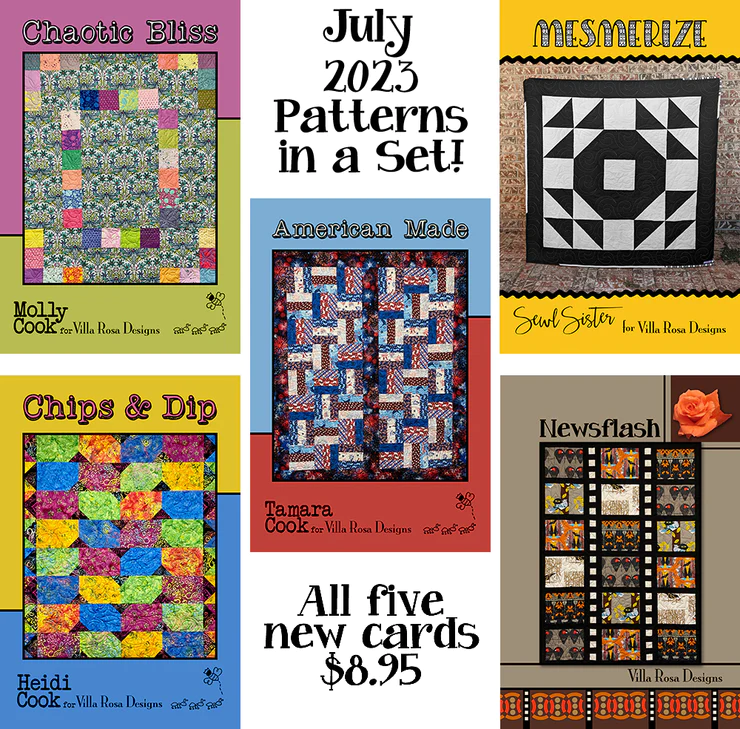
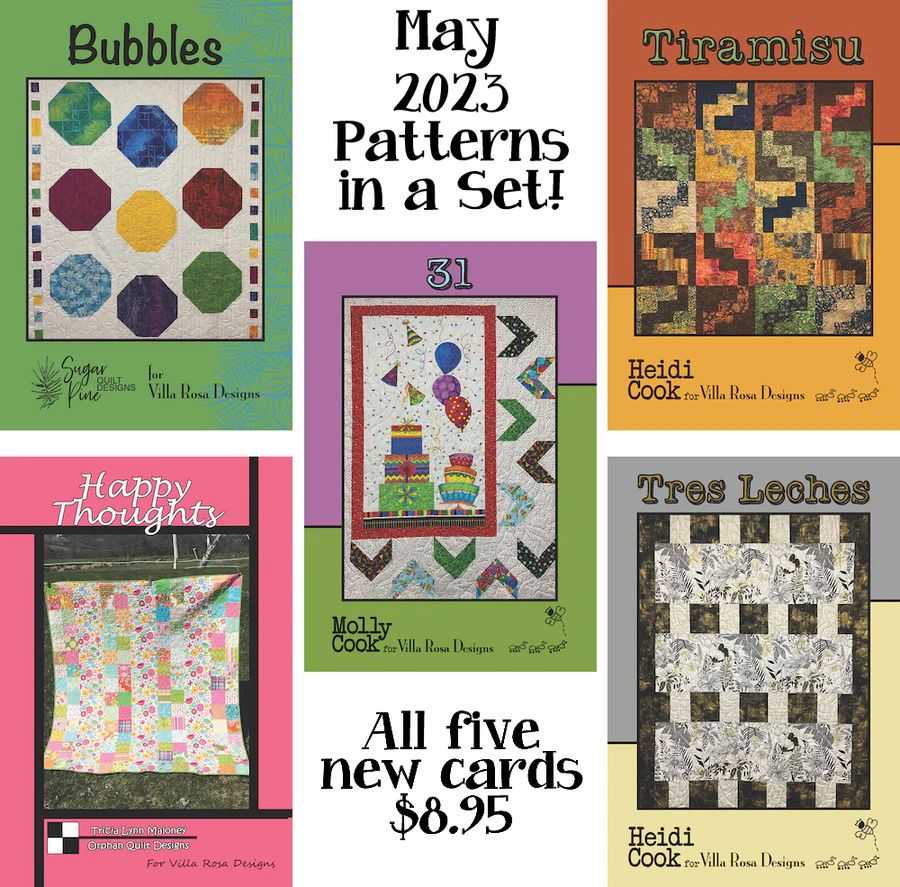
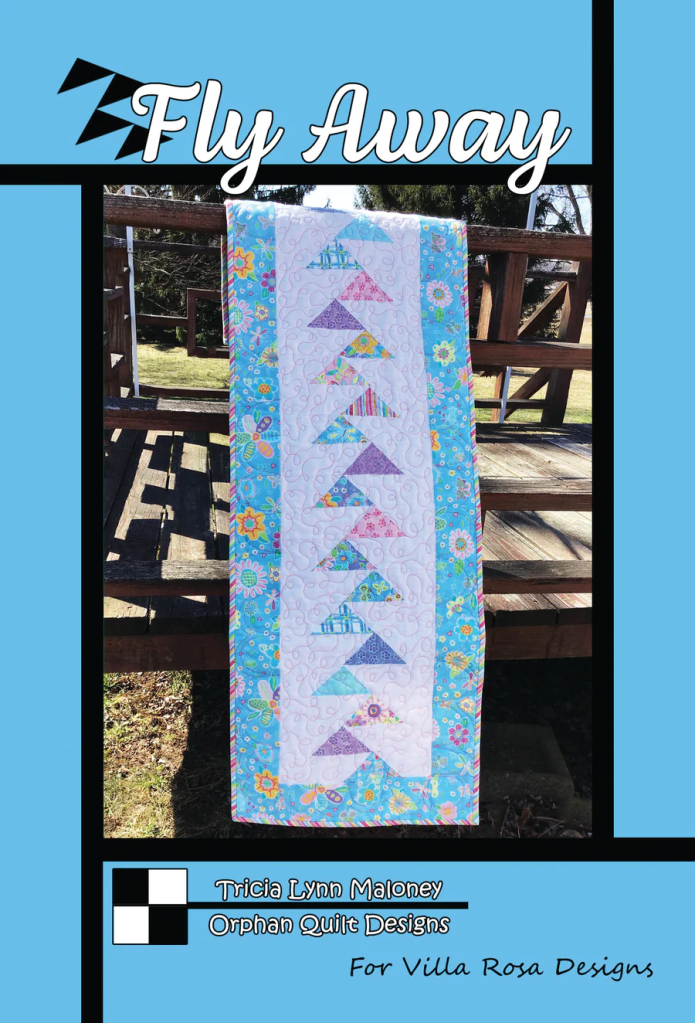
Are you all geared up and ready for our fun December Sew Along? It’s not too late to join us if you haven’t gotten your Sew Along pattern set yet. You can get the set of 5 patterns HERE for the special price of $8.95.

This week, we are kicking off Week 1 of our December Sew Along with our Amanda Jane pattern.
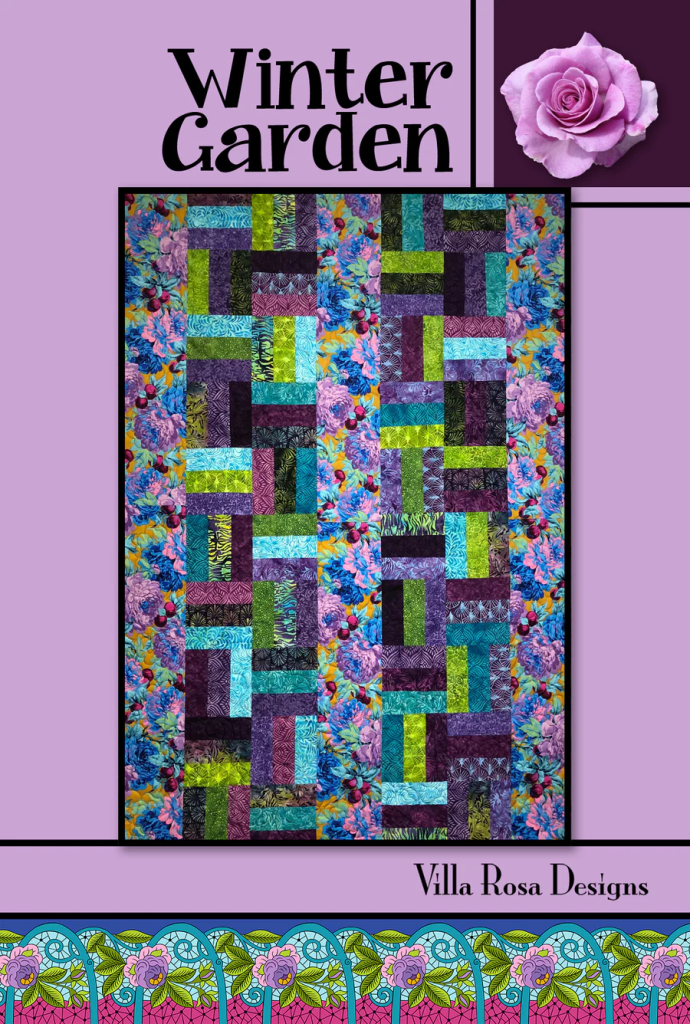
Amanda Jane
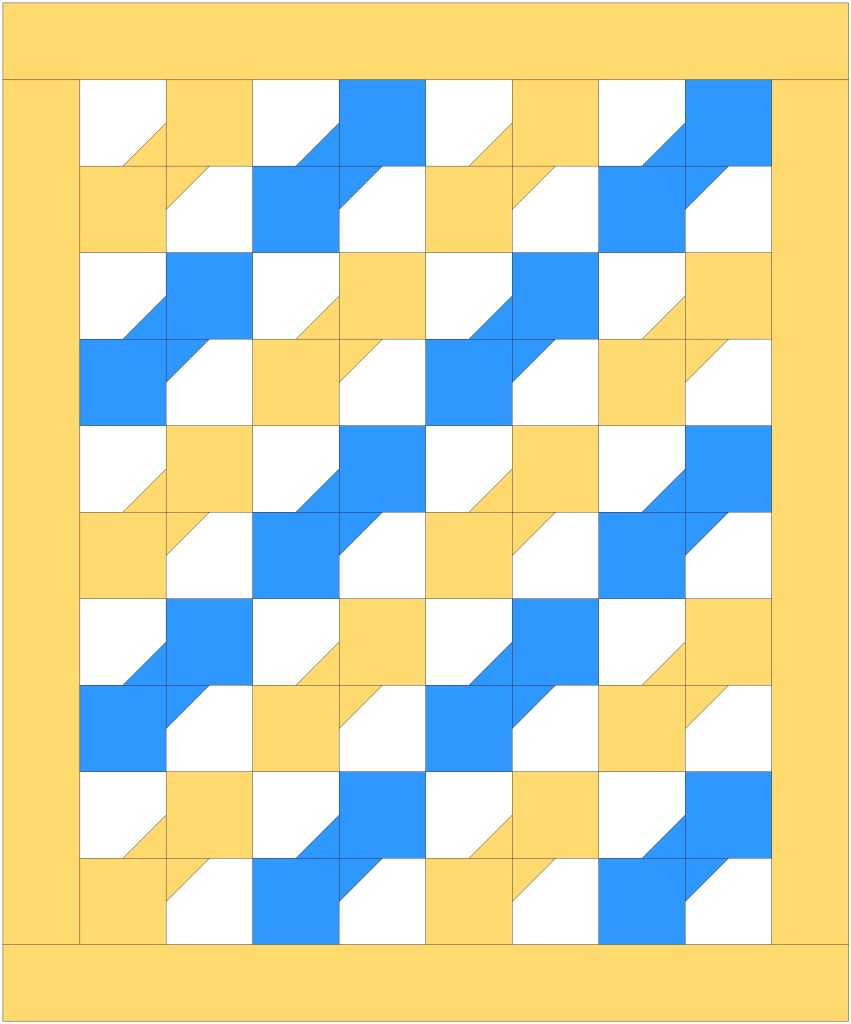
VRD December Sew Along Week 1

Amanda Jane is a super busy and hard-working gal. It's hard enough to find time in her crazy life to spend some quality time doing her favorite hobbies and interests, so losing important items like her scissors and measuring tape are totally out of the question! Amanda Jane has it all covered in her cute and sensible work apron featuring 7 pockets! Hello supplies! And good bye wasted time looking for notions. Amanda Jane loves her work apron sew much, she just might make a different one for each day of the week, just because she can! And one for each of her crafty besties for the holidays, too!
Your Sew Along Challenge this week is to make your very own Amanda Jane work apron.
That’s right — this week, for Week 1 of our December Sew Along, you need to have your pattern pack in hand. Grab your supplies and create your own one of a kind totally you Amanda Jane apron.
Please make sure to join us on the Villa Rosa Facebook page to share your project this week and to check out the projects of your fellow VRD enthusiasts. The “social connection” is what makes sew alongs SEW much fun! Show us your fabrics! Any tips or hints for construction? Anything you need help with or don’t understand? Did you customize your project? Maybe you’re making 10 of them for Christmas! Please share because we ALL want to see your Sew Along “sew and tells.”
Villa Rosa Designs Facebook Page — you can use this link to take you to the VRD Facebook page. Make sure you are signed into your Facebook account and on the VRD page you can “like” us to join in the fun. The more folks that join in, the more fun it will be!
Tricia’s Amanda Jane Sew Along Project
I’m really excited to show off my Amanda Jane apron!
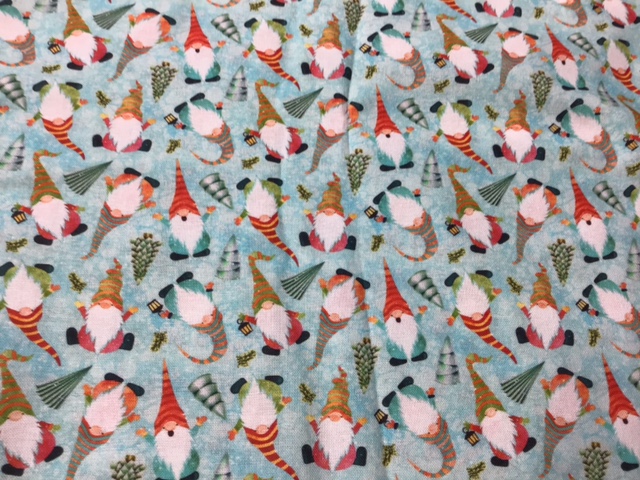
I had this adorable gnome Christmas fabric in my stash — it’s been begging to be made into something fun — and I thought it would be an awesome starting point for my apron! Not sure where it came from originally, but it is totally too cute NOT to use.
Who’s gonna rock Christmas in her apron this year, yeah??!!
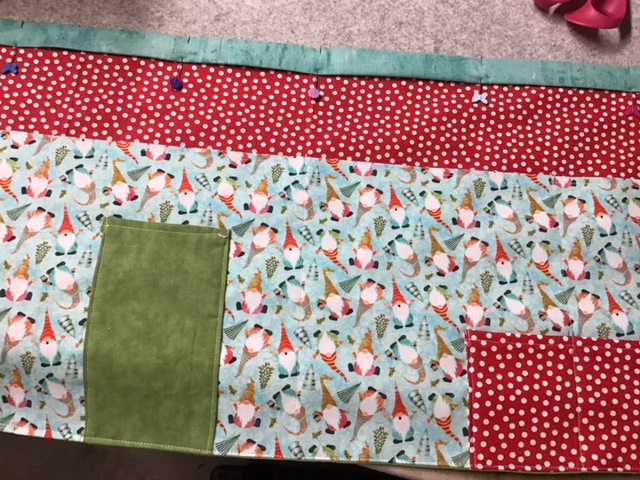
Next I paired some coordinates straight outta my stash. What do you think? I wasn’t sure about the green, but I tried some other greens and this was the one that looked the best. Besides, I’m going to use the green on the back, so it really doesn’t have to be perfect. The teal was a complete no-brainer. And it had to have red polka dots, am I right here?

Hmm. I think I’ll use the red as the main fabric instead of the gnomes. And the gnomes as the big pocket so I’ll get to see more of the gnome fabric, because it really is all about the gnomes. The green definitely works as the back. Finally, the teal would make a great strap. What do you think? Oh! Then I’ll have a red pocket and a green pocket on the front. Cute. Let’s do this!
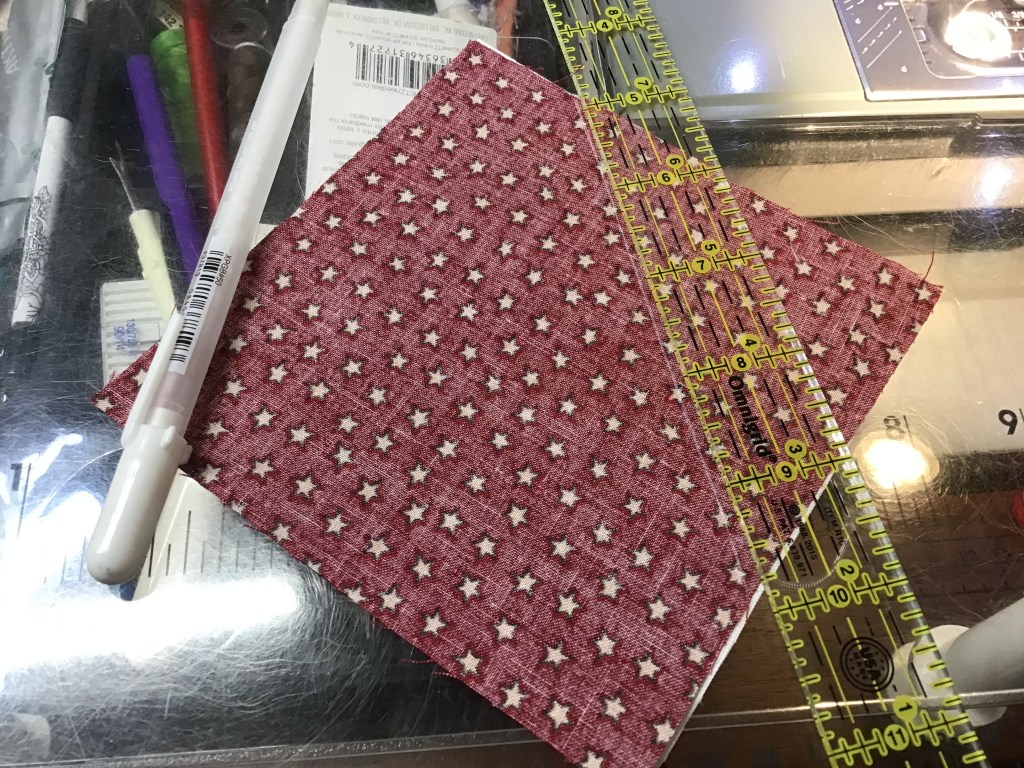
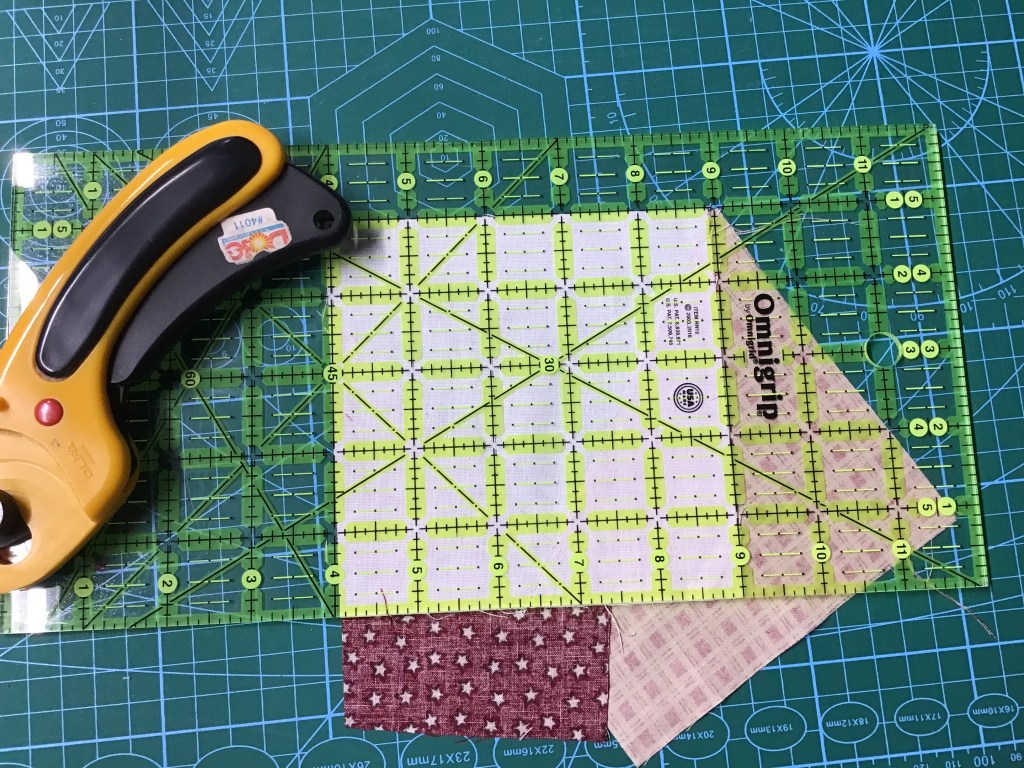
Well, I’d better stop chit chatting and starting cutting out my pieces.
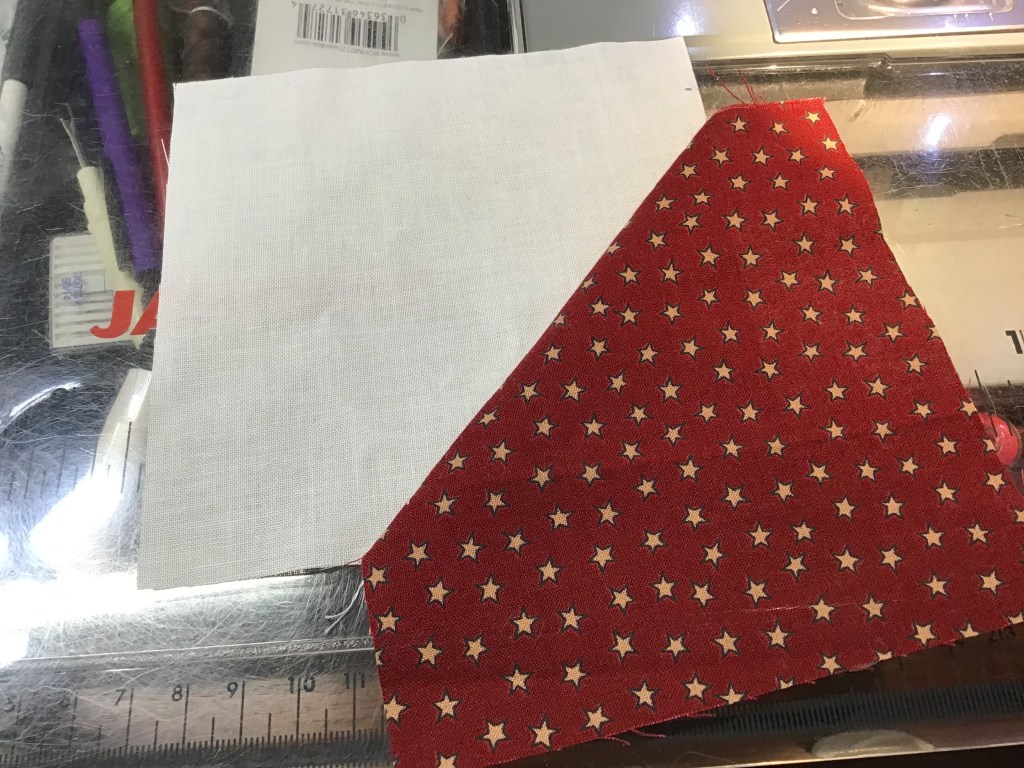
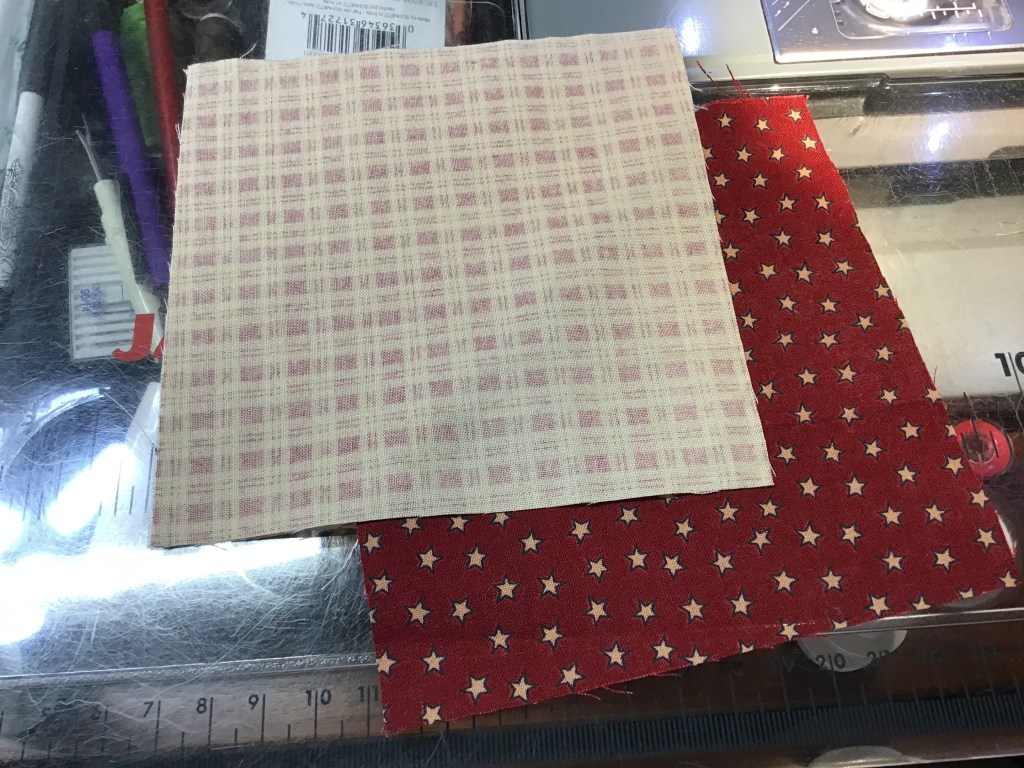
Okay, I’m back. I got everything cut out, which wasn’t too hard, but I did have to dig out my really big square ruler to rotary cut my large pieces.

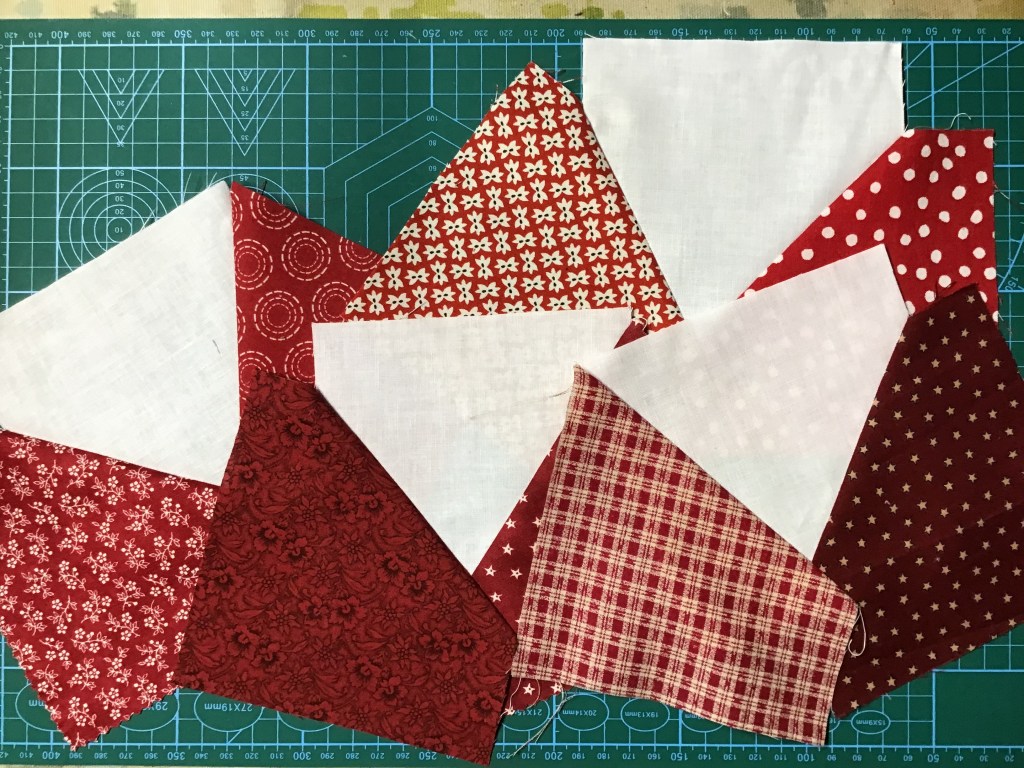
Here’s my gnome pocket, folded and ready to go. I’ve got the smaller pockets cut from leftovers of the red and green pinned and ready to stitch onto the gnomes.
You know, if you wanted even more color and fun, you could raid your scraps to find some coordinating fabrics for the smaller front pockets. Wink, wink. Just sayin’……
I know, I know…..I’d better get back to work. Can’t wait until I have a fun apron to use soon.
I think it would be great for wrapping gifts this holiday season. I’m always losing my scissors and tape in piles of paper…. What are you going to do with your apron?

Now I’ve got my big gnome pocket layered on my red dot fabric. I don’t know if you can see in the photo, but I’ve already got my sewing lines marked to create the large large pockets. I think it’s cool that one of the sewing lines goes right through the middle of my little red polka dot pocket to divide it into 2 smaller pockets. Nice! Now all the stuff I cram into the red pocket is less-likely to fall out when I bend over while wrapping.
Tags! Tags, anyone? I’ll know exactly where to find ’em when I need them. And I can tuck a pen or two in my handy dandy apron, too. Wow! I’m going to be the Inspector Gadget of Gift Wrapping this year!
Next I layered my apron front and back Right Sides Together (RST) and sewed along the bottom and the sides. Fingers crossed, I sewed relatively straight…. The I turned it right side out, smoothed and pressed the edges. And for a nice finish, I stitched about an 1/8″ inside the outside edge on both sides and the bottom of the apron.

Moving on to the strap — my goodness, that is a lot of strap. I think I could wrap my little house up in this strap. Wow! This step took me some time, but I nailed it!
AHA! Here I pinned my layers together with the apron sandwiched in between the long folded edges of the strap. To find the center of the apron, I folded it in half and marked the center top. Then I folded that long long strap in half and found the center, too. Finally, I matched up the centers and pinned that crazy strap into submission.
That strap seemed to have a mind of its own, though — it kept slithering away from me. Ugh! I think I need MORE PINS!

Huh! It worked! I got the apron pinned into the strap folds, sewed it, and it all worked. And it looks so so cute. Really! And it wasn’t difficult, once I got the hang of it. Take that, you crazy strap!
The final test — does it fit???

It fits! It actually fits me AND the strap wraps around my body back to the front just like in the photo on the front of the pattern — I won’t have to be a contortionist to tie it in the back, like most aprons! Awesome! I’m no skinny Minnie either — I’m a plus-size kind of gal and it fits me perfectly! I am thrilled.
Okay, now it’s your turn!
Time to get your apron made this week (between Thursday November 30th and Thursday December 7th) and share it on the VRD Facebook page. I’ll see you there and I can’t wait to see what you make and hear your Amanda Jane sewing story! Let’s add where you’re from, too! It’s lots of fun to see where all our VRD friends hail from!
See you next Thursday for Week 2 of our December Sew Along.
(PSST! If you’re one of those work ahead kind of folks — our Week 2 project is Savannah Jane which will officially begin next Thursday, December 7th. Feel free to have at it, but please don’t post any of your photos or progress on Savannah Jane until after next week’s blog post. Between now and then, let’s focus on Amanda Jane. Thank you!)
See you on the VRD FB page!
Sew. Laugh. Repeat.
Always,
Tricia @ VRD


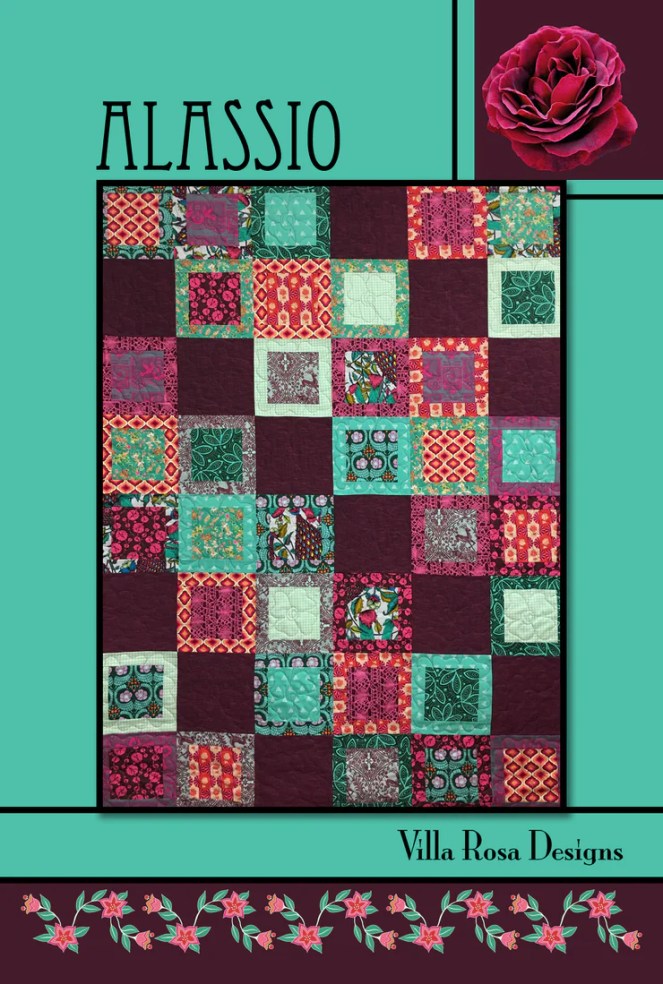


 Image From Amazon