Hello Quilty Friends!
Happy Thursday to you!
We’re going to jump right into our topic today — batting, backing, and preparing a quilt for quilting. There’s a lot to cover, so grab your cup of coffee and let’s get to it. I apologize in advance, but this post will be text-heavy. Sorry……..
Batting
If you’re new to quilting, you might not know what the filling inside of a quilt is called. Here in the USA, we call it “batting” or you might see it as “batt.” If you are in Europe or Canada, you might hear it called “wadding.” Whatever it’s called, we are talking about the layer between the top of the quilt and the back (or bottom layer) of the quilt.
If you’ve looked at batting options out there, you might be a little overwhelmed. There’s cotton, polyester, cotton/poly blends, wool, recycled, bamboo, natural, bleached, white, black, etc., etc. How do you know what batting is the best?
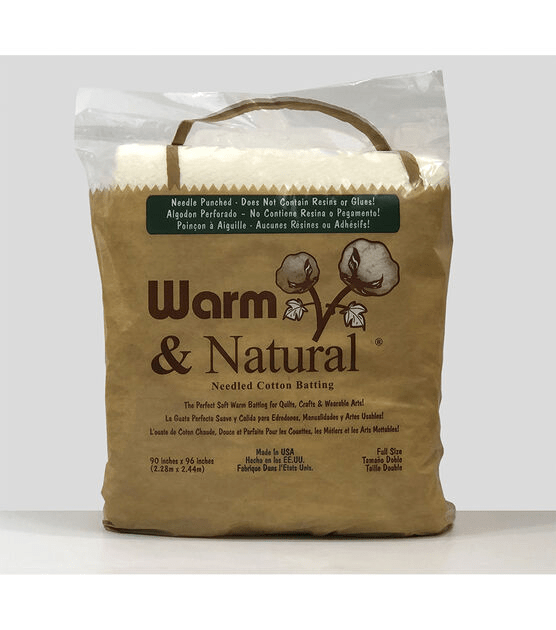
I’m here to to tell you that there isn’t only 1 “best” batting out there. A lot of what batting you choose depends on your project as well as your personal likes/dislikes or even possibly allergies. Classic favorites include: Warm and Natural, Hobbs, and Mountain Mist, but there are many more companies offering batting today.


So your best bet is to try some different samples of batting. Do you like the feel of cotton? Or a blend? Or polyester? Or silk? Or…? Which batting is easier to work with? Are there differences/similarities in the same fiber contents but different companies? If you’re going to quilt your own quilt, how does each sample quilt? Hand quilting or machine? Maybe you are tying your quilts?
Eventually, you will find the batting that you prefer and that’s probably the one you’ll use over and over again in your quilts. If you are interested in reading detailed articles about choosing quilt batting, there are LOTS on the Internet, just type “how do I choose quilt batting” into your favorite search engine and go from there.
What if the pattern I’m using doesn’t tell me how much batting to buy for my quilt?
I’m so glad you asked! You can figure out how much batting you will need with a simple formula.
1. You need to know how big the finished quilt will be ( be aware if you are adding or subtracting blocks or borders, your finished size might be different from the size listed on the pattern).
2. You will add 8 inches to both the length of the finished size and the width of the finished size.
Why 8 inches? Most professional quilters ask that your batting and backing be at least 4″ bigger on each side of your quilt top. If you are quilting the quilt yourself, you can sometimes get along with less, but it’s better to have too much batting and backing around the sides than not enough. If you are getting your quilt quilted by someone else, make sure to ask if 8 inches is enough for them, they may want more.
So, let’s do a few examples.
Quilt A is 57″ wide by 75″ long. Let’s add 8″ to each measurement for a total of 62″ x 83″ — this is the minimum batting size you need for your quilt.
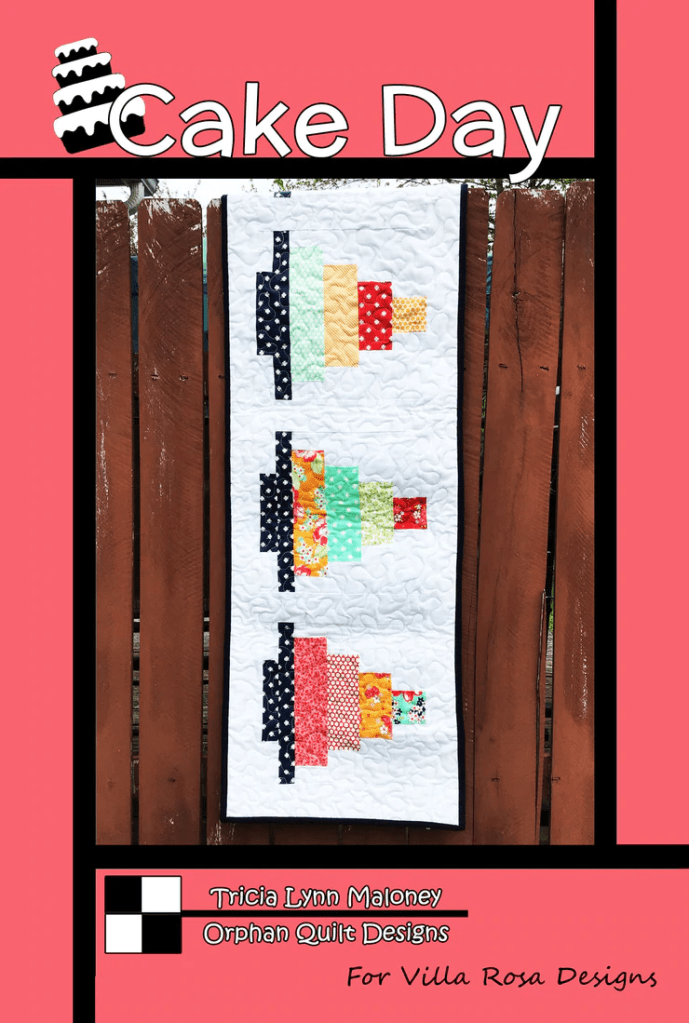
Quilt B is 21″ wide by 52″ long. Let’s add 8″ to each measurement for a total of 29″ x 60″ — this is the minimum batting size for this table runner.
Great, but I can’t go to the quilt shop and buy exactly 62″ x 83″ or 29″ x 60″ of batting. So now what?
You can usually purchase batting by the yard or by the package at your favorite retailer. A yard of batting would be 36″ long by whatever width the batting is, which could range from 45″ – 120″!
Batting by the Yard
Okay, for Quilt A we need to buy a piece at least 62″ x 83″. At Quilt Shop X, we can buy batting that is 90″ wide, so that would be long enough if we turn the quilt sideways (83″ wide x 62″ long). Now what would be the closest yardage amount for 62″? 1.75 yards equals 63″. I would probably buy 2 yards of the 90″ wide batting, just to be on the safe side — it would give me 72″ x 90″, which is larger than what I need, so that’s good. Done.
Batting by the Package
Instead of batting by the yard, Quilt Shop Z offers a selection of prepackaged batting in different sizes. Here’s what you might find:
Craft – 34″ x 45″
Crib – 45″ x 60″
Throw – 60″ x 60″
Twin – 72″ x 90″
Full – 81″ x 96″
Queen – 90″ x 108″
King – 120″ x 120
Keep in mind that these measurements might be slightly different depending on the manufacturer.
Okay, for Quilt B our table runner, we need at least 29″ x 60″. Hmmm. A Crib or Throw size might work because they are both 60″, but that might be cutting it a little close, so I would probably go up to the next size, which is a Twin at 72″ x 90″. Of course, I will have leftover batting, but I can save that and use it for another project (or 2 or 3…).
Backing
Getting the correct size of backing for your project is pretty much the same process as I described above for quilt batting — you will want the backing to be at least 4″ bigger than the quilt top all the way around, or just add 8″ to the finished width and length of the quilt. Mostly, you’ll buy backing fabric by the yard, but there are more and more shops that are offering precut pieces of extra wide backing, usually in 2 or 3 yard pieces by the extra wide width, usually 108″, but you might find 120″ as well.
It’s really easy to figure out how much backing you need if you plan to buy the extra wide fabric. Buying extra wide fabric is a huge time and effort saver.
But, some of the time the fabric you want for the backing is the regular width of 42″ – 45″ wide.
How do I figure out how many yards of fabric to buy if the pattern doesn’t tell me?
A great question! Let’s use our Quilt A example from the Batting section.
Quilt A is 57″ wide by 75″ long. Let’s add 8″ to each measurement for a total of 62″ x 83″ — this is the minimum backing size you need for your quilt (we figure this just like the batting).
We know that a yard of fabric is 36″ long. The average width of regular-width quilt fabric on the bolt is about 44″ wide. But because fabric can vary a bit in width, I usually use 40″ as my width measurement.
For Quilt A — I know I need it to be at least 62″ x 83″. There are 2 main ways to piece a backing fabric together: vertical or horizontal, but sometimes one will work better than the other. In Quilt A, we will need to piece the backing vertically because horizontally there wouldn’t be enough fabric as 40″ + 40″ is only 80″ and we need at least 83″).

Using the 40″ width, I would need 2 widths to get at least 62″ wide. I know I need at least 83″ for the length. So that means I would need to sew together 2 pieces of fabric each at least 40″ x 90″ (I chose 90 as it’s greater than 83″ and it’s 2.5 yards). So I would buy 5 yards of regular width fabric. Cut the 5 yards into two 2.5 yard pieces (90″) and sew them together down the middle using a 1/2″ seam (instead of a 1/4″ seam) to add some durability. Then press the seams open and press out the wrinkles and creases. DONE!
Here are my favorite tips for selecting backing fabric:
- Use quilting weight fabric, just like what you used for your quilt top. Backing a quilt with a sheet may result in a stiff quilt that does not drape well.
- Choose a backing fabric that compliments the front of your quilt.
- Make sure the fabric for your backing is big enough.
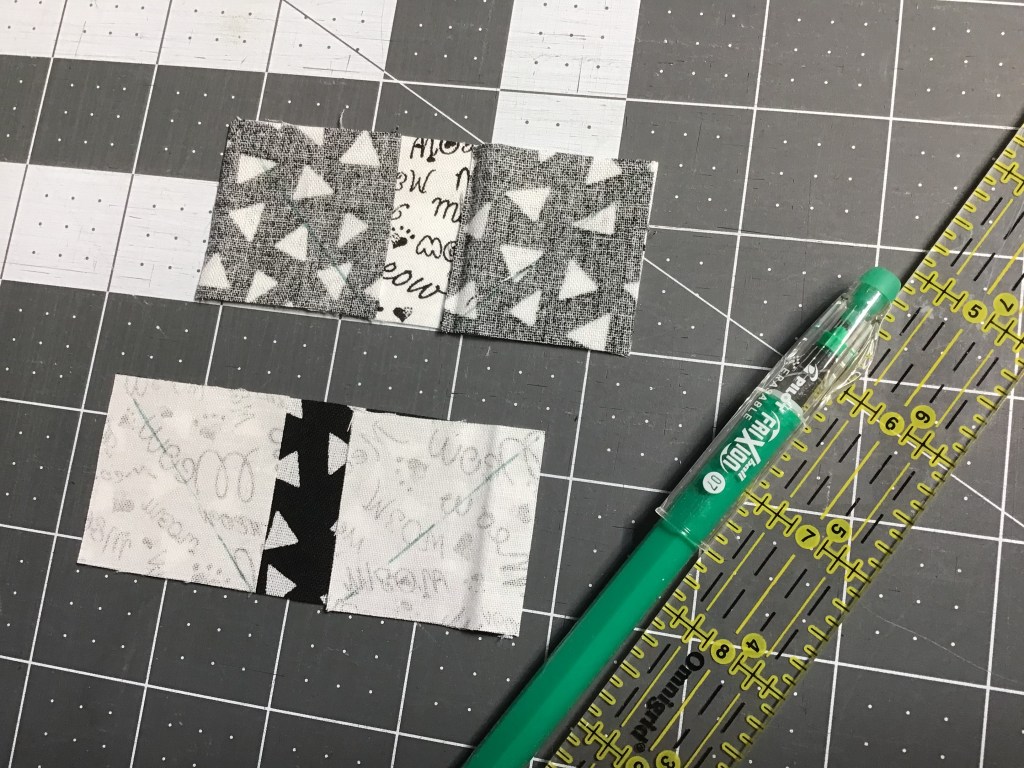
- Use a busy printed backing fabric as it will not only look really good on the back of your quilt, it also can hide the quilting stitches — this is particularly great when you are just starting out either hand or machine quilting.


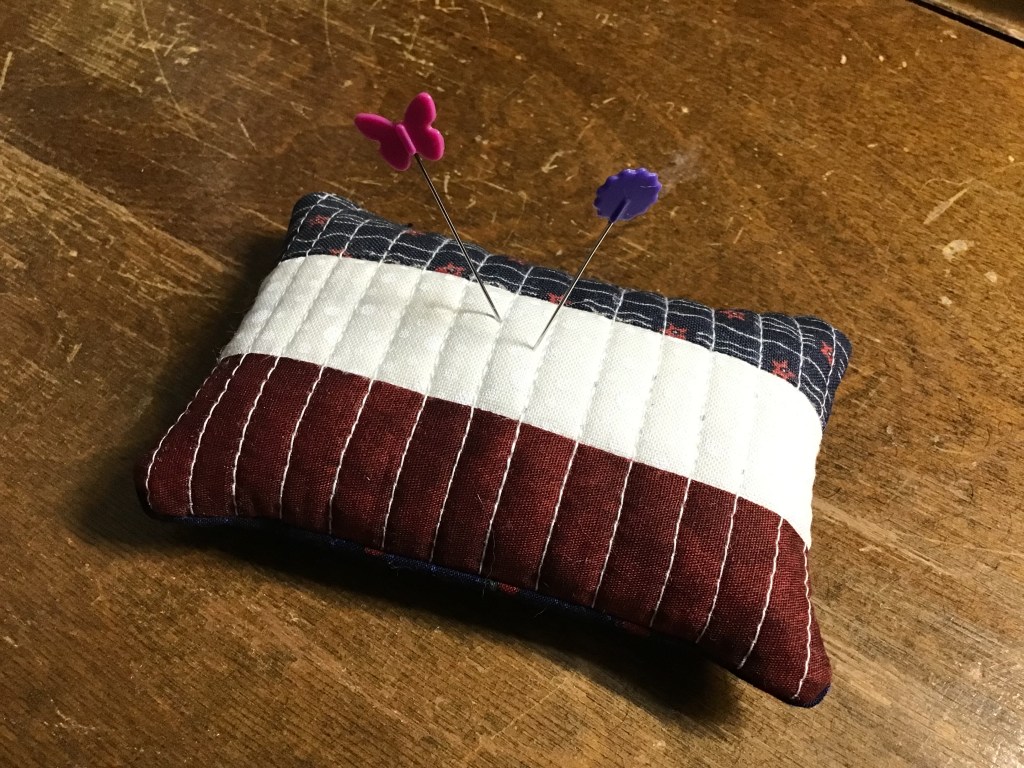
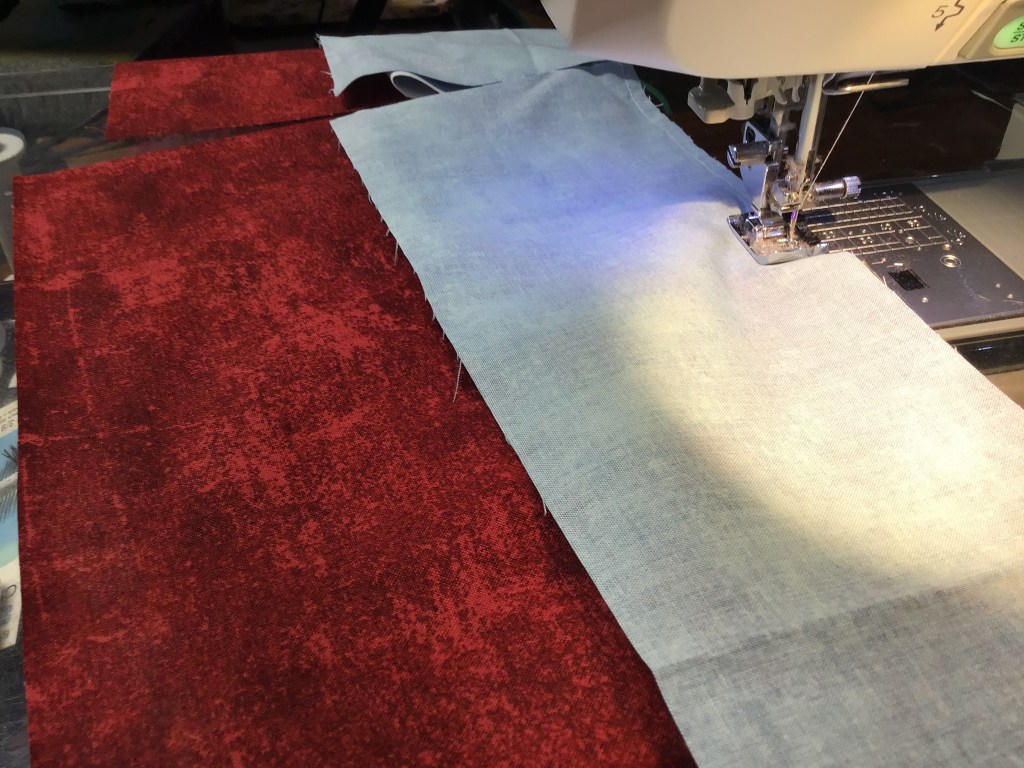
In the first example, the black thread really sticks out like a sore thumb on the grey backing fabric. The thread and backing look fine together, but if you flipped over your quilt to the back, any mistakes or wobbles in the quilting would really jump out at you!
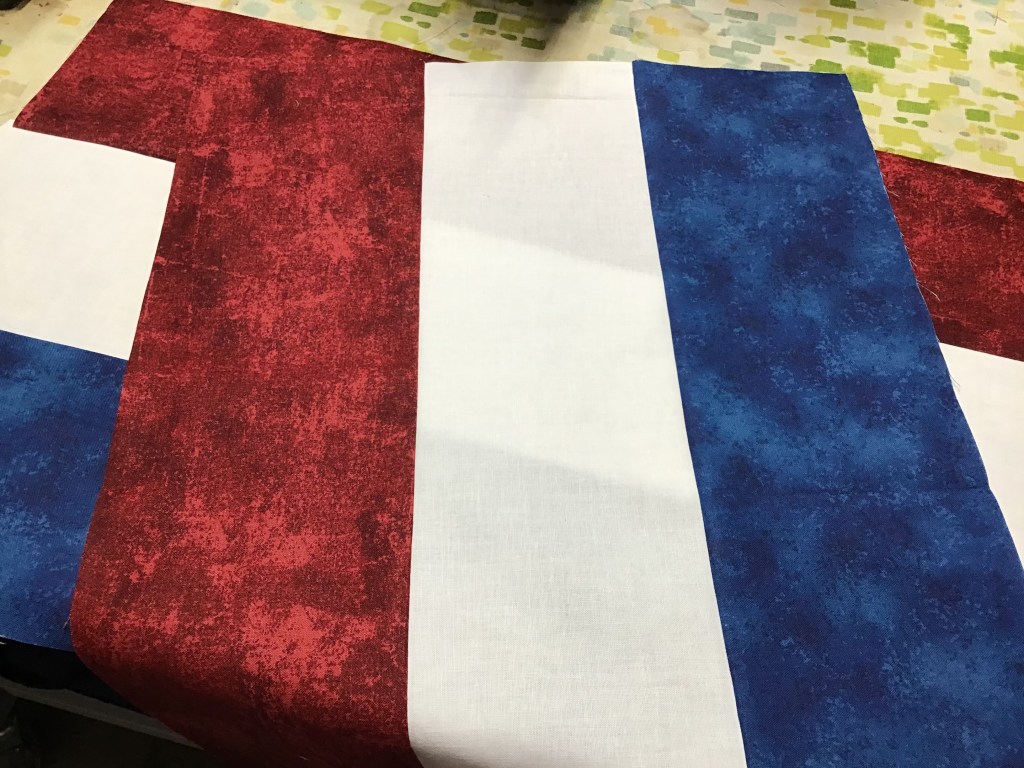
In the second example, the grey thread blends in more with the multicolored argyle backing fabric, which would help to hide or at least make less noticeable any mistakes or wobbles in your quilting.
5. One of my favorite places to find fabric for backing is in the discounted or clearance section, where you’re sure to find a selection of great quilting fabrics that are older and are being sold at a discount to make room for newer fabrics.
Preparing Your Quilt for Quilting
Now that we have our quilt top completed, we have batting that is 8″ wider and 8″ longer than our quilt top, and we have a busy backing fabric that is also 8″ wider and 8″ longer than our quilt top, it’s time to get it ready for quilting.
First you have to make some decisions before you go any further:
- Hand quilting or machine quilting? (or perhaps tying the quilt?)
- If hand quilting, are you doing it yourself?
- If machine quilting, are you doing it yourself?
So, let’s say we have decided to send our Quilt A to Sally who is a reputable long arm machine quilter in the area.
You should ask the long arm quilter how to prepare your quilt for quilting, but here are some general suggestions:
- Carefully press the top of the quilt and the backing of the quilt
- Turn the quilt top so that the underside is up and trim any and all strings and threads
- If your batting was folded or wadded up in a package, you may need to lay out the batting so the creases can relax. You can speed this up by tossing the batting into the dryer on low or air fluff (so it doesn’t shrink)
- It wouldn’t hurt to press the quilt top and backing one more time, but be careful not to distort or stretch the quilt top
Sally the long arm quilter will load the backing, batting, and quilt top onto her frame and will quilt the layers together using whatever design the two of you decided upon. You may also be able to select the thread color you want used on your quilt. White, ecru, or grey are always safe choices, but colors like red, orange, pink, blue, or purple can really give your quilt that little extra something-something.
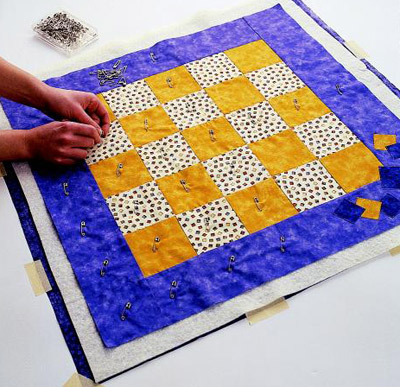
If you are going to quilt your quilt yourself, you will need to layer your backing, batting, and quilt top.
- Lay your wrinkle-free backing fabric wrong side up on a flat surface. Tape the edges of the backing fabric down to the table, making adjustments until the backing fabric is perfectly smooth and flat without any wrinkles or bumps. You will need to stretch the backing gently to make it nice and flat, but be careful not to overstretch the backing as this can skew the fabric.
- Center your batting on top of your backing and smooth it out until it is wrinkle-free.
- Now center your quilt top right sides up on top of the batting. You should see at least 4″ of batting and backing around all the edges of the quilt top. Smooth your quilt top so it is perfectly flat with no bumps or wrinkles.
- Using pins, a basting tool, or needle and thread, baste the 3 layers together. If pinning, place pins about every 4-5 inches (some quilters like their pins closer together and some like them farther apart). I like to pin across the center horizontally and vertically and then pin in diagonal lines from the center out to the corners. If needed, I add extra pins here and there. You can check out http://www.AllPeopleQuilt.com HERE for a good article about different ways to layer and baste your quilt.
WHEW! I know this was a lot of information to absorb. You may need to read it more than once. LOL!
There are also lots of great resources about this topic online, in quilting books, and in the back of your favorite quilting magazines.
Next week, we’ll talk address Quilt as Desired.
Until next Thursday —
Sew. Laugh. Repeat.
Always,
Tricia @VRD