
Hello Quilty Friends!
Happy Thursday to you! I hope you all are having a wonderful summer so far.
My summer just got a whole lot better! Just recently my family got in gear and finally got our little back porch raised garden planted. And our flowers, too. We may be running a little behind, but I have hopes that in late summer/early fall we’ll be enjoying some fresh veggies picked right out of our little garden pf goodness. If it goes well, next year we are going to add a second raised bed garden.
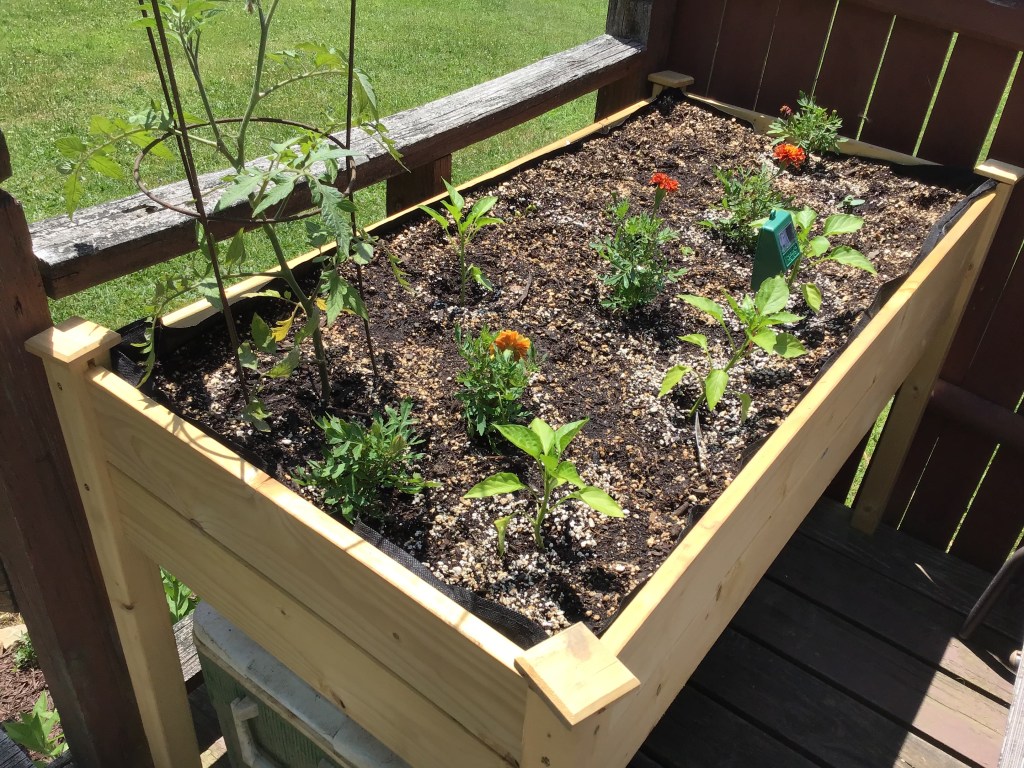
I used to be an avid gardener way back when, but gave up the year I planted my garden twice and the critters ate everything before it even had a chance to grow. That was it.
But now I’m excited to try container gardening. Besides, ”container gardening” sounds so trendy, don’t you agree?
Cake Day Quilt Block Assembly Tips
I thought I’d share a quick tutorial on how I put the Cake Day table runner quilt block together along with some of my favorite piecing tips.
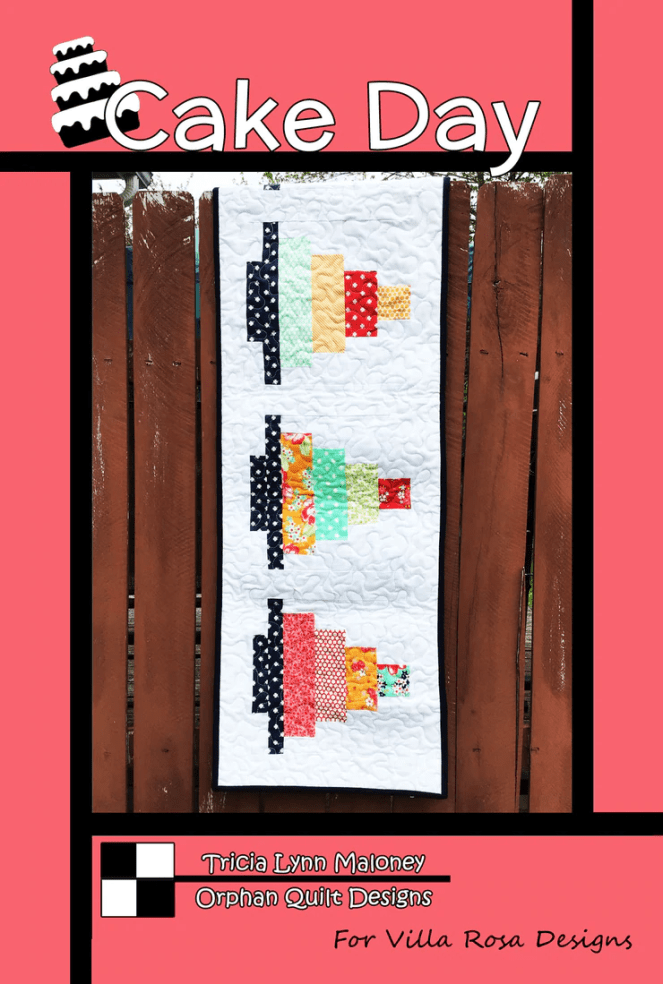
You can get your own Cake Day Table Runner Rose Card pattern HERE.
Often, I prefer to cut out all my pieces for the blocks before I start sewing. I find this is usually quicker than cutting and sewing one block at a time.
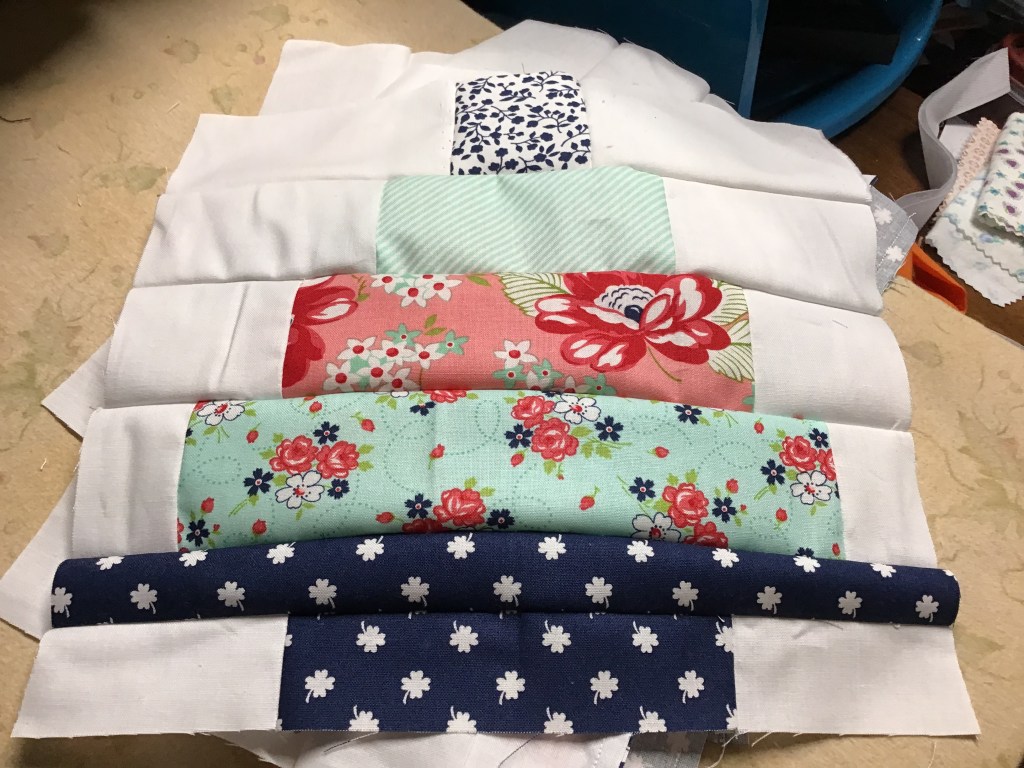
Here you can see the pieces all laid out in the right order (all four blocks are stacked) on a flannel board and then I can simply take everything to my sewing machine. This works well if you have to stop in the middle and come back to your project later. Everything stays right where you left — unless of course, you have gremlins or leprechauns or some other little mischievous creatures running around your sewing room when you are not looking.
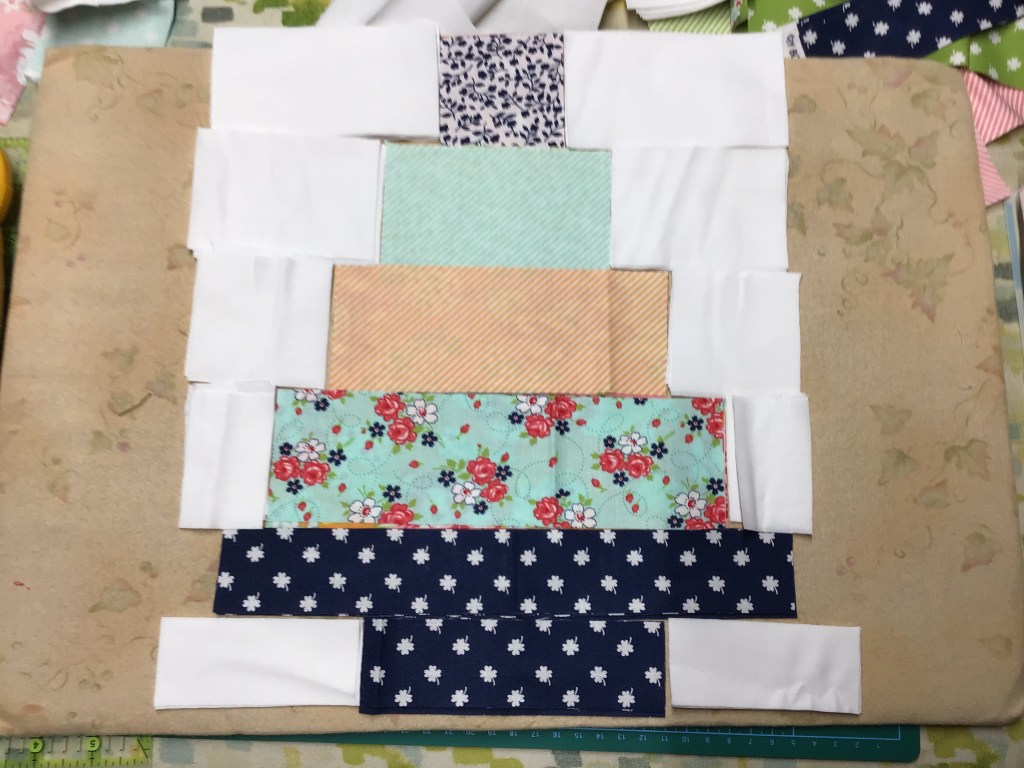
I have also found that laying out and stacking the pieces in order makes sewing them together faster and easier because I don’t have to stop and figure out where each piece goes.
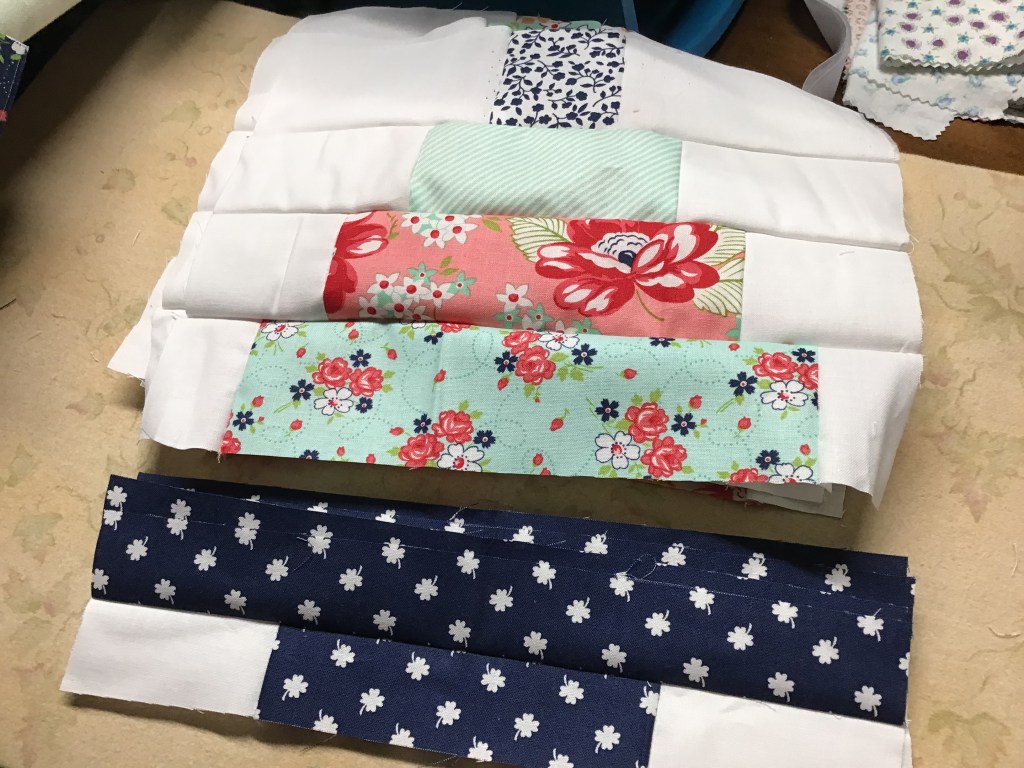
With all the pieces cut and laid out right sides up, sewing them together is a breeze, especially when I chain-stitch the units one right after the other without cutting my thread in between the units.

Nope! No need to head to my ironing board after clipping the thread between the units, I just kept sewing and chain-stitched the other side too.
I have discovered that the less I press as I’m putting together quilt blocks, the less the blocks stretch or get distorted, which of course improves the accuracy of my sewing.
In the next photo you can see I have the left side background sewn to the Cake print rectangles. Now it’s time to sew the right side.

All right! All the units are sewn together and I’ve clipped the threads between them. I made double sure I layered the units again exactly the same as when I started — we’re ready for the next step.

Again, I’m going to ignore my iron (it must be getting lonely). Time to sew the units together. More chain piecing.
Want to know what happens when I get to seams (remember I haven’t done any pressing at this point)? I’ve already decided which way I wanted my seams to go so as I sew, I hold them down and keep on sewing. Pedal to the metal!

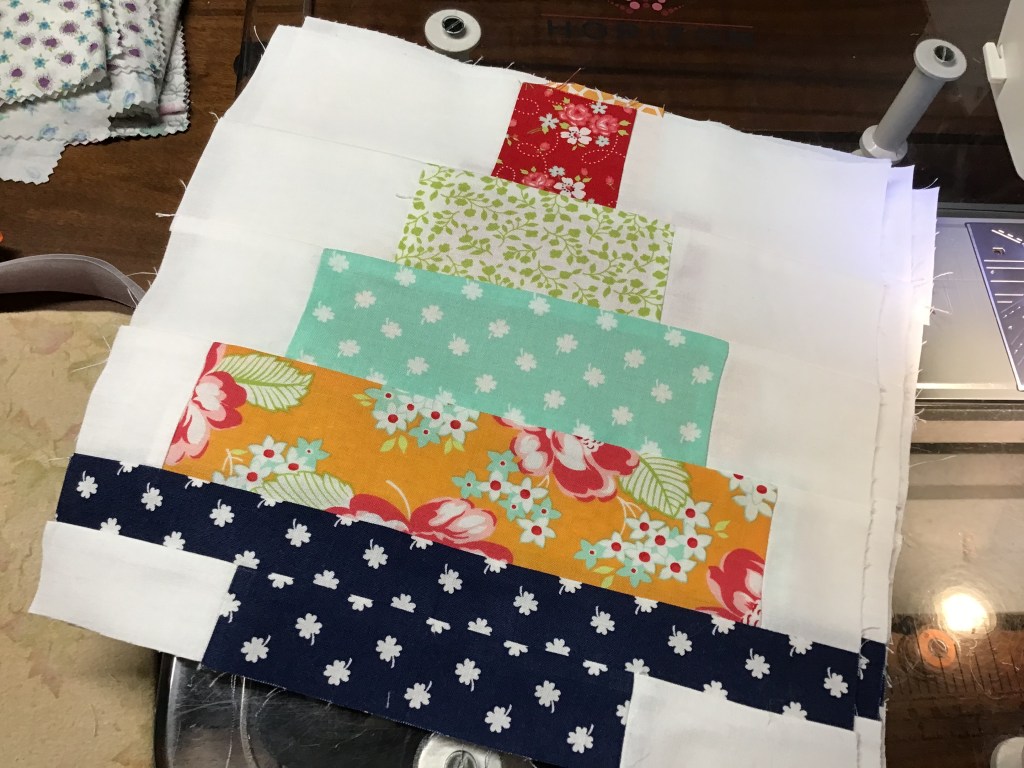
In this next photo you can see I sewed the top unit to the second unit. We’re on a roll — let’s keep sewing.

Okay, we’re almost there! I sewed the rest of the units all together and presto — all 4 of our blocks are now complete and I didn’t even have to get up from my sewing machine.

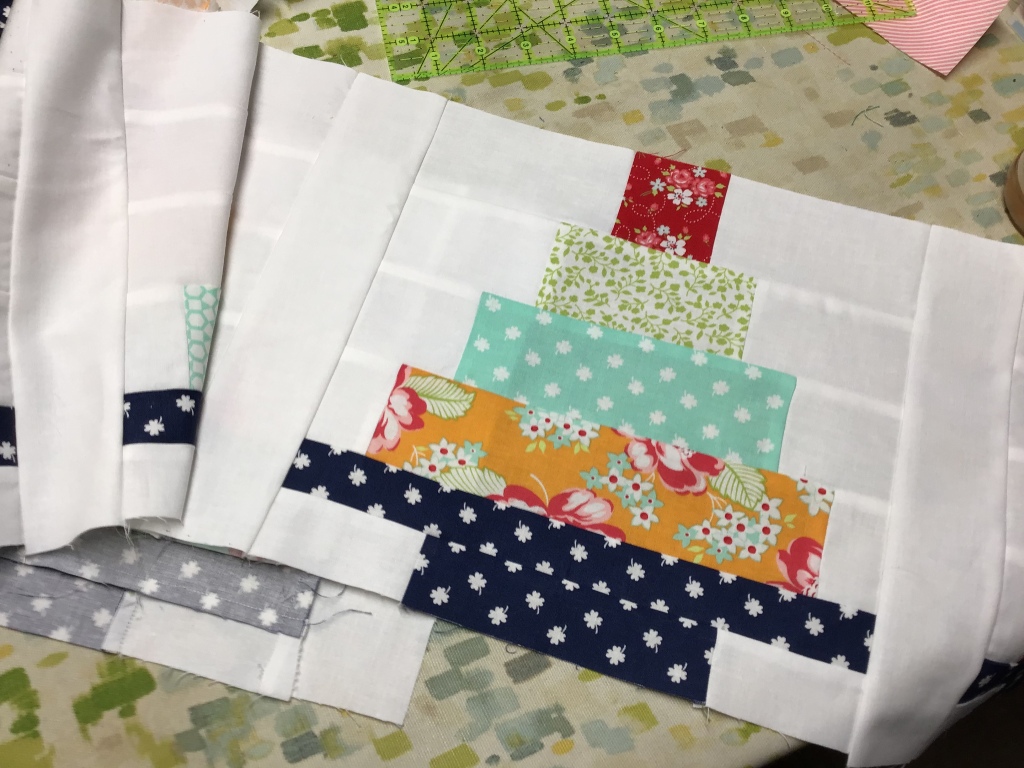
All right, all right, I relented and finally pressed my blocks — my iron was getting a little dusty from disuse.
Voila! Here is a finished Cake Day block. It’s a cutie, isn’t it?
My 4 blocks are now ready to assemble into a runner. There are sew many possibilities for this runner — birthdays, weddings, showers, parties, and the list goes on and on.
Any day can be a “Cake Day.” What’s yours?
Until next Thursday —
Sew. Laugh. Repeat.
Always,
Tricia @VRD

Thanks for the quick tutorial. I plan on getting the pattern along with the July table runner.. After you finished sewing I noticed there were no seams to match up. That is great designing! Look forward to your next post.
LikeLike
Thank you sew much for your kind words! Stay tuned for more tutorials coming soon…..
LikeLike