Hello Quilty Friends!
Happy Thursday to you!
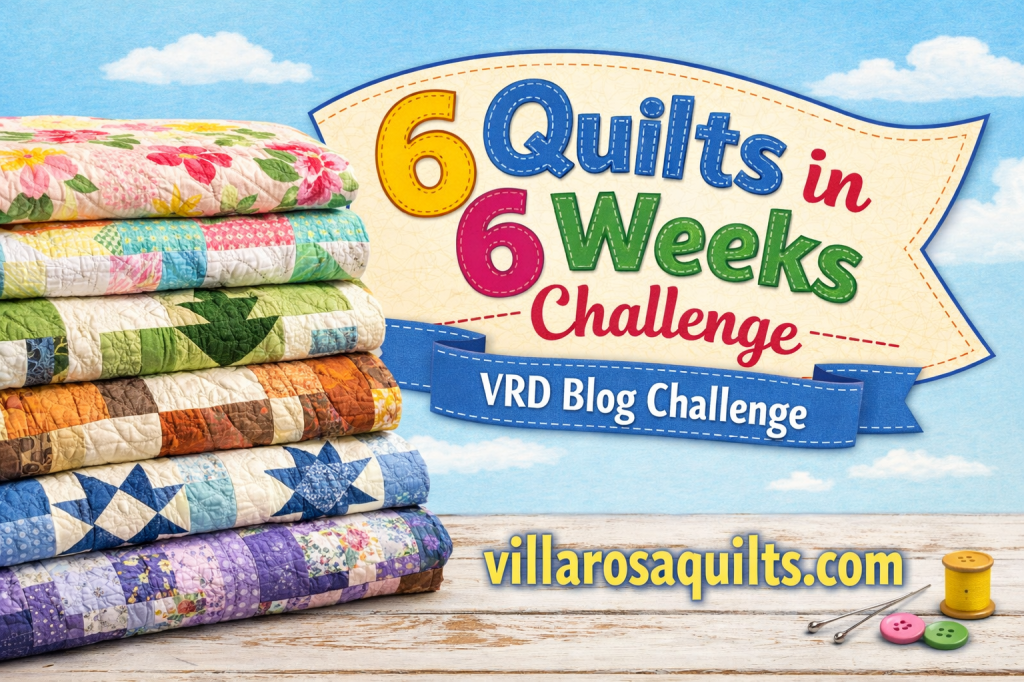
Woohoo! Today begins our 6 Quilts in 6 Weeks Challenge, are you ready??? There’s still time to join the fun. Let me tell you all about it.

The Challenge Dates:
Week 1 Quilt due by Friday 4/10 midnight EST
Week 2 Quilt due by Friday 4/17 midnight EST
Week 3 Quilt due by Friday 4/24 midnight EST
Week 4 Quilt due by Friday 5/1 midnight EST
Week 5 Quilt due by Friday 5/8 midnight EST
Week 6 Quilt due by Friday 5/15 midnight EST
The Rules and All the Details of the Challenge:
Each week for 6 weeks, participants will post before/after photos of weekly UFOs to our VRD Facebook page or if you prefer, you can email the photos to me at tricia@villarosadesigns.com.
I will post my before/after photos on the blog, villarosaquilts.com, each week and I will try to post them on the VRD Facebook page as well.
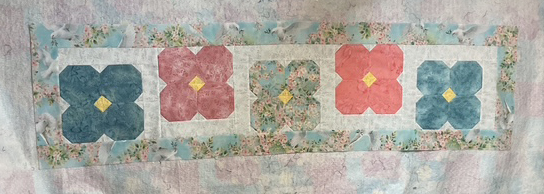
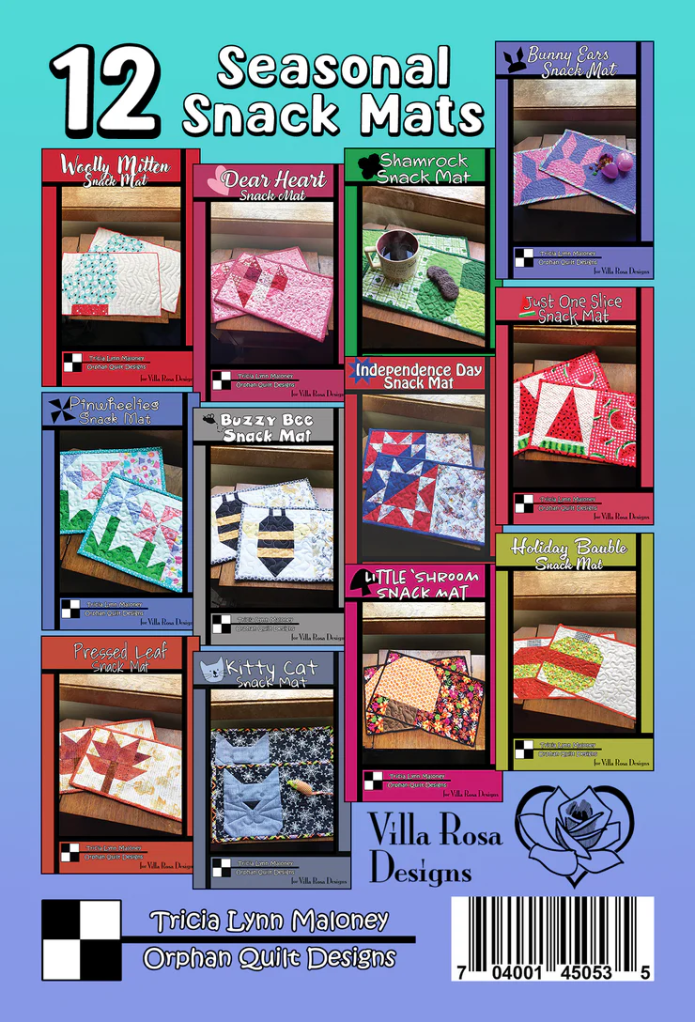
All quilt tops/projects must be VRD patterns – this is the VRD blog, after all. Quilts must be quilted and bound to be eligible for prize drawings. No size requirements (I have UFOs from snack mats up to large throw quilts). It doesn’t even have to be a quilt – we have some great accessories, table runners, place mats, and snack mats. Projects can be in any stage of UFO from a stack of fabric and a pattern to a pile of blocks to quilt tops to projects needing quilt or even just binding and a label. The idea is to simply finish VRD projects so we can feel great about starting new ones.
Each week, I’ll draw a name randomly from those participants who posted before/after photos by each weekly deadline. The winners will get a surprise quilty good in the mail after the Challenge ends. Goodies might be from me or from one of our lovely quilting partners.
This Challenge is open to all, but please note that International winners will receive a selection of VRD digital patterns.
PSST! You can even use the next six weeks to make a NEW VRD quilt each week (or any of the 6 weeks) if you want – hey, maybe you don’t have any unfinished VRD tops just sitting around. So go ahead – pick your favorite VRD pattern and get moving. Wouldn’t this be a great opportunity to get some of your holiday sewing done early??? I am not quite that organized, I’m afraid, but maybe you are.
You might be wondering what happens if you don’t post a before/after photo for a weekly Challenge or you miss the deadline. It’s pretty simple – your name won’t go into that week’s prize drawing – that’s okay because life gets busy. I’m not kicking you out of the Challenge, though – feel free to participate in any or all weeks. Your name will go into each weekly drawing that you complete a project and post your before/after photos before the weekly deadline.
Seriously, I want to encourage all of you as well as myself to finish projects, not to stress about them. LOL!
I think that’s all the important info. I hope I’ve answered any questions you had. If not, feel free to email me.
Wanna join me in this Challenge?
Send your name and email address to me at tricia@villarosadesigns.com to officially join the challenge and be eligible for weekly prizes. Your name and email will only be used for this Challenge, I promise you.
So, the Challenge begins….now. Your Week 1 Finished Project before/after photos are due by Friday, April 10th midnight EST. Post them on our VRD Facebook group or you can email them directly to me at tricia@villarosadesigns.com if you prefer.
Time to get quilting and slash your stash of VRD UFOs! And don’t forget to have some fun, too.
HEY! maybe you can challenge your quilty pals to do the Challenge with you? A few of mine are participating, so why not ask yours? Just sayin’……..
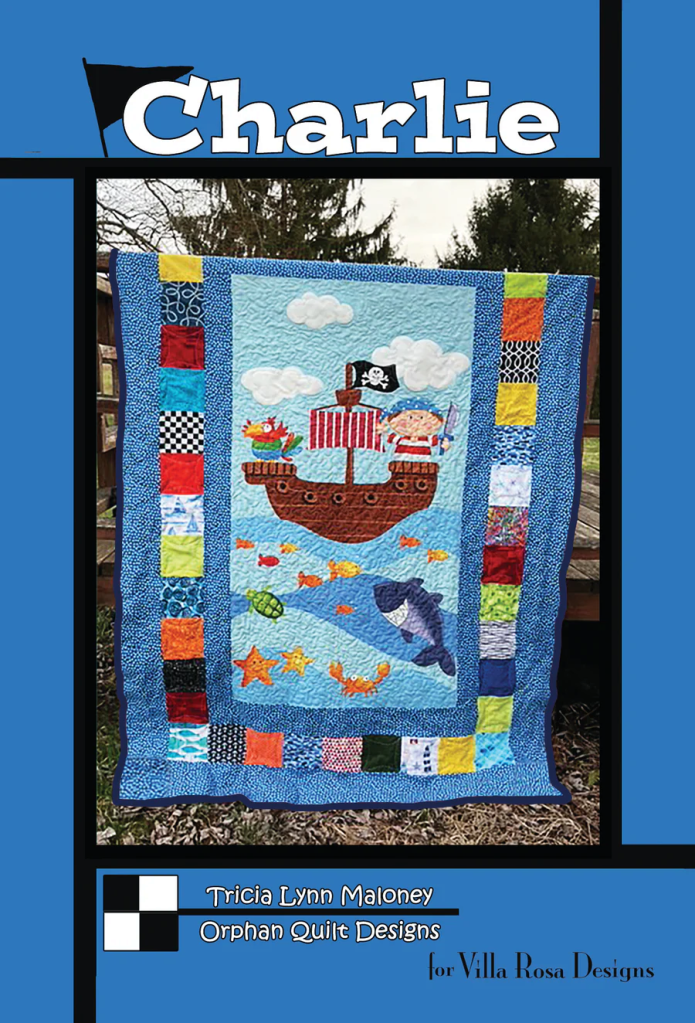
All right, let’s check out this week’s Spring into Spring tutorial, Charlie.
Spring into Spring VRD Quilt Tutorial Series: Charlie
Today’s tutorial is Charlie, a quick fun panel pattern. It finishes at 44″ x 64″. But of course, you could always add another border to make it larger if you want to. A 6″ border (strips cut at 6 1/2″) would finish at 56″ x 76″.
Get your digital pattern HERE or your print pattern HERE
Let’s get going on this cute quilt!
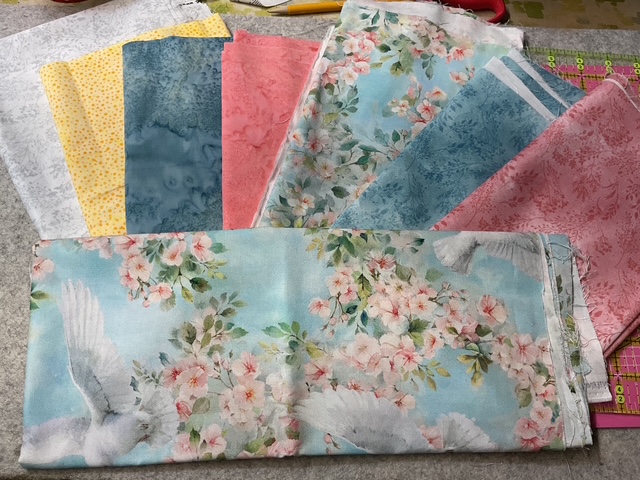
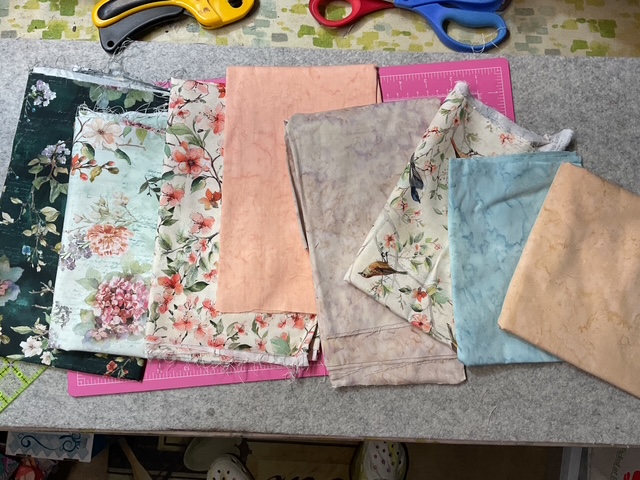
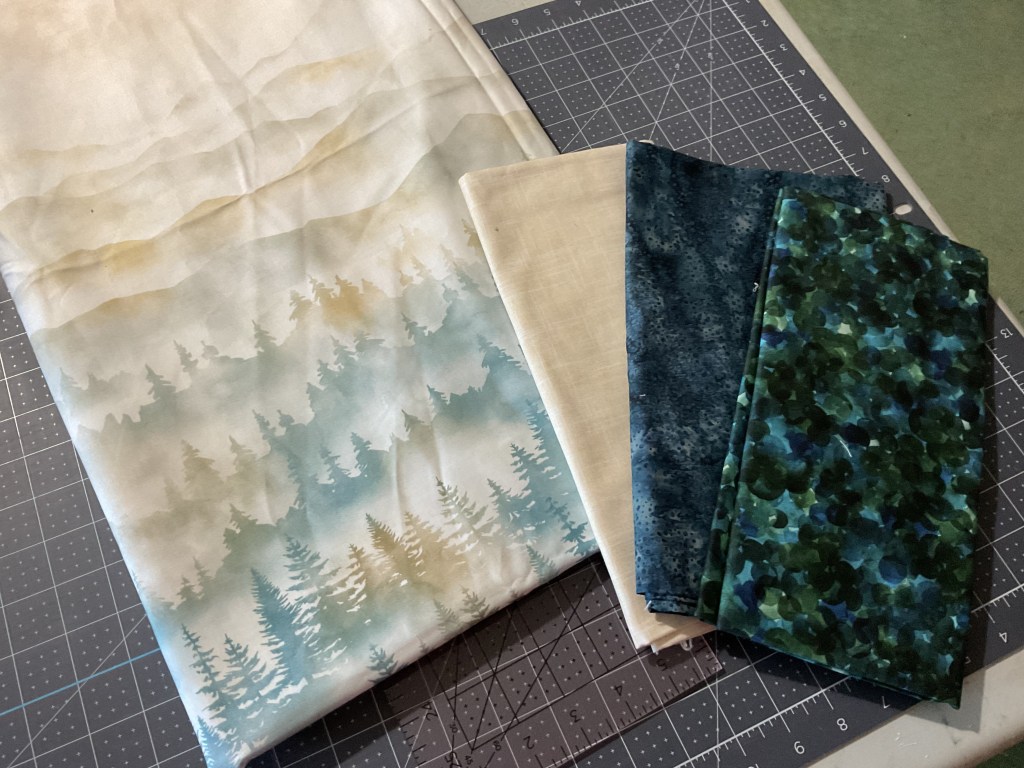
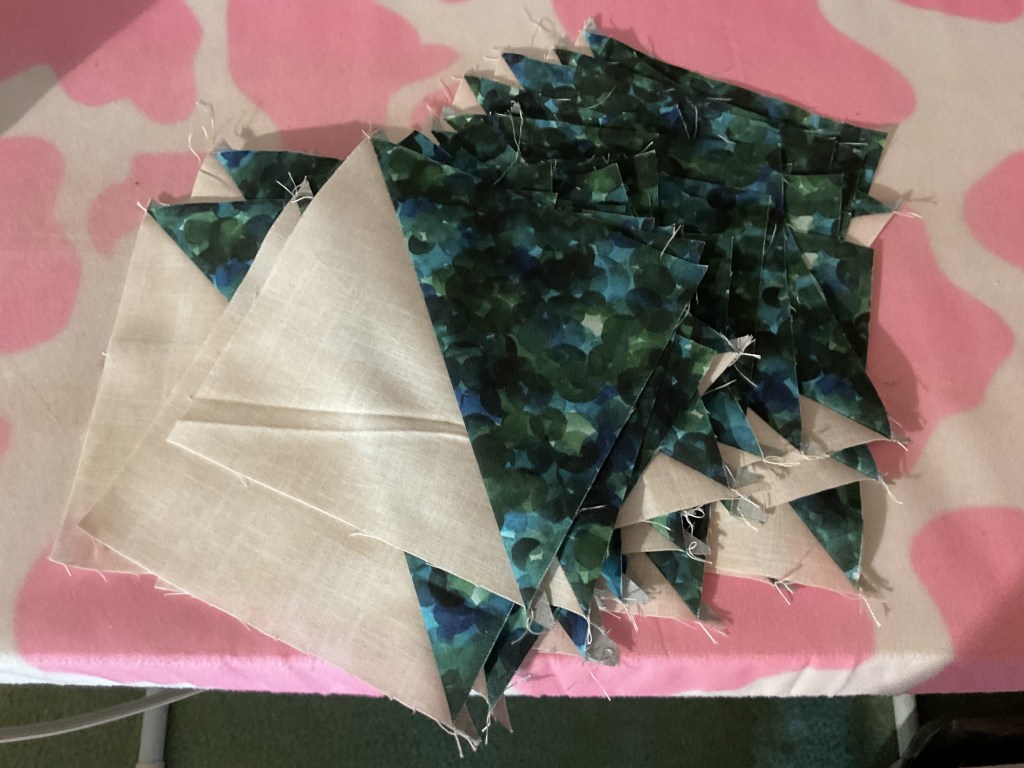
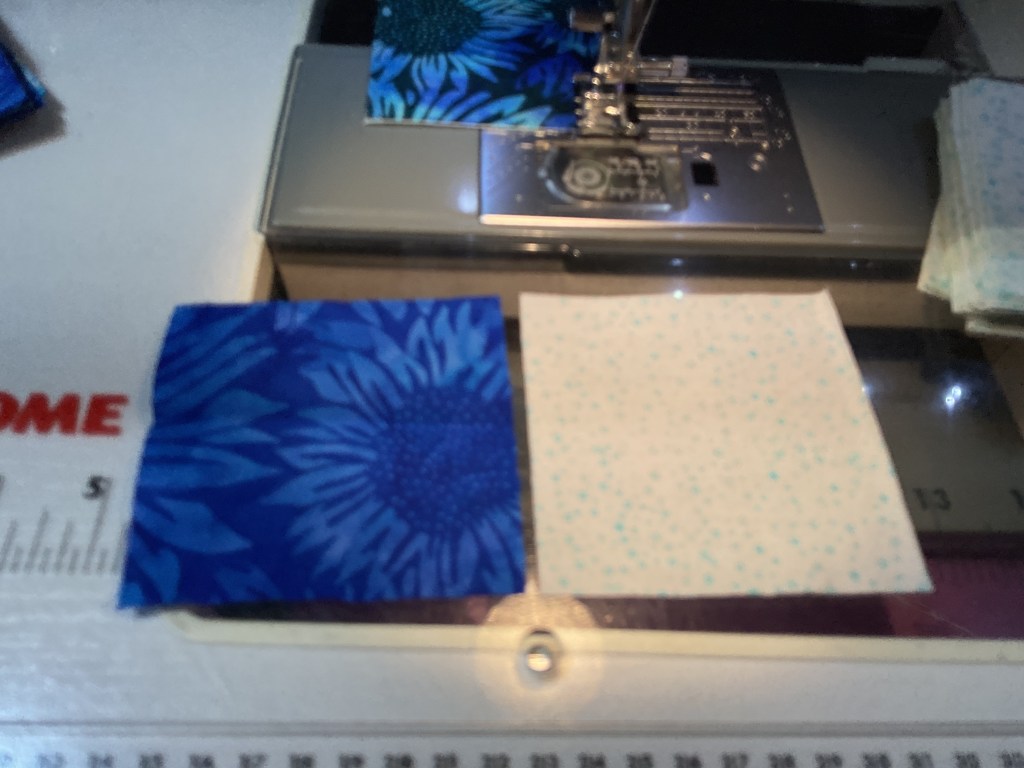
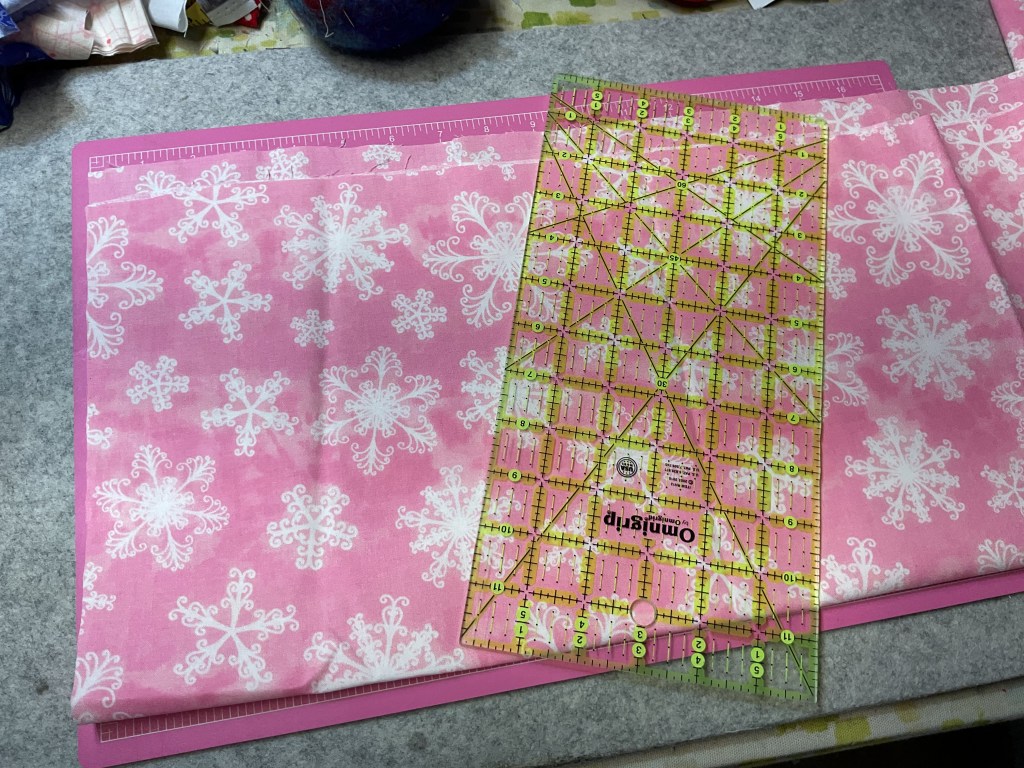
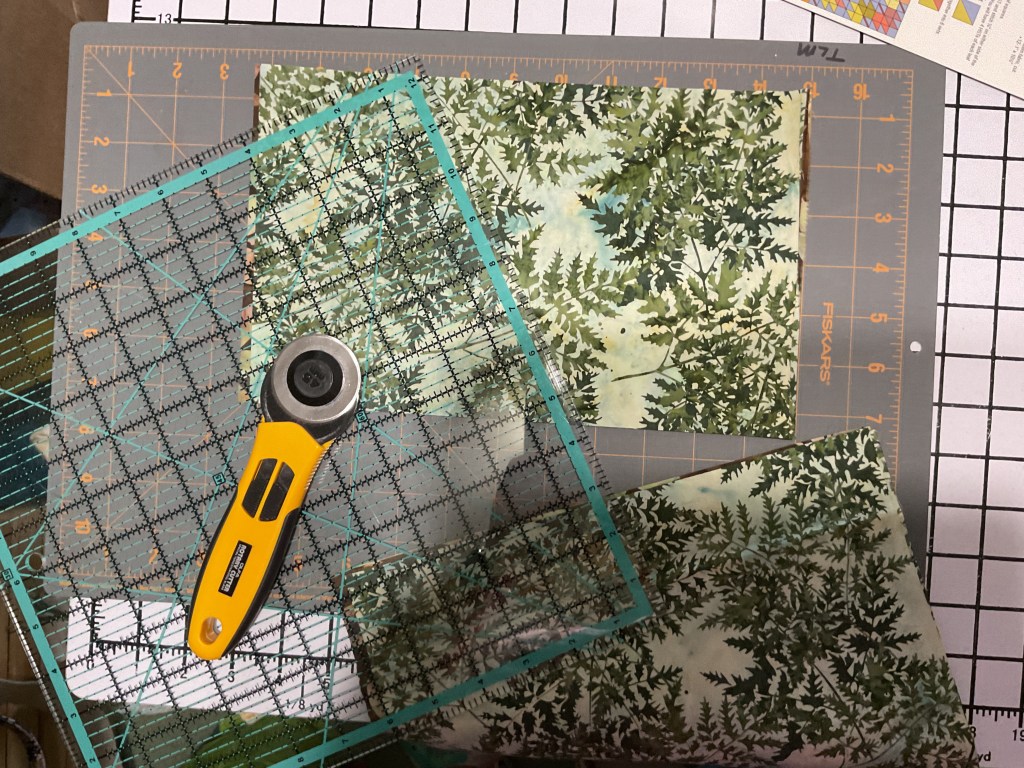
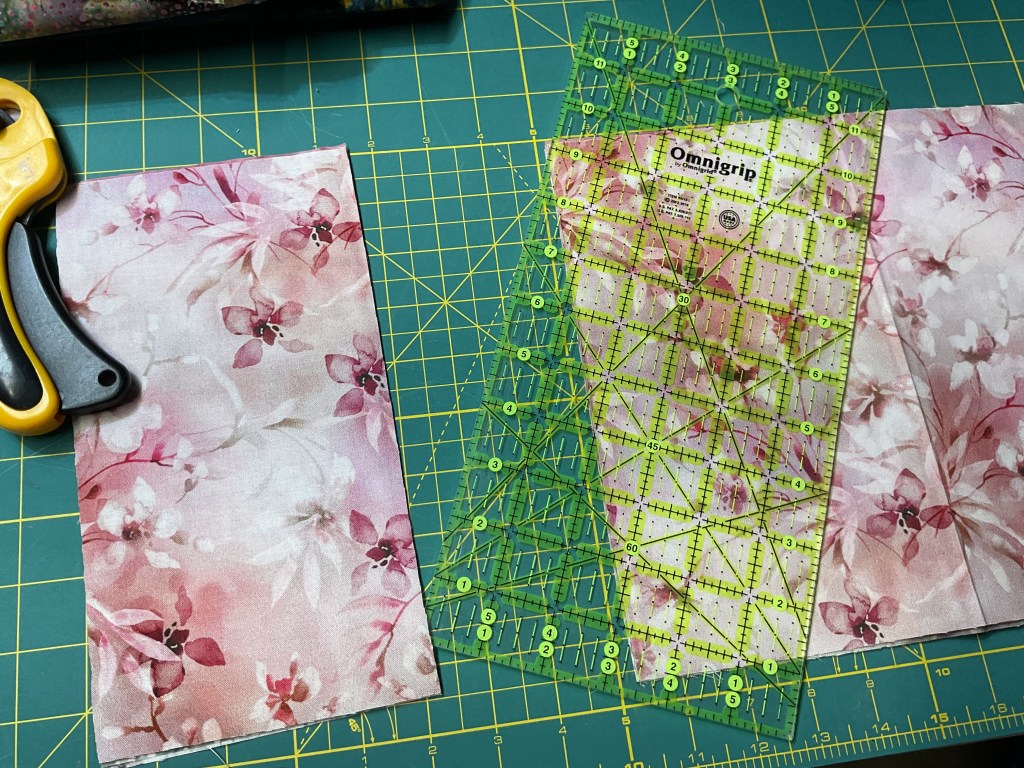
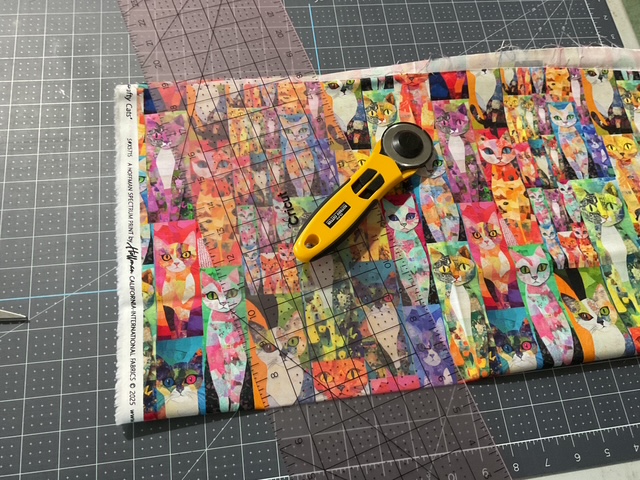
1. The first thing we always start with is our fabric. Today we’re using a super cool digital fabric collection from Hoffman called Crafty Cats. It’s fun and bright with some great rainbow 24/7 Solids and Linen coordinates.

Don’t you just love love love the cat print? Guess what?!? It’s running yardage, NOT a panel.
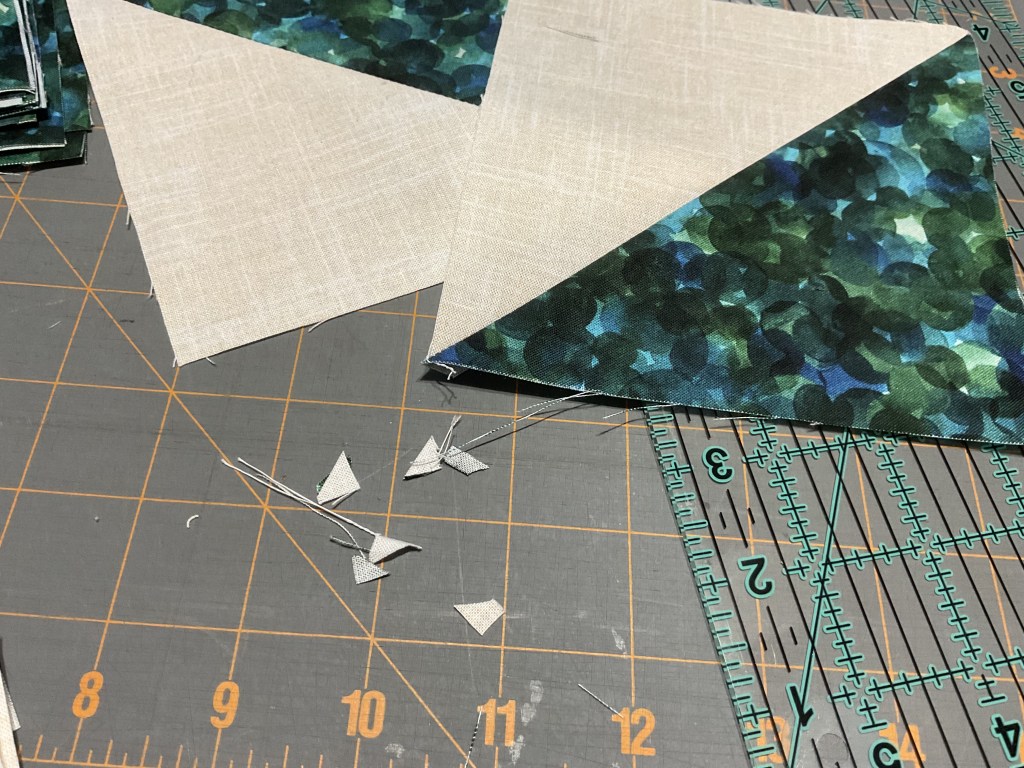
Have you ever thought about using a favorite novelty fabric instead of a printed panel? As long as you cut the fabric to the right size, novelty prints work beautifully in panel quilt patterns. Just a great tip from little ol’ me.
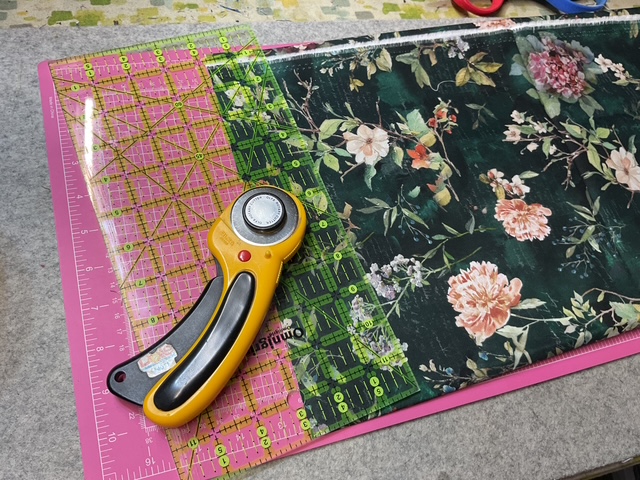
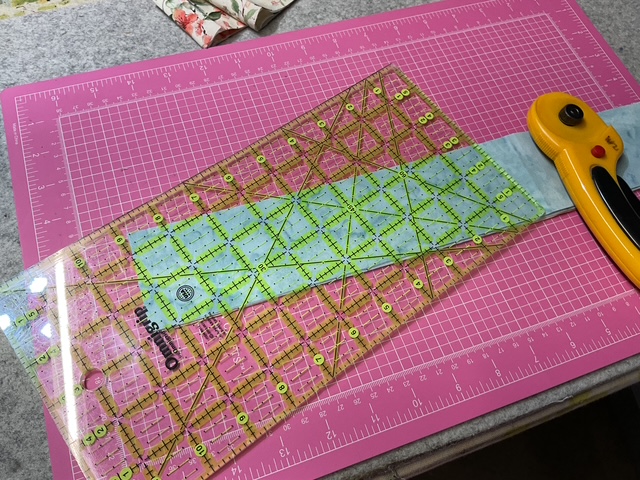
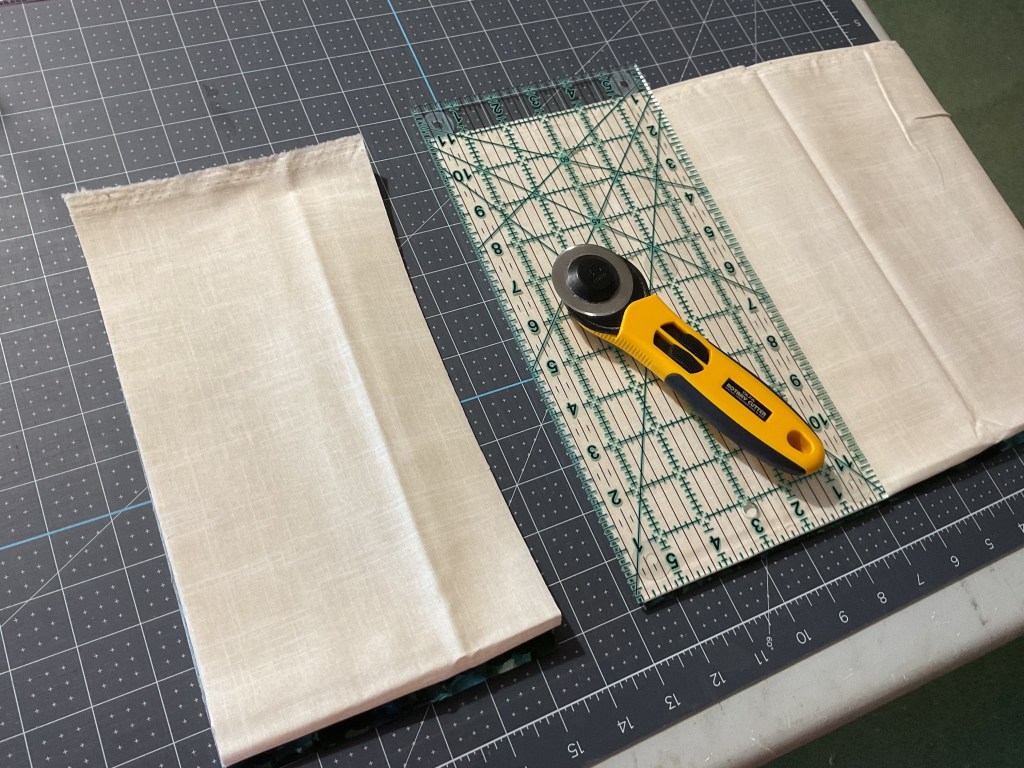
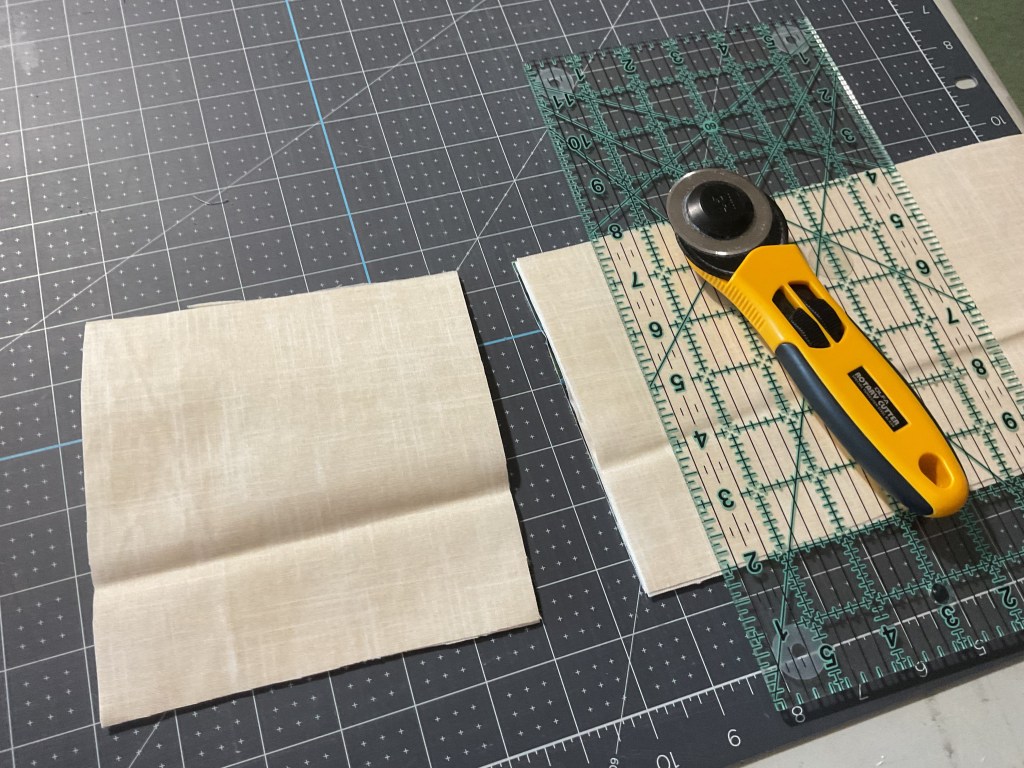
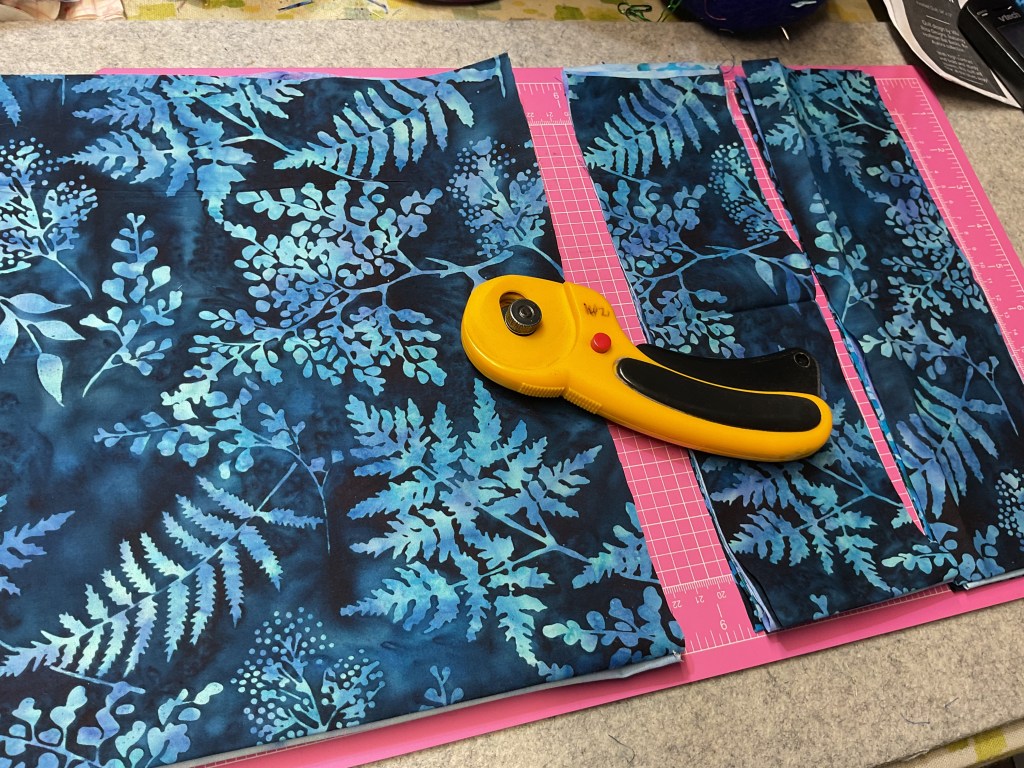
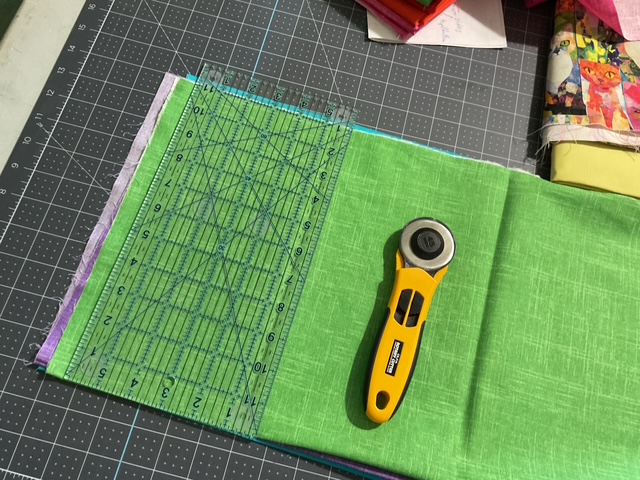
2. I must admit I’m a little nervous to cut the running yardage to the correct size the pattern calls for because it is just too easy to make a mistake. So wish me luck as I measure and measure again before cutting.
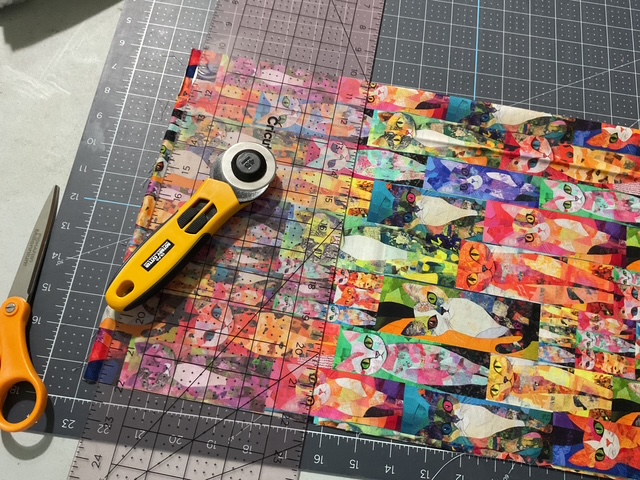
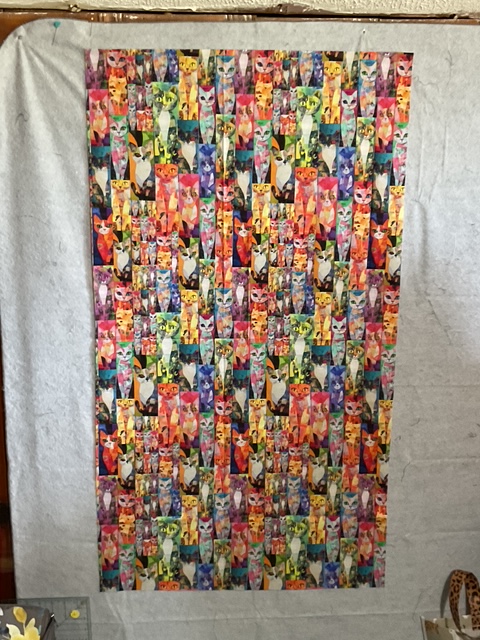
Whew! Got it! I didn’t think I could love this fabric any more, but I totally do now it’s cut and up on the design wall so I can see it properly.
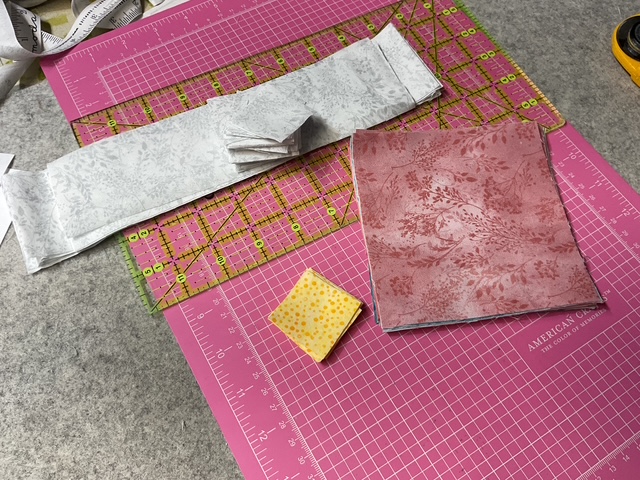
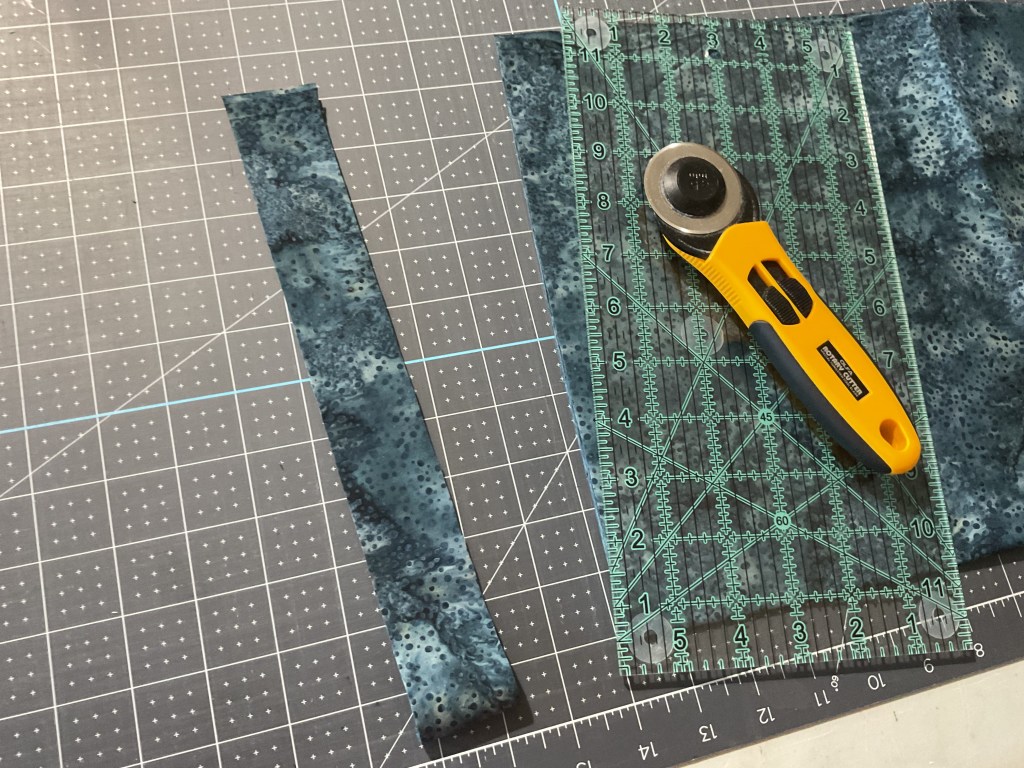
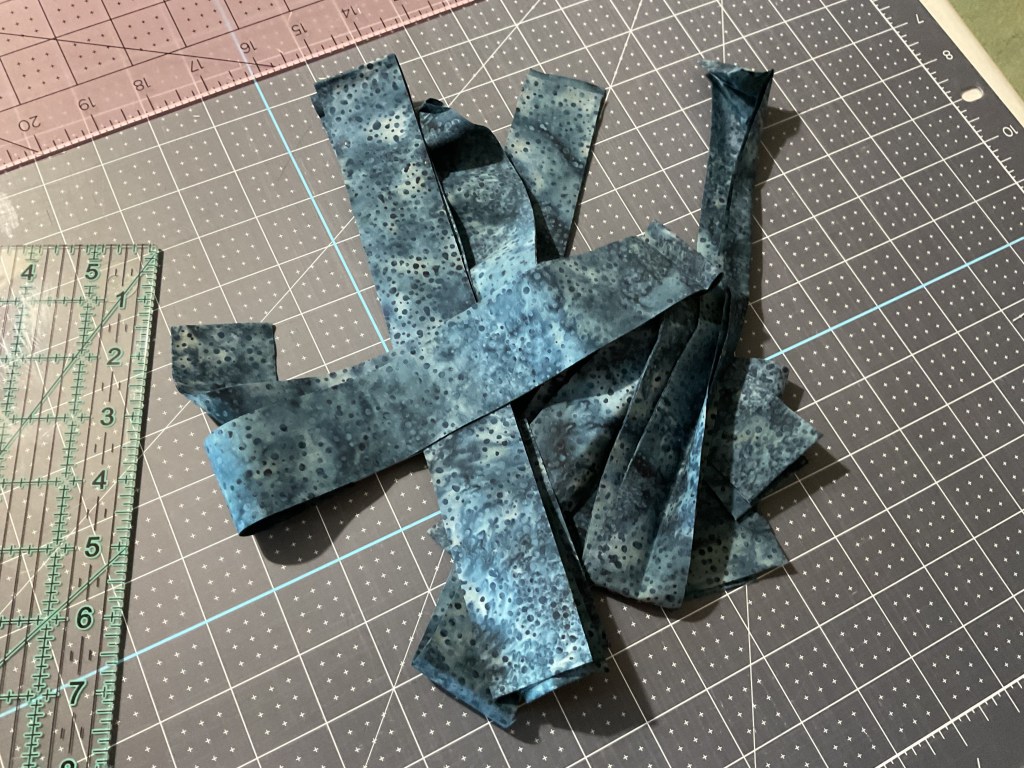
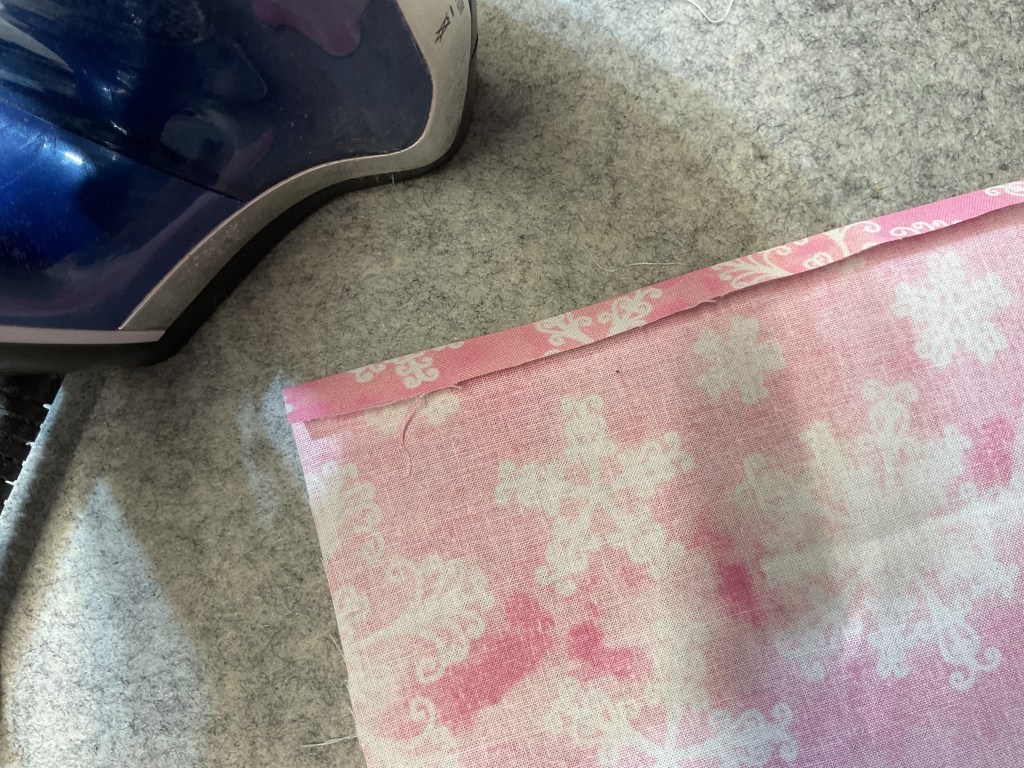
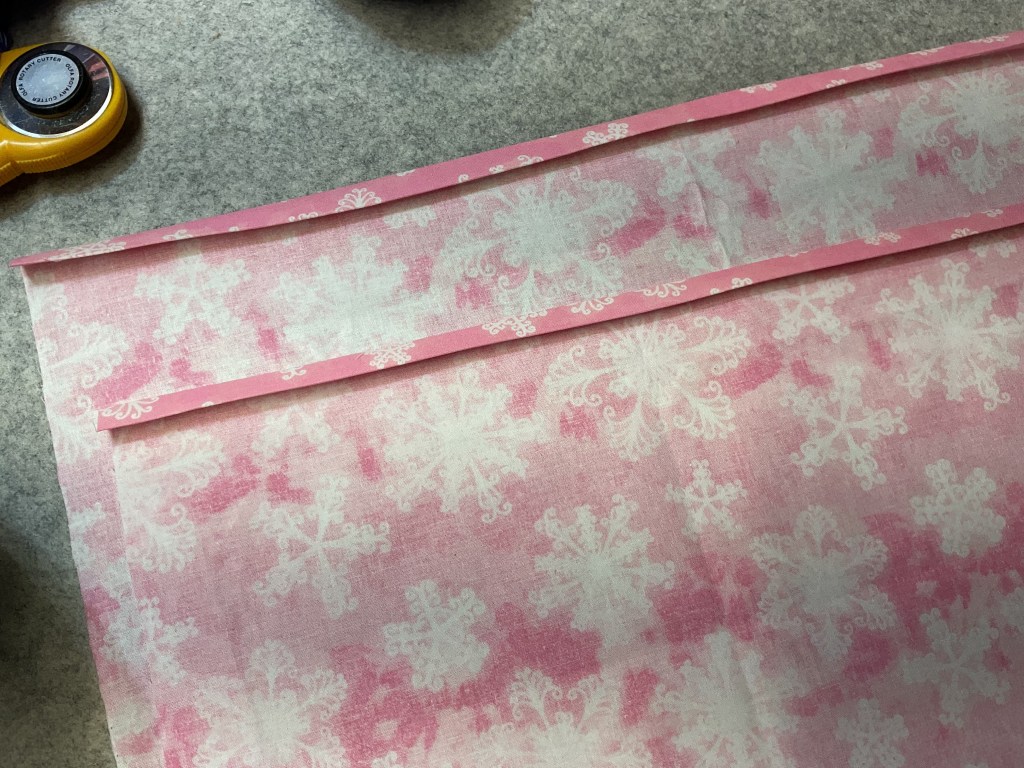
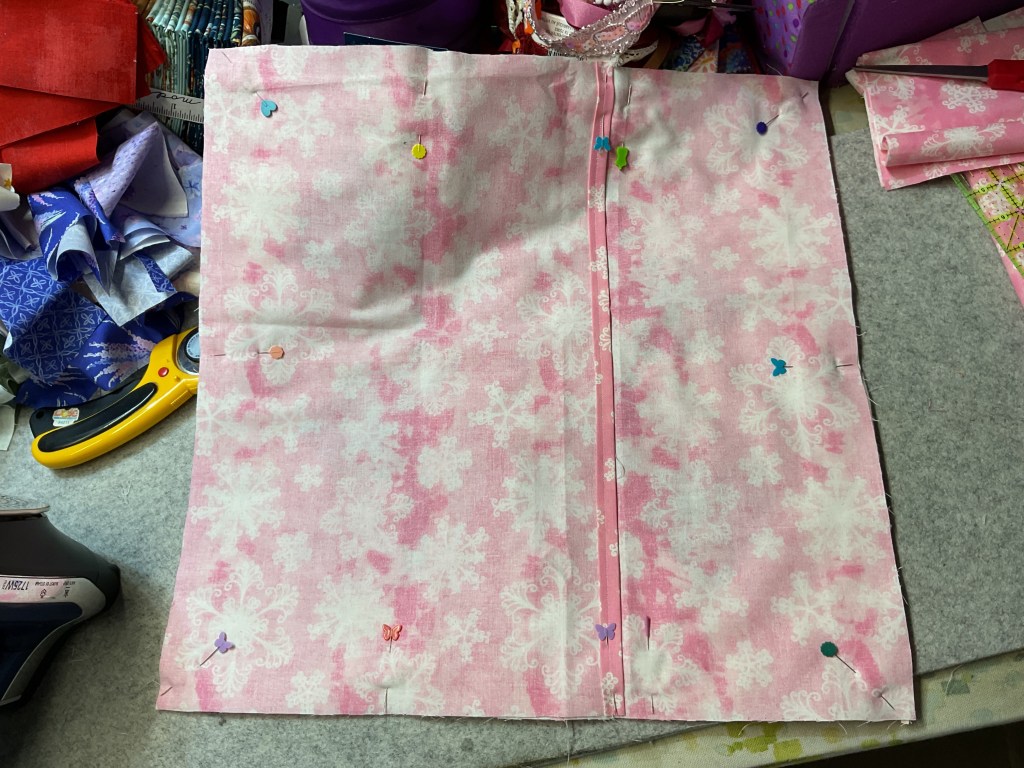
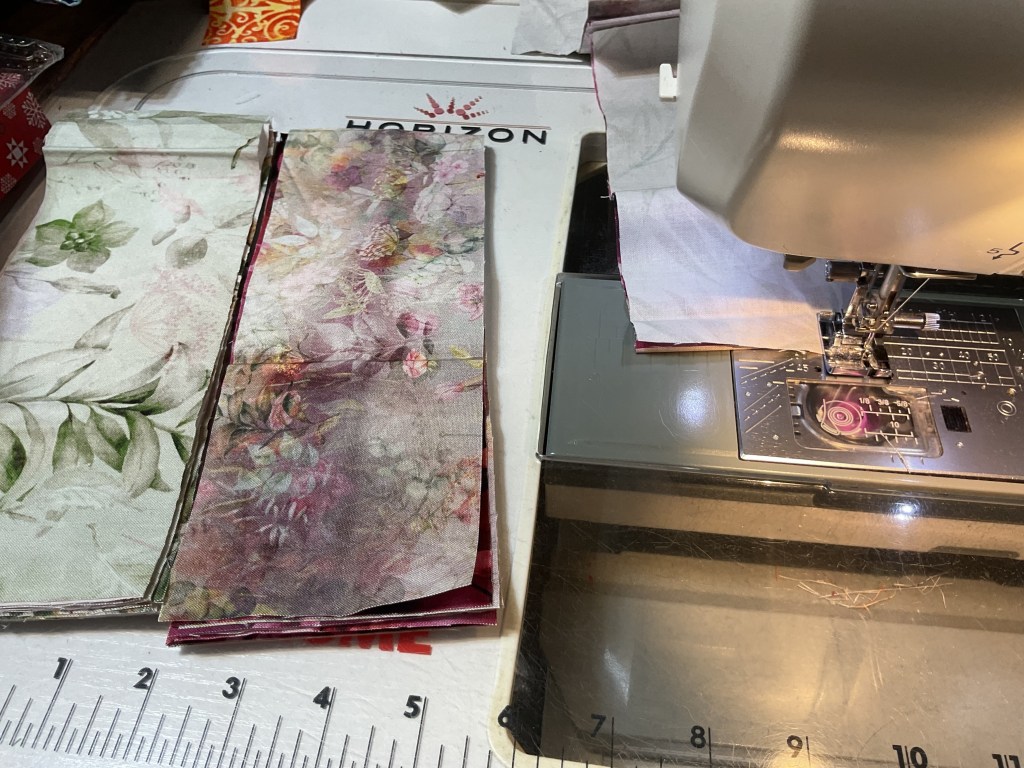
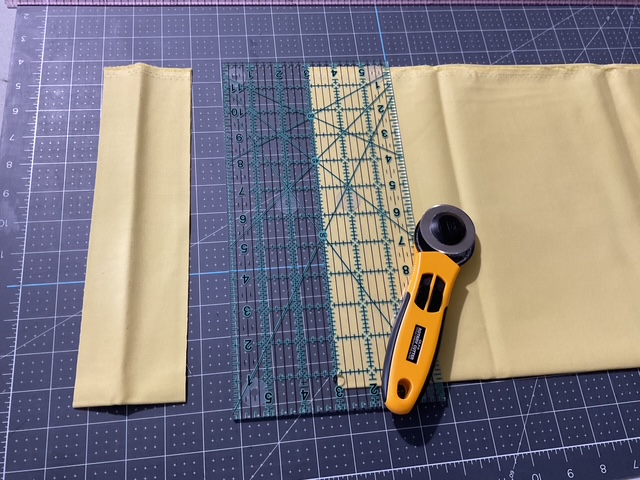
3. Now I’m going to cut the yellow border strips. I’ll need to cut 2 different widths for the 2 yellow borders – the inner border and the outer border. I’ll piece strips/cut them to the right size when I’m ready to actually sew them onto the quilt. So I’m going to set them aside for right now.
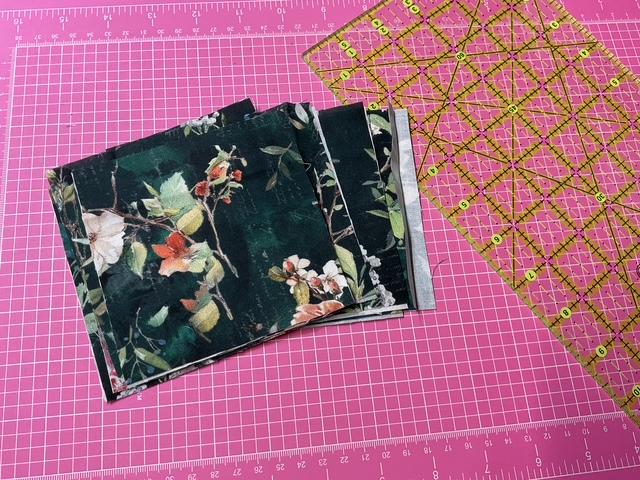
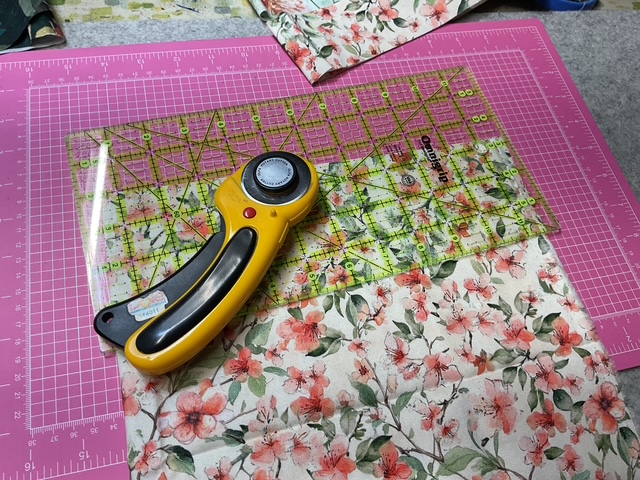
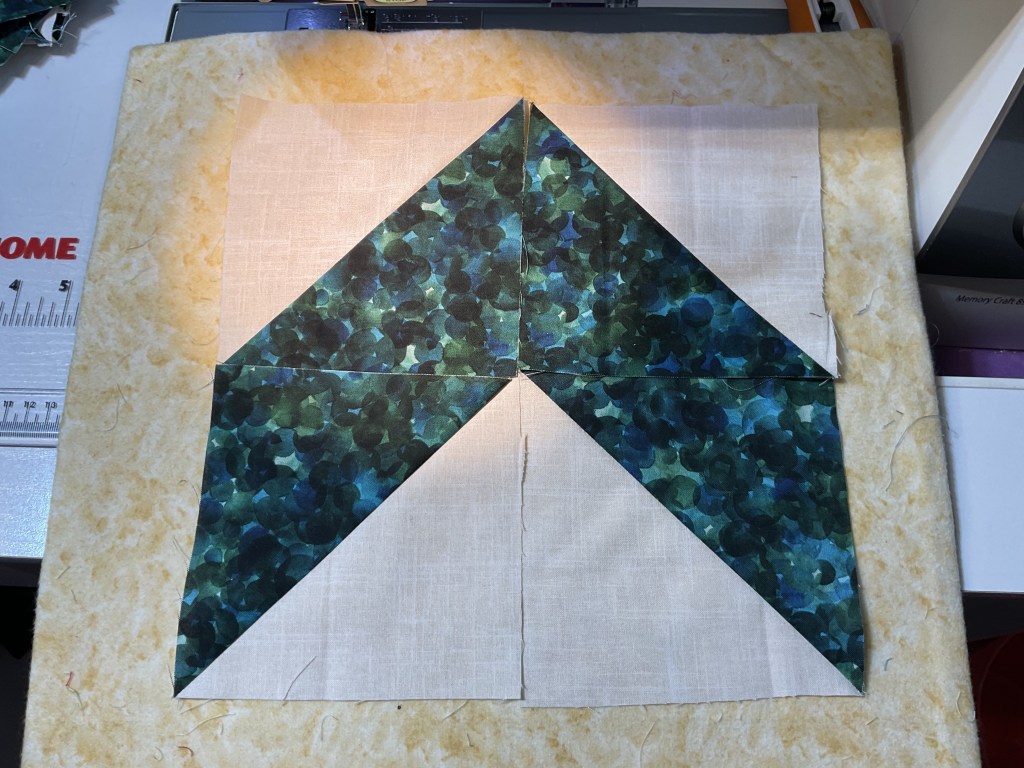
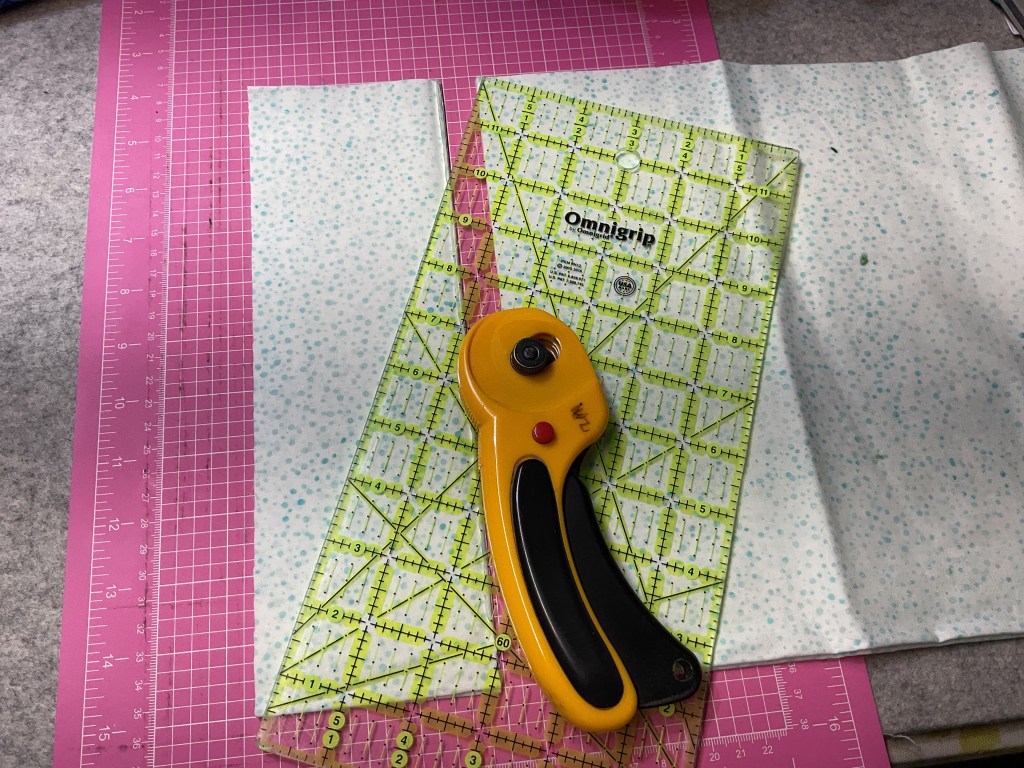
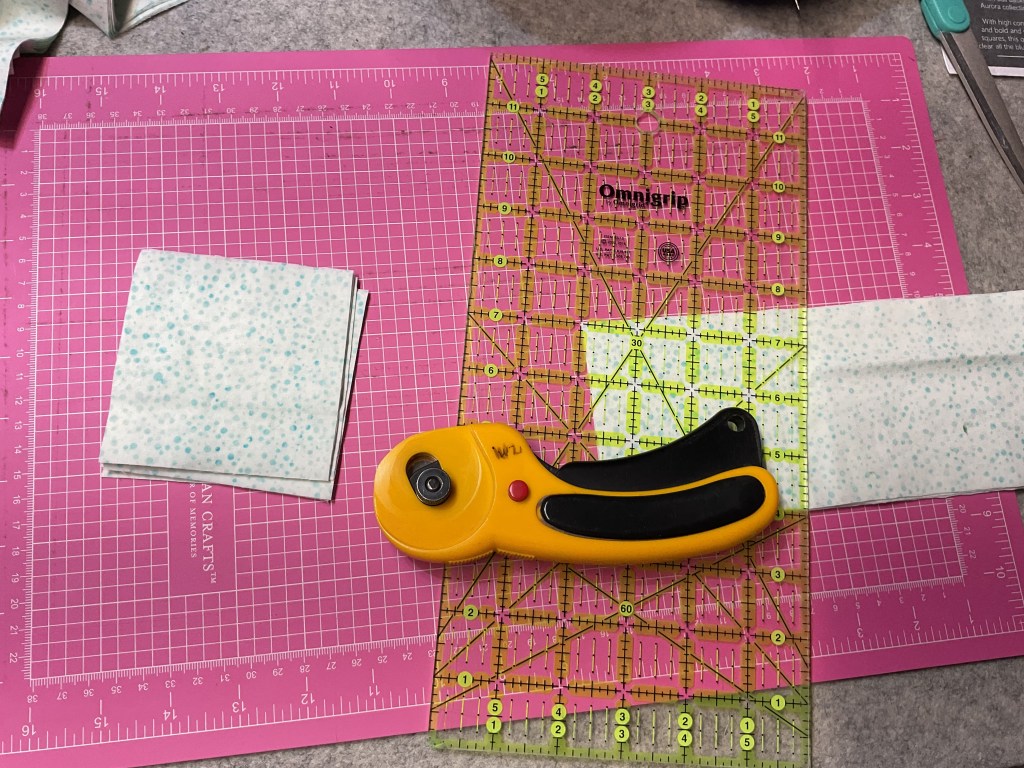
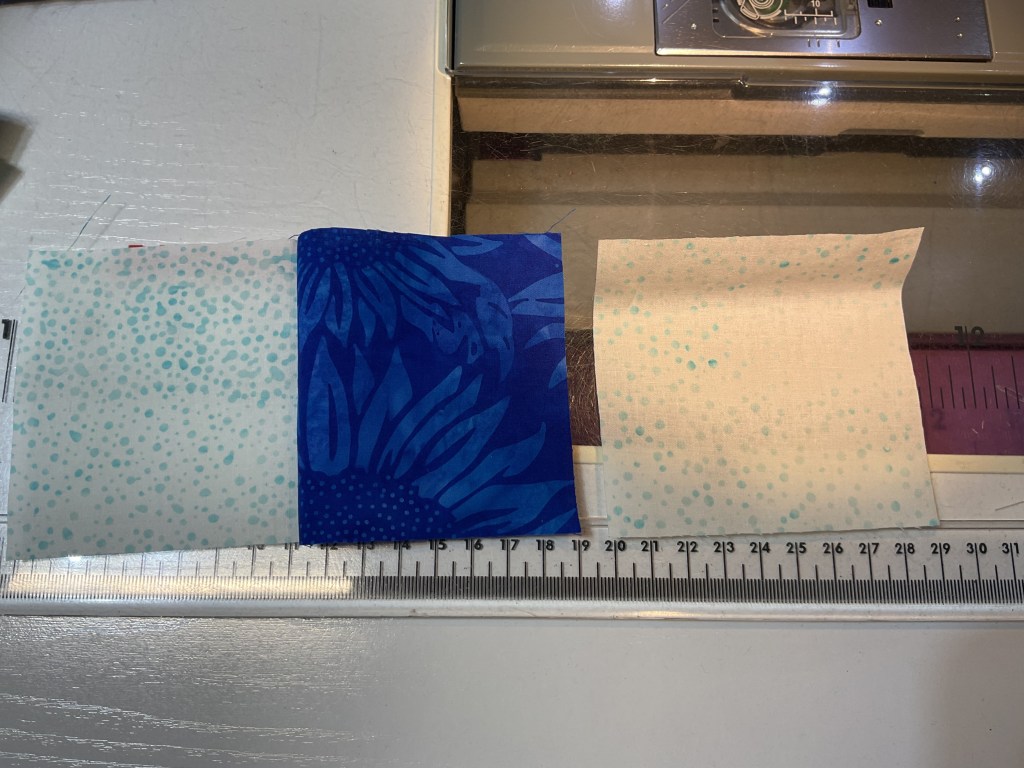
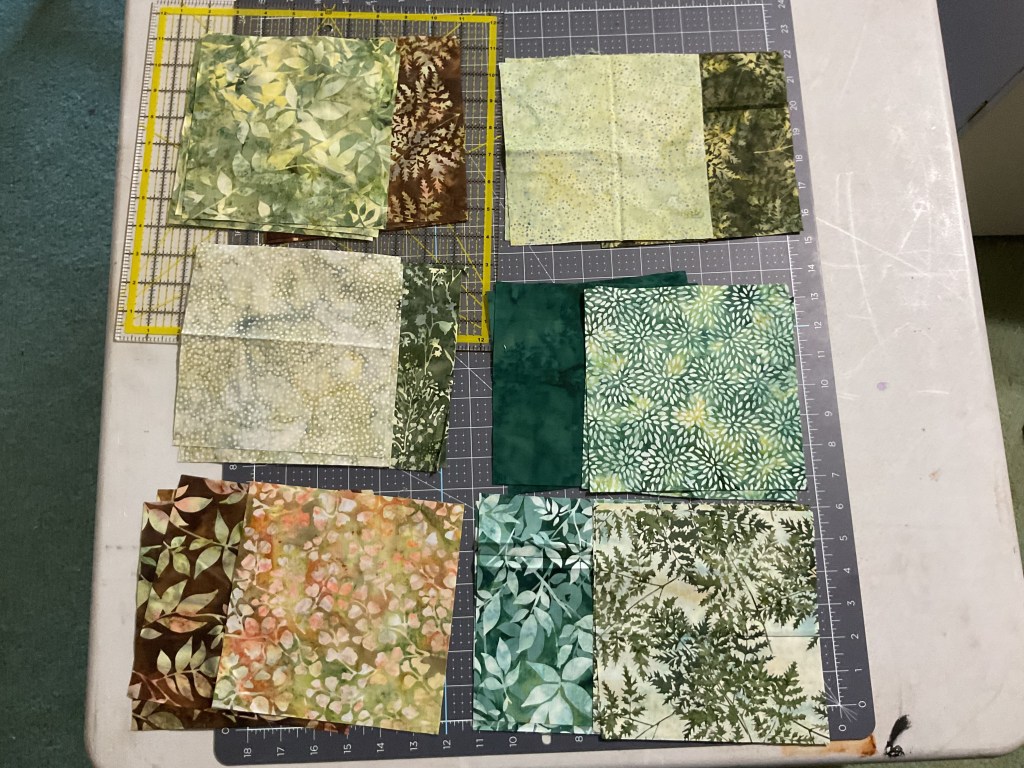
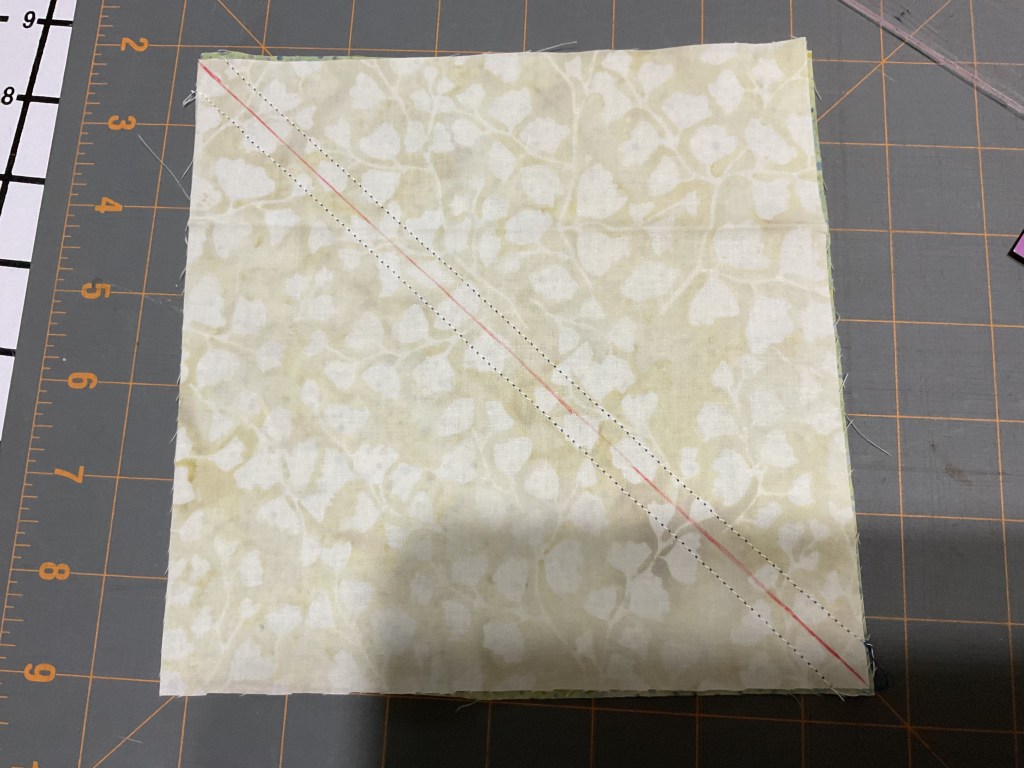
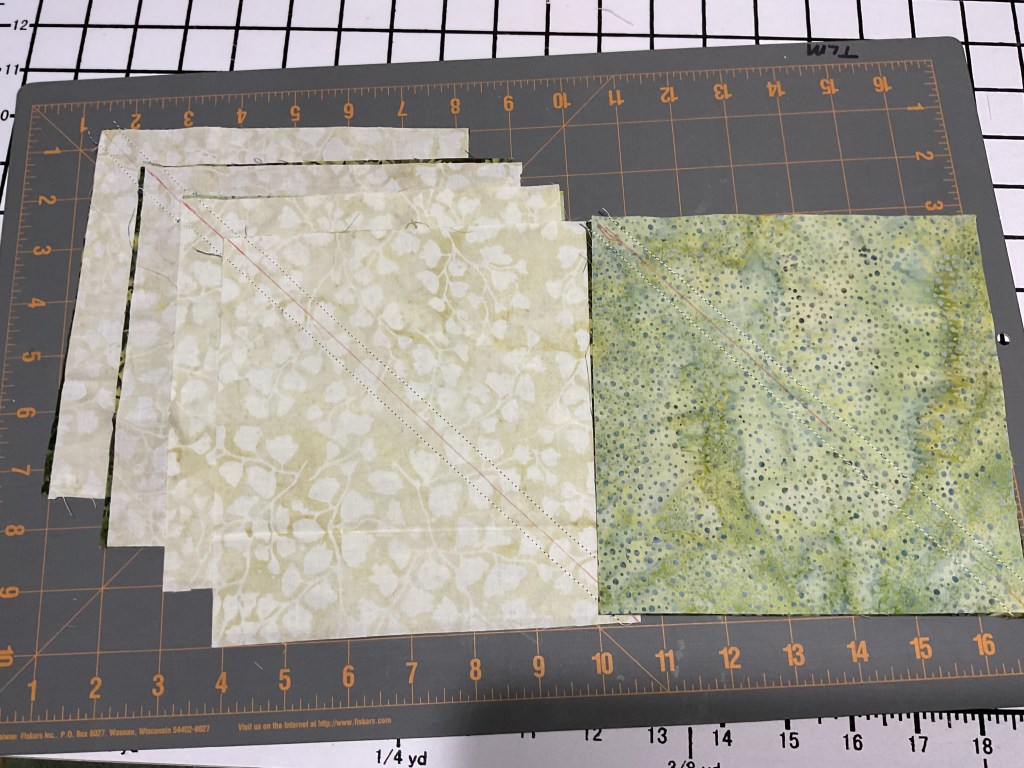
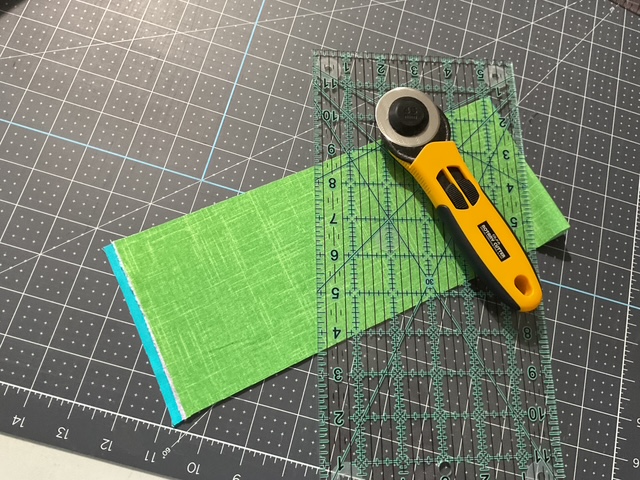
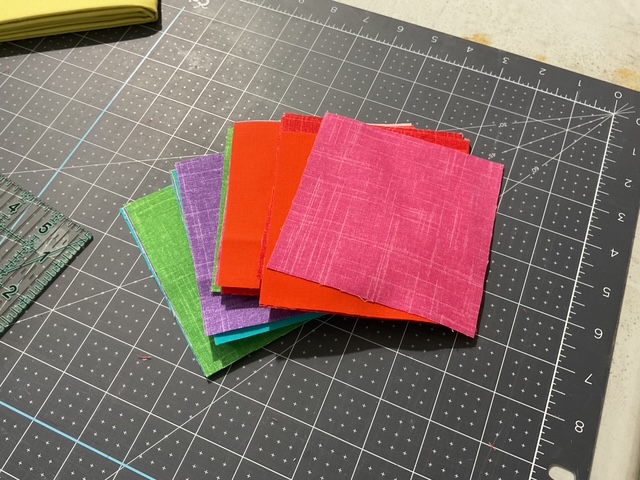
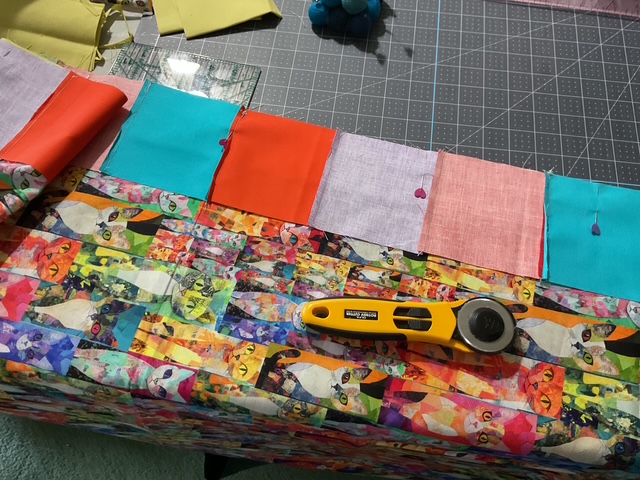
4. Time to cut out the bright and happy squares for the middle border now. I like to layer a couple fabrics when I cut strips and then cut my strips into squares. If you’re comfortable doing that, go right ahead, but if you prefer cutting a single fabric at a time, that works great too.
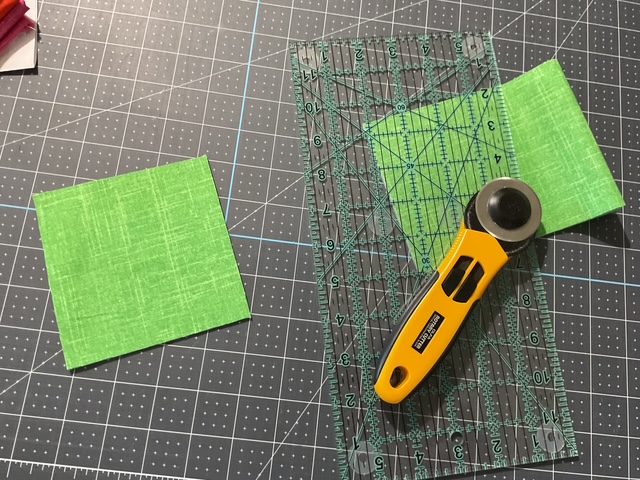
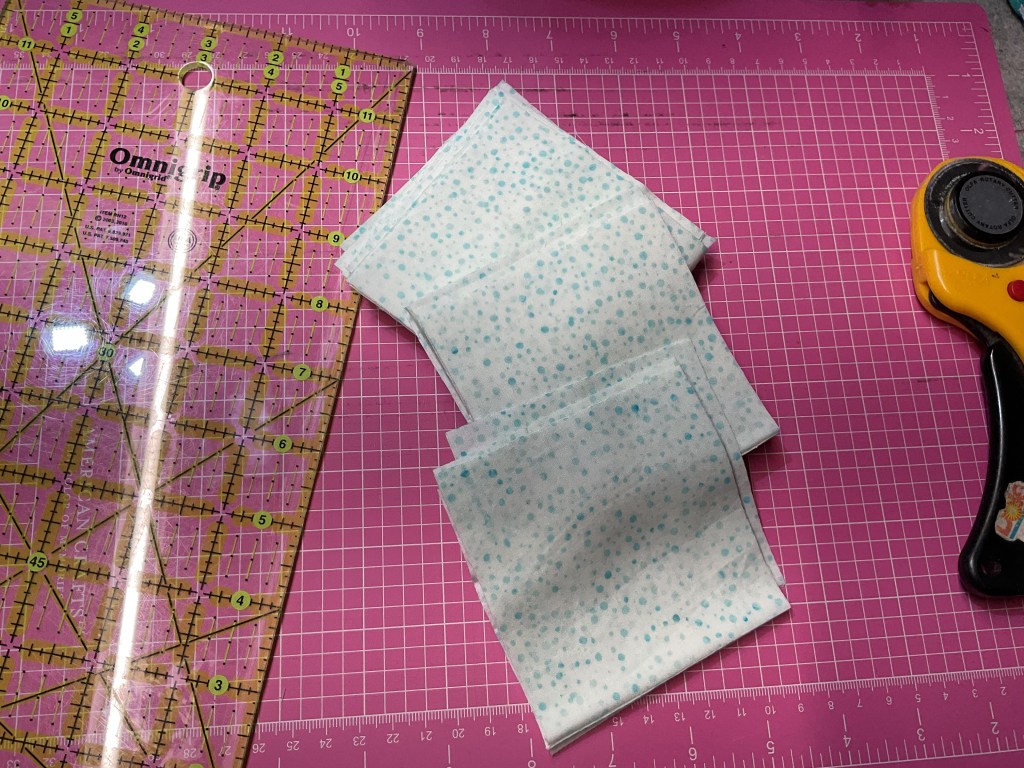
Okay, here are all my squares, cut and ready to sew.
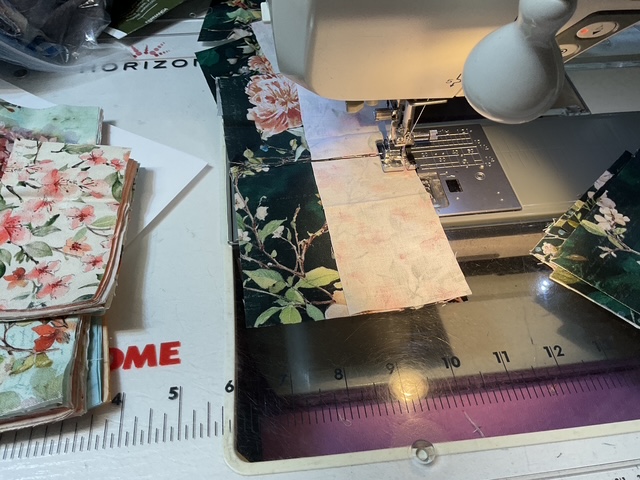
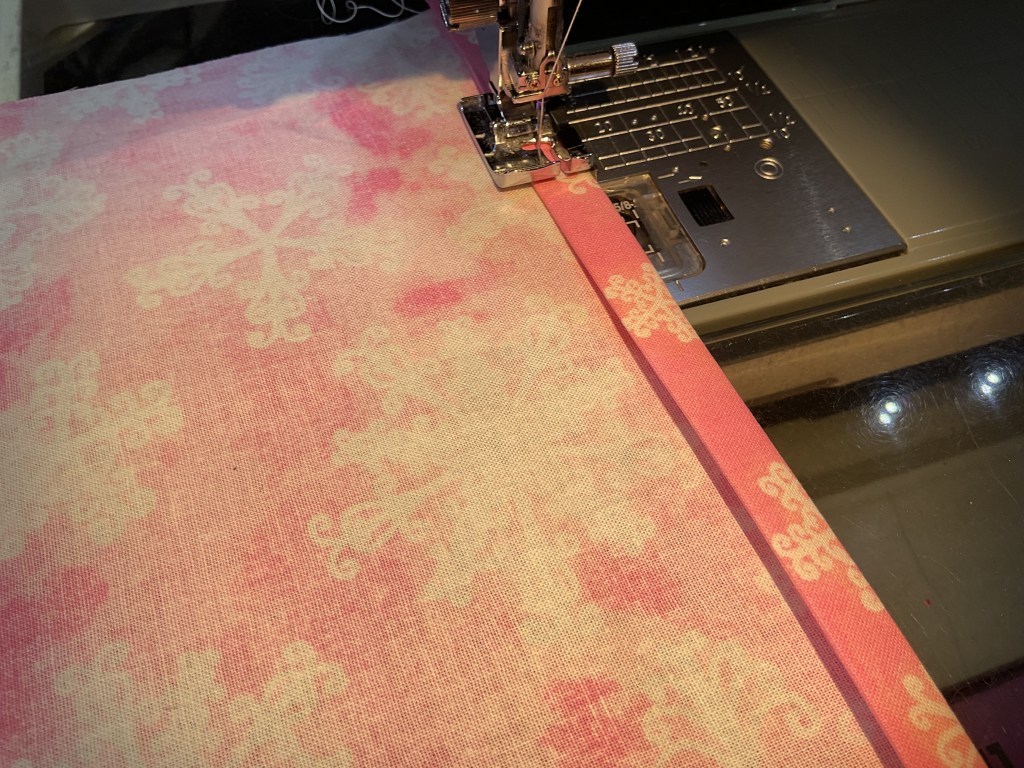
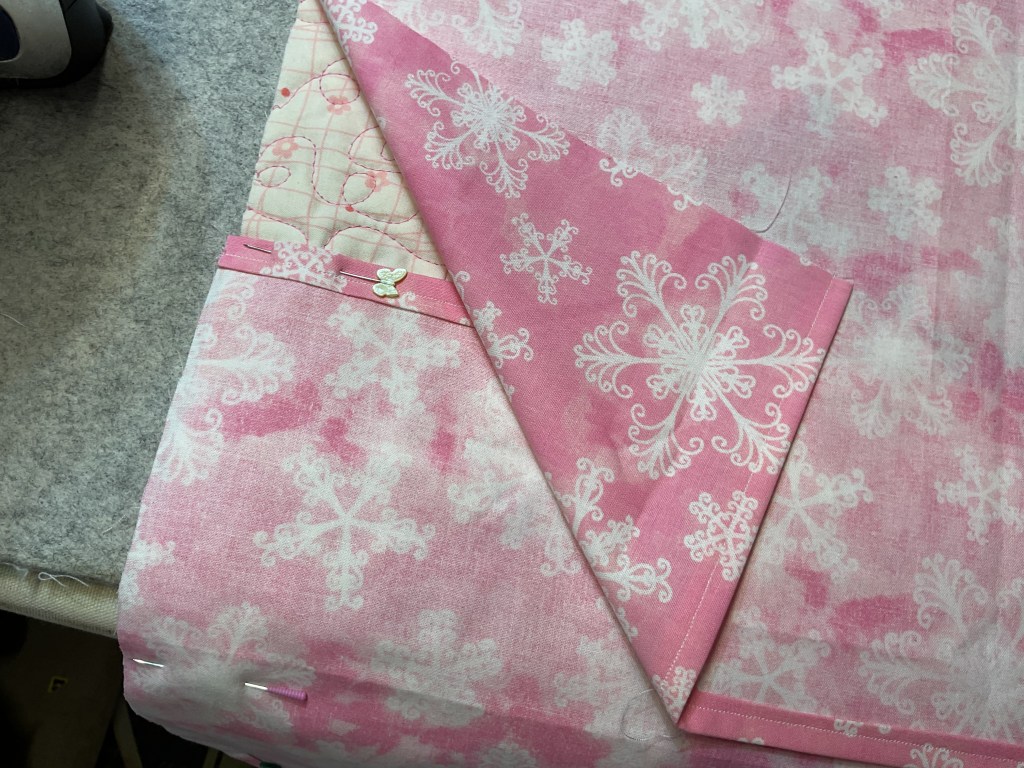
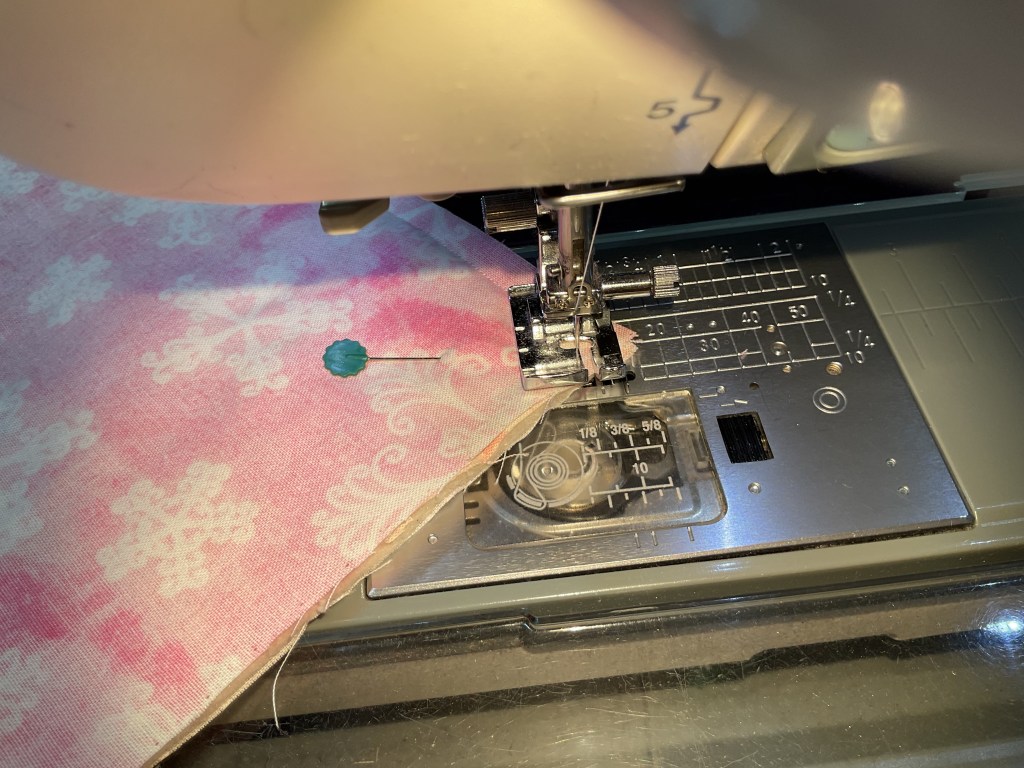
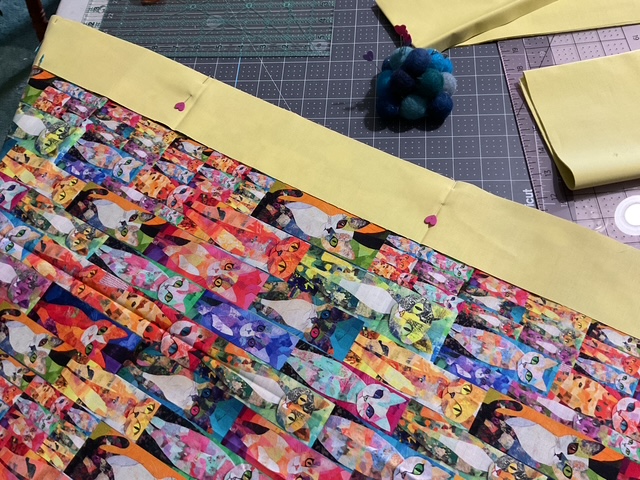
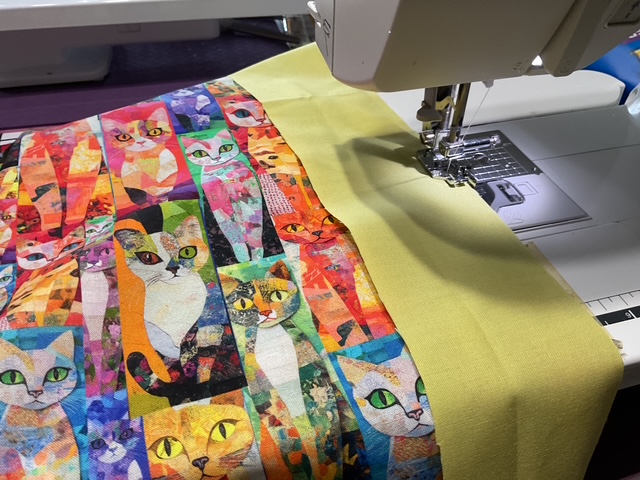
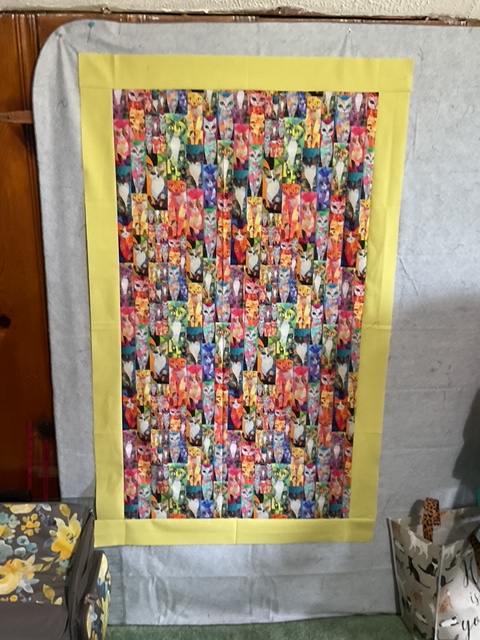
5. Everything is cut out and ready to sew now. I need to measure my cat fabric center in order to cut my side yellow borders to the right length. Then I’ll pin it to the center fabric edge, matching up the centers and the ends to keep everything nice and square. And off to the sewing machine to stitch the yellow border strips to the sides.
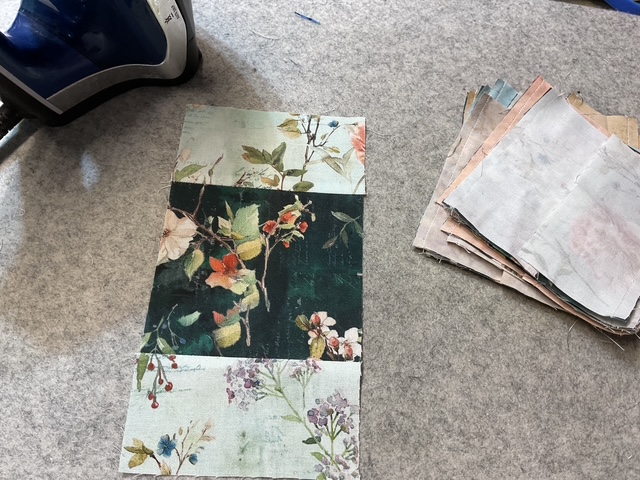
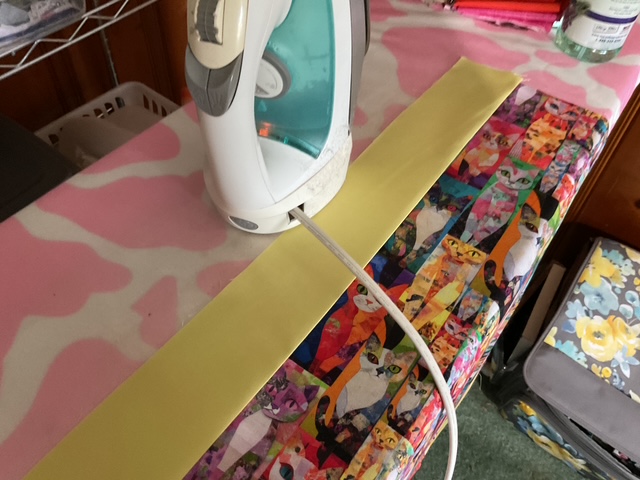
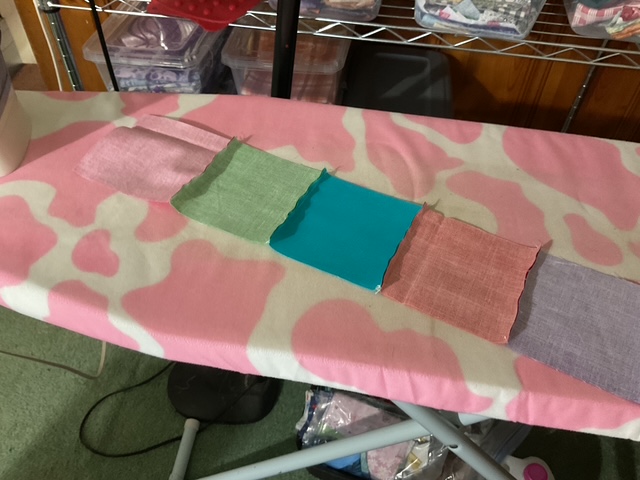
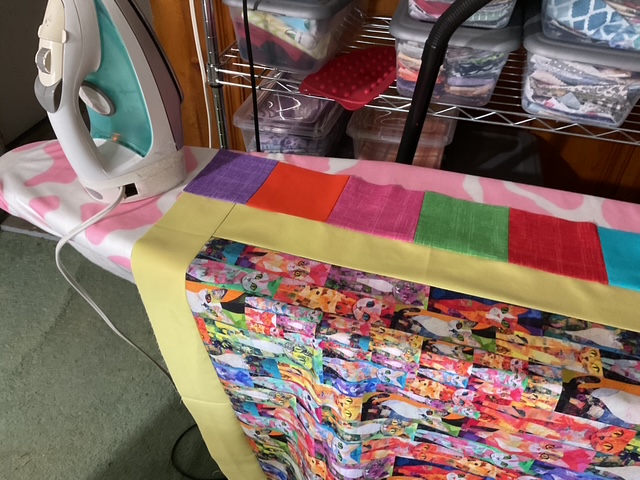
6. Next I need to head to the iron to press my seams. Today I’m sewing at my quilty pal, Robin’s house. Our friend Mary Lee, and my big sis, Tracy came to hang out too. It was a fun little impromptu get together. With snacks. You have to have snacks.
You’ve got to love the pink cowhide print ironing board cover, right?
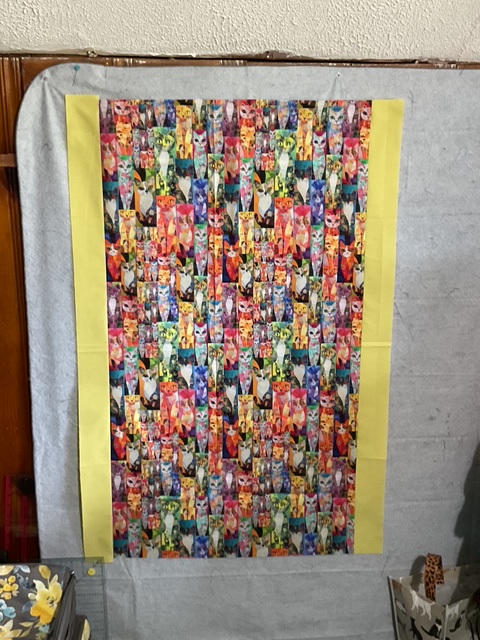
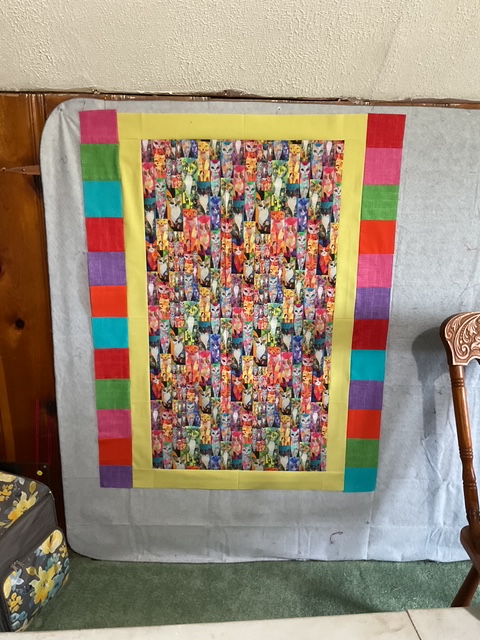
7. Here’s the cat center with the side borders in place.
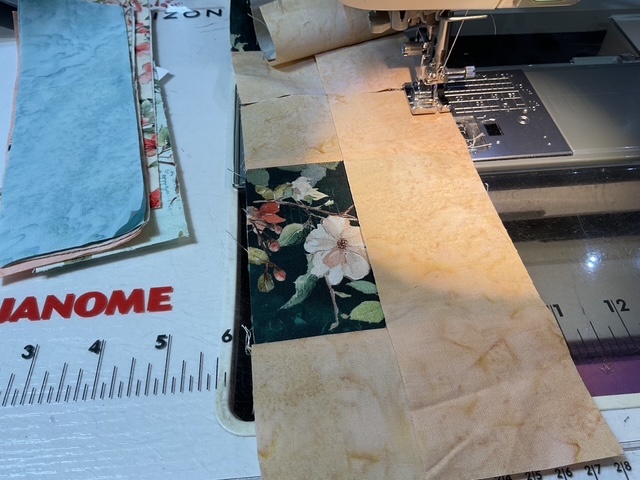
8. Now to measure, cut, sew, and press the top and bottom borders. So far, so good. Yay!
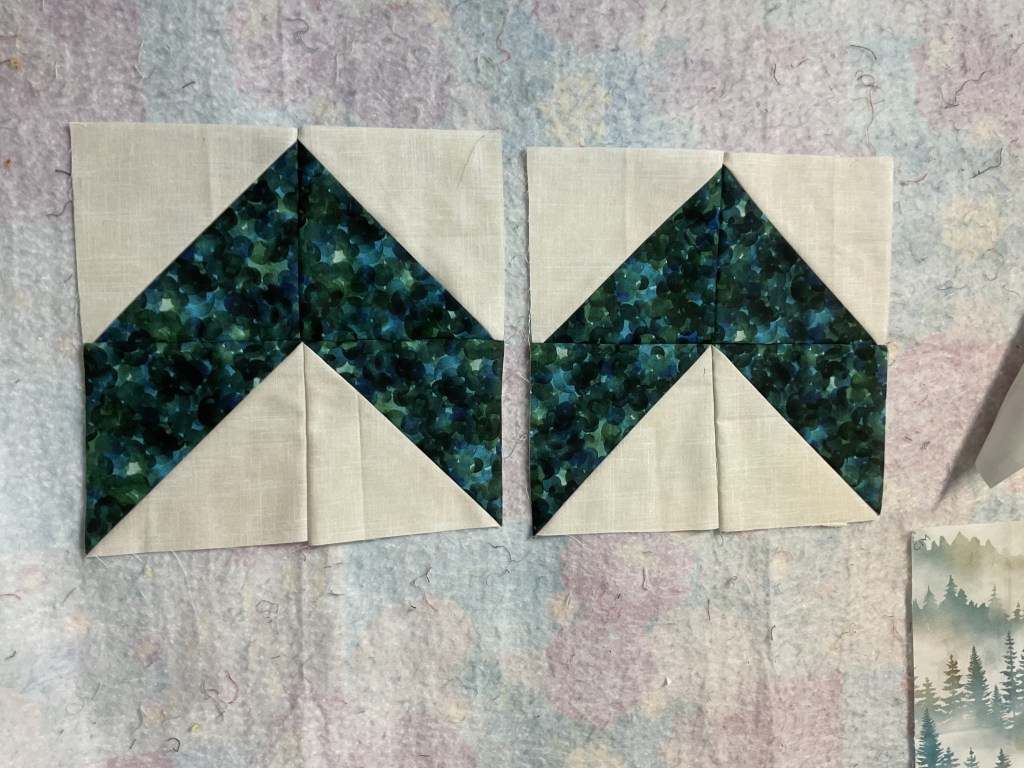
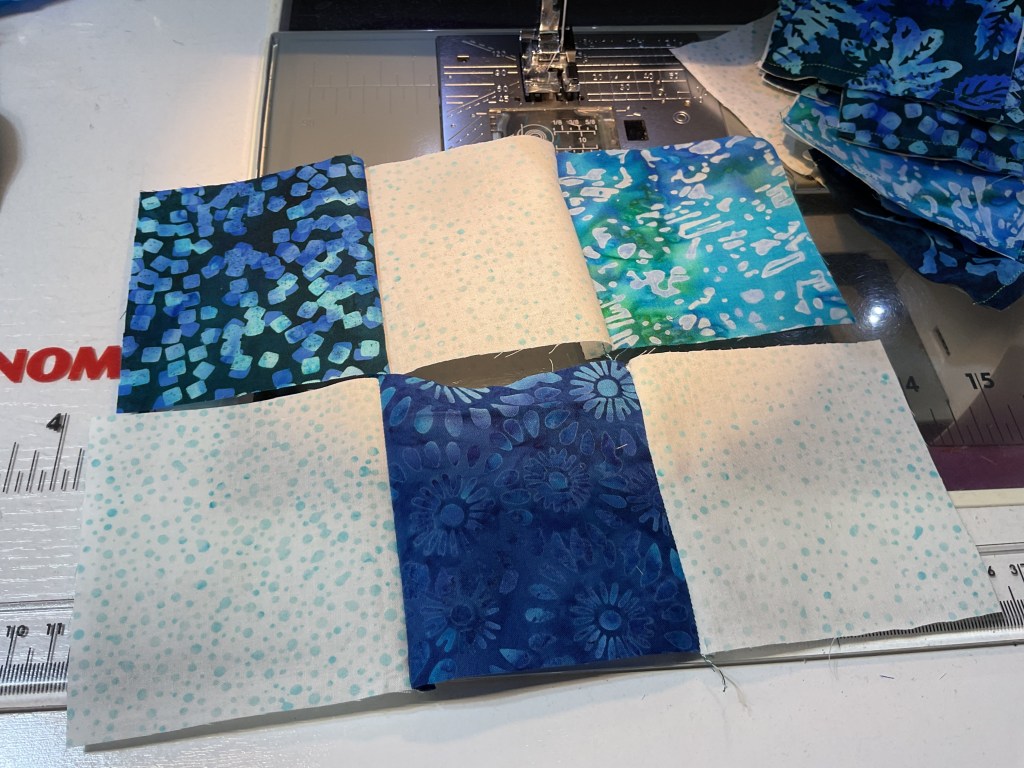
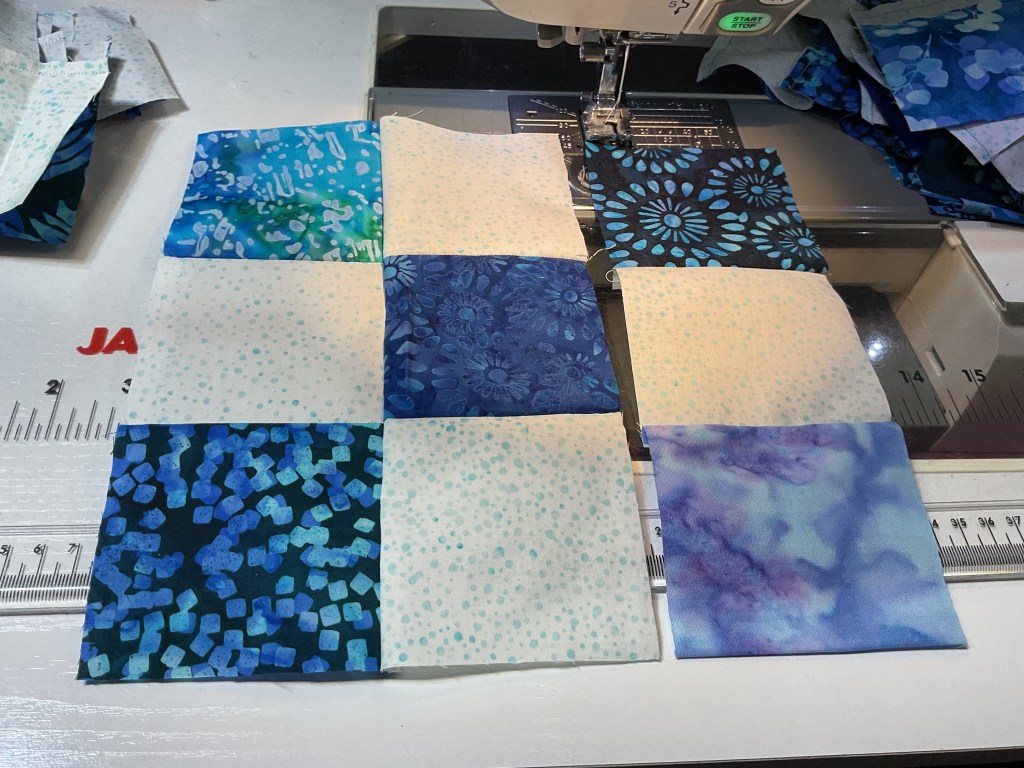
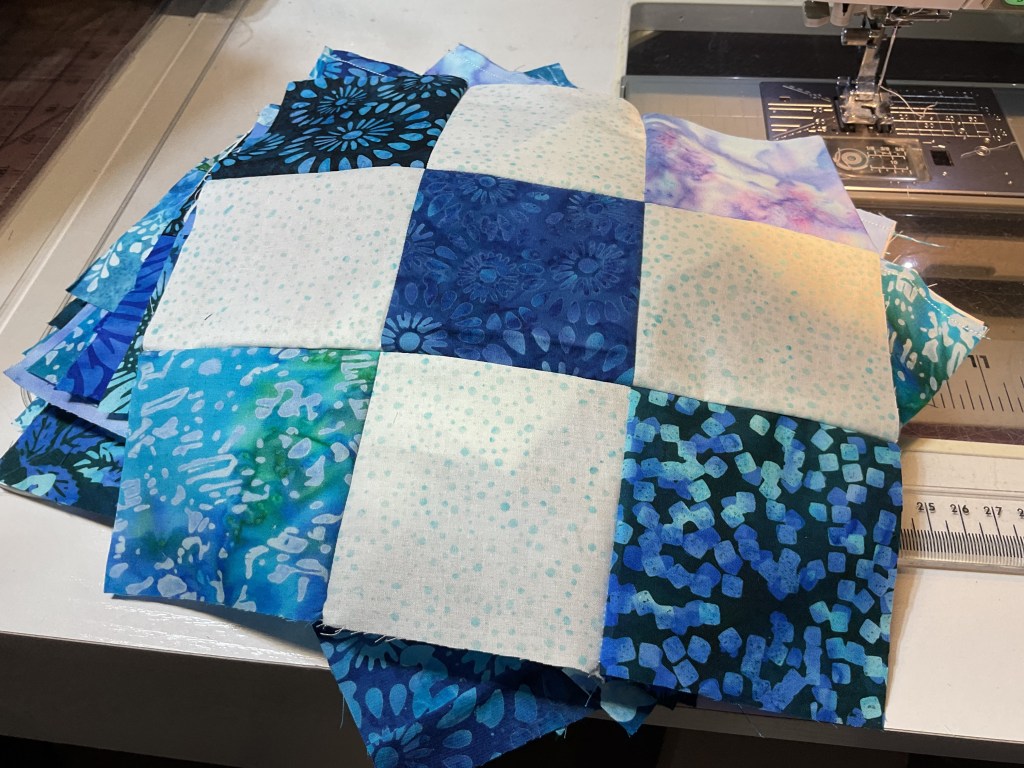
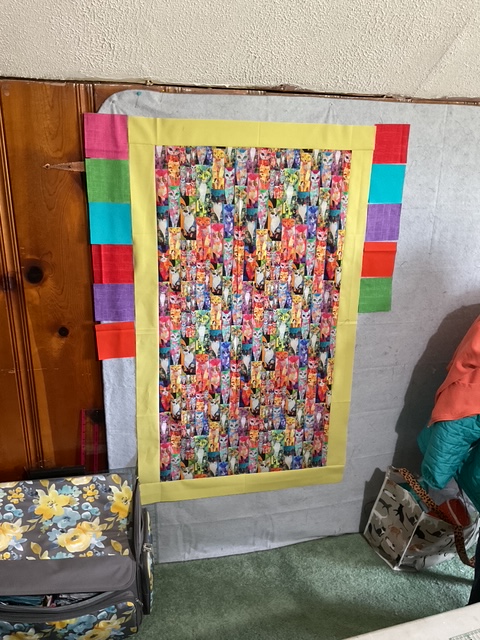
8. The next border is made up of all those fun bright squares. I want the squares to be totally random – not in a specific arrangement – so I’m going to lay out the squares. I’m excited because those bright squares are really going to bring out the colors in the cat fabric!
I’m only going to work on the side squares first. A funny thing happened – I was laying out and wouldn’t you know it but somehow unconsciously I began to lay out the right side to match the same sequence as the left side. Thanks, Mary Lee, for pointing that out to me. I didn’t even notice what I was doing! So after much shuffling and rearranging, the layout finally looks random. Which is quite amusing, since it wasn’t really random at all. LOL!
9. I’m going to sew the left row of squares together, press the row, and then sew it to the left side of quilt. Then I’ll sew the right square row together and add it to the right side of the quilt before I head back to the iron to press all the seams.
Oh dang! When I sewed the square rows to the sides I discovered that I made a mistake when I cut the length of the cat fabric way back at the beginning. Apparently I cut the length about an inch short so my square rows were slightly longer than the framed center. (Here I smack my forehead…..)
No reason to panic, though. I matched the centers of the square rows to the center of the side yellow borders and I simply trimmed off the excess half inch or so at the top and bottom. Maybe not the most elegant solution, but it was quick and worked well and you probably wouldn’t have noticed if I hadn’t told on myself.
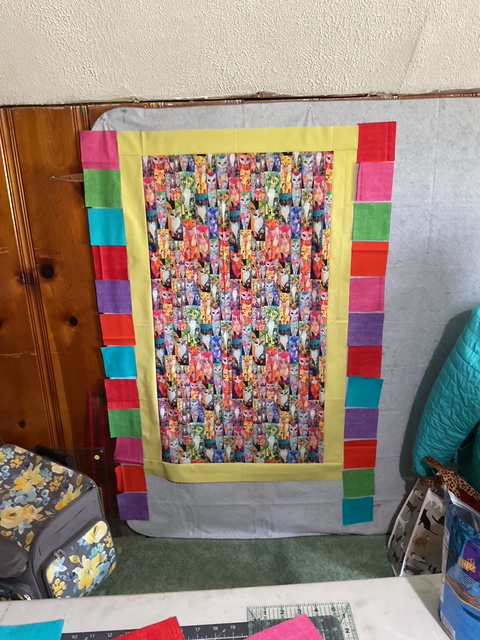
10. Easy Peasy. Time to lay out the top and bottom square rows and sew the rows to the quilt. It’s coming together now. Those bright squares really compliment the center cat fabric. This quilt is going to make me smile.
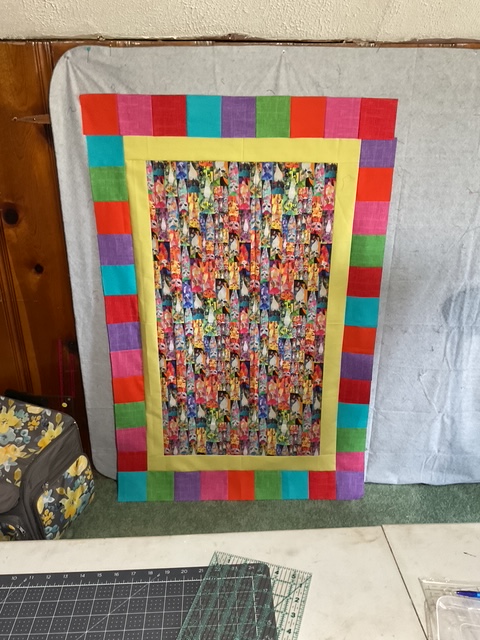
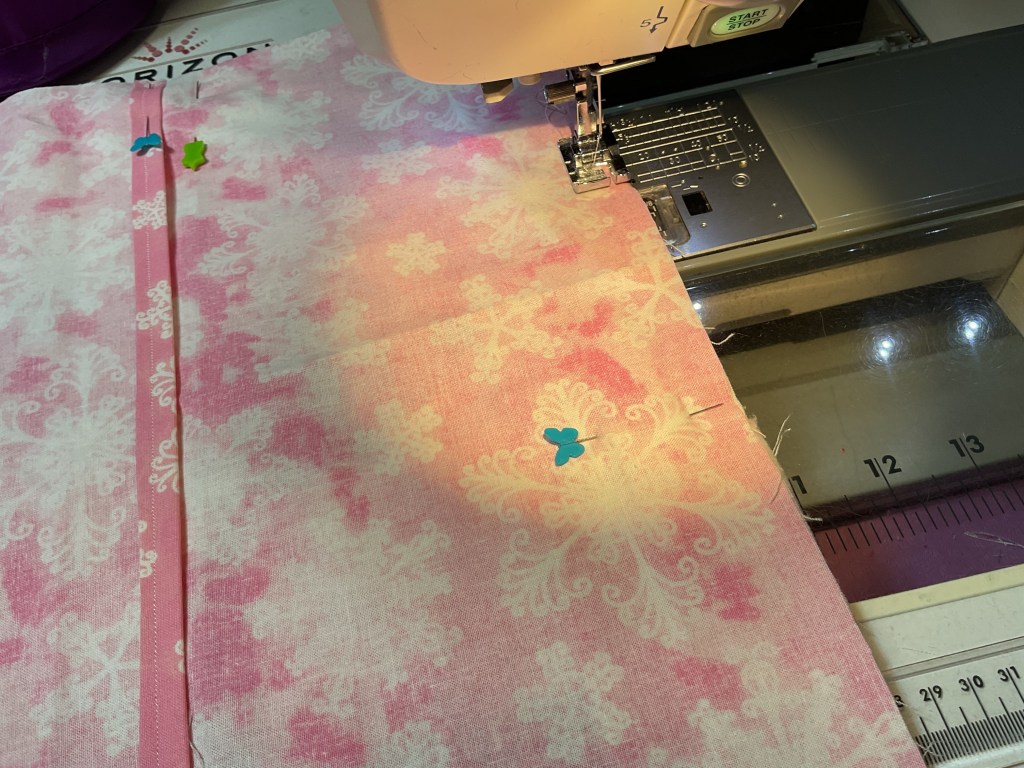
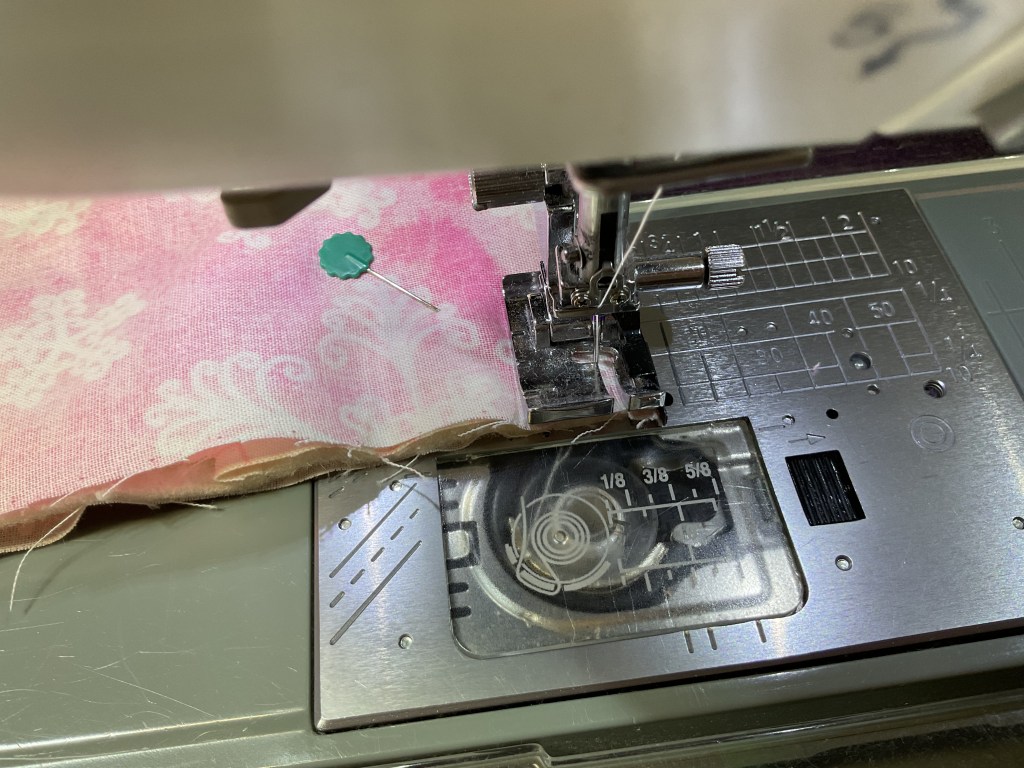
11. Next I’ll add the outside yellow borders. I had to piece these strips together before measuring and cutting them to the right length. Then I sewed them to the sides and pressed them.
WHEW! Finally I added the top and bottom borders. I had to add a little bit to the ends of these border strips, as well, to make them fit the width of the quilt.

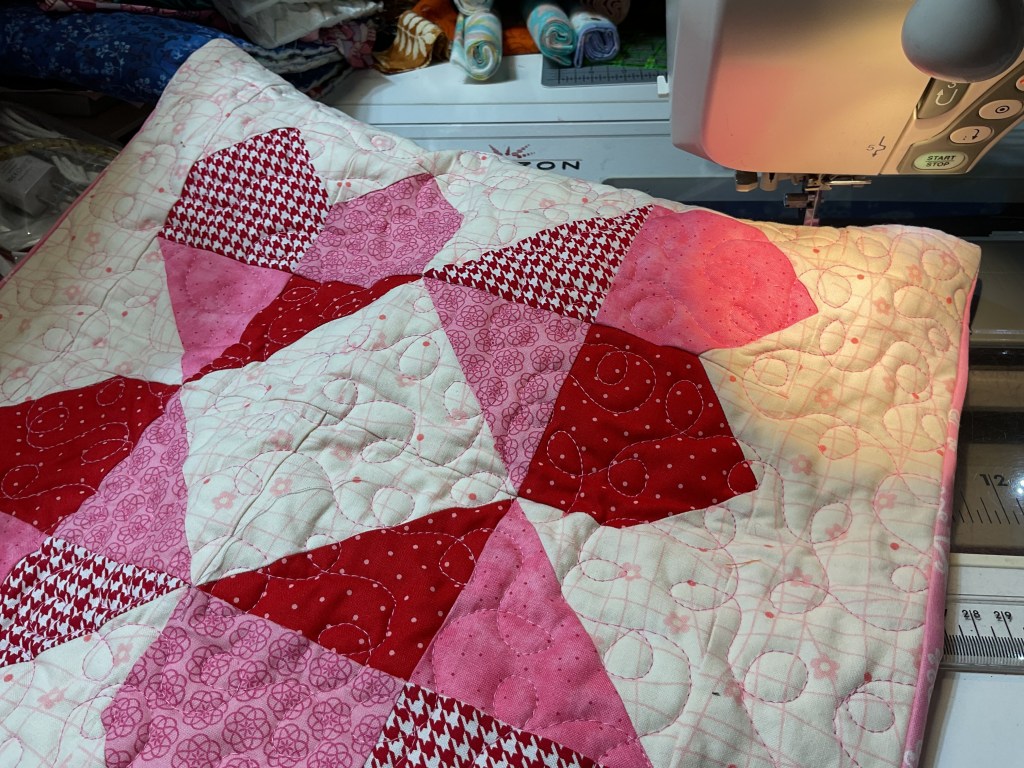
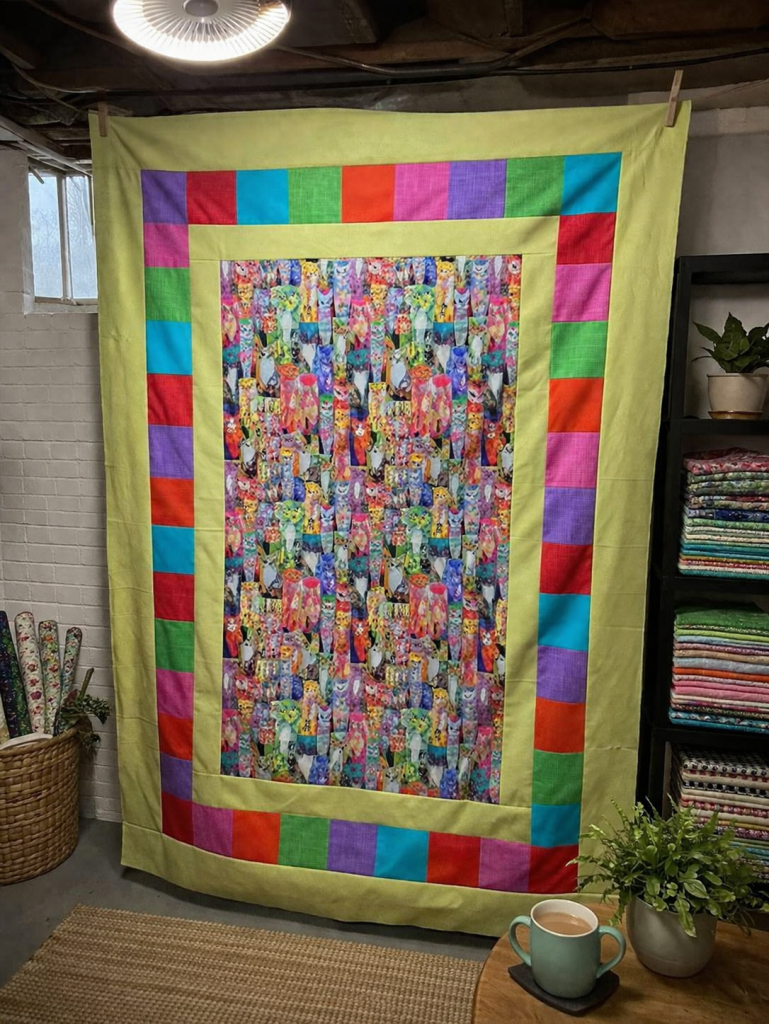
12. And done! Here it is. My finished Charlie quilt top. Yay! What a fun pattern that will showcase pretty much any fabric from panels to novelty fabrics. It turned out really fun!
I hope you’ll give Charlie a try. It was a really fun pattern to make. Maybe I’ll finish this one during the 6 Quilts in 6 Weeks Challenge…. We shall see, though, I have sew many VRD UFOs to complete and it will be hard to decide which ones to finish first.
I hope you will join me and the other 25 quilters who are participating in the 6 Quilts in 6 Weeks Challenge. Together, we can get to the finish line with some of our VRD UFOs. 6 isn’t a scary number. Each of us can make a commitment to finish 6 quilts. Even if we have stacks of UFOs. 6 is doable. If each of the 26 of us completed 6 UFOs, that would be a total of 156 completed quilts. In 6 weeks. WOWZER!
We CAN do this together.
Stay tuned next week to see which VRD UFO I am going to finish first. See you then!
Sew. Laugh. Finish. Repeat.
Always,
Tricia @ VRD