Hello Quilty Friends!
Happy Thursday to you!
It’s hard to believe we’re another week closer to Christmas! Are you making any gifts this year? I have a couple table runners to finish up, but I haven’t taken on any big projects for the holidays for years — not since the one year my plans were far more ambitious than the time I had to make them. Most likely, I didn’t start early enough, but then again I remember getting sick before the holidays, which totally blew my plans. My pal, Isaac, received unfinished gifts that year. I did finish them in January in time for his birthday, though.
I bet you’ve never taken on more projects than you could possibly get done for the holidays, right??? Like I believe you — LOL!
Guess what??? It’s after the first Friday of the month which of course means — NEW ROSE CARDS! YAY!
Cue the music! Toss the confetti!
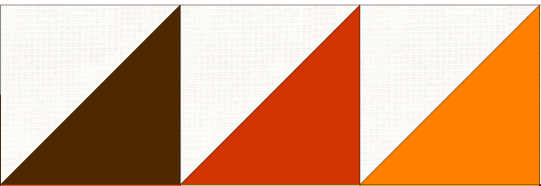
Here are December’s VRD Rose Card Patterns hot off the press:
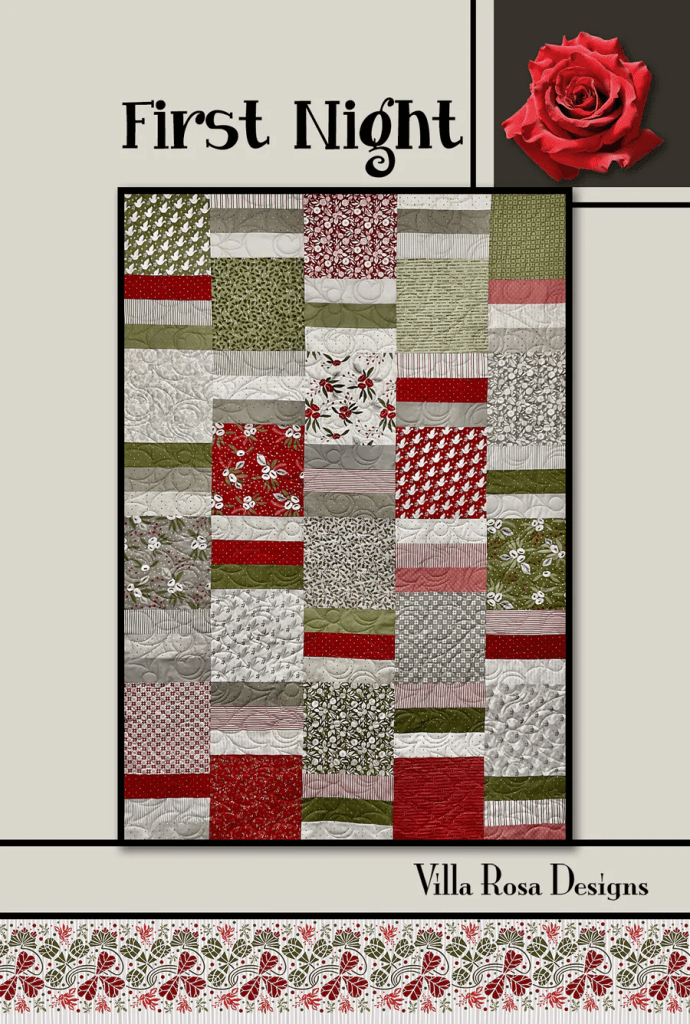
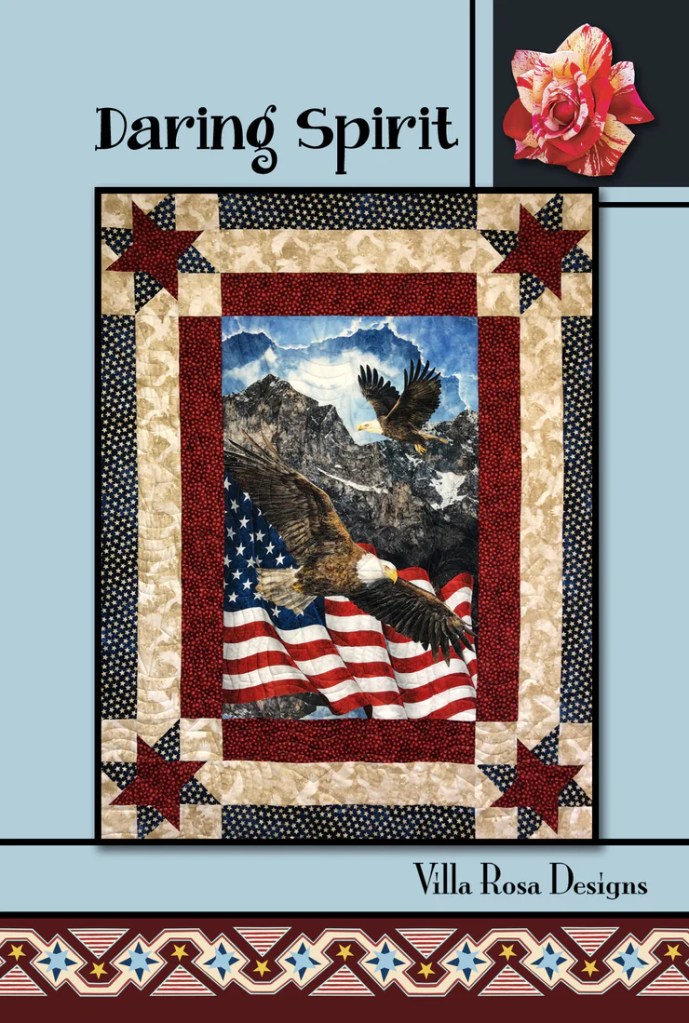
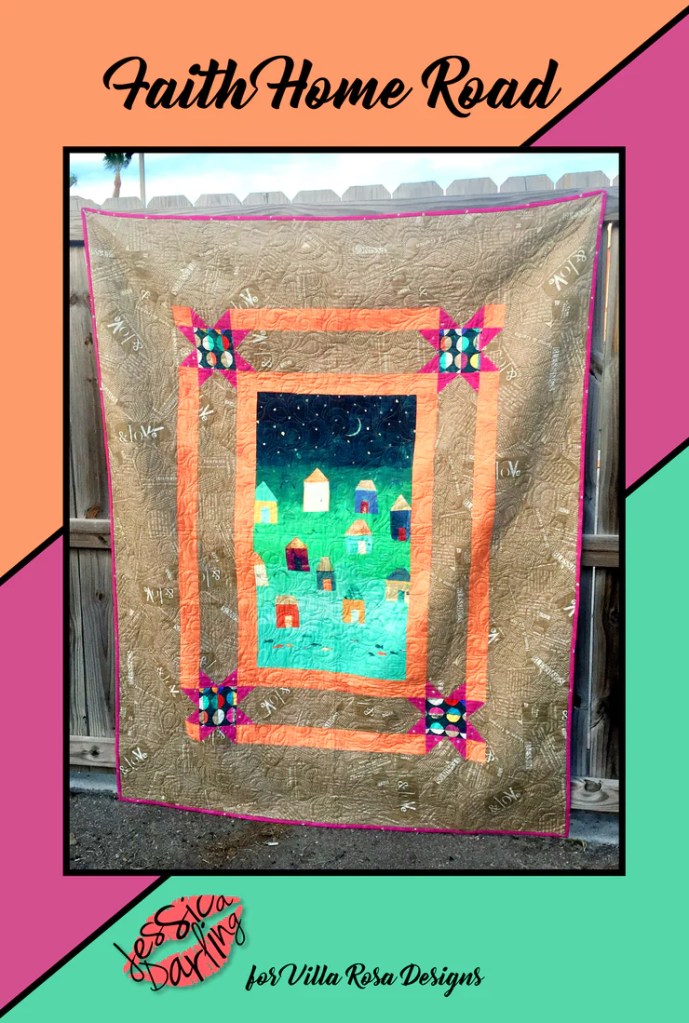
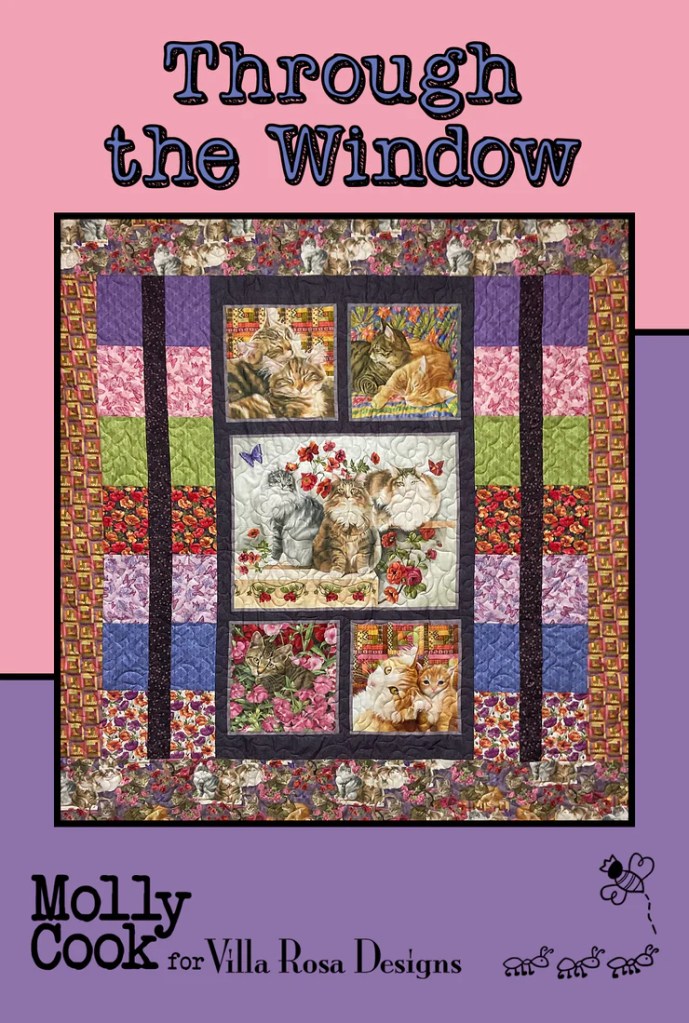
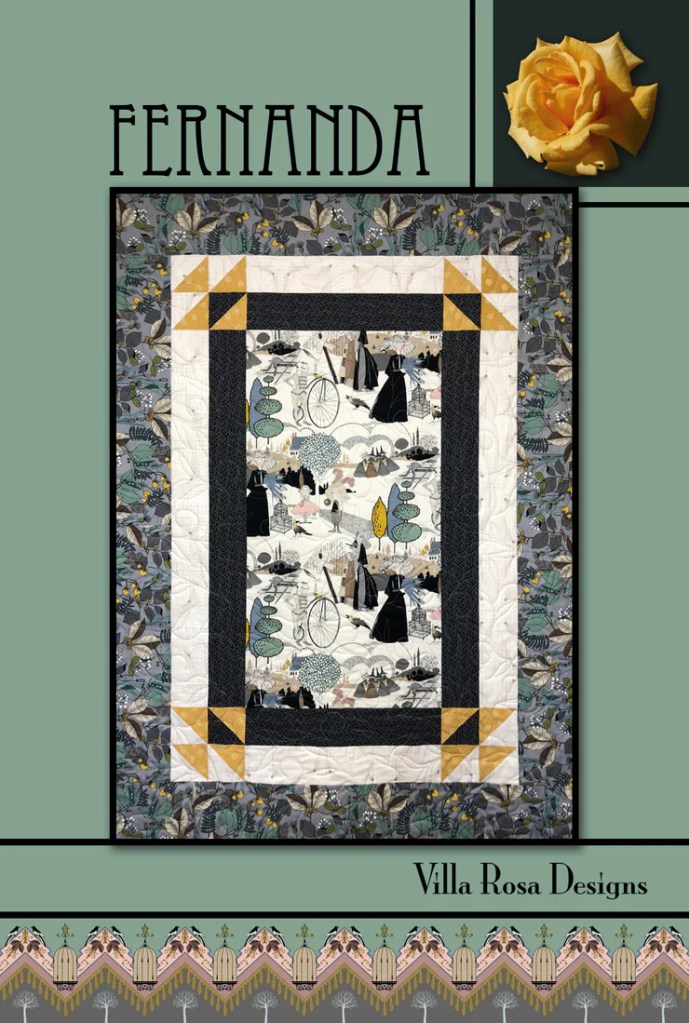
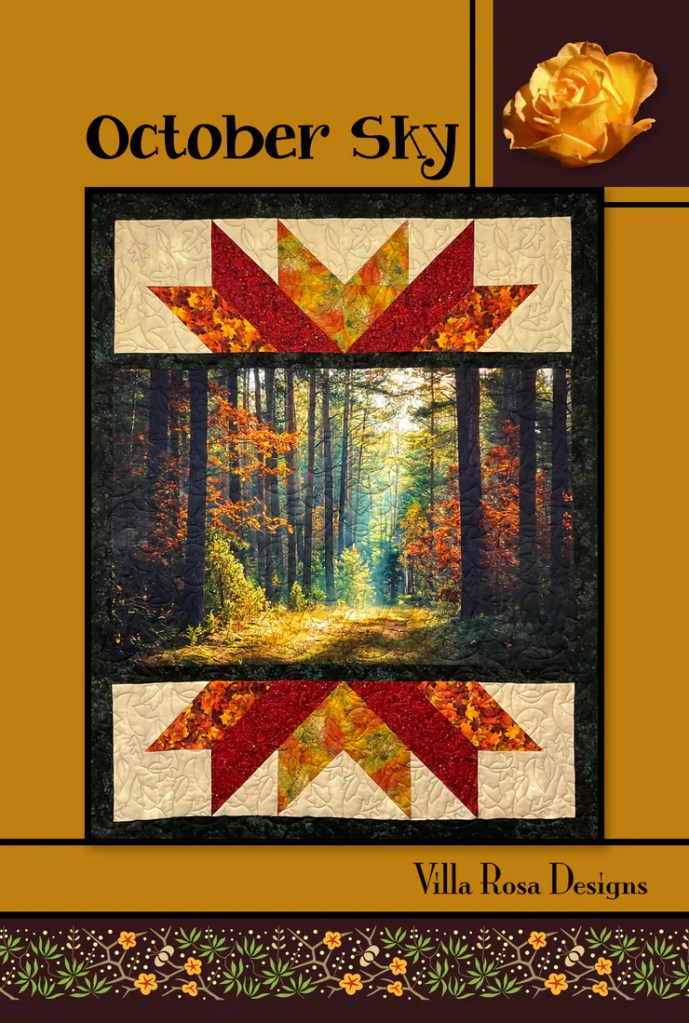
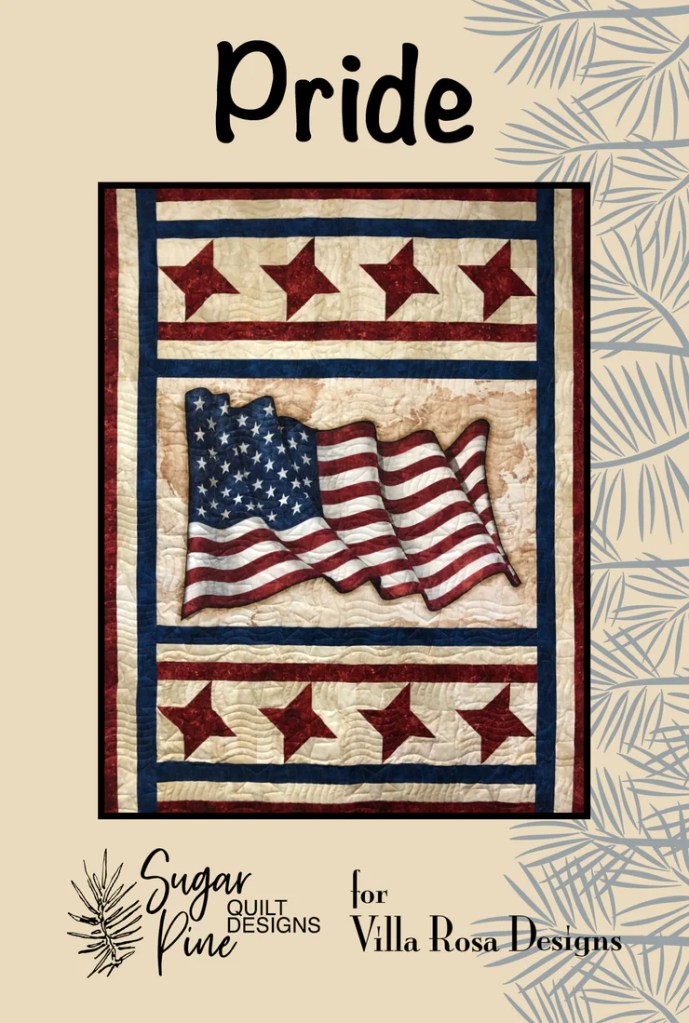
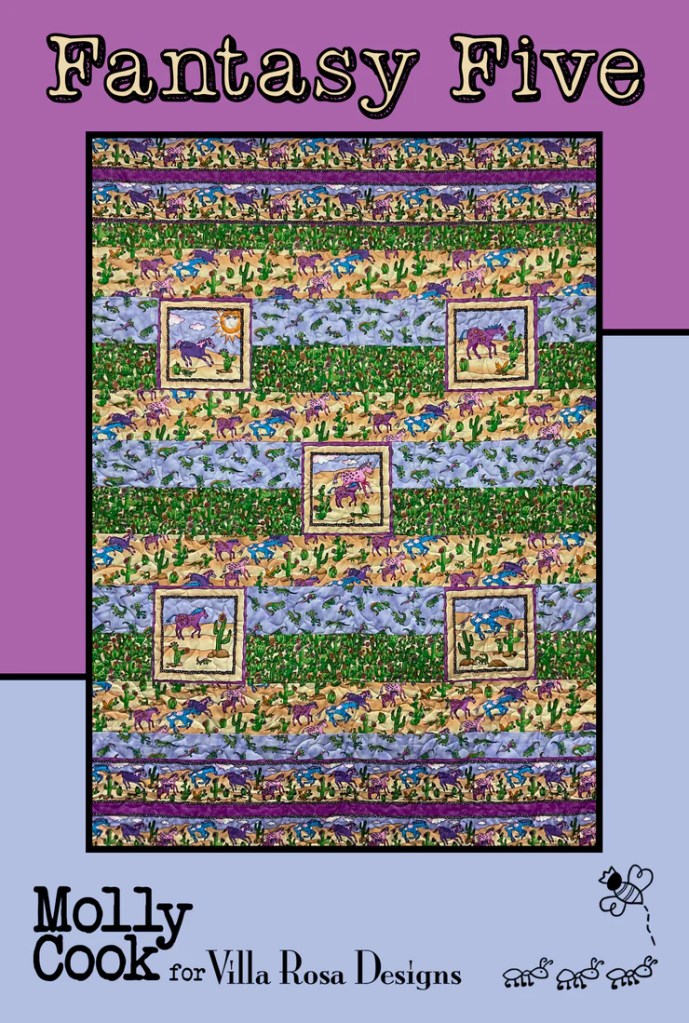
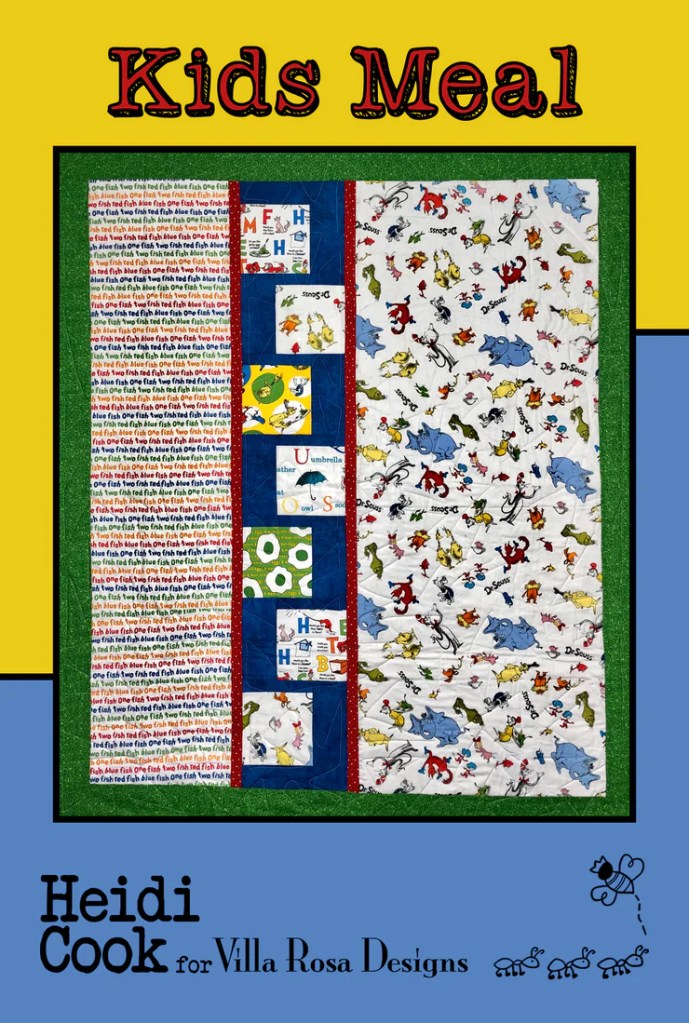
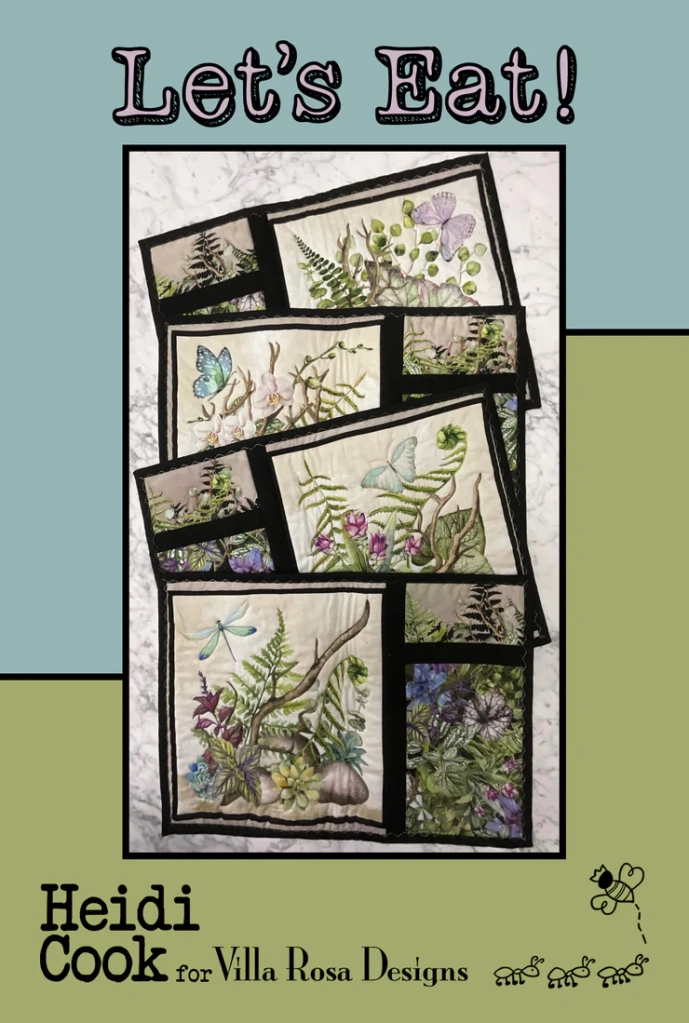
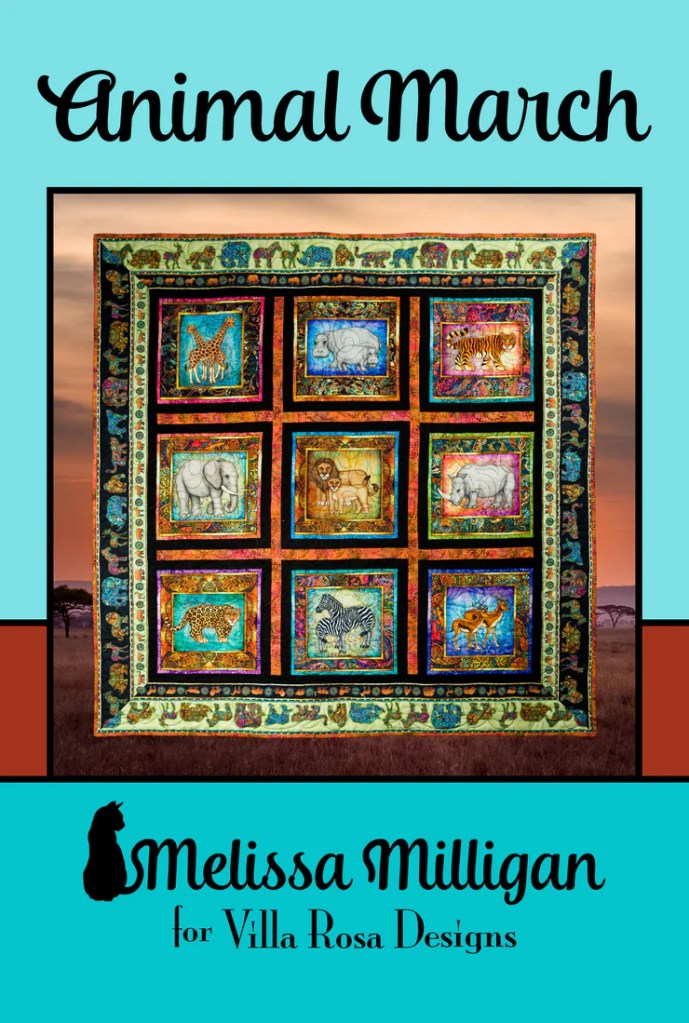
Wow! Aren’t these fun? Crab Cakes uses printed panel squares or you could even use your favorite novelty fabric while Fish & Chips is another great panel quilt. And who doesn’t LOVE a panel quilt pattern? Tehehe….
I find Illumination kind of intriguing — just imagine the different looks you could get with different fabrics — ombre, batiks, solids, oh my!
Columbia makes me think of my ol’ college days for some reason (wink, wink) even though I didn’t attend Columbia — it just has a collegiate feel to me.
And Happy Hollies is sew adorable and cheeky.
The great news for you is that you can order the December set of 5 patterns for the great price of $8.95. This set of patterns makes a great stocking stuffer for you or for your favorite quilty pal!
You can go HERE to order the December set of Rose Cards.
BUT WAIT! There’s more (you know how much I love saying that)!
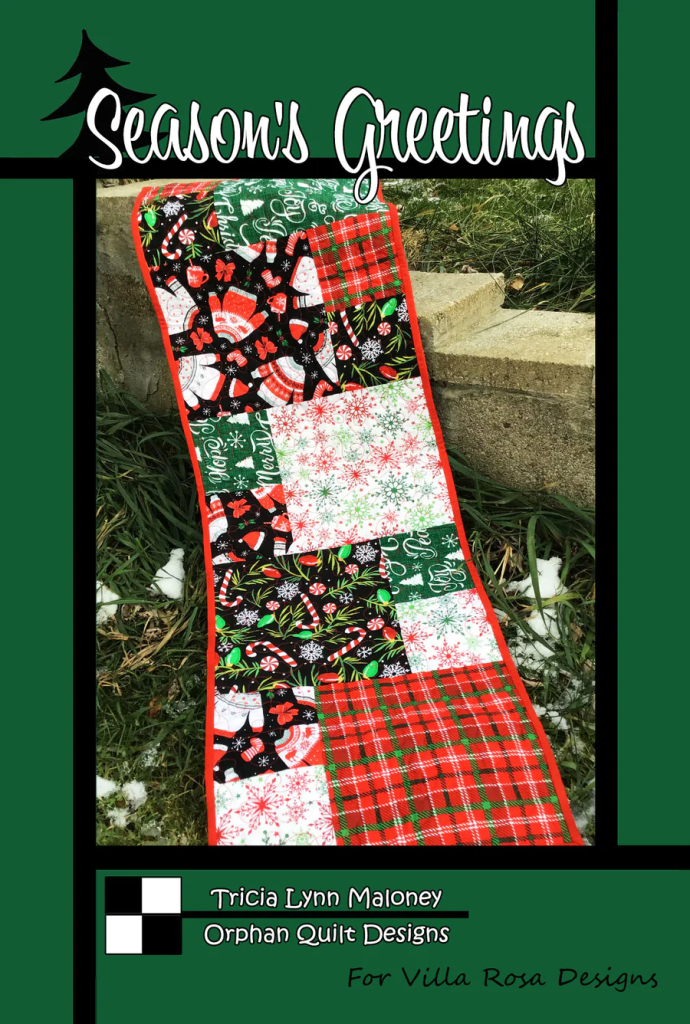
We have 2 — count ’em — TWO table runners this month and they are both picture-perfect for December!
This is Molly’s cute table runner pattern, Gift Wrapped. Don’t you just love the Christmas-y plaid binding? I really like how the gifts are not only pieced but show up in the machine quilting too — sew clever!
You can order Gift Wrapped HERE.
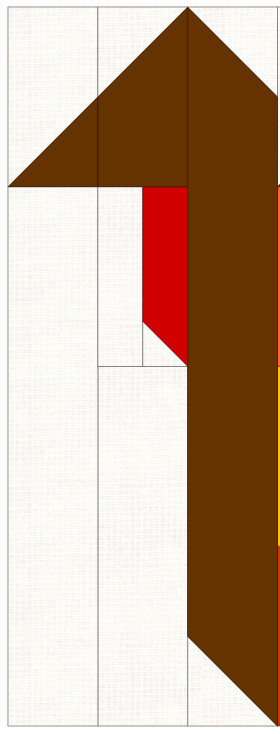
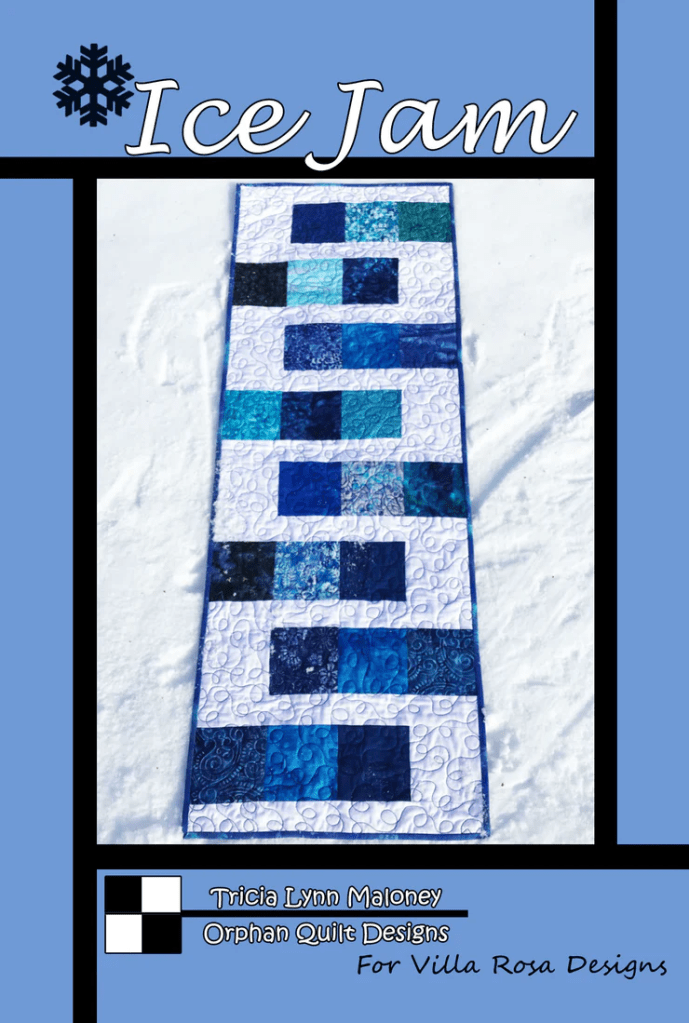
And finally, but not lastly, here’s my latest table runner pattern, Season’s Greetings. If you need a fast to finish gift for someone on your holiday list, this is definitely the runner for you! This pattern only uses 5 fabrics so it’s a great one for raiding your Christmas fabric stash, but who says it has to be made with Christmas fabrics???
You can order the Season’s Greetings pattern HERE.
Who wouldn’t want to find these new patterns tucked into their stocking or as a surprise from a Secret Santa?
Speaking of Christmas, let’s take a look at some fun reads to add to your Christmas list or maybe just a good reason to take a few minutes for yourself during this busy holiday season.
Great Reads for Quilters
I love to read. In fact, I love books so much, I was a librarian for over 10 years at a small-town community library. One of my favorite things besides organizing and doing the children’s programs was helping to match readers to books — it didn’t matter how old the reader was, I loved the challenge to help them find the perfect book. Sometimes it took a couple of tries, but it was always a very rewarding experience.
Reading is my go-to escape from the stresses of my day to day life and especially during the holiday season!
Let me share some fun Quilting and Sewing themed books with you in case you, too, need to slip away from your surroundings for a little while this holiday season. Books also make great gifts for yourself or someone else.
Give the gift of reading this Christmas!
Southern Sewing Circle Mystery
Right now I am working my way through the Southern Sewing Circle Mystery series by Elizabeth Lynn Casey. I’m currently reading the 5th book out of 12, but so far I am really enjoying the fun and quirky characters. The main character, Tori, just so happens to be a librarian who sews. This is not really a quilting series, but rather a sewing-themed series.
You can find more information and the book titles in the series HERE.
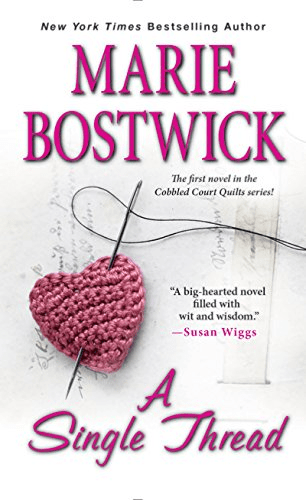
Cobbled Quilt and Too Much, Texas
Have you read any of the 6 books in the Cobbled Court series or the 2 books in the Too Much, Texas spinoff by Marie Bostwick? I devoured this series years ago when the first book, A Single Thread, came out and I couldn’t wait to read each new book as it was released. I loved the location of the quilt shop and the descriptions of the the town. These books are brimming with delightful characters who you will wish were your friends and neighbors.
You can find more information and the book titles in the series HERE.
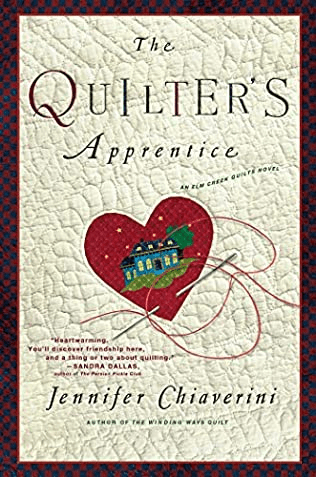
Elm Creek Quilts
Who can forget Jennifer Chiaverini’s wonderful 27 book Elm Creek Quilts series? I love that this huge series moves between the present and the past. The books are stand alone reads, but they are all threaded together. I am pretty sure I have read every single one of the Elm Creek Quilts books. I think the historical ones, particularly the Civil War ones, were my favorites.
You can find more information and all the book titles in the series HERE.
Annie’s Fiction Clubs
Did you know that the publisher of Quilter’s World Magazine, Annie’s, has many fun book series in addition to the magazine? The various book series are set up like clubs where you get books delivered to you, which is fun and very convenient. They have a series for pretty much any reader, most are cozy mysteries, but there are Amish romances and feel-good books too.
Last year they even started new read-along books with a mystery quilt project. You read a chapter and make the quilt block then at the end of the book, you would get instructions to finish the quilt. Fun idea, huh? Something to watch for 2023.
Here are the series they have to offer:
Victorian Mansion Flower Shop
Antique Shop Mysteries
Amish Inn Mysteries
Secrets of the Castleton Manor Library
Chocolate Shop Mysteries
Annie’s Quilted Mysteries
Annie’s Mysteries Unraveled
Annie’s Secrets of the Quilt
Scottish Bake House Mysteries
Mysteries of Aspen Falls
Museum of Mysteries
Annie’s Attic Mysteries
Creative Woman Mysteries
Hearts of Amish Country
Love in Lancaster County
The Inn at Magnolia Harbor
Rose Cottage Book Club
You can find more information on each book series/club HERE.
Sandra Dallas
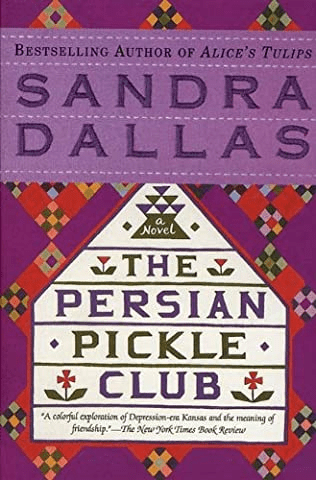
Sandra Dallas doesn’t have a specific quilting or sewing book series, but she has written some great books with quilting and sewing themes. These are stand alone books and many are rich in historical details. The Persian Pickle Club was recommended to me by my friend, Melanie, and it was a great read. Since then, I’ve read some of the author’s other books, too. Sandra writes books for adults and children.
The Persian Pickle Club
Alice’s Tulips
The Quilt Walk
A Quilt for Christmas
The Patchwork Bride
You can find more information about Sandra Dallas and her books HERE.
Shipshewanna Amish Mystery
This trilogy by Vanetta Chapman is a great quilt shop/Amish cozy mystery series, and who doesn’t love that? The writing is well-done and the characters are well-developed. Sure to be on your favorite quilt series list.
You can find more information and the book titles in the series HERE.
Patchwork Mysteries
If you are looking for an interesting and inspirational series about quilts and how quilts can tell us clues if only we look closely, then you might want to try Guidepost’s Patchwork Mysteries series. There are 26 books in the series. The books are stand alones, which is good, since I skipped around through this series as I found the books and read them in no particular order.
You can find the series HERE.
Half-Stitched Amish Quilting Club
This trilogy of books by Wanda Brunstetter is a real keeper. The first book brings together a very disconnected group of people who sign up to take a quilting class with an Amish quilter and teacher. A great addition to you quilting fiction collection.
You can find more information about Wanda Brunstetter and her books HERE.
Quilting Cozy
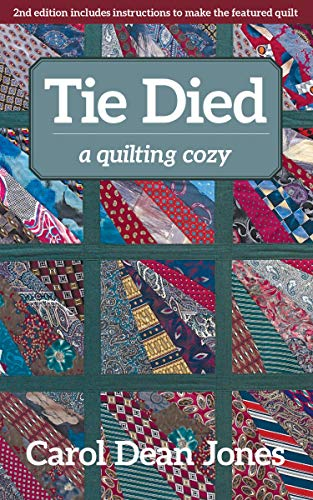
I haven’t actually started reading this series yet, but I do have several of the books in my personal library. Someday soon, I hope, I will get the chance to dive into this series. But I don’t know if I will ever get through my backlog of books when there are new books being published everyday — I just can’t read fast enough. LOL! Carol Dean Jones wrote this series and it has 12 books.
You can find more information and the book titles HERE.
Ann Hazelwood
Ann Hazelwood has written quite a few different series of quilting books, so you’ll want to check them out. I was intrigued by the titles of a couple of her books when I saw them online and I just had to buy them. I mean, really — who wouldn’t want to read books with titles like The Funeral Parlor Quilt or The Jane Austen Quilt Club? I must confess, though, that I haven’t started reading yet….
Here are her series:
Colebridge Community
East Perry County
Wine Country Quilts
Door County Quilt
You can find more information and the book titles in each series HERE.
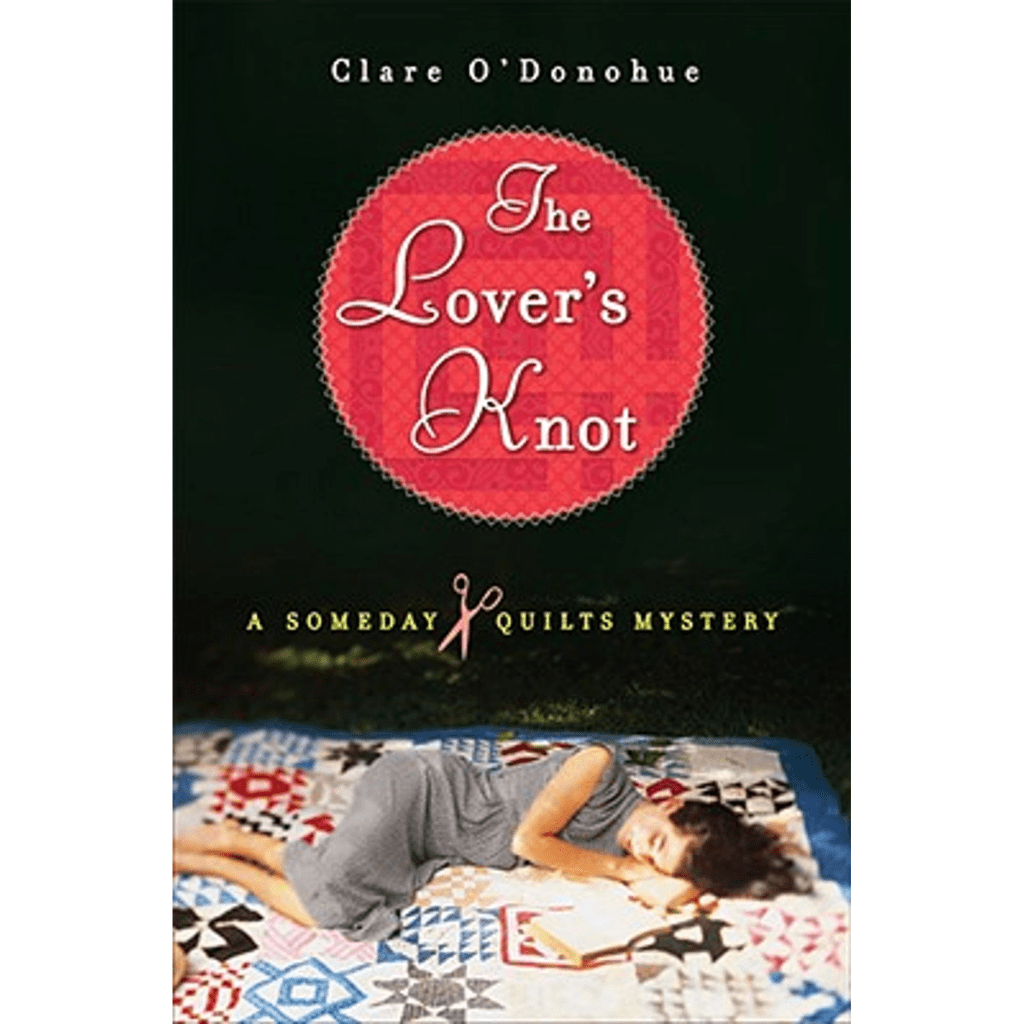
Someday Quilts
It took me a while to remember the name of this quilt mystery series, but I did finally remember — guess I’m getting old…. This series includes 7 books and is written by Clare O’Donohue.
You can find more on this series HERE.
Quilting Books for the Kiddos in Your Life
Maybe you have children to shop for on your “nice” list! Here are a great selection of quilting themed picture books and chapter books. Some are fiction and some are nonfiction.
The Little Ghost Who was a Quilt by Riel Nason and Byron Eggenschwiler
Ages 3-6
You can find the book HERE.
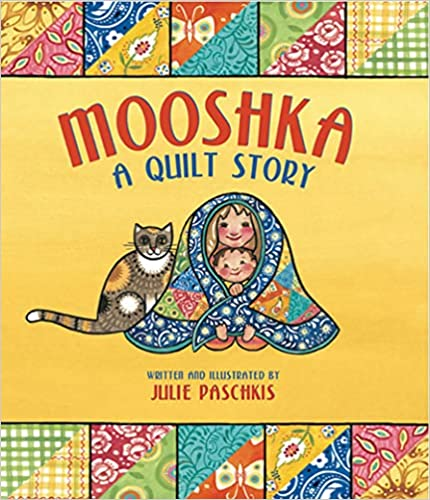
Mooshka by Julie Paschkis
Ages 4-8
You can find the book HERE.
The Quiltmaker’s Gift by Jeff Brunbeau
Ages 3-8
You can find the book HERE.
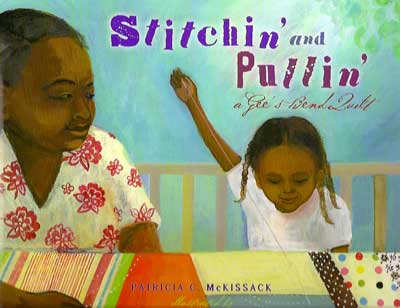
Stitchin’ and Pullin’: A Gee’s Bend Quilt by Patricia McKissack
Ages 5-9
You can find the book HERE.
The Quilting Bee by Gail Gibbons
Ages 4-8
You can find the book HERE.
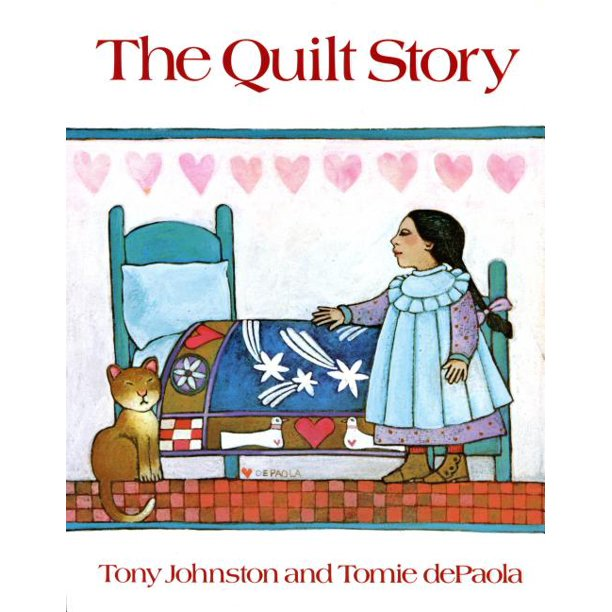
The Quilt Story by Tony Johnston and Tomie dePaola
Ages 3-5
You can find this book HERE.
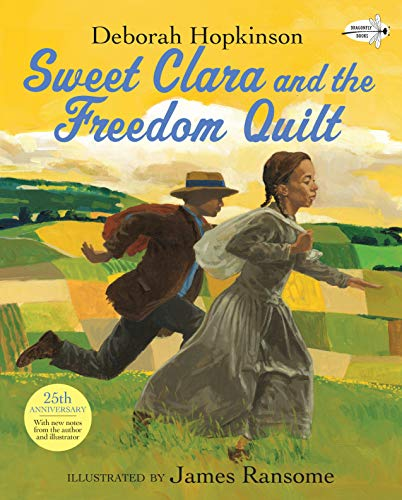
Sweet Clara and the Freedom Quilt by Deborah Hopkinson and James Ransome
Ages 3-7
You can find the book HERE.
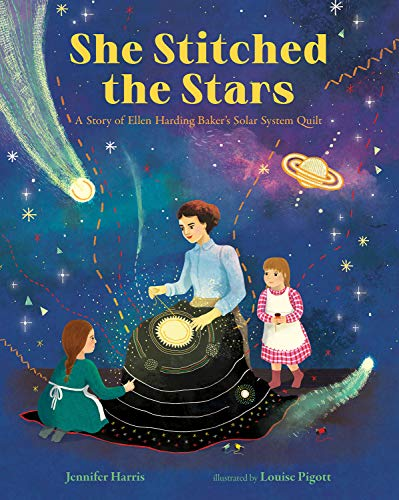
She Stitched the Stars by Jennifer Harris and Louise Pigott
Ages 5-8
You can find the book HERE.
The Patchwork Path by Bettye Stroud and Erin Susanne Bennett
Ages 5-8
You can find the book HERE.
The Keeping Quilt by Patricia Polacco
Ages 3-10
You can find the book HERE.
The Quilt by Ann Jonas
Ages 4-8
You can find this book HERE.
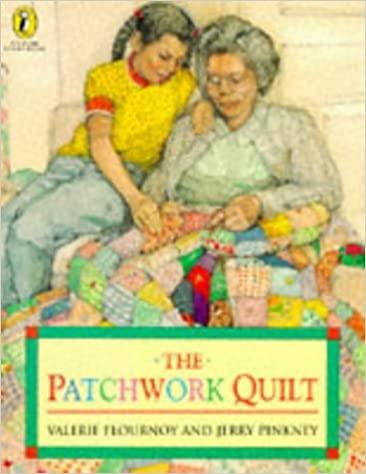
The Patchwork Quilt by Valerie Flournoy and Jerry Pinkney
Ages 2-6
You can find the book HERE.
The Canada Geese Quilt by Natalie Kinsey-Warnock and Leslie Bowman
Ages 9-12
You can find the book HERE.
The Quilt by Gary Paulson
Ages 8-12
You can find the book HERE.
Pieces: A Year in Poems and Quilts by Anna Grossnickle Hines
Ages 4-8
You can find the book HERE.
The Arabic Quilt by Aya Khalil and Anait Semirdzhyan
Ages 4-6
You can find the book HERE.
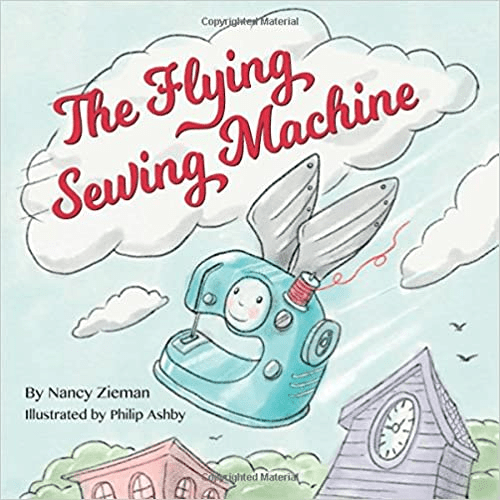
The Flying Sewing Machine by Nancy Zieman and Phillip Ashby
Ages 5-6
You can find the book HERE.
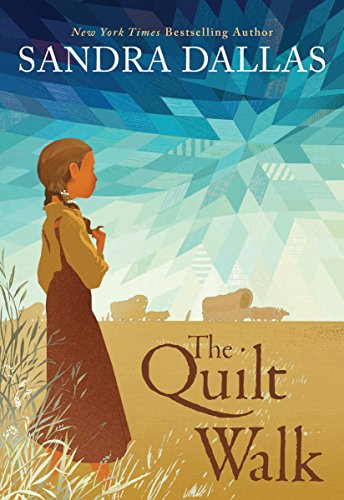
The Quilt Walk by Sandra Dallas (yes, I listed this one twice on purpose)
Ages 9-12
You can find the book HERE.
Well, I guess that wraps up my list of great reads for today. Of course, there are tons more out there — this is just a short list of some of my favorites or favorites to be.
If you have a quilt or sewing themed book or series that you love, please share in the comments. Thank you!
Until next Thursday —
Read. Sew. Laugh. Repeat.
Always,
Tricia @VRD