
Hello Quilty Friends!
Happy Thursday to you!
Well, I’m happy that spring is finally here in NW PA. I think it’s here, anyway. Sometimes it’s hard to tell.
Tulips, Daffodils, and Crocuses are blooming which is a welcome burst of color against our still dreary winter landscape. The trees are just staring to wake up a little bit, but we won’t have full leafy coverage until the end of April into May. Spring weather here is also quite unpredictable — we’ve already had a few days in the 70’s, but we’ve still gotten a bit of snow. And rain. And hail. Even with its craziness, spring is definitely one of my favorite seasons.

Spring also gets me re-energized for quilting with spring colors, Easter, flowers, birds, blue skies with fluffy clouds, baby animals…I could keep going but you get the idea. Spring is all about renewal, so go ahead and welcome the season in your quilting world, too.
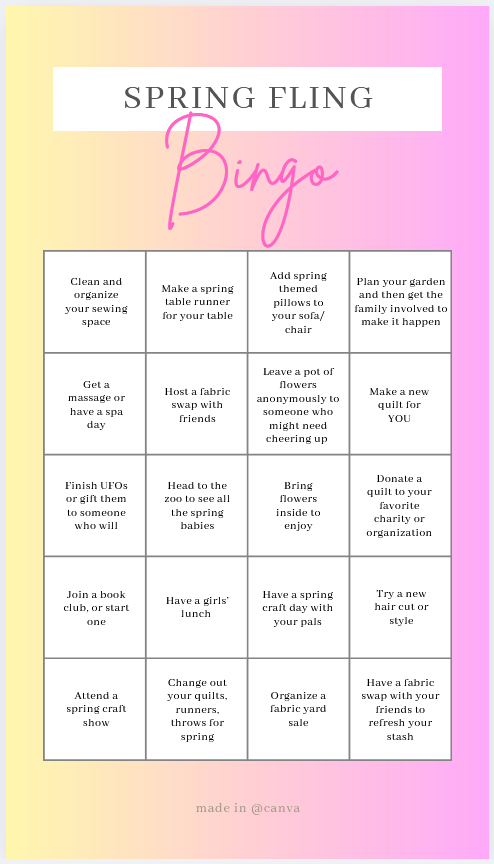
YAY! Lucky you! I created a fun Spring Fling Bingo download to help you enjoy the season. Please download the PDF below and have fun completing the 20 spring ideas!
Now let’s have a pattern shower for April! Because a collection of Spring quilts will surely brighten your day and give you some Spring inspiration. It certainly inspired me as I put it together.
A Curated List of VRD Rose Card Quilt Patterns for April
If you’re a blog follower, you might have seen my Curated Spring List from last year, so instead of repeating that lovely collection of patterns, I thought I’d create a new collection of patterns just for April. And April means showers, rainbows, Easter, gardening, babies, and….
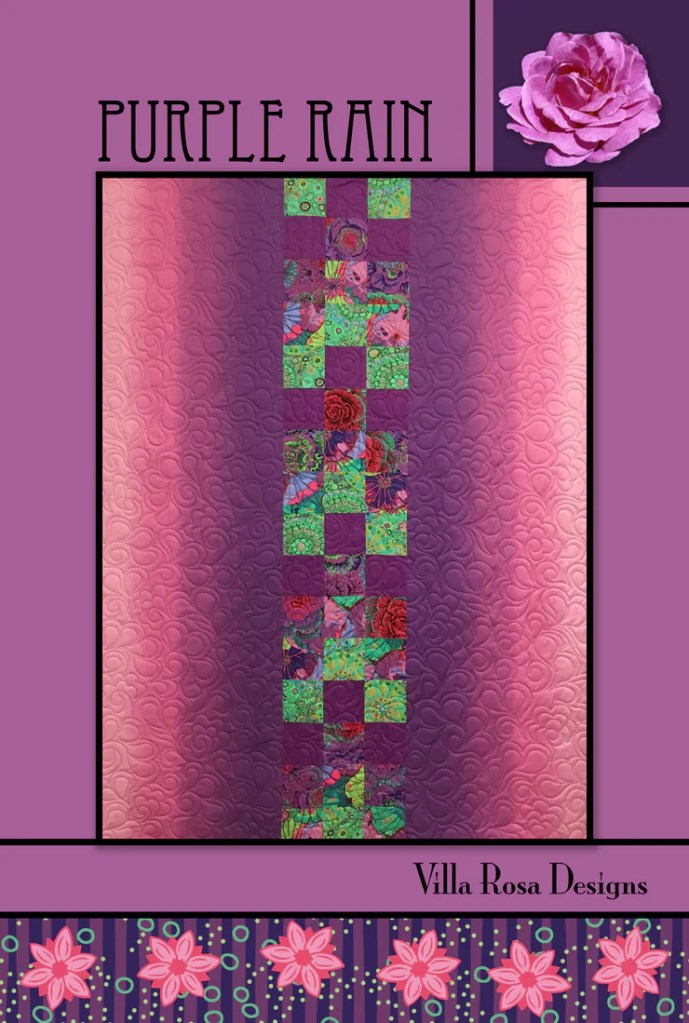
You can’t have a rainbow without the rain.

Digital Pattern or Print Pattern
Get ready to garden with a nifty new apron.

Baby animals everywhere!
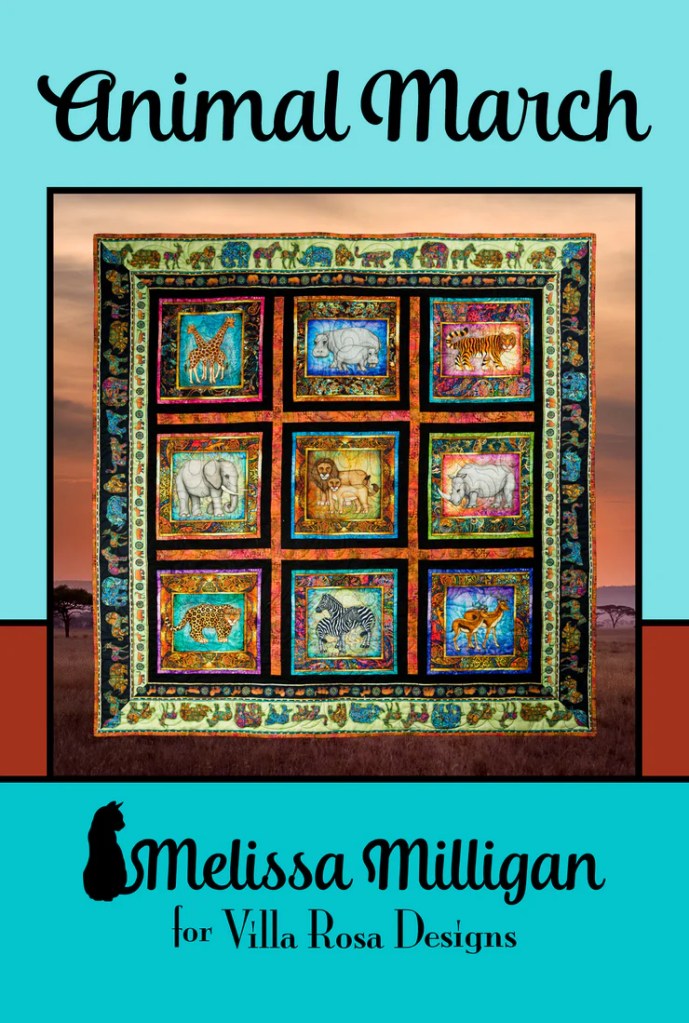
Digital Pattern or Print Pattern
April Showers bring May Flowers.

Digital Pattern or Print Pattern
Babies, babies, and more babies!
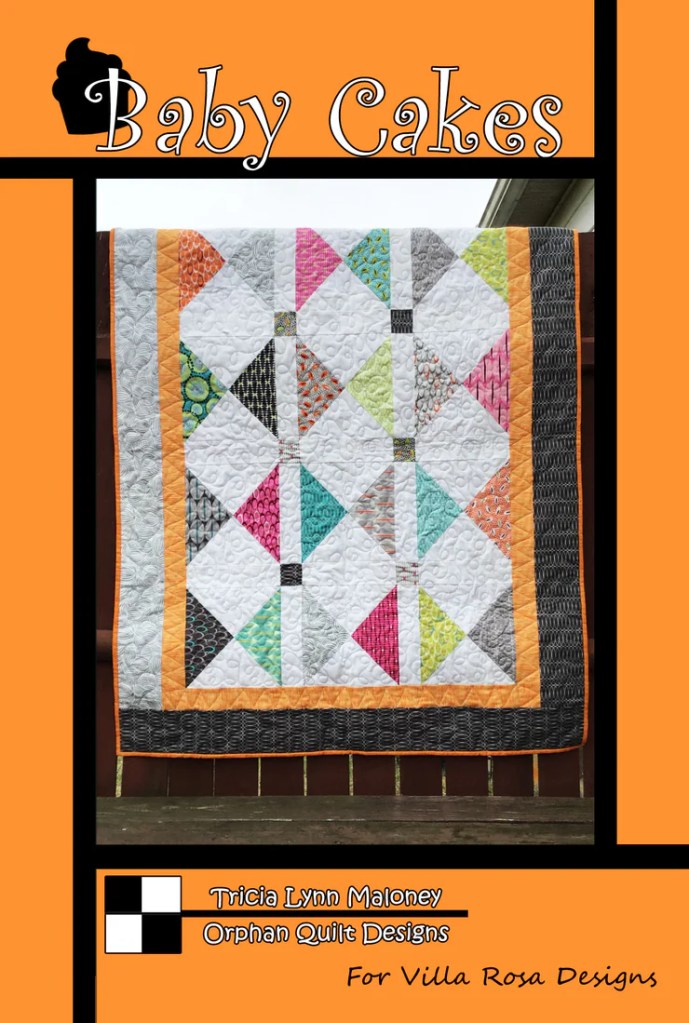
Digital Pattern or Print Pattern
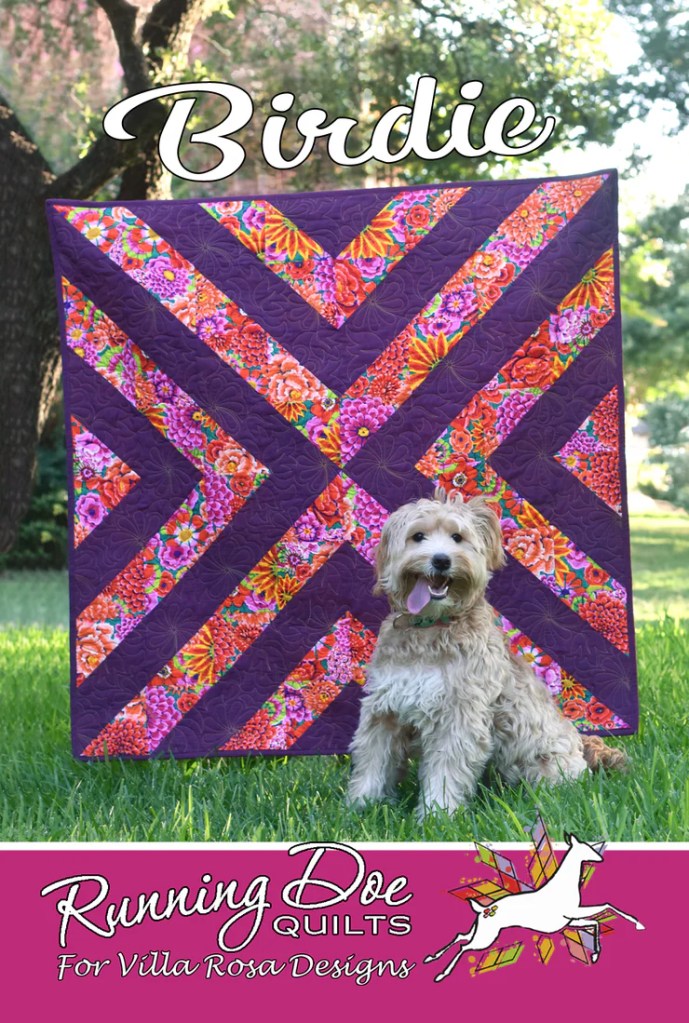
Baby birdies, too.

Digital Pattern or Print Pattern
More and more babies – it must be spring!

Digital Pattern or Print Pattern
Even more babies.

Digital Pattern or Print Pattern
Spring birds are returning.
Digital Pattern or Print Pattern
Spring means Easter.

Digital Pattern or Print Pattern
Planning some new garden paths?
Digital Pattern or Print Pattern
Who’s got big floppy ears?

Digital Pattern or Print Pattern
Hopping down the Bunny trail….

Digital Pattern or Print Pattern
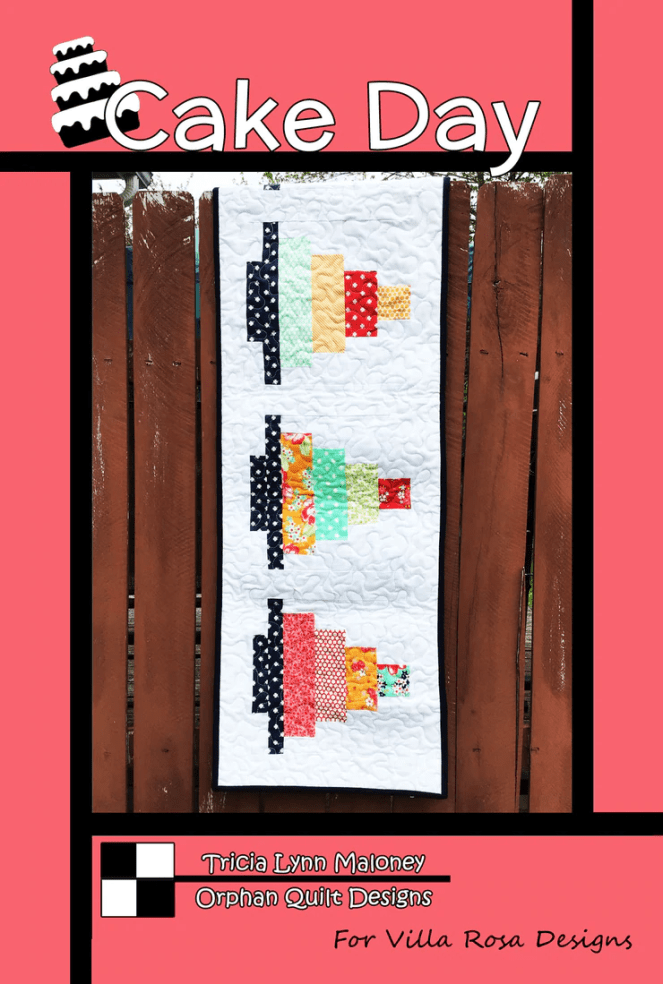
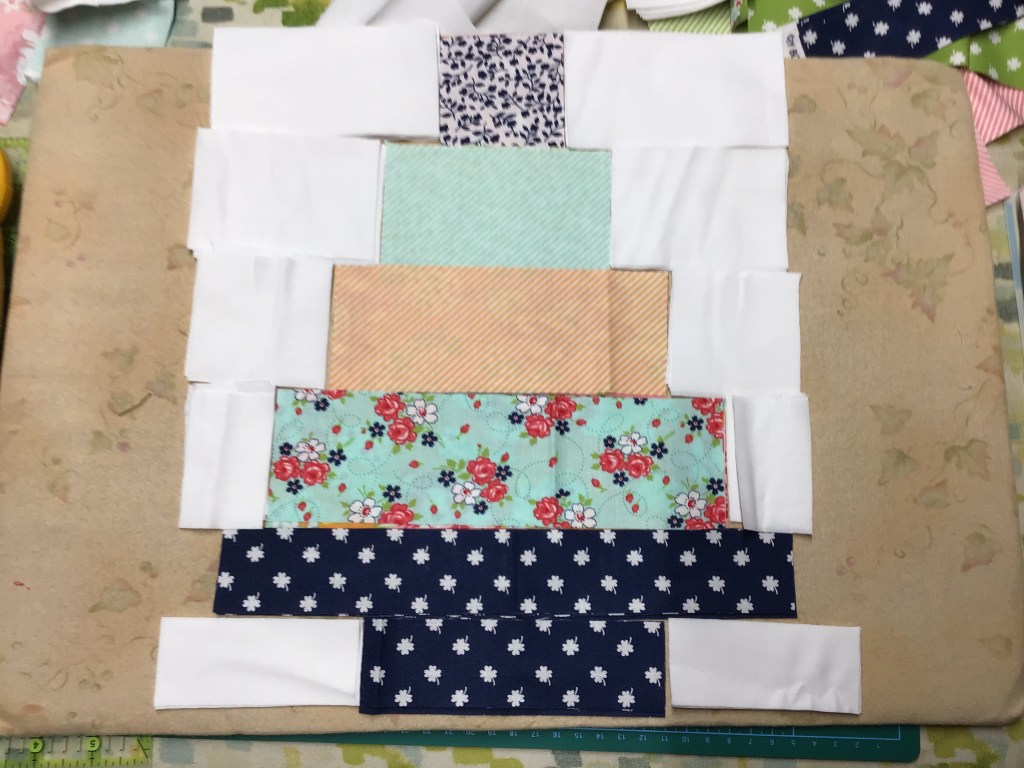
Baskets overflowing with goodies on Easter morning.

Digital Pattern or Print Pattern
Easter services.
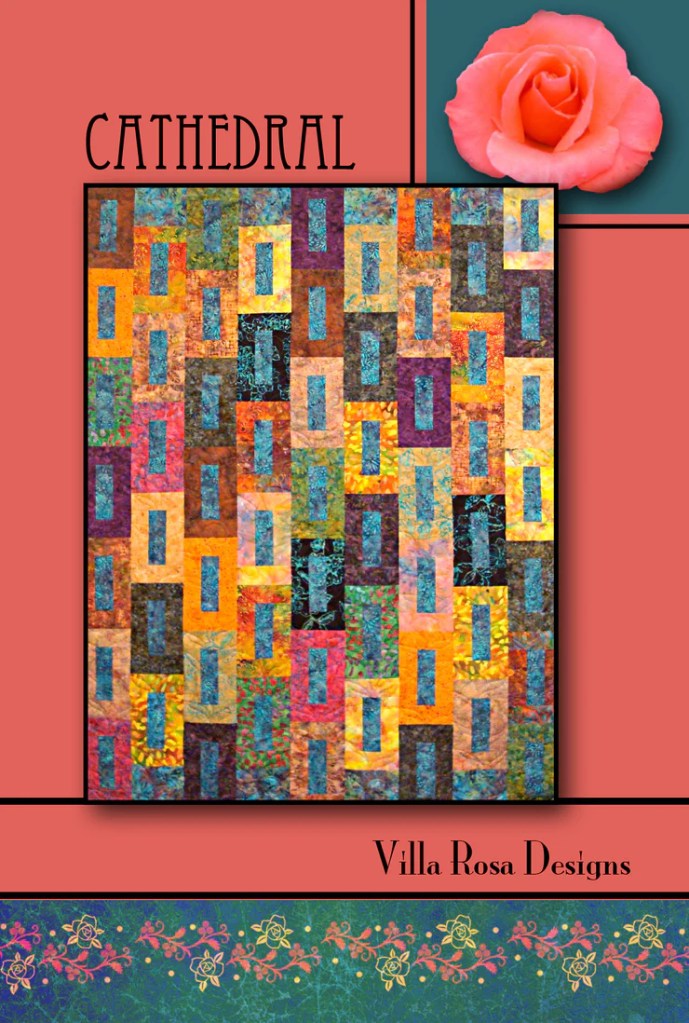
Digital Pattern or Print Pattern
Dressed in one’s Easter best.

Digital Pattern or Print Pattern
Eagles hatching their eaglets.

Digital Pattern or Print Pattern
Spring tulips make me think of the Netherlands.

Digital Pattern or Print Pattern
So many new animal babies on the farm.

Digital Pattern or Print Pattern
Those new babies on the farm sure make things interesting.
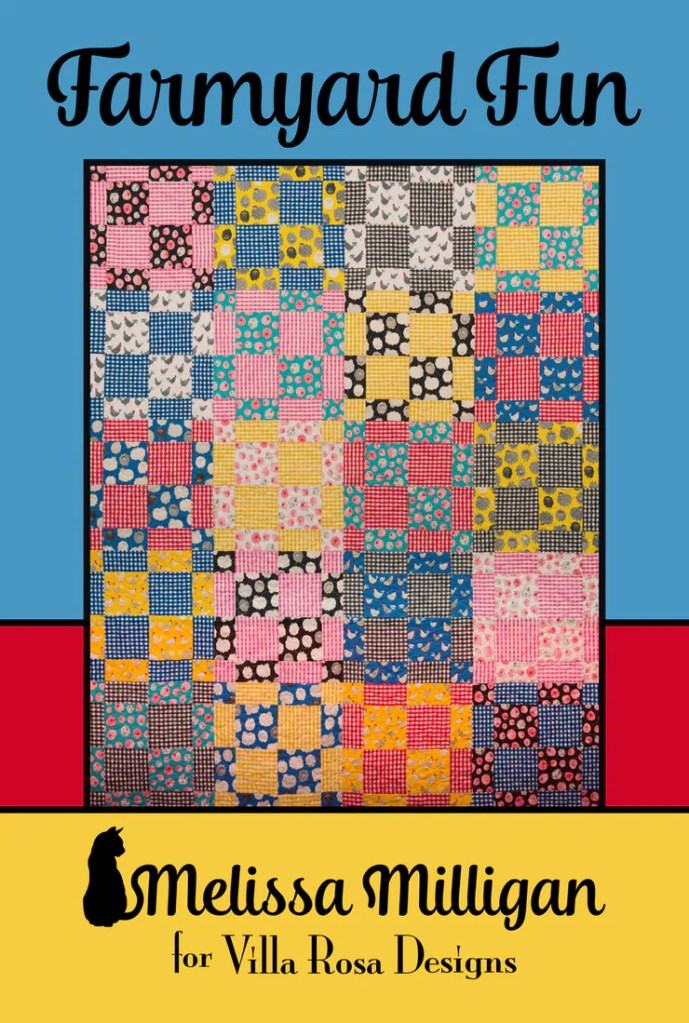
Digital Pattern or Print Pattern
Rain, rain, go away….

Digital Pattern or Print Pattern
Tulips springing up everywhere!

Digital Pattern or Print Pattern
New babies are playing hide and seek in the forest, too.

Digital Pattern or Print Pattern
Easter dinner at your grandparents’ house.
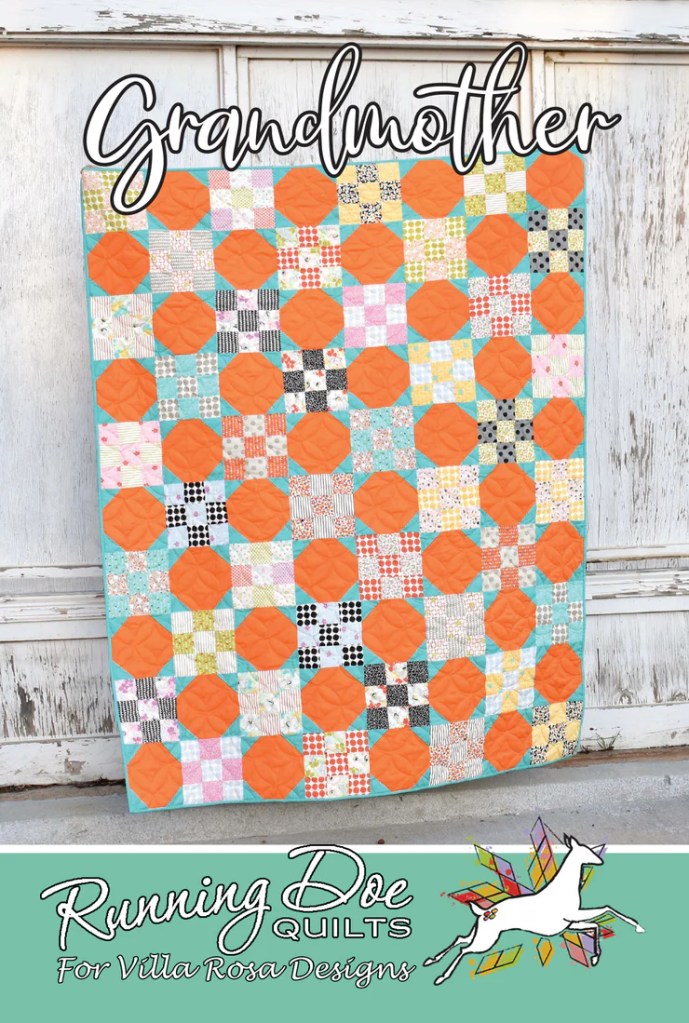
Digital Pattern or Print Pattern
It’s handy to have a lantern when the electricity goes out during a spring storm.
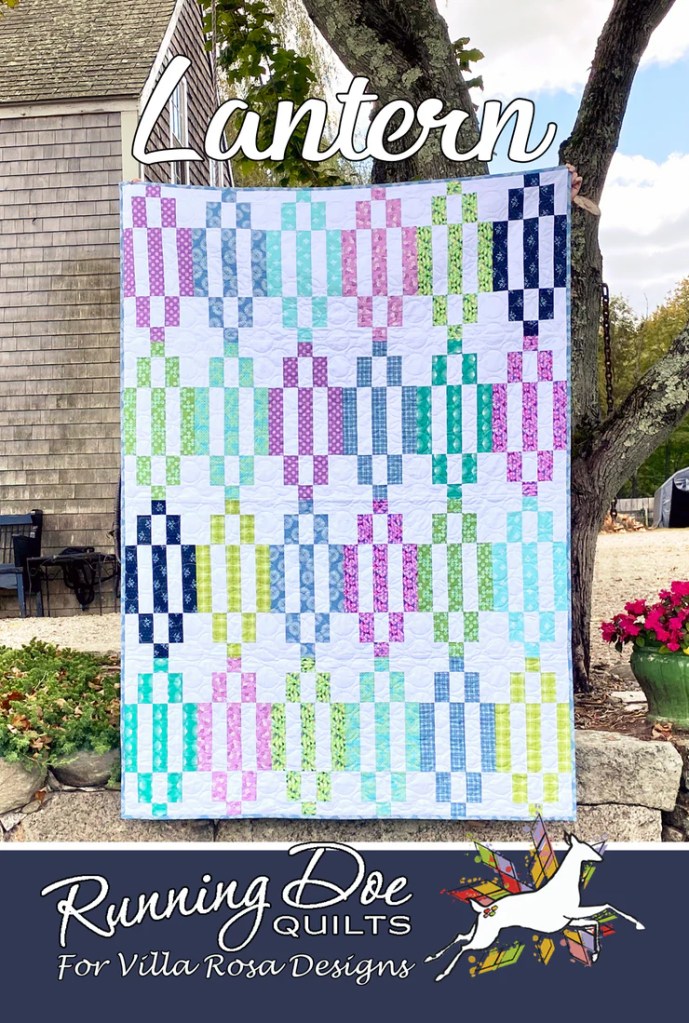
Digital Pattern or Print Pattern
Maybe it’s time to add new lattice in your garden?

Digital Pattern or Print Pattern
Canadian Geese returning.

Digital Pattern or Print Pattern
Easter dinner!

Digital Pattern or Print Pattern
Umbrellas are a must in April.

Digital Pattern or Print Pattern
The bugs are venturing out again.

Digital Pattern or Print Pattern
Bring on the ham, sweet potatoes, green bean casserole, fresh rolls, and more!

Digital Pattern or Print Pattern
Wake up and spring into your day!
Digital Pattern or Print Pattern
Nana wears aprons when she cooks.

Digital Pattern or Print Pattern
Maybe there are noodles on the Easter table?
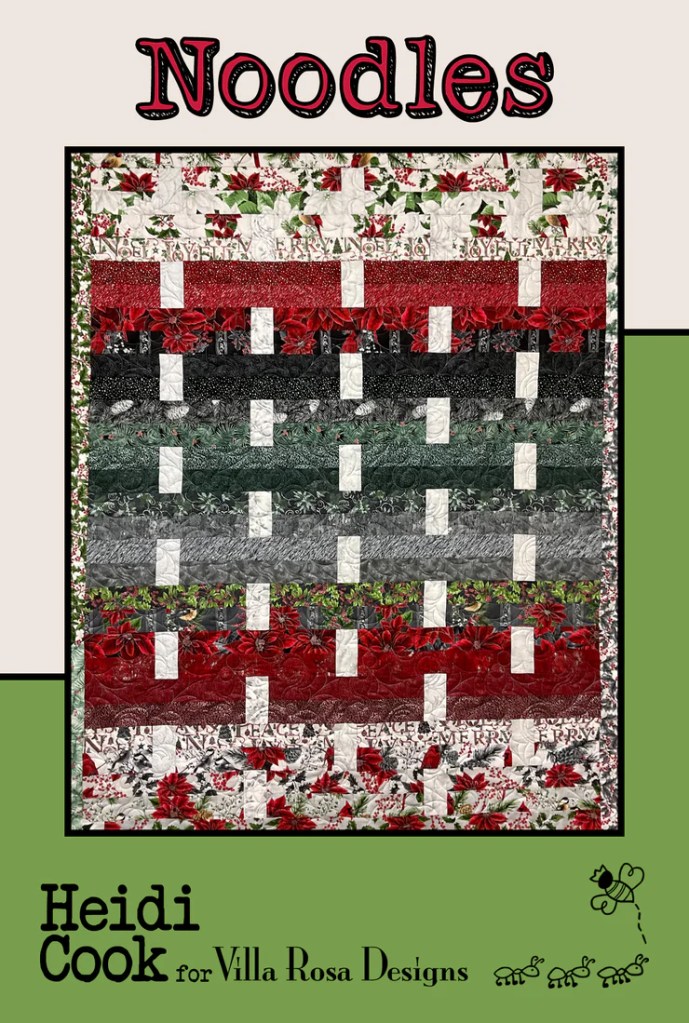
Digital Pattern or Print Pattern
Need a tote for your Easter egg hunt?
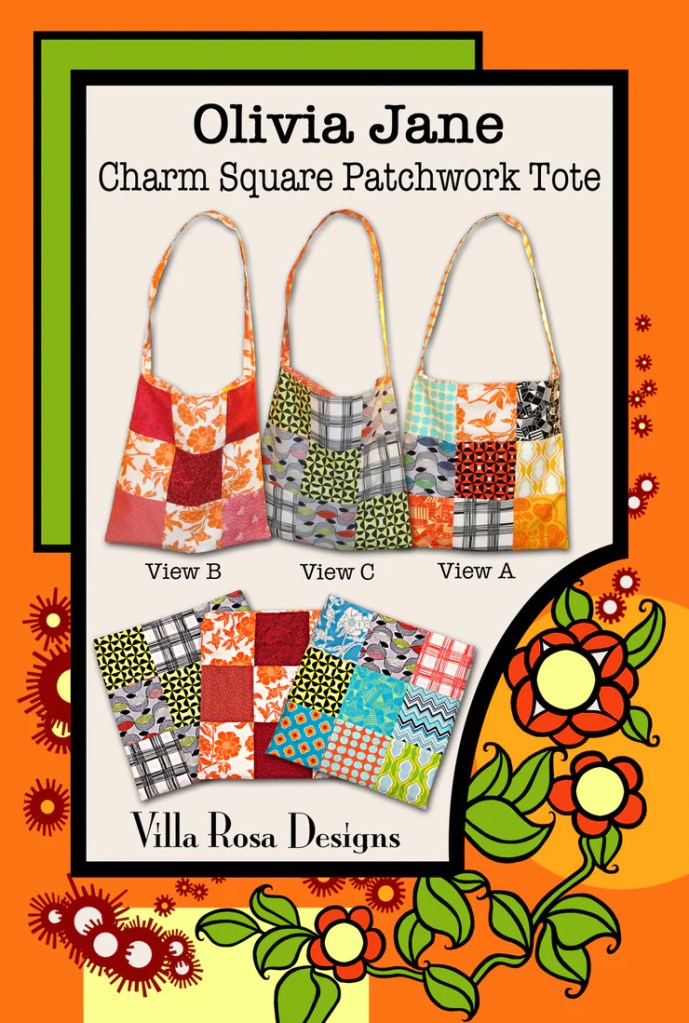
Perhaps it’s time to freshen up the living room with new paint?

Digital Pattern or Print Pattern
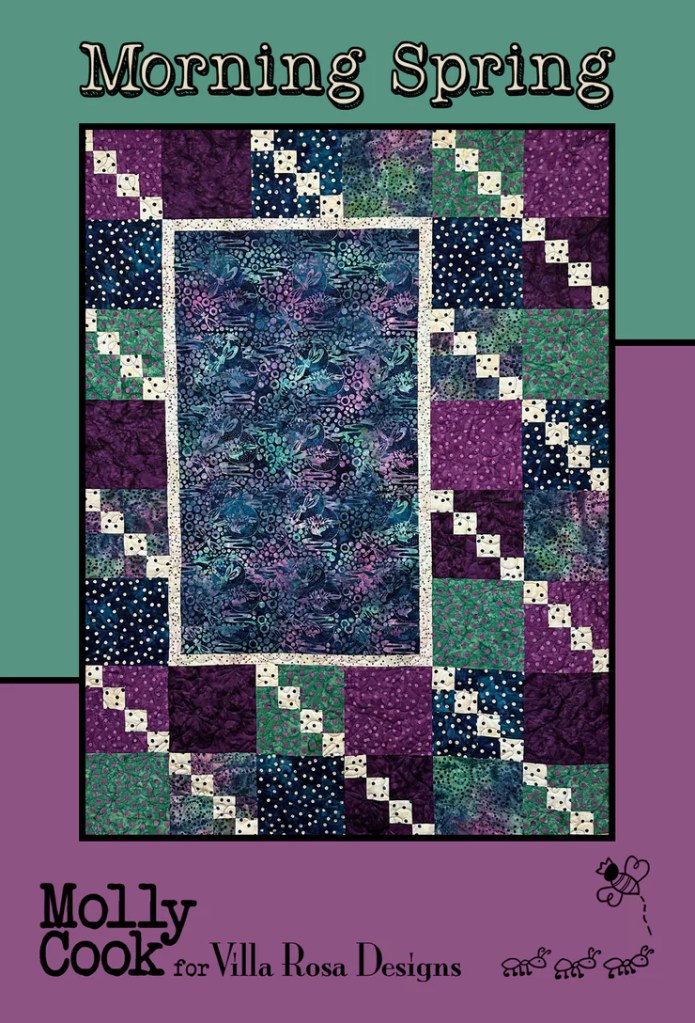
The Spring landscape keeps changing.

Digital Pattern or Print Pattern
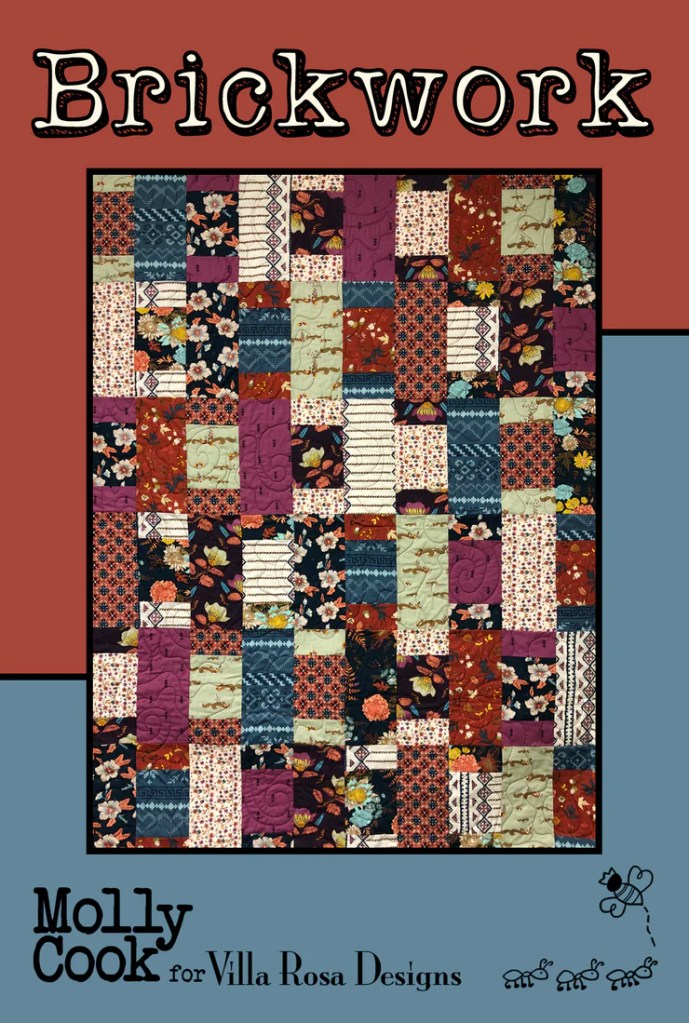
New pavers for a garden path?

Digital Pattern or Print Pattern
Even the brooks and creeks are waking up.

Digital Pattern or Print Pattern
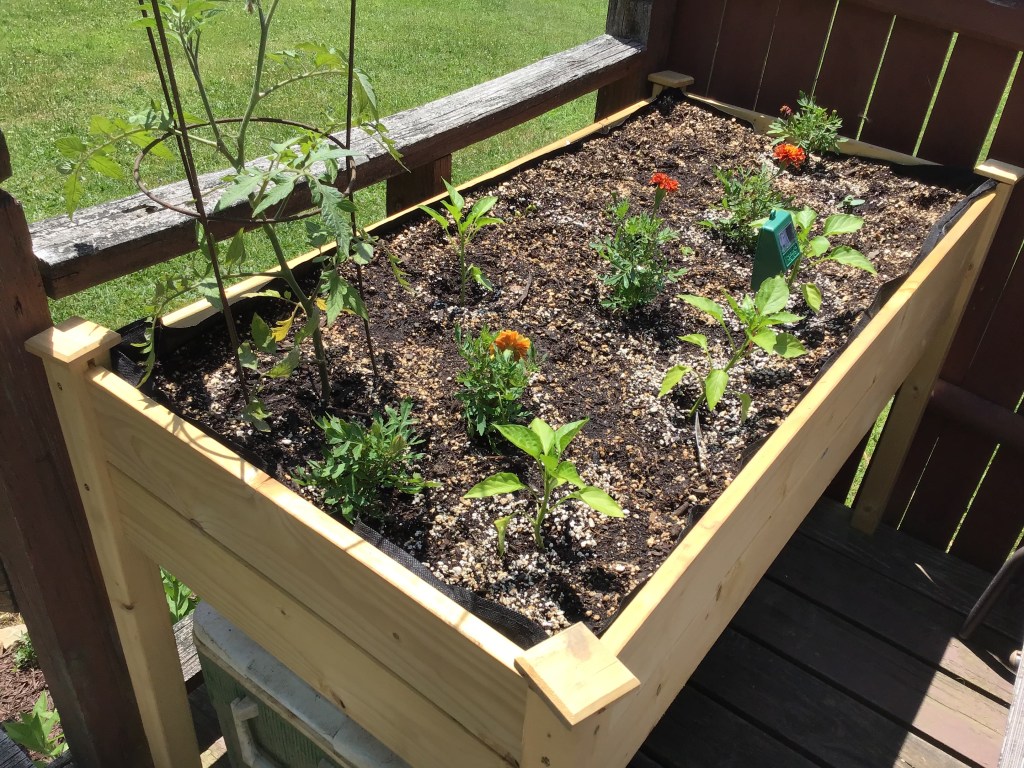
At the garden center picking out new boxes and pots.

Digital Pattern or Print Pattern
So much to do in the kitchen on Easter morning.

Digital Pattern or Print Pattern
Finally! A place to keep all my gardening tools.

Digital Pattern or Print Pattern
Who can resist a new baby puppy or kitten?

Digital Pattern or Print Pattern
Sometimes I think it rains every day in April….
Digital Pattern or Print Pattern
Every rainbow is special.

Digital Pattern or Print Pattern
Discover a pot of gold at the end of the rainbow.
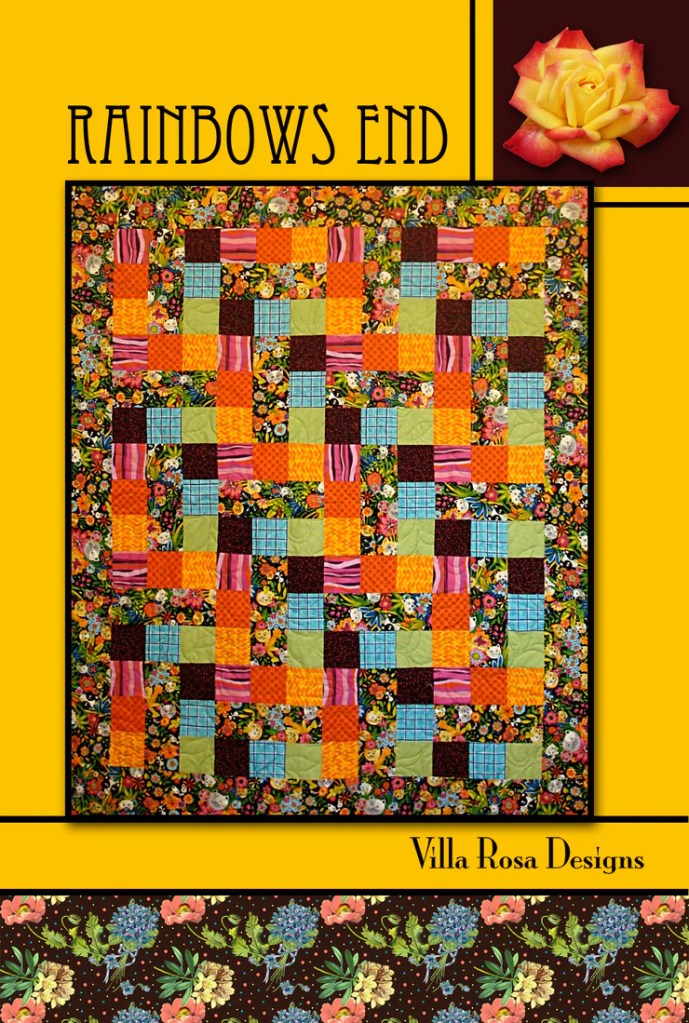
Digital Pattern or Print Pattern
Finding a dress or a tux for the Senior Prom.

Digital Pattern or Print Pattern
With all the rain, it’s truly wonderful to see the sun!
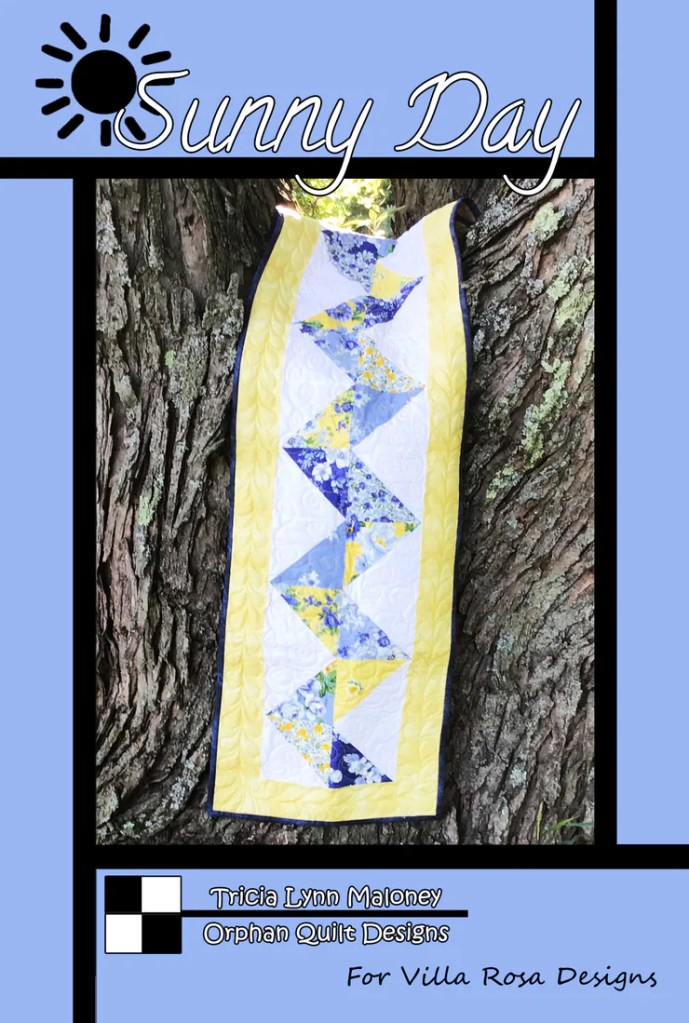
Digital Pattern or Print Pattern
With a little luck, the sun will shine on Easter Sunday.

Digital Pattern or Print Pattern
A tote to hold all your Easter goodies from Grandma and Grandpa.

Something yummy in your basket.

Digital Pattern or Print Pattern
After all the Easter leftovers, maybe it’s time for some Takeout.
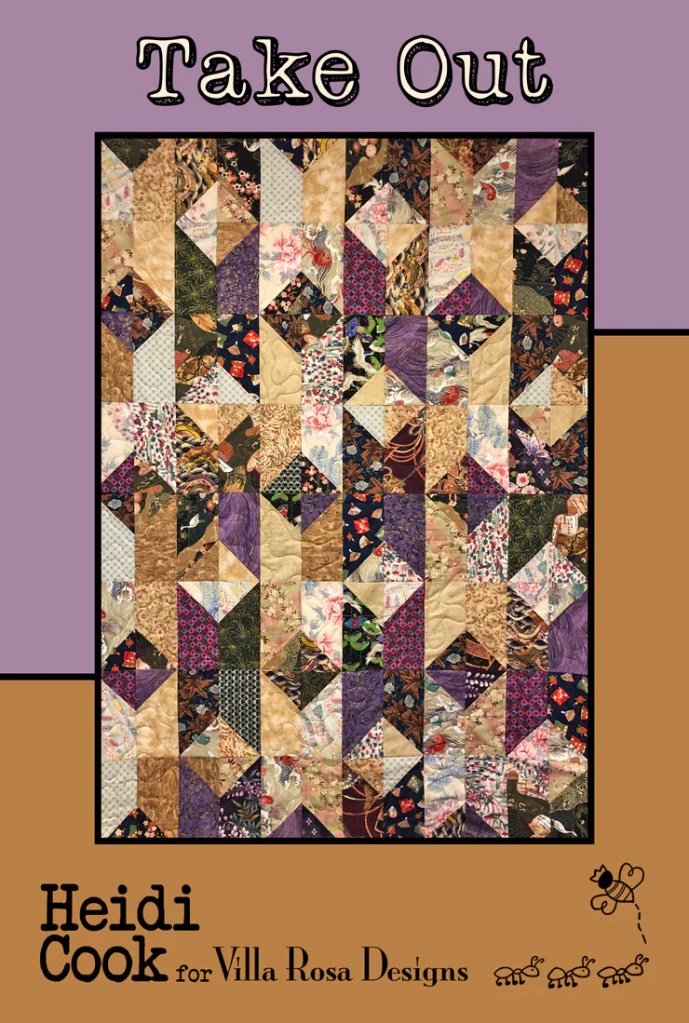
Digital Pattern or Print Pattern
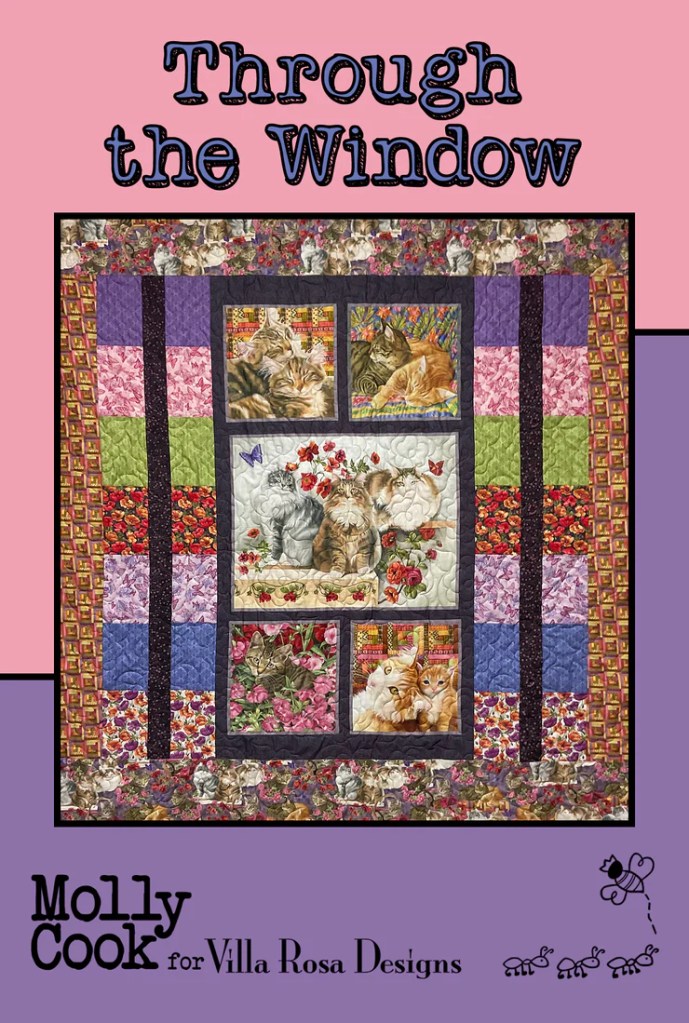
Look out the window to see Spring happen.
Digital Pattern or Print Pattern
The spring peepers are peeping!

Digital Pattern or Print Pattern
Maybe some new tiles for the kitchen or patio?

Digital Pattern or Print Pattern
The vineyards are shaking off the winter.

Digital Pattern or Print Pattern
Well, I hope you enjoyed this great selection of VRD Rose Card patterns. I really enjoyed putting it together. Did you know we now have around 700 patterns in print? How many do you have?
Don’t forget — there’s FREE SHIPPING on patterns. Always.
Stay tuned for next week’s post showcasing our brand new April Rose Card patterns.
Until then –
Sew. Laugh. Think Spring. Repeat.
Always,
Tricia @ VRD


