
Hello Quilty Friends!
Happy Thursday to you!
I’m SEW excited to share with you a very important book I discovered recently. It’s called Copyright for Makers: A Legal Roadmap for Creatives by Sidne K. Gard and Elizabeth Townsend Gard. The book was released in 2024 and is published by C&T Publishing.
How did I not know about this book before???
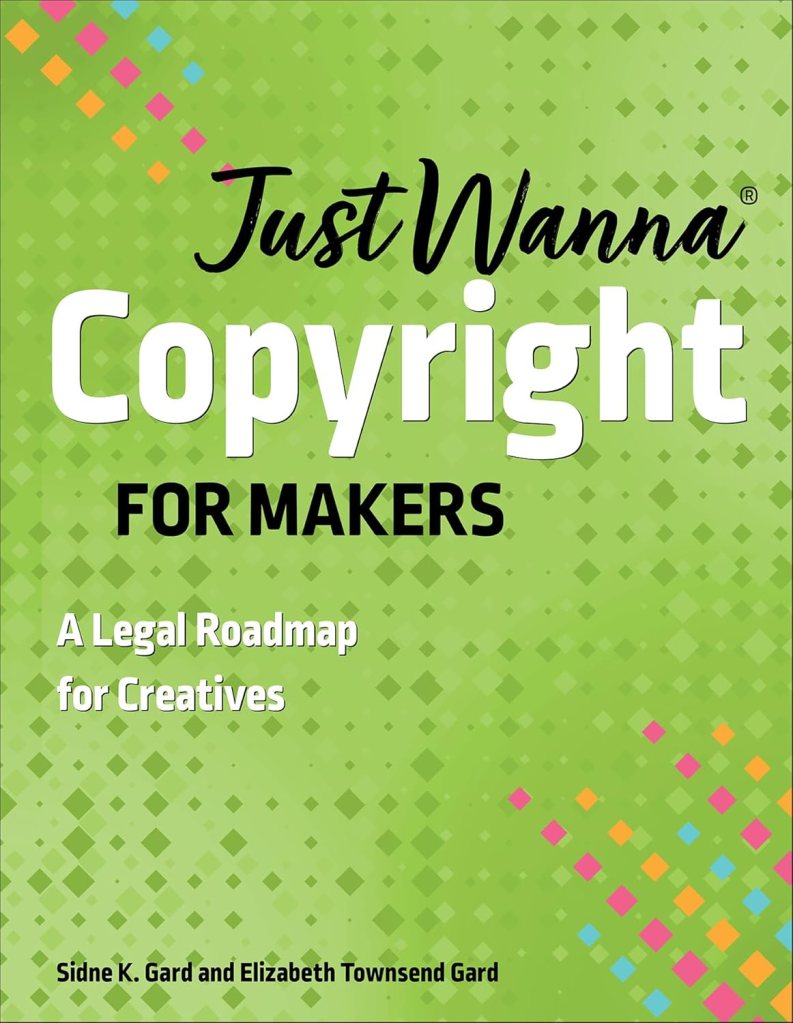
You can find the print book HERE or the digital book HERE
I really feel like I dropped the ball by not knowing about this very important book. If you’ve been following the blog for a while, then you probably know I have a serious interest in copyright for quilters and how it impacts how we create, what we create, how we choose to share (or not share), as well as how we can protect our work.
If you’ve missed my posts about copyright, you can find them below:
The Copyright Question for Quilters
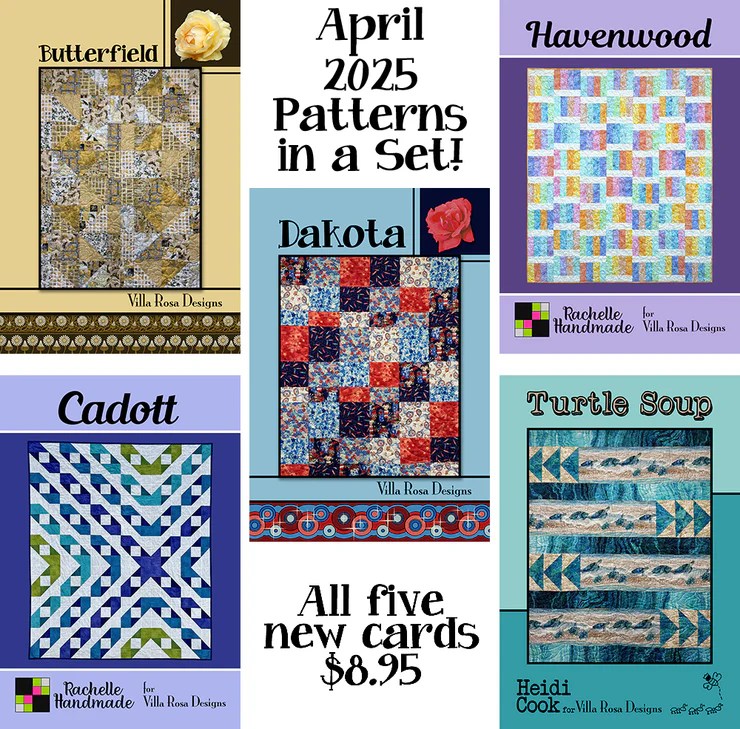
My Recent Copyright Issue and NEW Villa Rosa Quilts Rose Card Patterns for May
Most of what I’ve learned up until now has been from reading articles/researching online as well as talking to other professional quilters and crafters. A friend and mentor, Cheryl Weiderspahn, who owned her own clothing pattern company and even published a few books – Low Sew Boutique and Around Randolph Township and Guys Mills (Images of America) wrote a very straightforward and down-to-earth explanation of copyright for quilters and sewists some years ago. You can find Cheryl’s copyright statement in my post, The Copyright Question for Quilters. Cheryl’s article was the first and best document about copyright I’ve ever read, so you might want to check it out.
Over the past year, I’ve had some copyright issues on Facebook and Pinterest. For some reason, there are people out there who think it’s perfectly okay to post the instructions of a copyrighted pattern online and share it for free with all their friends and friends of their friends and so on. This is definitely NOT okay. Rather, this is an example of copyright infringement. I reported the infringements (yes, plural) to Facebook and Pinterest. The forms take forever to fill out. I cannot understand why it is so easy for someone to post or pin copyright infringement content yet when you are reporting the violation of your copyrighted intellectual property, you have to go through a lot of hoops just for them to believe that you own the copyright. There has got to be an easier way.
Another issue I’ve had recently is on Etsy, where I have found a few folks making quilts using my patterns (called derivatives) and selling them for profit. This is also an infringement of copyright. Including the name of the pattern used and/or the designer of the pattern as part of an Etsy item listing does NOT make it okay to sell a derivative of someone else’s work. I have contacted the guilty parties directly as well as reporting it to Etsy. We’ll see what happens….
Ignorance is not bliss – ignorance of copyright law does not protect someone from being held responsible for their copyright infringement.
ARGH! As much as I love designing new quilt patterns, sometimes I question whether it’s really worth it when people think nothing of trying (and often succeeding) to rip someone off.
So, what can a quilter do?
- Read the book Just Wanna Copyright for Makers.
- Spread the word to everyone you know that there’s finally a book explaining copyright for quilters and other creatives written in a way normal people can understand.
- If you see copyright infringement, don’t just ignore it – report it. Report it to Facebook or Etsy or whatever. If you don’t know how to report it to a website or business, then contact the copyright owner and inform them so they can report it.
- Know your rights!
If we keep reporting copyright infringement and sharing knowledge with our family, friends, quilt guild members, online community, etc. – it is my hope that someday everyone will respect the intellectual property of others.
I’ve just started reading Just Wanna Copyright for Makers. It is divided into 4 main sections – Creating, Borrowing, Protecting, and Enforcing so it’s easy to skip around and read the parts that pertain to you, although I do recommend reading the entire book.
As far as I can tell, the authors have covered all the important stuff from your first idea on paper to what can be copyrighted to protecting your intellectual property. Even if you’re not designing patterns or creating works of art in some kind of media, I still think this is a must-have for anyone who creates.
Just Wanna Copyright for Makers was written by a mother-daughter duo who really know their stuff. One is a law professor and the other is an artist/crafter/writer. I think this is the perfect combination to create an easy-to-understand book about copyright and how it impacts the lives and the work of quilters and other makers. This is not a dry read – far from it – the authors impart humor into their snappy writing style. That being said, please understand that copyright law itself is full or twists, turns, and grey areas.
The authors conducted a lot of research before writing their book, including something like 400 interviews with creative people. They posted these research discussions as podcasts for several years before their book came out. I am looking forward to catching up with their podcast. You can check out the Just Wanna Quilt website HERE.
Happily, The Gards have another super useful book for creatives called Just Wanna Trademark for Makers: A Creative’s Legal Guide to Getting & Using Your Trademark, which was actually their first book in the Just Wanna series. I wonder what they’ll write next?
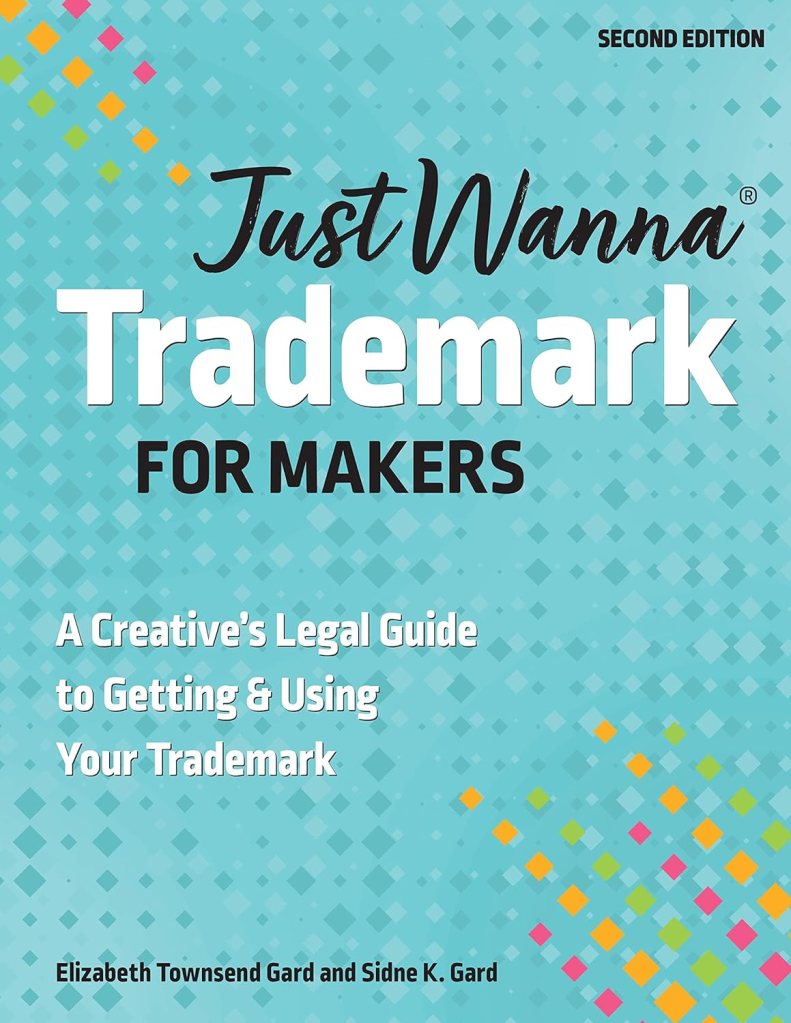
You can find the print book HERE or the digital book HERE.
Well, that’s about it for me today. SHHH! I really want to get back to my reading.
Until next Thursday —
Sew. Laugh. Repeat.
Always,
Tricia @VRD


