Hello Quilty Friends!
Happy Thursday!
We’re getting close to the end of this series on the Basics of Quilt Blocks — just one more post next week and we’ll be moving on to other topics. I originally called it a mini series and expected it to be maybe 3 posts, but I am having so much fun with it, that it ended up turning into a much longer series. Personally, I love any idea that inspires me to play with my EQ8 software and to go through our VRD Rose Card Pattern Catalog and look at all the patterns with fresh eyes. I hope you’ve gotten a lot out of this series too.
If you’ve missed any posts in this series or if you just want to visit it again down the road, I added the series to the right side of the blog for you, right beneath the 2022 Basic Quilting Skills Series.
What’s our Quilt Block Basics unit for today??? RAIL FENCES!
Quilt Block Basics — Rail Fence
Rail Fences — YAY!
Whether you like 2, 3, 4, 5, or more logs, Rail Fence units and blocks are workhorses in the field of making quilt blocks (workhorse and field….get it???). Sigh…… I know, I know. I’ll stop here before I go overboard with the farm puns and cliches. I’m sure you’ve heard them all before anyway.
Sew, what’s a Rail Fence? You newbies might ask.
For the purpose of this series, we’re going to focus on 2 and 3 Rail Fence units with equal sized logs and finished squares. Keep in mind, though, that Rail Fence blocks can contain more than 2 or 3 logs, logs do not necessarily have to be the same width, and finished blocks do not have to be square.

Rail Fence units can stand alone as individual blocks or can be successfully combined with other basic block units to make even more quilt blocks. Rail Fence is the strong, silent type that fades into the background allowing others to be the stars of the show, but without Rail Fence, something would definitely be missing.
Rail Fences can be created with other methods when making quilt blocks. Sometimes a Rail Fence is actually a secondary design or a happy accident.
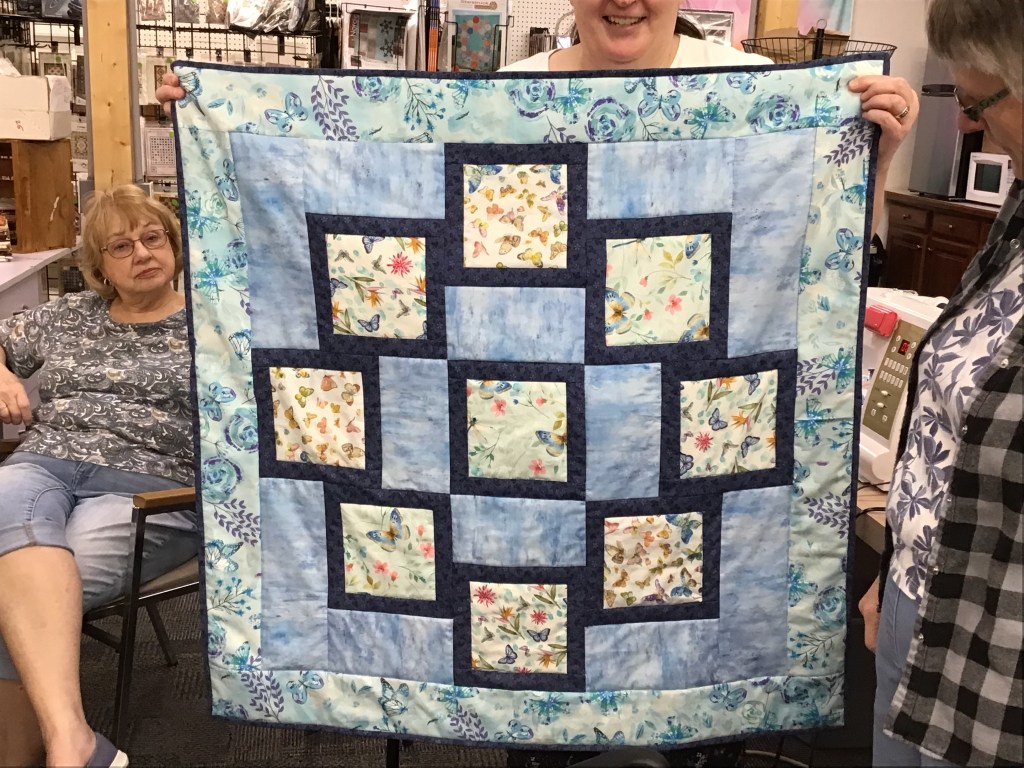
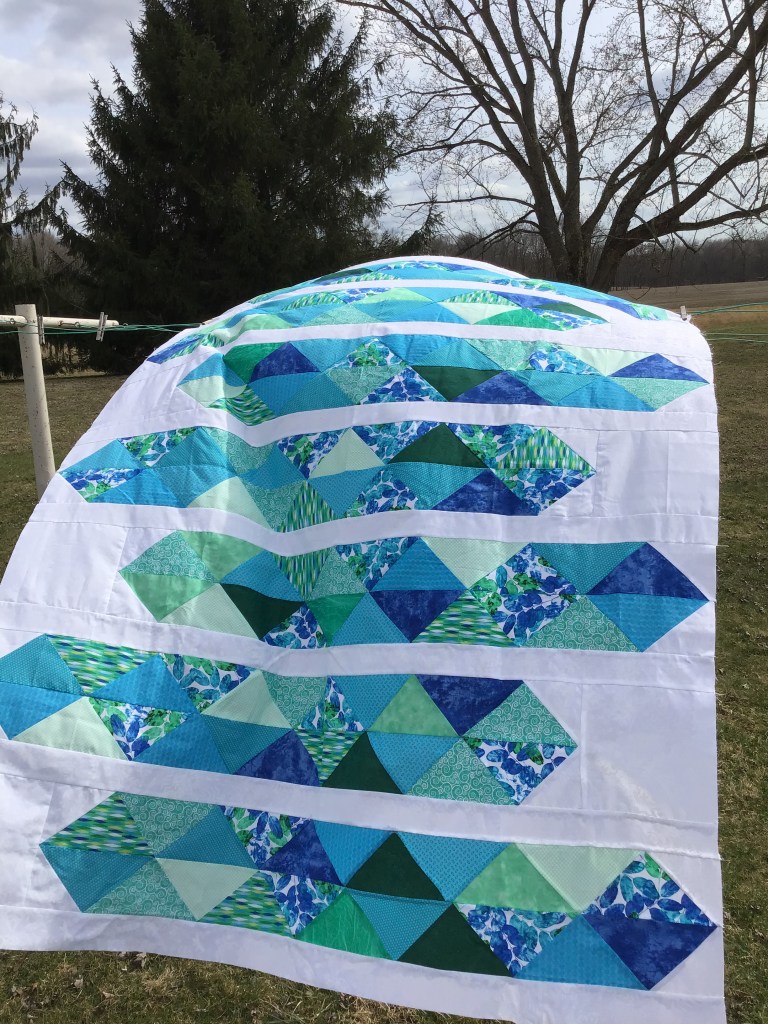
If you are getting the impression that I really like Rail Fences, then you are correct. One of the very first quilts I ever made from a pattern in the book, The Weekend Quilt by Leslie Linsley. That was the book that made me want to make quilts!
My quilt was a Rail Fence double-sized quilt will 4 shades of blue. I was sew proud of my piecing! It was the first time I’d sewn strip sets together and then cut them into blocks. At the time I didn’t know how to machine quilt yet, so I sensibly tied my quilt with white crochet thread and I used it for years on my bed.
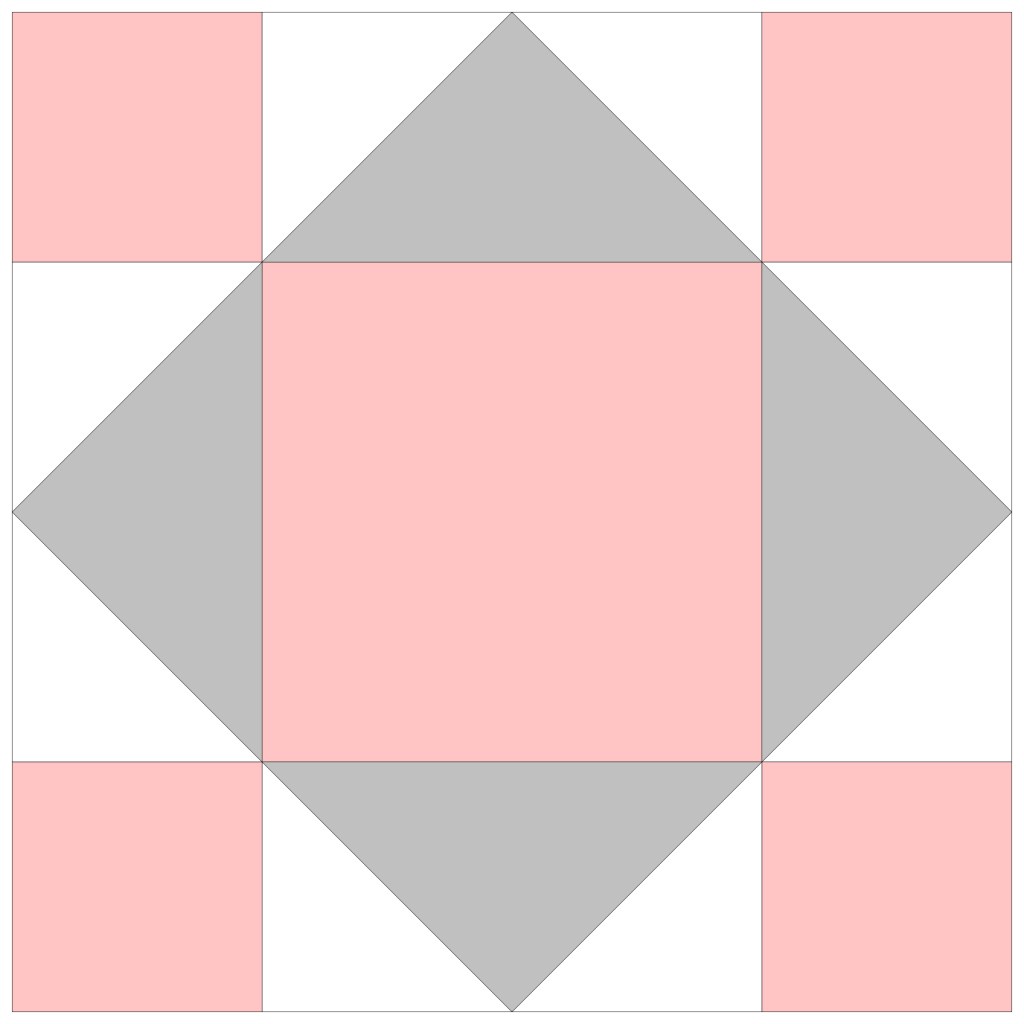
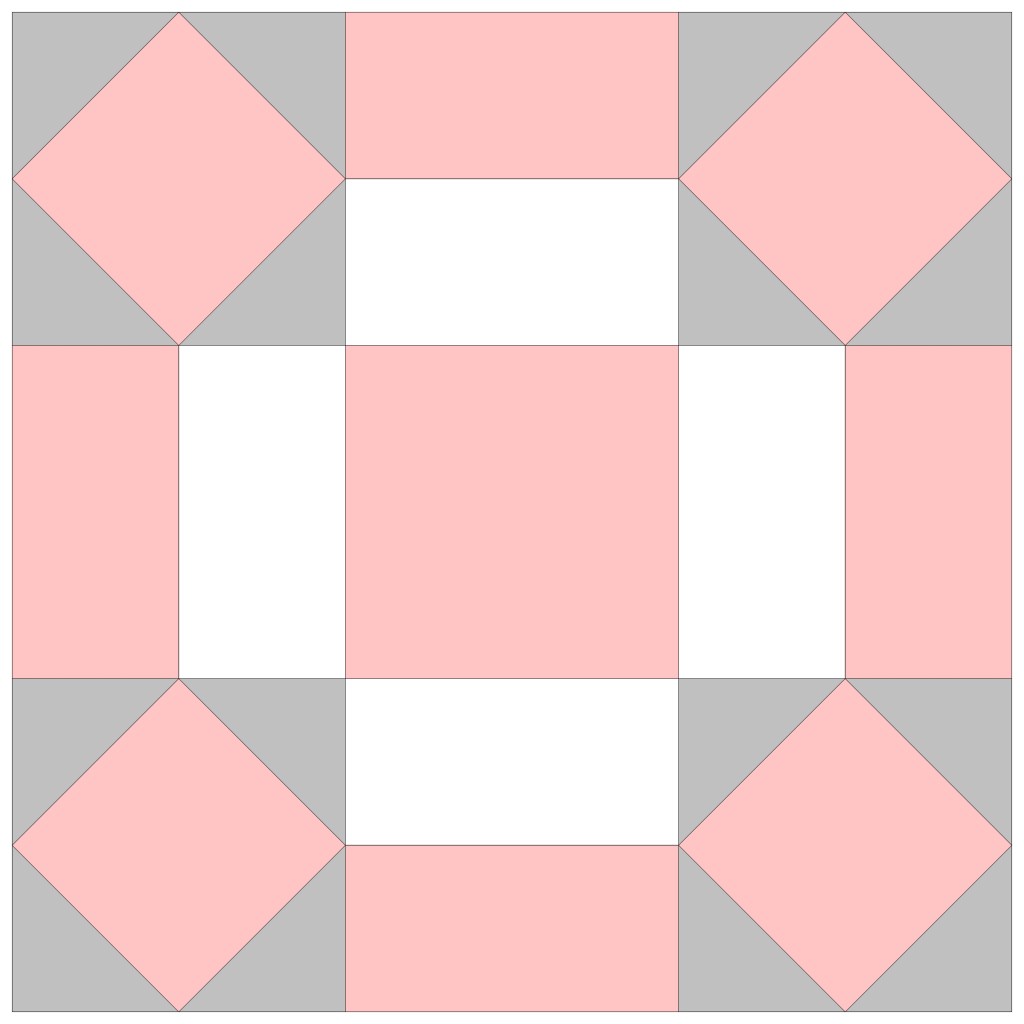
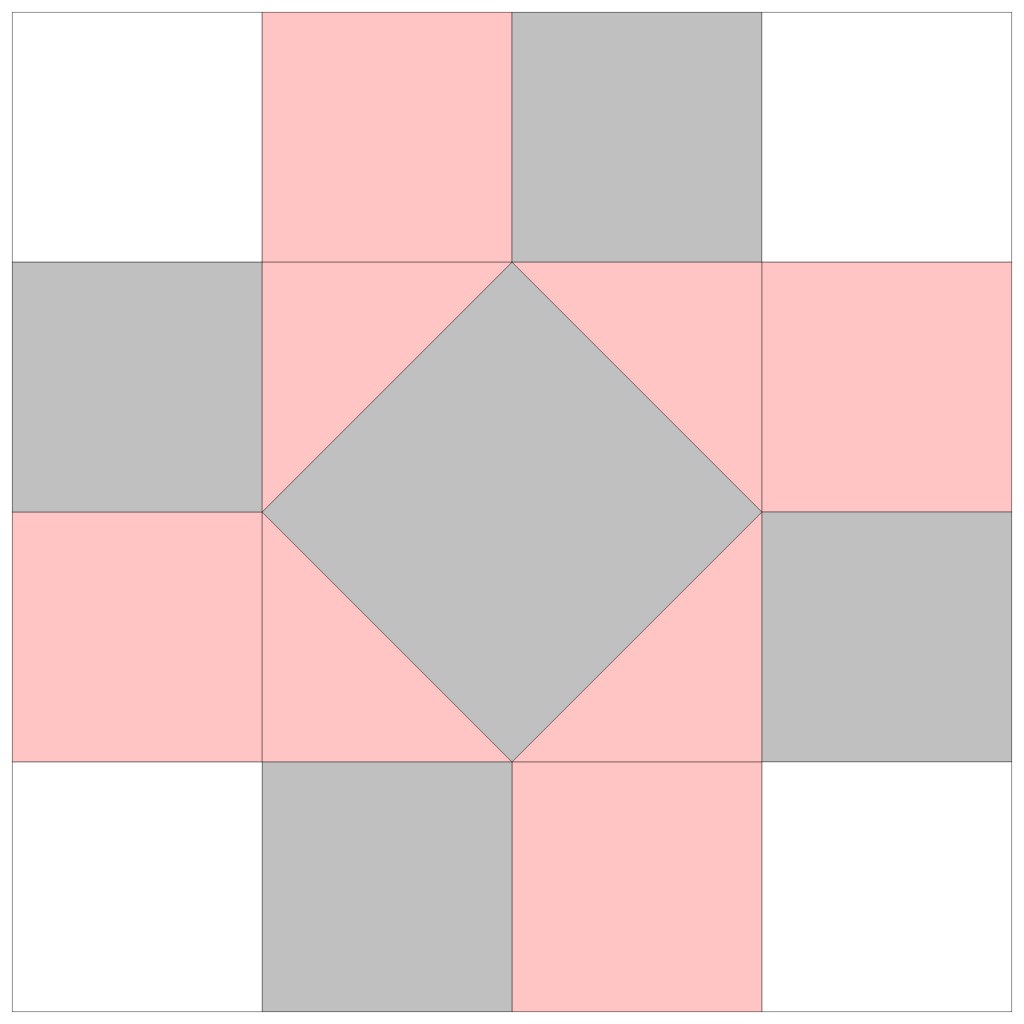
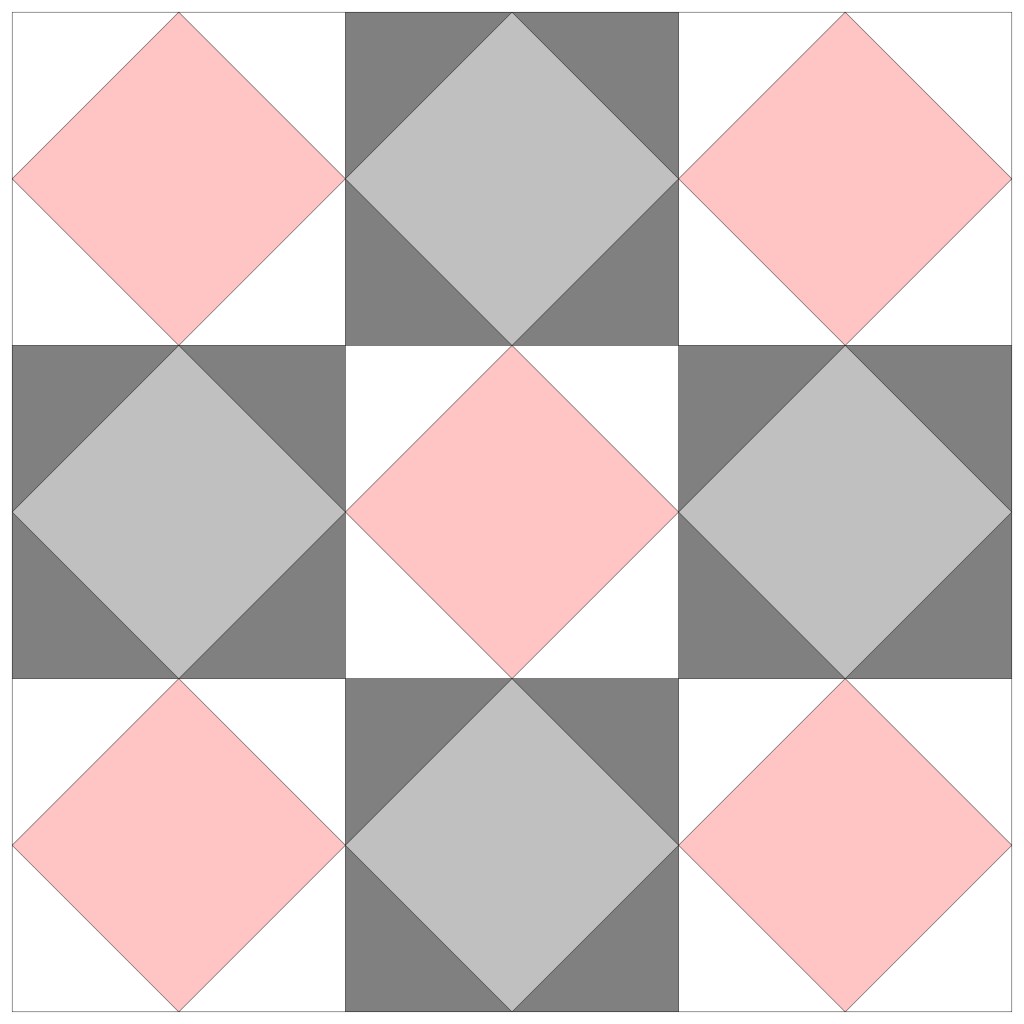
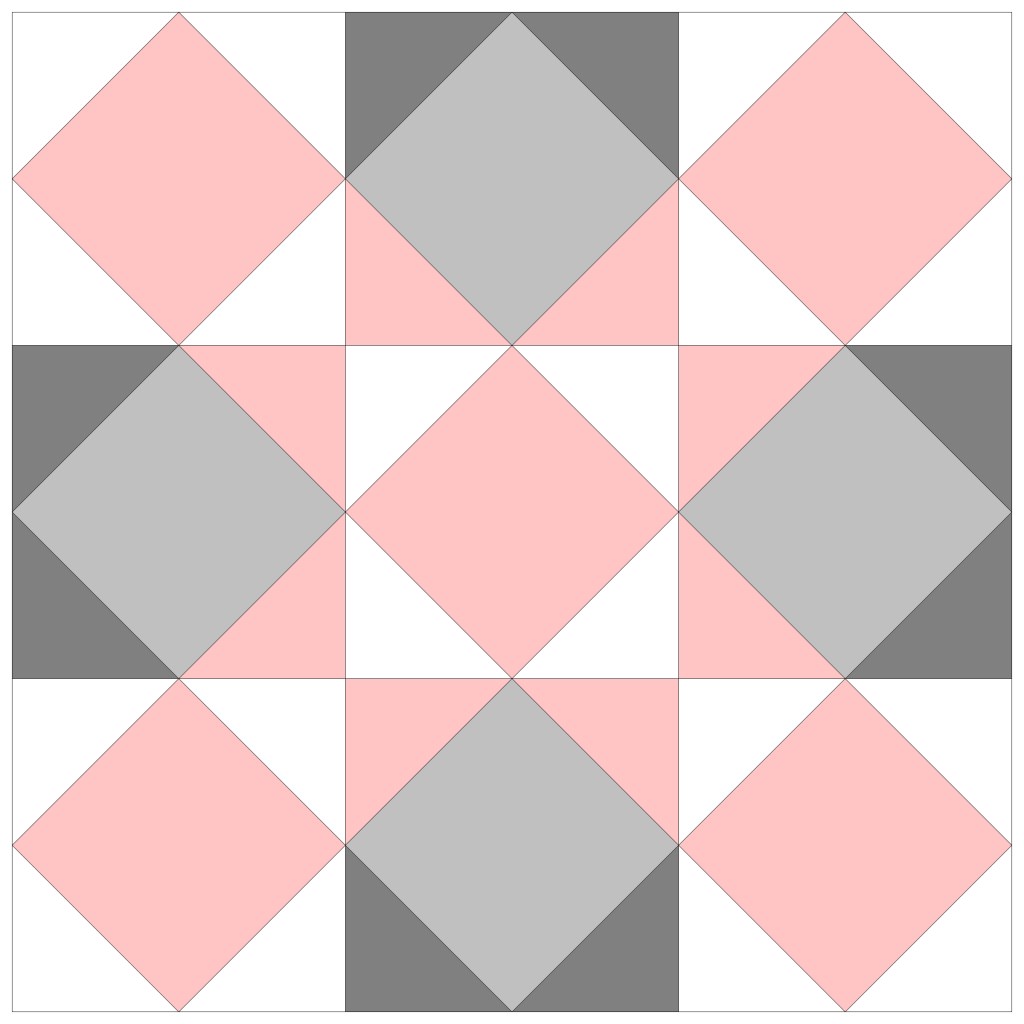
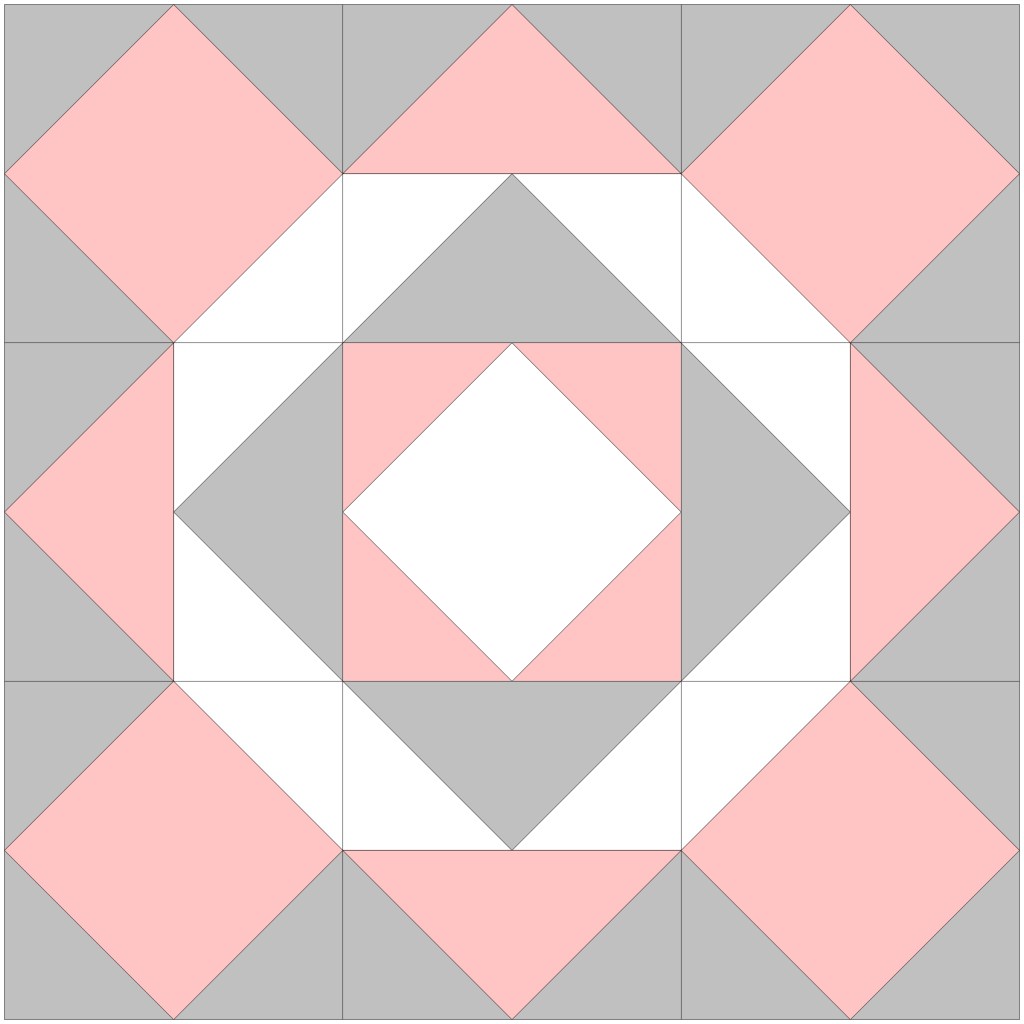
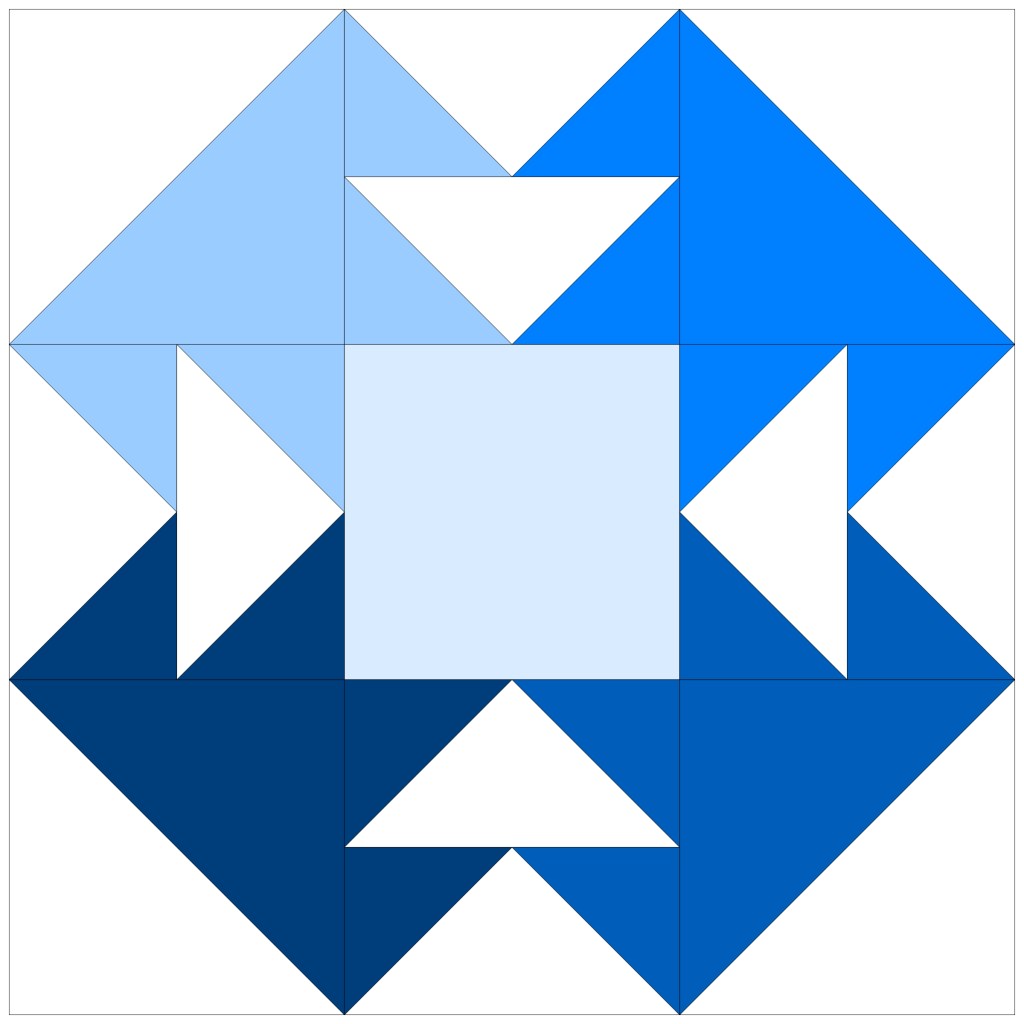
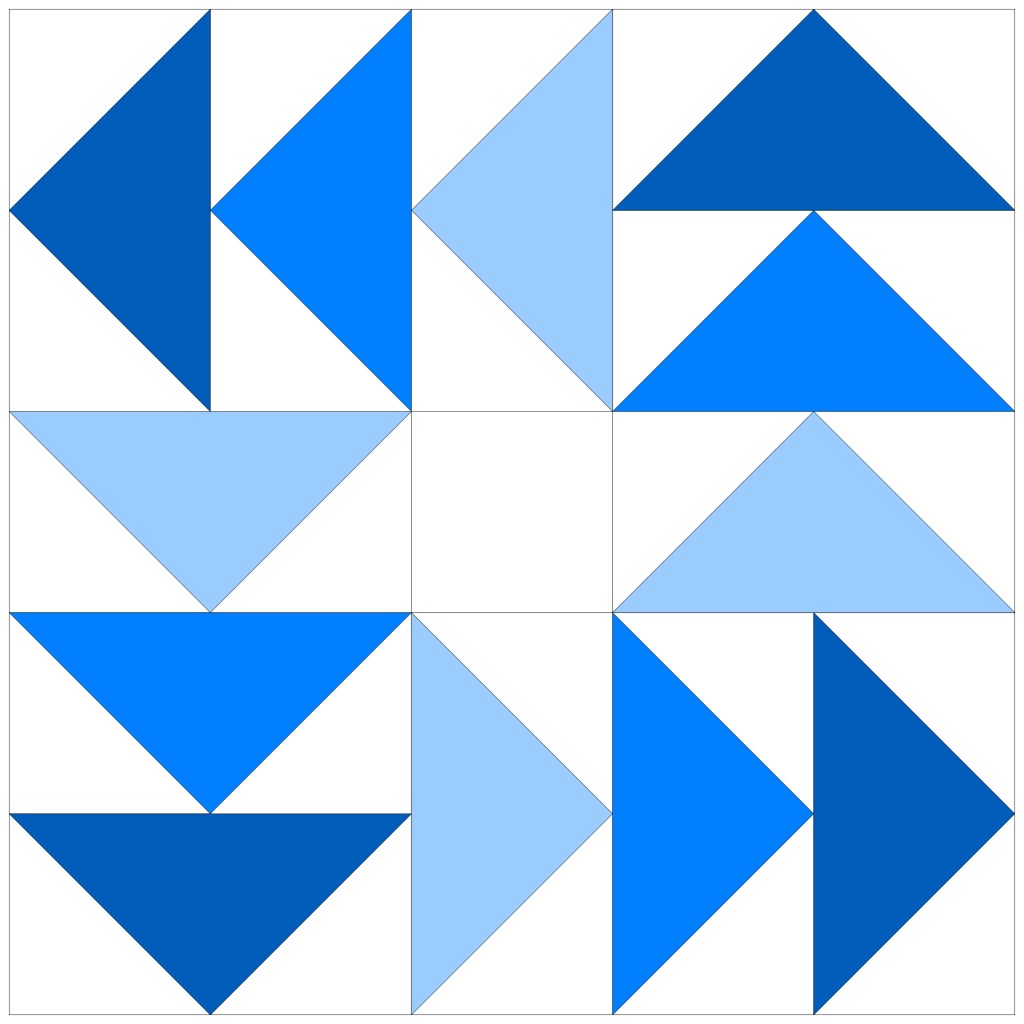
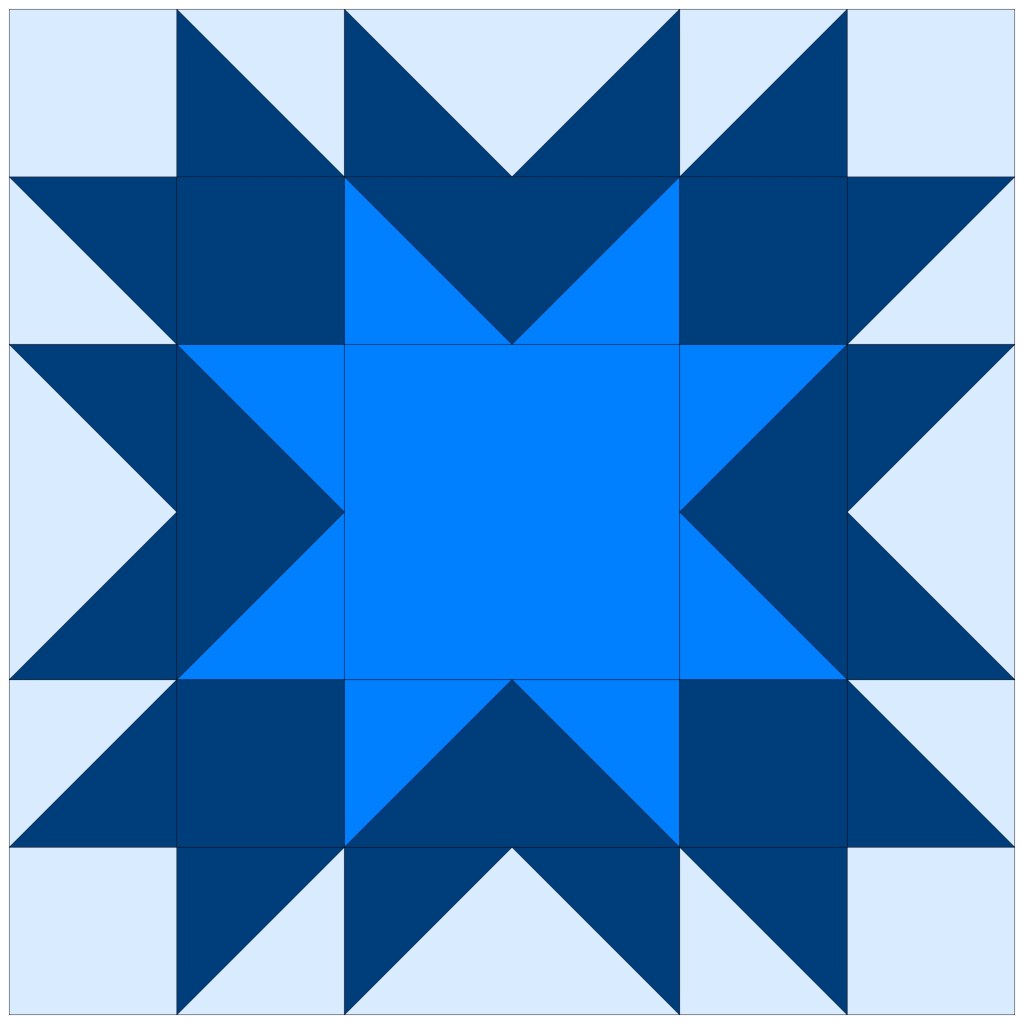
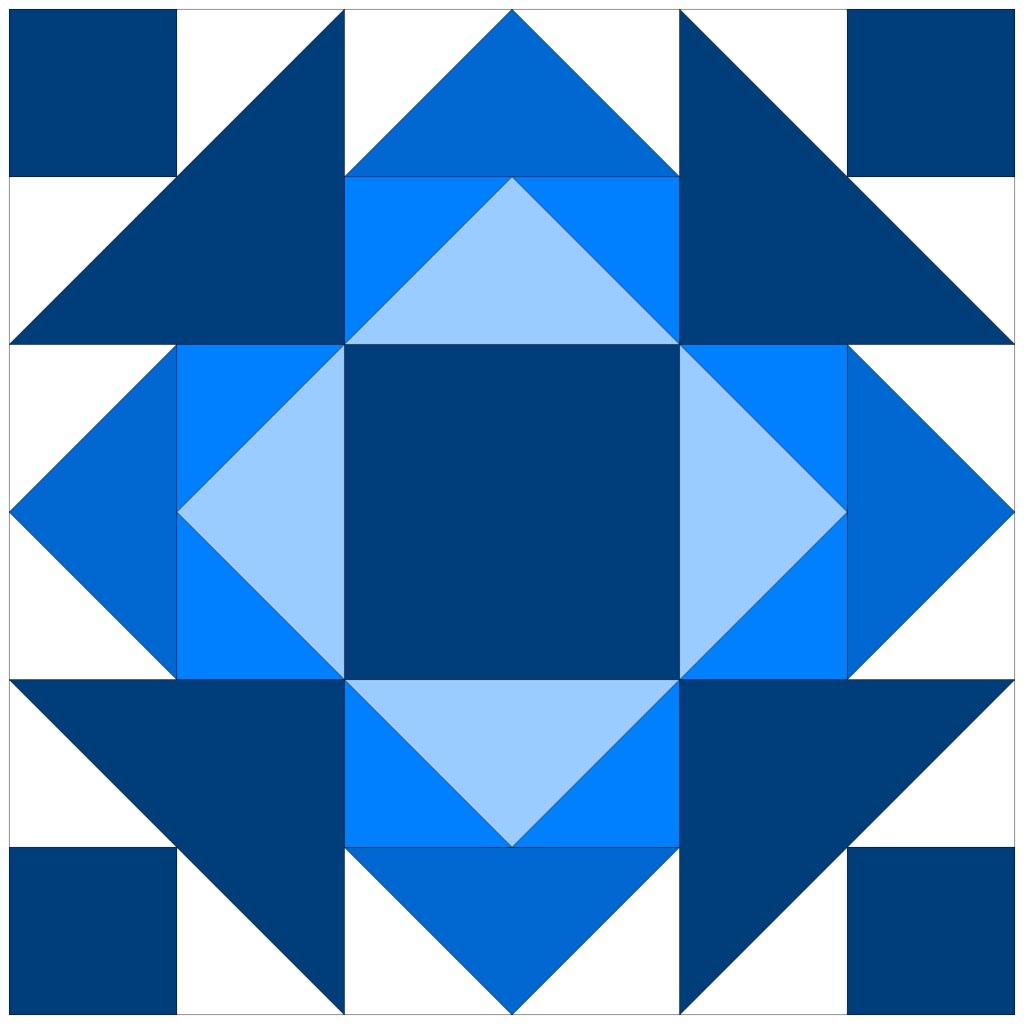
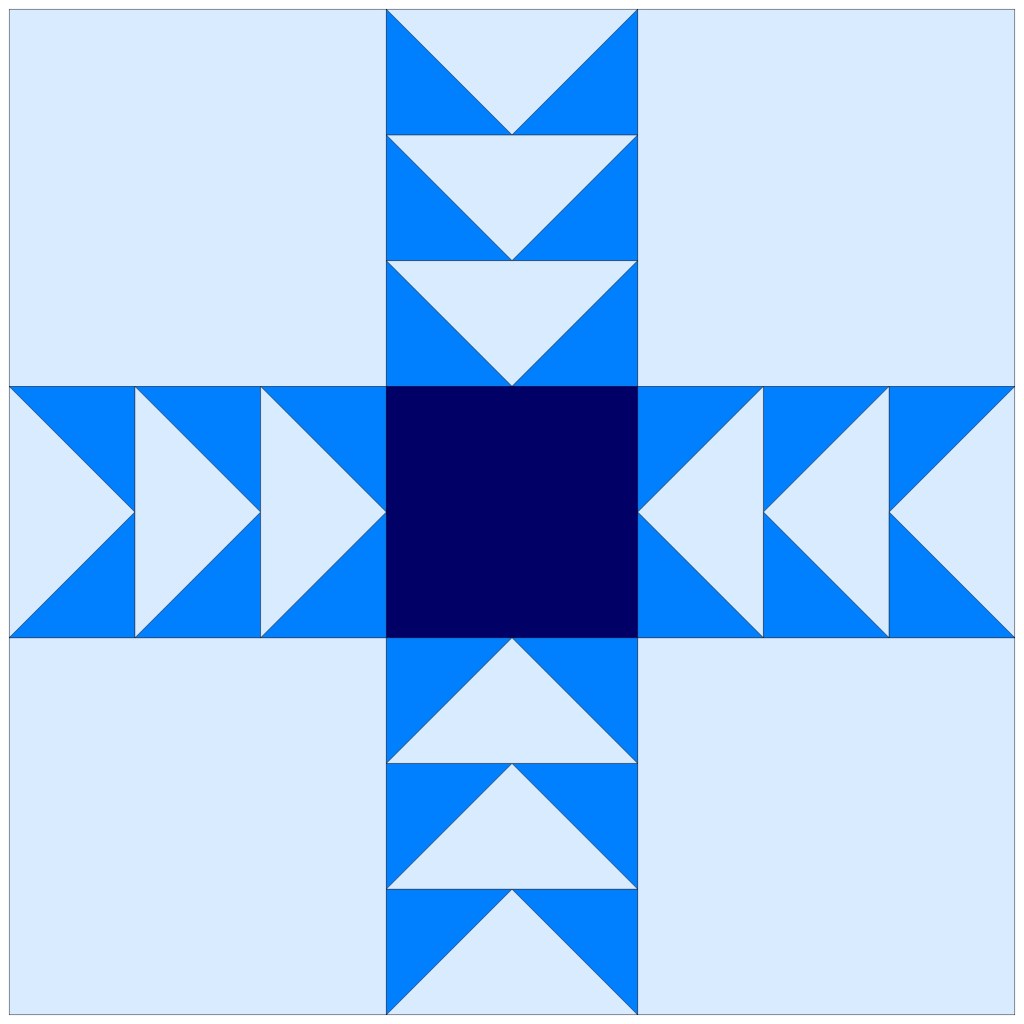
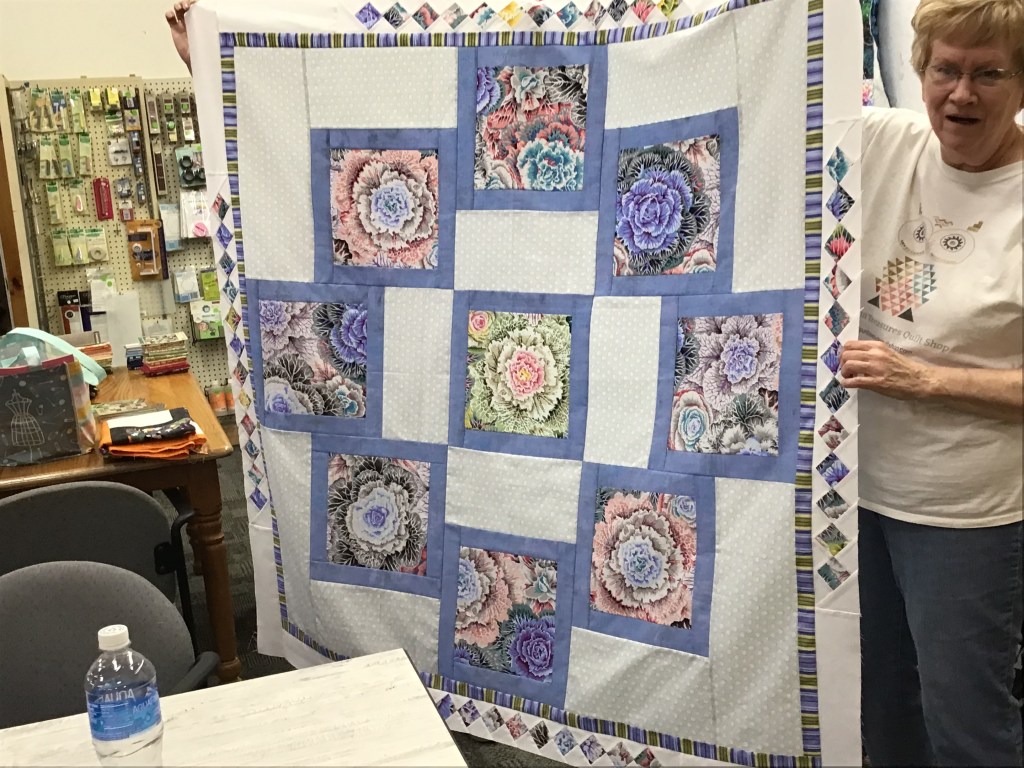
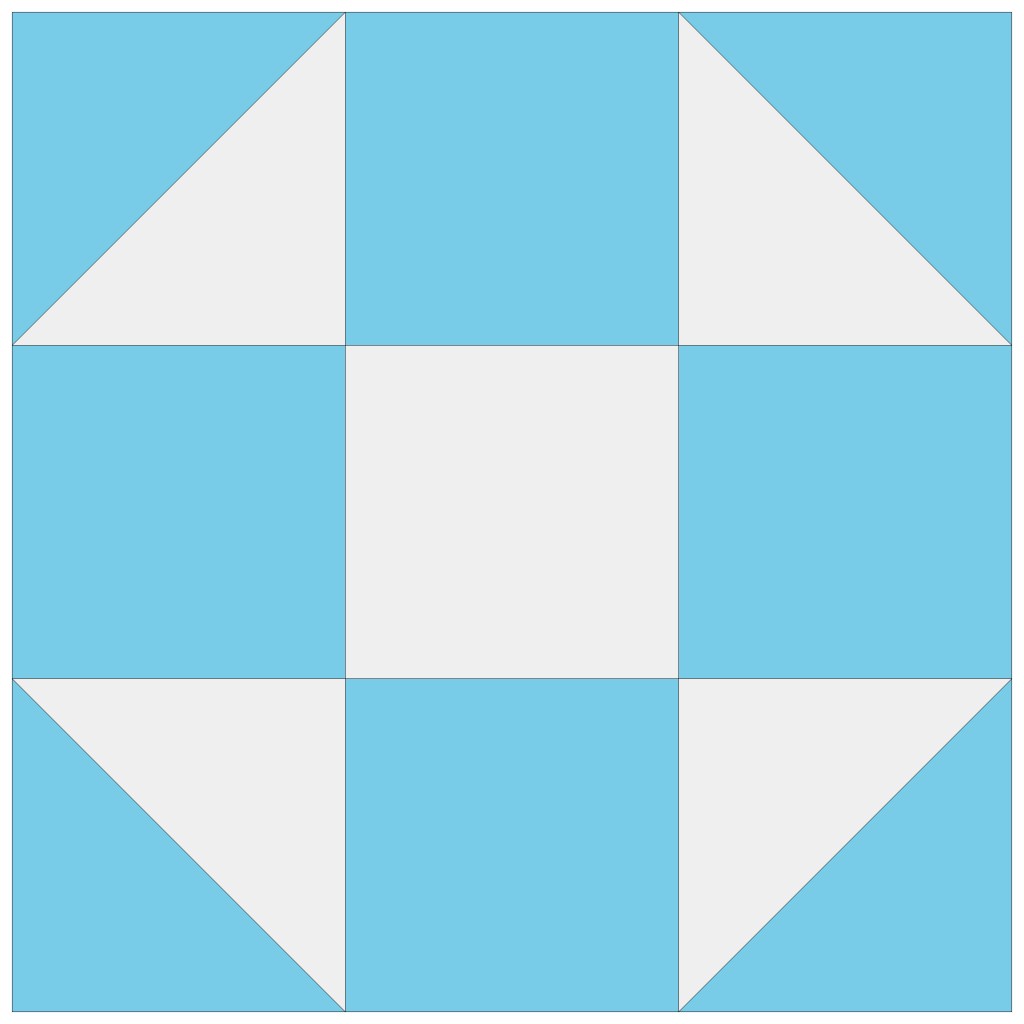
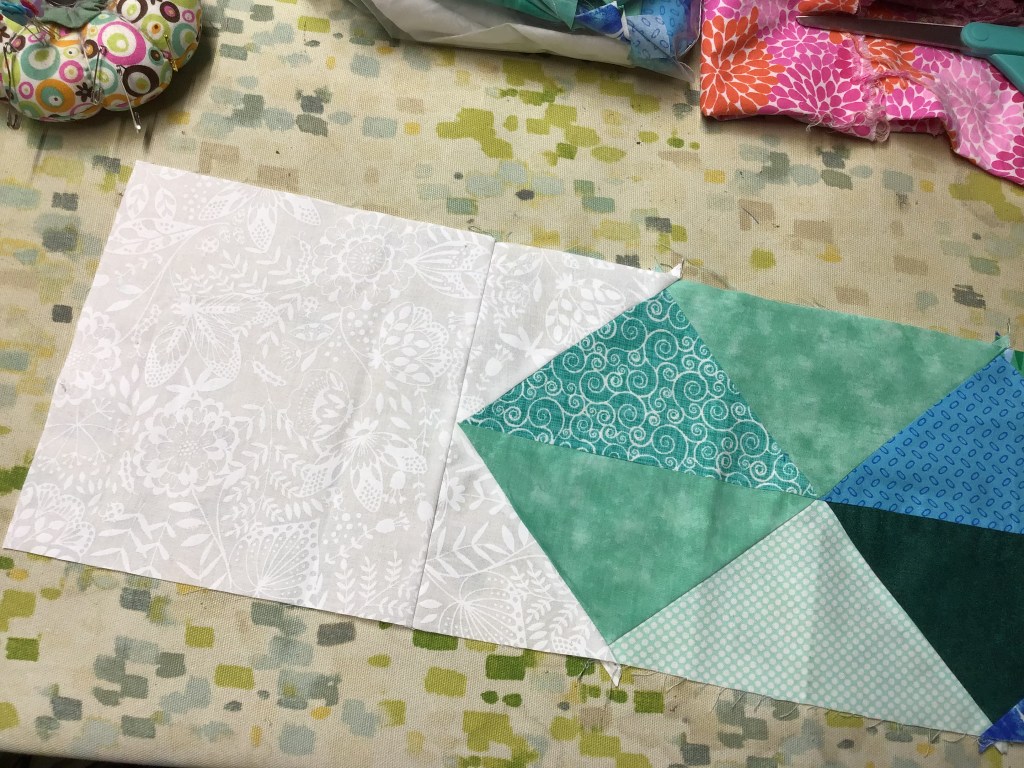
Let’s take a look at some quilt blocks featuring Rail Fence units.


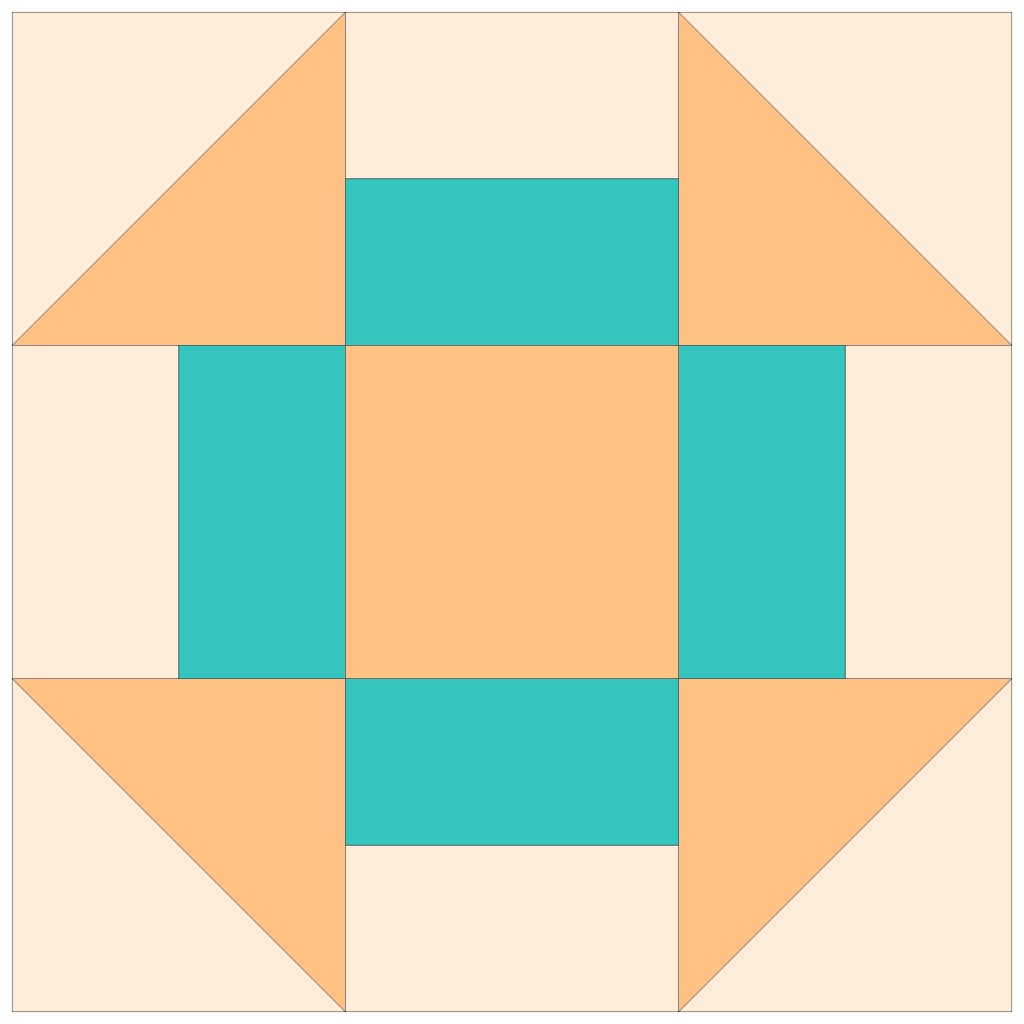

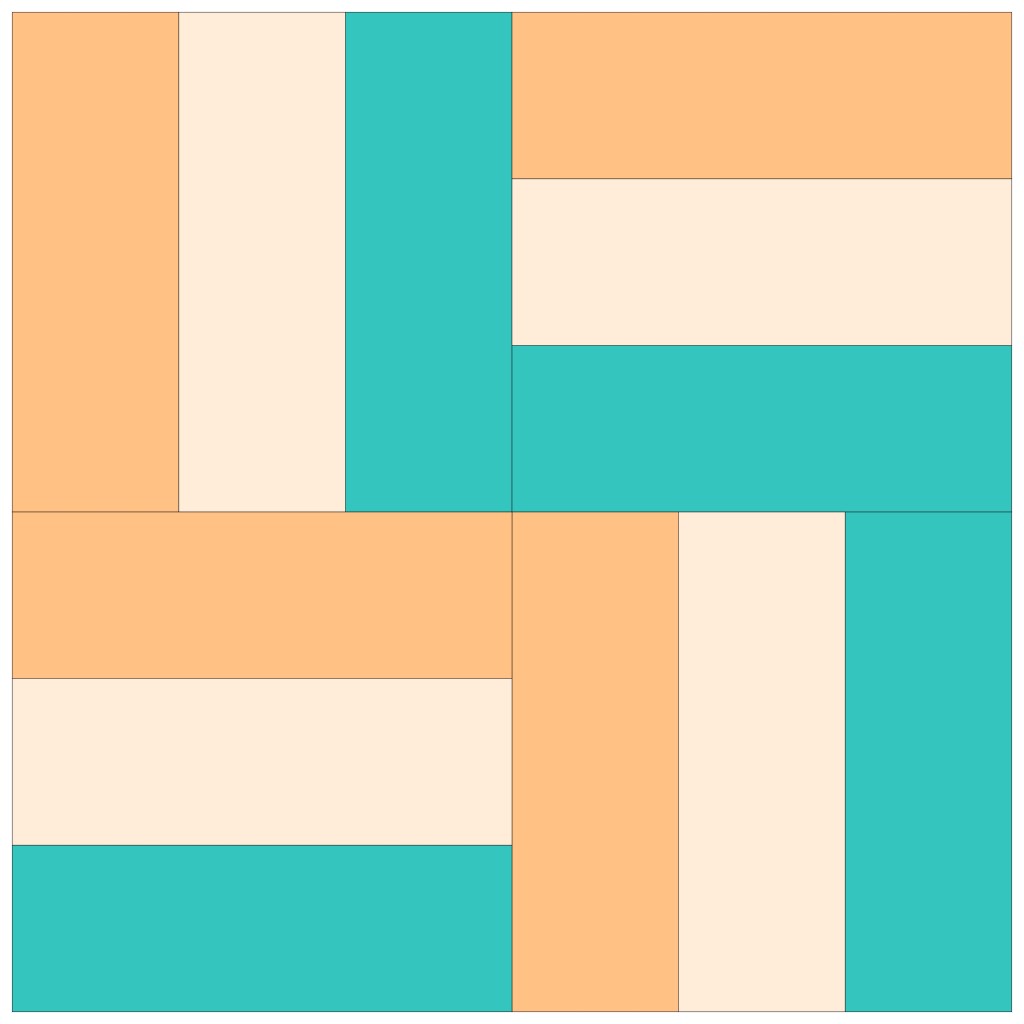


These 9 blocks are really just the tip of the iceberg when it comes to blocks with Rail Fence units.
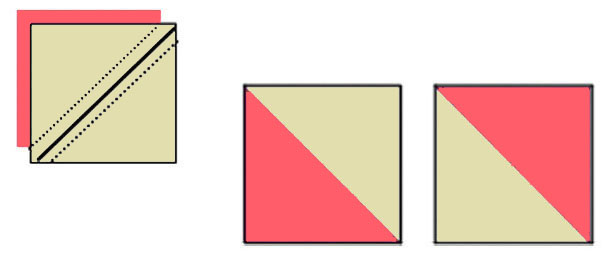
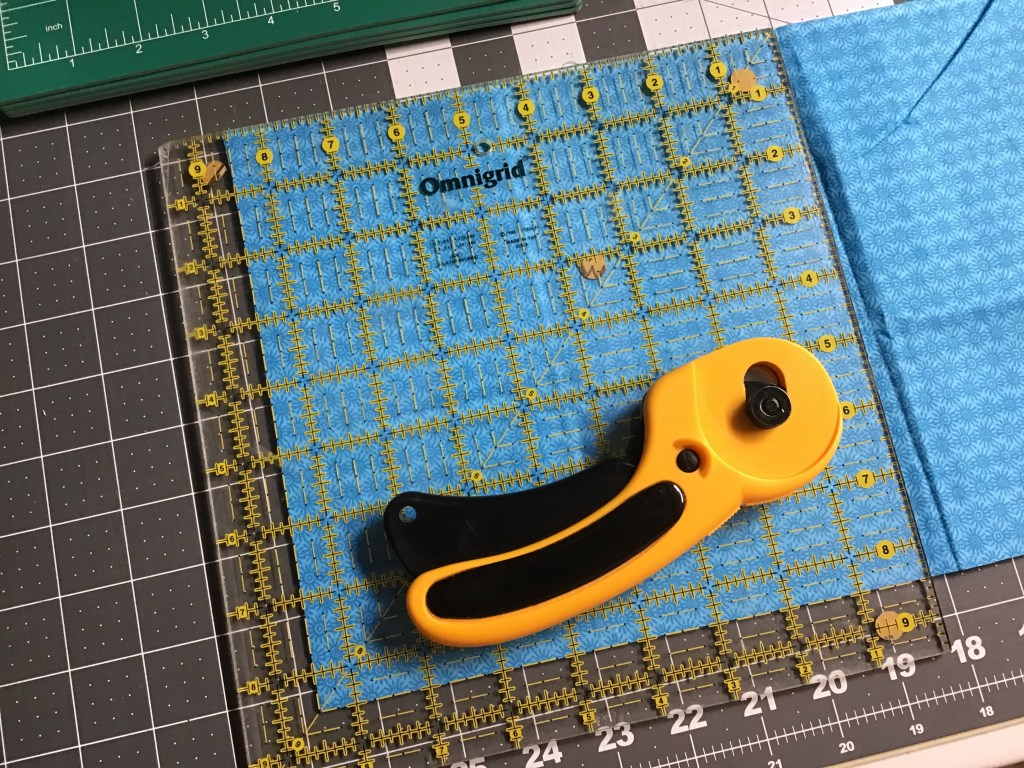
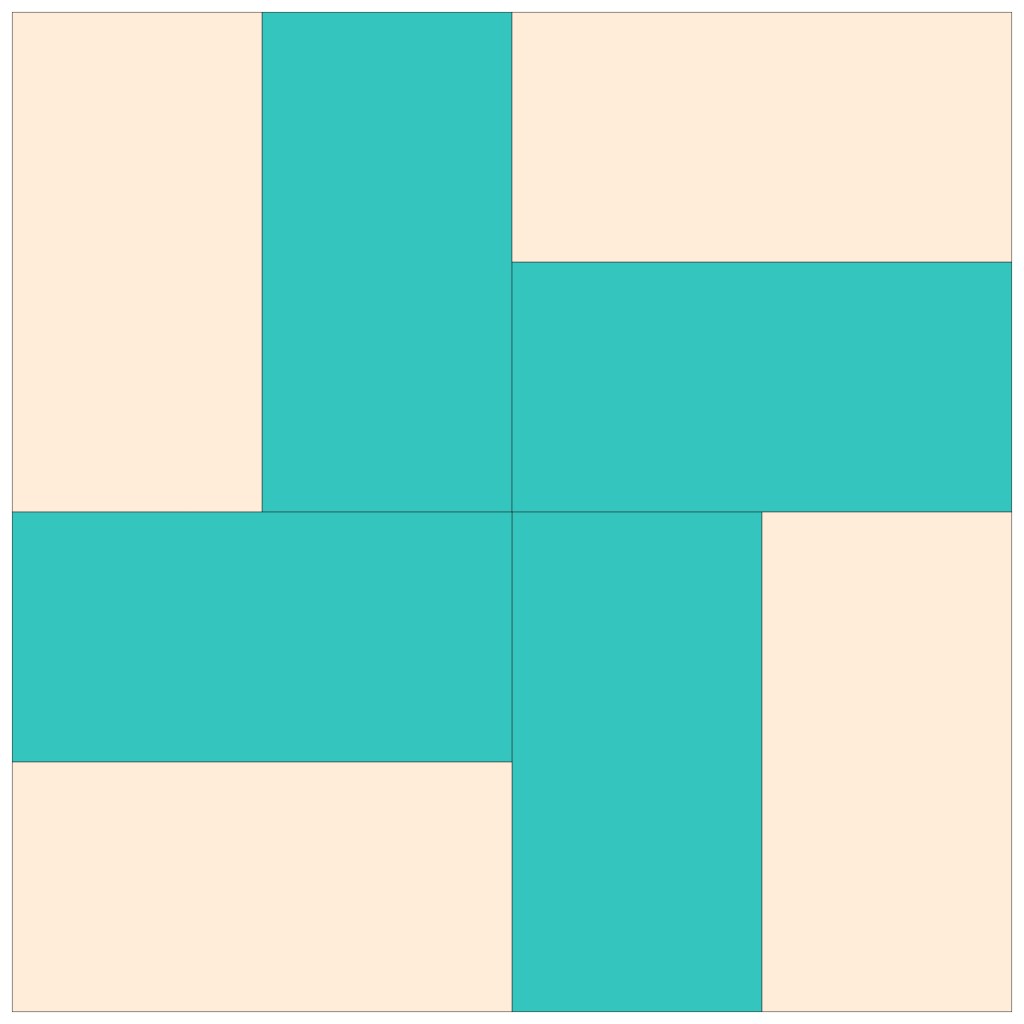
How to Make a Rail Fence Unit
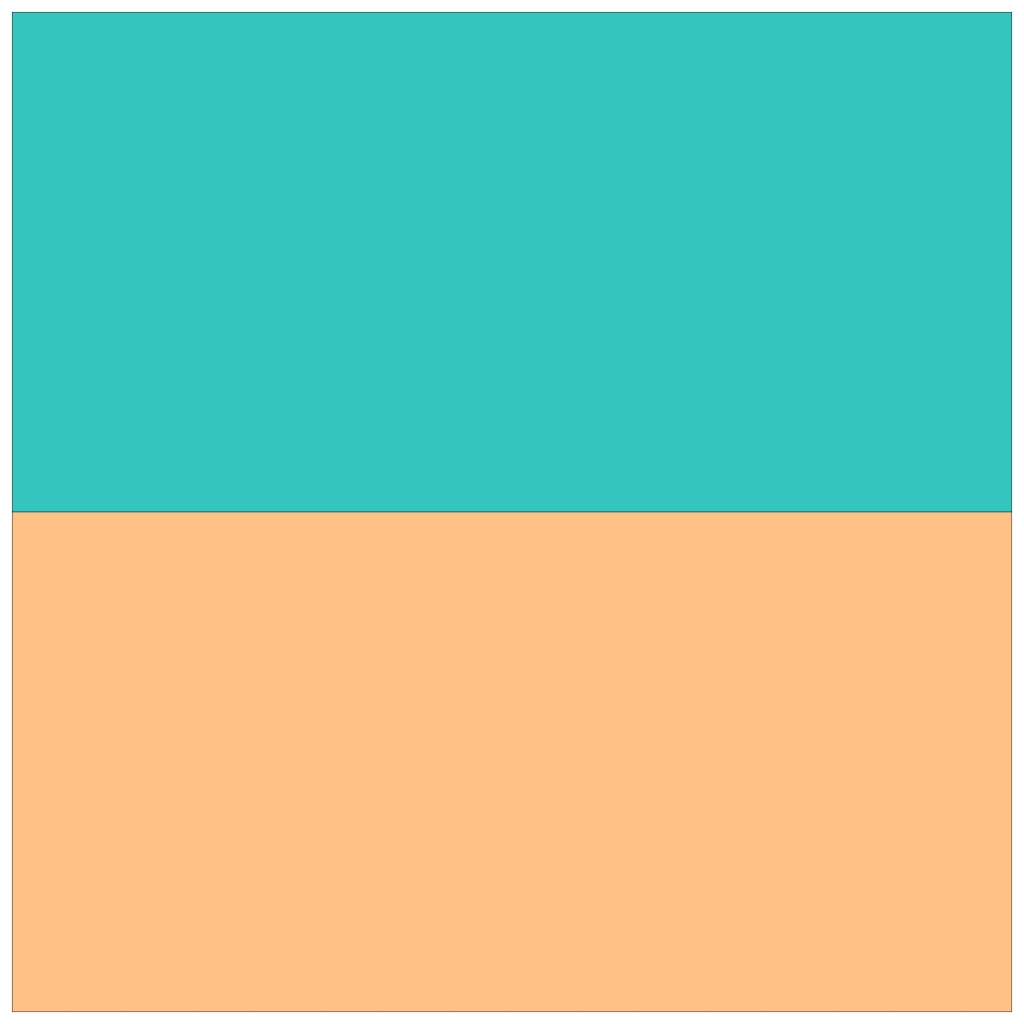
To make a traditional 2 log Rail Fence unit, first you need to know the finished size of your unit. So, let’s say our unit will be 6″ finished. To figure out what dimensions to cut our pieces, we will divide our finished size by 2 (6 divided by 2 = 3). But we need to cut our logs the same width of our finished unit, so we will need 2 logs 3″ x 6″ — BUT WAIT! — we need to add our seam allowances before cutting. That means we need to cut 2 logs 31/2″ x 6 1/2″. Then simply sew the 2 logs together along one long edge. Voila!
To make a 3 log Rail Fence, instead of dividing the finished size by 2, we will divide it by 3 (6 divided by 3 = 2 and we need to add our seam allowances, too). So, we will need to cut our logs 2 1/2″ x 6 1/2″. Decide in which order to sew your logs (whether you decide to use 2 or 3 fabrics in your unit) and sew the 3 logs together along the long edges.
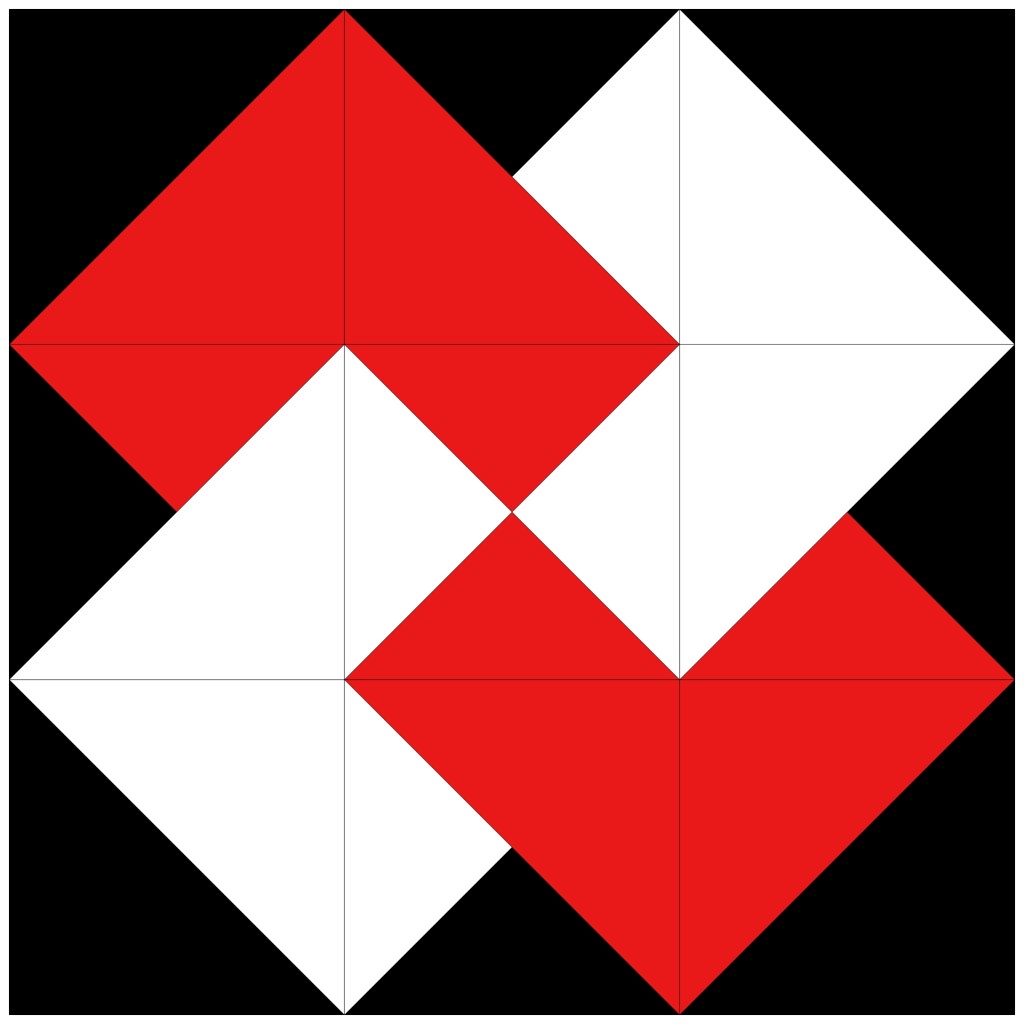
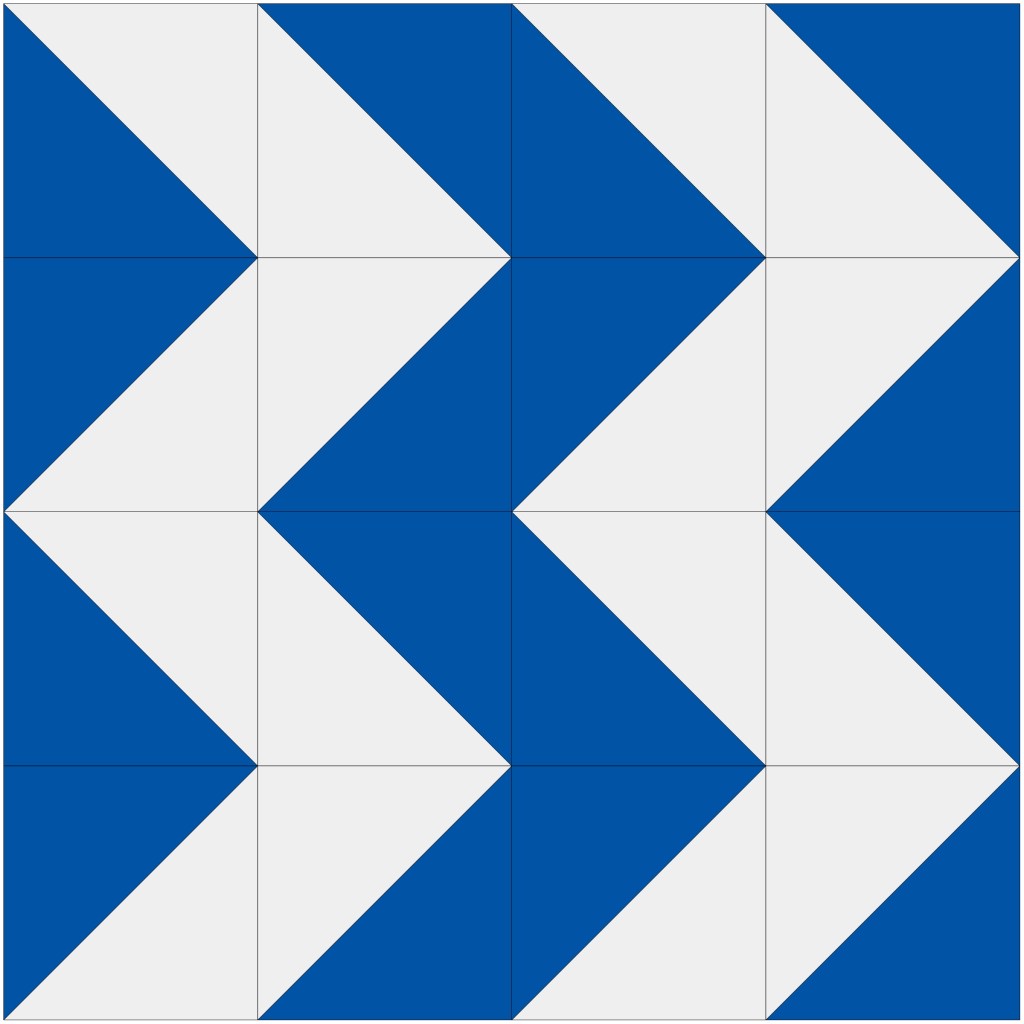
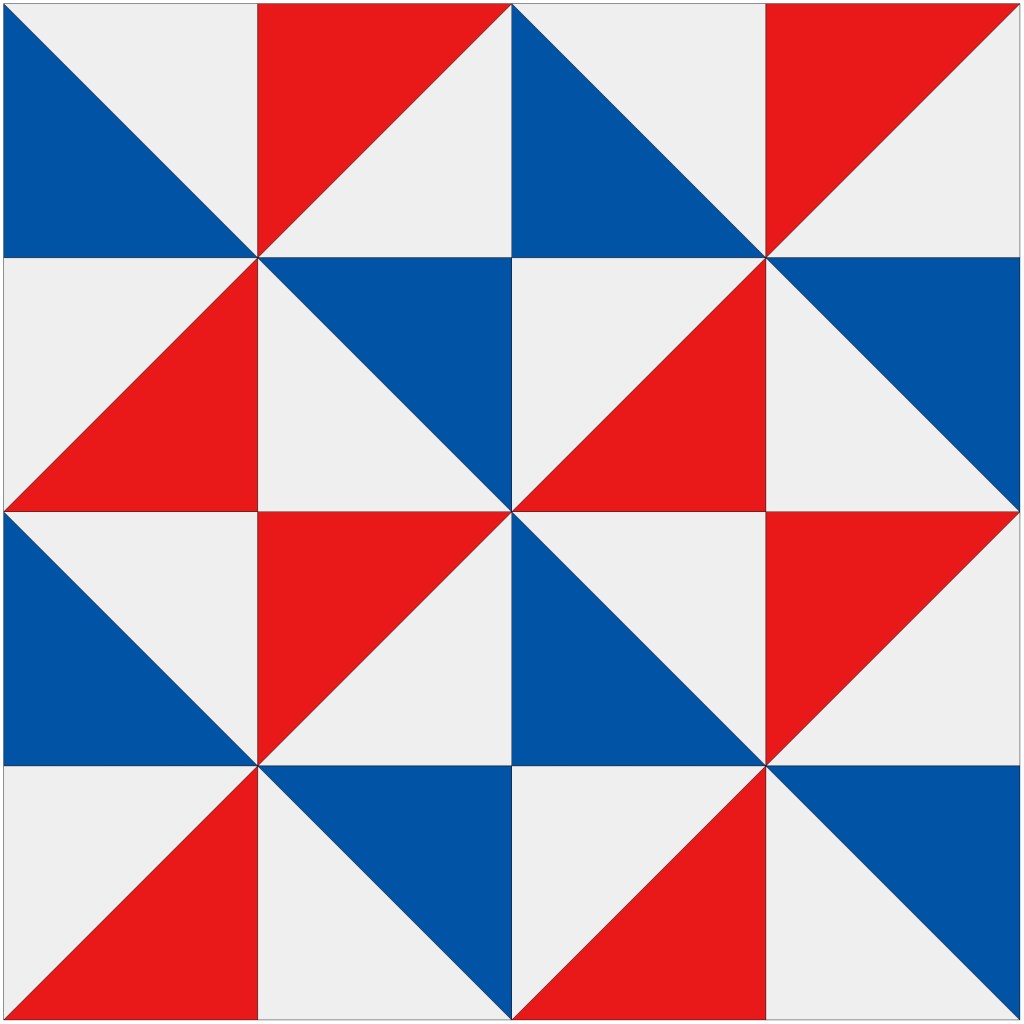
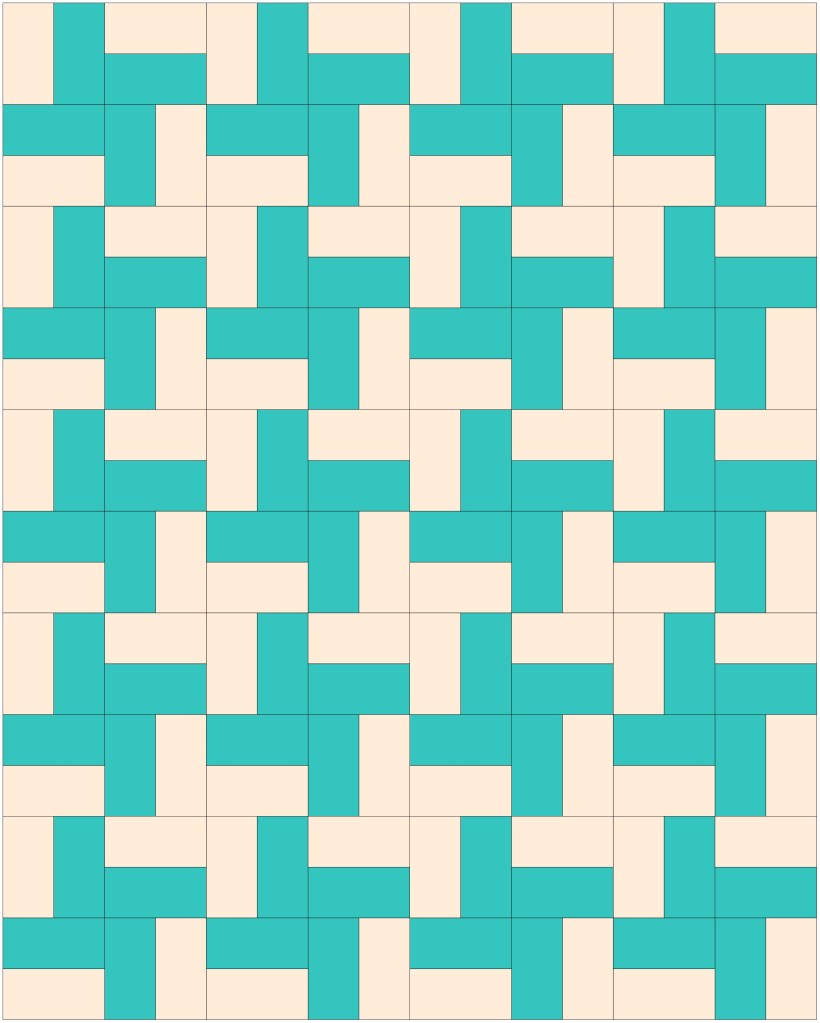
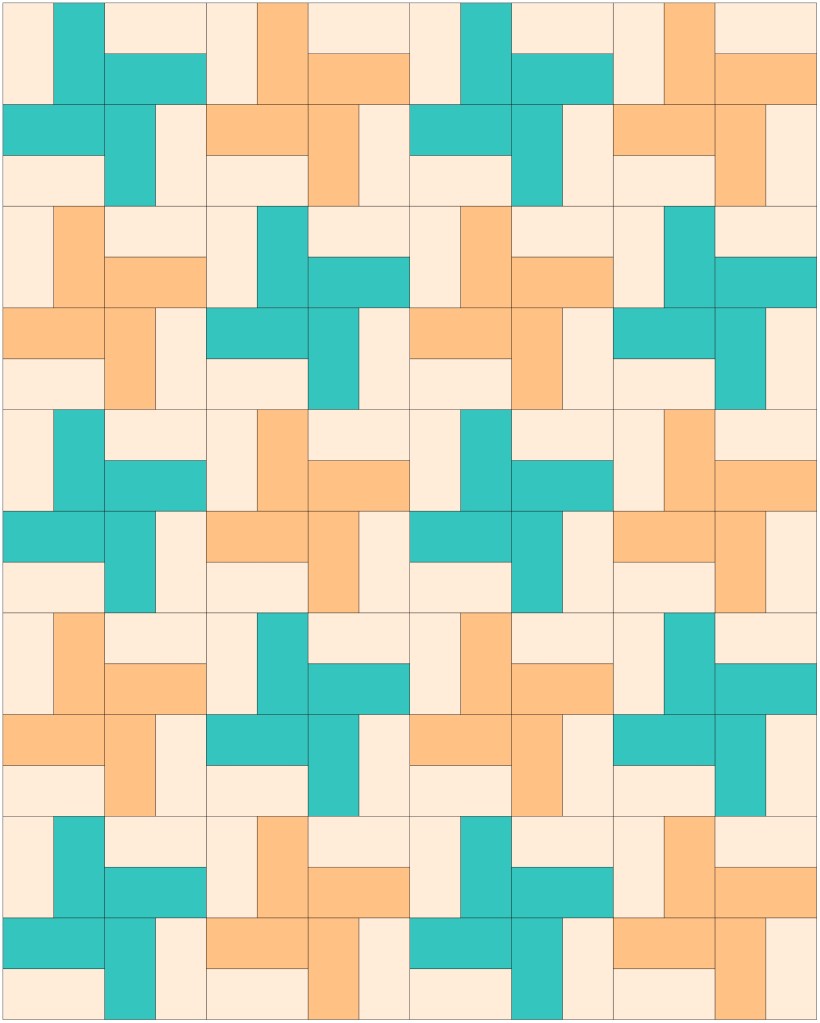
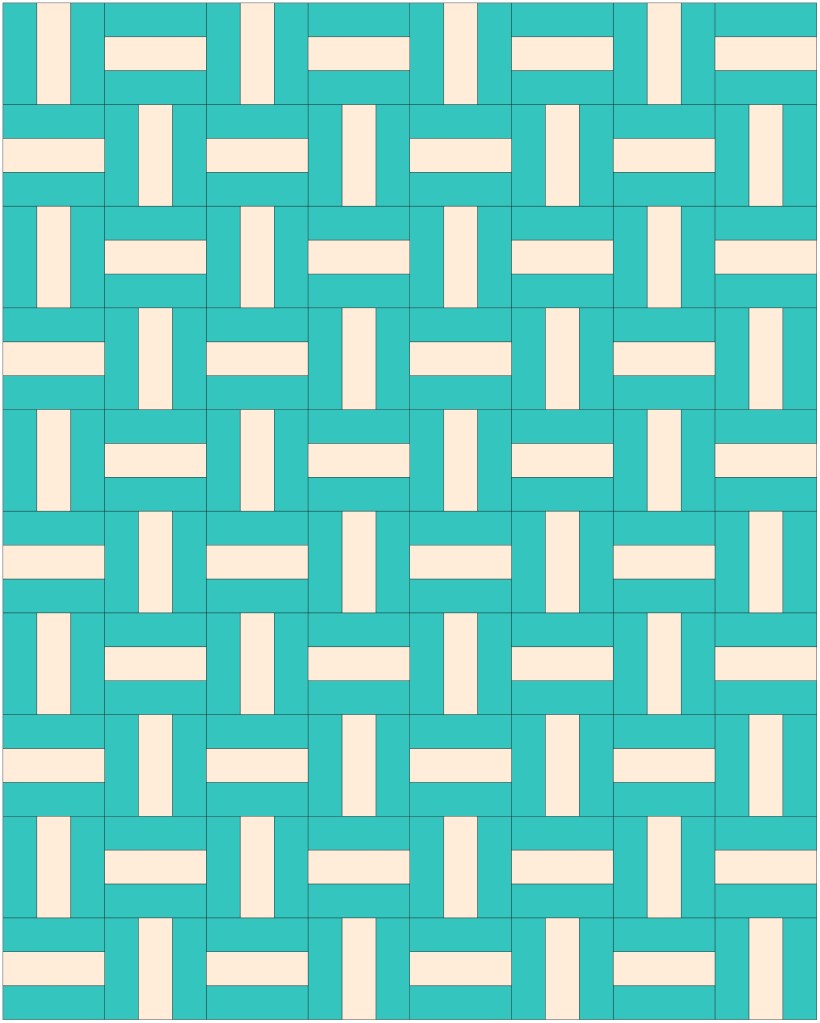
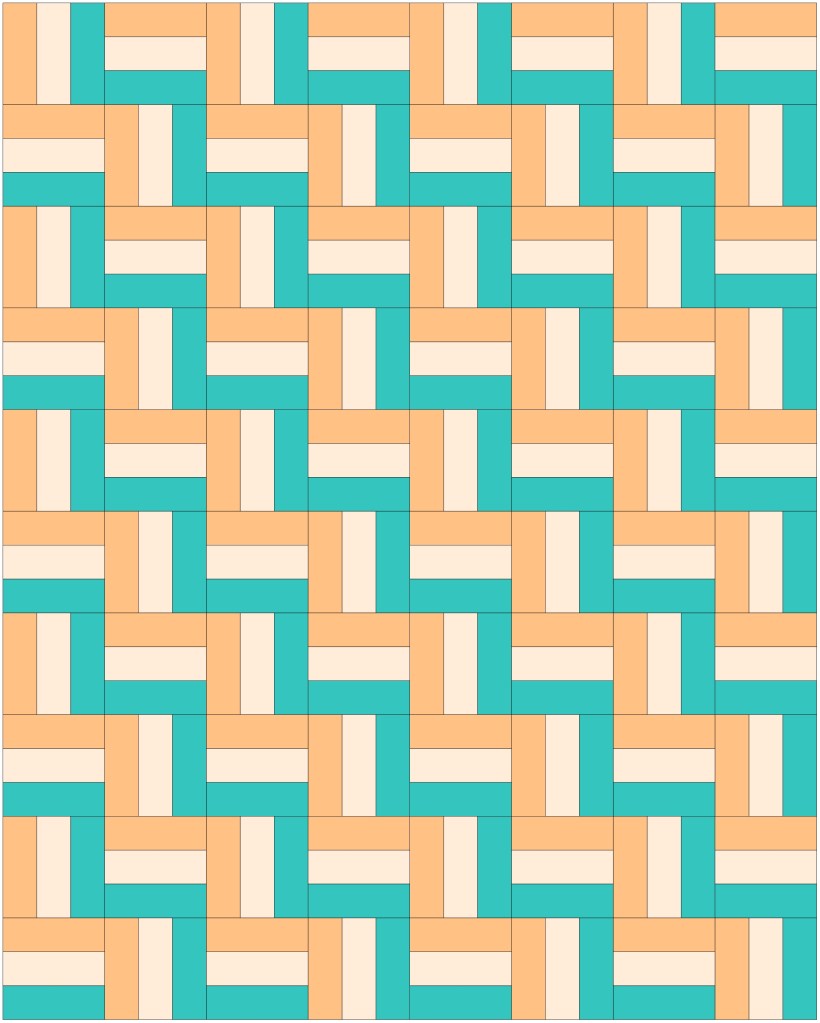
A Few Simple Rail Fence Quilt Ideas for You
Here are two simple Rail Fence quilt designs using 2 different color combinations. But just imagine what you could create if you used multiple blocks, added more colors, etc. WOW!
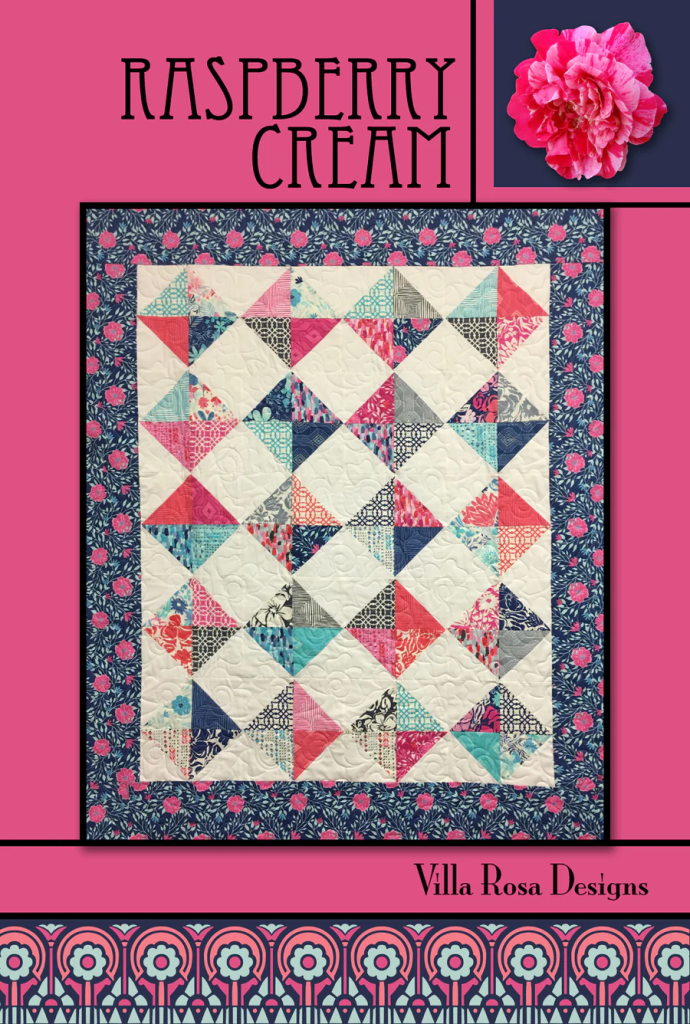
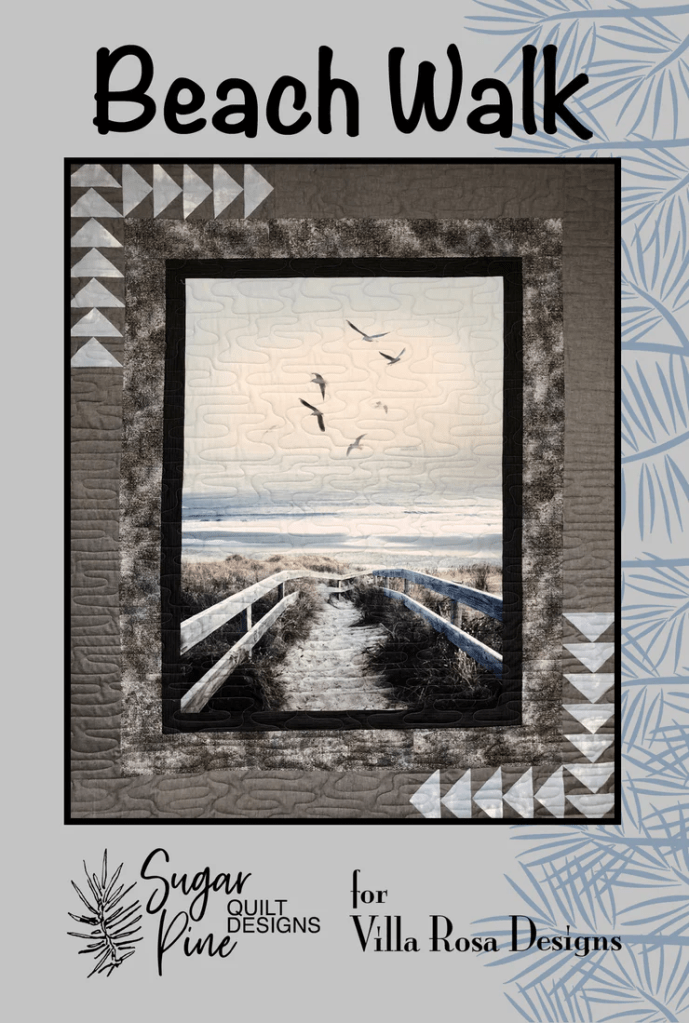
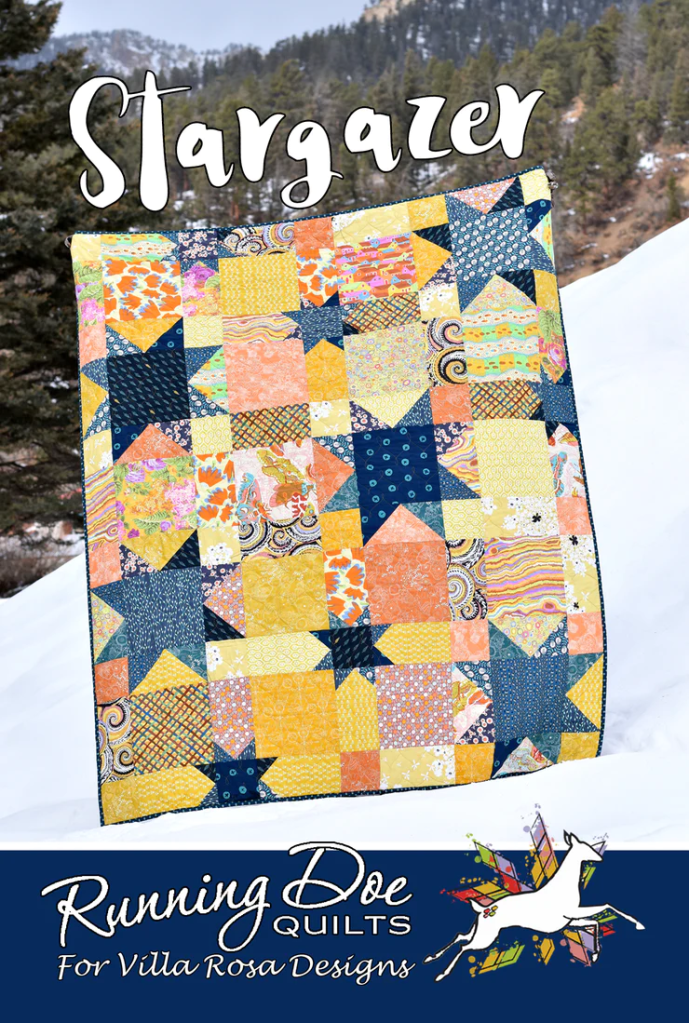
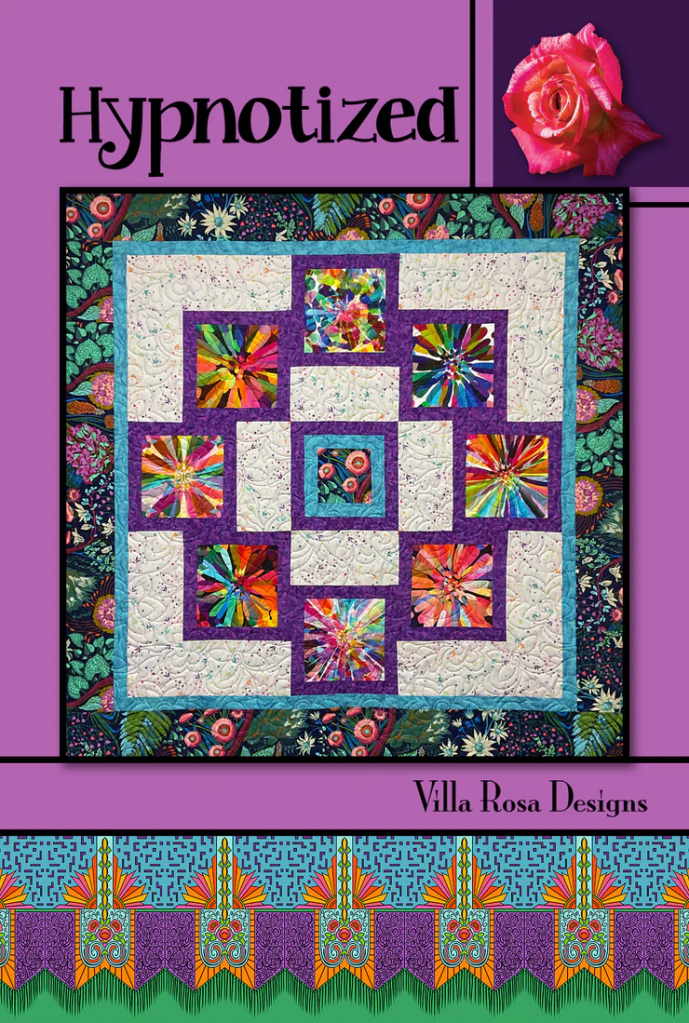
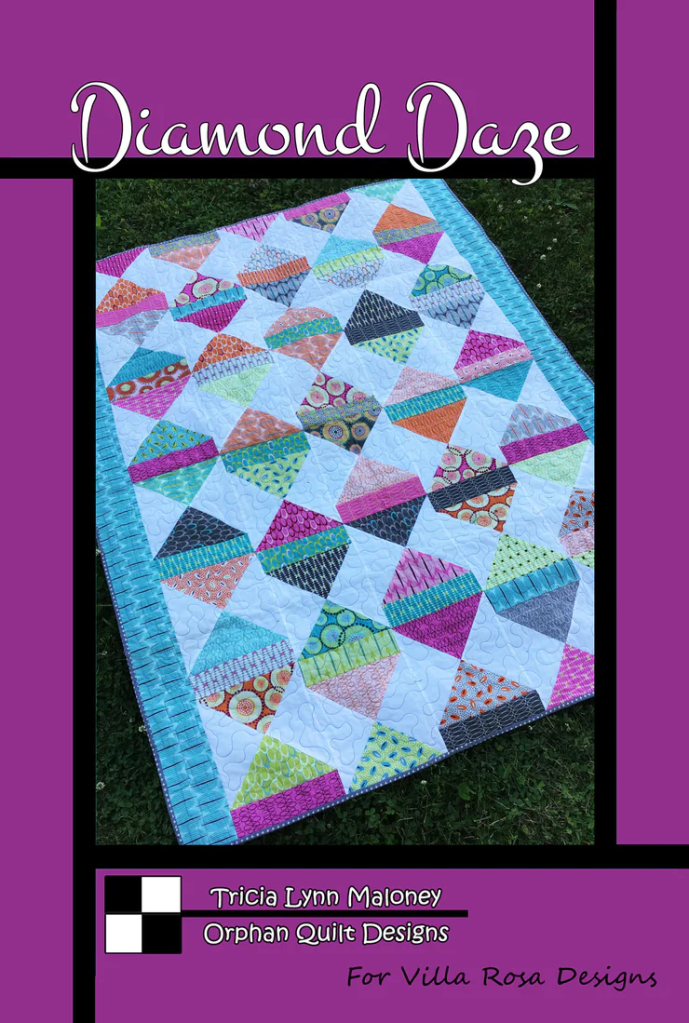
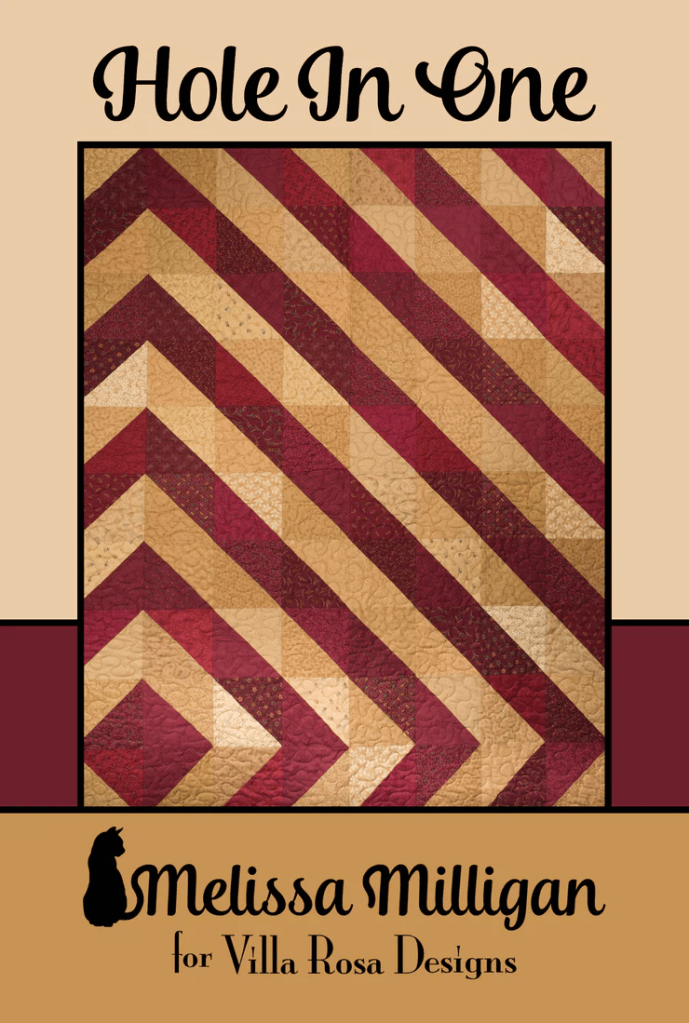
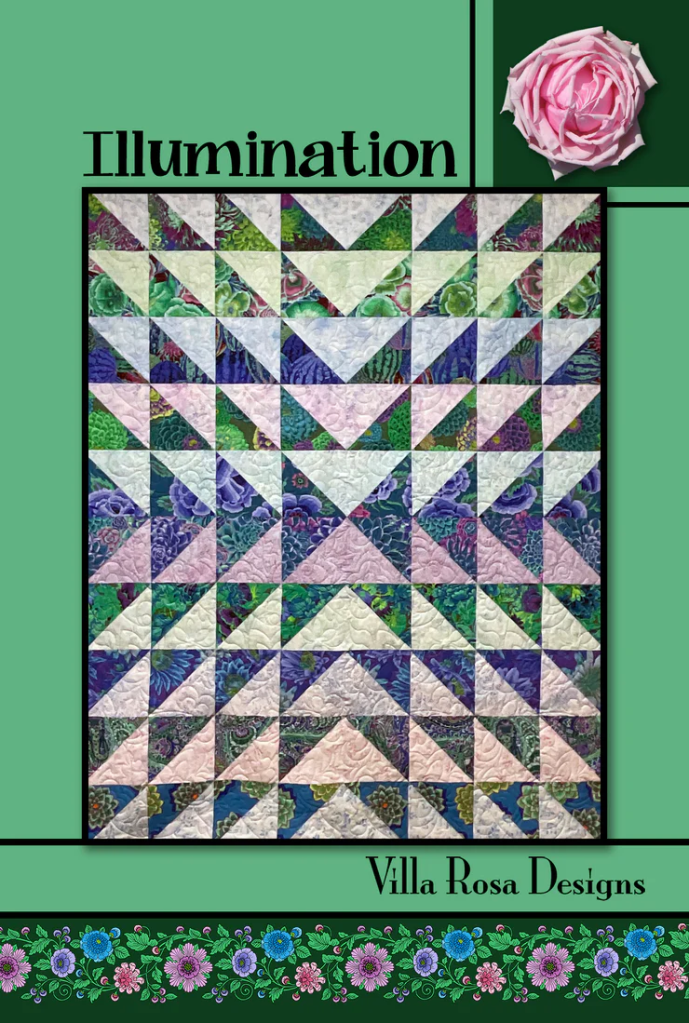
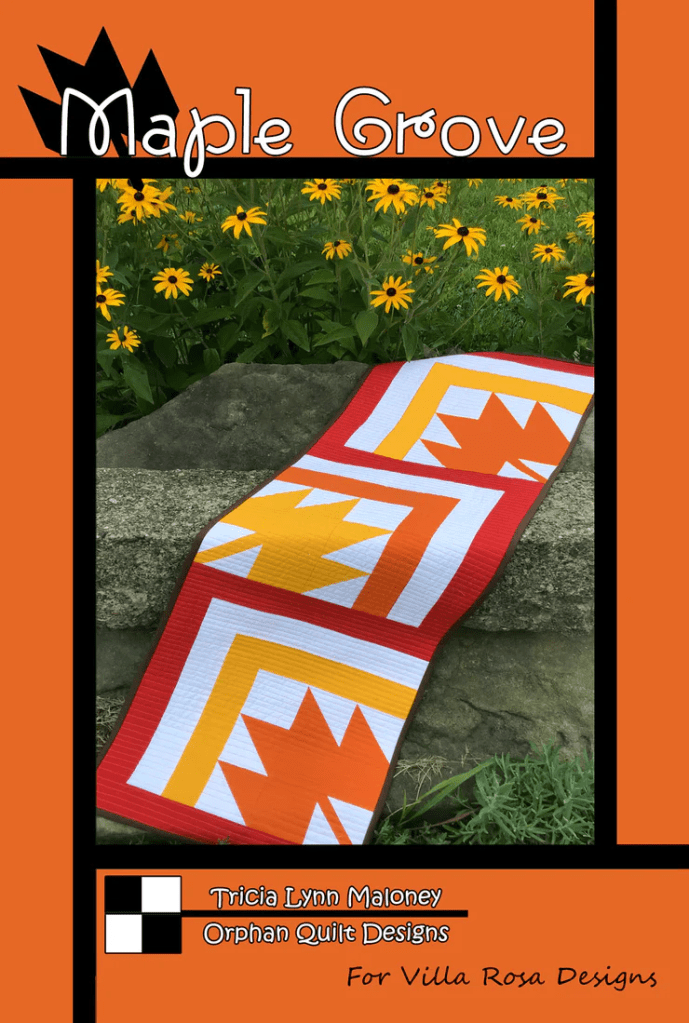
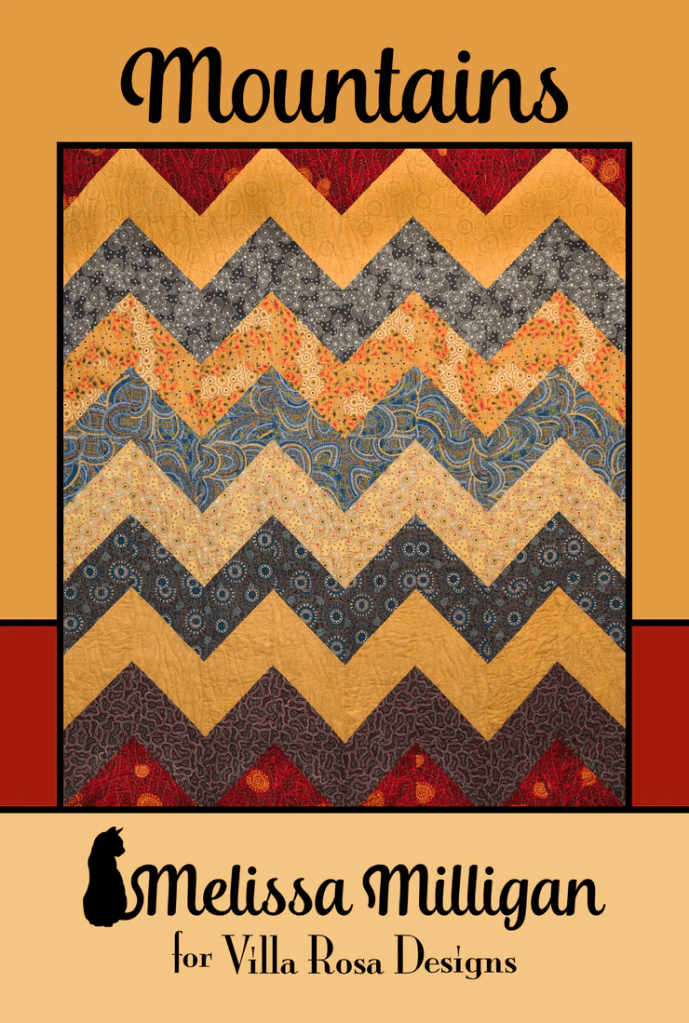
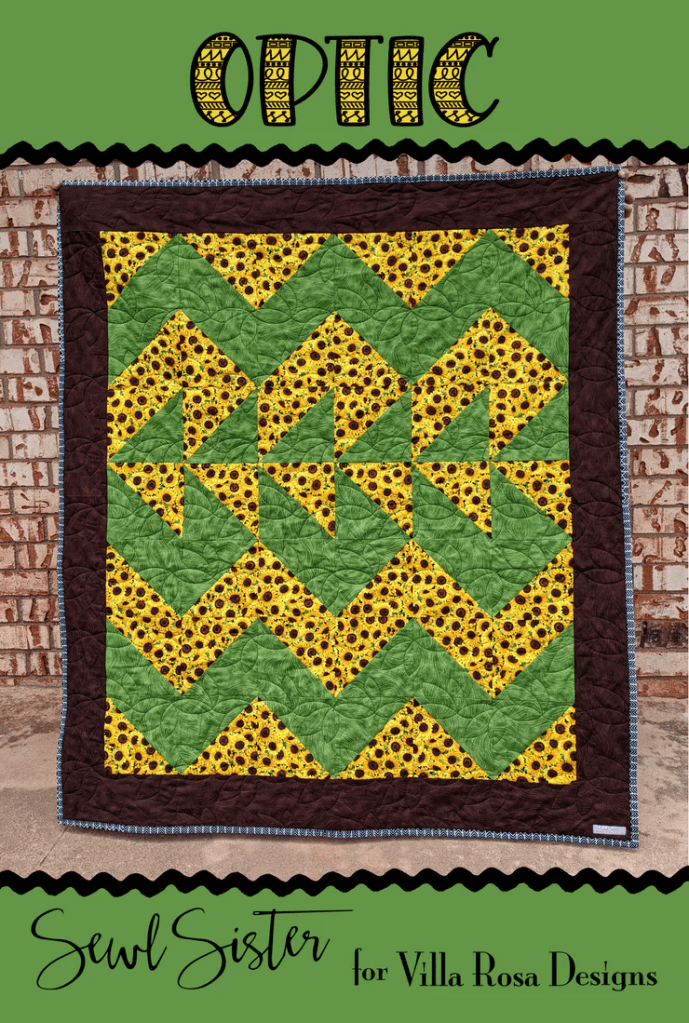
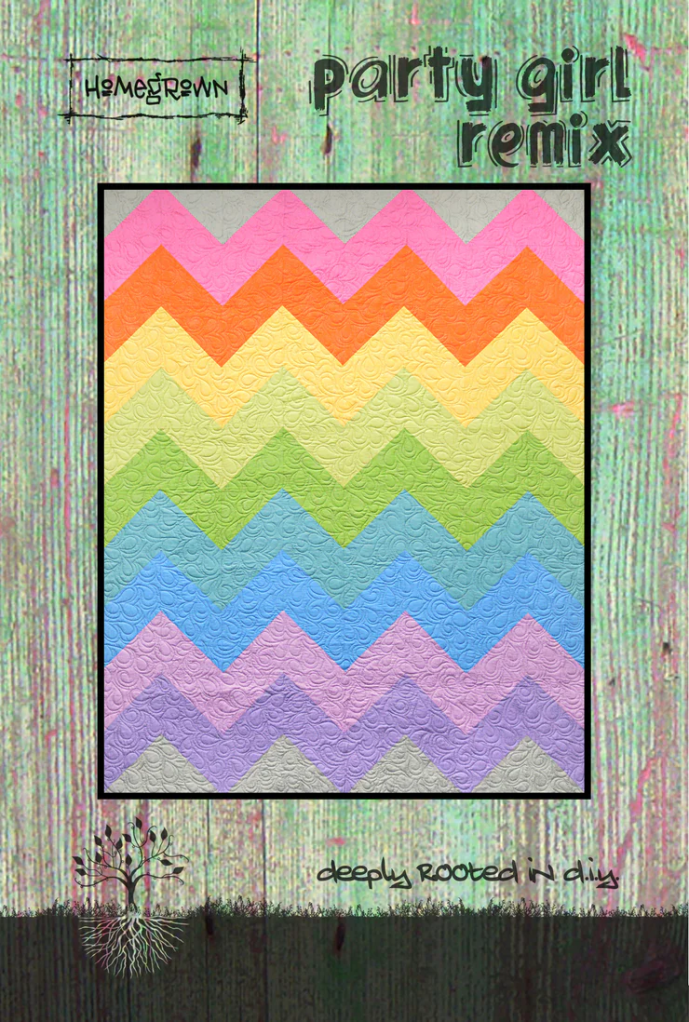
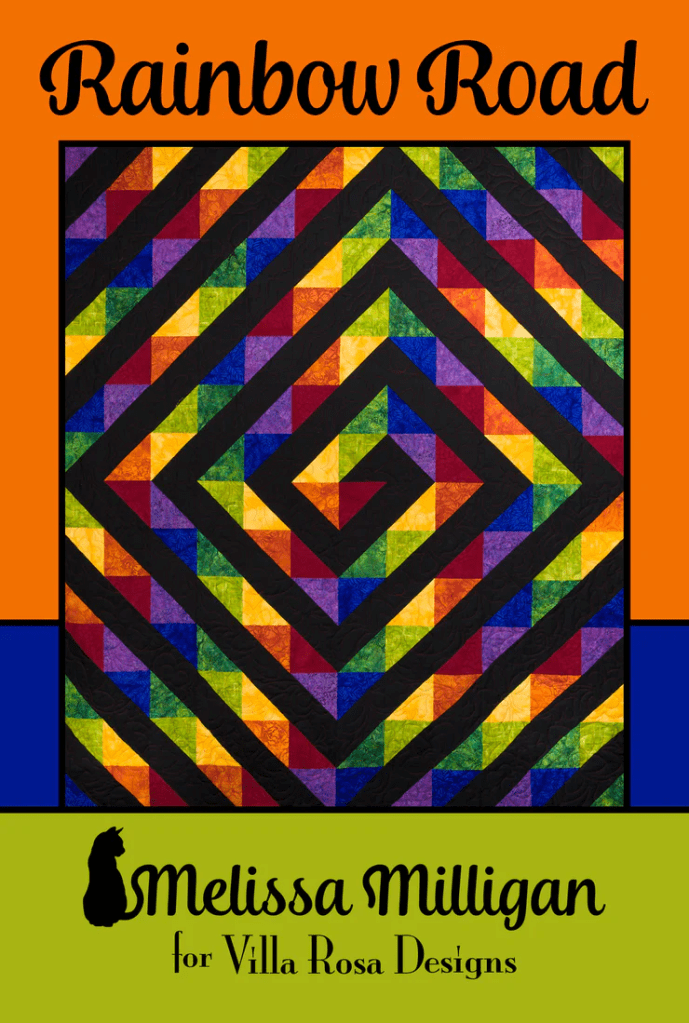
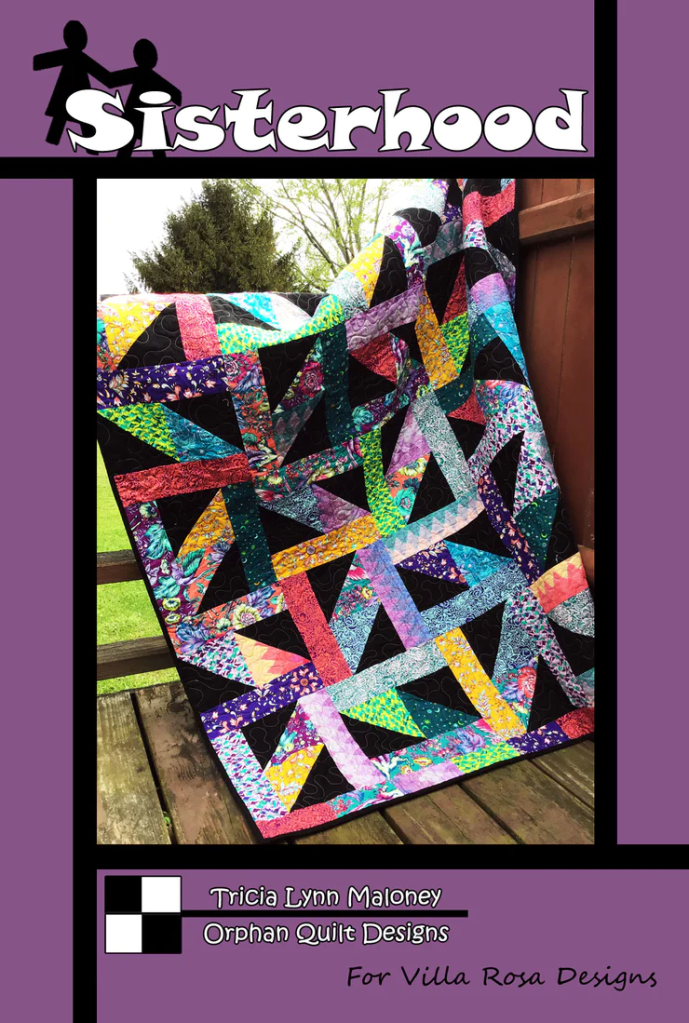
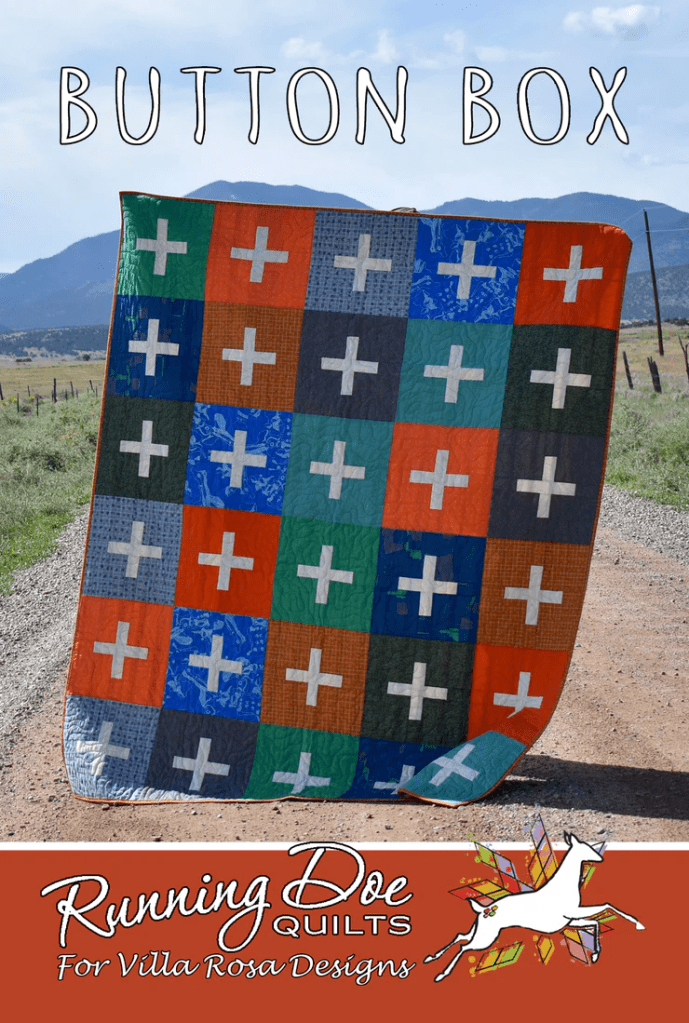
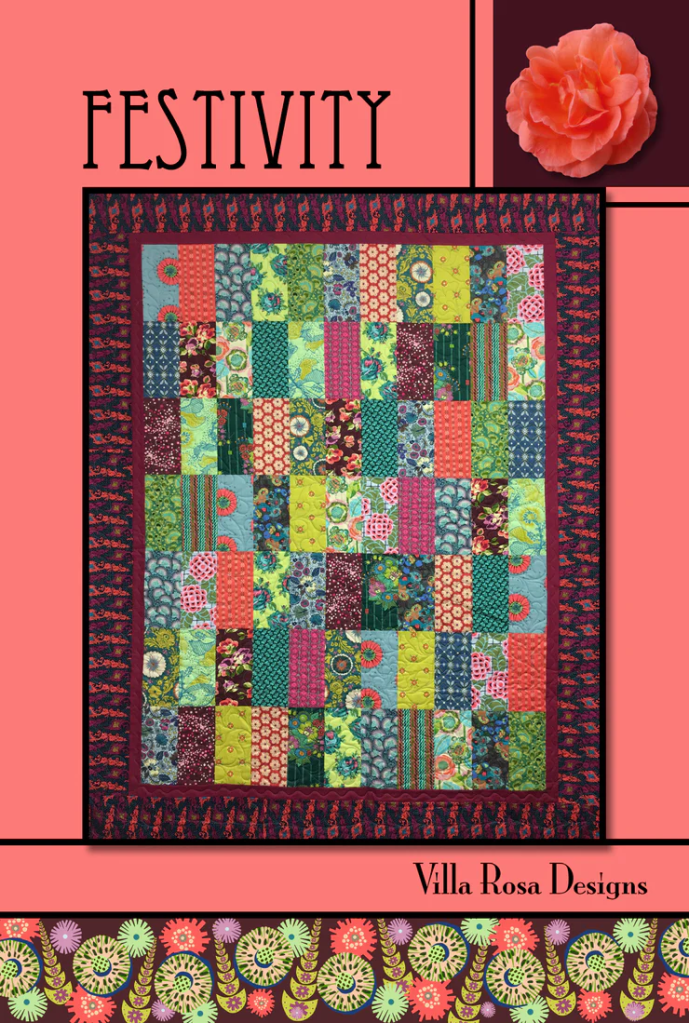
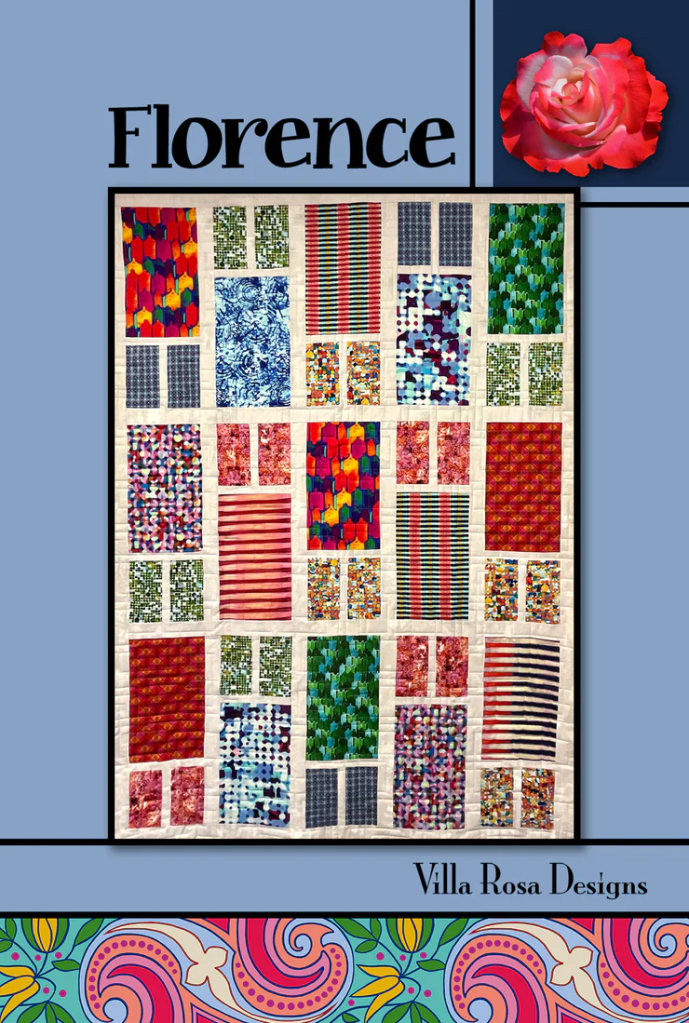
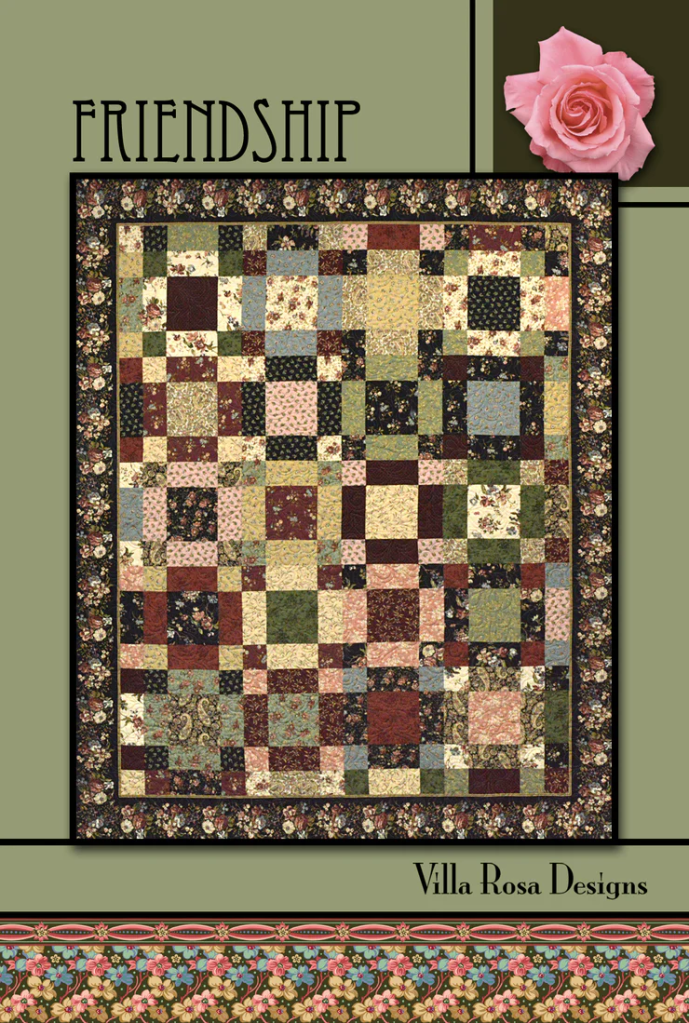
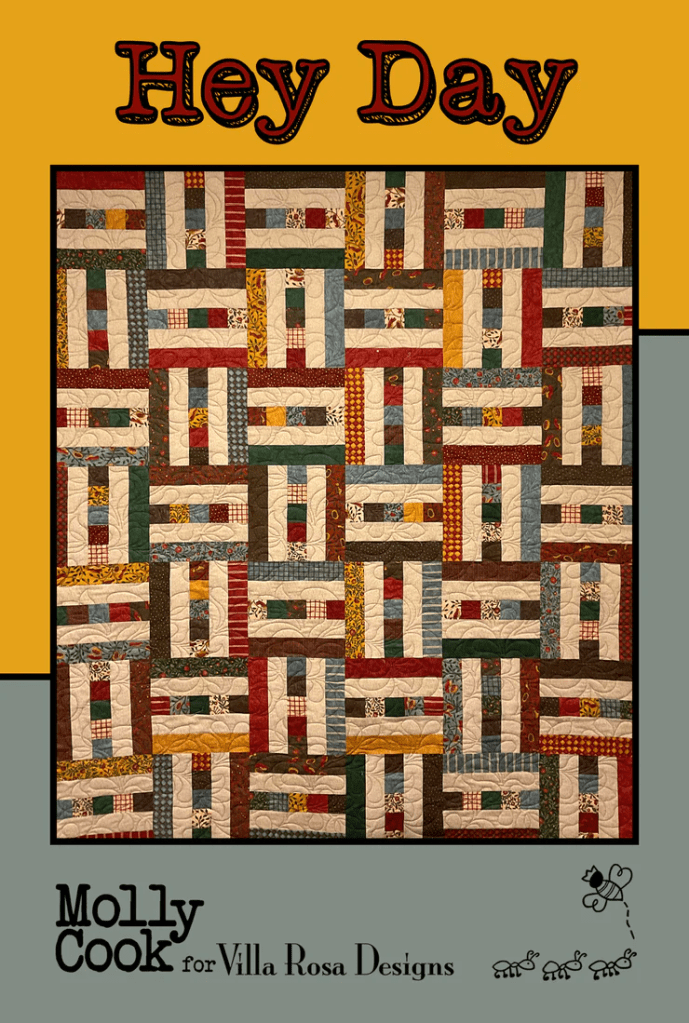
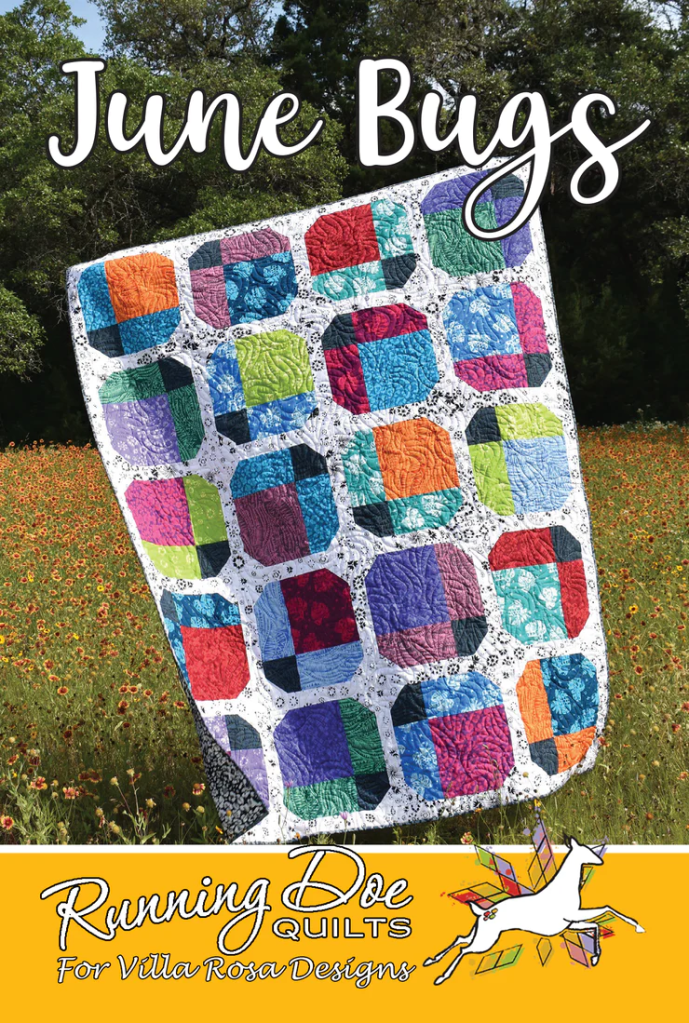
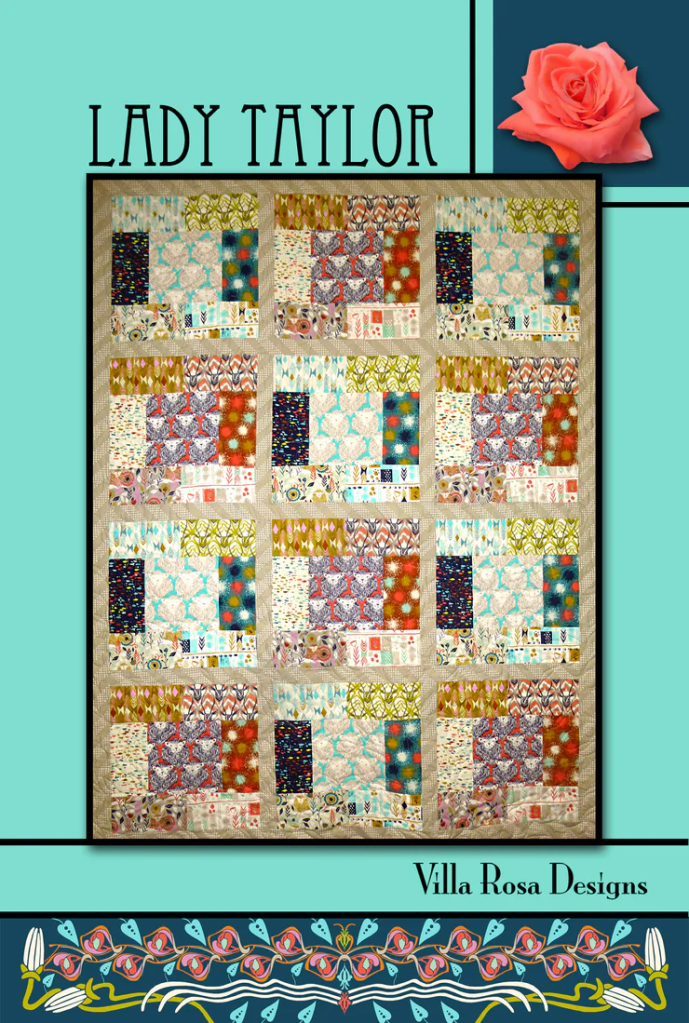
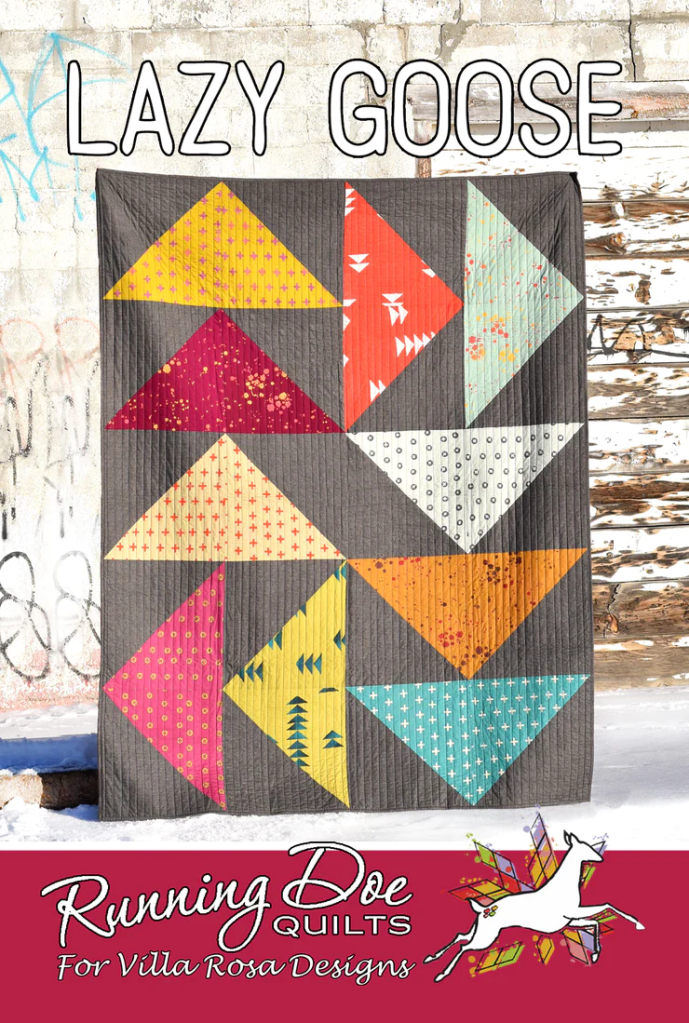
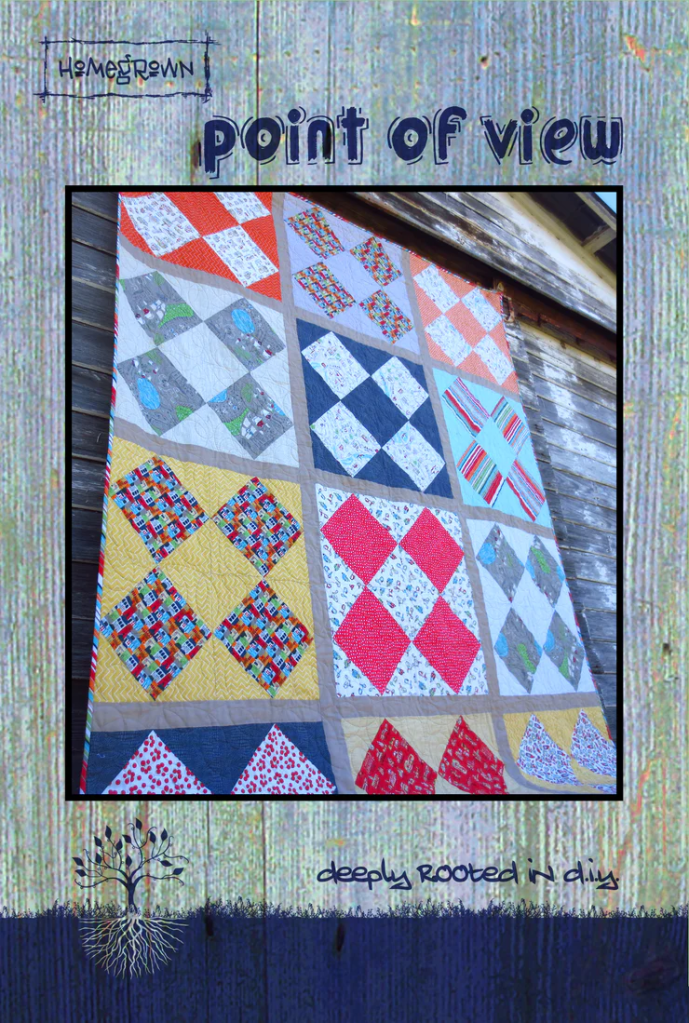
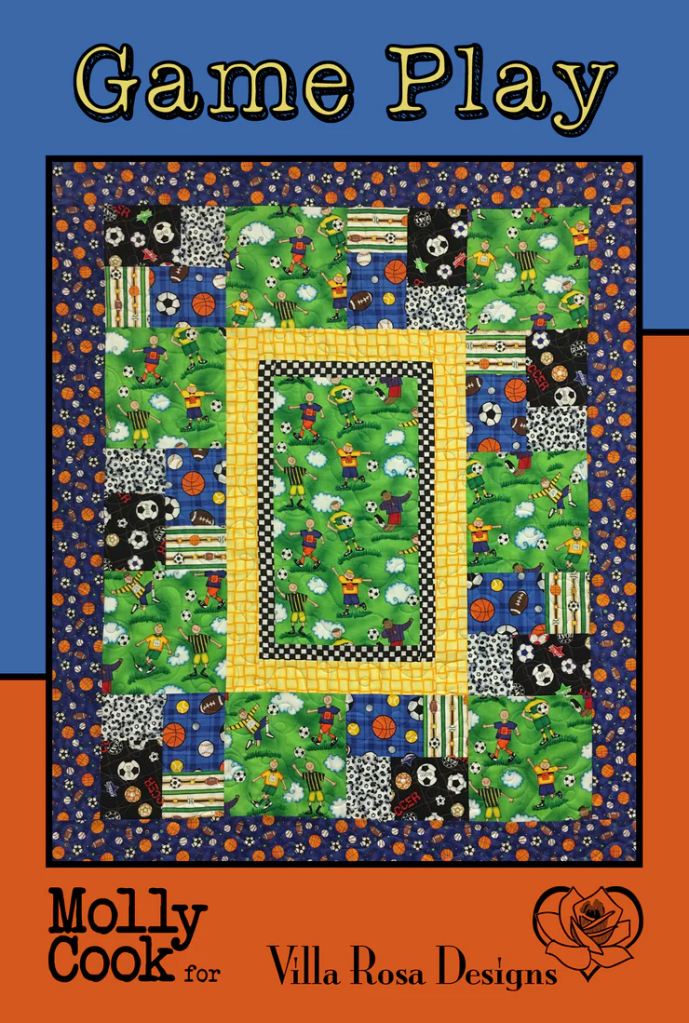
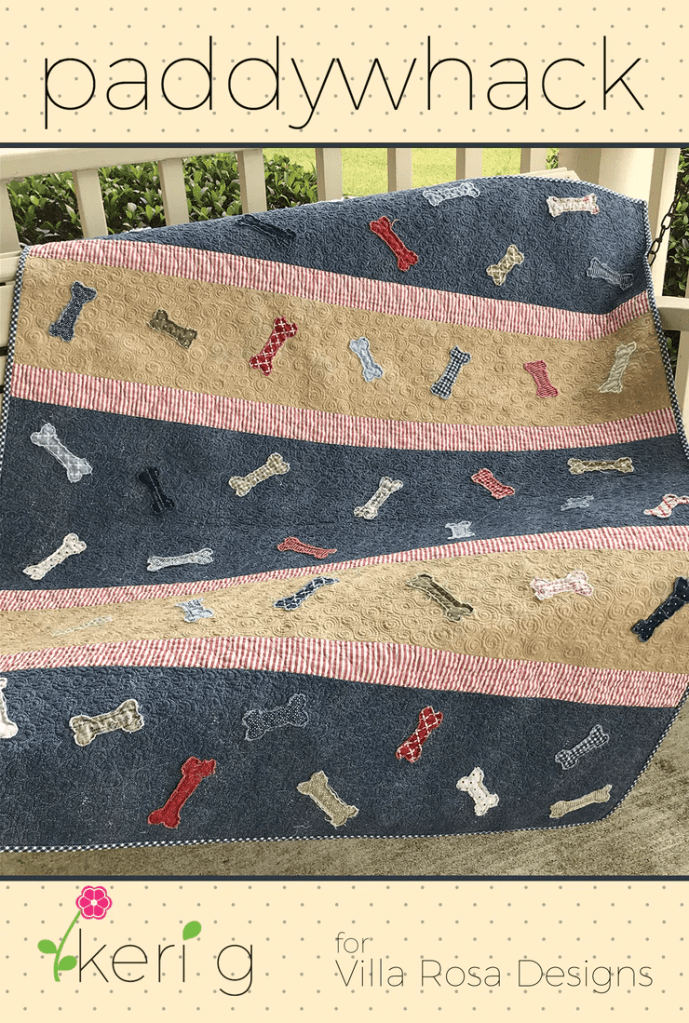
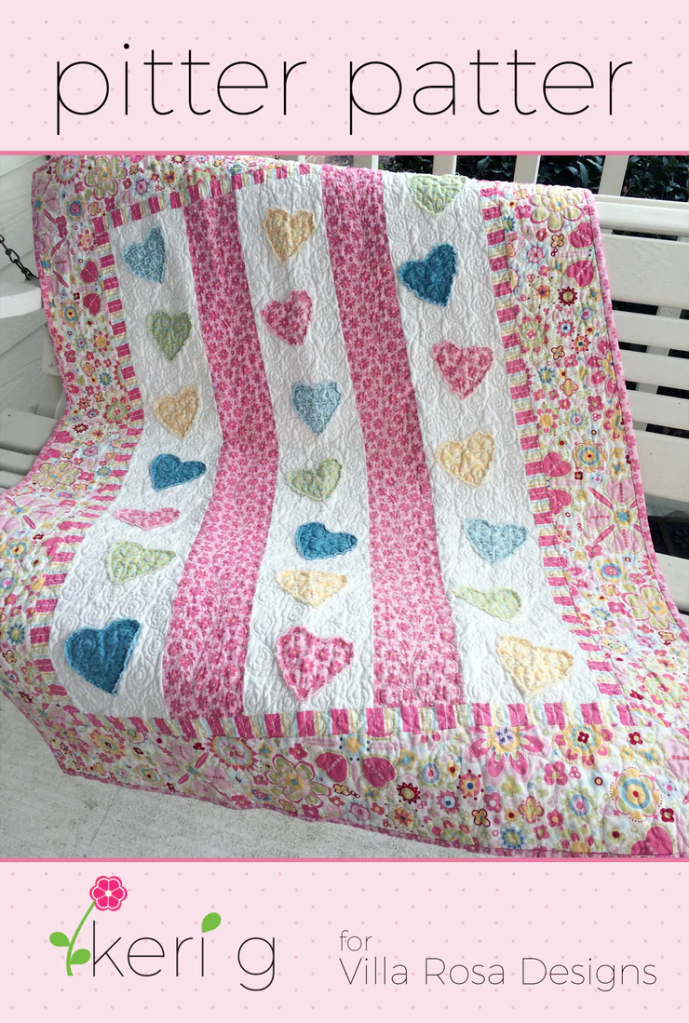
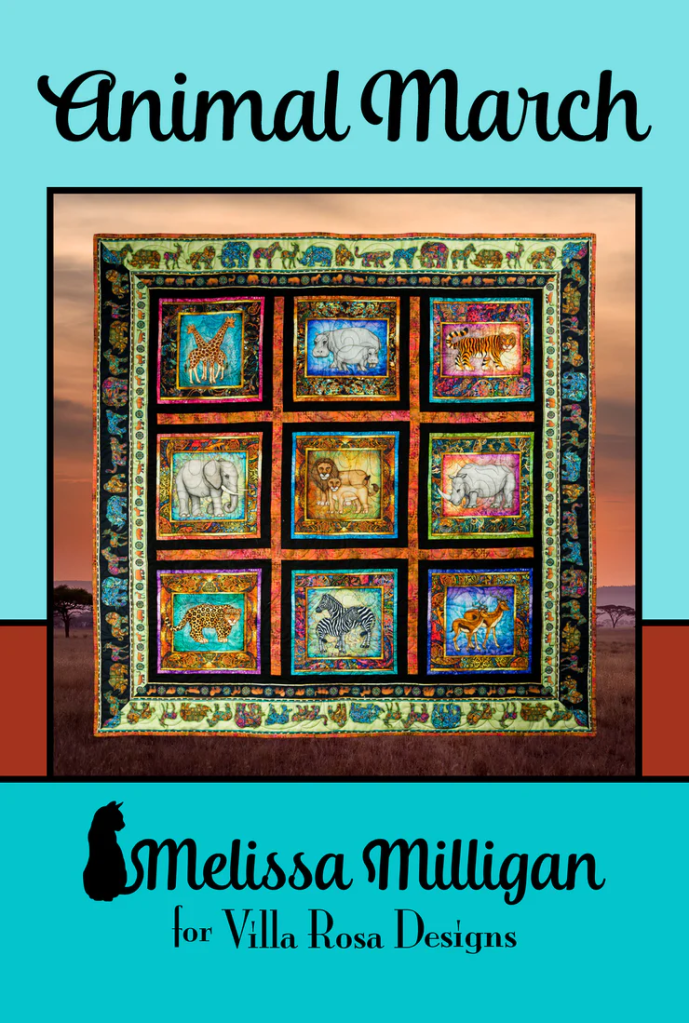
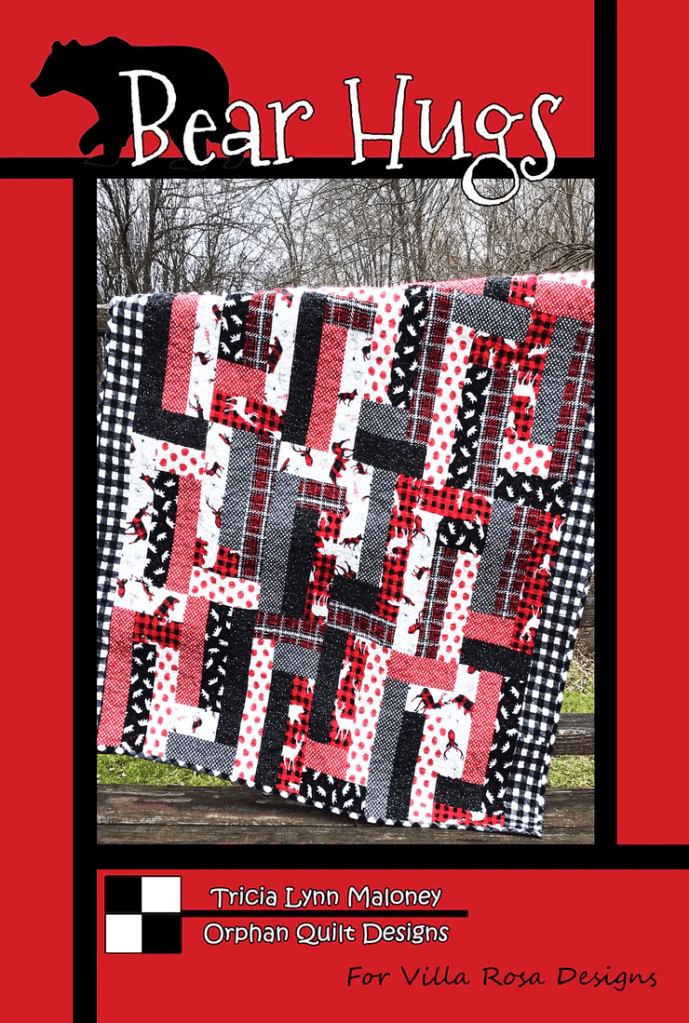
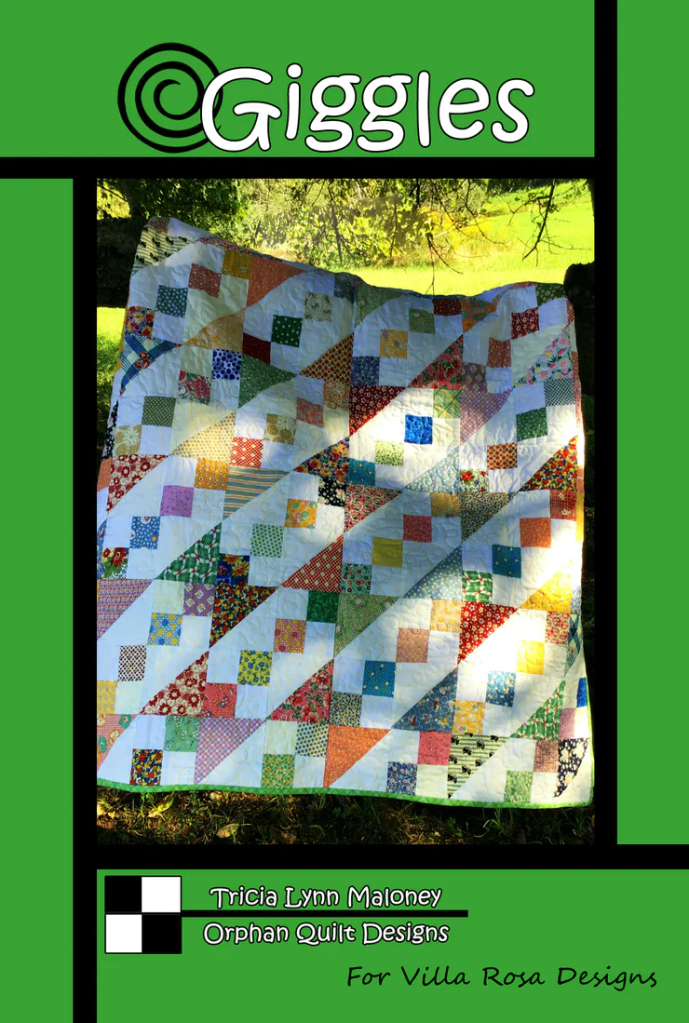
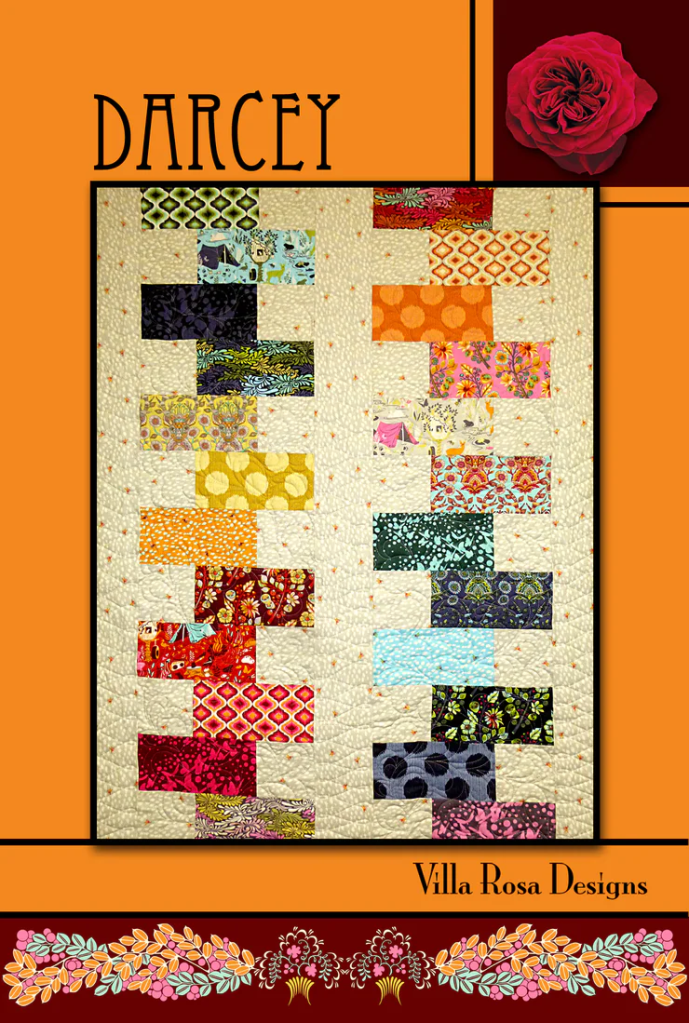
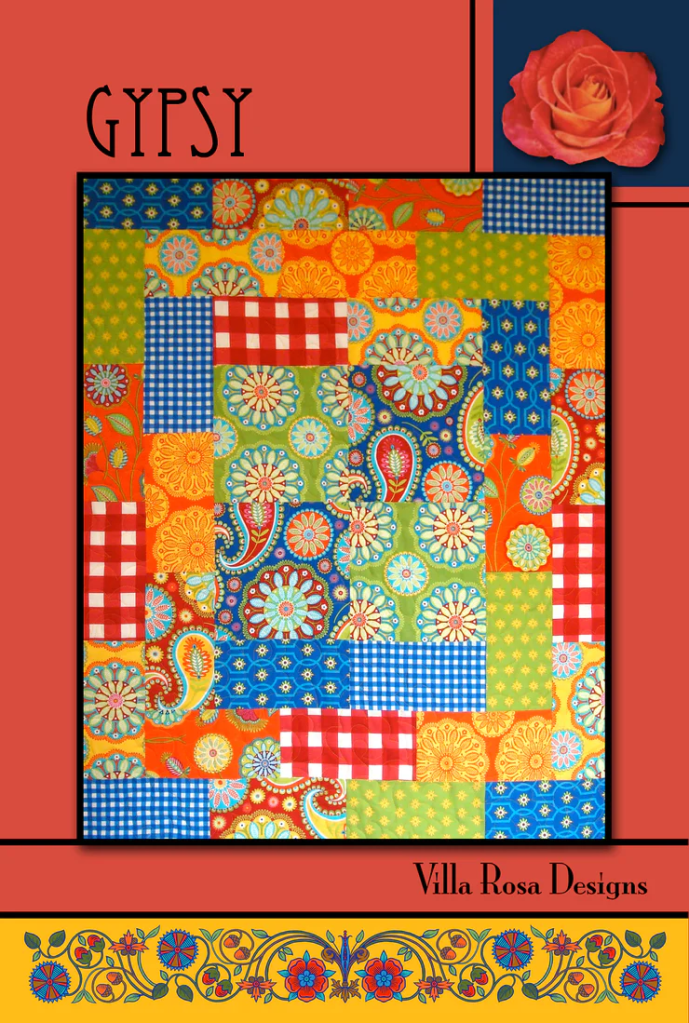
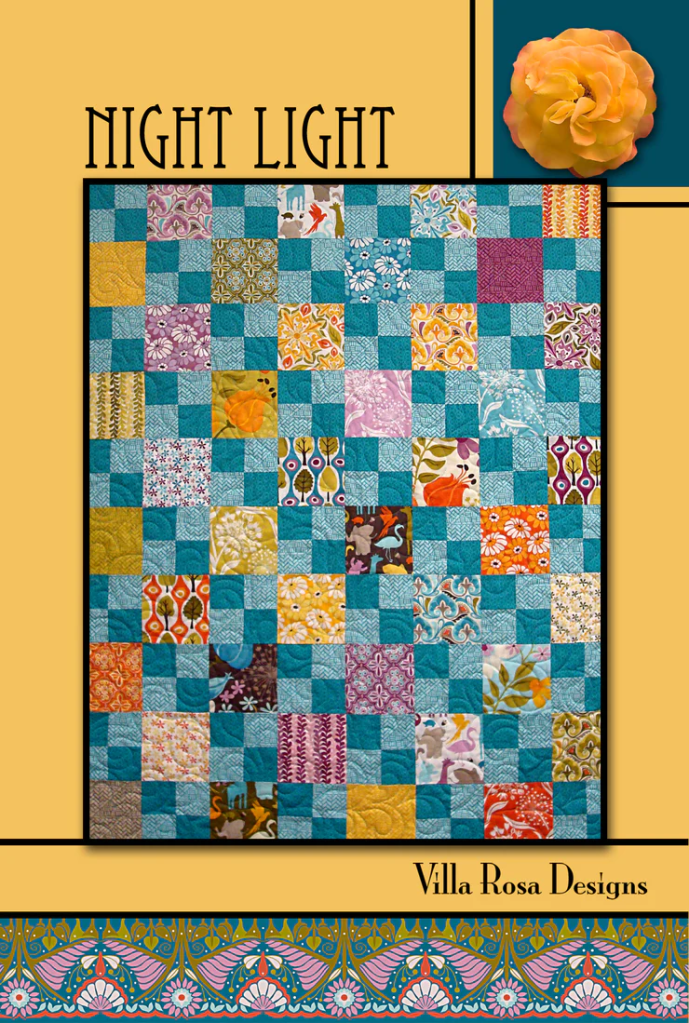
Time to take a look at my curated collection of Rail Fence VRD Rose Card Patterns!

Get Ascot HERE

Get Basket Case HERE

Get Beatrice HERE

Get Bits and Pieces HERE

Get Bride’s Dream HERE

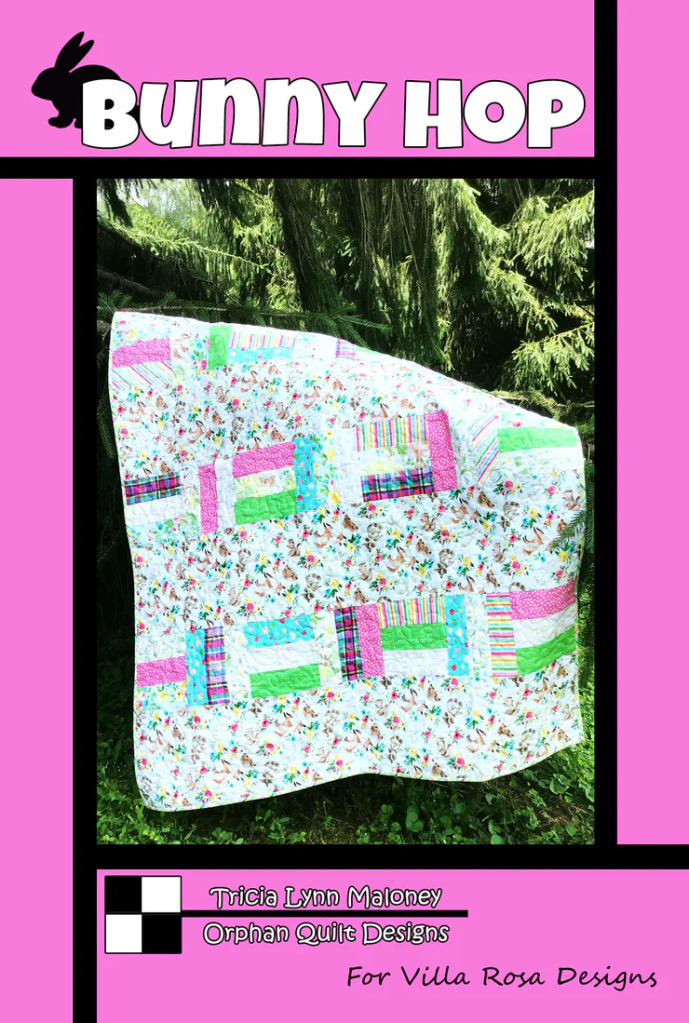
Get Bunny Hop HERE

Get Busy Bee HERE

Get Chutes & Ladders HERE

Get Cobblestones HERE

Get Dapper HERE

Get Firecracker HERE

Get First Night HERE

Get French Braids HERE
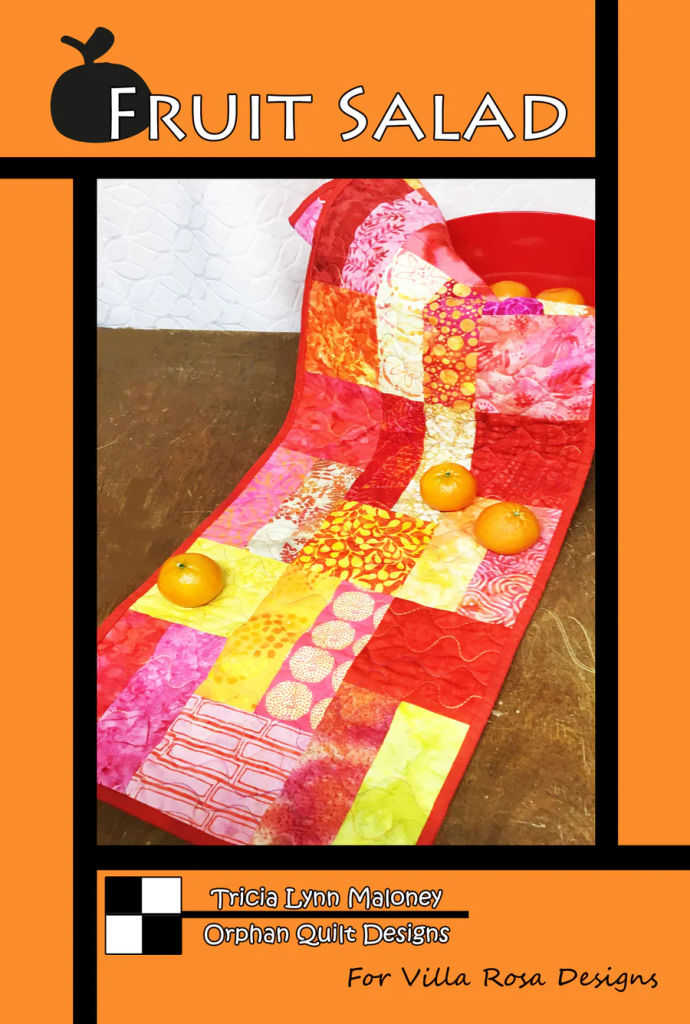
Get Fruit Salad HERE
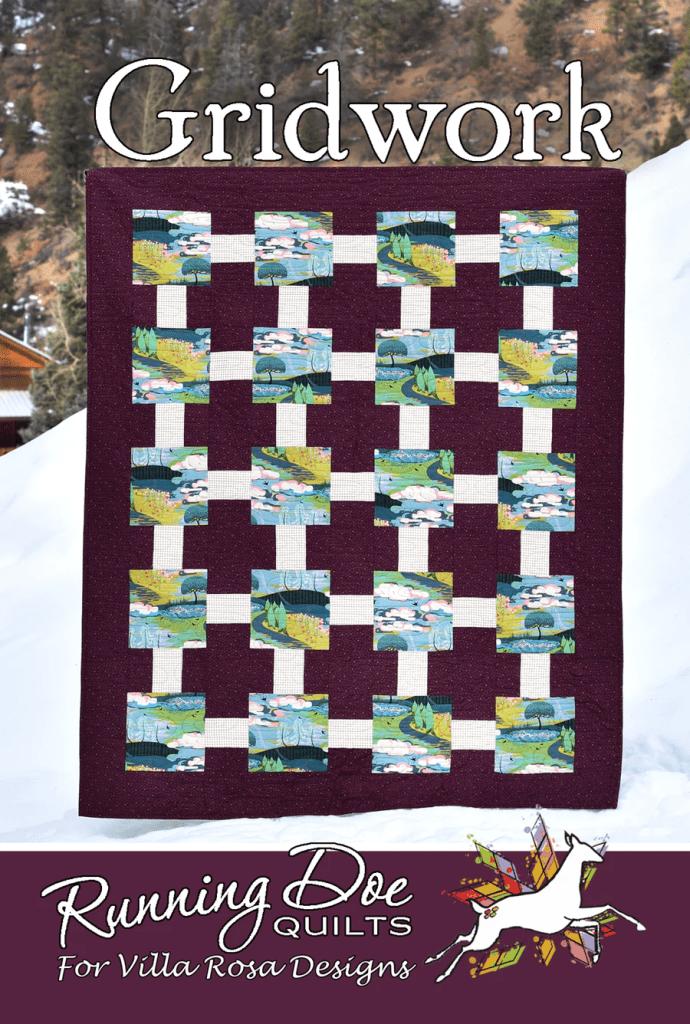
Get Gridwork HERE

Get Infinite HERE
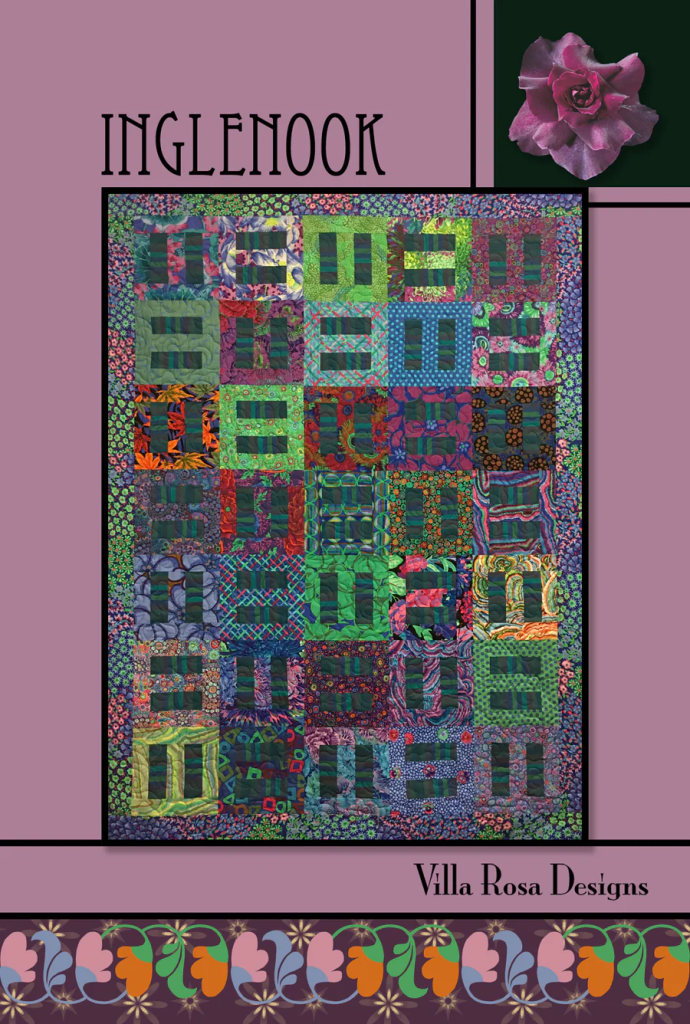
Get Inglenook HERE
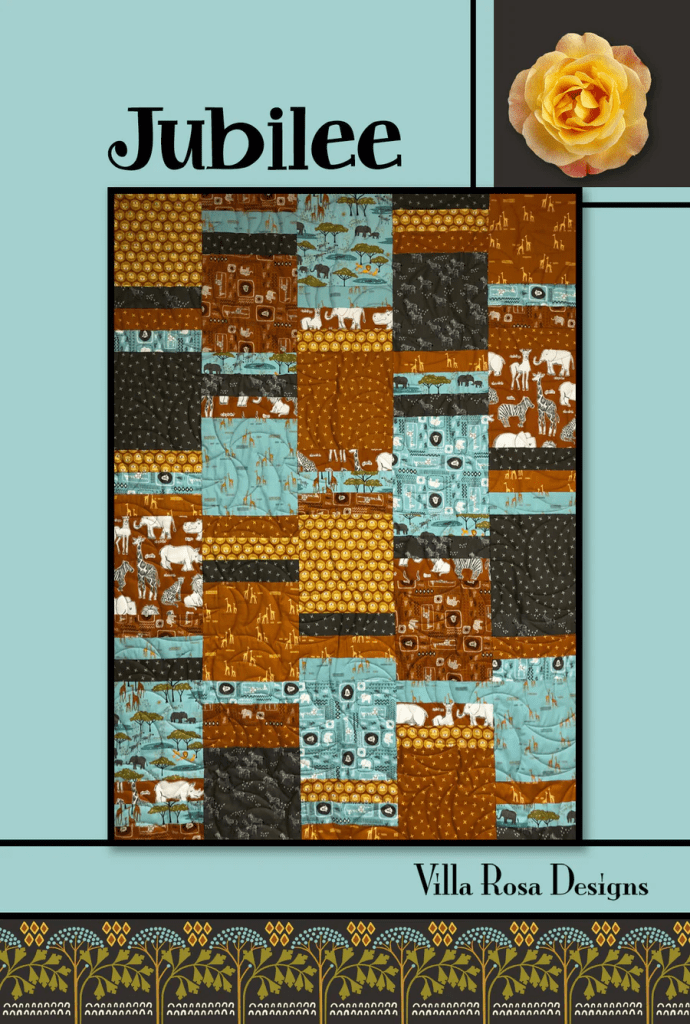
Get Jubilee HERE

Get Limelight HERE

Get Melinda Jo HERE
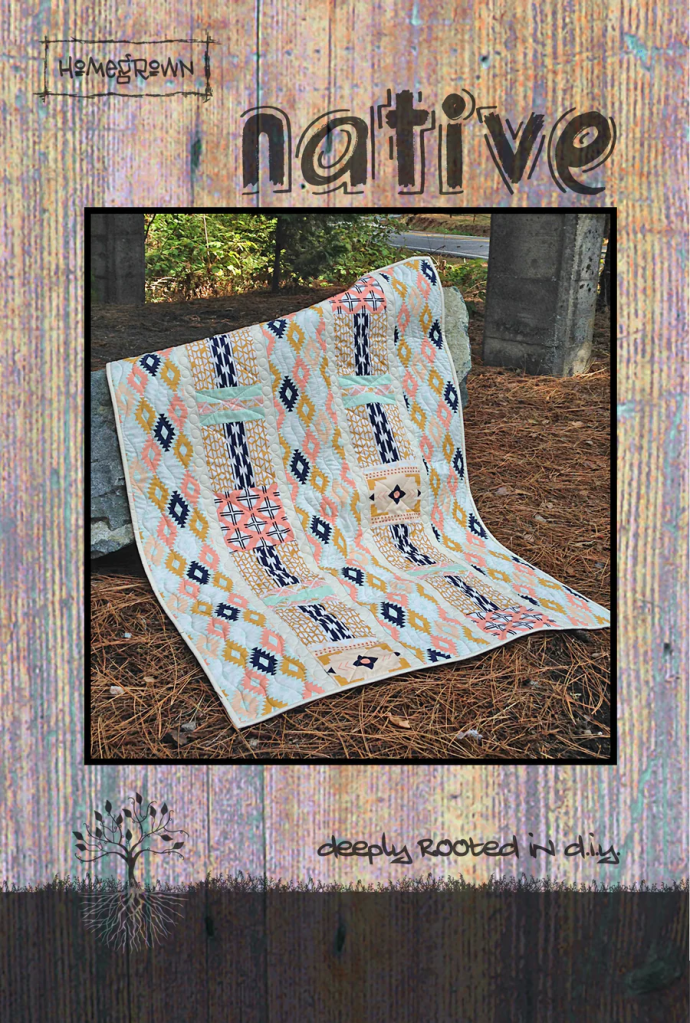
Get Native HERE

Get Panama City HERE

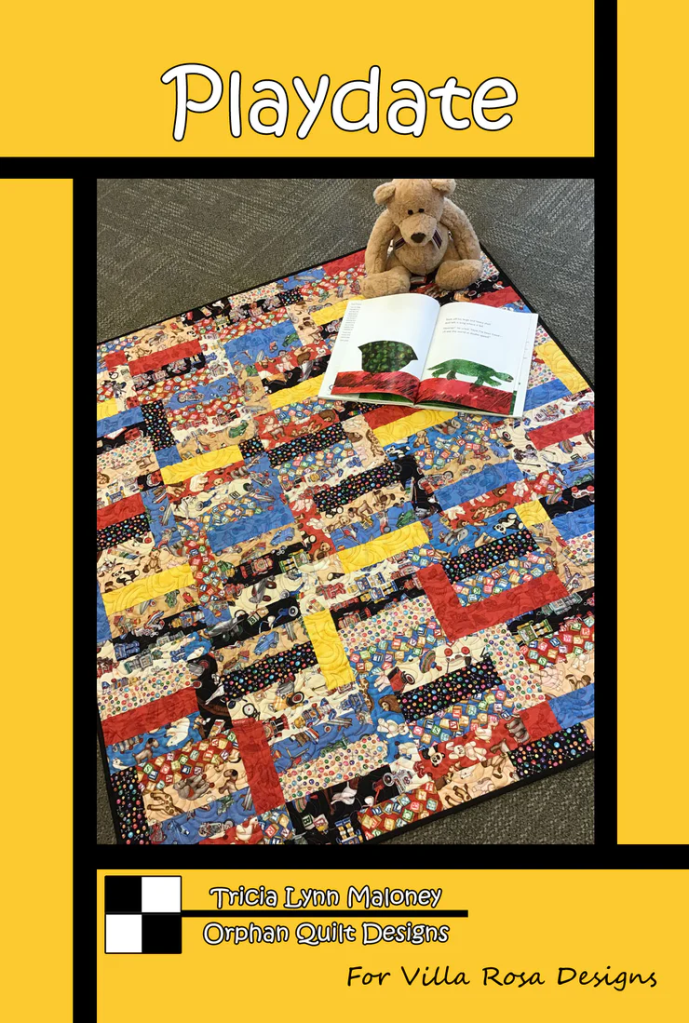
Get Playdate HERE
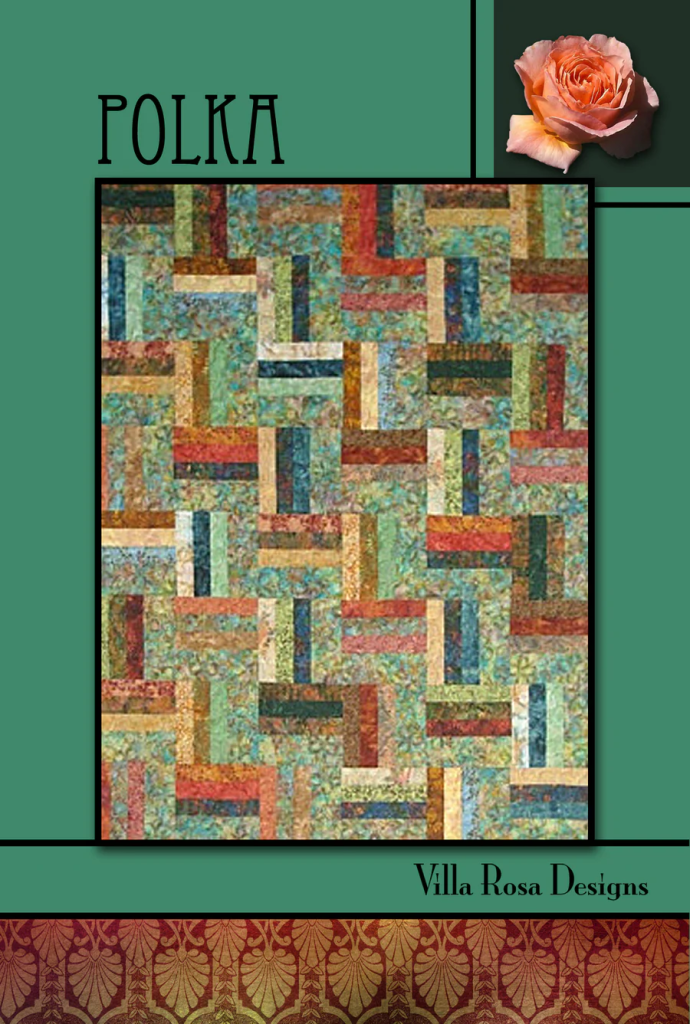
Get Polka HERE

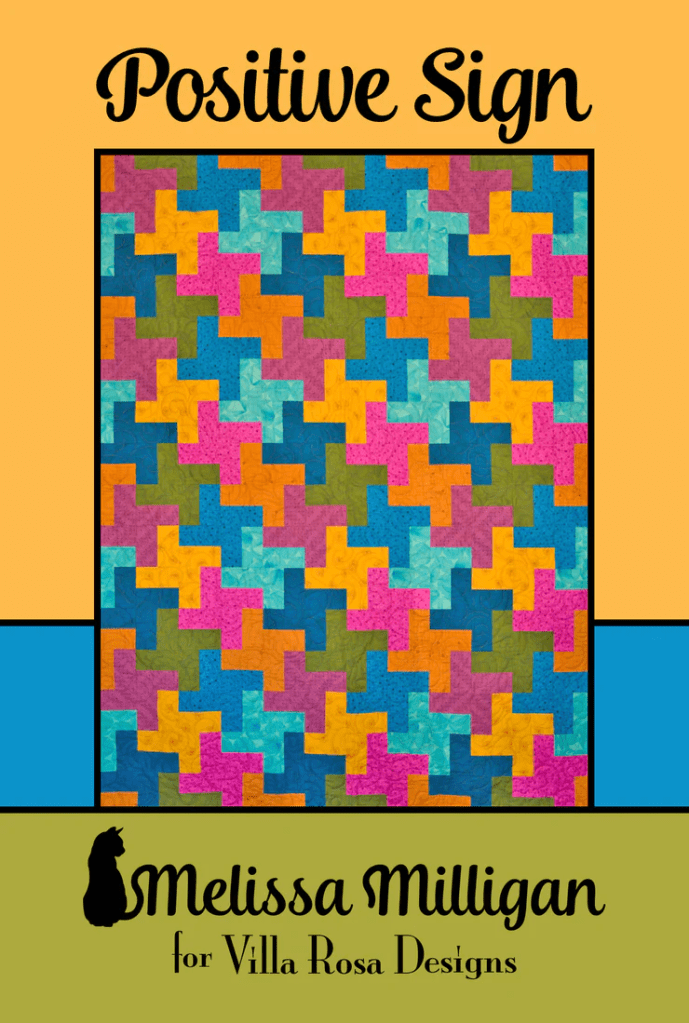
Get Positive Sign HERE
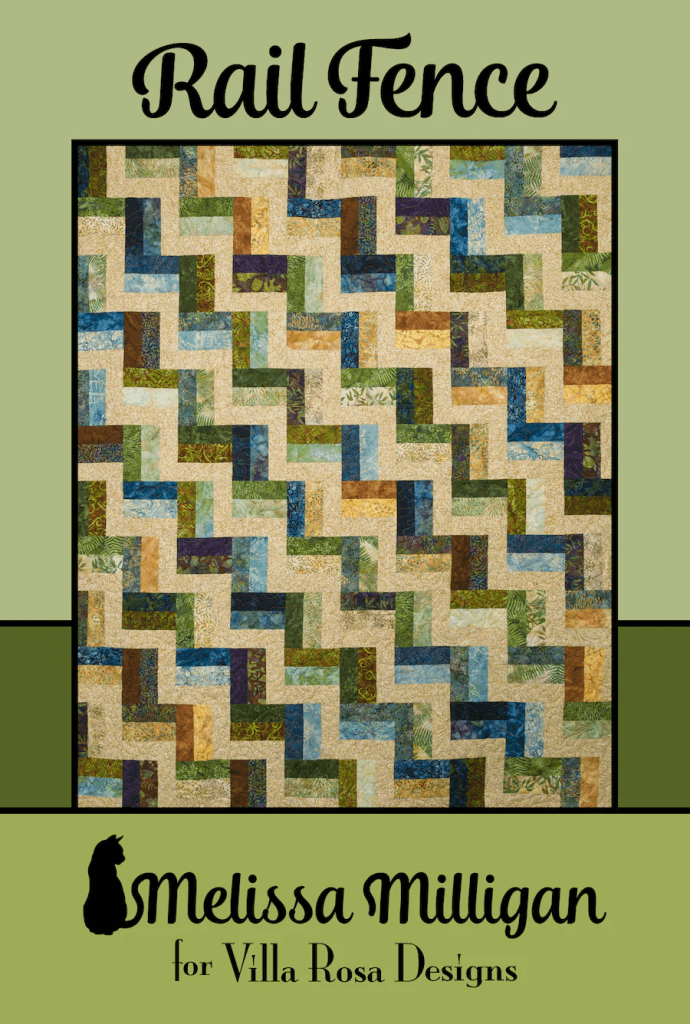
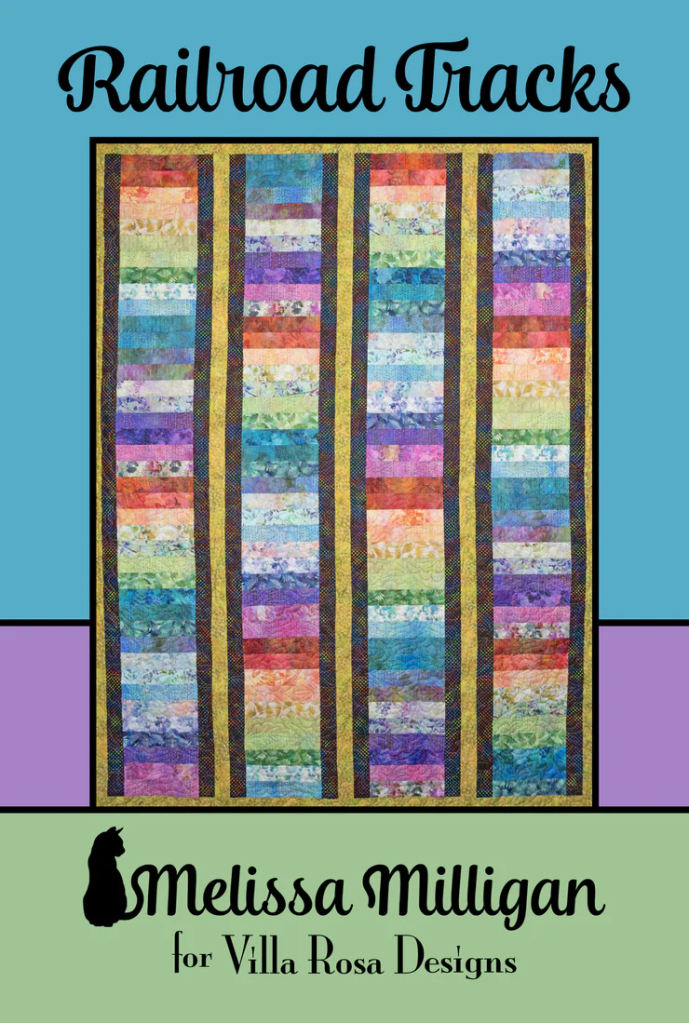
Get Rail Fence HERE

Get Ripple Runner HERE
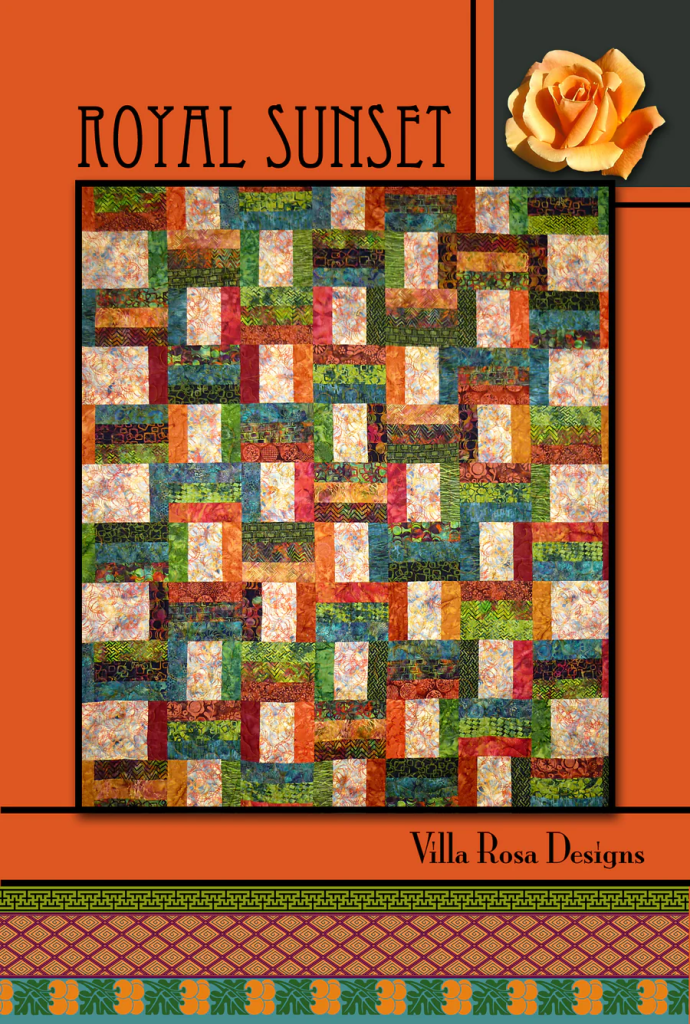
Get Royal Sunset HERE

Get Saratoga HERE

Get Scallywag HERE

Get Shadow Dancer HERE
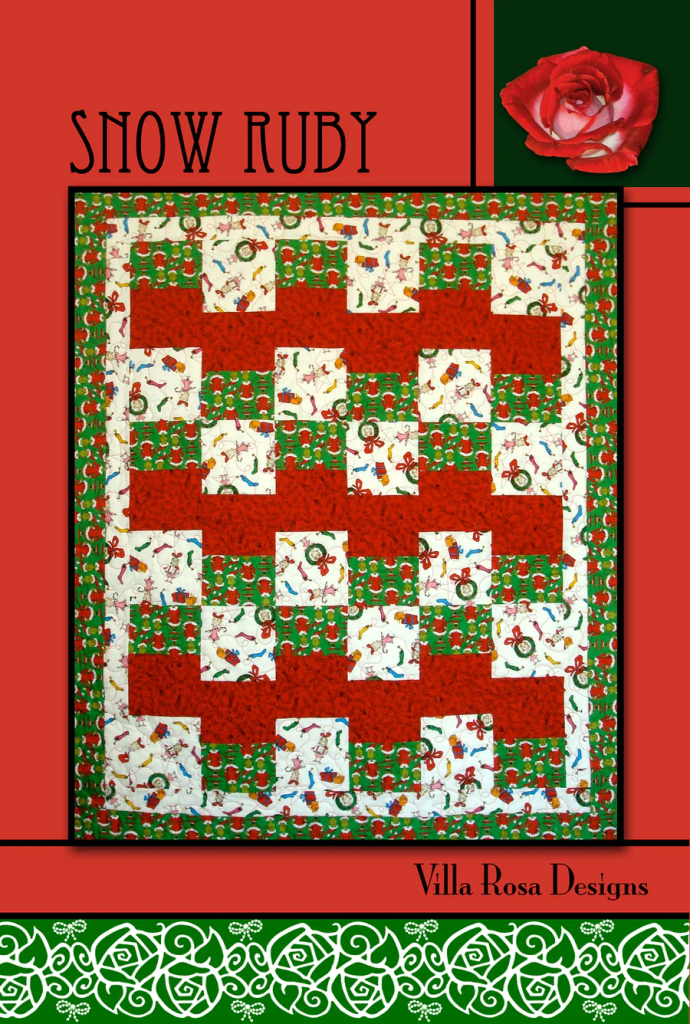
Get Snow Ruby HERE

Get Social Climber HERE
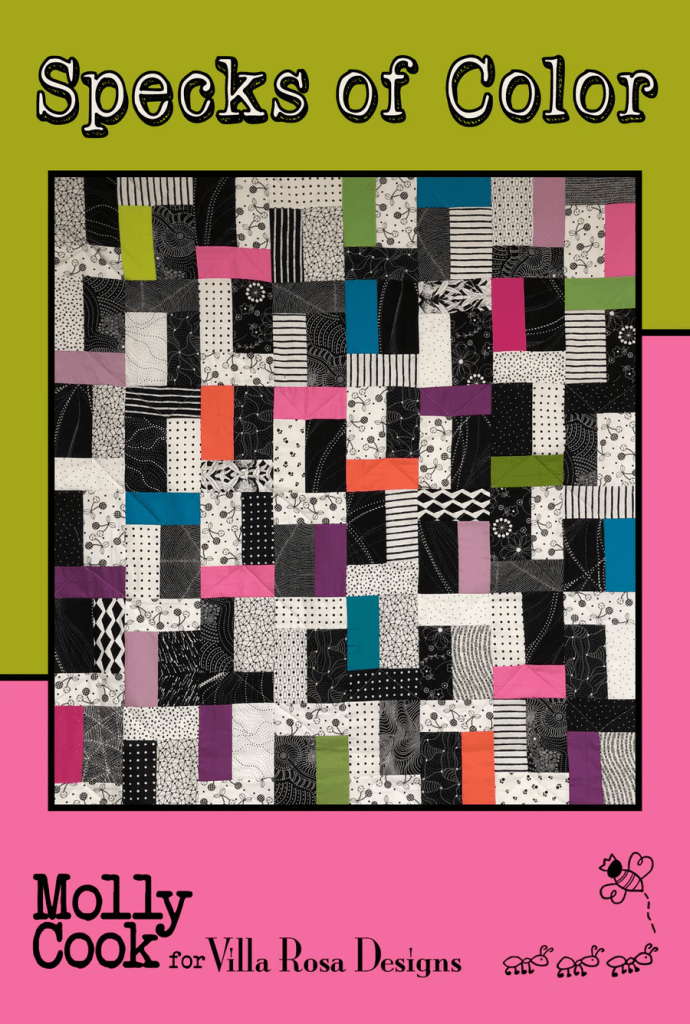
Get Specks of Color HERE

Get Spin Cycle HERE
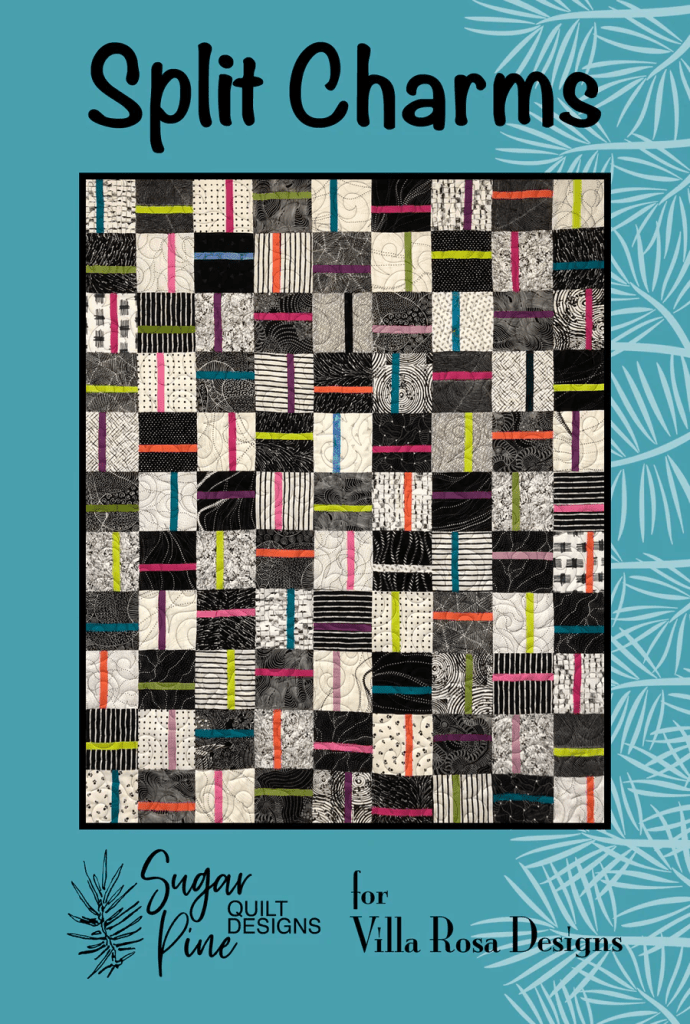
Get Split Charms HERE
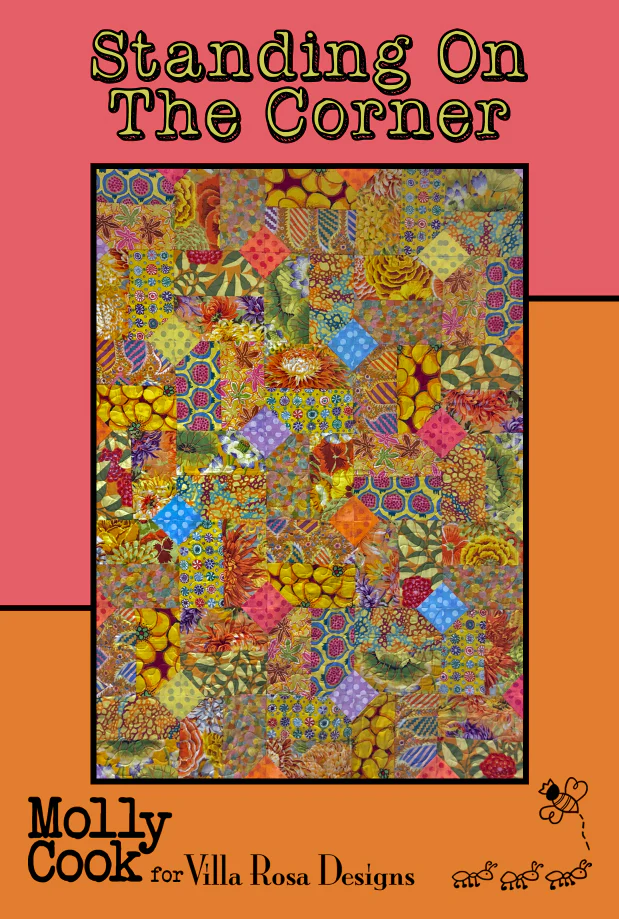
Get Standing on the Corner HERE

Get Sugar & Spice HERE

Get Tumblebug HERE

Get Vienna HERE
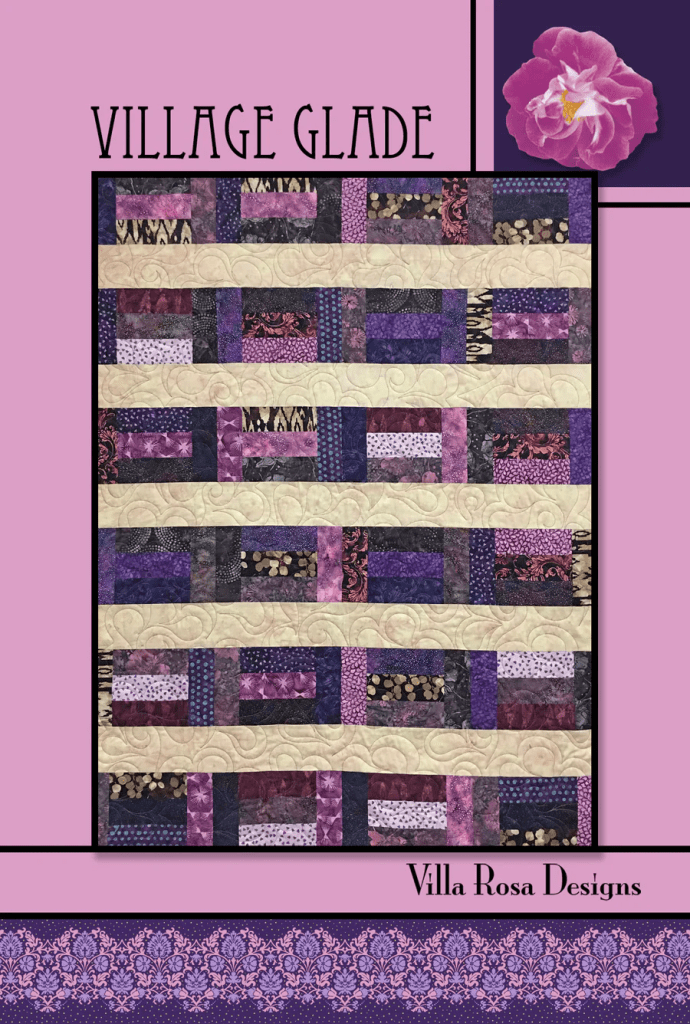
Get Village Glade HERE

Get Waterside HERE
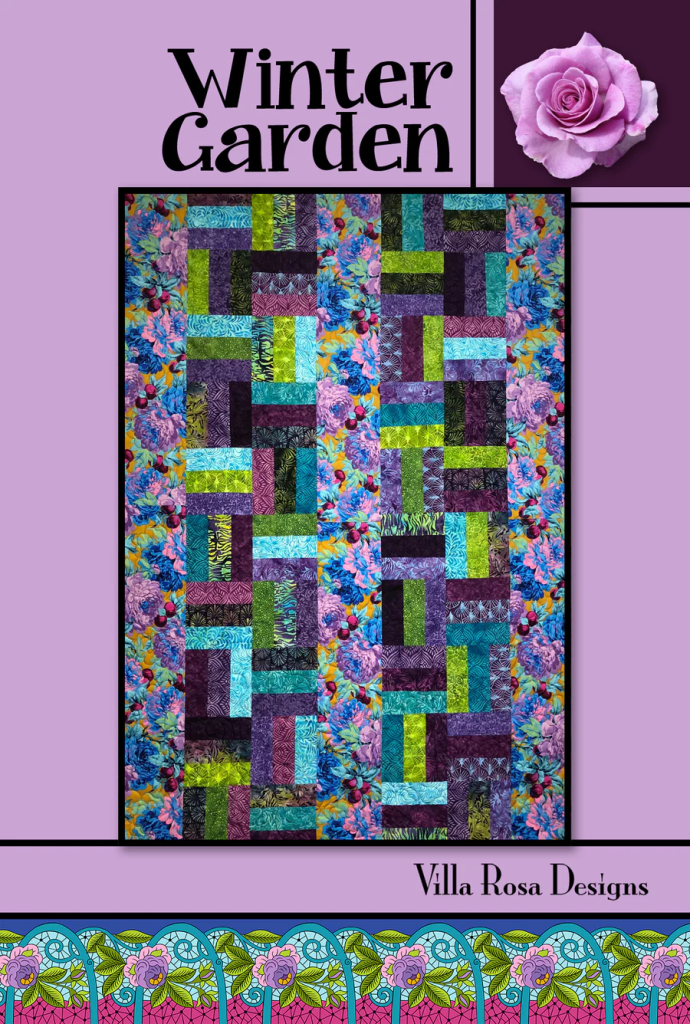
Get Winter Garden HERE
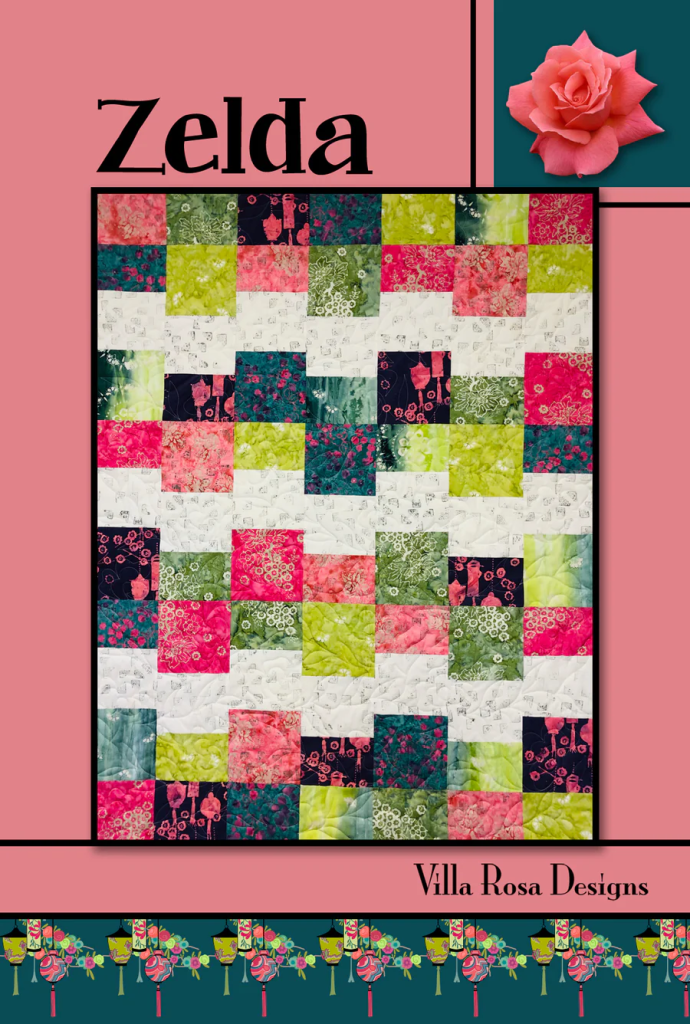
Get Zelda HERE
That’s another wrap! Time to sign off and get back to making quilts………in my dreams, anyway. LOL!
Until next Thursday —
Sew. Laugh. Repeat.
Always,
Tricia @VRD