Hello Quilty Friends!
Happy Thursday to you!
I hope your week is going well and you’ve found a few moments to quilt during the hustle and bustle of the end of summer and back to school. I remember those endless days of school shopping — new shoes, clothes, school supplies, etc., etc…. Sadly, there are no more kiddos in my family — my nieces Meghan and Morgan are all grown up. Yet, for some reason I still cannot resist grabbing up extra pens, pencils, tablets, and other supplies. Maybe I miss those days, or maybe in my own mind, I’m still a student.
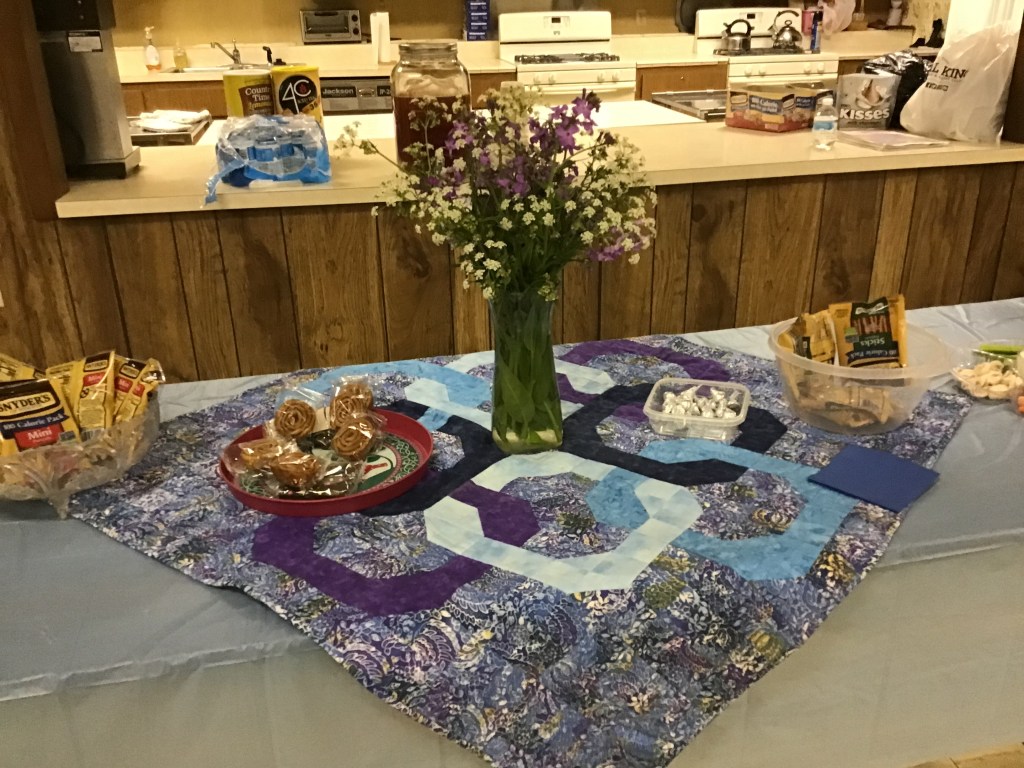
Last weekend after lots of hard work, we had my Mom’s annual family reunion at our local fire hall. She and my Aunt Helen worked really hard to get it organized. And even though we were all worried about how many folks would be able to make it, the reunion came together and there was a great turn out with cousins coming from as far away as California to our little corner of Pennsylvania.
This year’s reunion was a special one for me — I had organized a Quilts of Valor presentation with my local QOV organization, PA Stitchers of Valor. Collene Munn, who is the force behind our local organization, came to my family reunion along with volunteer husband and wife, Jason and Linda. With their help, we celebrated and honored 4 veterans in our family — my cousins Lisa, Michael, Ron Sr., and Ron Jr. My Dad, my sister Tracy, and I helped with the presentation while my niece Morgan was my photographer.
If you’ve never seen a Quilts of Valor presentation, then you truly have missed witnessing something very special. It’s common for tears to flow and hugs to be shared. Sometimes it’s the first time that family members even get to hear what their veteran or service member actually did during their service. Sometimes the presentation is the moment when a veteran can finally talk about what they might have experienced. Perhaps this is the first time a veteran has actually been thanked for their service. The actual presentation might only last an hour, but the significance of receiving a Quilts of Valor could last a lifetime.
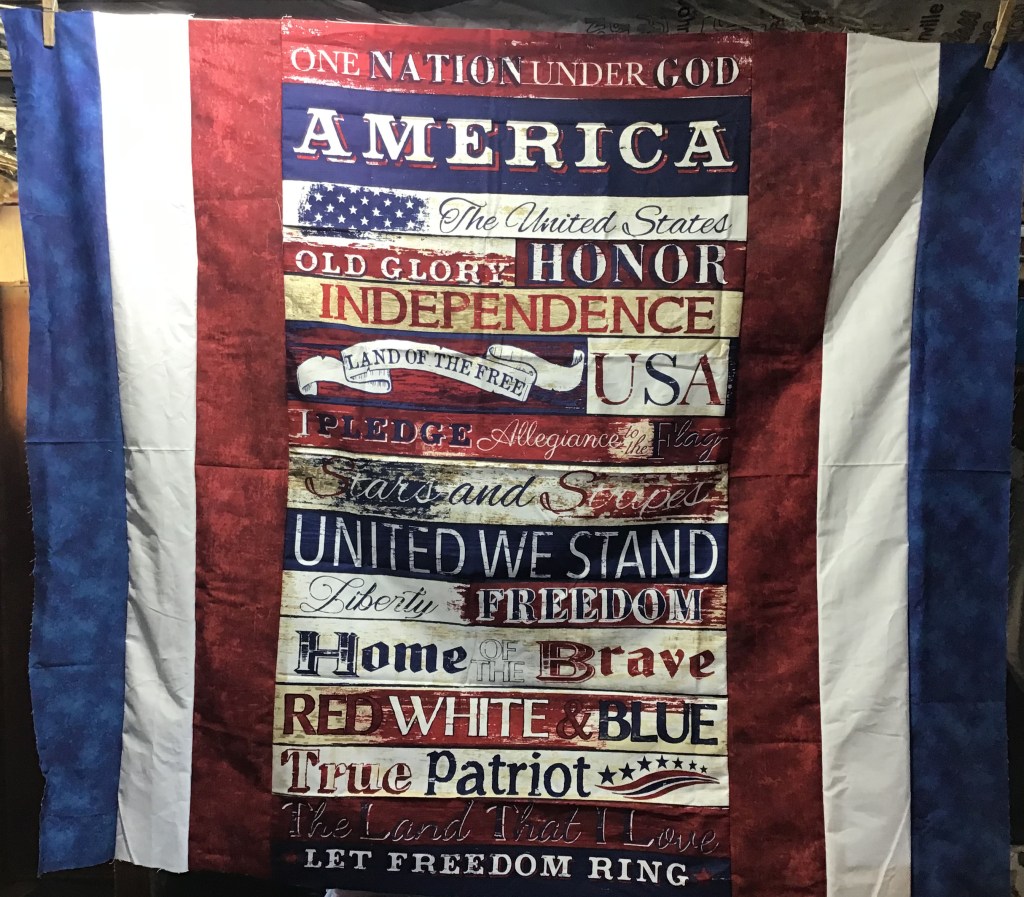
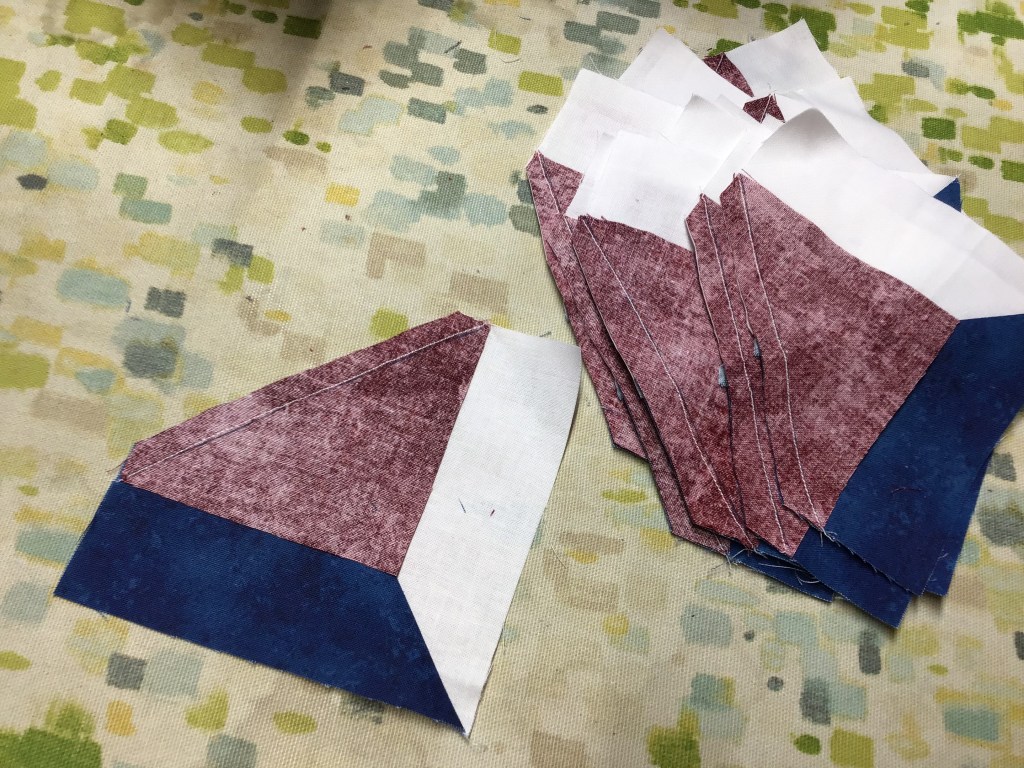
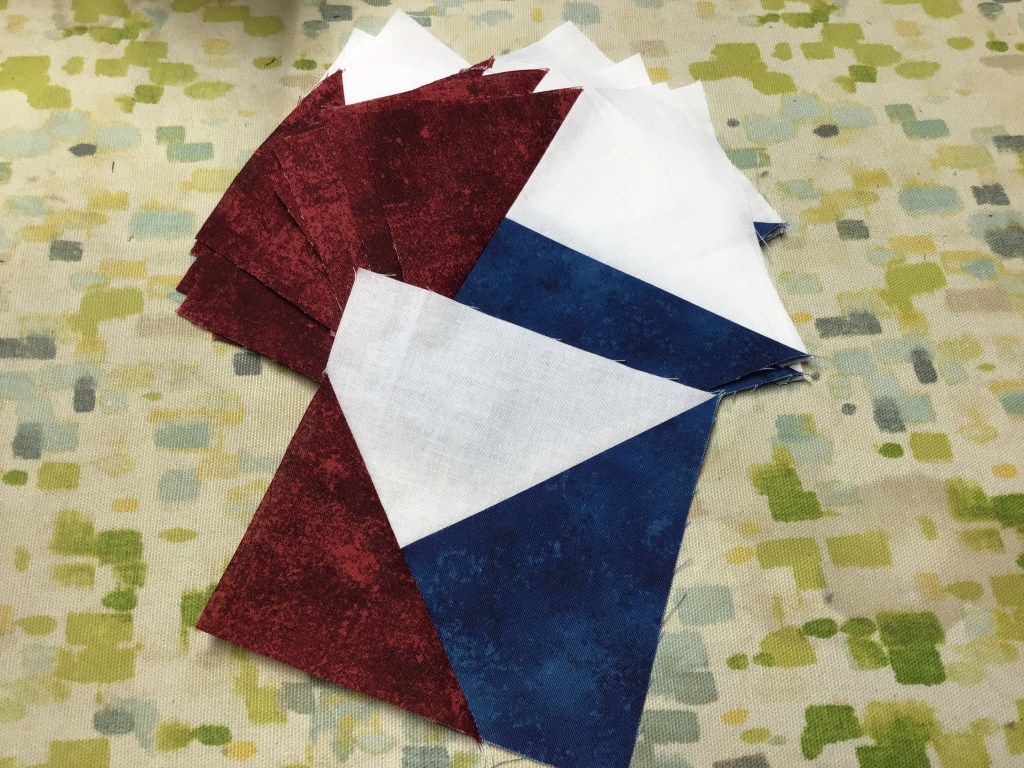
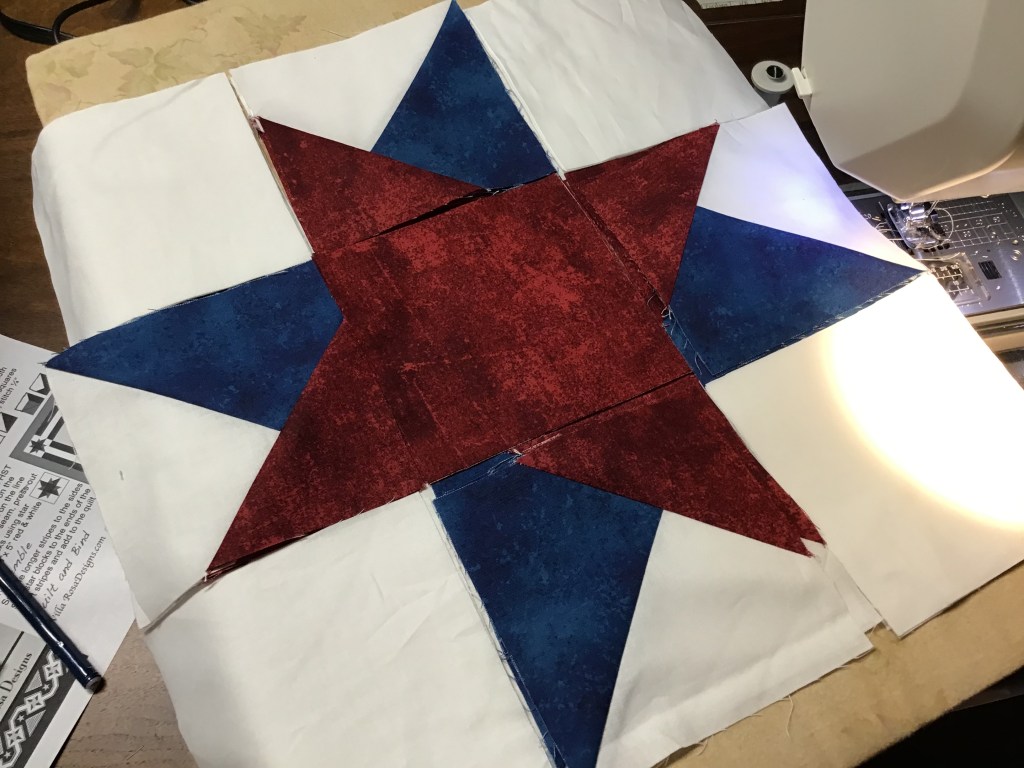
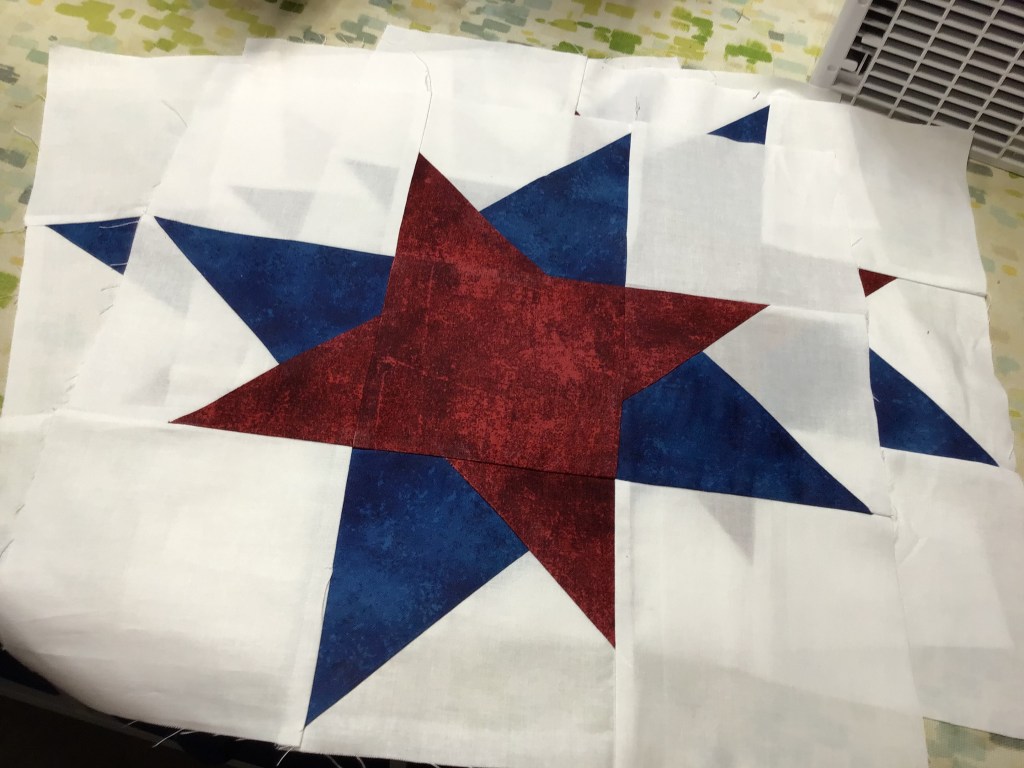
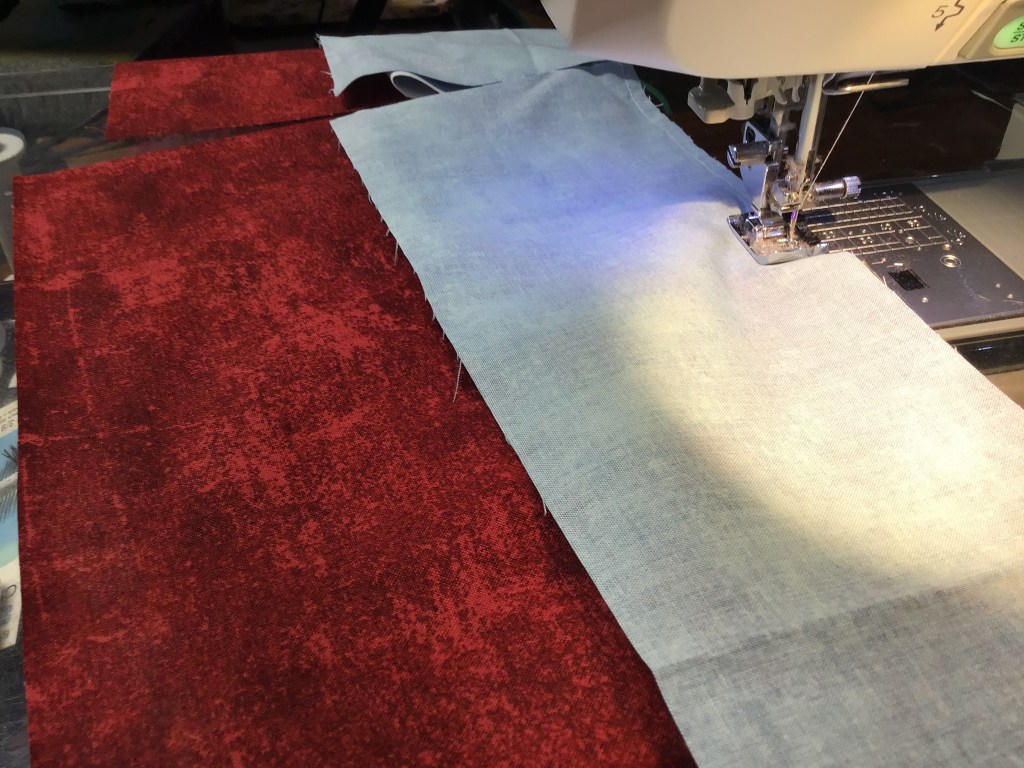
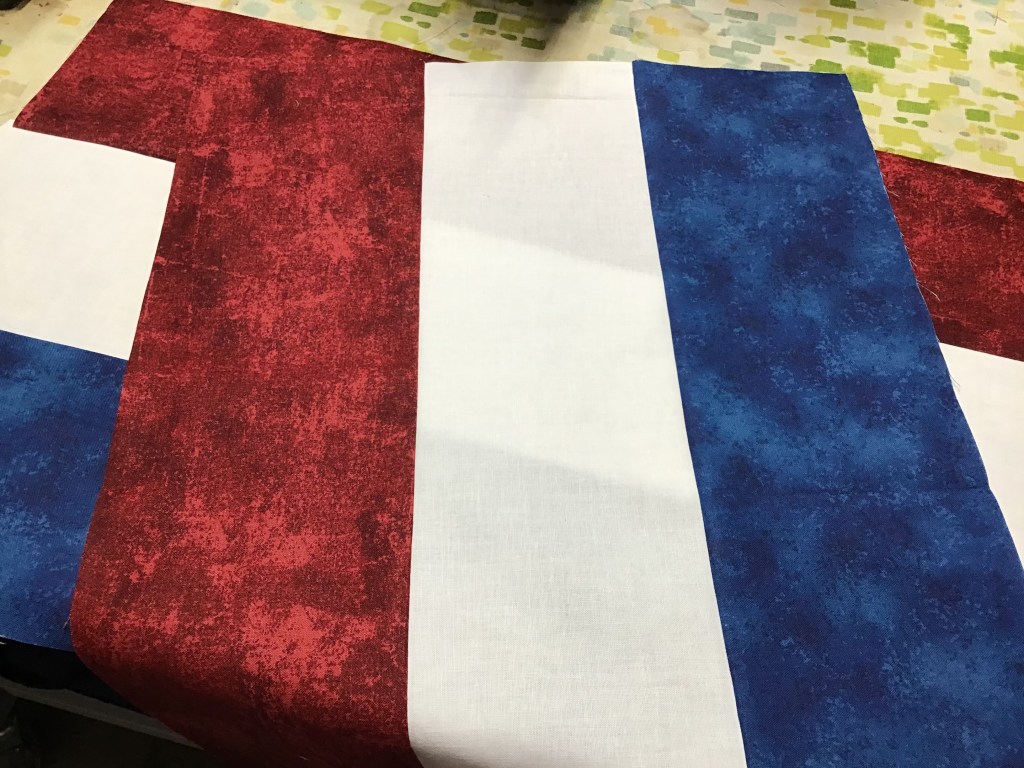
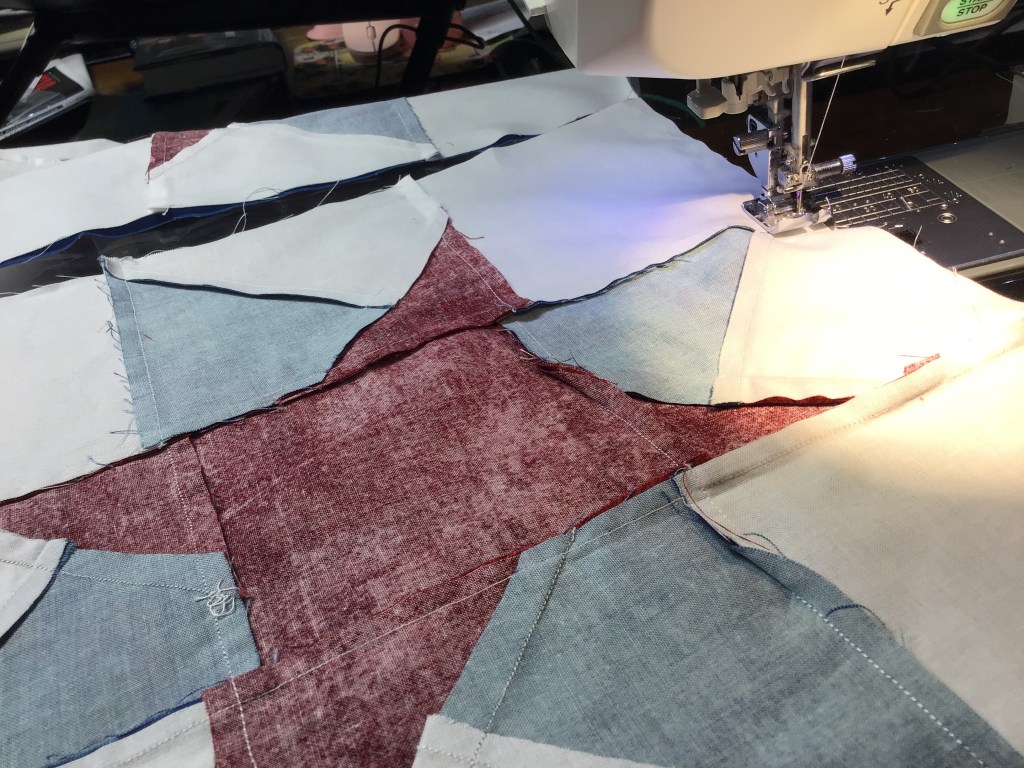
I am very proud to share that I personally made 3 out of the 4 quilts presented. You might recognize 2 of the quilts because they are Villa Rosa Designs Rose Card patterns. The 3rd one I made will be a new Rose Card which will be available soon. I would have made the 4th quilt, but I just ran out of time, so the 4th quilt was made and donated by QOV volunteers.
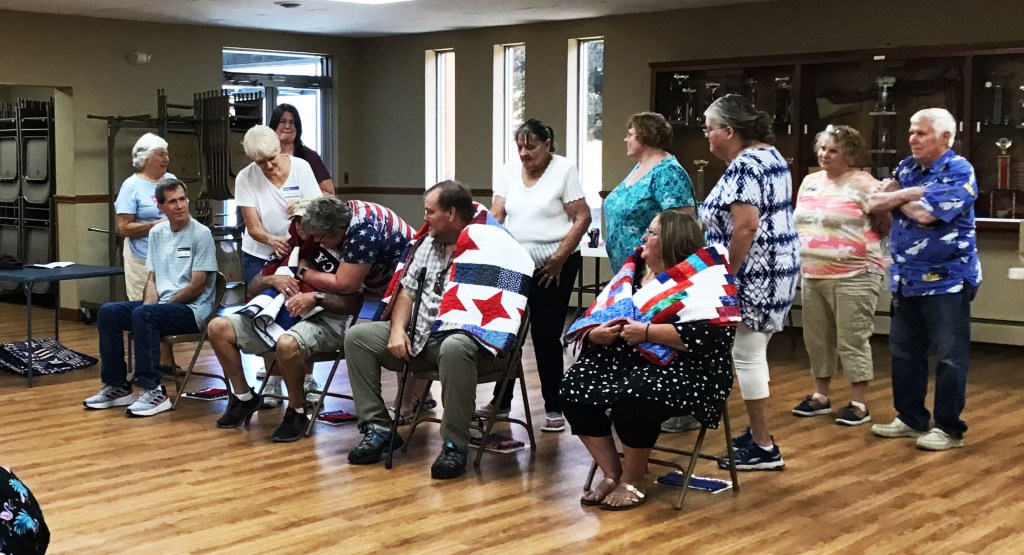
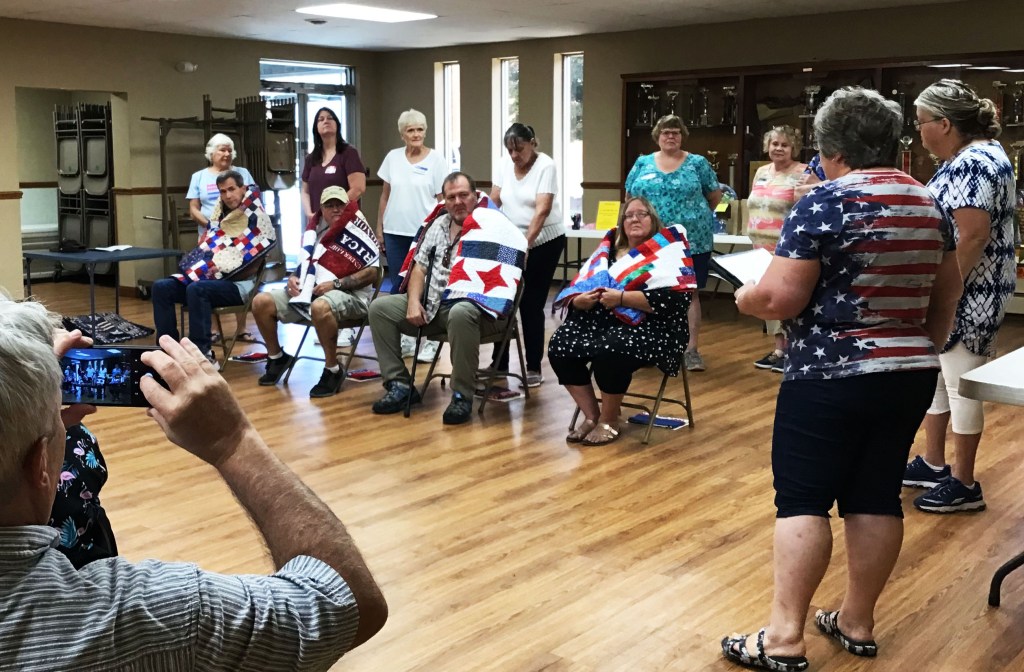
Allow me to share photos from our family Quilts of Valor presentation.
Each veteran was called up individually while Collene shared a short description of their service. And while each veteran was called up, the veteran’s quilt was displayed behind them usually by a family member and a volunteer. Here, you can see my cousin Lisa with her quilt displayed behind her. This quilt you will see again soon as a new Rose Card pattern called Gallant.

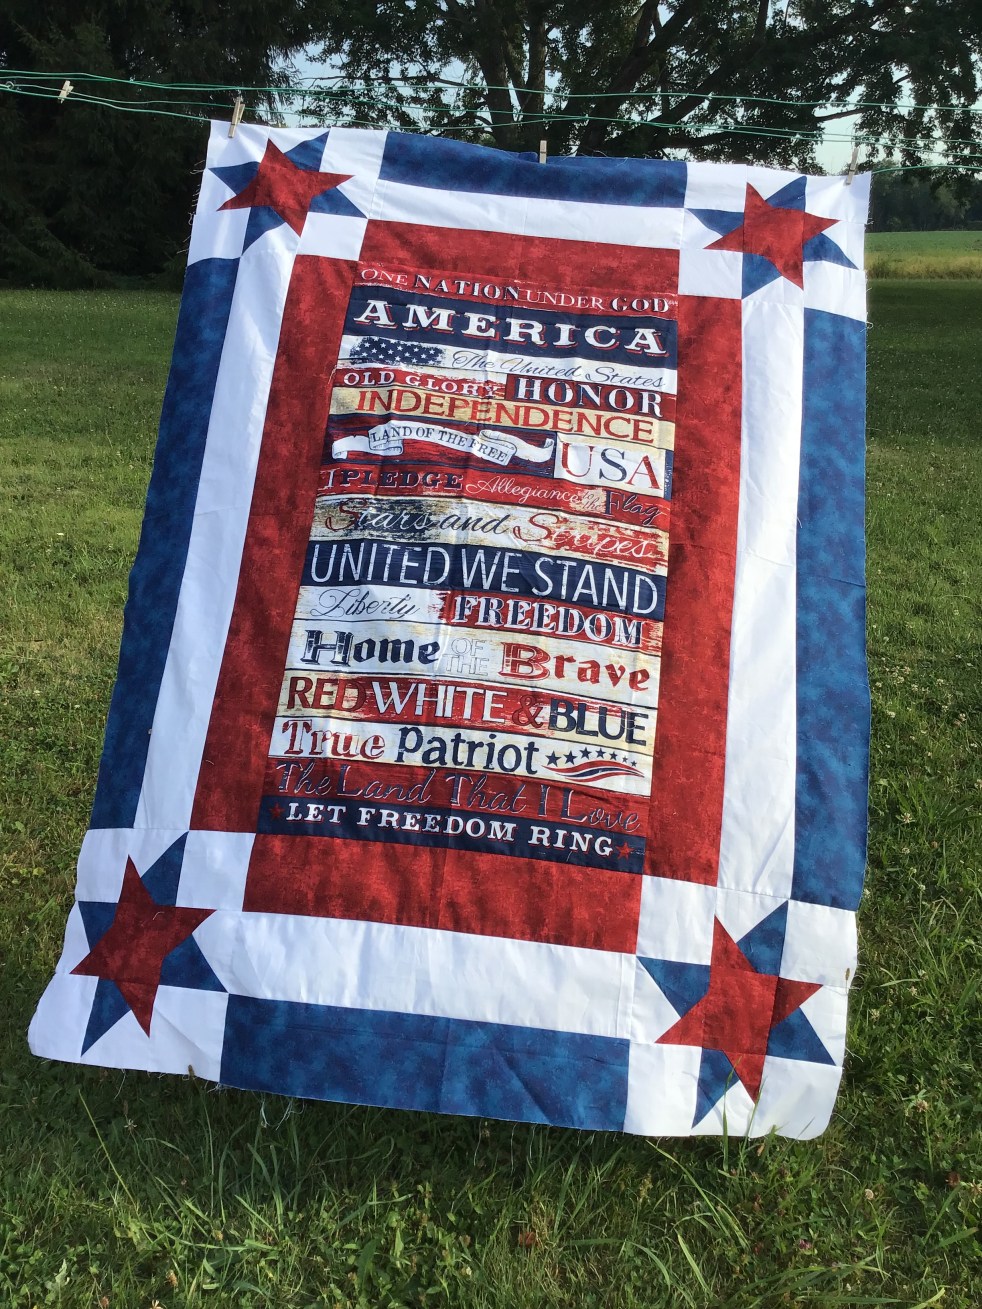
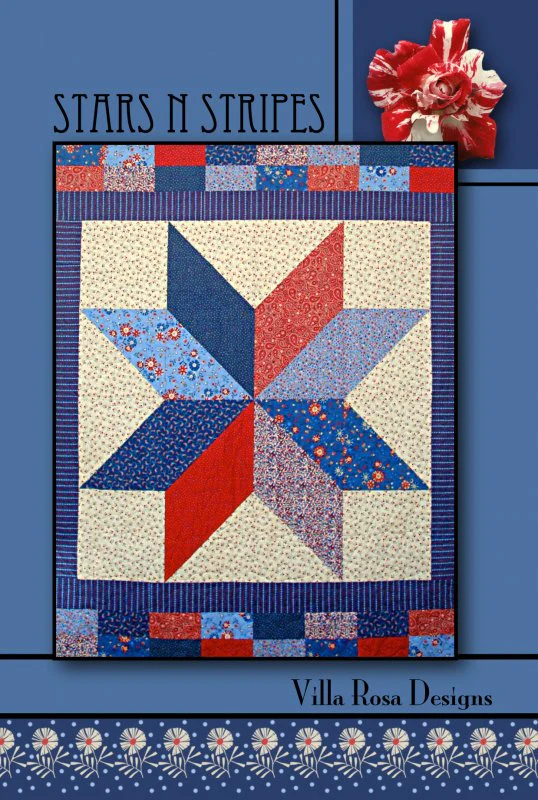
My cousin Michael (Lisa’s big brother) was called up next. His quilt is the Rose Card pattern, Salute, which is one of my patterns. You can buy the Salute Rose Card pattern HERE.

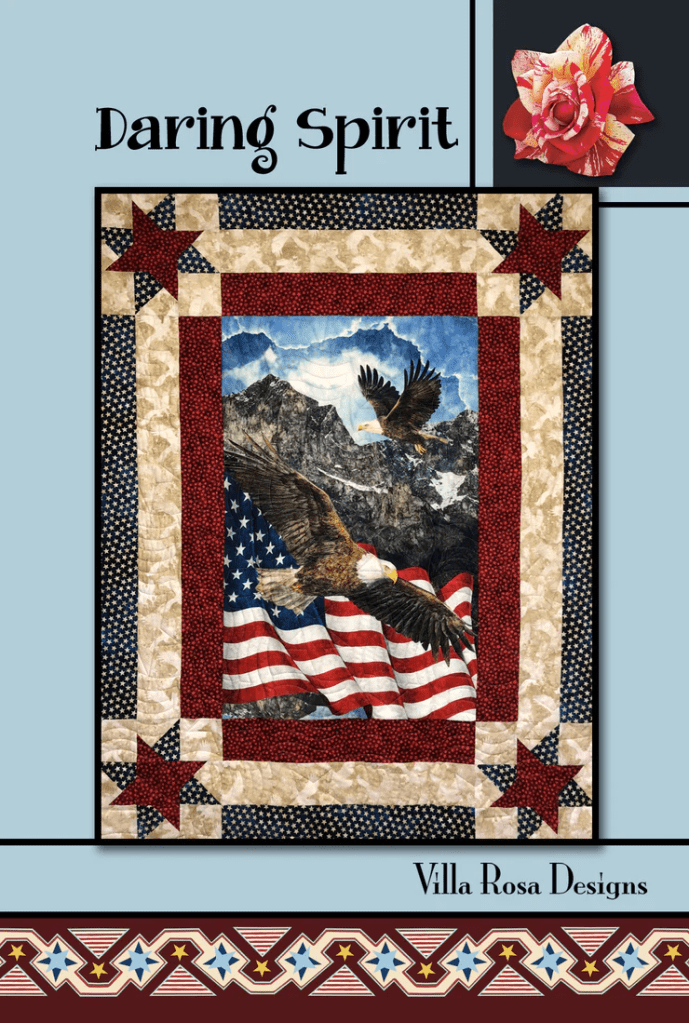
My cousin Ron Sr. was next. You will recognize his quilt as the VRD Rose Card pattern, Daring Spirit. In fact, this is the same quilt from the Daring Spirit tutorial I wrote for the blog a few weeks ago. I am notorious for combining different things into the same project to maximize my time. You can find the Daring Spirit tutorial HERE. You can buy the Daring Spirit Rose Card pattern HERE.

And our final recipient was my cousin, Ron Jr., who is Ron Sr.’s son. This beautiful scrap quilt was made and donated by QOV volunteers. Are you interested in making a quilt to donate to QOV? Or perhaps getting involved in another way? You can visit their website for more information: www.QOVF.org.

Once all the recipients were seated, then it was time to wrap each veteran in their quilt with a quilter’s hug. 2 people hugged each veteran — one a family member and one a quilter as they wrapped the quilt around the veteran. This was an incredibly emotional moment.


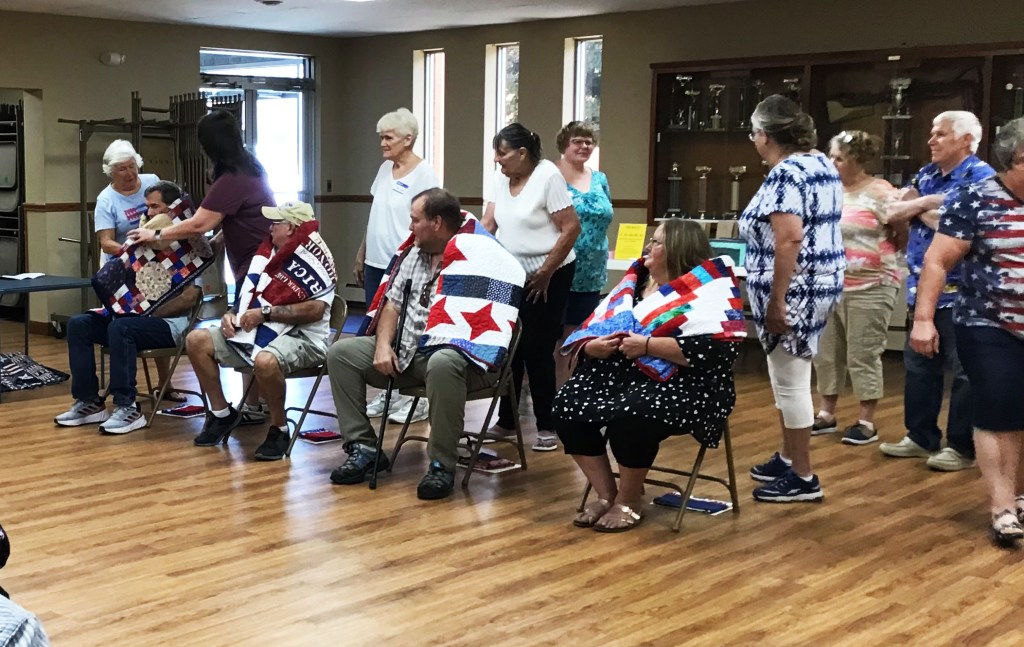
At the end of the presentation, each veteran received a certificate and a pillowcase.
Then there were lots of hugs and hand-shaking. What an amazing event to share at my family reunion this year! I know that there are more veterans and service members in the family, so I hope we can do this again next year.
I encourage each and every one of you to connect with the veterans and service members in your family and community. Nominate them to your local Quilts of Valor organization. Make and donate quilts. Volunteer. And above all, go to QOV presentations in your community to support local veterans and service members.
Visit www.qovf.org for more information and to get involved.
Well, that’s it for this week.
Until next Thursday —
Sew. Laugh. Repeat.
Always,
Tricia @VRD