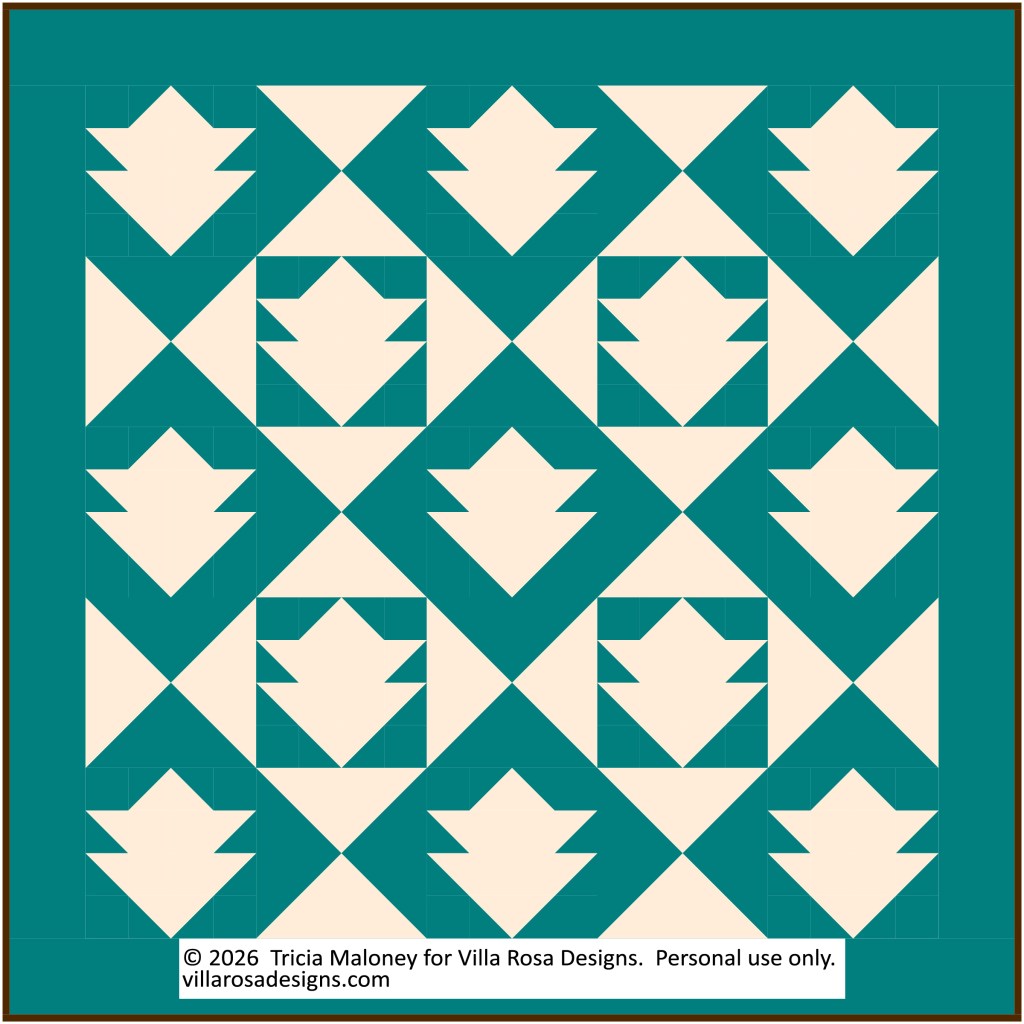
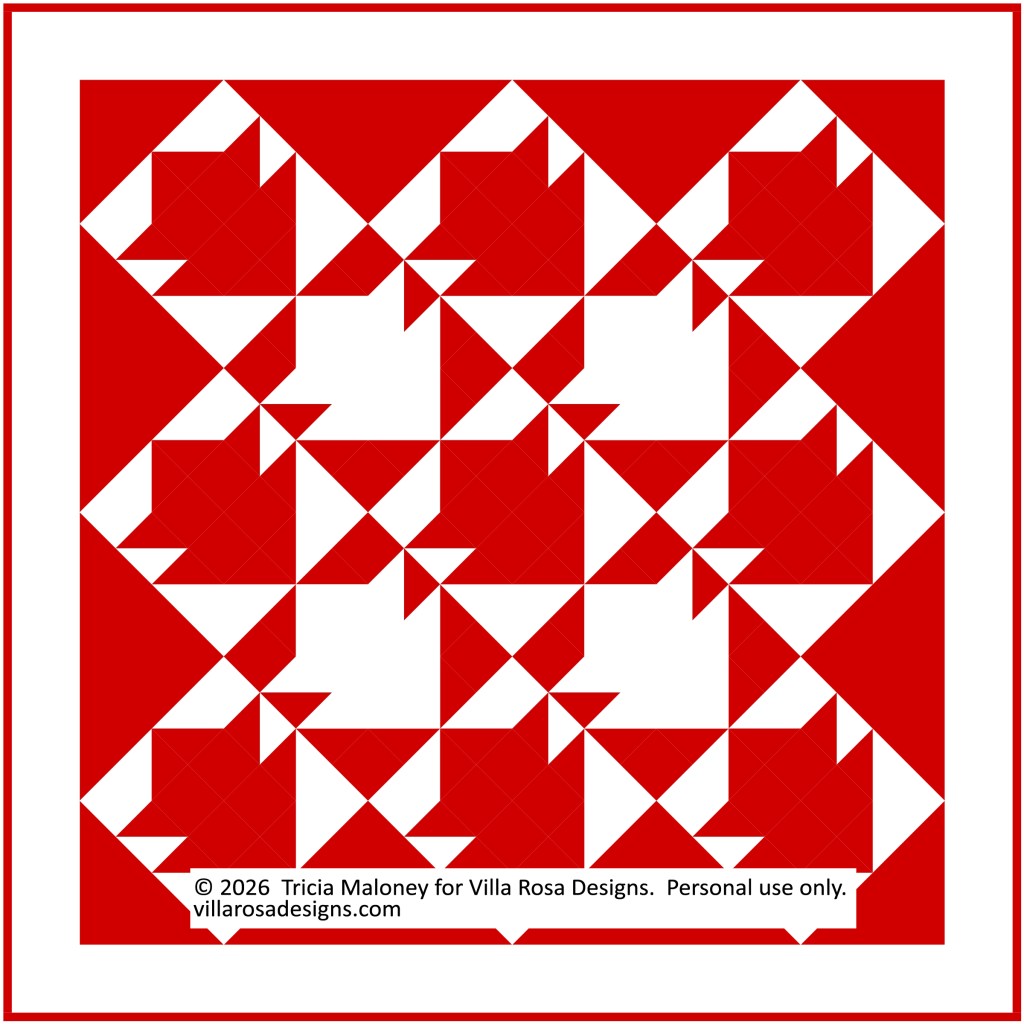
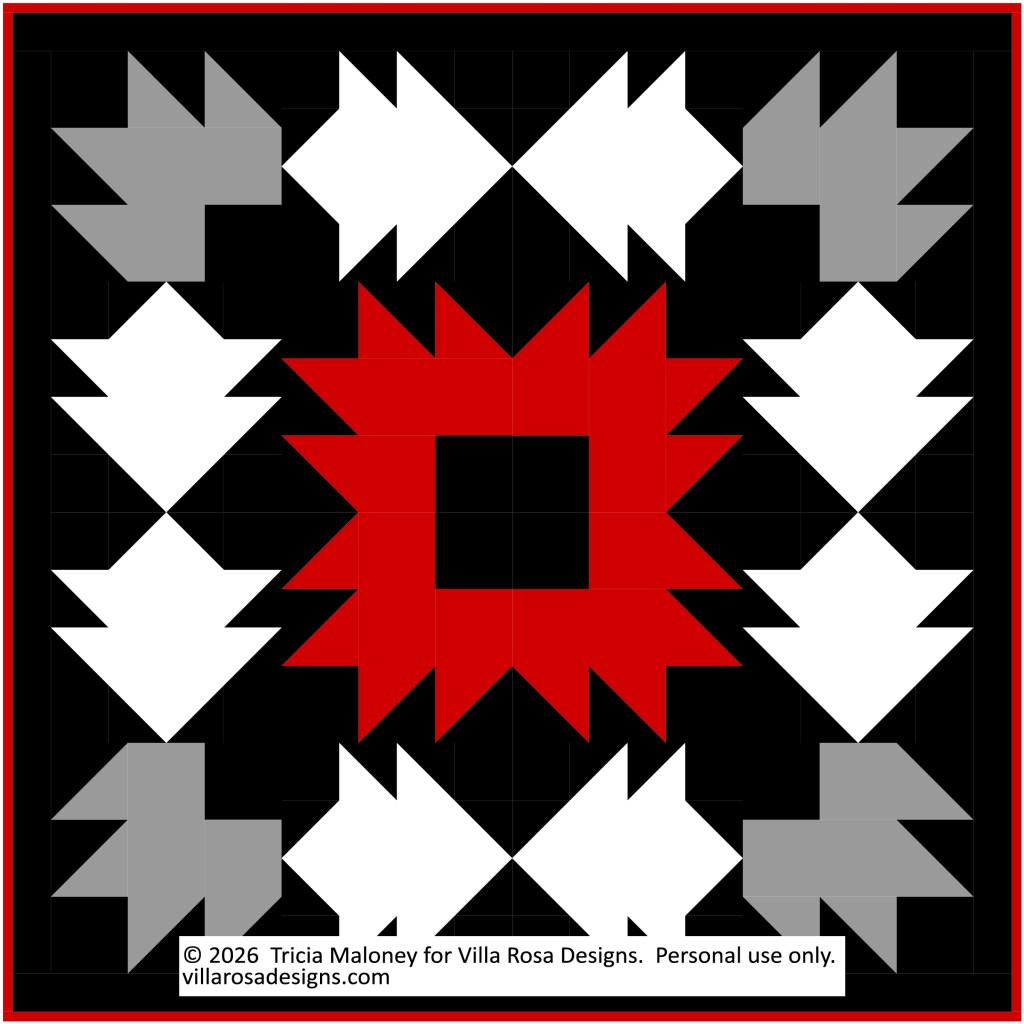
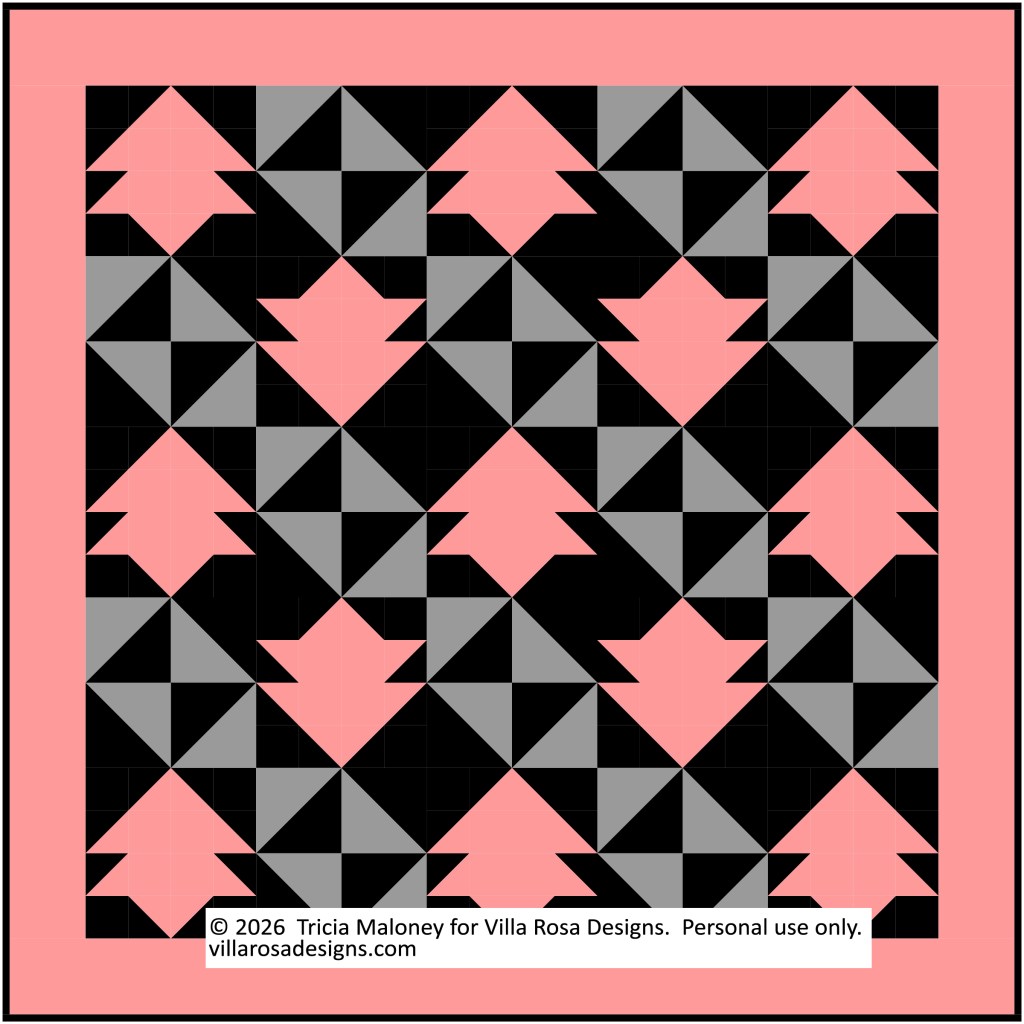
I trust you all survived Labor Day weekend? I did! Happily, I had 2 days of sewing with my sewing buddy, Robin (Hi Robin!) – yay! – and I went to Robin’s 2 year old grandson’s birthday party. It was a good weekend.
Today, I’ve got a free fun little scrappy fall leaf block pattern PDF download for you.
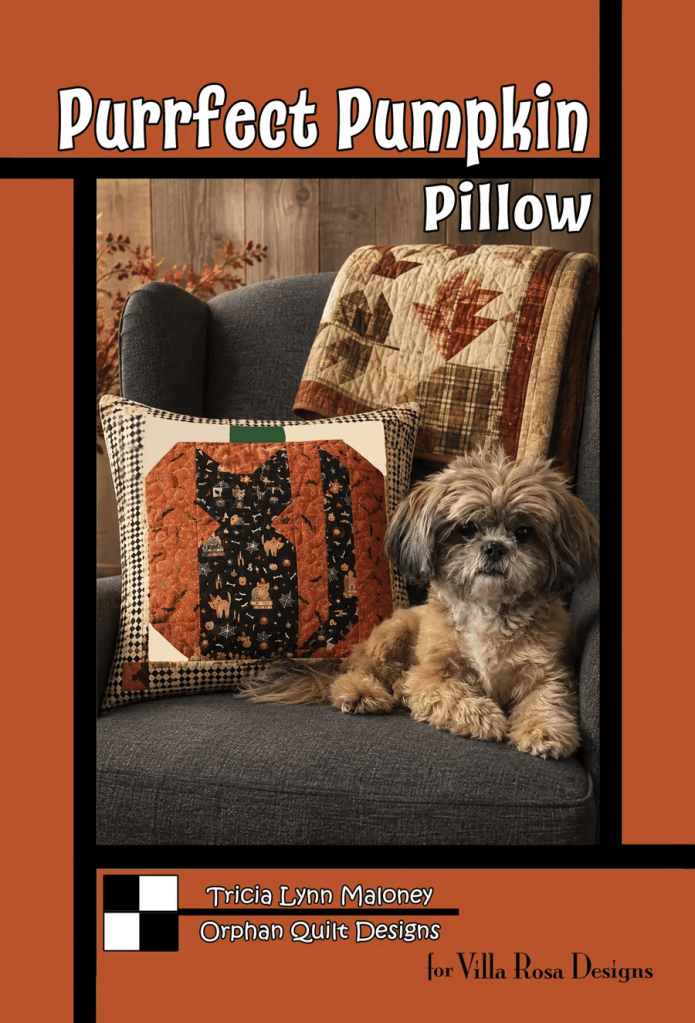
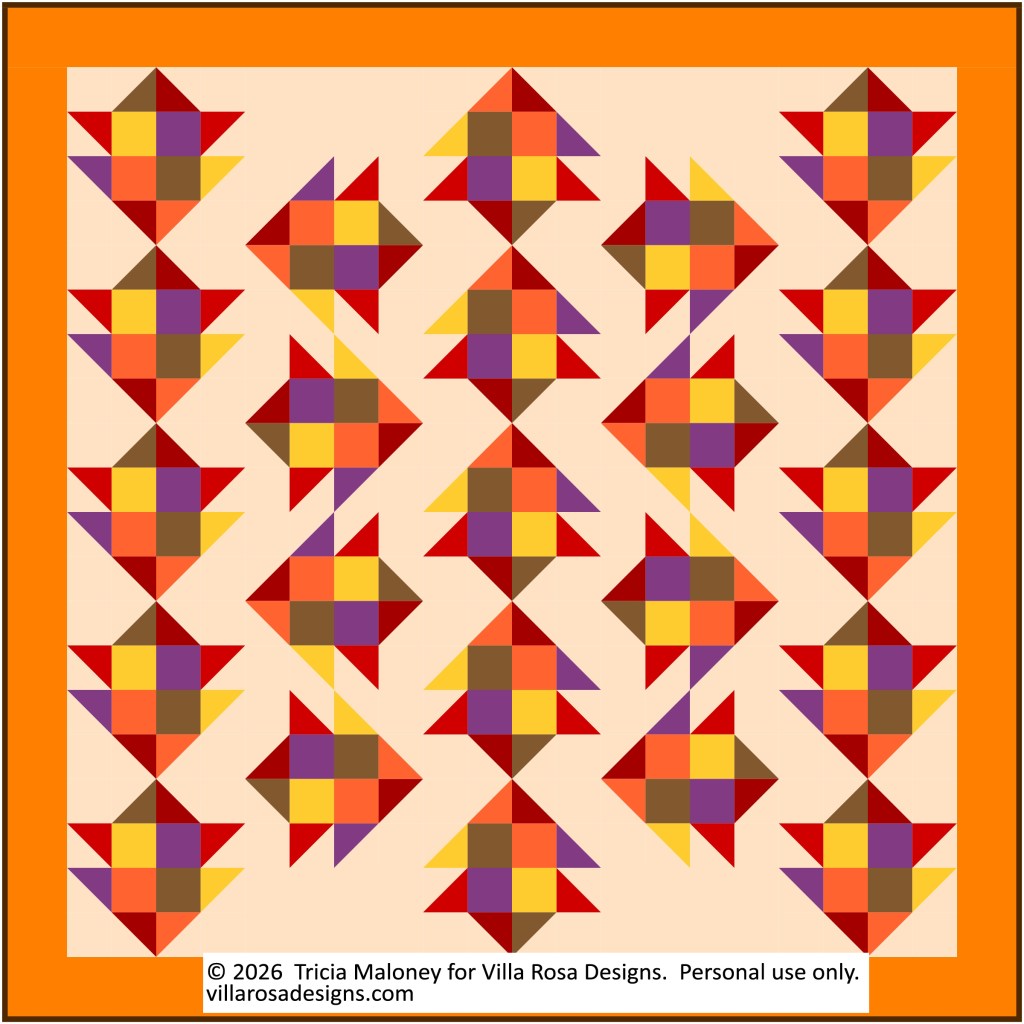
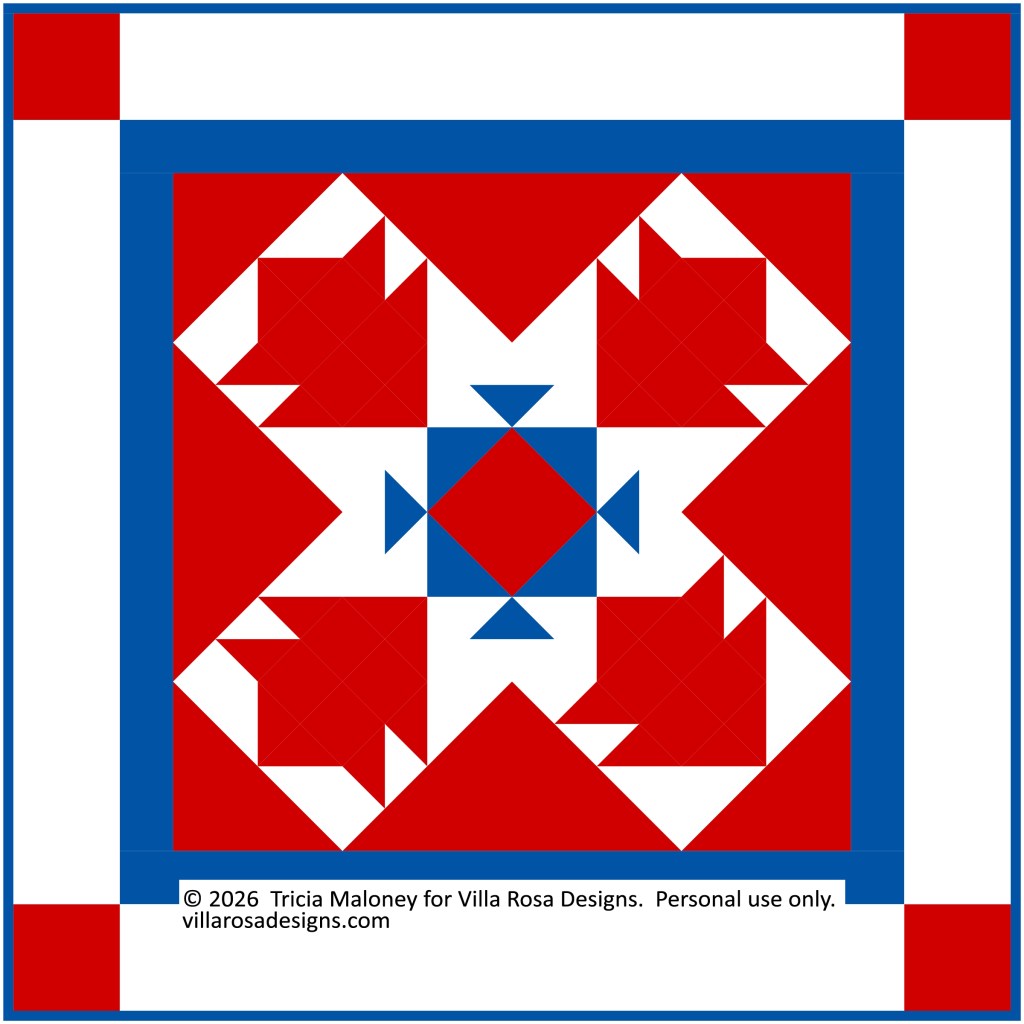
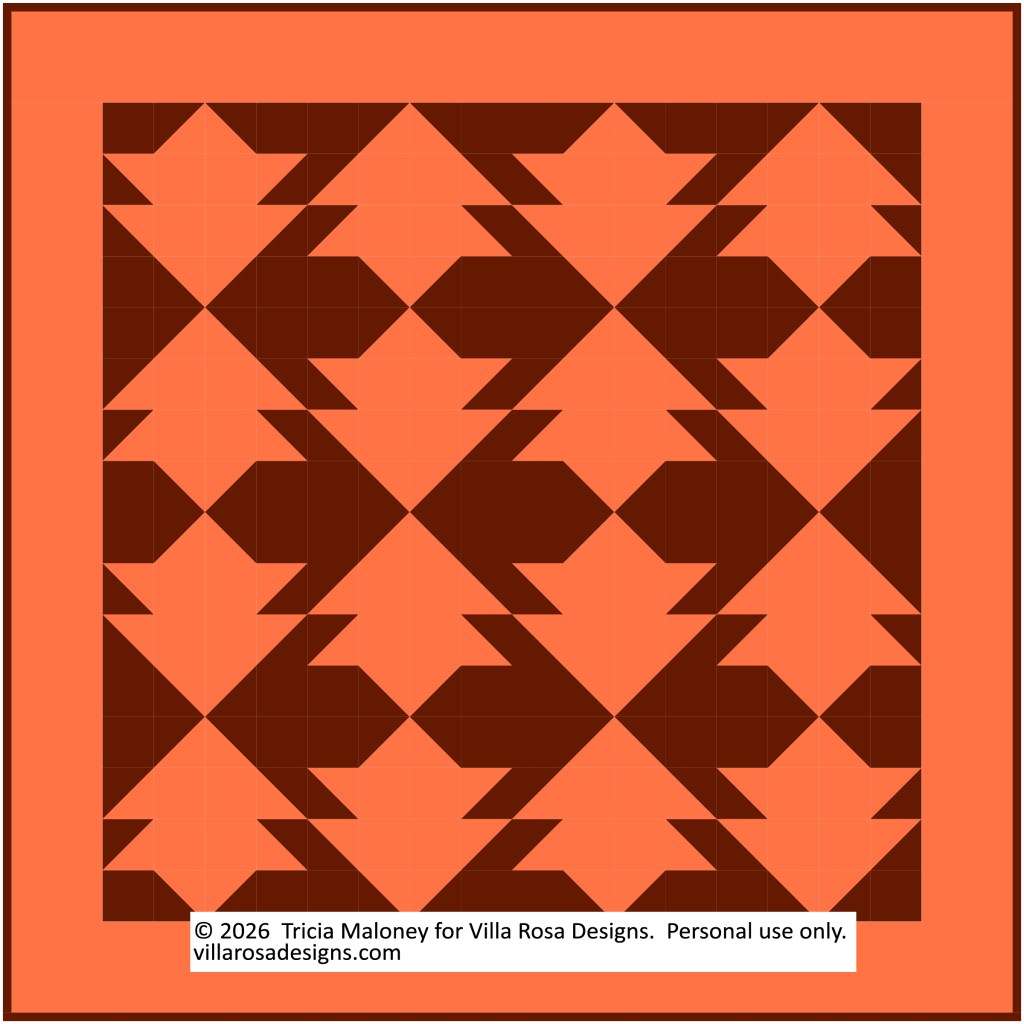
This block, which I’ve named Colorful Me Autumn, is adapted from one of the leaves on the throw in the background of my new September Rose Card pattern, Purrfect Pumpkin. You can see the throw on the pattern, below, over on the right side on the top of the chair.
Just the other day, I had a question asking if I had the pattern for the throw. Although I couldn’t reproduce the entire throw, I did adapt one of the blocks for you.
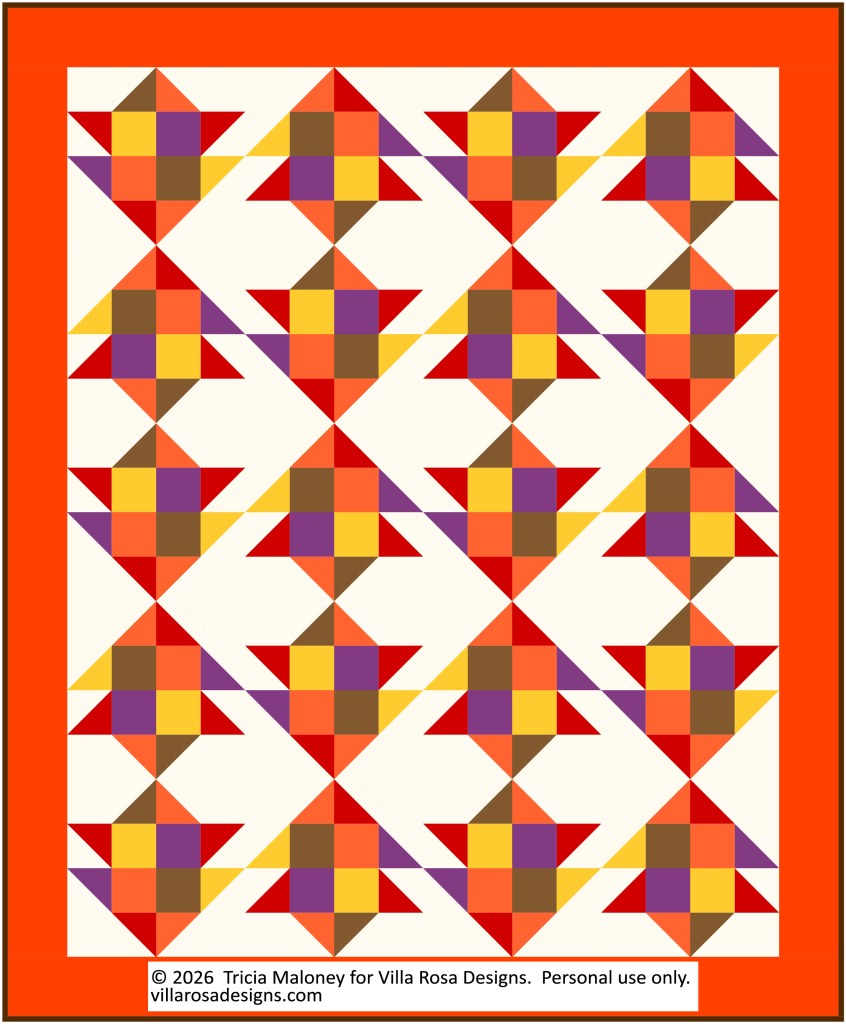
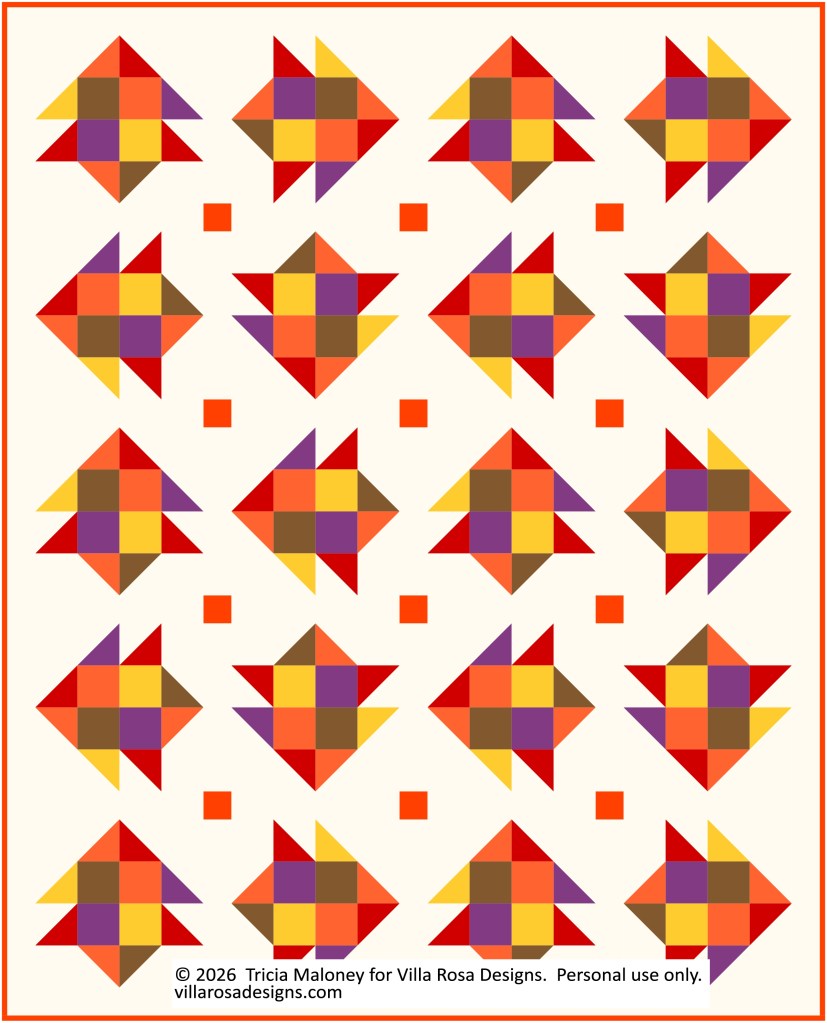
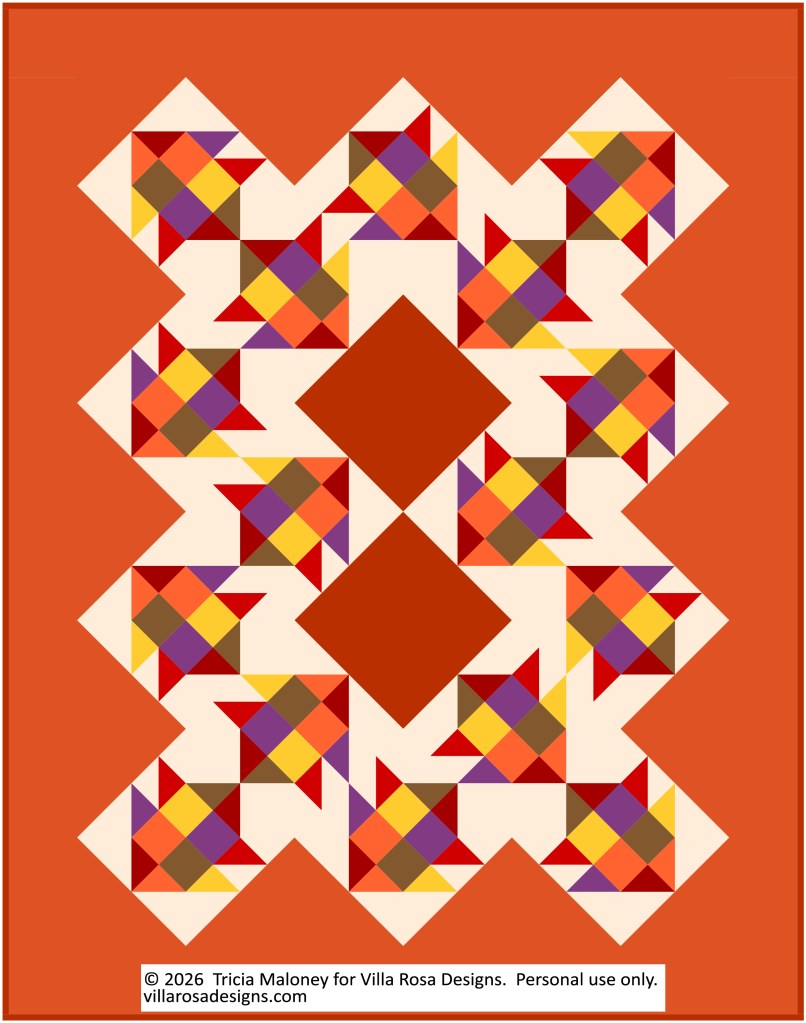
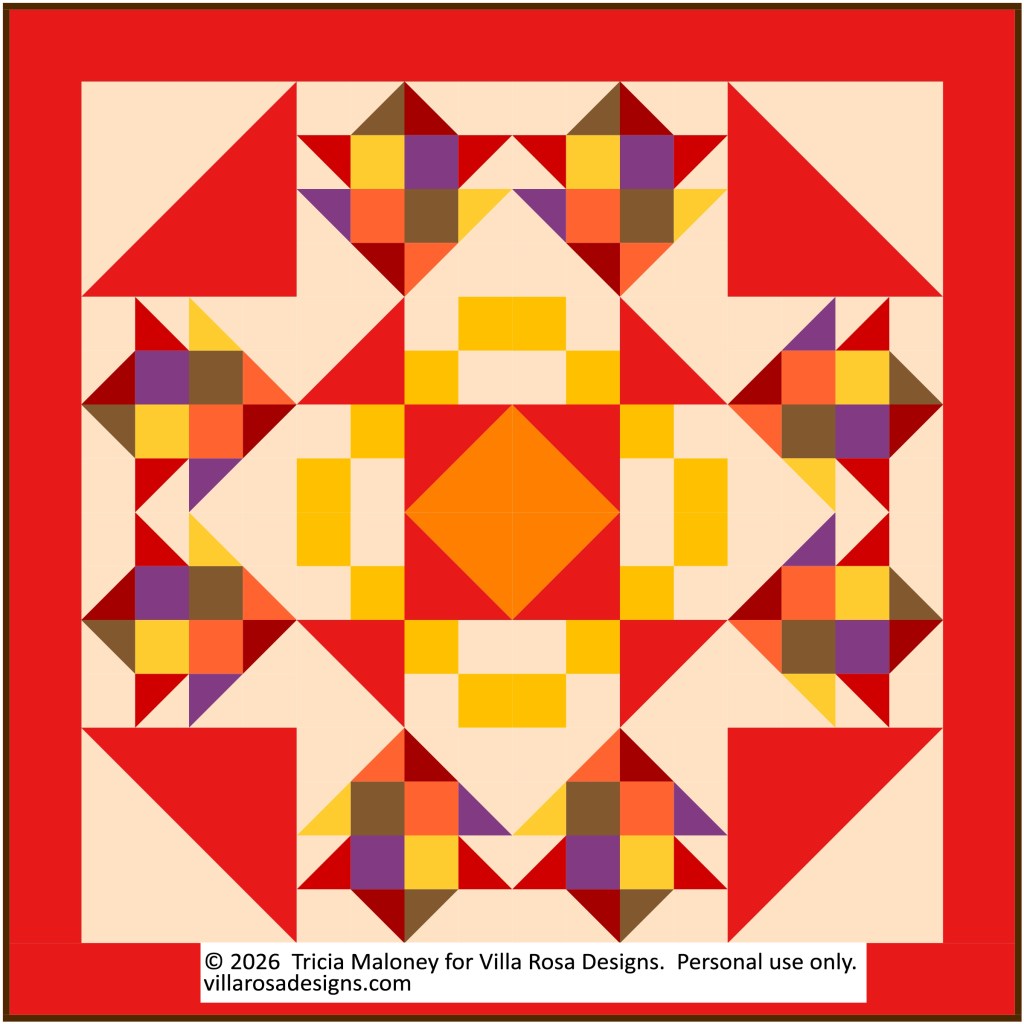
Here’s the Color Me Autumn block. Isn’t it fun??? You can make it totally scrappy so you can raid your own fabric stash OR use a single fabric for each block to make your quilt more organized. The block finishes at a nice 12″ x 12″.
Below is the PDF download with instructions for making the block:
Huh! It just occurred to me that our weekly Thursday blog post will happen on Thanksgiving Day!
I was planning to return to my Panel Quilt series, but then I thought it would be fun to design a little project just for Y-O-U as a Thanksgiving gift, because we here at Villa Rosa Designs couldn’t exist without the loyal support of you, our enthusiastic VRD fans and supporters. We are sew thankful for you.
What are your traditions for Thanksgiving? Do you cook a big family meal? Go out for Thanksgiving dinner? Watch football? Attend or watch the Macy’s Thanksgiving Day Parade? Do you celebrate alone or with a big boisterous family? Do you celebrate at someone else’s home or does everyone come to yours? Do you get a head start on your holiday shopping?
Thanksgiving is generally a small quiet affair with my family. Sometimes we cook and eat in, but in the past we’ve gone out, too. Usually there are just three of us but occasionally my sister and her family will stop by later for pumpkin pie. Depending on which teams are playing football on Thanksgiving, I usually find a little time to get some quilting in while my family is cheering on their team.
My favorite Thanksgiving holidays have been spent at my Aunt Helen’s house with my many cousins and their families. My Aunt’s house is usually bursting at the seams with people and dogs. Squabbling, laughter, enough amazing food to feed an army, and lots of good conversation and memories. Football on the television in the living room. Sometimes cards or board games after dinner at the kitchen table. Good times and new memories in the making.
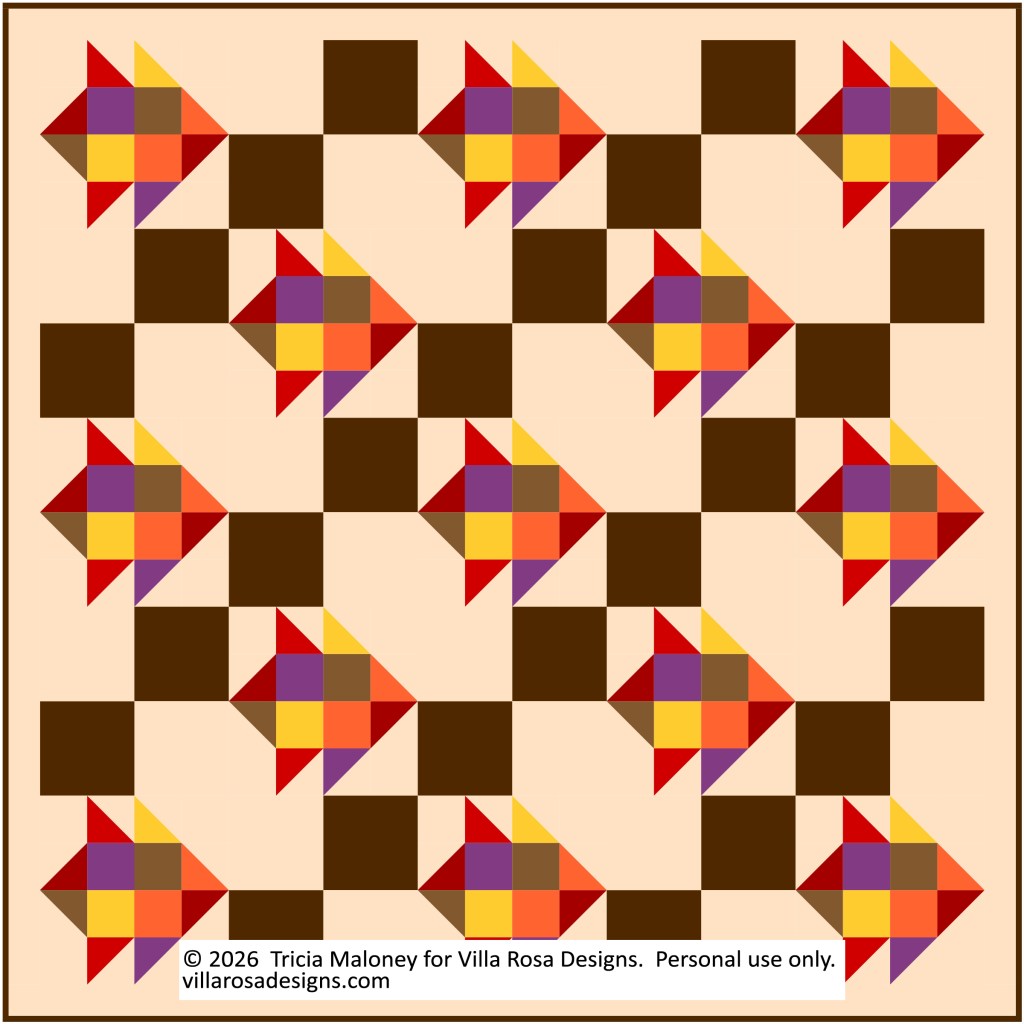
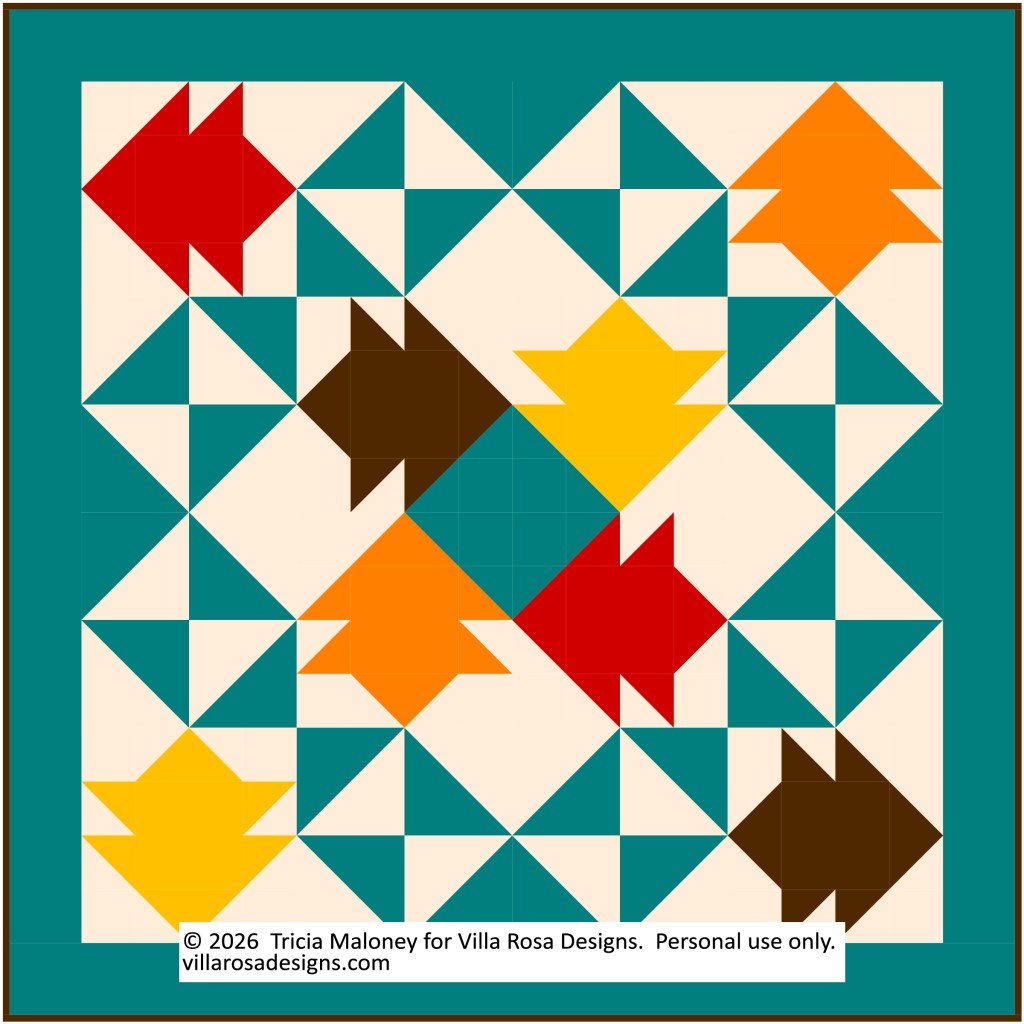
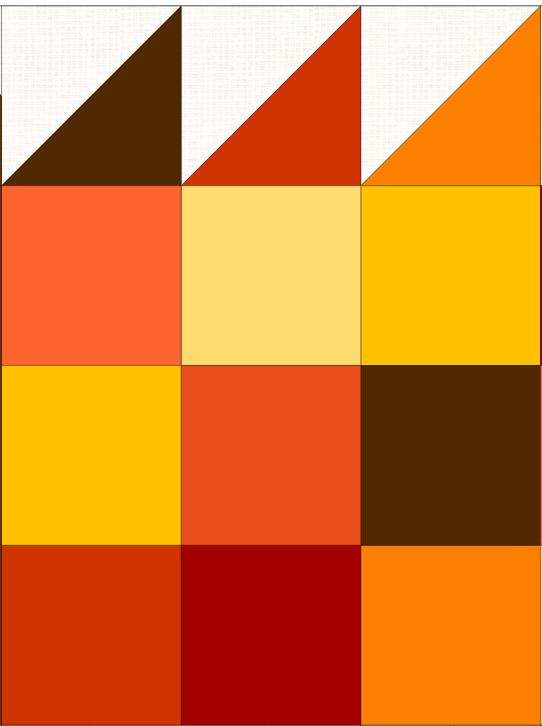
All of these warm fuzzy feelings and memories made me want to design a special Turkey Quilt Block as a way to say “Thank You” to all of you! I was inspired by Lori Holt’s Tom Turkey Quilt Block tutorial, but I created my own turkey block, based on a humble Nine Patch because I wanted my Talking Turkey block to be happy and plump.
My Talking Turkey block finishes at 16″ high by 22″ wide.
Below is my sample Talking Turkey block. Isn’t he a handsome fellow????
Now that you’ve seen how yummy this block turned out, let’s get started on the tutorial!
Talking Turkey Quilt Block Tutorial
Supplies
12 assorted charm squares (5″) for the feathers/body
1 fat quarter for the background
1 fat eighth brown for the head/neck
Scrap of red for the wattle, approximately 2″ x 5″
Cutting
Background: 3 5″ squares, 1 4 1/2″ square, 3 2 1/2″ squares, 1 2 1/2″ x 12 1/2″ rectangle, 1 2 1/2″ x 8 1/2″ rectangle, 1 2 1/2″ x 4 1/2″ rectangle, 1 1 1/2″ x 4 1/2″ rectangle , and 1 1/2″ square
Red Scrap: Trim to 1 1/2″ x 4 1/2″
Brown: 1 2 1/2″ x 16 1/2″ rectangle, 1 2 1/2″ x 4 1/2″ rectangle, and 1 2 1/2″ square
Making the Block
Step1. Trim 9 assorted charm squares down to 4 1/2″ and sew them together into a Nine Patch block.
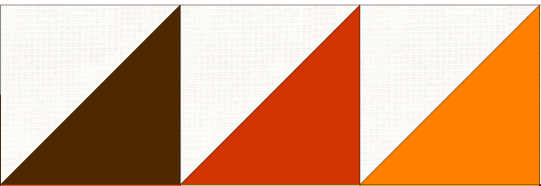
Step 2. Layer a print 5″ square right sides together (RST) with a background 5″ square. Draw a diagonal line from one corner to the opposite corner. Sew 1/4″ away from both side of the drawn line. Cut apart on the drawn line. Press units open to make 2 Half Square Triangle blocks (HSTs). Repeat to make a total of 6 HSTs. Trim your HSTs to 4 1/2″ if needed.
Step 3. Sew 3 assorted HSTs together into a row with the top point to the right as shown.
Step 4. Sew the remaining 3 HSTs together with the top point to the left as shown. (You are making a mirror image of the unit in Step 3.)
Step 5. Sew the HST unit from Step 3 to the top of your Nine Patch block.
Step 6. Sew a 4 1/2″ background square to the left end of the HST unit from Step 4. Then sew the HST strip to the right side of the Nine Patch block.
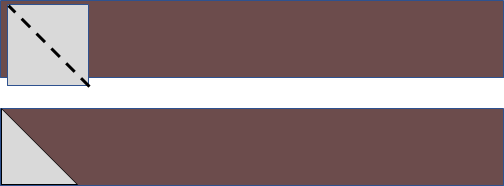
Step 7. Layer a background 2 1/2″ square RST on the end of the brown 2 1/2″ x 16 1/2″ rectangle. Draw a diagonal line from the top left corner to the opposite corner. Sew on the line. Trim away the waste piece 1/4″ beyond the sewing line. Open and press.
Step 8. Layer a background 2 1/2″ square on the other end of the brown 2 1/2″ x 16 1/2″ rectangle. Draw a diagonal line from the top left corner to the opposite corner. Sew on the line. Trim away the waste piece 1/4″ beyond the sewing line. Open and press.
Step 9. Layer a background 2 1/2″ square RST on the end of a brown 2 1/2″ x 4 1/2″ rectangle. Draw a diagonal line from the bottom left corner to the opposite corner. Sew on the line. Trim away the waste pieces 1 /4″ beyond the sewing line. Open and press.
Step 10. Layer a background 1 1/2″ square RST on the end of a red 1 1/2″ x 4 1/2″ rectangle. Draw a diagonal line from the bottom left corner to the opposite corner. Sew on the line. Trim away the waste pieces 1/4″ beyond the sewing line. Open and press.
Step 11. Sew a background 1 1/4″ x 4 1/2″ to the Step 10 unit. Then sew a 2 1/2″ x 8 1/2″ rectangle to the bottom of the unit as shown.
Step 12. Sew the brown unit from Step 9 to the end of the unit from Step 11.
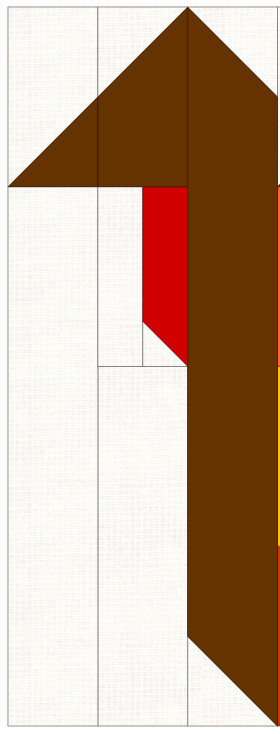
Step 13. Layer a brown 2 1/2″ square RST on the end of a background 2 1/2″ x 4 1/2″ rectangle. Draw a diagonal line from bottom left corner to the opposite corner. Sew on the line. Trim away the waste pieces 1 /4″ beyond the sewing line. Open and press. Then sew the unit on the right end of a background 2 1/2″ x 12 1/2″ rectangle.
Step 14. Sew the units from Steps 8, 12, and 13 together to make the turkey head, wattle, and neck.
Step 15. Sew the front of the turkey from Step 14 to the back of the turkey from Step 6.
Voila! A plump and yummy Talking Turkey block for you to enjoy! Happy Thanksgiving to you!
As per our Copyright for Quilters post last week, I give you permission to use my original Talking Turkey quilt block for personal and commercial use, as long as you provide proper attribution that I am the designer of the Talking Turkey quilt block.
Add a narrow border, quilt and bind for a little wall or table quilt.