Hello Quilty Friends!
Happy Thursday to you!
What’s shakin’? Me, just sitting here thinking about which quilt block we’re going to feature today to wrap up our Design a Quilt series. I’m kind of bummed that today’s the final post in this series, but it is true that all good things must come to an end. That makes sense, because, if they didn’t then we would never have the opportunity to find new good things.
I’ve also been thinking about how you, dear readers, can utilize what we’ve covered in this series. The biggest thing that occurs to me, of course, is designing your own quilts using common quilt blocks. Common quilt block designs (like Nine Patch, Irish Chain, Four Patch, Sawtooth Star, etc., etc.) would most likely be considered in the public domain.
Want to find public domain quilt block designs? Just Google it! Pretty much all quilt block designs (and everything else in print) from publications before 1923 are considered public domain. Another idea is to look up quilt block history to see if the blocks were used before 1923. You can also invest in a quilt block reference or 2.
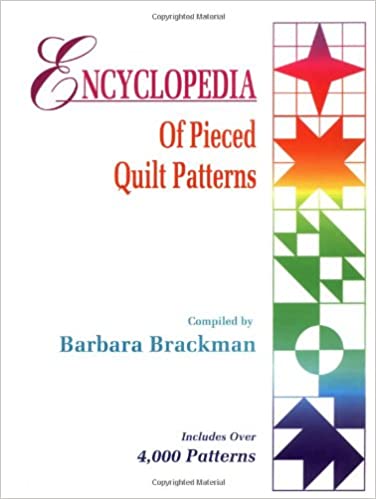
My favorite reference is Barbara Brackman’s Encyclopedia of Pieced Quilt Patterns.

For those of you who may not have heard of Barbara Brackman – she is probably the most well-known quilt historian in the USA, if not the world. Her book is meticulously researched and includes a reference section with original publications for the blocks in the book. Believe me, you will never run out of inspiration – there are over 4000 blocks in the book!
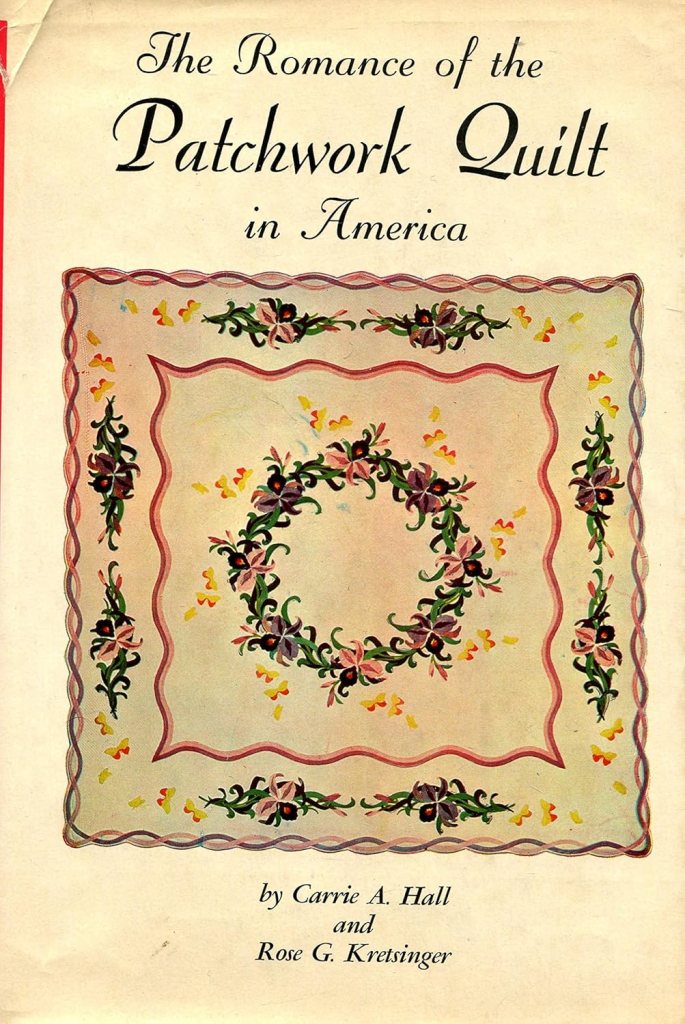
Another oldie but goodie block reference is The Romance of the Patchwork Quilt in America by Carrie A. Hall and Rose G. Kretsinger. This book was published in 1935 and is actually in the public domain itself. It includes A LOT of old pieced and appliqued quilt blocks and quilts along with historical notes. You might be able to find a used copy as its out of print, or I’ve included a link to an e-book version above.
What does all this mean, really?
If you want to sell quilts, the best way to do that is to design your own instead of using someone’s copyright-protected pattern, which, as we’ve previously explored, has the potential to cause you legal issues down the road.
Want to be a quilt designer?
Create/sell your own patterns?
Design quilts for quilt magazines?
Write a quilt book?
Easy peasy, use public domain/common quilt blocks to create your own designs. Then your designs would be copyright protected, too.
Huh. Kind of mind-blowing, isn’t it? That doing something so simple – and FUN! – can become your own copyright-protected work.
Just something for you to think about….
Let’s move on to today’s block: Drunkard’s Path.
Let’s Design a Quilt: The Drunkard’s Path Block
Here is a basic Drunkard’s Path block unit.

The Drunkard’s Path block has a very interesting and rich history with roots in ancient Egypt. The block was popular with the Underground Railroad and the Women’s Temperance movement in the US. For a more and detailed history, please check out this article on the AccuQuilt blog: A History of the Drunkard’s Path Quilt Patterns.
Today, we are going to explore some of the interesting ways you can arrange this humble block unit, add sashing or not, and using color to tweak the design.
Before we can design a Drunkard’s Path quilt, we need to explore some of the many many different Drunkard’s Path variations. Believe me, these ideas are just the tip of the iceberg.
Here are a few books to explore more Drunkard’s Path designs.

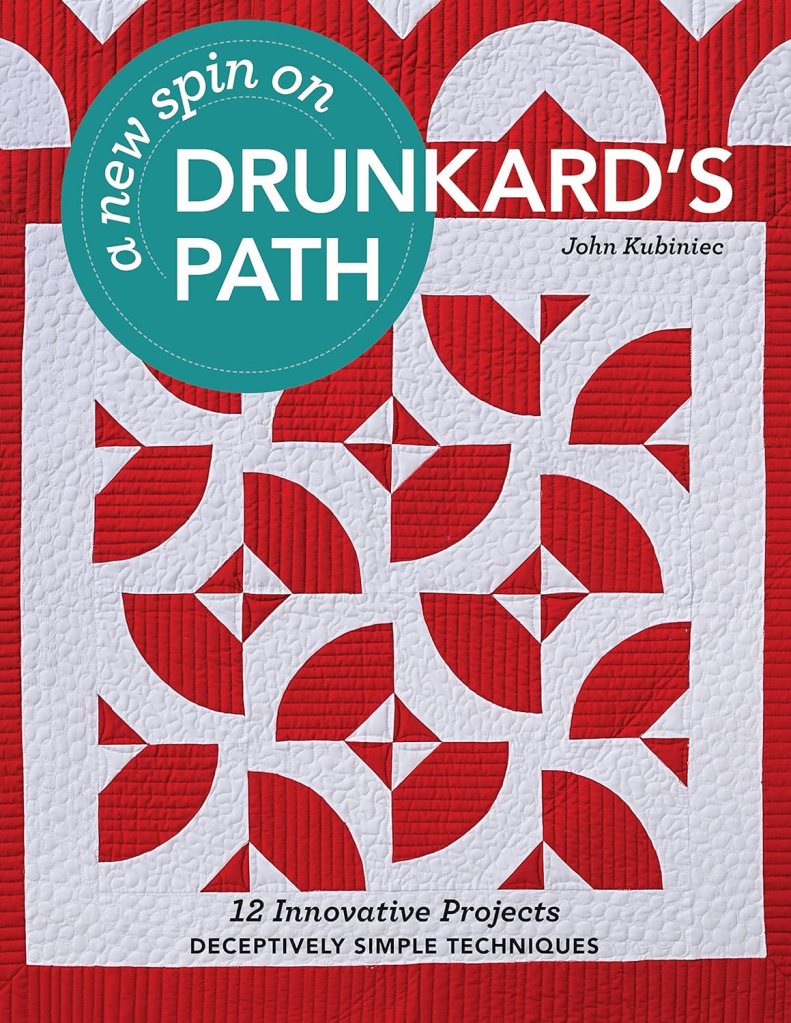
Get the book HERE
Here are different ways to arrange the units in a 2 x 2 layout. Which one is your favorite?


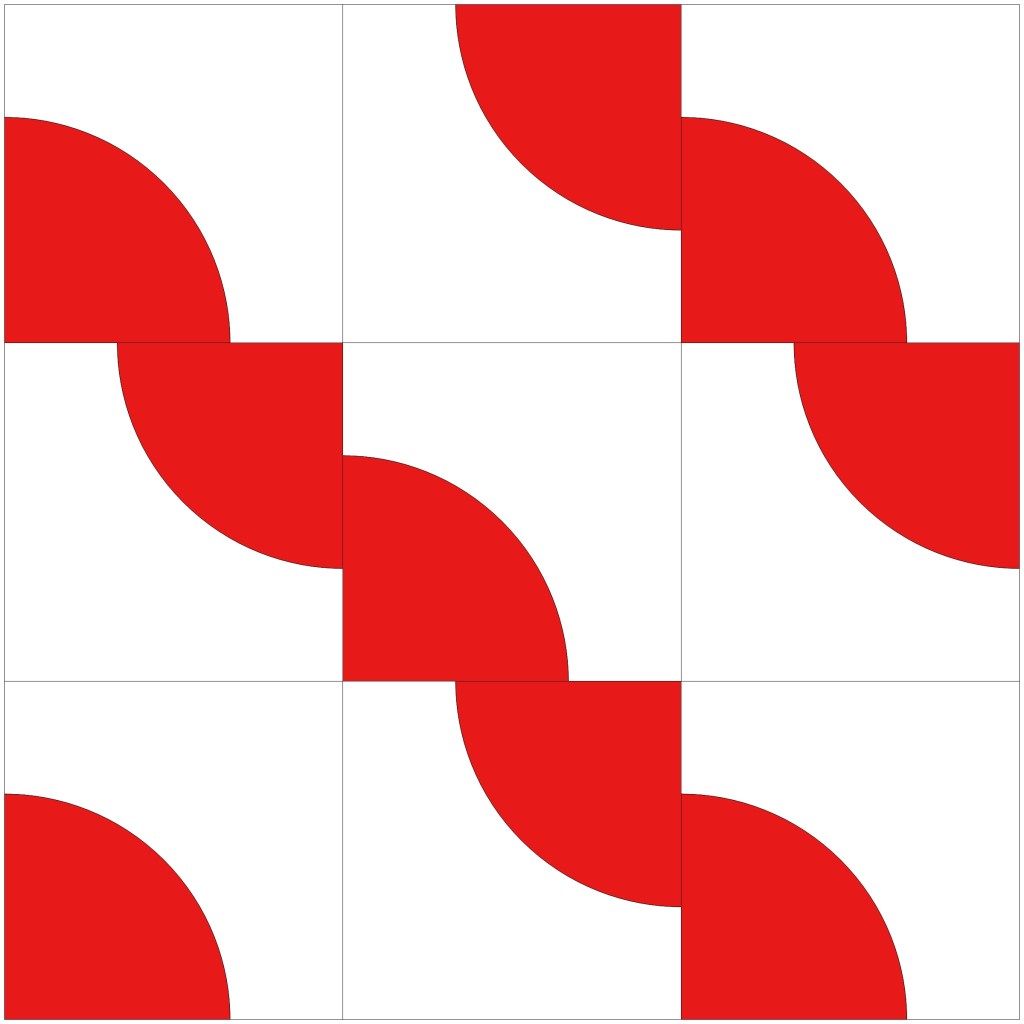
Okay, let’s try a 3 x 3 grid.


Now let’s see what a 4 x 4 grid looks like.


So I think you get the idea about the endless possibilities of the Drunkard’s Path block unit. Why don’t you try a 5 x 5 grid or a 6 by 6 grid to see what you can create?
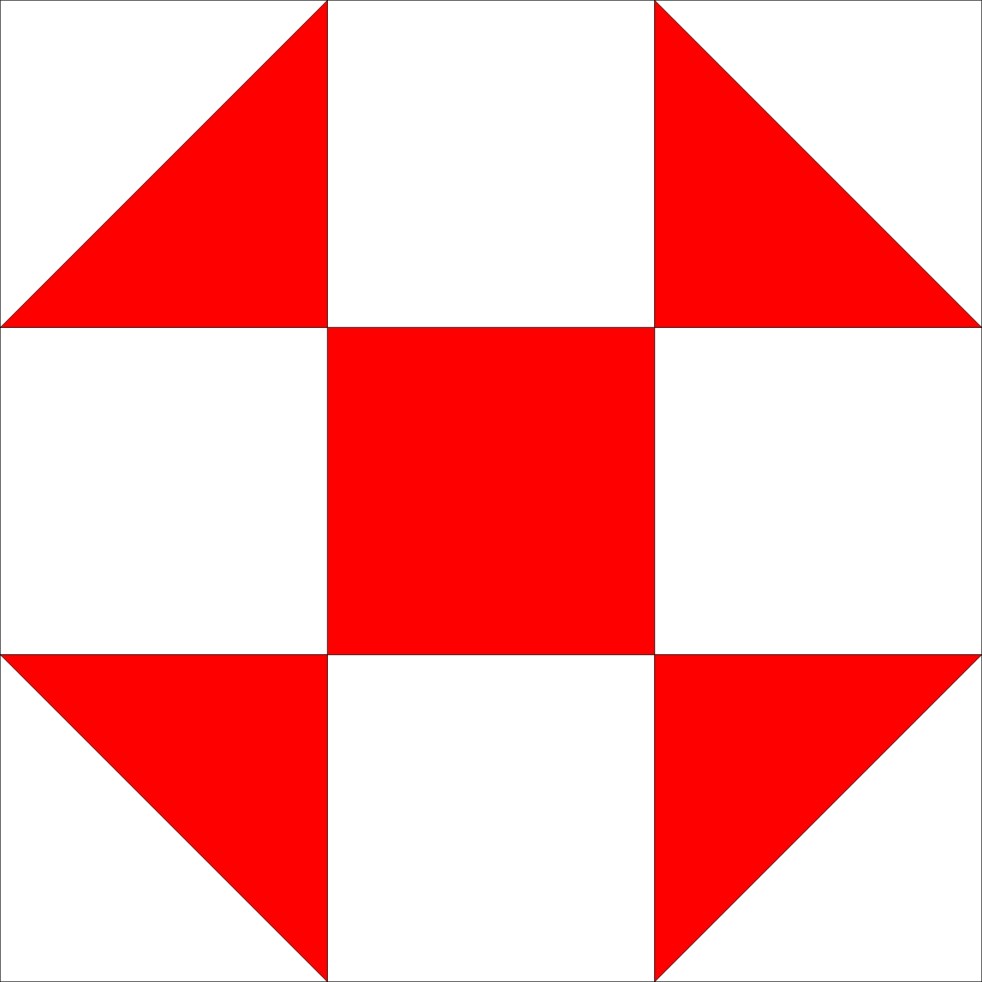
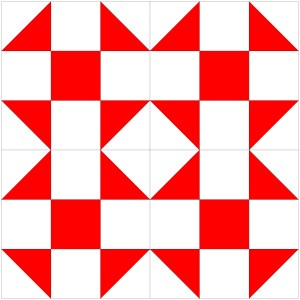
Now let’s play with the color arrangement by swapping reds and whites in order to create new and different designs from the ones above.


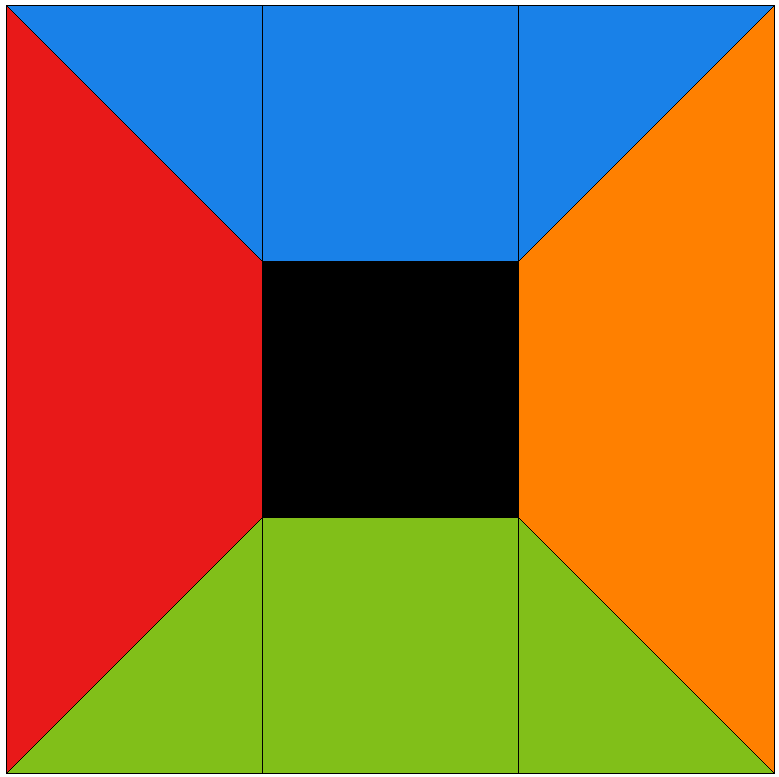
Let’s add more colors to our blocks, shall we? That way we can get even more interesting variations. You can see how adding more color can change a block design or even add a secondary design. Never underestimate the power of adding more color.


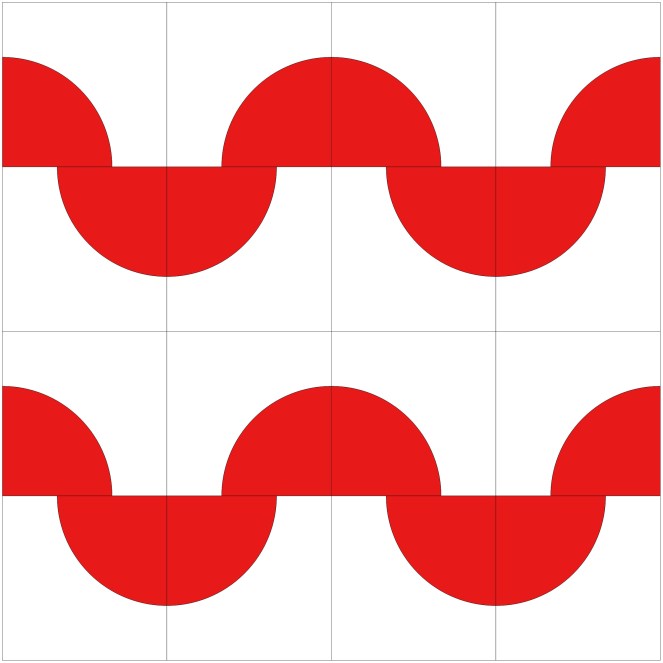
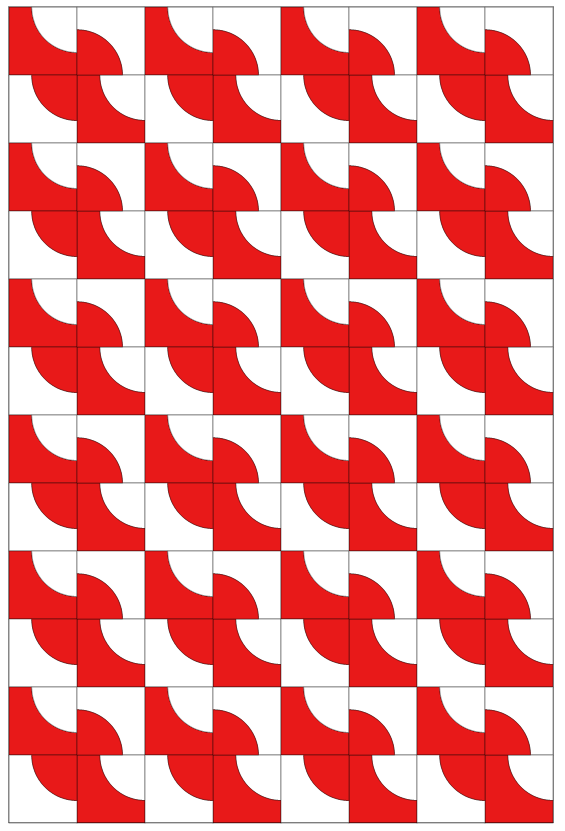
Okay, now it’s time to create quilt designs using some of the variations above! Let’s start with this bird variation.
I like this bird quilt arrangement very much, but I don’t love how all the birds are facing the same way.
Let’s turn the birds in different directions. Hmmm. I only see a small difference here. Let’s keep going.
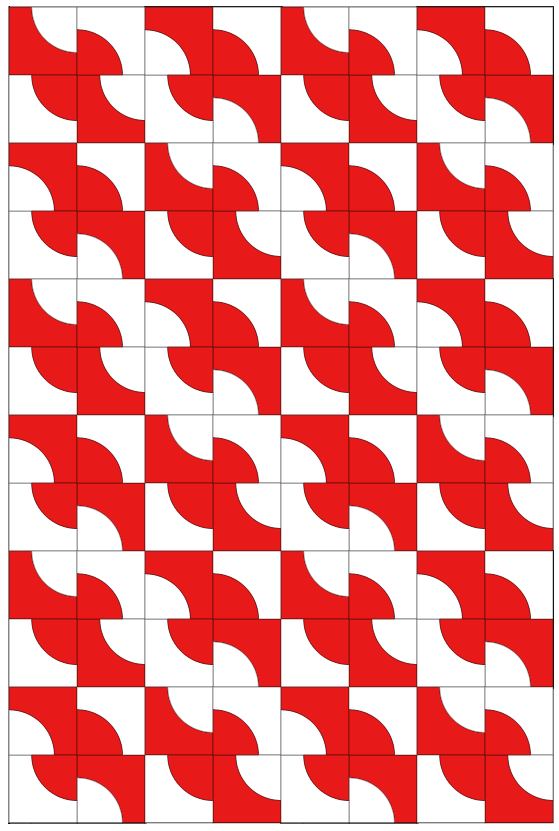
Better with sashing and sashing squares, but I’m still not too excited by it.
Okay, let’s remove the sashing and turn the birds some more to see what happens. AHA! Yes, this is more like it.

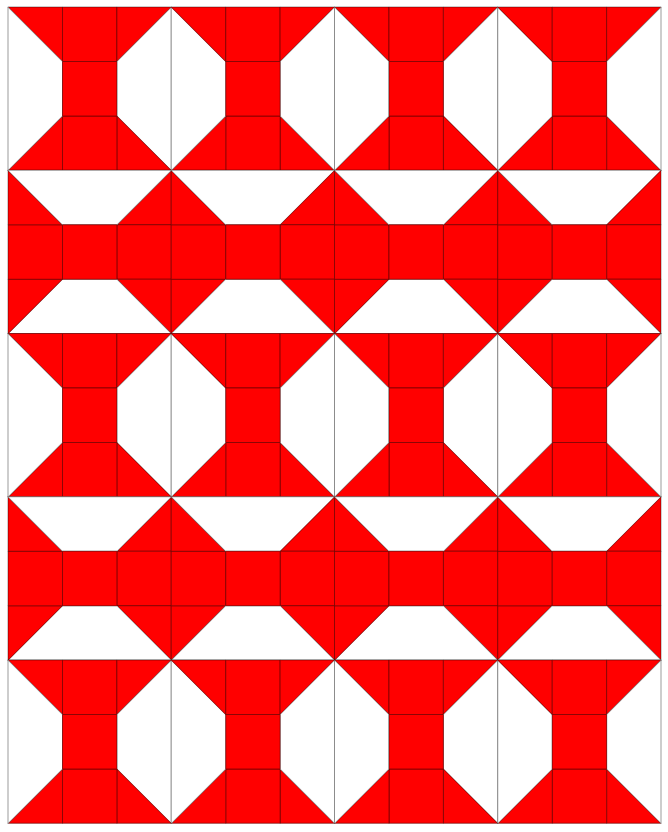
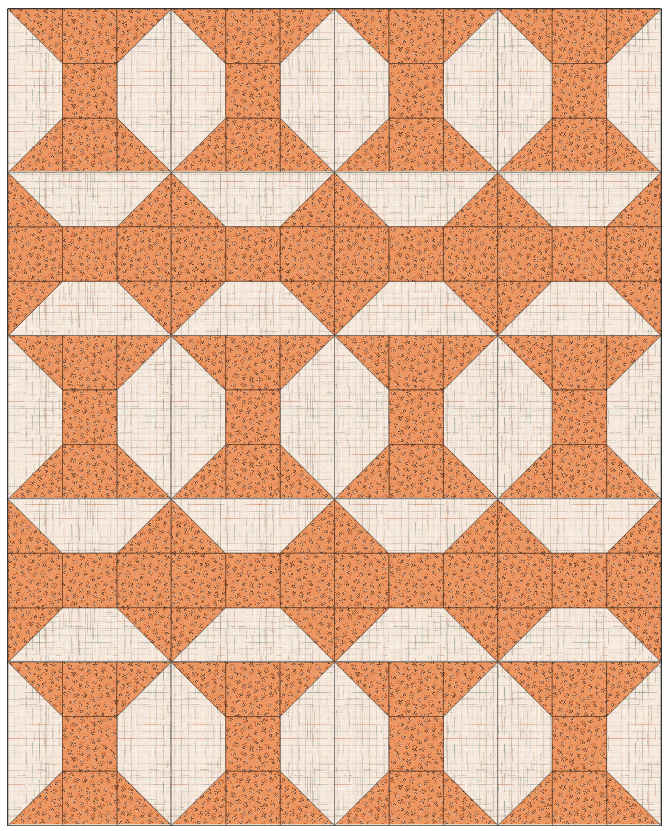
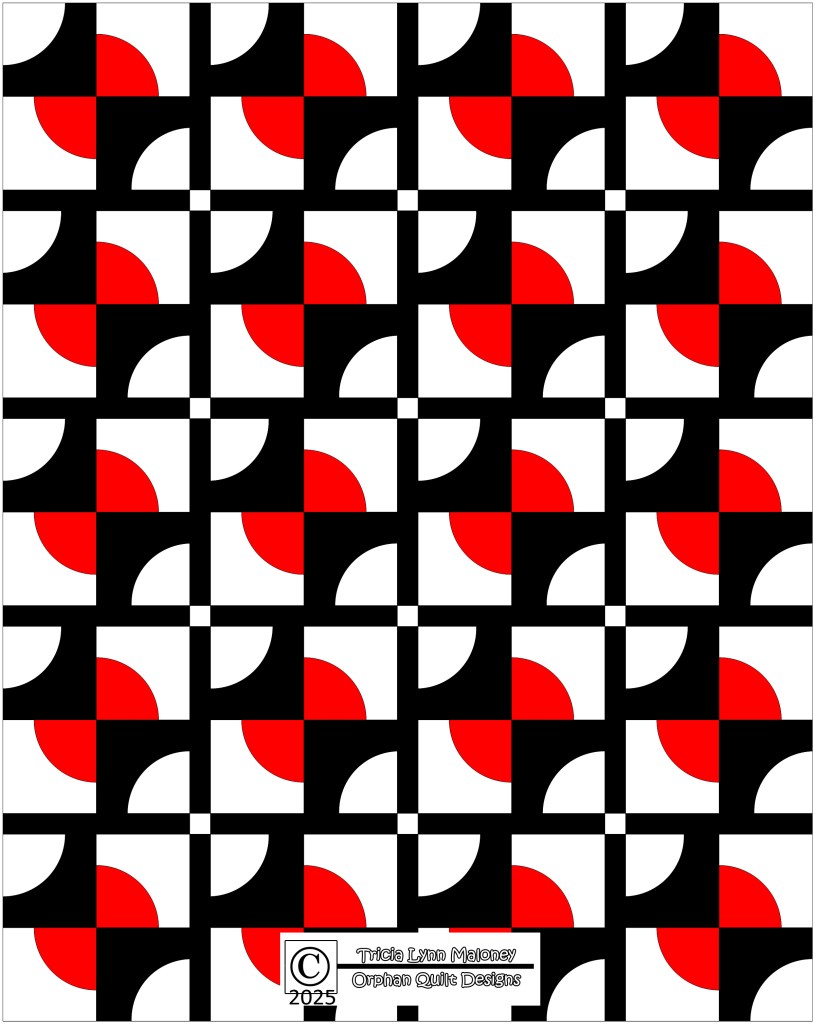
I think we can call this a finished design. Let’s add some fabric. It would definitely make a bold 2 color quilt as long as you have strong contrast between the colors like the red and white example above. But let’s add more than 2 colors.
Yup, this one rocks. I’m using fabrics from QT’s American Spirit collection. I took a chance and flip flopped the fabrics in the centers and it really sets this design off.

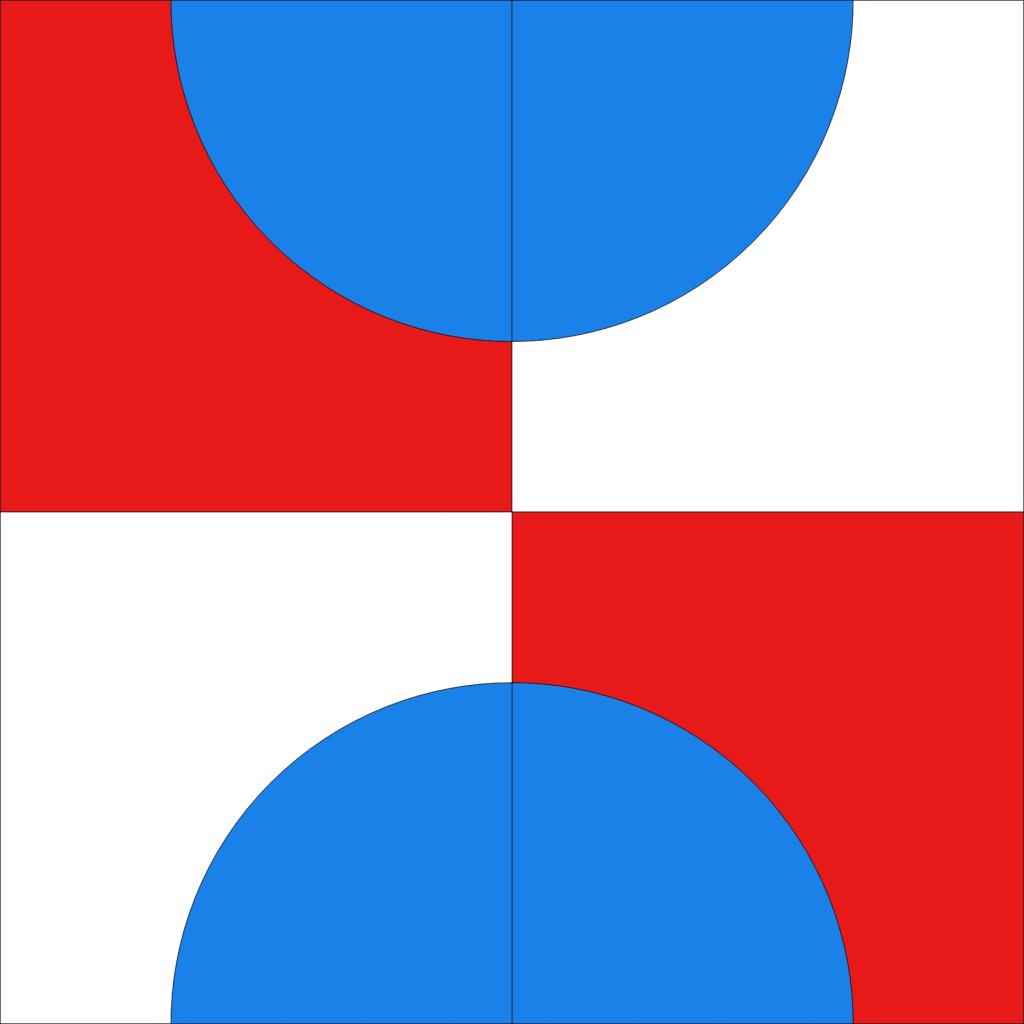
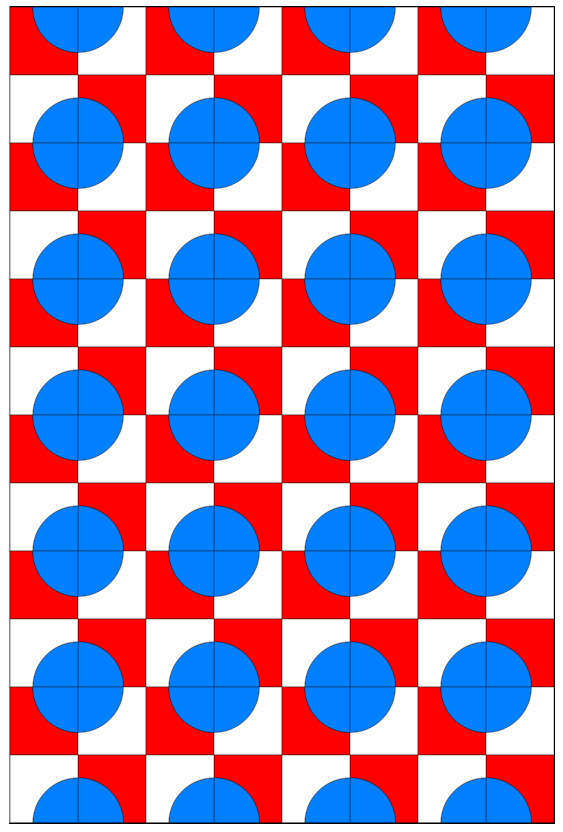
Now let’s try a different Drunkard’s Path block variation from above.
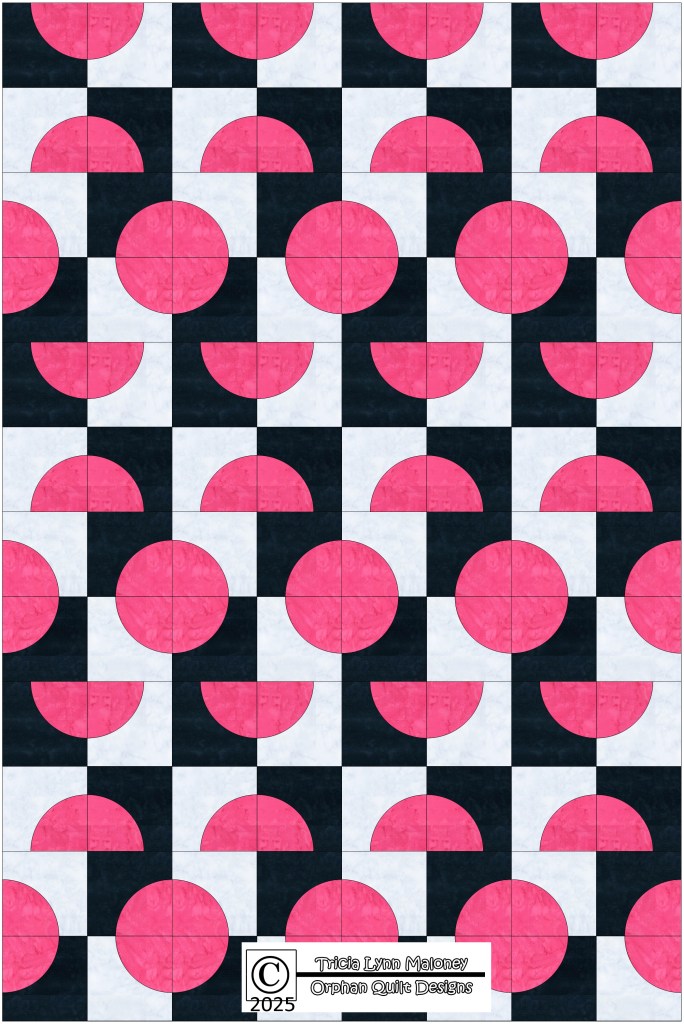
I like this interesting block arrangement, especially with the checkerboard behind the blue circles. Very 3-D. But I bet we can tweak it to change it from an okay quilt to a WOW quilt.
Just a quick turn of some blocks and we get this design with lots of movement. Kind of fun, huh?

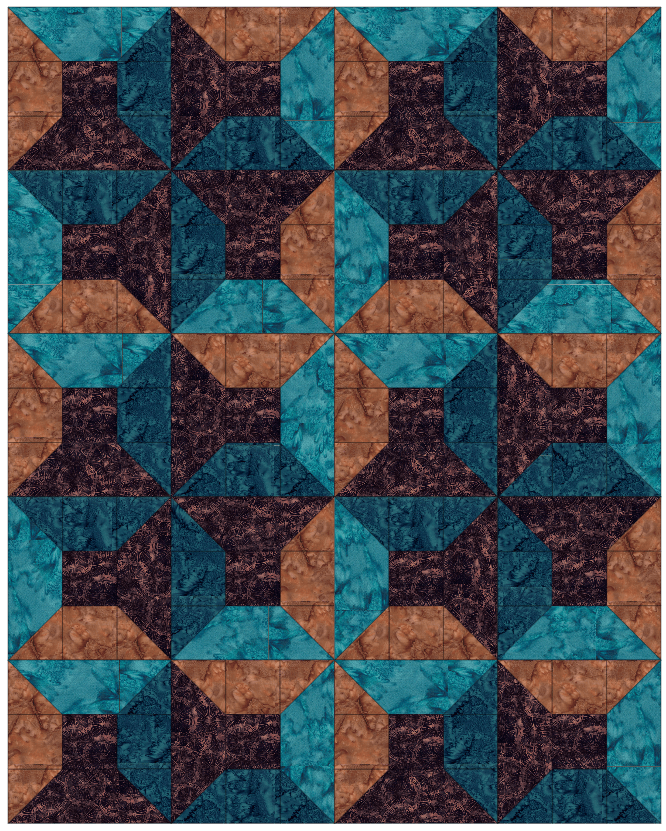
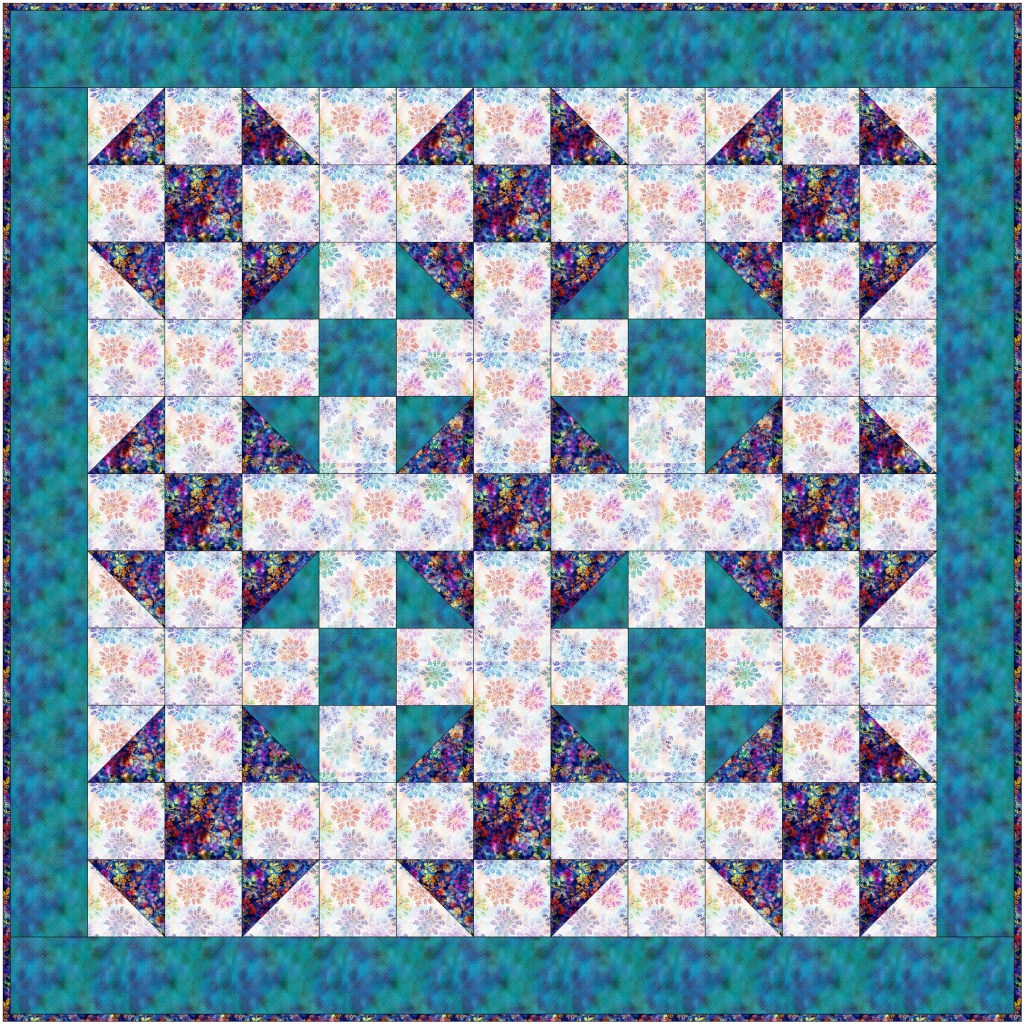
Let’s add some fabric to this one. Can’t wait to see it! Here’s a selection of yummy Hoffman batiks. This super mod design has a lot going for it!
Let’s play with another block.
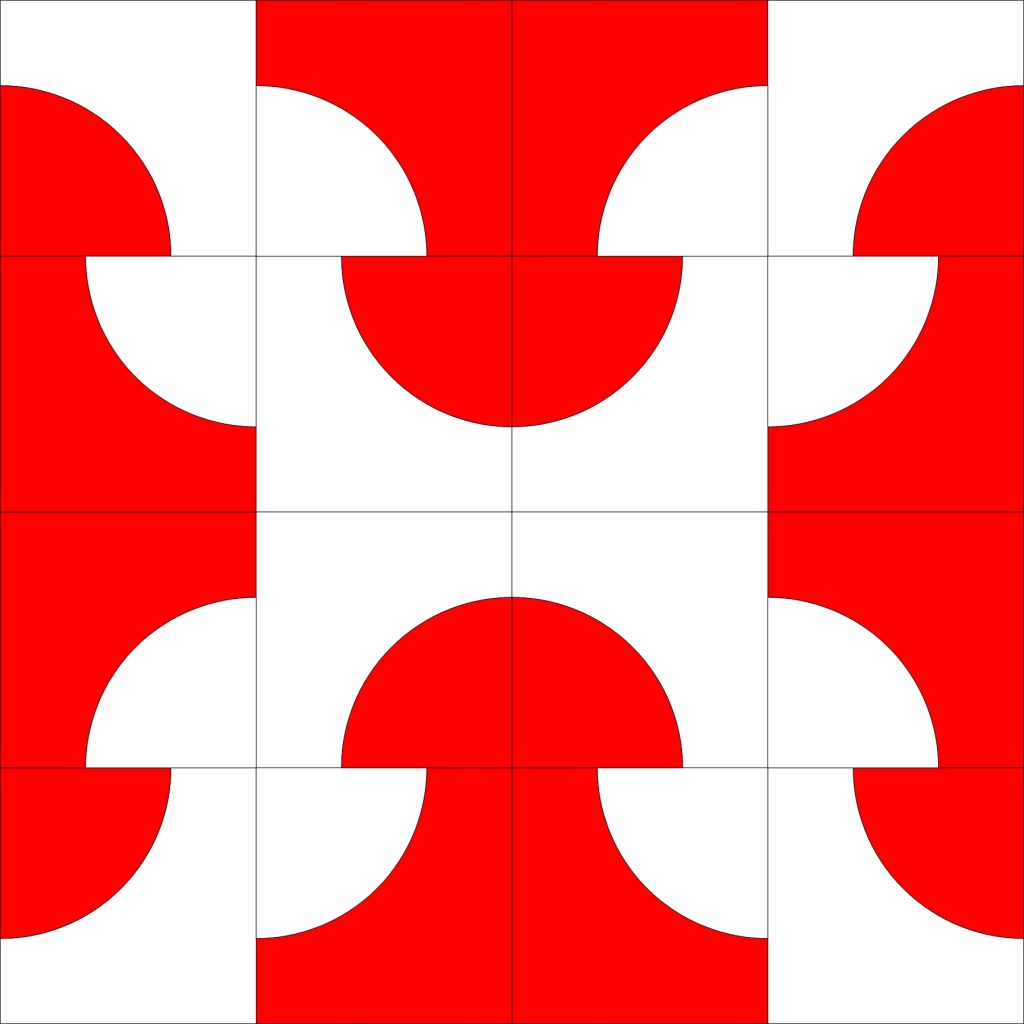
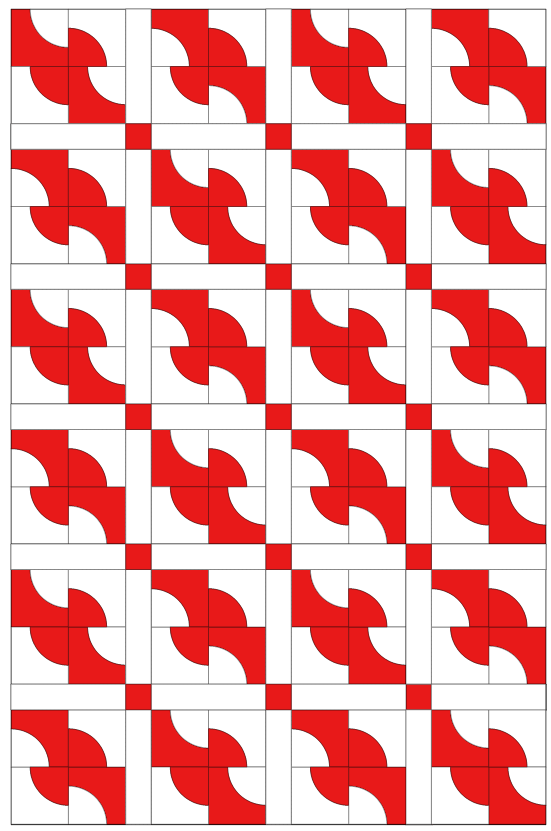
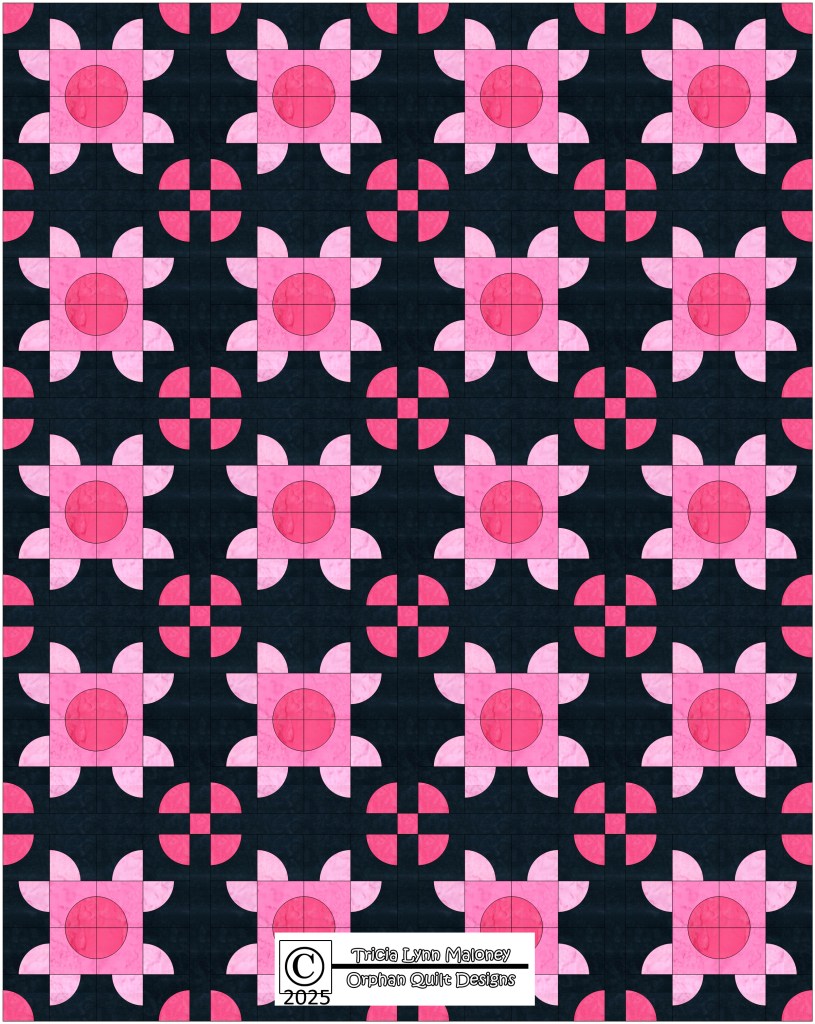
All right, let’s see what this block looks like in a quilt. Gosh, I’m really liking this one. It reminds of a tile floor. But I think we can tweak it a bit to make it outstanding.

YES! This is the finished design. Adding sashing and sashing squares was just the tweak I needed, which added a wonderful secondary design.

Yippee! Time to add fabric! I think this design is spectacular!
Let’s do one more!
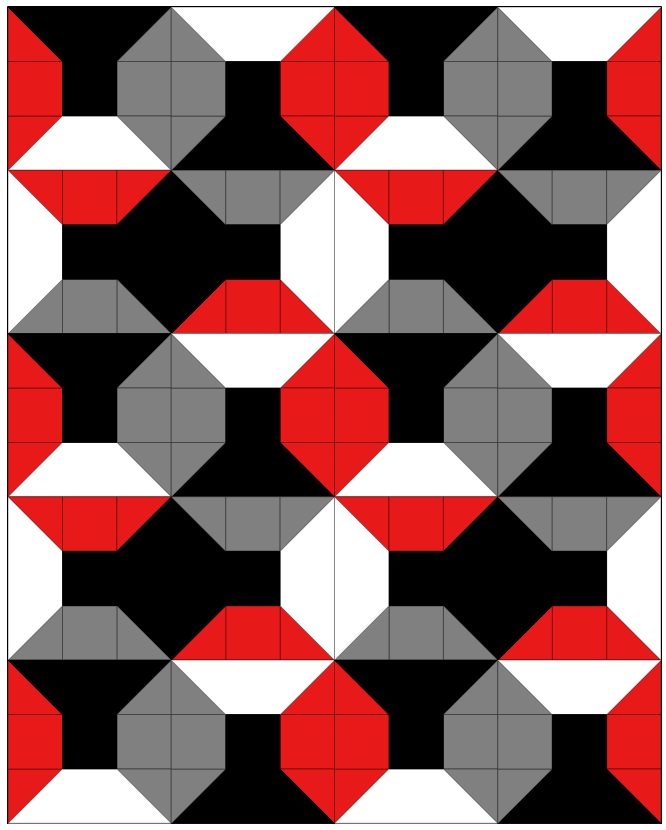
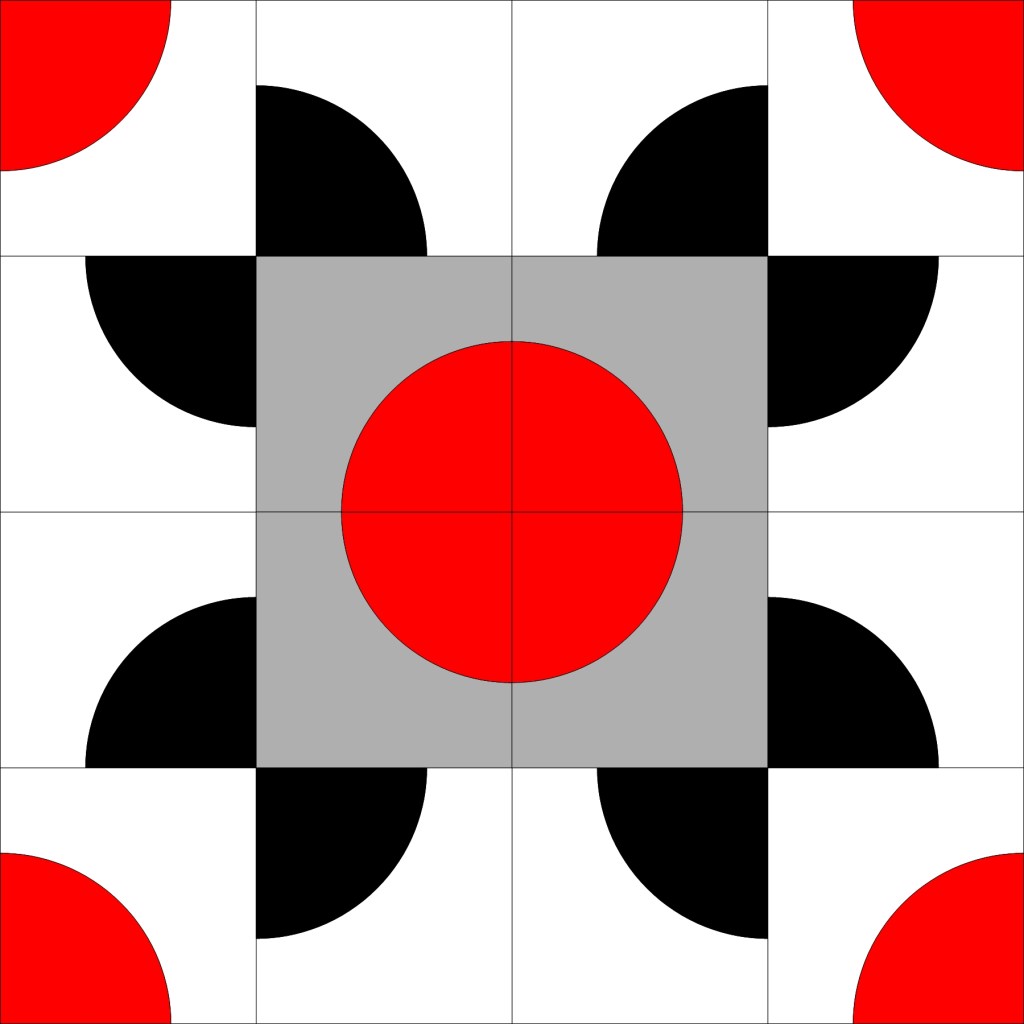
Let’s see how this variation plays in a quilt. I really like this design – it makes me think of Halloween bats flying in front of a full moon. But I think we can tweak it a bit more.

Let’s try sashing again. Sometimes this is the way to go and sometimes it isn’t. This one improves with sashing, definitely! I love the diagonal movement the design has now. What do you think?
Only thing left to do is to add FABRIC! I’m using assorted Hoffman batiks again and I played up the Halloween moon idea by making the background grey like twilight. Totally loving this!

Sadly, that wraps up our 5 part Let’s Design a Quilt series. I have had SEW much fun with this series. I hope you did too. I can envision adding more to this series down the road. Maybe I will focus on on-point quilt designs….
If you missed any posts in the series, you can find them all right here:
Playing with Nine Patch Blocks
Playing with the Courthouse Steps Block
Playing with the Sawtooth Star Block
Playing with the Farmer’s Daughter Block
See you next week – time for some new VRD tutorials to jumpstart your Autumn quilting when the kiddos go back to school.
Until then –
Sew. Laugh. Design. Repeat.
Always,
Tricia @ VRD