
Hello Quilty Friends!
Happy Thursday to you!
Sheesh! Another week of August gone. Another one bites the dust…….. And we all have A LOT of summer to do yet. Sigh……So little time and so much to do.
As for my August to-do list from last week – here’s what I’ve done since last Thursday:
I went thrifting with my Mom.
I worked on my latest art/design projects and made some forward strides.
I sat on the back porch with my dog, Bailly, and did nothing for a while…….twice.
Not a bad start to August. Not at all. I just need to get to the other things on my list, too.
How is your August to-do list coming along? I hope you had the satisfaction of getting a few things done on your list, too. If not, you’d better get started.
Small Project Summer Challenge, One Last Time
Time to wrap up our Small Project Summer Challenge.
Let’s congratulate our Week 6 winner –
Charlotte M. in FL
Woohoo! Way to Go! Yay You!
Congrats to all of our Challenge winners. Your prizes will go out shortly.
Speaking of Challenges, our 3rd 6 Quilts in 6 Weeks Finishing Challenge will be here before you know it. I hope everyone will join us in October for this next VRD Blog Challenge.
Now let’s take a peak at this month’s new patterns!
NEW VRD Rose Card Patterns for August
Yay! It’s the Thursday after the first Friday of the month and that means – NEW PATTERNS!!!!
Whoop! Whoop!
Here they are!
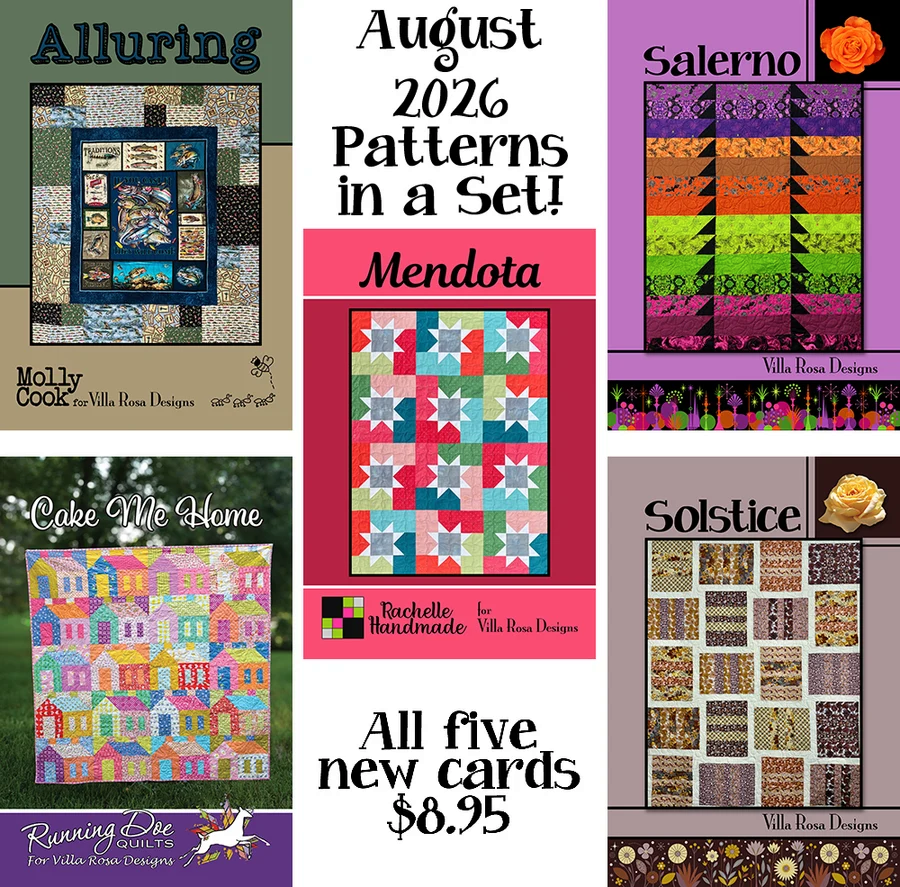
You can get the set of 5 print patterns HERE
Alluring is Molly’s latest panel quilt pattern. It uses a 36″ wide panel, a selection of coordinating fabrics, and finishes at a nice 56″ x 63″. You can find a kit featuring the same fabrics as the pattern cover HERE or one with Rainbow Iris fabrics HERE.
Cake Me Home is Catherine of Running Doe’s newest pattern. Isn’t it really fun? It is Layer Cake friendly and finishes at 58″ x 57.5″. Sorry, kits are already sold out.
Mendota is Rachelle’s new pattern for this month. It is fat quarter (FQ) friendly and finishes at 41″ x 54″. You can find a kit for Mendota featuring Jewel Depths fabrics HERE.
Salerno is 1 of Pat’s 2 latest patterns for August. It uses FQs or half yards and finishes at 57″ x 70″. You can find a kit with the same fabrics as the pattern cover HERE.
Solstice is Pat’s 2nd quilt design for this month. It is FQ friendly and finishes at 50″ x 62″. No kit available.
But wait – there’s more! We can’t forget this month’s Accessory patterns!
This month’s seasonal pillow pattern is called Leaf Twirl. A perfect pillow for your fall decorating! Don’t you just love the pink leaf????

Get your digital pattern HERE or your print pattern HERE
Instead of a fall runner this month, how about a fun new set of FQ friendly place mats, Table for Four? The place mats go together really fast and you can make them in multiples of 4.
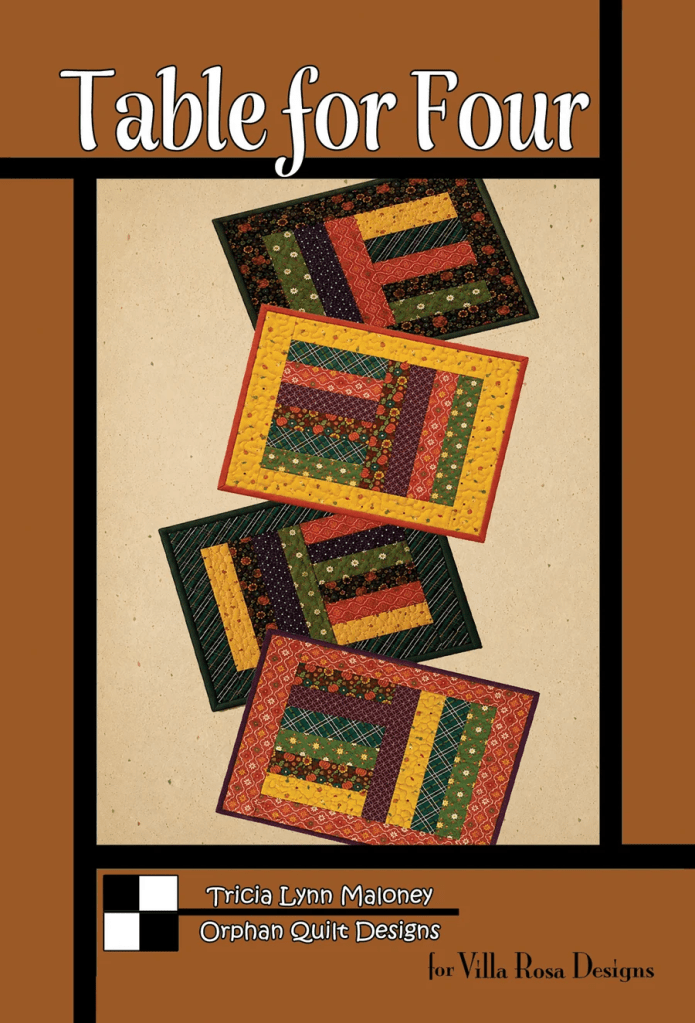
Get your digital pattern HERE or your print pattern HERE
Now let’s jump right into this week’s new quilt pattern tutorial.
VRD Quilt Tutorial – Landino
Have you ever made Landino? It’s a deceptively simple and very interesting FQ pattern. Landino finishes at 44″ x 55″, which is a nice small sized throw quilt. Want a bigger quilt? It’s easy to add more blocks (and more FQs) or borders to make the quilt the size you want it to be.
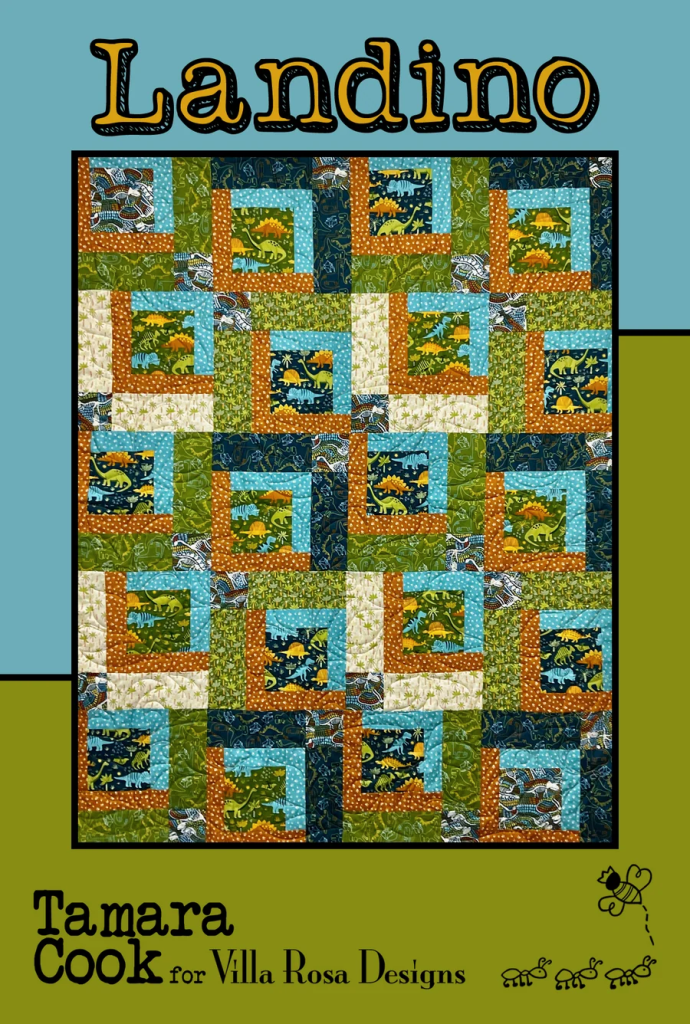
Get your digital pattern HERE or print pattern HERE
Let’s make Landino!
Today I’m using a warm and cozy group of batiks from our friends over at Hoffman Fabrics. I’ve been raiding some of my fall-hued fabric groupings to make some “get ready for fall” projects. Don’t be surprised if you see some of these new fall tops again during our Autumn VRD finishing Challenge coming in October. LOL!
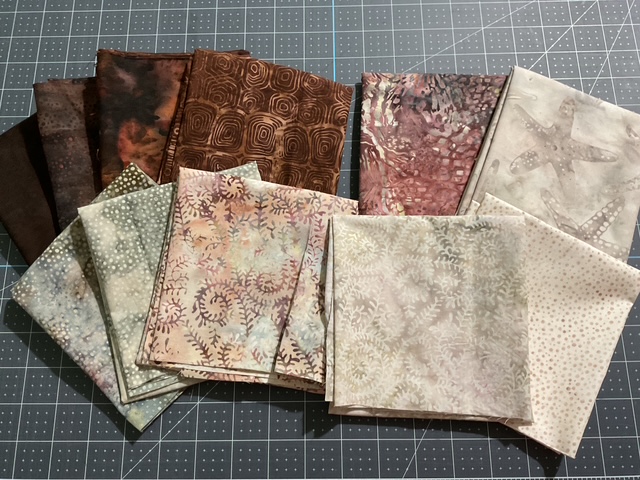
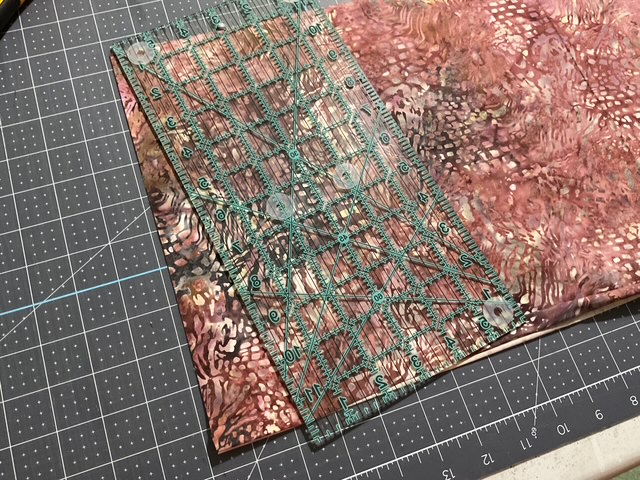
Of course, the first thing we’re going to do is cut out all the pieces we need from our FQs.
I found I really needed to pay close attention to the cutting for Landino because different fat quarters are for different parts of the quilt blocks. To help keep myself from getting lost, I put a sticky note label on each fabric so I knew which fabric was which.
Let’s start cutting.
Here are my block centers.
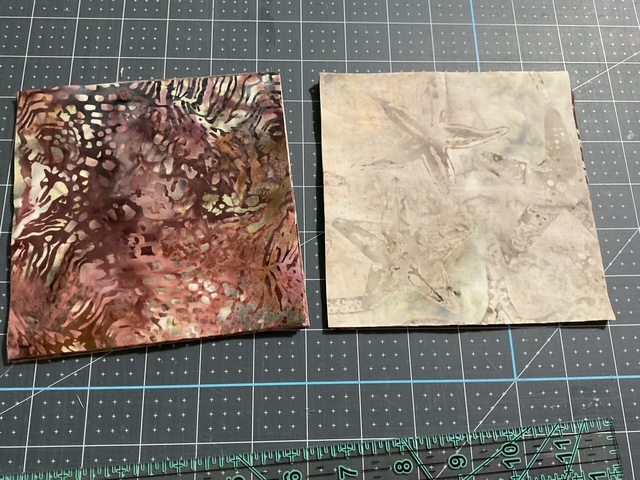
These are my lighter frames.

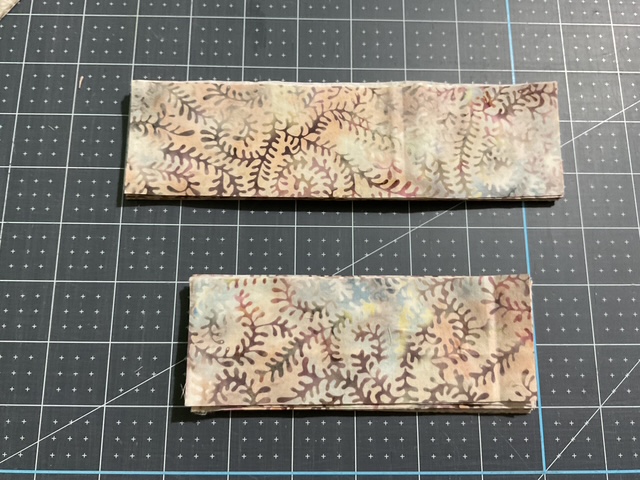
I chose these for my darker frames.
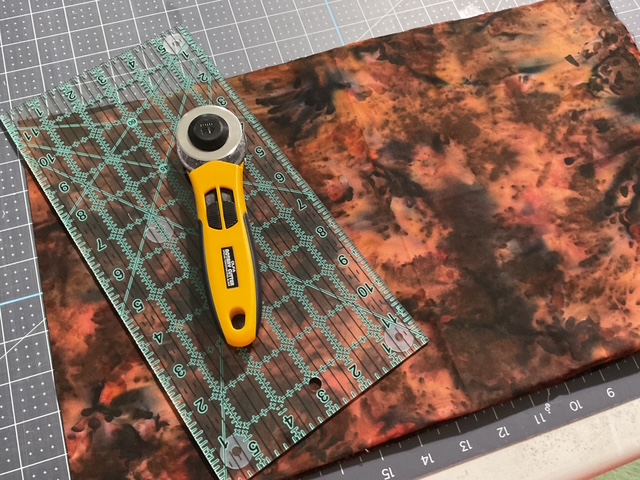
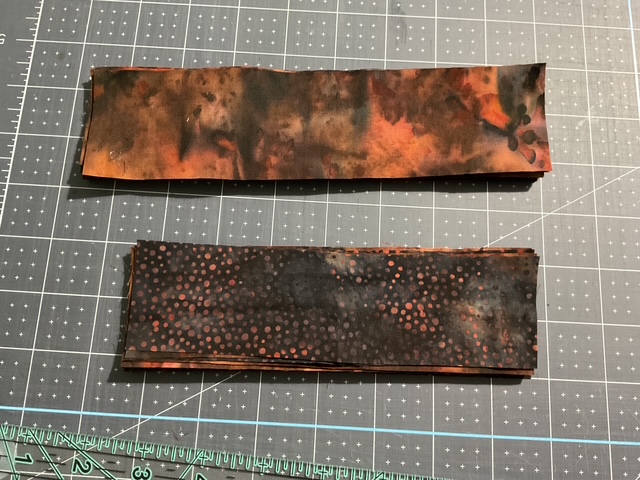
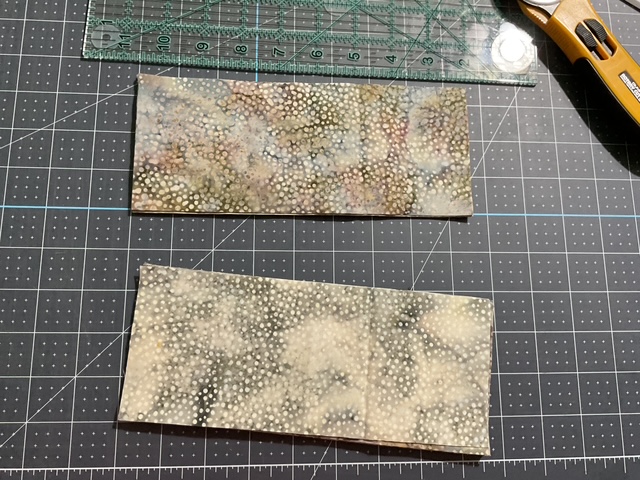
And these 4 fabrics are for my rectangles.
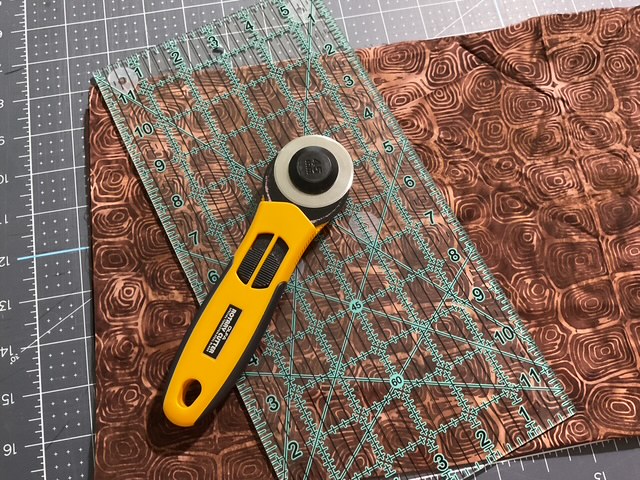
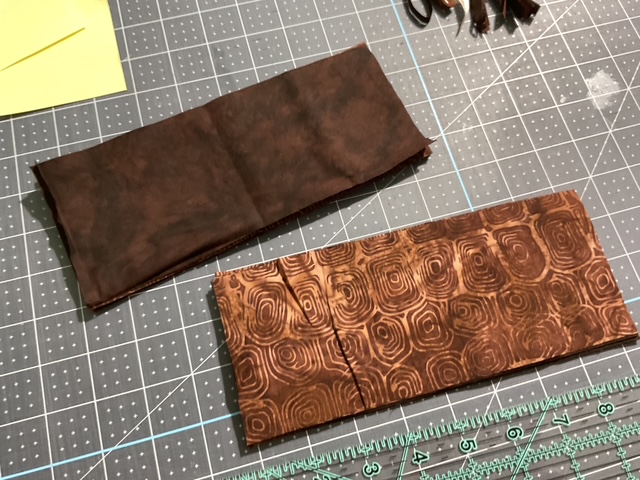

Finally, this fabric is for my corners.
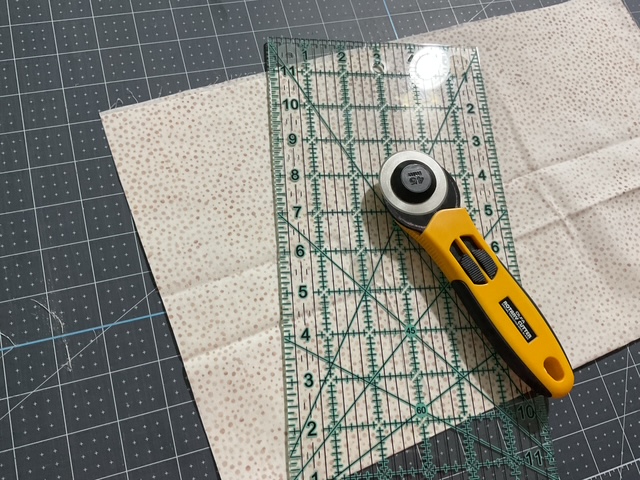
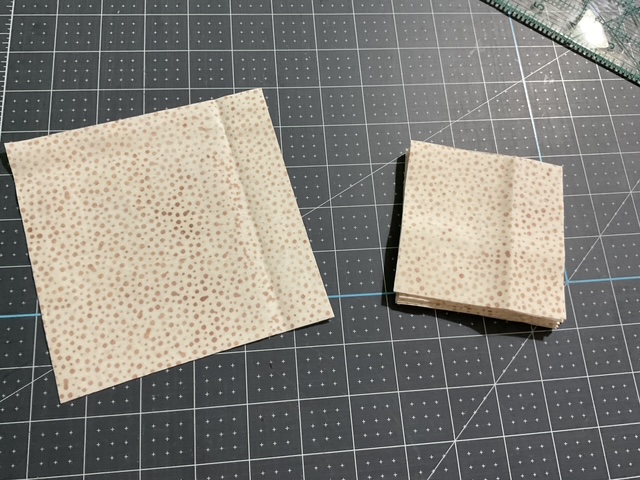
Okay, we’ve got everything cut out now. So next we’re going to sew our frames onto the center squares.
First we’re going to add the lighter frames.
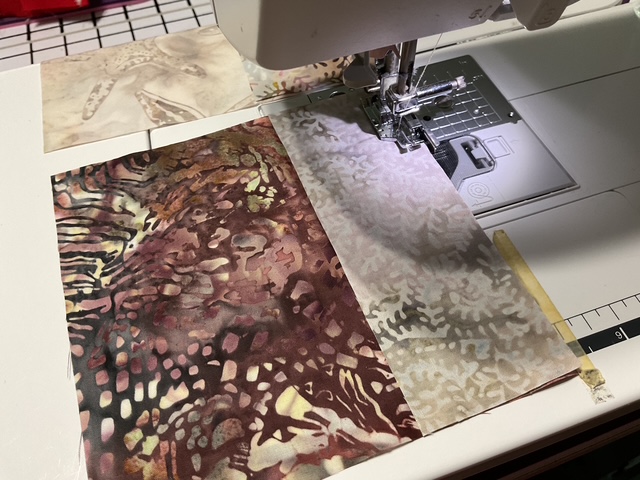


Then we’re going to add the darker frames on the other side.
Hey – did you notice that the Landino blocks are really a Log Cabin variation? And who doesn’t love a Log Cabin block???
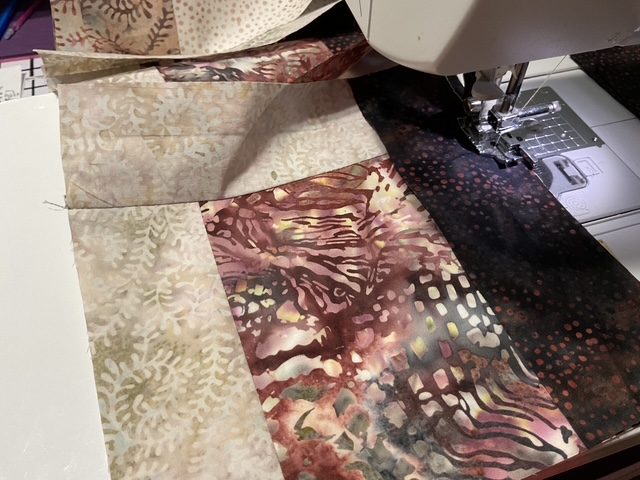
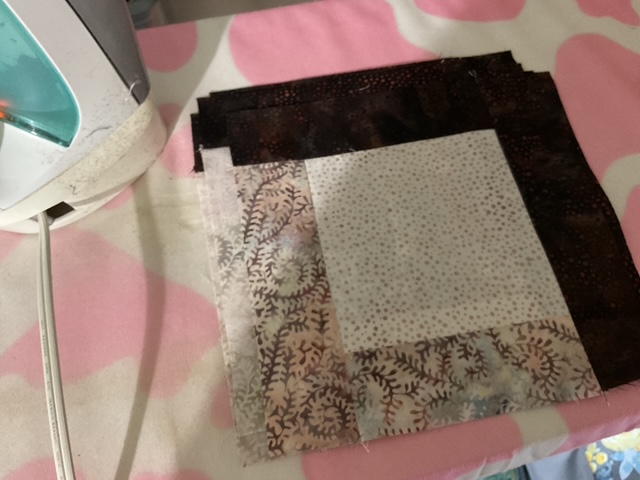
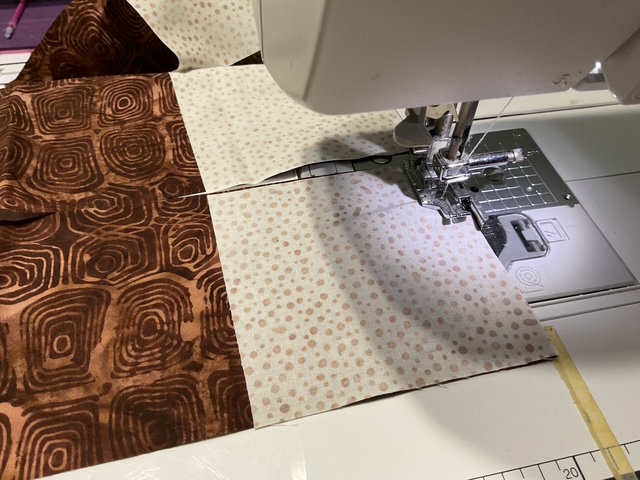
Now that we’ve added frames to all the center squares, things are going to get interesting for our next step – we are going to divide up the framed centers into 4 piles. Then we’re going to sew the rectangles/corners onto each group, using a different rectangle fabric for each pile.

Somehow, I guess I didn’t take any photos for the 4 different completed blocks. Oops, sorry about that. Here is a photo of about half the blocks up on the design wall to give you an idea about what the blocks look like completed.
Huh. Now I’m not sure what I think of my completed blocks. I wish I hadn’t used quite so many dark brown fabrics and had added a few more medium ones instead.
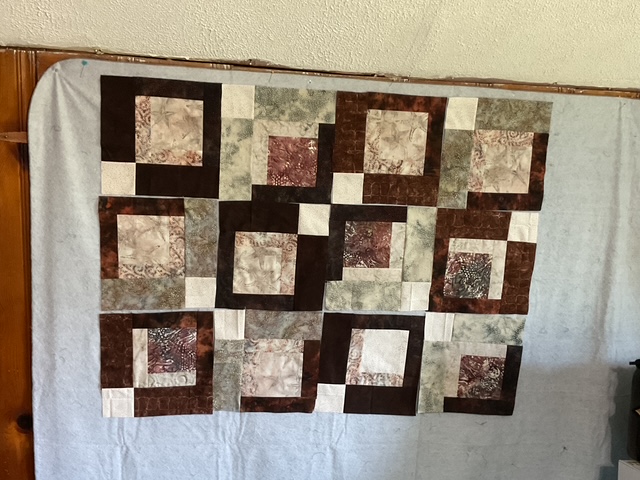
Let’s slap ’em up on the design wall and see what happens.
Here are 3 different block arrangements. Hmmm. I’m definitely not wild about any of these options. What do you think?
Now I’m wishing I’d done 2 more blocks with the lighter rectangles instead of the dark rectangles. Yes, I could rip out a few blocks and replace the dark rectangles with the lighter rectangles, but………nope. Let’s keep going, I always love a challenge.
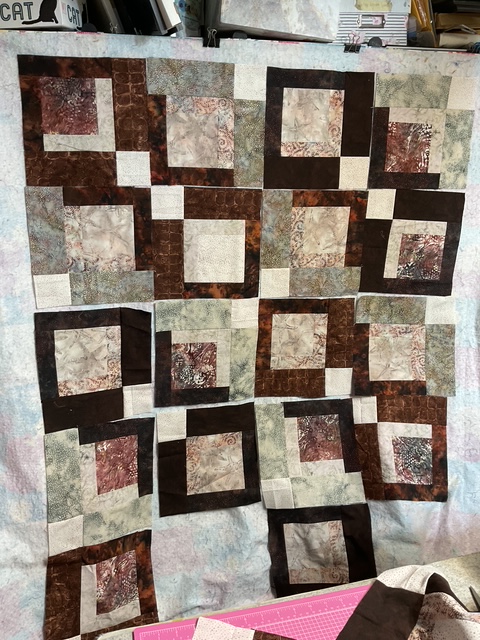

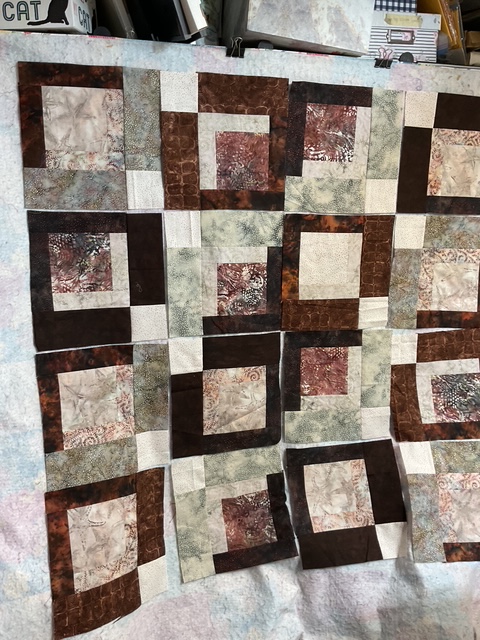
This arrangement (below) is the obvious winner. I’m still not totally loving it, but this one looks better balanced to me than the 3 previous attempts, above. The funny thing to me is that this is the layout shown on the pattern diagram.
Wow! When all else fails, try following the pattern. Hah hah hah! (Me, rolling my eyes.)

Let’s sew the blocks together into rows.

Now the blocks are sewn into rows, I’m going to sew the rows together. Whew! This is the easy part.

VOILA! Here is my completed Landino top.
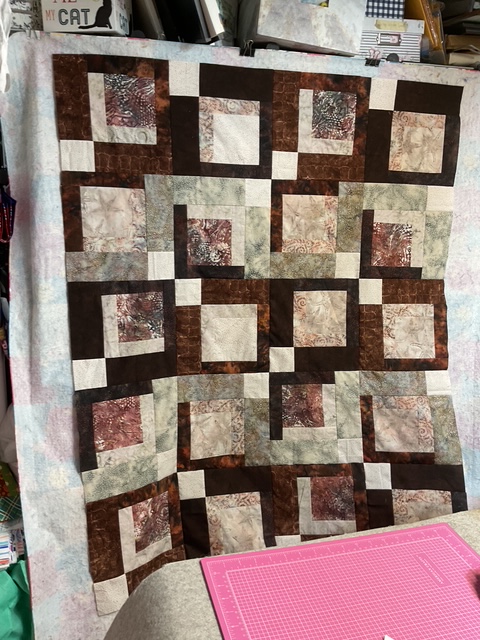
I can’t get a complete photo of the top in my studio (if you remember I’ve renamed my studio, Mount Cluttermore for very obvious reasons) because my cutting/pressing table is in front of my flannel wall, so I took the top outside so I could take a better photo. Bummer, but it was just too breezy to hang it on the clothesline as I’d planned. So, I spread it out on the grass instead. (We’ve had a lot of rain recently and the grass is so green.)

All right – it actually turned out better than I thought it would. I think the alternating dark and light horizontal rows were definitely the right way to go with this one – all those darker brown fabrics needed the lighter fabrics to break them up.
Next time I make this one, though, I am for sure going to add more medium fabrics instead of just lights and darks.
This quilt top may not be the prettiest one I’ve ever put together, but I still like it. It’s warm and cozy-looking and it taught me (and you) several new things to think about when gathering up fabrics. I may have been quilting for 30 years now, but I still learn new things all the time.
What was the last project you made that taught you the most, even if the project didn’t turn out the way you’d envisioned? Leave a comment and tell me about it.
Well, that’s it for me this week. I’m off to maybe cross a few more things off on my August list before next Thursday. Wish me luck!
Take care and squeeze every last bit out of summer.
Until next time –
Sew. Laugh. Repeat.
Always,
Tricia @ VRD

