Rose Cards · Tutorials · villa rosa designs

NEW VRD Quilt Tutorial – Fondue

Hello Quilty Friends!

Happy Thursday to you!

Whoah!?! Hard to believe it’s August! YIKES! Right now I feel like I’ve lost the whole summer, so I guess I have A LOT of summer to cram into August, don’t I?

Here are some things I want to do this month:

  • Go to the Baldwin Reynolds Museum and see the 250th Anniversary Quilt Display
  • Visit some Quilt Shops with my quilty pals (FART)
  • Play Mini golf with my Dad
  • Go bowling!
  • Thrifting with my Mom
  • Do some decluttering (yeah – this always needs done)
  • Make a fun project just because
  • Keep working on my latest art and design projects (and actually finish a few of the ones I have in progress right now)
  • Finish my 2nd Feedsack book (this one has been waiting a really long long time)
  • Read a good book
  • Just sit on the back porch with my dog and do absolutely nothing

Let’s see if by writing them down, I will get more of them accomplished this month. What’s on your August to-do list?

Well, the final numbers are in! All together we participants created 108 completed projects during our 6 week Challenge. WOOHOO! I hope each of you who participated pats yourself on the back for a job well done. Did you find a new favorite small project pattern? How many of you made something for Christmas? Any other thoughts about the Challenge? Please let me know in the comments.

I am still waiting to hear back from our Week 6 winner, so I will have that info for you next week.

I also want to congratulate

Dana S. from TX

as a co-winner for Week 5.

Awesome Applesauce, Dana! Yay you!

Now let’s check out the latest VRD tutorial, Fondue!

I was sifting through my stack of “quilt kits” and came across one for Fondue and I thought this would be a great one for the blog because I know people are already starting to think about autumn.

Fondue is a terrific pattern for 24″ panels along with coordinating fabrics. It finishes at a nice 49″ x 63″ and goes together quickly and easily. Fondue is beginner friendly and it’s flexible – you can add an outer border (or borders) to make your quilt larger if desired.

Cover design for a quilt pattern titled 'Fondue' featuring scenic nature imagery with eagles, mountains, and water elements. Designed by Heidi Cook for Villa Rosa Designs.

Get your digital pattern HERE or print pattern HERE

Of course, the first thing we need to do is gather up our fabrics. Today I’m working with a Hoffman Fabrics collection called Stag & Stone. Deer fabrics aren’t my norm, but I was really drawn to the colors in this collection and I find the deer to be quite elegant. And hey – it never hurts to have a great guy quilt handy for when you might need one. I think panels are a fabulous option for guy quilts because you can find wonderful panels with coordinating fabrics and a lot of guys aren’t necessarily into a quilt with a bunch of fussy pieces.

Here are my fabrics:

A collection of fabric pieces featuring nature-themed designs, including animals such as deer and wolves, and textured patterns in various colors.

Next up, time to cut all my pieces out. I go back and forth between cutting everything out first or cutting as I go. I guess it depends on each project as well as what I’m in the mood for. Which do you prefer?

Depending on the dimensions of your panel, you might need to trim it to the right size for the pattern or even add some spacer strips to make it a little bit bigger if needed.

I needed to trim my panel to the right size. When you do this, you really need to be careful lest you trim off too much. So do your math carefully. You know the old saying – measure twice and cut once? Words to live by!

Have you ever cut too much off your panel? I have and do know what I do? I sew that piece right back on and re-cut the panel correctly. It’s not perfect, but it works.

My fabrics are cut and the panel is the right size, so now I’m going to sew the inner border to the sides of the panel and press the seams towards the border. Then I’m going to sew the borders to the top and bottom. Again, I’ll press the seams towards the border. So far so good.

Now let’s work on the side pieced borders. The borders are quick to sew together because the pieces are so big. Once I get the pieces sewn together, then I’ll press them. I am going to press my seams towards the sashing strips.

One thing I really LOVE about the Fondue pattern is that you can use directional fabric because of the way the pieces for the side borders are cut. This is a great thing because it’s not unusual to have directional companion fabrics for panels.

Let’s sew the side borders onto the framed panel! I like to match the center of the border to the center of the panel and pin. Then I match up the outside edges and pin, including an extra pin at the bottom edge of the border to help keep everything square. This was a little tip given to me by an experienced quilter named Pat when I was a newbie. It really does make a difference in keeping your border strips square instead of ripply.

Finally, I add a few pins in between the middle pin and the outside pins to keep everything lined up. I must admit that I will probably go to quilt jail someday because I tend to sew over my pins instead of removing them……..

Now let’s add the left side border onto the panel. SHEESH! I sewed my border upside down to the left side of the panel. How did I miss that????

Gee whiz!

Well, directional fabric is awesome as long as you sew everything right side up. LOL!

A decorative quilt featuring a serene forest scene with a stag and a doe among birch trees, surrounded by patterned fabric on the edges.

You know what’s next, don’t you?!? Rip, rip, rip!

A close-up of a sewing project featuring dark patterned fabric and a light blue sewing tool resembling a foot, positioned on a patchwork quilt.

You can find my Clover Grip Fit seam ripper HERE

Now to re-sew the left side border on, right side up this time. Silly me. I bet that’s never happened to you before, right?!? LOL!

Now that the trees and animals are no longer standing on their heads, I’m going to press the side borders towards my dark fabric, which is the inner border/sashing fabric.

A close-up of an iron on a piece of fabric, with various patterned materials and a textured background.

On to the top and bottom borders….finally. Again, these are quick to stitch together because the pieces are large. After I get them sewn into strips, I’m going to press the seams towards the dark sashing pieces. Easy peasy.

Next I’m going to pin the top border to the top of the panel. Again, I will match my centers and outside corners, adding that extra pin to keep things square. That extra pin is like magic!

Then on to the sewing machine to stitch the top border to panel. After that, I need to press my top border seam towards the dark inner border/sashing fabric.

All right! The bottom border is next!

A decorative quilt featuring a central image of a deer and an elk, surrounded by various wildlife patterns including wolves, bears, and birds in natural settings.

WHEW! Here is the completed Fondue top.
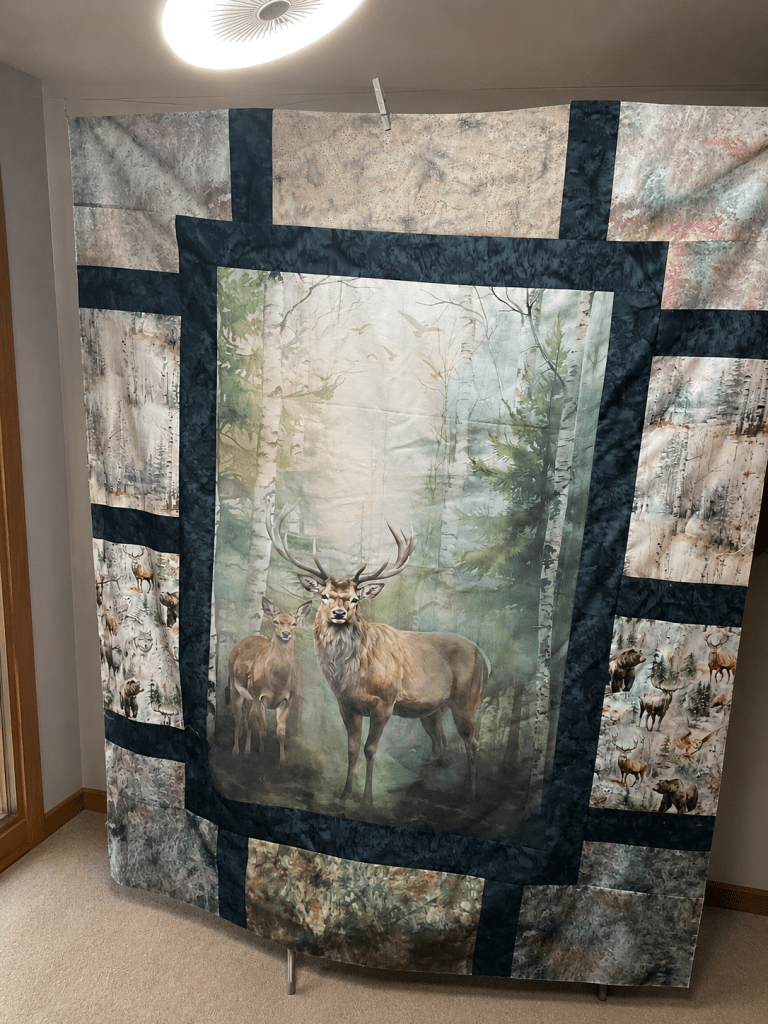
A large quilt hanging on a wall, featuring a central image of two deer in a serene forest setting, surrounded by various nature-themed fabric panels depicting wildlife.

I took a chance and ran outside to see if I could get a decent photo, but it was a bit breezy, it was lightly raining, and there was still a rumble of thunder in the air. So, I kind of high-tailed it back inside instead of waiting for the perfect shot. Oh well. What can you do – Pennsylvania weather can sometimes be a little unpredictable.

A hanging quilt featuring a central image of two deer in a forest setting, bordered by various fabric patterns in earthy tones.

I really like how this quilt turned out! The colors are really very soft and meditative. And it went together easily, except for me flipping the left border upside down. LOL! I totally recommend you try the Fondue pattern to showcase your favorite 24″ panels!

Well, that’s it for me today. Have a wonderful week and I hope you get the chance to cross a few things off your August list.

Until next time –

Sew. Laugh. Repeat.

Always,

Tricia @ VRD

Rose Cards · Tips and Tricks · Tutorials

NEW VRD Rose Card Patterns for September and VRD Cinnamon Stix Quilt Tutorial

Happy Thursday to you!

I hope you are enjoying this collection of VRD quilt tutorials to inspire you to leap back into quilting this fall. May these tutorials nudge you into making a quilt for someone special or maybe just for yourself.

We’ve got lots to do today, so let’s get moving.

First up, it’s the Thursday after the first Friday of the month, and you know what that means – NEW PATTERNS! Talk about fall inspiration!!!

Here’s the new collection of 5 VRD Rose Cards for September. Aren’t they super???

A collage of quilt pattern cards for September 2025, featuring designs titled Awestruck, Edwina, Pumpkin Parade, Besties, and Viroqua, each with vibrant colors and unique patterns.

Get the set of 5 print patterns HERE

(Patterns are also available individually both as print and digital versions)

Awestruck by Molly uses 5″ squares and finishes at 44″ x 60″. There are kits still available HERE featuring Tula’s True Colors collection while they last. Totally loving the name!

Melissa wows us with her Pumpkin Parade throw quilt. It uses yardage (or your stash!) and finishes at 45″ x 56″. We still have a few kits left HERE featuring Riley Blake Seasonal fabrics, so grab one before they’re gone.

Pat is back this month with her latest Tim Holtz Palette quilt pattern, Edwina, featuring the Indigo Palette. Edwina finishes at 45″ x 60″ and is fat quarter friendly. Kits are still available, but going fast, so get yours HERE.

Besties is my new throw-sized quilt pattern this month. It’s fat quarter friendly and finishes at 48″ x 64″. We have kits featuring Anna Maria’s Iconic collection (see below) still available HERE.

Colorful patchwork quilt featuring various floral patterns and vibrant colors arranged in a grid layout.

Besties in the Iconic Collection

Viroqua is Rachelle’s latest smashing mod pattern. It finishes at 42″ x 48″ and uses half yards and yardage (stash friendly!). There are kits still available HERE featuring Windham’s Sketchbook 21 collection (see below).

A patchwork quilt top featuring various fabric patterns arranged in a geometric design with triangles and squares, showcasing a mix of colors and textures.

Viroqua in the Sketchbook 21 collection (please disregard the 2 mistakes where we turned the HSTs the wrong way – it’s getting fixed as we speak)

Last, but certainly not least is this month’s new table runner, Beachcomber. I’m sorry I missed the deadline boat last month with this fun runner, but I think it’s not too late to have just a wee bit more summer before it’s officially autumn on September 22nd.

You can really use just about any fabric collection or your stash for this fun and clever runner. Beachcomber finishes at 18″ x 54″ and uses yardage. Autumn? Halloween? Thanksgiving? Christmas? And the list goes on. Have you ever thought about making a 2 sided runner with 2 different seasons….here’s your chance!

A digital mockup of the Beachcomber quilt pattern designed by Tricia Lynn Maloney, featuring a colorful quilt laid out on a sandy beach with ocean waves in the background.

Get your digital Beachcomber pattern HERE or your print pattern HERE.

Now we’ve covered all of the new September patterns, which one will you make first?

OH! One last little thing about the new patterns – Melissa’s new Pumpkin Parade throw quilt is a fabulous companion to our best-selling Pumpkin Hollow table runner.

A quilted table runner featuring orange pumpkins on a white background with a checked pattern, accompanied by autumn leaves, titled 'Pumpkin Hollow' designed by Tricia Lynn Maloney for Villa Rosa Designs.

Get your Pumpkin Hollow digital pattern HERE or print pattern HERE.

All right, moving on, let’s dive into this week’s quilt tutorial – Cinnamon Stix.

Cinnamon Stix is a great pattern for a favorite fabric collection. You can use a stripe or even a seasonal/novelty fabric in the long strips, so it’s really versatile. Then simply add your coordinating fabrics for the Stix, a sashing, and border. Cinnamon Stix is fat quarter friendly and finishes at a nice 46″ x 63″.

A vibrant quilt titled 'Cinnamon Stix' featuring horizontal stripes of various fabrics in warm autumn colors and patterns, framed by a green border.

Get your Cinnamon Stix digital pattern HERE or your print pattern HERE.

I promised you a few weeks ago that I was going to have another quilt featuring Hoffman’s Rodeo Dreams digital collection – well, here it is! Today we’re using the border stripe in the collection along with fun coordinates, including a few batiks.

A variety of fabric swatches in red, blue, and neutral tones arranged on a sewing table, featuring a western-themed border print with cowboys and horses, alongside a quilting pattern titled 'Cinnamon Stix'.

First up, we’re going to cut out the Stix for the 3 pieced Stix rows.

A rotary cutter and acrylic ruler on a cutting mat with the 'Cinnamon Stix' quilt pattern card by Heidi Cook.

Once we’ve gotten all of the Stix cut, we’re going to slap them up on the design wall so we can arrange and rearrange them until we’re happy with the fabric placement.

Heads up – because the Stix are cut different widths, each row might look a bit different, depending on how you arrange your Stix.

Fabric squares arranged on a design wall in a patchwork pattern, featuring red, white, and blue colors.

Now we’re happy with how the Stix rows look, so it’s time to sew them together. I like to sew them into pairs, then sew the pairs into quads, and so on until all the pieces are stitched together into a row. Then repeat for the next 2 rows.

Close-up of a sewing machine stitching layers of fabric together, featuring a mixture of light beige and patterned blue fabric.

Okay, all the Stix are sewn together into 3 rows. Lookin’ good!

Three rows of colorful quilt fabric blocks arranged on a design wall, featuring blue, red, and cream tones.

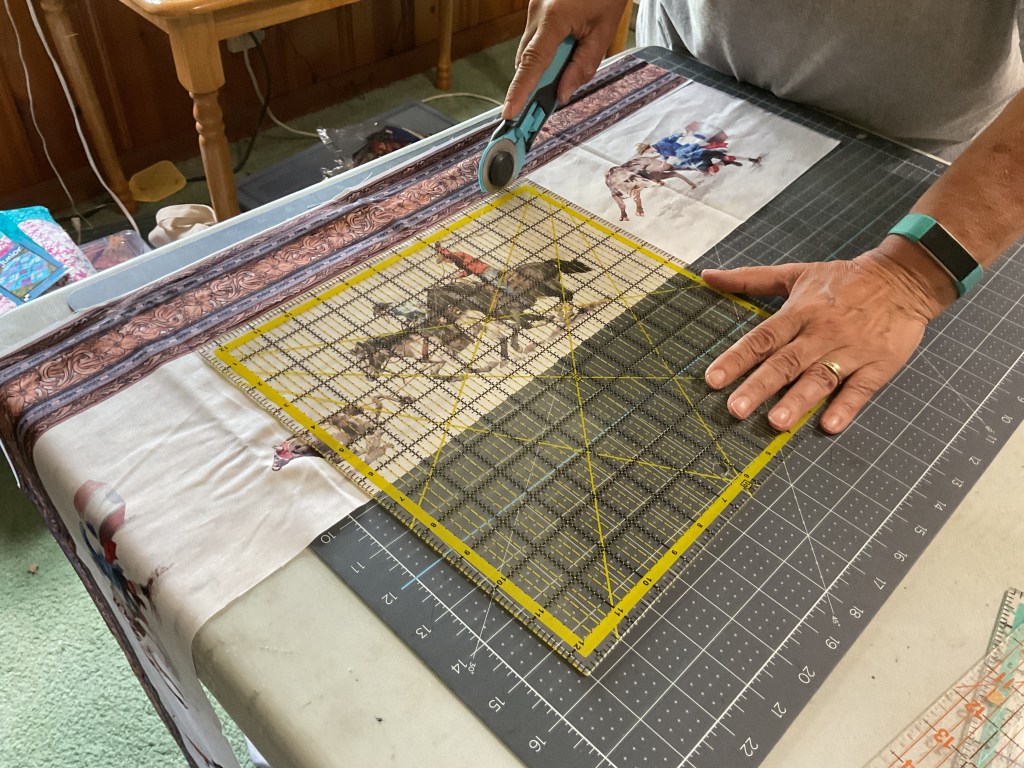
Next let’s work on prepping and cutting the Rodeo border stripe fabric. My pal (and cousin), Robin, is helping me out with this tutorial today – we’re working on it in her sewing room.

A person cutting fabric on a cutting mat with a rotary cutter, featuring printed rodeo scenes and decorative fabric borders.
Hey Robin!

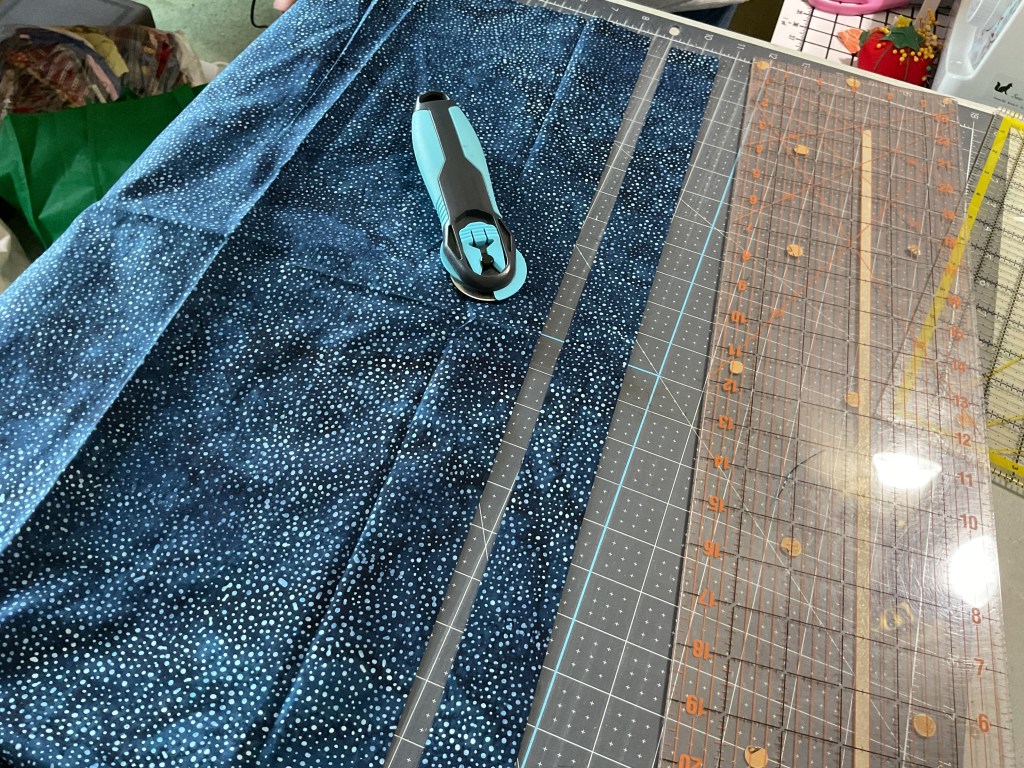
Once the stripe is cut, we’re going to work on cutting the narrow sashing, which is this gorgeous blue 885 Dot batik. LOVE IT!

A rotary cutter is placed on a cutting mat with strips of navy blue fabric featuring white dot patterns, alongside a clear acrylic ruler for measuring.

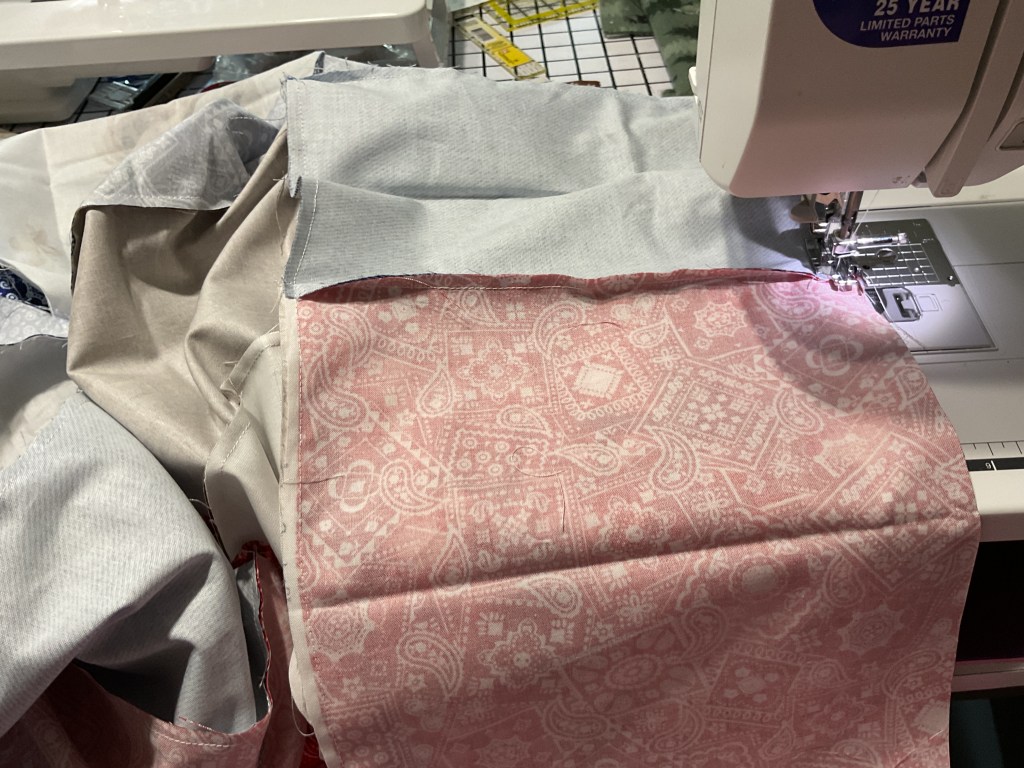
Let’s sew the sashing to both sides of our pieced Stix rows.

A sewing machine stitching together several pieces of fabric, including a patterned pink fabric and solid blue fabric, arranged on a sewing table.

Now we’re going to lay out the sashed Stix rows with the stripe. My tip is to find the center of the sashed Stix row and the center of the border stripe. Then match and pin the centers together and pin outward towards the ends to keep the quilt nice and square. We’re ready to sew the rows together. And then we need to add sashing all the way around as our first border.

Yay! The center of the quilt is finished. Easy peasy!

A quilt featuring western-themed fabric panels depicting riders on horses and dogs, arranged in alternating striped sections of blue, red, and patterned fabric, displayed against a light-grey backdrop.

Okay, time to cut the final border, which is a wonderful red bandana print from the Rodeo Dreams collection. Then we’re going to sew it to the quilt. Yay!

A person cutting red bandana fabric with a rotary cutter on a cutting mat using a ruler for measurements.

And here it is – the finished Cinnamon Stix quilt top in Rodeo Dreams. Isn’t it really fun???

A colorful quilt featuring cowboy and rodeo-themed fabric, arranged in vertical stripes with red borders, displayed against a light backdrop.

Here it is outside for a straight-on shot. It was really breezy so we ended up taking the photo in front of one of Robin’s hubby’s farm toys so it blocked the wind, instead of in front of the old barn (our first choice). Thank you Mary Lee and Robin for holding the quilt and fighting the wind for me. Perfect!

Two people holding a finished quilt featuring horse and cowboy patterns against a construction vehicle background.

I bet you’re already thinking about border stripes in your stash (or something new at your local quilt shop) to use in this fun and fast VRD pattern. We’d love to see your Cinnamon Stix quilts on our VRD Facebook page.

Now that the top (or flimsy) is done, it’s time to layer it with batting and backing, quilt it, bind it, and lastly add a label. Eventually…..

Stay tuned next week for another great VRD tutorial.

Until then –

Always,

Tricia @ VRD

Tutorials · villa rosa designs

VRD Angel Face Quilt Tutorial
Happy Thursday to you!

It’s summer time and the living is easy! After last week’s unusual heatwave here in NW PA, this week has been delightfully pleasant! I’ve enjoyed some quality time on the back porch hanging out with my pup, Bailly, and watching our local eagles. Breakfast on the porch? Yup! Lunch on the porch? Double yup!

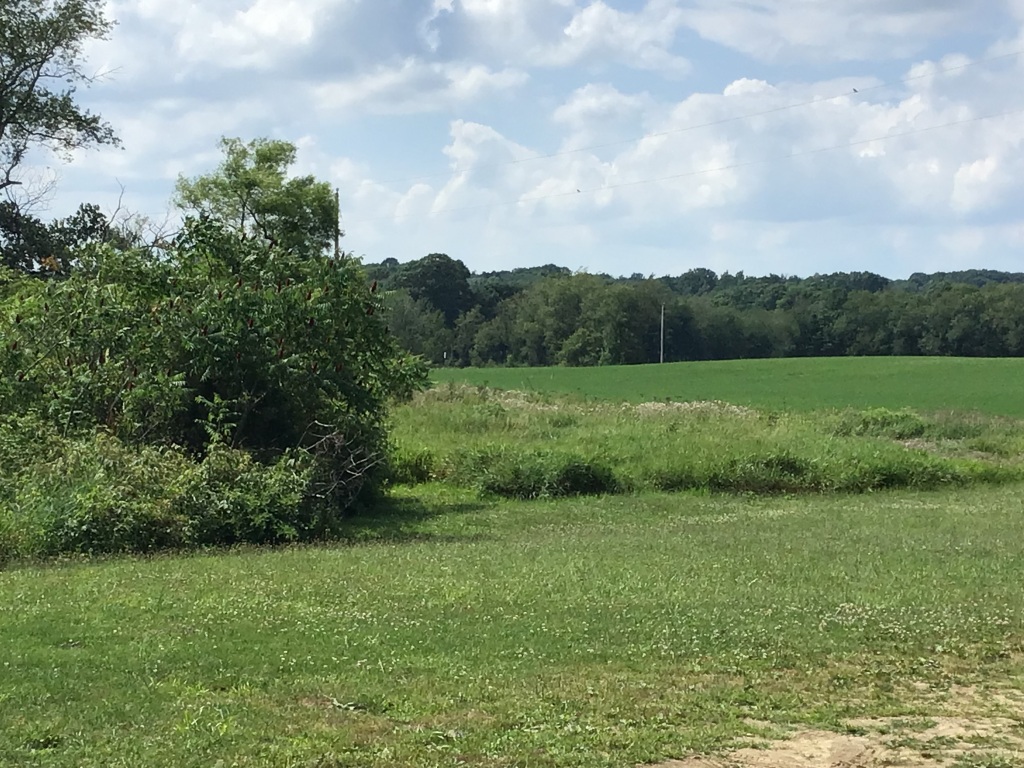
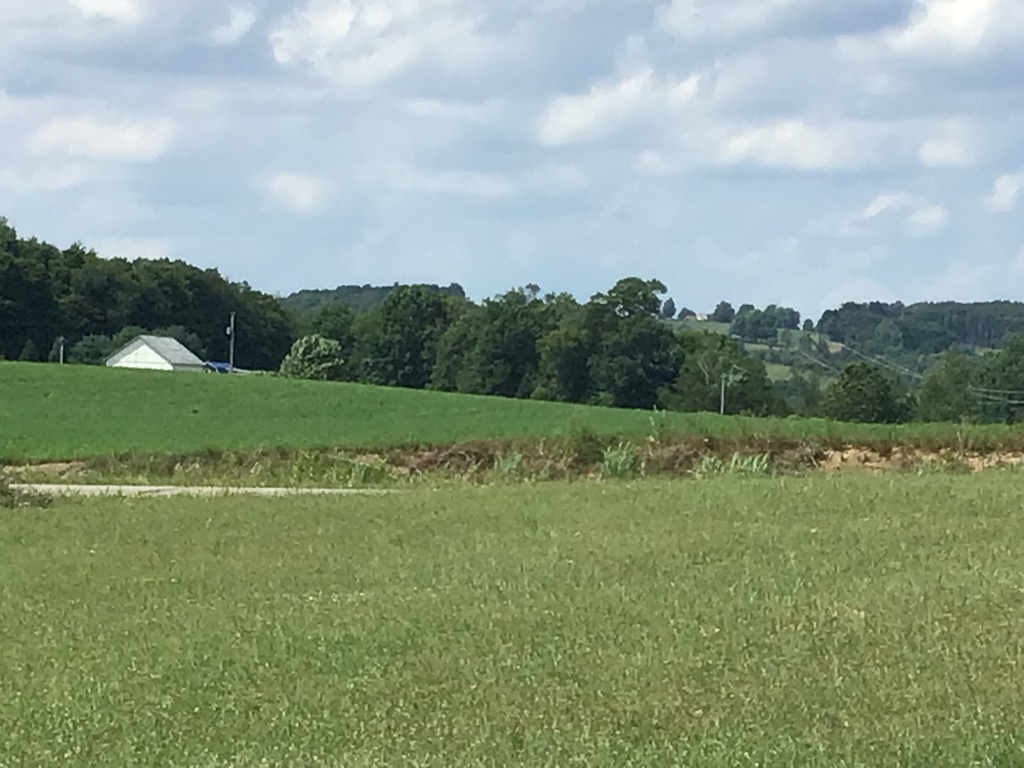
As I’ve shown in photos before, the little valley where I live, tucked into the foothills of the Allegheny Mountains, truly is a little slice of paradise.

I hope you are able to slow down your pace a smidge in order to enjoy nature, too.

I’ve also been getting in some much-needed sewing as well. WHEW! I am so relieved that crazy has settled down a little bit for me in recent weeks! You’ll see some of my industriousness when the new July Rose Card patterns are revealed!

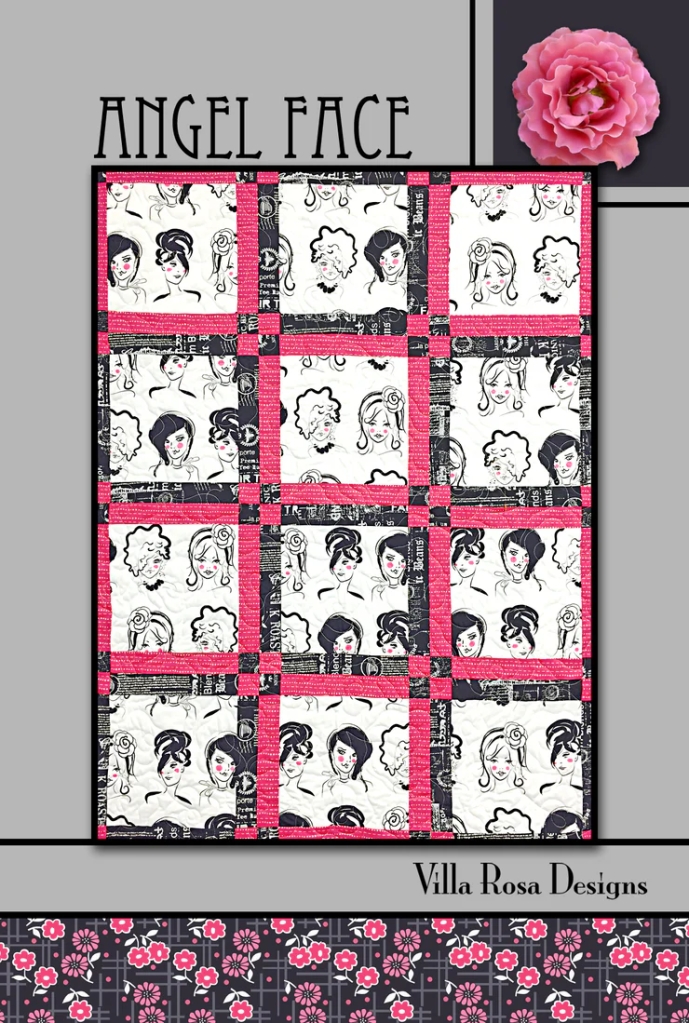
In the meantime, let’s get going on this week’s summer tutorial — Angel Face.

I’ve been a big fan of Villa Rosa Designs Rose Cards since my first Quilt Market in 2010 when I first met the amazing Pat Fryer, but Angel Face was one of the very first VRD patterns I’d seen in one of my local quilt shops way back when as they used it as the pattern for their beginner quilting series. Funny how little memory nuggets resurface, isn’t it???
You can find the Angel Face Print Pattern HERE or the Digital Pattern HERE.

Sew, let’s get this tutorial part started!!

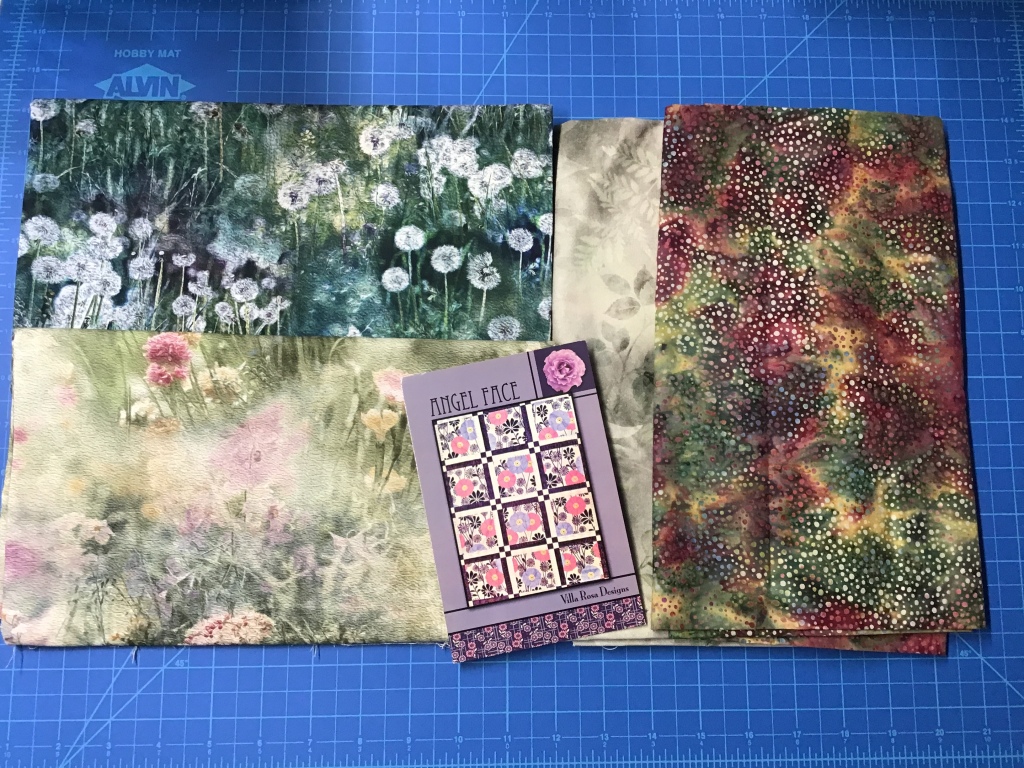
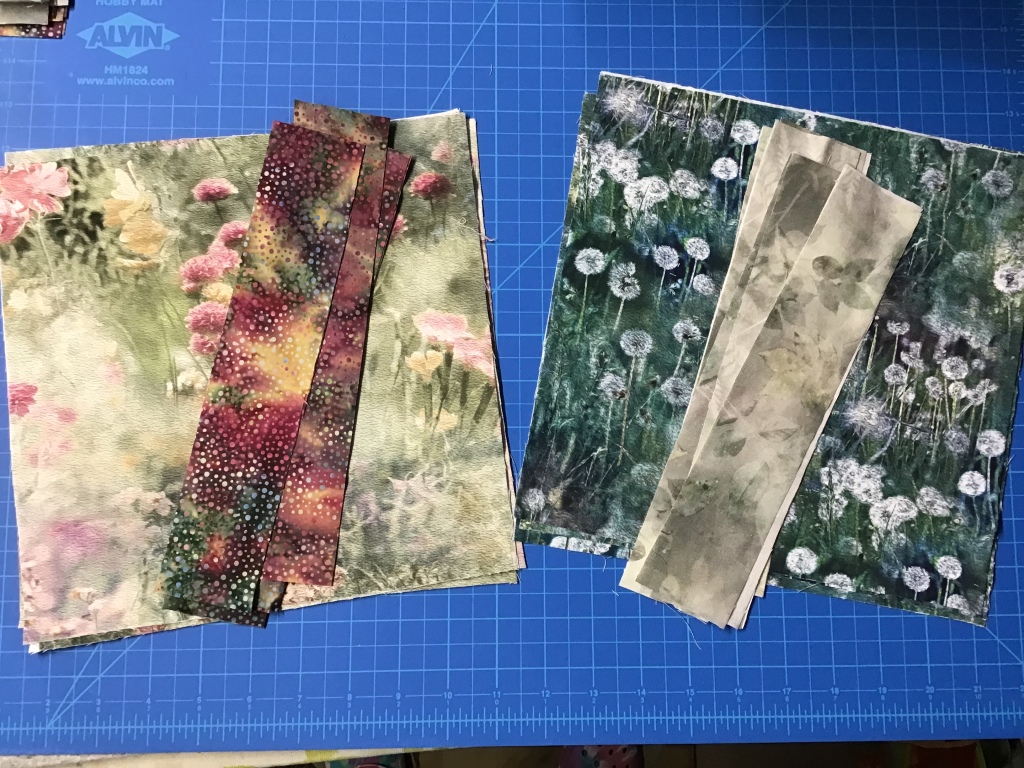
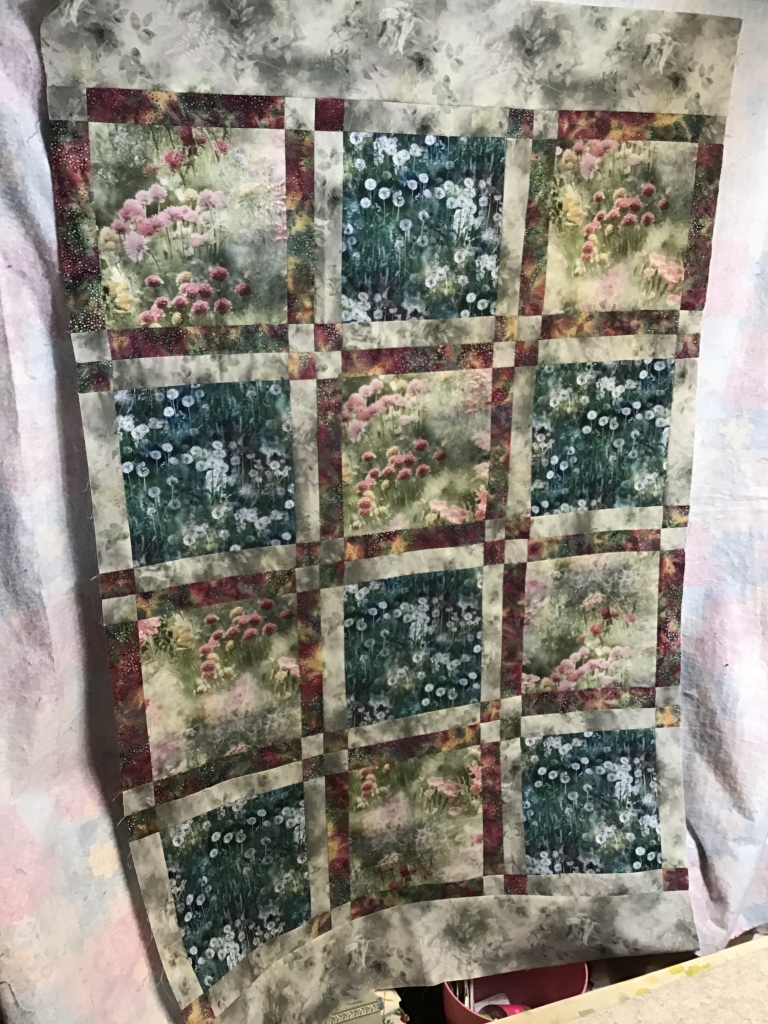
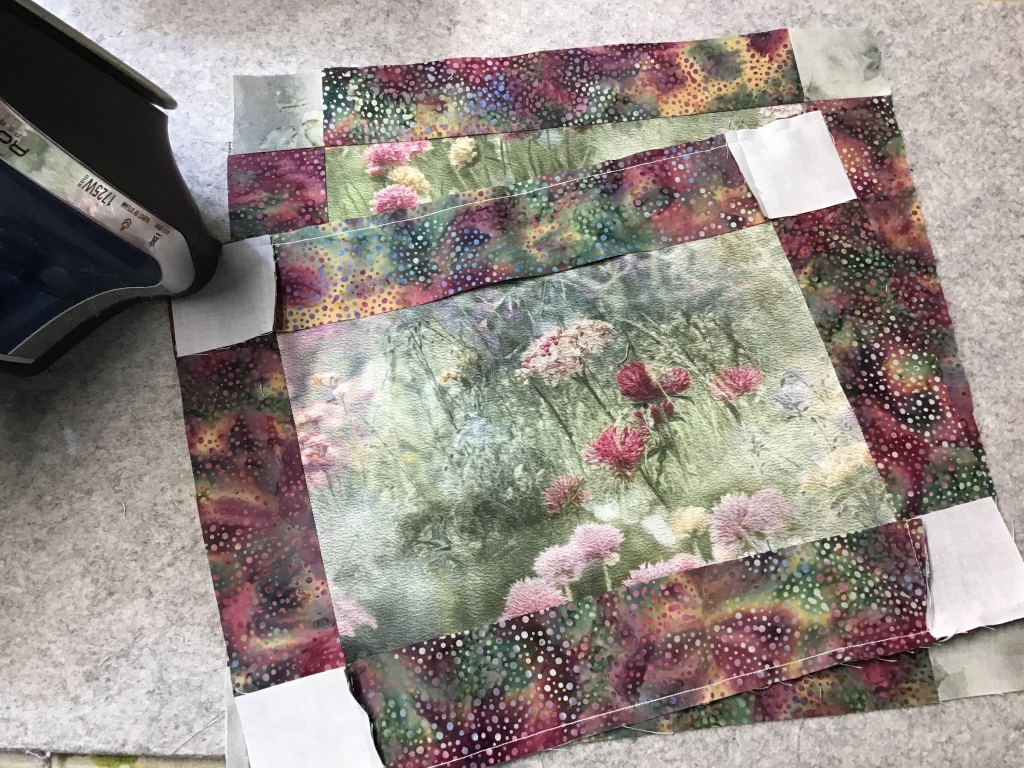
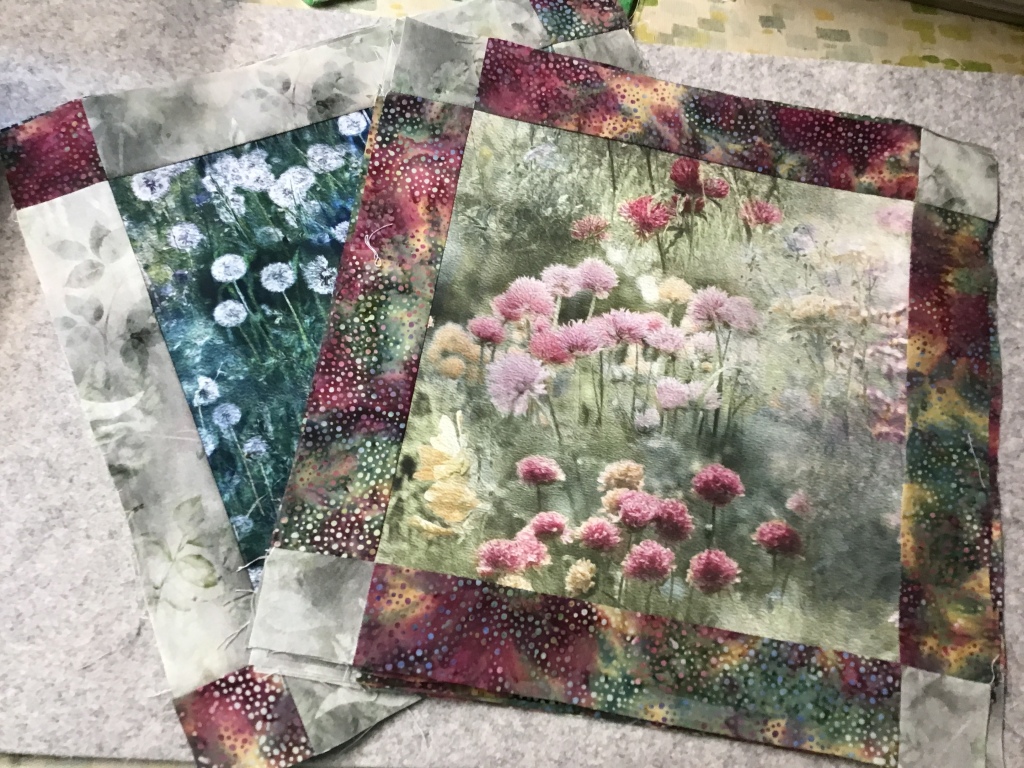
Today I’m using fabric from the Dandelion Wishes digital collection and an 885 Dot Batik companion from our quilting pal, Hoffman. Love, love, love these fabrics — the colors are so so soft and gentle. There are 2 colorways — green and pink — and I used a little of both for this fun beginner quilt project.

Heads up! I did make a slight change to the pattern instructions. The pattern calls for a single main print, but I went with and alternated the 2 prints you see on the left side of the photo because I just couldn’t decide between them. Big surprise, there, huh?

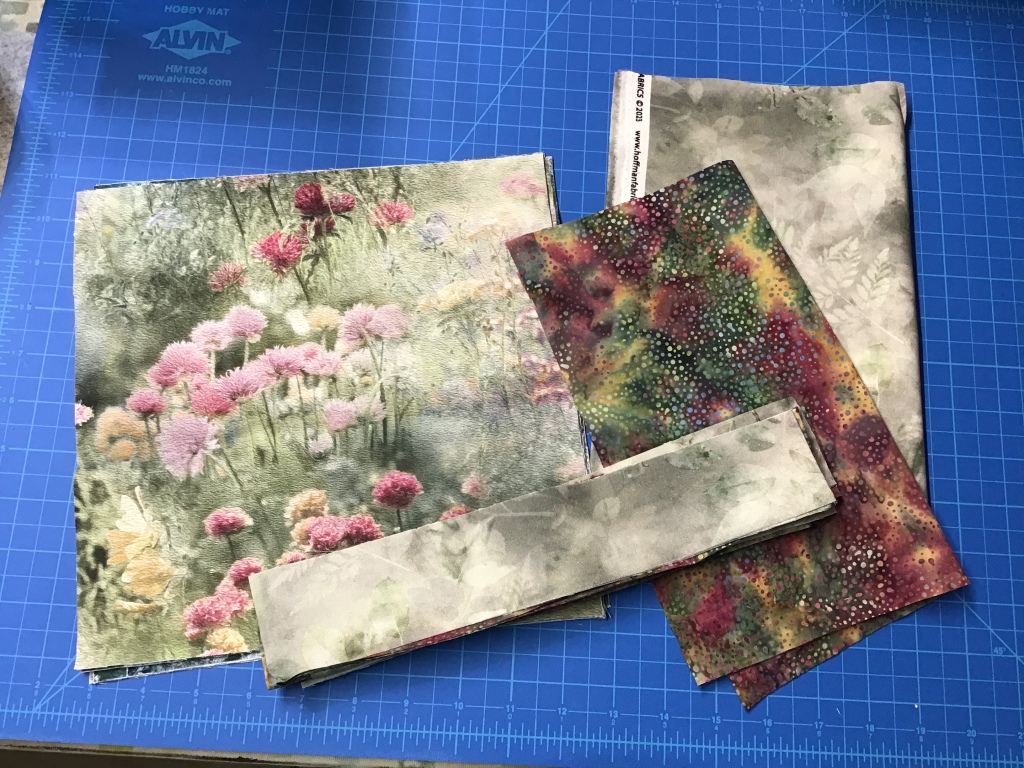
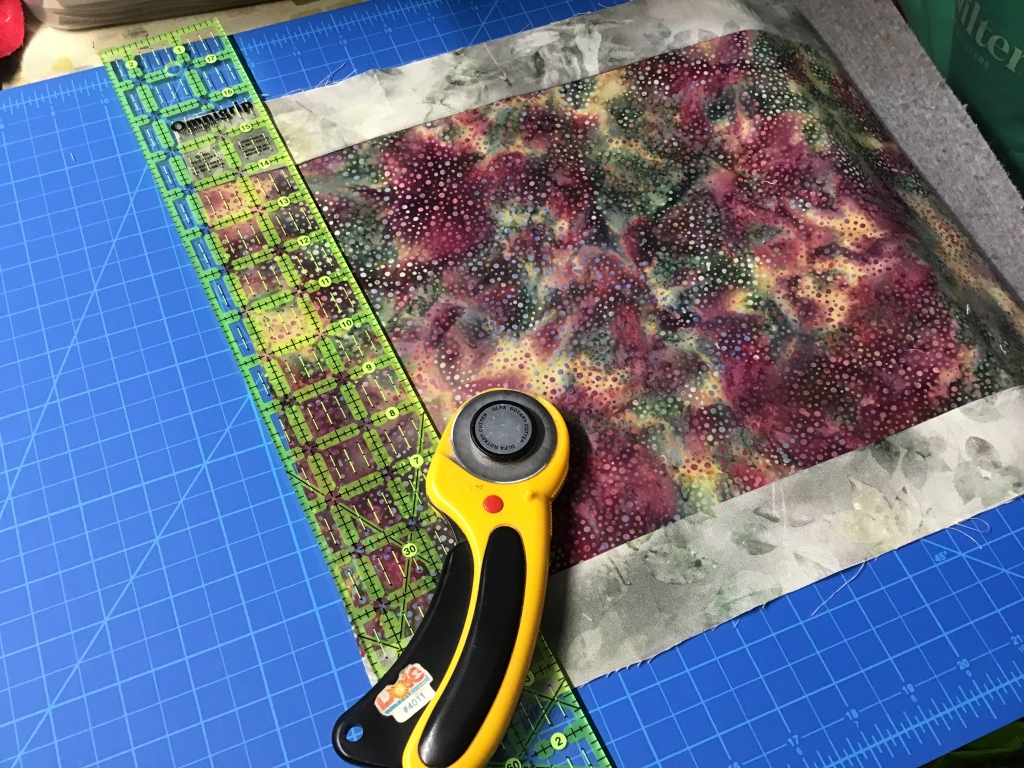
First up is cutting out all the pieces, which doesn’t take because we’re going to do some strip sets, so no little pieces. Easy Piezy!

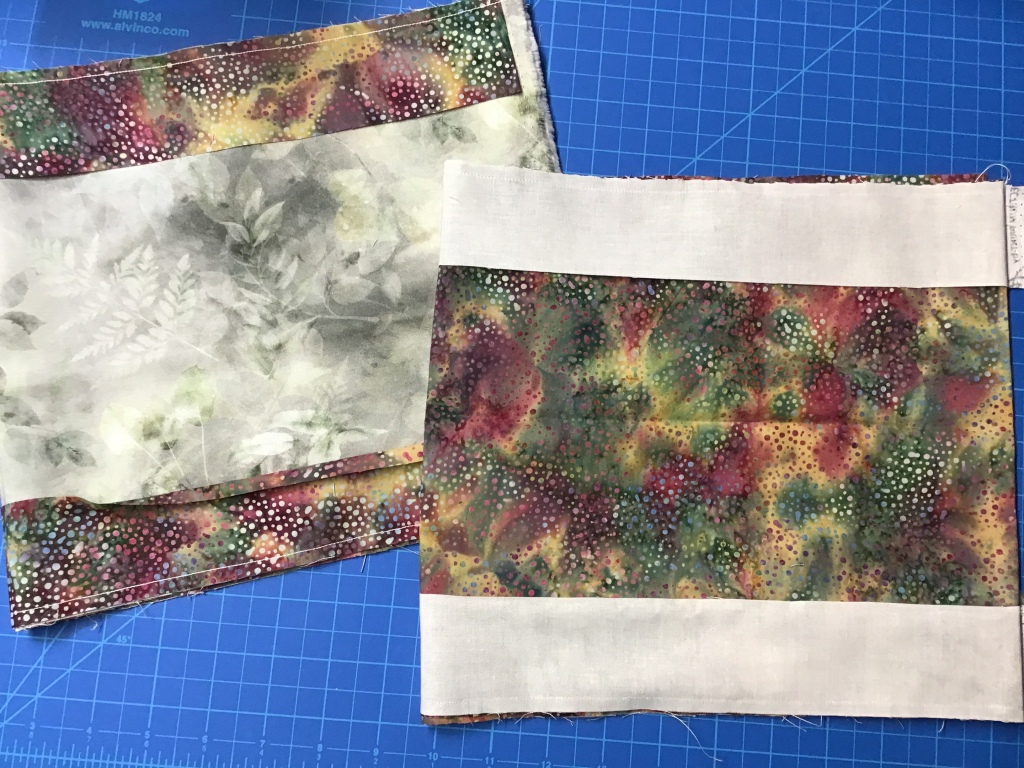
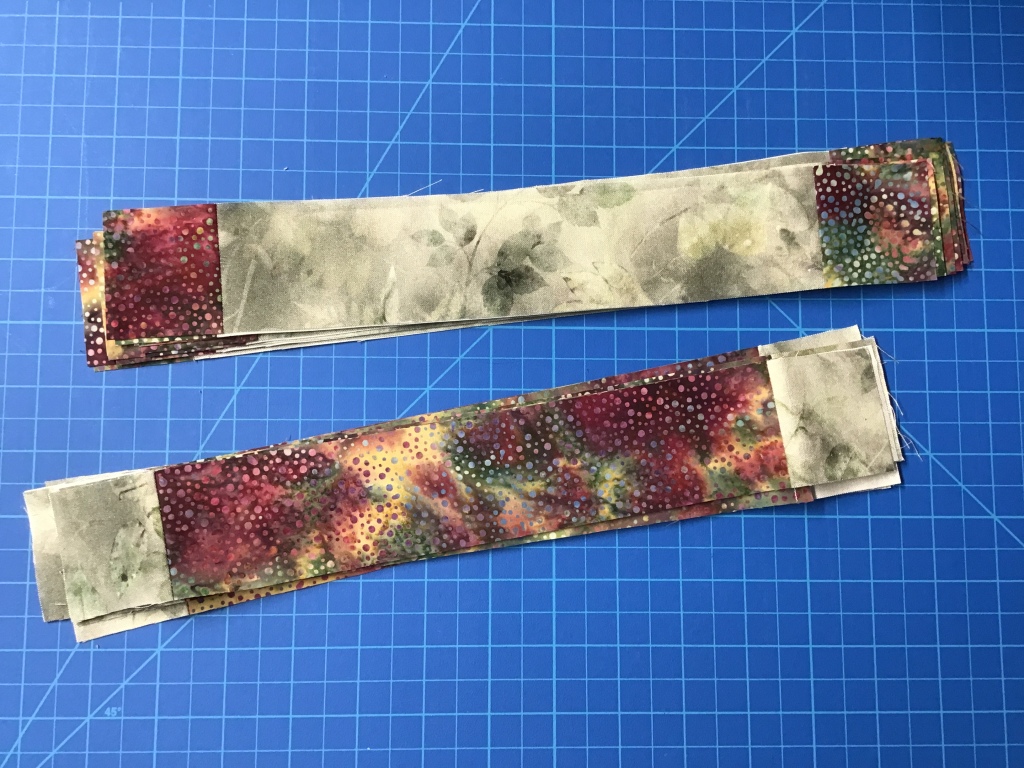
Let’s sew a couple strip sets together. Press the seams towards the narrow strips. Then we need to subcut our strip sets into units. Bet you can do this with both eyes closed, right?

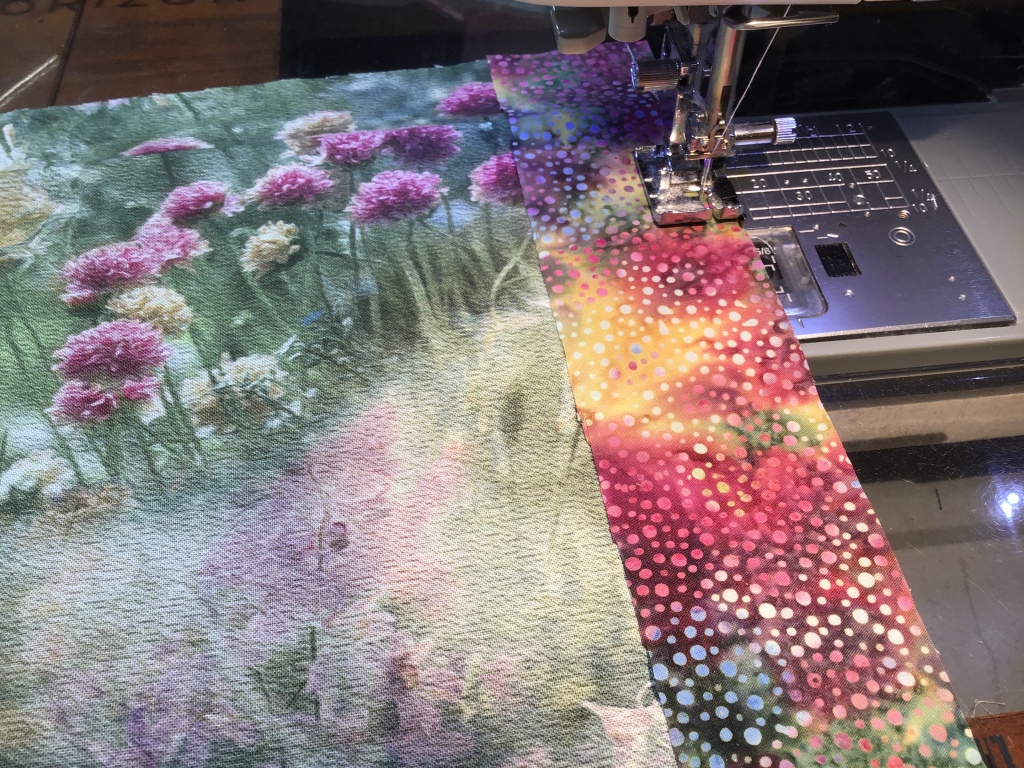
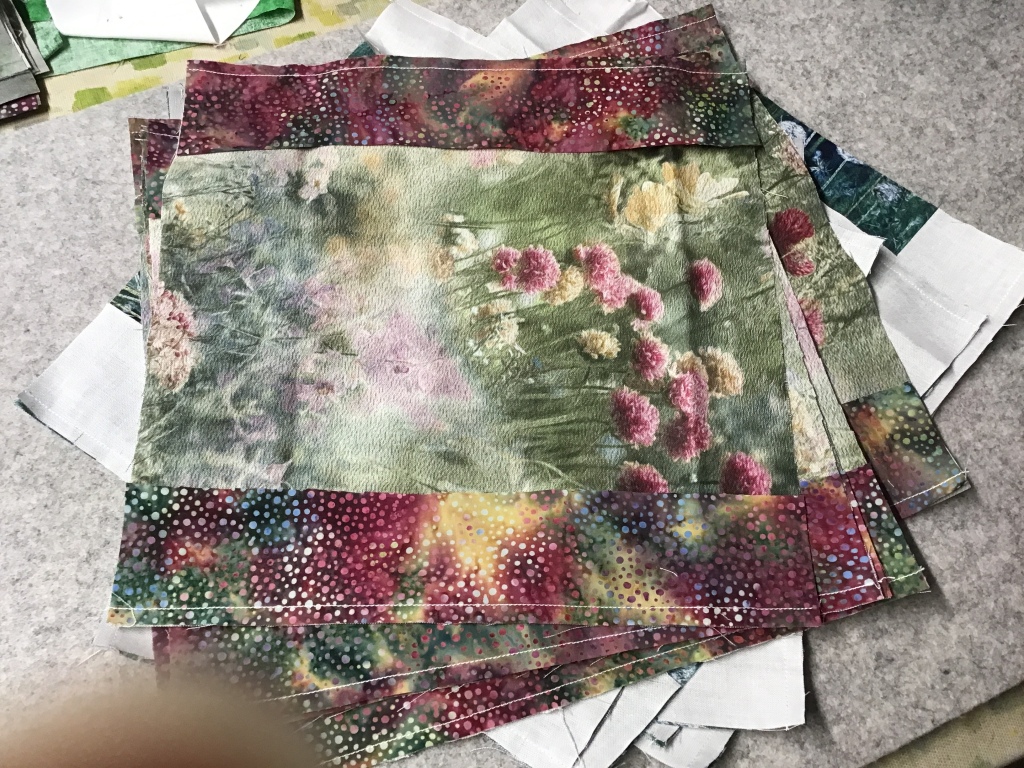
Our next step is to sew the unpieced strips to opposite sides of our main print (or prints) squares.

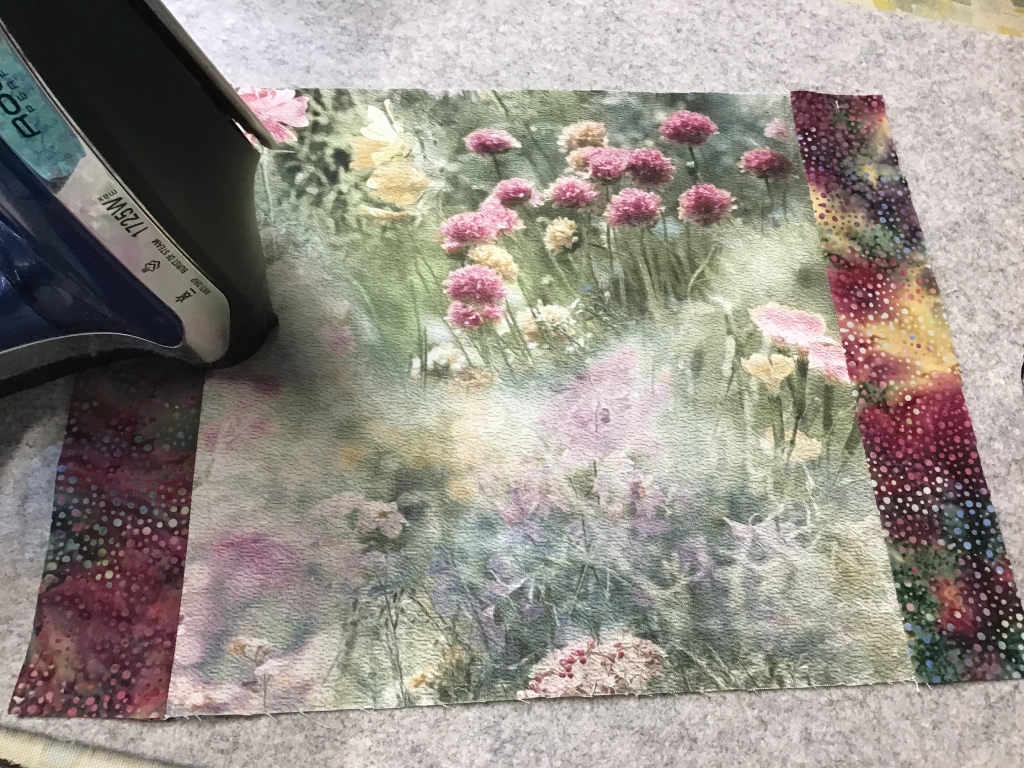
Now that our strips are sewn to our squares, let’s give them a nice press. Press your seams towards the center square.

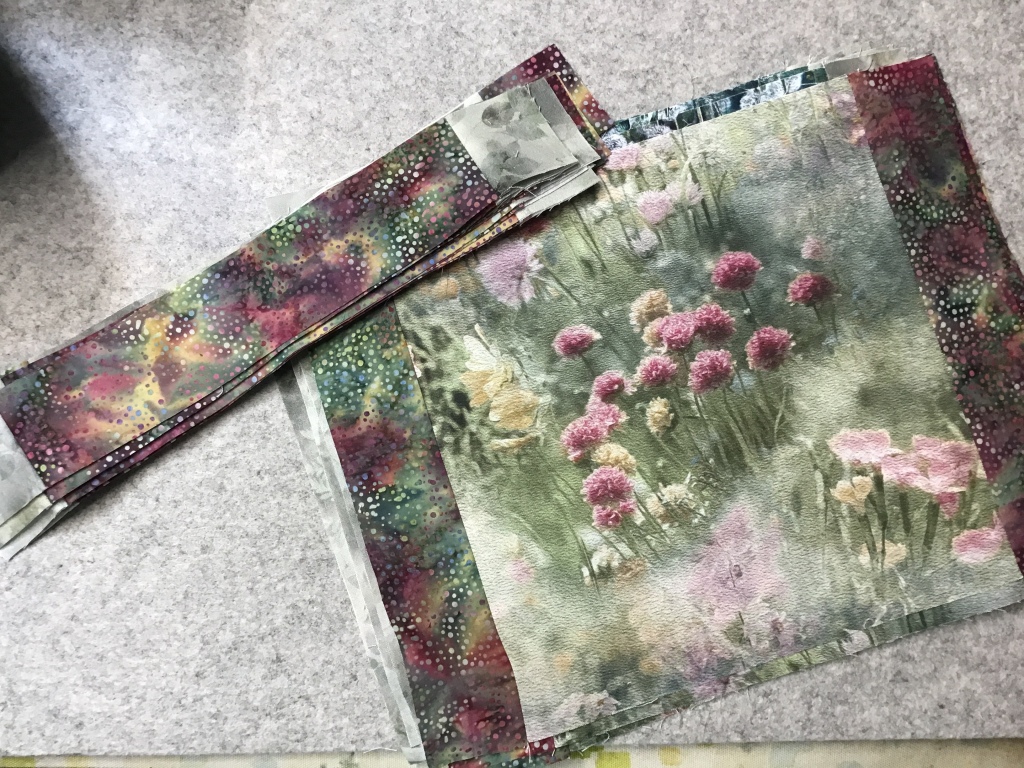
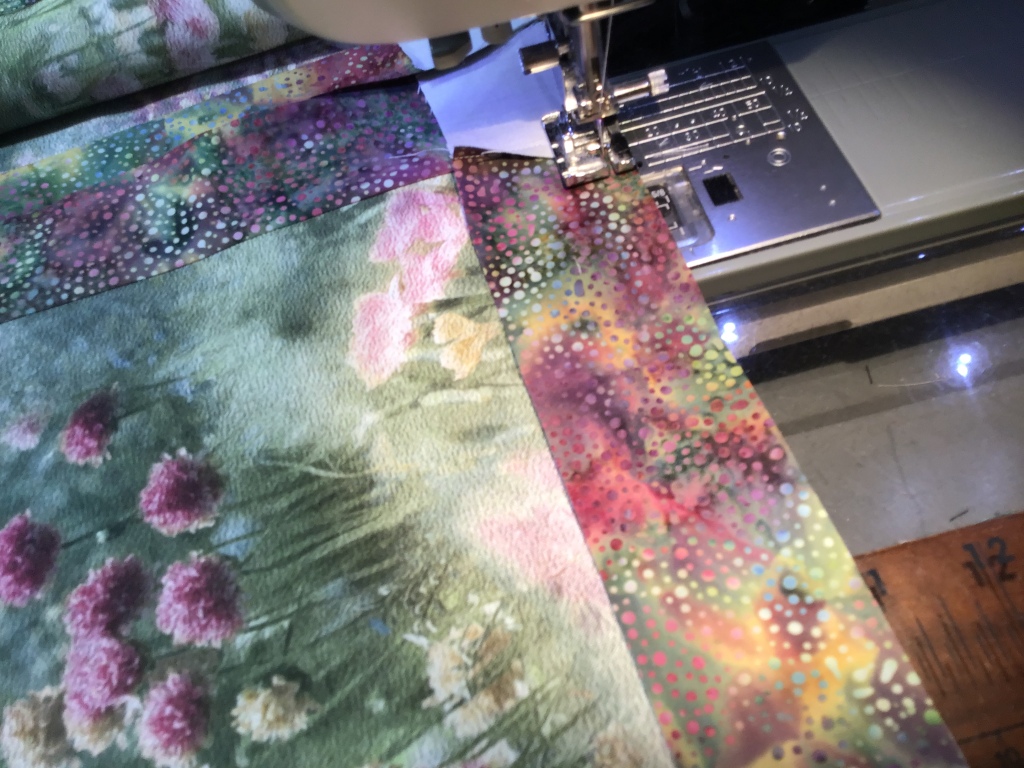
Remember those pieced units we cut from our strip sets? It’s time to sew them to the other 2 sides of the squares. There is a teeny bit of matching seams on the ends, but if you pressed the way I suggested above, the seams will nestle together nicely. Pin if you need to and just take your time.

Good to go! Time to give them a little press.

My next step because I used 2 different main prints is to slap my blocks up on my design wall so I can make sure to alternate the 2 blocks. I really like how it looks with 2 fabrics, don’t you? You could even use 12 different fabrics for the squares if you wanted to. Angel Face is a very versatile pattern.

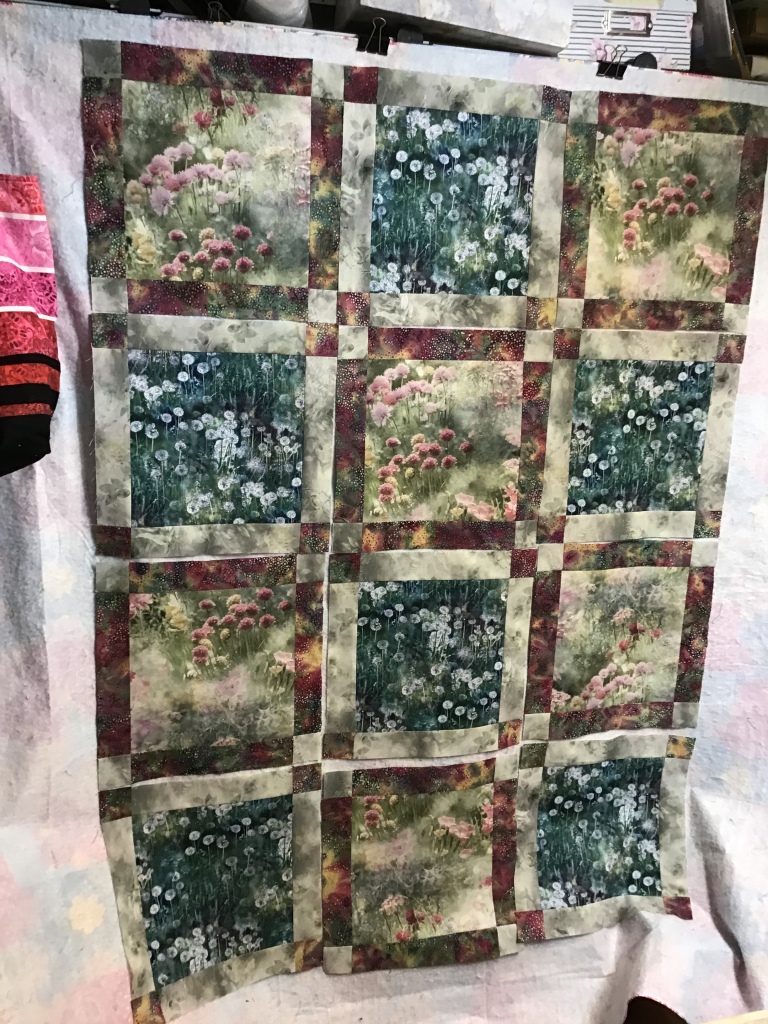
Now let’s sew the blocks together into a quilt top. Remember, that there is some fidgety seam matching when you sew the blocks together, so pin if you need to and go slowly. I promise you, though, that Angel Face goes together super fast!

You can stop here and call your top finished. This size makes a wonderful baby quilt! Layer, quilt, lable, and bind.

OR, you can add a border to make Angel Face the perfect size for a throw quilt.

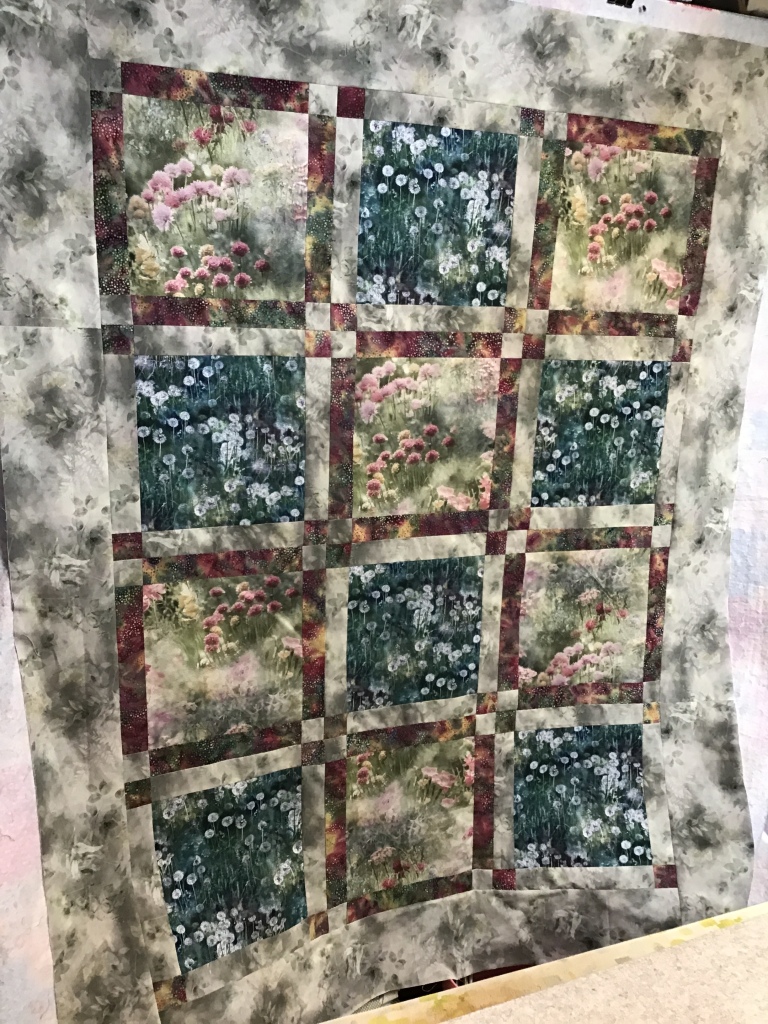
I’m going to add a border. In fact, I’m using the lighter of the 2 accent fabrics as my border. I think it will make the mottled purple accent strips really pop!

Go ahead and cut out your border strips for the quilt. I chose to add the top and bottom borders on first because the width of the quilt top is less than the width of my fabric, so I won’t have to piece the top and bottom borders.

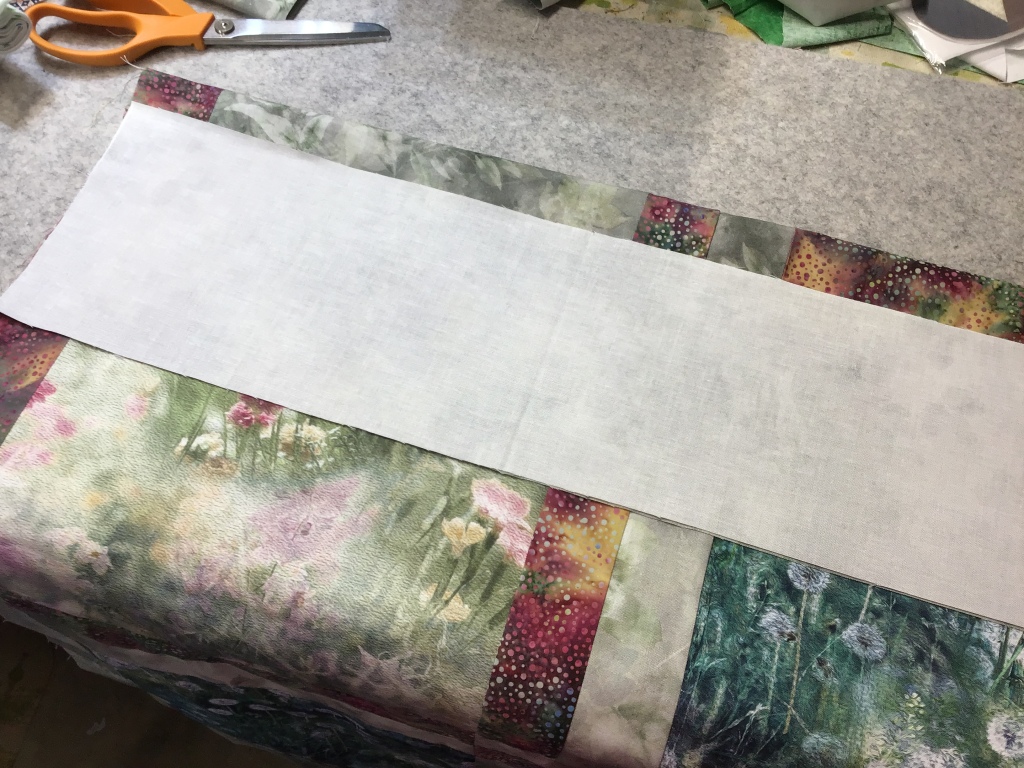
To measure my top and bottom border strips for cutting, I found the center of my quilt vertically (up and down) and I line up the end of my 2 strips and then I match them up to the edge of the quilt. I pin everything together to keep the 2 borders and the quilt lined up. Then I smooth the strips across the width of the quilt center and cut them to match the width of the quilt top. No more measuring with a measuring tape or ruler for me when cutting border strips.

Then I find and make creases at the centers of the top and bottom borders and the centers of the top and bottom of the quilt. This little step makes it really easy to match up the centers to assist in keeping my borders nice and square instead of getting all crazy and wavy.

Match up the center creases and pin. Next match the ends of the border strips to the ends of the quilt. Pin.

Sew the borders to the top and bottom of the quilt.

For the side borders, you’ll need to piece the strips. Then measure and cut the side border strips. Crease the centers of the strips and the sides of the quilt. Match them up and pin. Match up the ends of the borders and quilt. Pin some more. Finally, sew the side borders to the quilt.

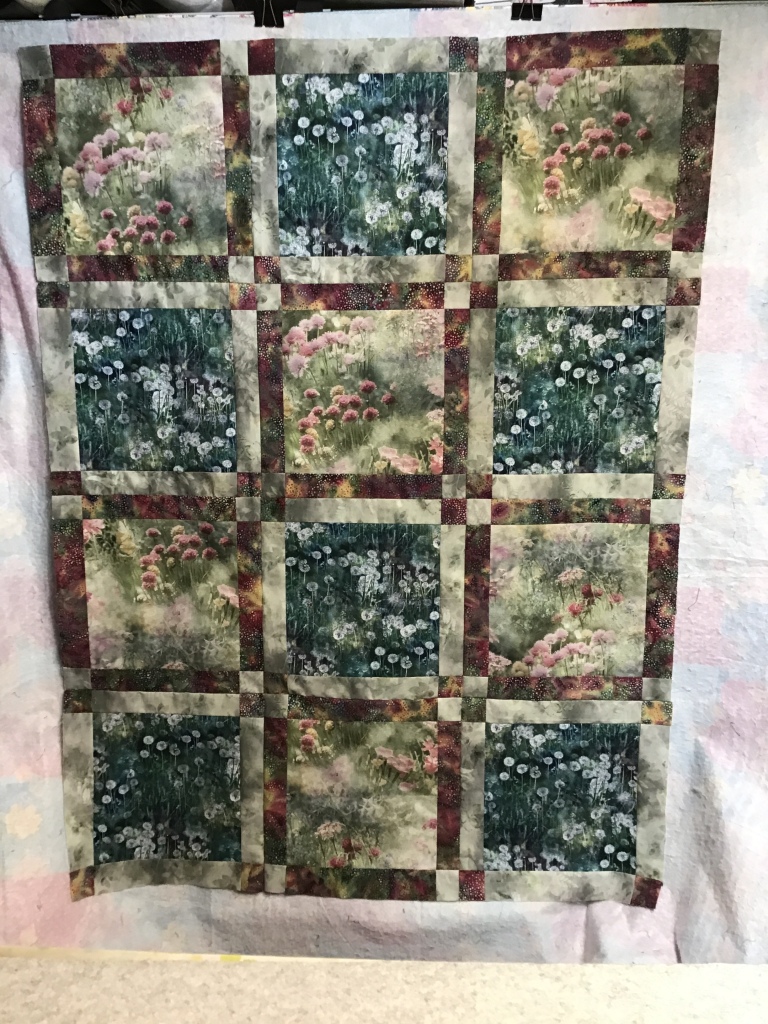
Isn’t it a really soft and pretty quilt???

Here’s a “beauty” shot on my back porch……….

I hope you enjoyed today’s tutorial. Angel Face is a wonderful project. Perfect for a beginner, yet fun and versatile for a more experienced quilter.

Don’t forget to stop and enjoy summer before it’s gone.

Until next week —

Always,

Tricia @ VRD