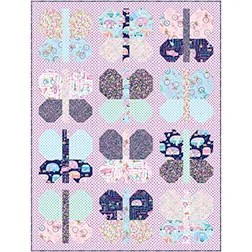
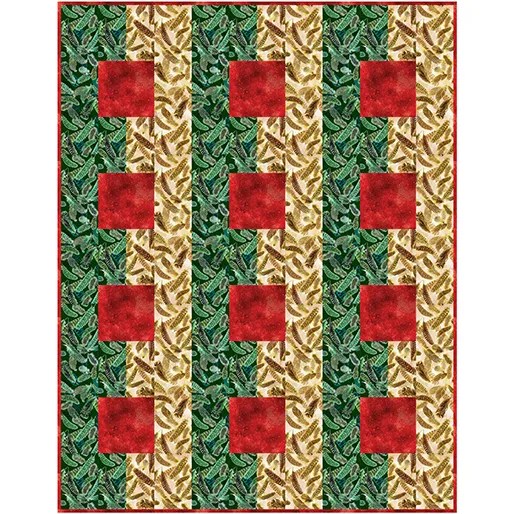
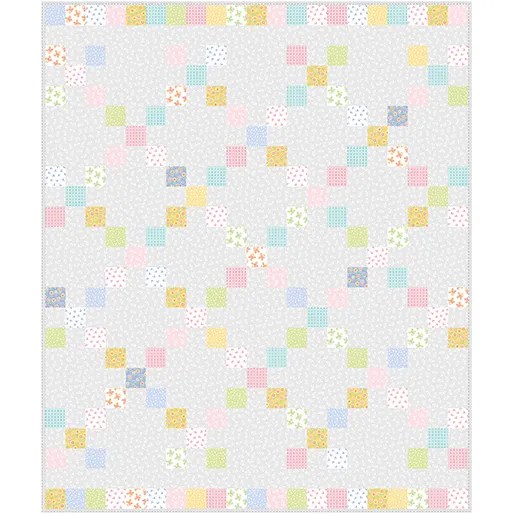
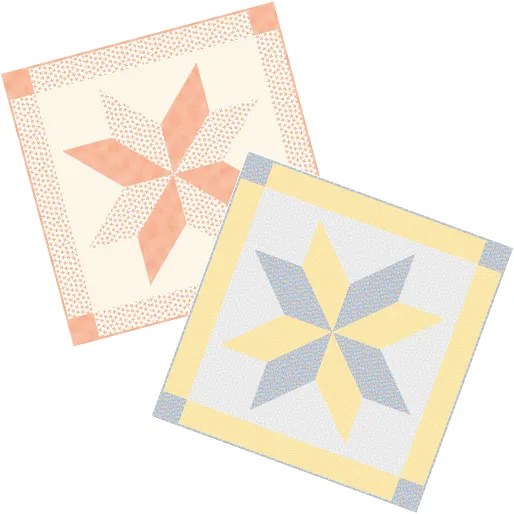
Tricia here again. I hope you all enjoyed Molly’s Lickety Split tutorial last week. If you missed it, you can find it HERE.
Today is the Thursday after the first Friday of the month. You know what that means — NEW PATTERNS! YAY! I can’t tell you how much I love showing off our latest patterns. I know I always say it, but our family of designers amazes me every month with their inspiring designs. Sigh, I just wish I could make every single quilt…
New October VRD Rose Card Patterns
Throw the confetti! Blow the trumpets! Here they are!
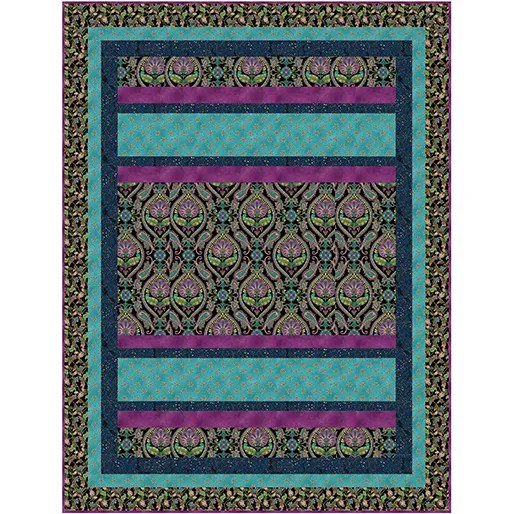
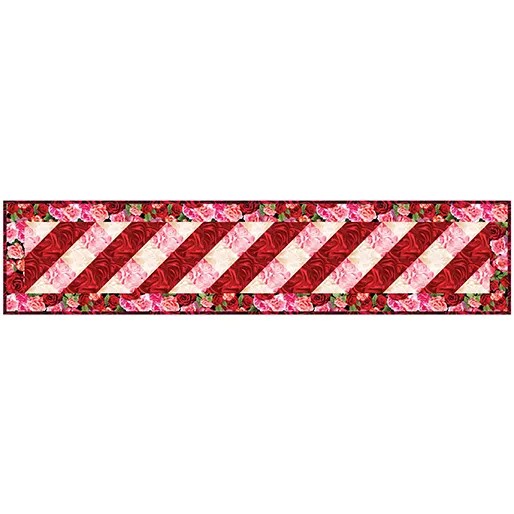
Aren’t they great??? You can get the October set of 5 patterns for the discounted price of $8.95 HERE. So go, what are you waiting for? Tehehehe……
And here’s my October table runner, Ghosties! Who doesn’t need a ghost table runner for Halloween??? I used Hoffman 1895 Watercolors and 885 Dot Batiks. I love how it turned out, but I find my ghosts ended up kind of reminiscent of the ghosts on Pac Man. Hmmmmm. Do you remember Pac Man in the 1980’s? Oops, I’m dating myself, aren’t I?
Oh well, here’s Ghosties!
You can get the pattern for Ghosties HERE. It’s also available as a digital pattern HERE.
No kits available, sorry.
Can’t wait to see all your cute little Ghosties! Did you know that in old Transylvania, a group of ghosts was called a “ghossling? And in old European books, supposedly a group of ghosts was called a “tilling.” Apparently there really isn’t an official name for a group of ghosts, but some current options include a “fright” of ghosts or even a “haunting.” Just a little Halloween trivia fun for you. Who doesn’t need a little trivia in their life?
By the way, did you know that a group of crows is called a “murder”????????
I haven’t done a VRD Rose Card theme list for a while, so thought it was time for Fall-themed patterns. Enjoy!
Fall VRD Rose Card Patterns
There’s been a nip in the air recently and the leaves are changing colors. I just love Fall. The colors, the sounds, the smells. Fall is definitely here. Check out this apple barrel of VRD Rose Cards.
Wow! This group was a lot bigger than I thought it would be. I hope you made it all the way through! If you did, snaps to you!
One of the reasons I really like creating a themed list of patterns is because it helps me to get more familiar with our VRD patterns and our designers. And, of course, I can introduce you to patterns you might not have seen before. Because, let’s face it — with over 600 patterns in print, it’s kind of hard to keep track of every single one!
So, my question to you is — how many of these patterns do you already have? And how many are you going to add to your growing VRD Rose Card collection? Finally, how many of these quilts have you or will you make?
I’m here to talk about one of my own favorite patterns, Lickety Split. I designed this fun and fast pattern using only 10 fat quarters and a background fabric. When I was sewing it up the first time, it went together really quick — hence the name “Lickety Split”.
There’s also a digital download pattern, too. You can find the digital pattern it HERE.
Today I’m using fabric from the Morning Light collection by Northcott, which features digital prints. They do a good job with their digital prints and the colors are just so beautiful. These are definitelymy colors — Northcott must have been thinking about me when they designed them. LOL!
Guess what??? We created Lickety Split kits just like my fabrics, above. You can find them HERE.
Or maybe you just want to grab some of your own Morning Light Fabrics? You can find the collection HERE at the VRD shop. Be warned — they’re going fast and when they’re gone, they’re gone. So get ’em while they’re hot!
Let’s get started!
Lickety Split Quilt Tutorial
So first things first (well, after you find your fabrics, of course), you need to cut out your rectangles. Grab your fat quarters, and cut them into strips. Then subcut the strips into rectangles. You’ll have a narrow strip leftover — you can use it in another project.
Next it’s time to cut your background pieces. I cut my big pieces first. Then I used the leftover background pieces to cut the smaller/narrower pieces.
Molly’s Tip: Go ahead and pair up your rectangles so the same 2 fabrics are sewn together in each block like I did.
Or scrap it up and be totally random! You do you!
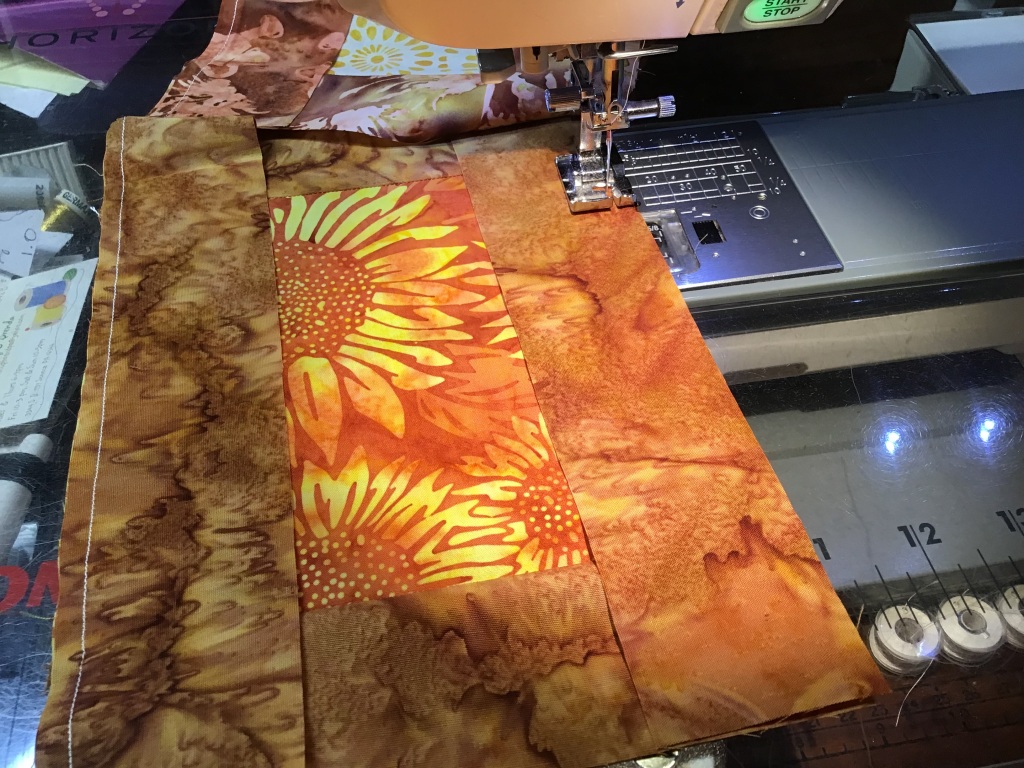
Here, you can see how I stacked up my fat quarter rectangles with the background strips. Now I’m ready to take all my block pieces to my sewing machine. No need to get up and down to get fabrics, because they will all be right next to my machine.
Yay! Time for the fun part — sewing the blocks together! Make sure you sew the pieces all the same for each block or else you will have blocks going in all kinds of directions. Silly blocks!
Look! Here’s a block AND it went together Lickety Split!
Lay out your blocks, turning every other block sideways. The 1st, 3rd, and 5th rows will be the same layout while the 2nd, 4th, and 6th rows will be the same layout.
Sew your rows together and — TA DA — your Lickety Split top is done. Now it’s time to layer, quilt, and bind. And don’t forget your label!
Check out these other color combinations of Lickety Split. Which one is your favorite?
Anna Maria Horner collectionHoffman collectionWonderland by Keiki GokeWonder by Windham fabrics
Don’t forget to post your Lickety Split quilt pictures on our Facebook page. I can’t wait to see them!
I’m sew excited you stopped by today! After doing those fall quilt tutorials a few weeks ago, I am trying to now get them all quilted before I dive into making more quilt tops (my projects seem to be multiplying daily). Do you quilt your own quilts or do you send them out to a long arm quilter? If you do your own quilting, do you hand or machine quilt?
My Machine Quilting Journey
I started machine quilting right after I learned to do patchwork almost 25 years ago. Of course, first I tried to “stitch in the ditch” but I found I couldn’t manage to actually stay in the ditch. Ho hum……
I did try a little hand quilting on my very first quilt, which I lovingly call “Big Ugly”, but my stitches were so big, I could’ve probably caught my toe in them. LOL!
Eventually I heard about a relatively newfangled thing called free motion quilting (FMQ). I was a new enough quilter that I wasn’t afraid to try it. Of course, back then free motion quilting was frowned upon and free motion quilters tried for a hand quilted look by using invisible monofilament thread to hide their machine stitching. The invisible thread back then was like thin fishing line — yuck! But I still slogged through — learning how to free motion quilt with a basic sewing machine on which I had to cover the feed dogs with tape or an index card because the feed dogs didn’t drop. And don’t forget that fishing line (today’s invisible thread is so so much better than back then)! Regardless of the challenges, I kept free motion quilting. And I was hooked!
After I had some quilts under my belt and I upgraded to a little better sewing machine where I could actually drop the feed dogs — it had a needle-down function too, I switched to using the same thread I pieced with — 100% cotton. I experimented with different threads and manufacturers for a while to see what I liked the best, or maybe more accurately what threads my sewing machine liked the best. Then I discovered King Tut variegated thread by Superior Threads. WOW! What fun it was quilting with variegated thread! I grabbed up every variegated thread spool I found, which was especially fun when I went on shop hops and quilting bus trips with my quilty pals.
The only real problem I found working with those yummy variegated threads was that sometimes I lost the thread on the quilt because the thread color matched the quilt exactly. Then it kind of looked like I skipped part of the quilting design. Oh well, nothing’s perfect.
This was when I moved back to working with solid 100% cotton threads. Now I have a small six drawer unit on wheels with all my spools of thread organized by color or type. And yes, the top drawer even has my collection of variegated threads. My drawer unit is the Helmer unit from Ikea.
Helmer image from Ikea
Free Motion Quilting on Fleece
Today I have a fun little video for you with some great tips for free motion quilting a quilt top backed with fleece fabric (you know — the fleece you make tied blankies with or comfy pj pants out of?). I began free motion quilting on fleece long before even Minky was popular as a quilt backing. I guess I was ahead of my time a little bit. Of course, back then, folks kind of looked at me funny when I showed off my free motion quilted quilts backed with fleece. Boy, they didn’t know what they were missing!
There is nothing like curling up with a fleece-backed quilt. Be aware that I don’t put batting in my fleece-backed throw quilts. Nope, not at all. Skipping the batting makes my fleece-backed throw quilts very cozy and super floppy — which I love! Have you ever tried machine quilting with fleece on the back of your quilt?
A friend of mine, Cheryl, who is a free motion long arm quilter, took my quilting on fleece idea even further — she layers 2 pieces of fleece and free motion quilts them together to make a one of a kind textured throw blanket. Maybe you’ll try this too.
Now — on with the show!
Oops! I see in the video that I actually did cross over some lines. Mea culpa! Luckily, I didn’t get any mischief happening on the back of my quilt. I should haven stuck with my first choice of orange thread instead of the medium chestnut brown, which blended in too much on the quilt top. LOL!
Go HERE for the Alassio tutorial. Or HERE to purchase the Alassio pattern.
Go HERE to read our VRQ post, Quilt as Desired, which is all about machine quilting and is part of our Basic Skills for Quilters Series on the blog.
I hope you enjoyed this little video. Now that I know how to create one and upload it, you might just find more little videos here. You’ll have to stay tuned to find out.
Nope, sorry, no quilt tutorial this week. I finally realized I’d better take a little break from piecing and get to some machine quilting before I completely drowning in unfinished quilt tops. LOL!
Another week has just zoomed by and I cannot believe that Fall officially arrives on Saturday. I am totally enjoying the cooler nights and warm days we’ve been having around here. I’ve also been doing a little more cooking for dinner and even some baking. While out enjoying the weather the other day, I strolled back to our crazy overgrown dwarf apple trees which are like 15 feet tall. I was pleasantly surprised that there are some decent apples up in the trees even as the leaves are starting to fall off. We’ve never really treated them and they’ve never been pruned to my knowledge — hence the “overgrown” part — and the deer and bugs have been helping themselves. But there are still some nice sized apples. Now I have to add some apple picking this weekend because I’m thinking of making some crockpot applesauce and freezing it for this winter. Yum! There’s nothing like homemade applesauce in the winter.
Of course, all I really want to do right now is to make quilts. Lots and lots of quilts. So let’s dive right into a great list of quilting helpers!
Quilter’s Toolbox Ideas to Improve Your Quilting
I’ve recently added a couple new things to my studio that have been real game changers for me. So I thought I’d take a little time to share with you those new things as well as some of my old favorites. These tools have saved me time, improved my accuracy, and even just made quilting more fun. You can find them at your local quilt shop or favorite online retailer.
Wool Pressing Mat
Image from Amazon
I know wool pressing mats aren’t really new, but they are new to me. For the last several years, fellow quilt guild members have been extolling the benefits of using one when pressing fabrics, blocks, and quilts. I listened politely, nodded, and promptly forgot about them. I even won a handmade knitted felted wool mat, but then never used it. Sometimes it can take a while for me to warm up to a new idea. Silly, I know, but true.
Anyway, fast forward to this summer. It was an impulse Prime Day purchase, but I splurged and bought a wool pressing mat. I figured, what the heck? Maybe it would work for me because I find pressing so tedious.
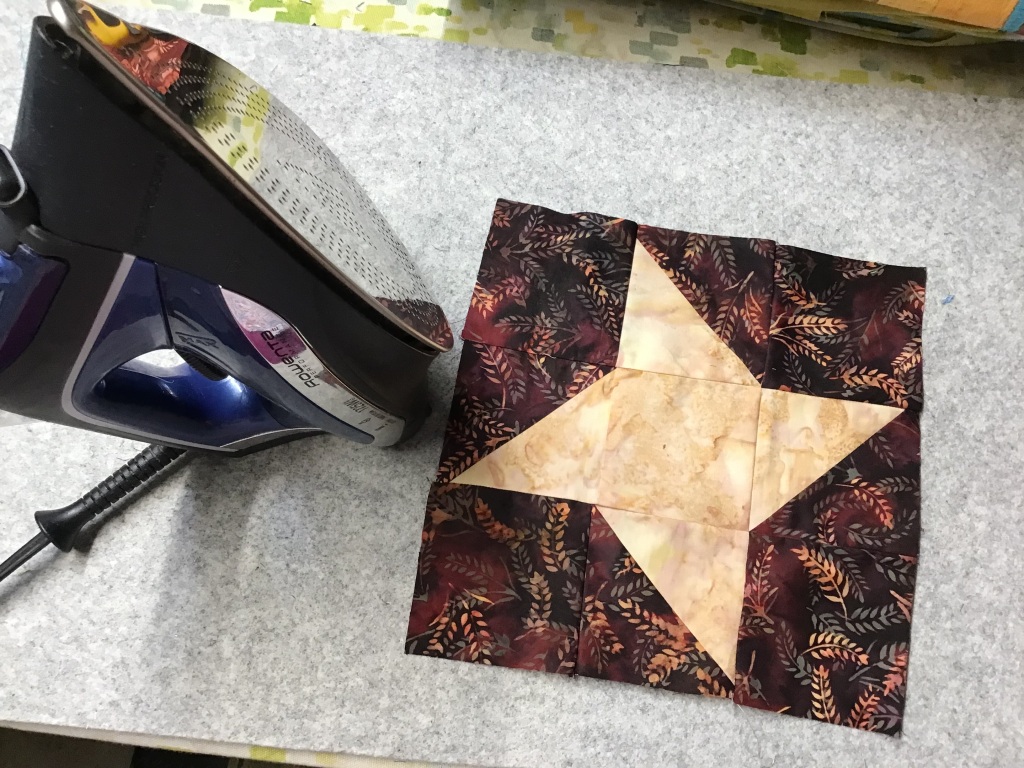
WOW! I cannot tell you what a difference a wool mat makes when pressing. My blocks don’t slide around or stretch and the warmth underneath makes pressing quicker and easier with less work for better results. All I can say is I don’t know why it took me so long to try it out!
My wool mat is narrow and long and almost fits the length of my ironing board. Now I wish I would have gotten one a little bit wider, though, as my ironing board is a generous 24″ x 60″. But it did come with a nice case so I can roll up my wool mat and take it with me.
Machine quilting gloves are an oldy but a goody in my quilting toolbox as I’ve been using them almost as long as I have been free motion quilting. All quilters have their own favorites and I am no different. I’ve used other brands of gloves over the years like Machingers and Grabaroos, but my favorite favorite gloves for the last four or five years are the Swan quilting gloves by Amity Studios. I found Swan Gloves quite by accident at International Quilt Market before the Pandemic hit. My first pair lasted through the Pandemic and other than maybe being a bit worn, they are still good. I did purchase a new pair last year at Market, just in case.
These gloves are different from any other quilting gloves I’ve ever used — they are leather and built kind of like a golfer’s glove with the ring finger and pinky cut out. You can use your touchscreen electronics while wearing them. I can even change my sewing machine needle and load a bobbin without taking them off. The Swan gloves seem to really help me to control my quilt sandwich while free motion quilting, which makes my quilting more controlled and my designs that much better. I have also found that Swan gloves fit me well (they come in different sizes), especially with the velcro wrist adjustment, and they last longer. My best suggestion to anyone interested in quilting gloves is to try different styles until you find the perfect ones for you.
Thimbles
Image from Amazon
Do you use a thimble when you do hand-sewing? For the longest time, I didn’t. Over my 25+ years as a quilter, I’ve tried a lot of different thimbles and none of them ever fit just right, so I chose not to use a one at all. Then one day, I found the perfect thimble for me. It fit just right. It felt just right. It’s called the Nimble Thimble.
The Nimble Thimble is a soft leather thimble with a metal disk in the tip to protect your finger from needle pricks. And it has an open slot on top for your fingernail, which is a big plus for finger comfort. It comes in different sizes and because it’s leather, it molds to the shape of your finger. If it stretches out, you can wet it down, put it on, let it dry and it will once again conform to your finger. The funny thing about this thimble for me, is that sometimes I even forget I’m wearing it.
1/4″ Quilting Foot with Guide
Image from Amazon
I’ve had a 1/4″ machine foot with a guide for piecing ever since I bought my first Janome sewing machine way back when. It came as part of the bonus quilting feet set. It looked kind of strange, but I found that when I tried it out as a relatively new quilter, my 1/4″ seam was a lot more accurate and consistent. Count me in! No more tape on my sewing machine to eyeball a 1/4″ seam.
If you’re looking for a 1/4″ foot for your machine, your best bet is to visit your sewing machine dealer and ask for the 1/4″ foot with a guide that goes with your sewing machine. There are generic ones out there if you can’t find one that matches your sewing machine, but you need to get the correct shank-type one for your machine — check your sewing machine manual to find out whether your machine has a low shank, high shank, or slant shank.
Mini Design Board
There are lots of different portable design boards out there for taking with you to classes or retreats. These humble boards can make sewing individual quilt blocks with lots of pieces a lot easier to sew together. I just lay out a quilt block on my board and then I can take my block on the board right to my sewing machine, then I can easily see how the pieces go together while I am assembling the block.
It’s pretty easy to make your own board and it only takes a few items you might already have hanging around in your sewing room. You need a piece of sturdy cardboard in your desired size and a piece of flannel fabric big enough to wrap around to the back of the cardboard. Pull the flannel taut and use heavy duty duct take to secure the flannel wrapped around to the back of the cardboard. I have had my DIY design board for maybe 15 years and I still use it often. My friend Mary Lee, brought sturdy pieces of cardboard to one of our quilting classes years and years ago, which we covered with a flannel fat quarter. Once in a while, I do have to tighten up the fabric around the heavy duty cardboard and retape it on the back, but that’s about it for maintenance.
Of course, if you’re not into DIY, you can find portable design boards at your favorite quilt shop or online retailer. Or Etsy! You can even repurpose a child’s felt board, if you have one of those in your home!
DIY Flannel Design Wall
If you’ve been following along recently with the fall quilt tutorials, you’re probably already familiar with my new flannel design wall. Sure, you can buy a fancy-smancy design wall, but you really don’t need to. A square or rectangle flannel-backed table cloth works just as well.
I never had the ability to hang a flannel board of any kind in my dungeon studio, but after purchasing tall storage cube units with doors for my fabrics last year, I can now clip my tablecloth to the tops of the doors using large binder clips. Then when I’m done using my flannel-backed tablecloth, I can just fold it up and stash it out of the way.
Sewer’s Aid
Image from Amazon
Have you ever tried Sewer’s Aid? I learned about this little gem one time at a quilt guild gadget night years ago and I’ve been using it ever since. Some days when I am machine quilting, my thread just keeps breaking, no matter what I try. Re-threading? Change the bobbin? Adjust my tension? And still my thread keeps breaking. That’s when I grab my little bottle of Sewer’s Aid and I run beads of the liquid up and down my spool of thread. I repeat this every time I change my bobbin. And the thread stops breaking. Sewer’s Aid helps the thread to run smoothly through the machine by reducing friction, which then reduces breakage. Hand quilters have known about Sewer’s Aid much longer than us machine quilters. Happily, it works for both.
Seam Ripper
Image From Amazon
As you sew, so shall you rip. This means you’d better have a good sharp reliable seam ripper that fits comfortably in your hand because chances are, you will use it a lot (sadly). I actually have several of the same seam ripper — one at my machine, one at my cutting mat, one upstairs in my sewing stand in the living room, and possibly another one lurking in my bedroom.
My absolute most favorite seam ripper is the Clover Ergonomic Seam Ripper. Have you ever tried this one? It works for both right and left handed rippers (I’m a lefty, so that’s an important consideration for me), it’s balanced nicely, and it fits comfortably in the palm of my hand. I won’t say that ripping out stitches is a favorite activity of mine (who can?), but having my trusty Clover seam ripper does make the ripping just a little bit more comfortable.
Curved Basting Pins
Image from Amazon
I’m a bit old school sometimes when it comes to quilting (yes, I see you rolling your eyes). I still pin my quilts before I machine quilt them, even after 25+ years of quilting. You know the old adage — if it ain’t broke, then don’t fix it? I don’t have anywhere big enough to layout a quilt in order to spray the layers together. And I don’t relish the idea of getting spray all over everything, possibly including my fur babies Griffin, Pip and Bailly. Definitely not a good idea for me. So, I am a pinner. And I love my curved basting pins!
Curved pins come in several sizes, but my favorites are the big 2″ size 3 ones. I’m not a heavy pinner but I do find that these larger pins are easier to work with than the smaller ones. You do have to remove the pins as you machine quilt, but that just becomes part of the process. Do you close your pins in between quilts? I don’t, that way I save opening and closing them 2 times. There’s also a nifty tool called a Kwik Clip, which helps you to open and close safety pins so your fingers don’t get sore. Old school can still be cool, don’t you know???
Olfa Ergonomic Rotary Cutter
Image from Amazon
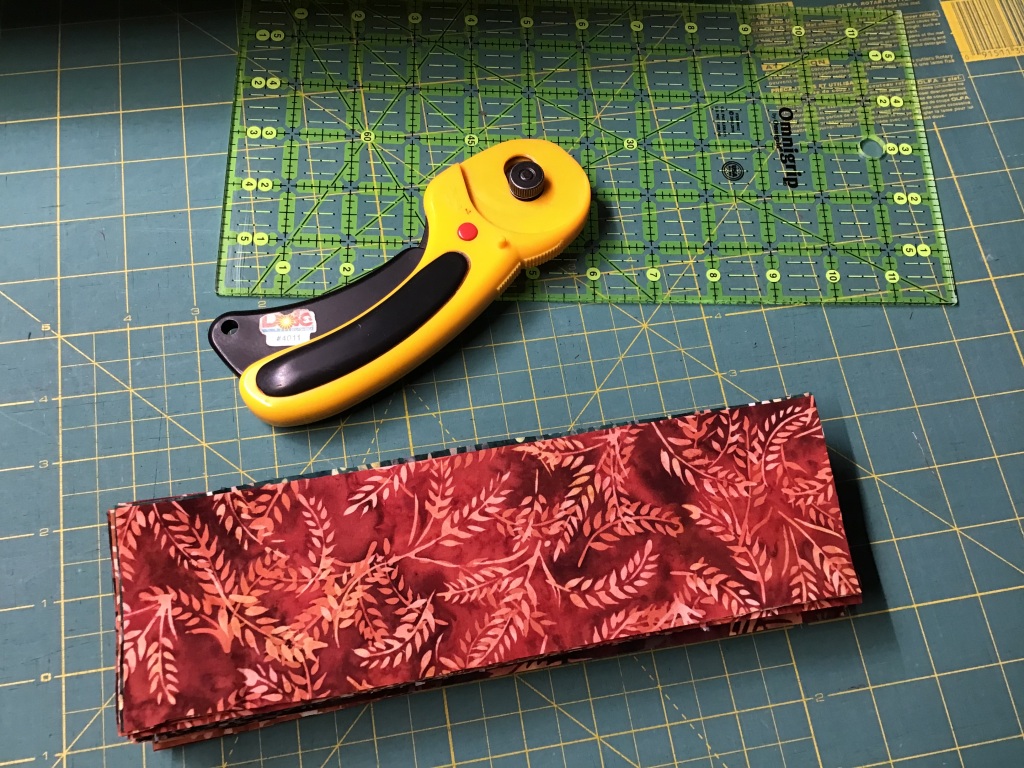
There are so so many different kinds of rotary cutters out there these days, but when I started quilting there were only a few available. I started out with a Fiskars “Classic Loop” rotary cutter but when the Olfa ergonomic rotary cutter started showing up in shops, I fell in love. It was comfortable for me as a lefty and I liked knowing that the blade popped back in when I let go of the cutter. Since finding the Olfa Ergonomic cutter, I’ve never used any other.
Seriously, the cutter I use every day is still my very first Olfa Ergonomic cutter — it’s more than 20 years old and still going strong! Sadly, the little spring broke earlier this year and I thought I would finally have to replace my beloved cutter, but my Dad found a great solution for me — he suggested I take a little spring out of a different cutter and put it into my Olfa cutter. It worked like a charm! I have the old style yellow one, but now they come in other colors — even magenta! Maybe I should upgrade…..
These 10 tools have really made a difference in my quilting and they help me to be a better and happier quilter. My best advice to all quilters is:
Don’t assume what works for me is going to work for you — try out as many different versions of the same tool to find the one that works the best for you.
This list is just to give you a starting point.
I went to my local quilt shop earlier today and pinned 3 more quilts — ouch! I’m running out of curved pins! LOL! Well, I’d better get back to machine quilting all these quilt tops.
Have a great week and I’ll see you right here on the VRD blog next Thursday!
I hope you are all getting some sewing and quilting tucked in around your busy fall schedule. I don’t know about you, but if I don’t get regular access to my sewing machine, I get — well, grumpy. I am not kidding. I have found over the years that if I don’t get time to devote to my creative endeavors, I become out of sorts — you can ask my family. LOL! So when I get short-tempered, the best cure is sewing and quilting, even if it’s only a half hour here or twenty minutes there, I absolutely have to have time to be creative.
So I must say that using the excuse of creating a series of fall quilt tutorials with all these glorious Hoffman batik fabric collections, I am feeding my creative soul AND at the same time, I have rekindled my interest in getting back into quilting after basically taking the summer off. Of course, the next part of my making a quilt top or two a week, is to actually get them layered, quilted, bound, labeled — FINISHED. I have started this process by going to my local quilt shop, Homespun Treasures, to pin three of the recent quilts, and now they are ready for machine quilting. I use the tables in the classroom to layer my quilts and maybe I check out the new fabrics while I’m there….
But first, I have another Villa Rosa Designs Rose Card quilt tutorial, Beatrice, for you!
VRD Beatrice Quilt Tutorial
Ever since Beatrice came out earlier this year, I’ve been eager to make it. I love that it pairs two classic blocks — a Rail Fence and a Friendship Star (which is really a Nine Patch block in disguise) — together. You can check out our Rail Fence post and Nine Patch post, which are part of our Quilt Block Basics series, for more block fun and inspiration.
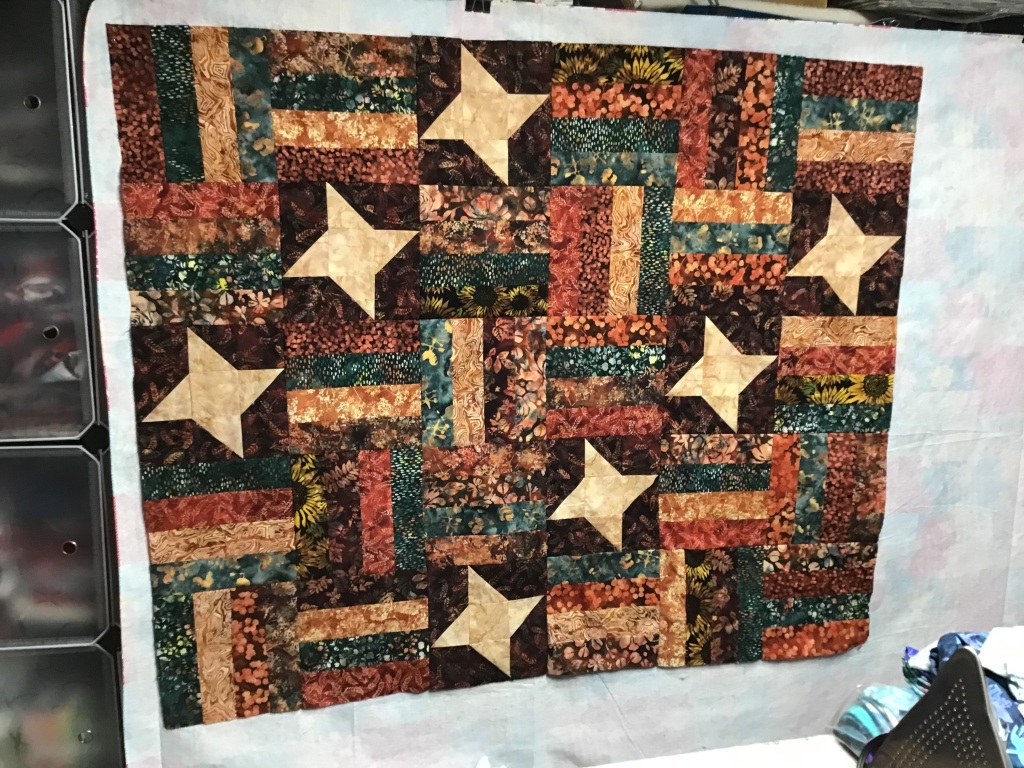
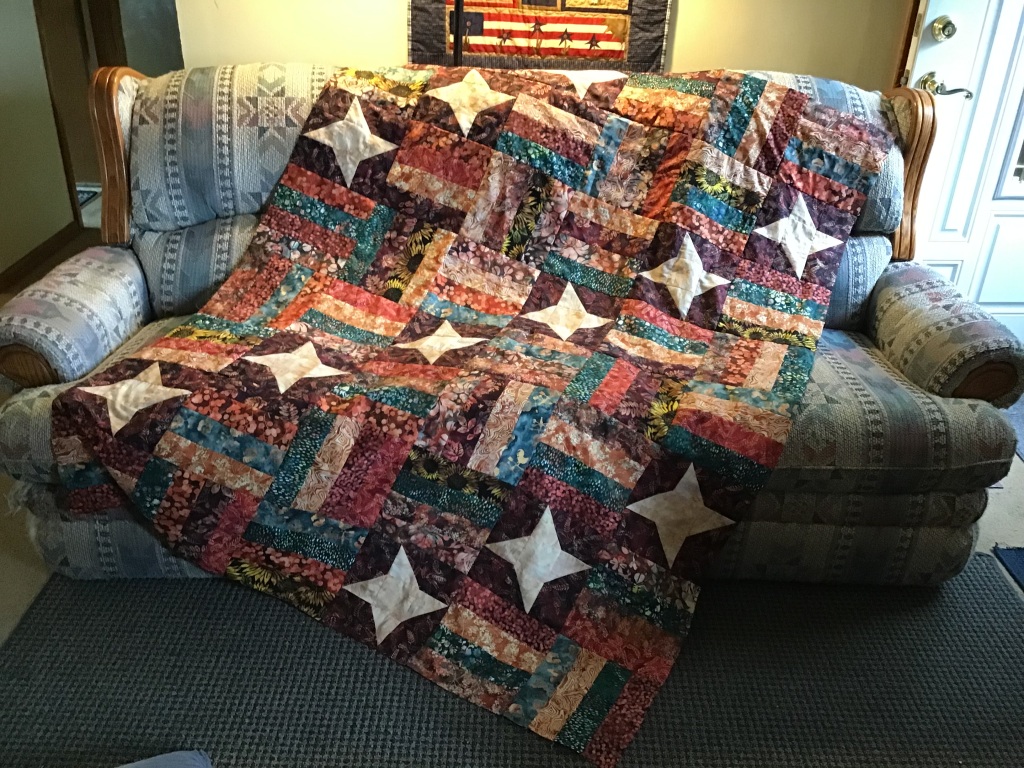
I also love how the Friendship Star blocks are arranged in diagonal rows cascading through woven Rail Fence blocks in a less-than-typical arrangement. Beatrice finishes at a generous 54″ x 72,” which is a very nice-sized throw quilt.
Let’s take a look at the gorgeous Hoffman Bali Batik collection, Homestead, I am using for my Beatrice quilt. Ask for it at your favorite quilt shop or online retailer!
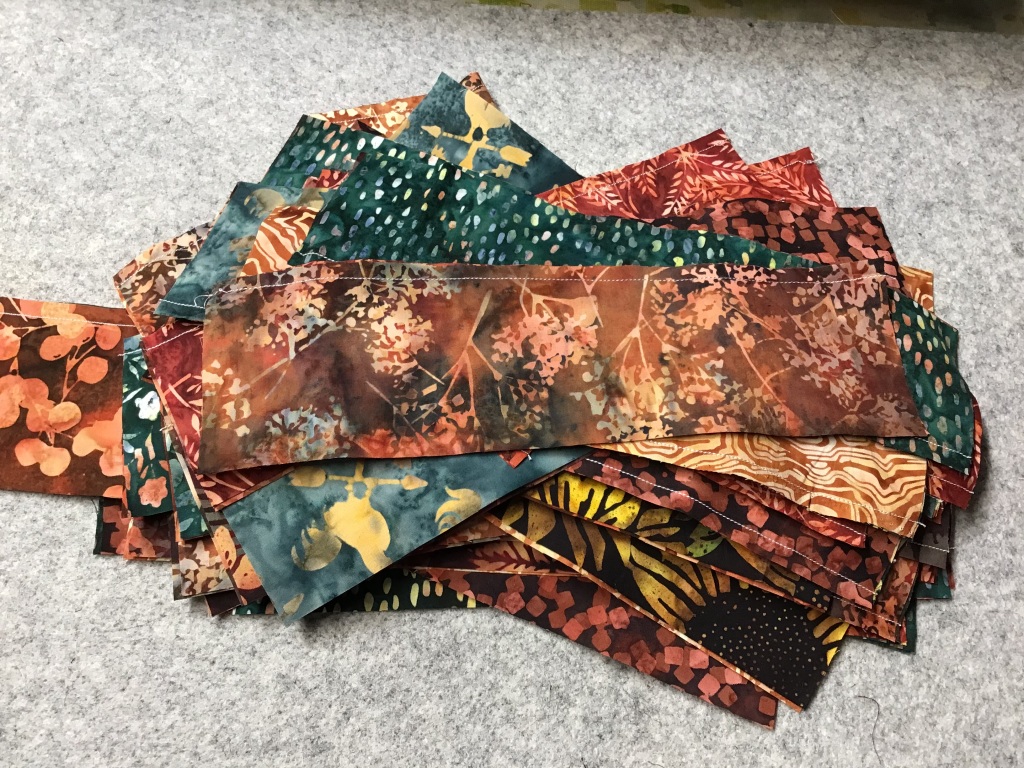
Isn’t this collection delicious? I added an 1895 Watercolor batik as my star fabric — can you find it?? (Hint: it’s the lightest fabric….)
Ready? Set. Go! Let’s get started on Beatrice!
1. We’re going to cut all of our fabrics before we start to sew. Do you do that or do you cut your pieces out as you sew? Or do you make a sample block before you cut everything out? For my VRD quilts, I feel totally comfortable just jumping in — no need to make a sample block to make sure everything fits together properly because I know that everything will fit together perfectly. Just another thing I love about our Rose Card patterns.
2. Now let’s sew some Friendship Star blocks! The first thing we need to do is make some Half Square Triangles (HSTs) for the star points. When I first started quilting, I did not enjoy making HSTs, but the more I made them (so many quilt patterns use HSTs!), the more I found I actually liked them. Of course, the more I made them, the more accurate my HSTs became, too.
Layer your squares right sides together (RST). Draw a diagonal line from corner to corner. Sew 1/4″ away from both sides of your drawn line. Cut on the drawn line to make 2 HSTs. Press the blocks open. And don’t forget to trim off your little dog ears at the corners (this will help the accuracy of your piecing — trust me).
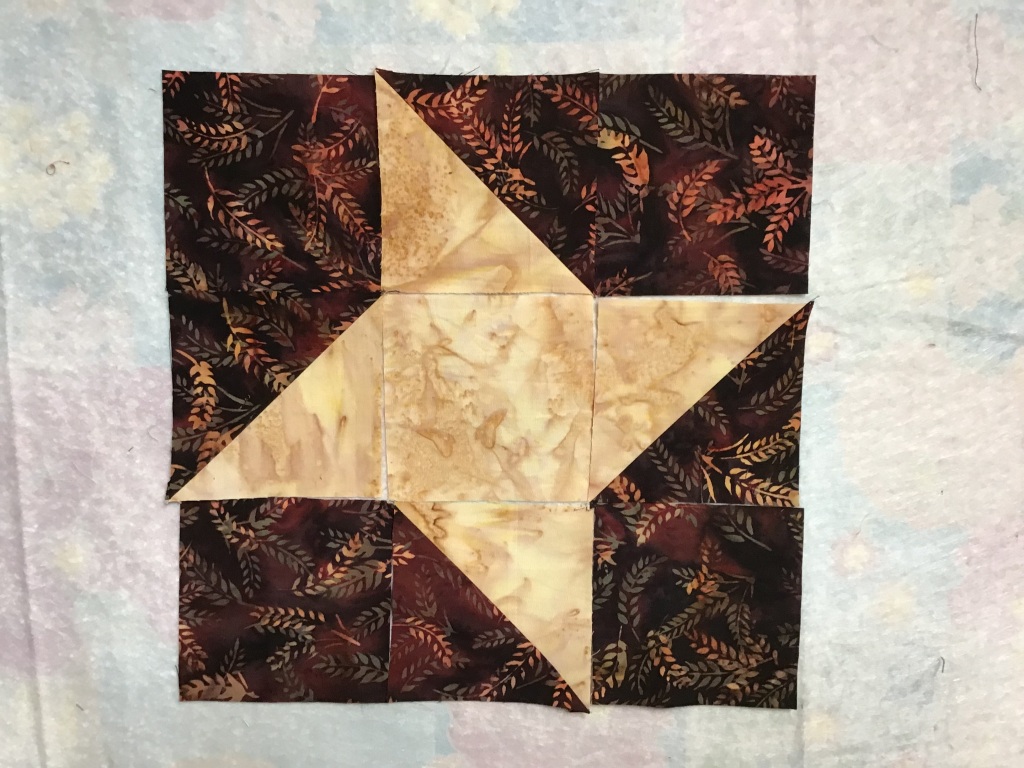
3. Next we’re going to lay out a Friendship Star block, which is a Nine Patch block with HSTs. That way, we know how the block should look. With Friendship Star blocks, it’s easy to turn the HSTs the wrong way, which makes for some wonky stars. I actually kept this block layout up on my flannel wall so I could use it as my reference as I sewed the blocks together.
4. Time to sew the blocks together. I am happy to say, I only stitched one block wrong, which of course meant that I had to unsew it and then sew it back together the right way. Mea culpa. Press your blocks. Stars done — yay!
5. Moving right along — let’s make some Rail Fence blocks. Now, the pattern walks you through sewing strip sets together and then sub-cutting the strip sets into the units for the Rail Fence blocks.
I prefer cutting my fabrics before sewing them together. I used to do the strip set method, but I always had a problem keeping my strips straight — mine would bow like a rainbow. This, of course, affected the accuracy of my piecing. This frustration is what led me to determining what the (unfinished) length of the unit would be and then cutting all my pieces before sewing the units. The easiest way to figure out the length is to look at the size of the unit you’re cutting out of the strip sets — usually that measurement is what you need.
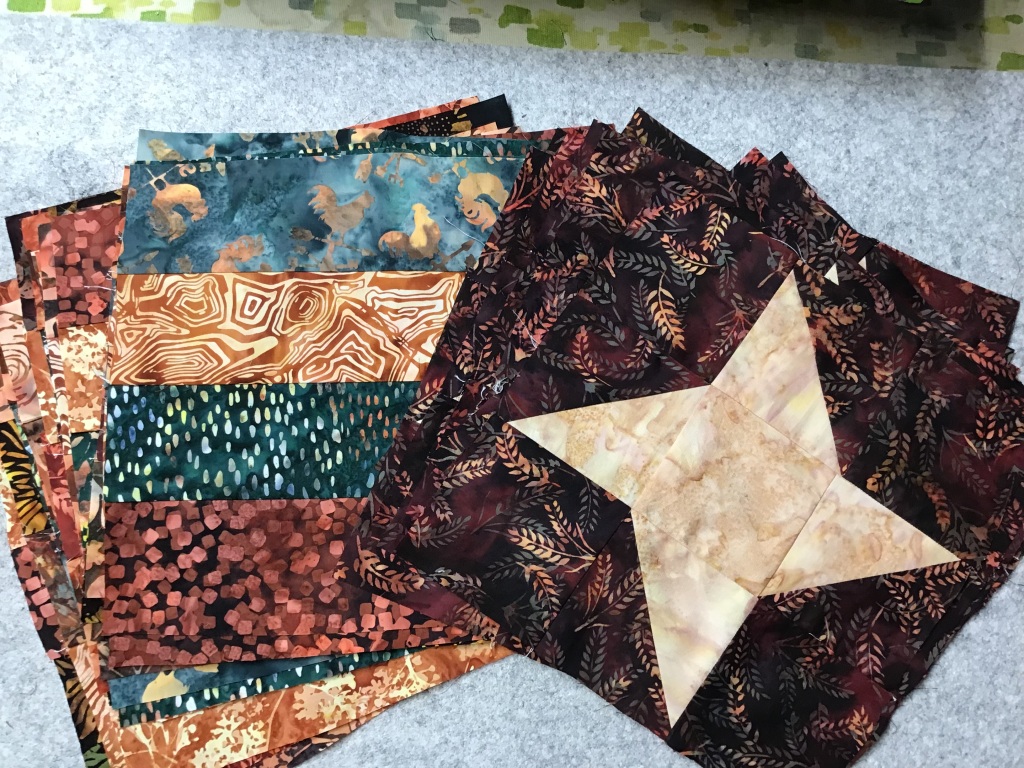
Here are my rectangles ready to sew together into Rail Fence blocks.
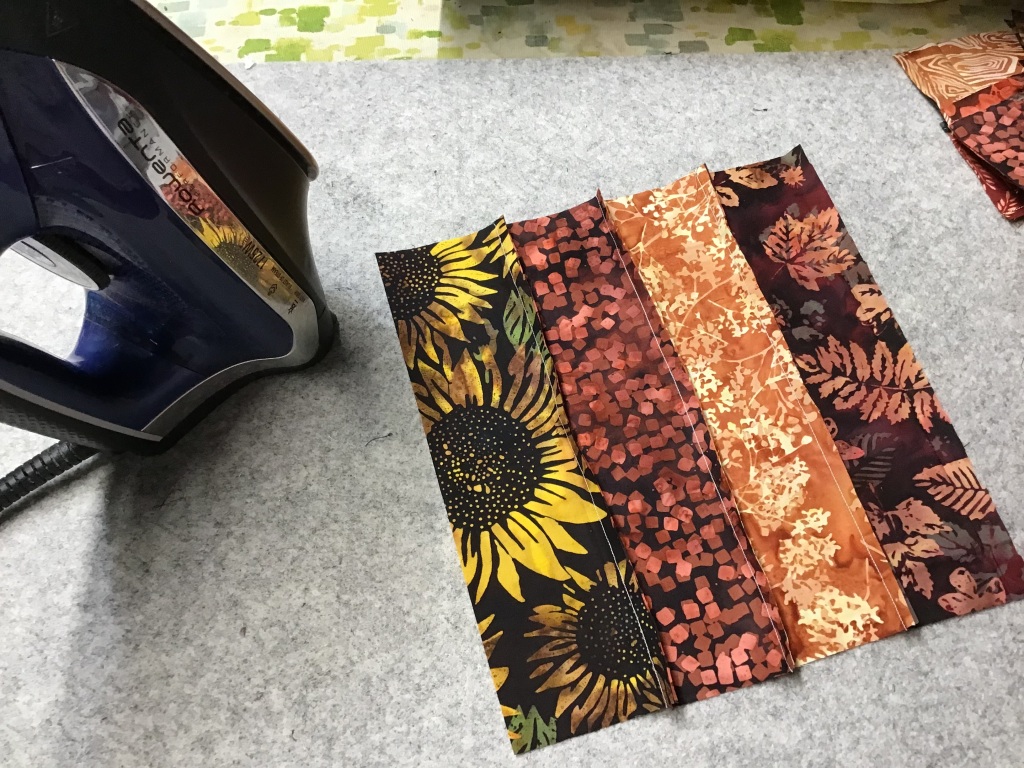
6. Time to sew the Rail Fence blocks together. First, I sew the rectangles into pairs, then I sew the pairs into quads. Another thing I like better about sewing the rectangles together versus strip piecing is that I get a lot more variety in my blocks. After all the blocks are pieced, go ahead and press them. Rail Fence blocks done. Yippee!
7. All the blocks are finished!
8. Boy, am I glad that I have my handy dandy flannel backed table cloth already clipped up on my fabric storage cubes because the next step is to lay out the blocks according to the diagram on the pattern. Whoever discovered that fabric sticks to flannel was a genius! Thank you, thank you!
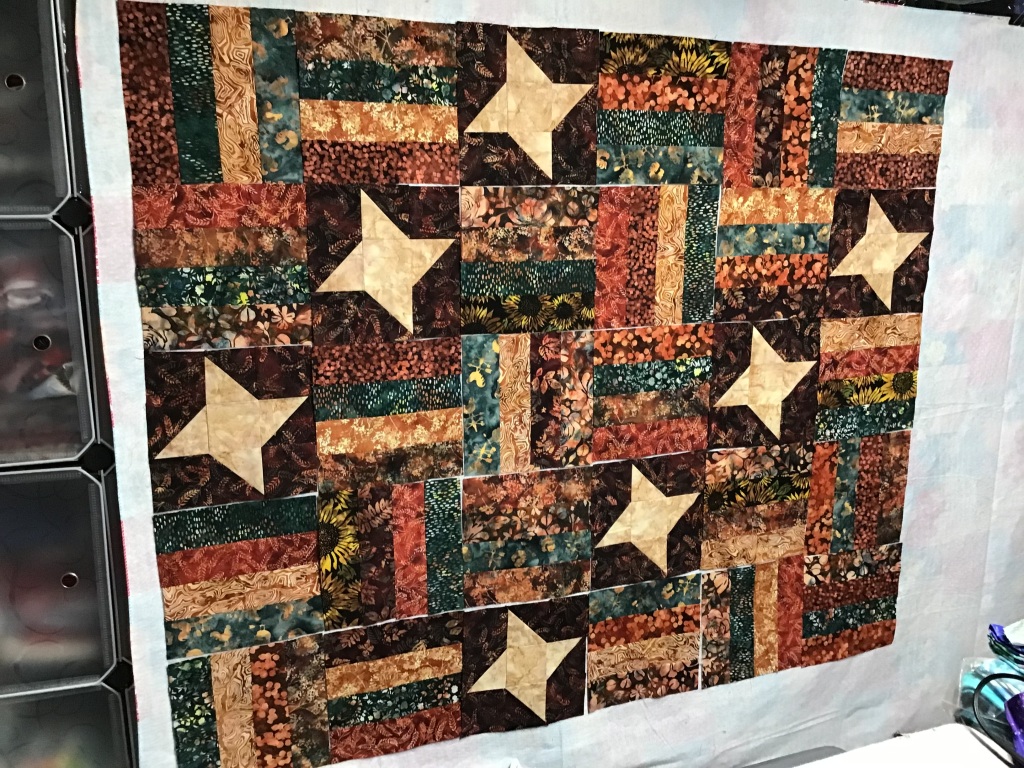
This quilt is big and I can’t get the entire thing arranged on my flannel wall so I will have to divide the quilt into sections and then sew the sections together. While the blocks are up in the first larger section, I moved a few things around so that the fabrics are well-distributed throughout and not concentrated in any one area.
I will say that these fabrics from the Homestead collection definitely make a gorgeous quilt! It just looks so warm and inviting, like a cup of hot apple cider. Where’s my doughnut??? Boston creme, if you please….
9. I sewed the blocks into rows and then I sewed the rows together into the top section of the quilt.
10. I folded the top section in half and moved it to the top of my flannel wall to make room at the bottom the last rows. That way, I will still be able to move blocks around in the bottom rows if needed. Next I sewed the blocks into rows and the rows into the bottom section. Finally I sewed the bottom section to the top section.
11. Here is my Beatrice quilt top, or flimsy. Yay! I am very happy with how it turned out. It is simply beautiful!
While I was sewing Beatrice together, I kept wondering how it would look in patriotic colors (the quilt diagram on the back of the pattern is done in red, white, and blue). But for this quilt to be large enough to be a Quilts of Valor quilt, you would have to add a border or another column of blocks because it’s not quite wide enough.
Adding a 4″ finished border all the way around would make the quilt 62″ x 80″ which is a wonderful size for a QOF quilt as well as a twin-sized quilt. You would need about 1 1/4 yards fabric for the border (cut strips 4 1/2″ wide) and a total of 5/8 yard for the binding for this larger size.
Who knows, maybe Beatrice will be my next QOF quilt project to make and donate. You’ll have to check back later to see if it is. LOL!
I look forward to seeing your Beatrice quilts! You can post them on our VRD Facebook page. Hope to see you there!
Speaking of Hoffman Fabrics, the new Fall 2024 catalogs have just come out. Check out the Project Book, filled with loads of inspiration and Villa Rosa Design Rose Card patterns featuring the latest Hoffman collections. Truly, a feast for the eyes. Ask at your favorite quilt shop or online retailer for the patterns, fabrics, or maybe even kits. ENJOY!
Welcome to September! Now that fall and back-to-school is in full swing, we all need to turn our thoughts to MORE QUILTING! In order to help you get sewing again, today’s post is brimming over with quilty goodness.
First up is our brand new collection of September Rose Card patterns.
NEW September 2023 Rose Card Quilt Patterns
YAY! By now most of you know that I just love the Thursday after the first Friday of the month because that’s New Pattern Day here on the blog. So, here they are — Candies, Icing, Elsie May, Delphinium, and Jolie.
Every month the VRD designers never fail to create a new collection of wonderful quilt patterns. I am sew blessed to be part of this VRD family. Just looking at the new patterns every month, I get inspired and can’t wait to spend some quality time with my sewing machine.
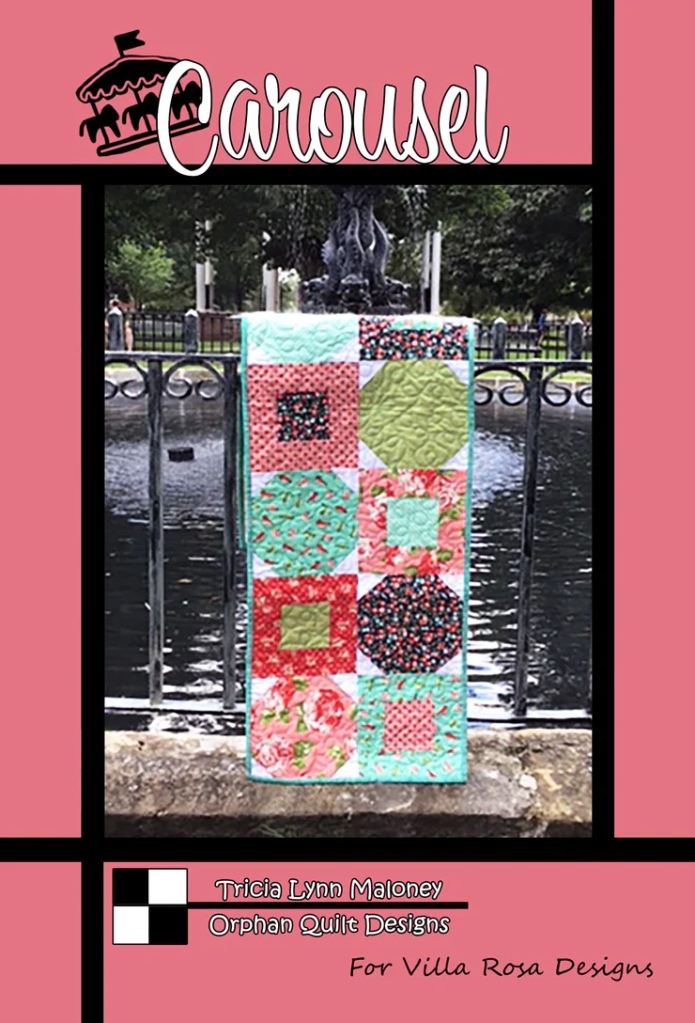
I’m not sure if you can really see the background fountain in the cover photo, above, but I took this photo at Diamond Park, a lovely tree-lined park in the heart of my hometown. The land for the Park was gifted to the city in 1795 (Meadville was founded in 1788) by the city founder, David Mead. This gorgeous fountain was then gifted and constructed in the park in 1863 by the Shippen family. It still stands and functions today, after being renovated a couple times through the years.
Here’s a photo of the fountain with the park in the background. I didn’t even think to take any photos of the fountain itself when I was taking photos of Carousel. Silly me! Sorry for that. It truly is a beautiful fountain — and well over 150 years old.
As much as I’d like to keep talking history (another of my favorite things), we’d better keep moving or we’re never going to get to today’s tutorial. LOL!
Printable Fat Quarter List
Just this week, a new feature was added to the VRD website — a printable list of all the FAT QUARTER patterns in our VRD Rose Card catalog!
People and fabric companies have been asking for such a list for a while now. The fat quarter patterns on the list are thoughtfully organized by the number of fat quarters needed for each pattern — how ingenius! This awesome list will be updated monthly to include all new fat quarter patterns going forward, so the list will always be current and up-to-date. WOW!
You can find the printable list at the bottom of the website under Patterns (see the screenshot below). In fact, there is LOTS of stuff at the bottom of the website. If you’ve never scrolled down that far, you should. You might just be missing something good down there, like a directory of the tutorials on the blog, for example. Or maybe something important like Corrections.
Here’s a screenshot of the bottom of the VRD website, showing the things you will find down there.
You can find the printable Fat Quarter Quilt List HERE.
Now on to our tutorial!
VRD Ebb Tide Tutorial
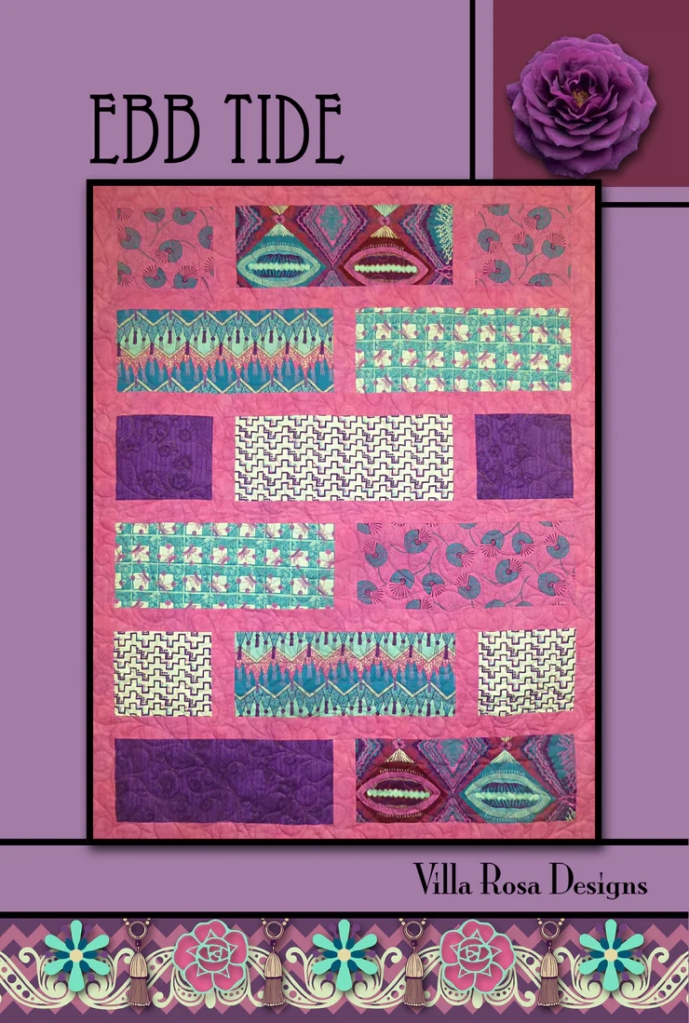
Keeping with our recent Fall fabric theme, I have another great VRD quilt tutorial for you today. You will want to add Ebb Tide to your collection of VRD Rose Cards if you don’t have it yet. So far, it’s the fastest and easiest VRD pattern I have made. It also looks great in any fabric, and can even handle large prints with ease. Ebb Tide will definitely become one of your go-to Rose Card patterns, if it hasn’t already.
Today I’m working with Hoffman batiks again — more yummy luscious fall fabrics. Aren’t they beautiful??? This collection is appropriately called Shades of Autumn. Ask for it at your favorite quilt shop or retailer.
I want to point out a couple things about the fabrics I am using for Ebb Tide. It takes 6 fabrics plus a background. I chose 3 light fabrics and 3 dark fabrics. I liked the idea of a color-balanced quilt. Some other options might be to choose 6 medium or dark fabrics with a light background or 6 light fabrics with a medium or dark background. The fun thing about this quilt is that it really does go together lightening-fast and you’ll probably want to make more than, which will then give you more opportunities to play with different fabric options.
Let’s make Ebb Tide!
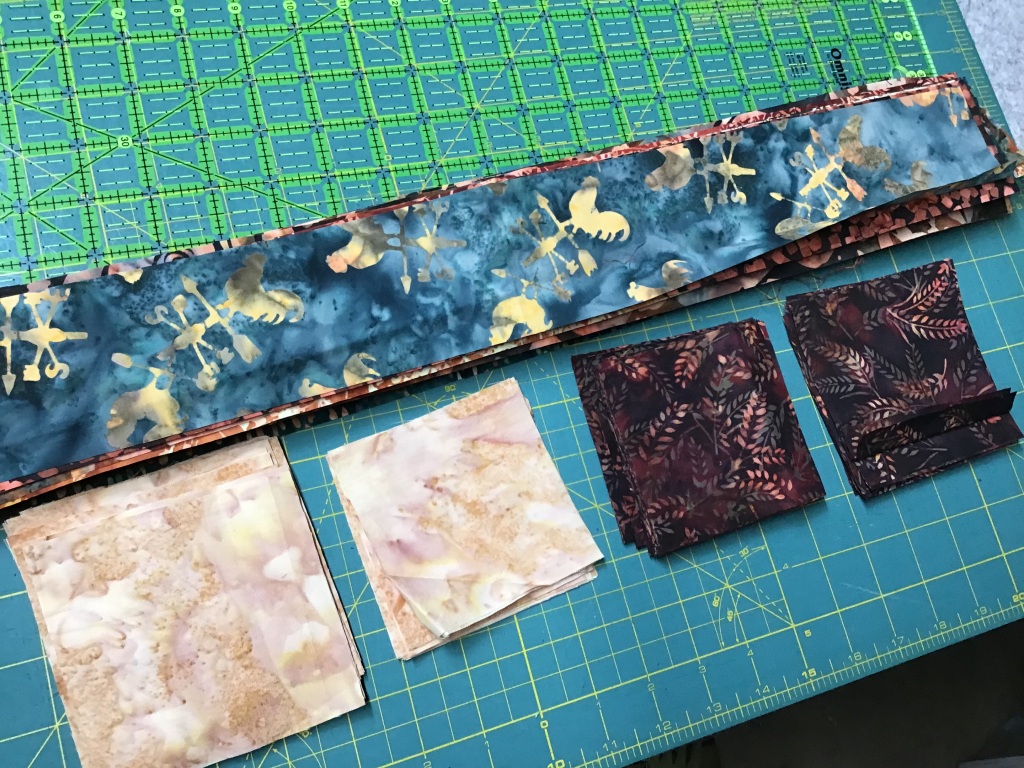
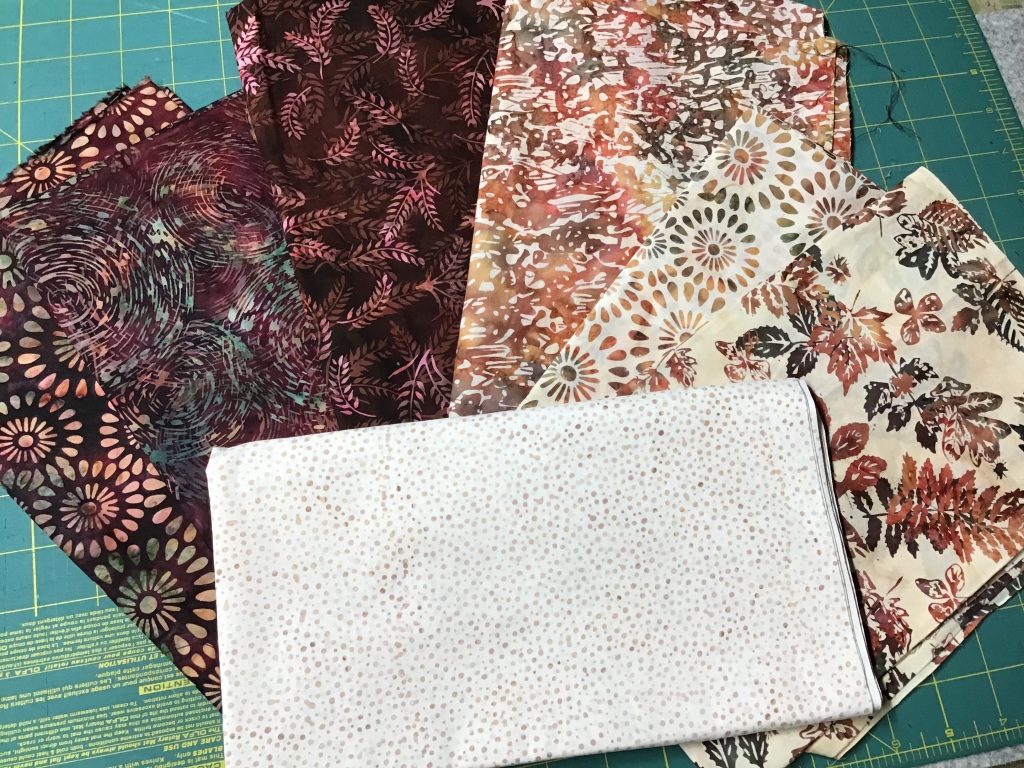
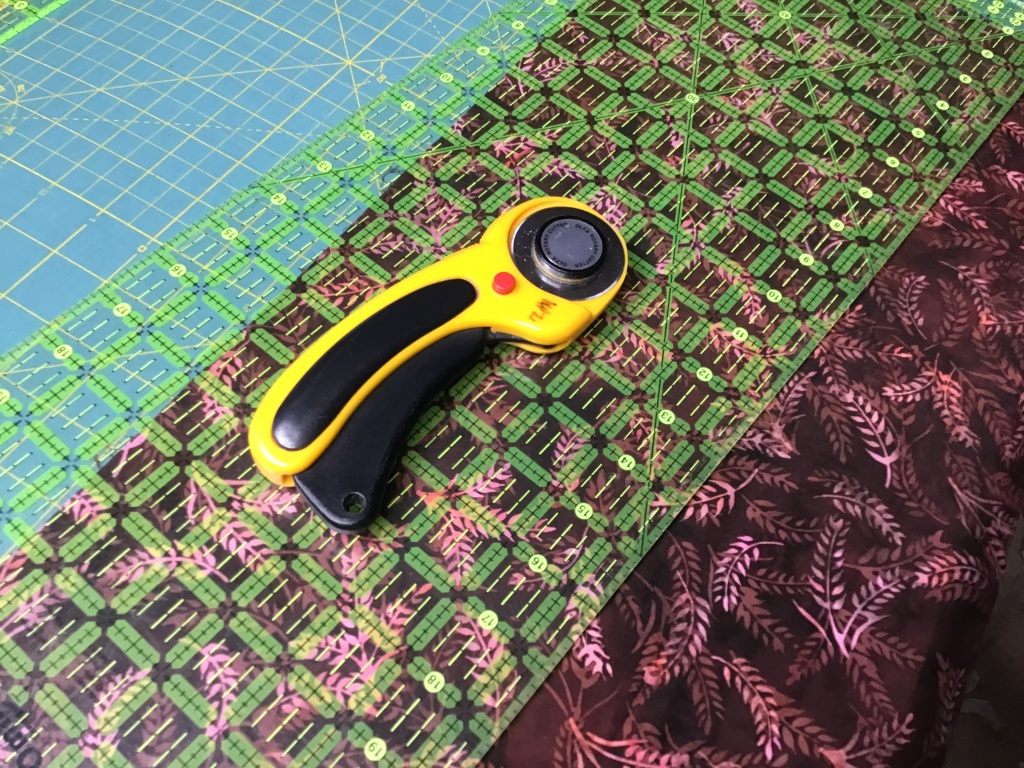
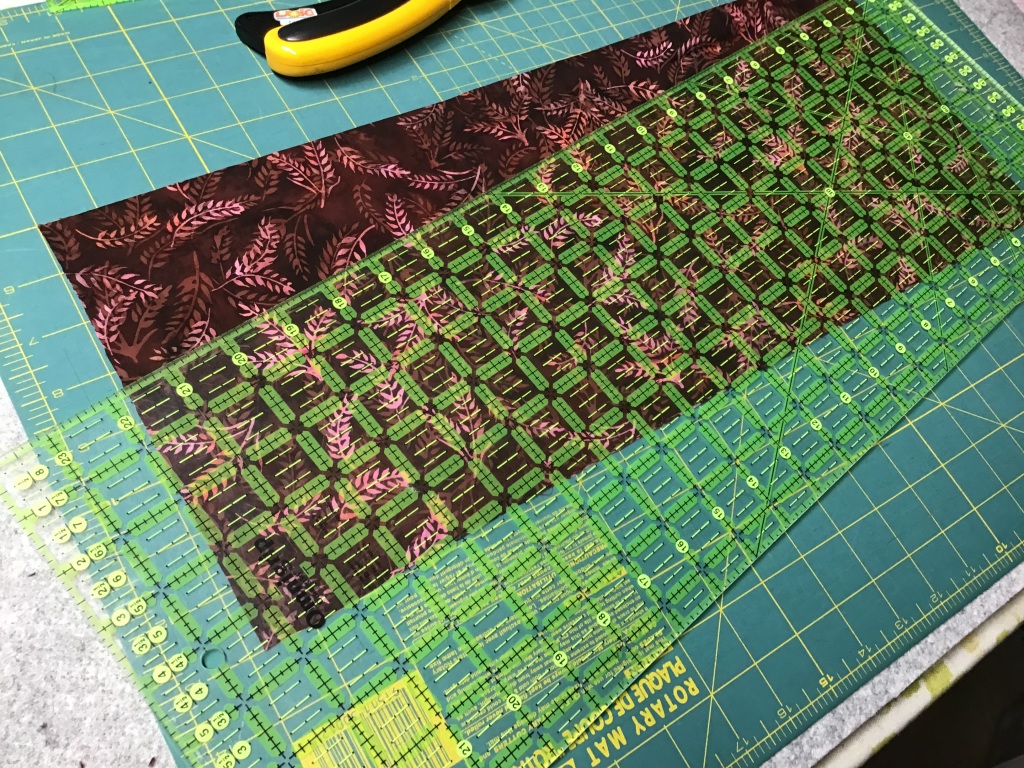
1. After you’ve gathered up your fabrics, it’s time to cut your pieces out. This doesn’t take very long, but keep in mind the pieces you cut out of the fat quarters will be large and you might need a bigger ruler. I used my 8 1/2″ x 24″ ruler to cut the rectangles out. This really helped to keep my cutting more accurate as I didn’t need to joggle multiple rulers around to get the wider strips. I also layered and cut three fabrics at a time, but don’t feel you have to layer your fabrics for cutting if you’re not comfortable doing that. Cutting one layer at time works just as well.
Don’t have an 8 1/2″ x 24″ ruler? You can find it HERE. You can find the my absolute favorite rotary cutter, the Olfa ergonomic cutter, HERE.
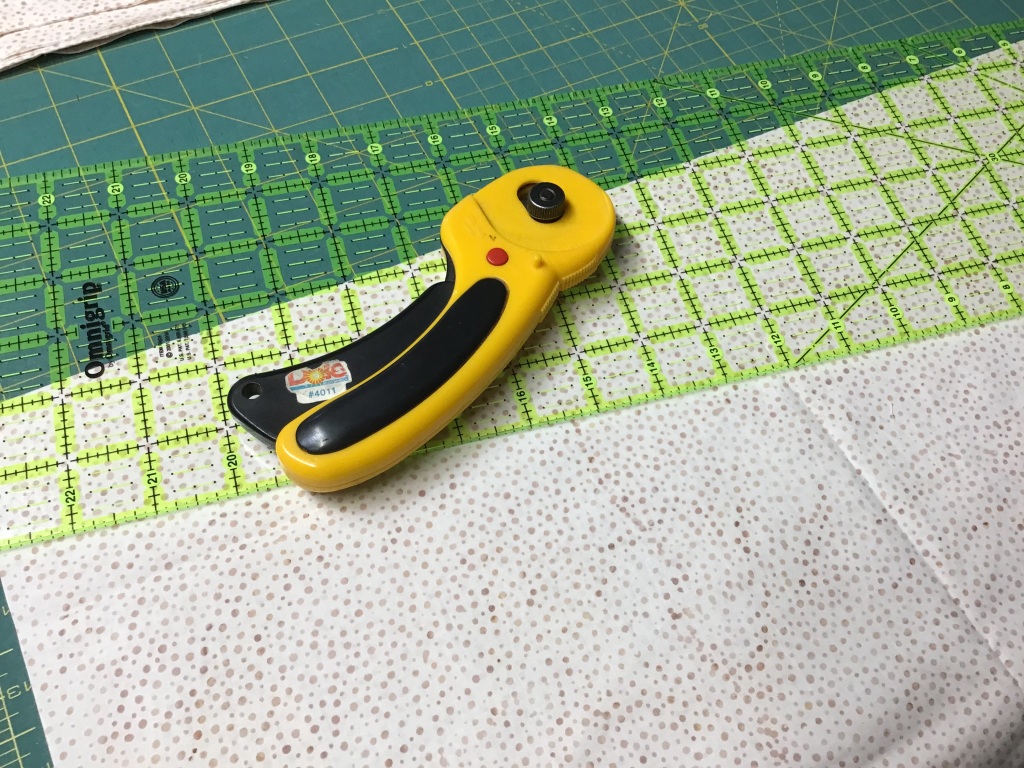
2. Now that my fat quarters are cut out, it’s time to cut the background pieces. For this part, I switched to a 2 1/2″ x 18″ ruler, which makes cutting my 2 1/2″ strips and rectangles a breeze. Don’t have a 2 1/2″ ruler? You can find it HERE.
3. I’m going to use my new handy-dandy design wall to lay the quilt out so I can arrange the fabrics before I sew everything together. The beauty of Ebb Tide is that because you aren’t piecing the quilt blocks, you can get right to laying out and arranging the entire quilt. Sew simple!
PSST! In case you didn’t know — my fancy-smancy design wall is actually a flannel-backed large rectangular table cloth clipped to the top of my fabric storage cubes doors with large binder clips. Here’s a great traditional plaid flannel backed table cloth that comes in multiple colors and sizes. What a HUGE improvement this has been for putting quilts together — so much easier than laying blocks out on the floor or on a bed to shuffle things around.
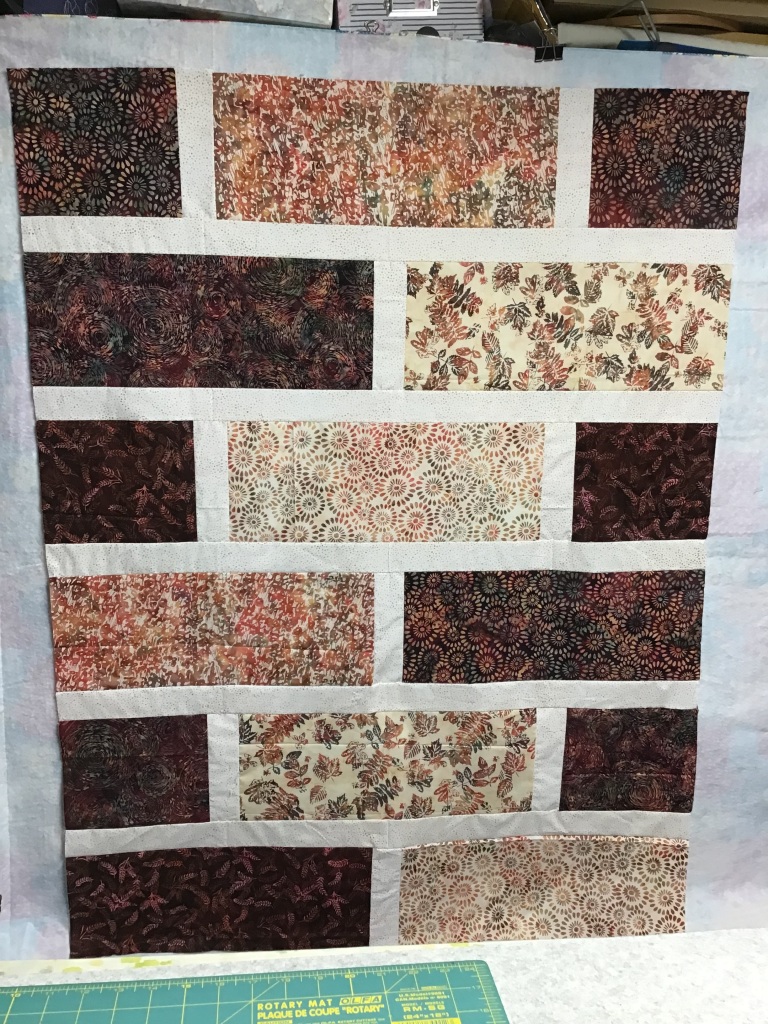
Here is my final layout for the Ebb Tide, not including the horizontal background strips in between each block row. What do you think of this layout? I really like how your eye travels down the quilt, following the light fabrics path, kind of like stepping stones.
4. Now that I’m happy with my layout, it’s time to sew the horizontal rows together. I just gathered one row at a time and took it right to my sewing machine (which is close to my flannel design wall). I sewed the large rectangles and the sashing strips together one row at a time, then I put the rows back on the flannel wall, so I didn’t get things mixed up as I worked.
5. Now I’m ready to sew the long sashing strips in between the pieced rows. One last look to make sure I have the rows in the right order, and back to the sewing machine. I sewed the rows and sashing strips into sections and then sewed the sections together, that way I didn’t have to struggle with the growing quilt top with each row I added.
6. One more step and Ebb Tide will be done (or at least the quilt top will be done). Did you know that a quilt top is called a flimsy in quilt lingo? Isn’t that fun??? Sorry, I’m easily distracted — did someone say squirrel??? Tehehehe……..
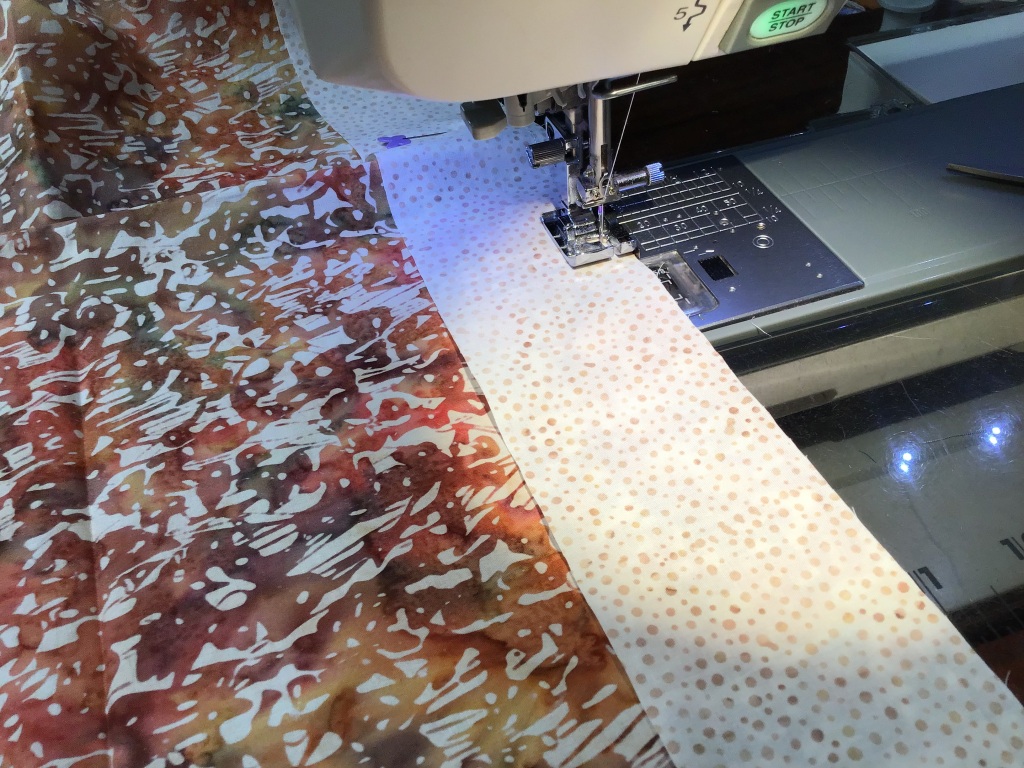
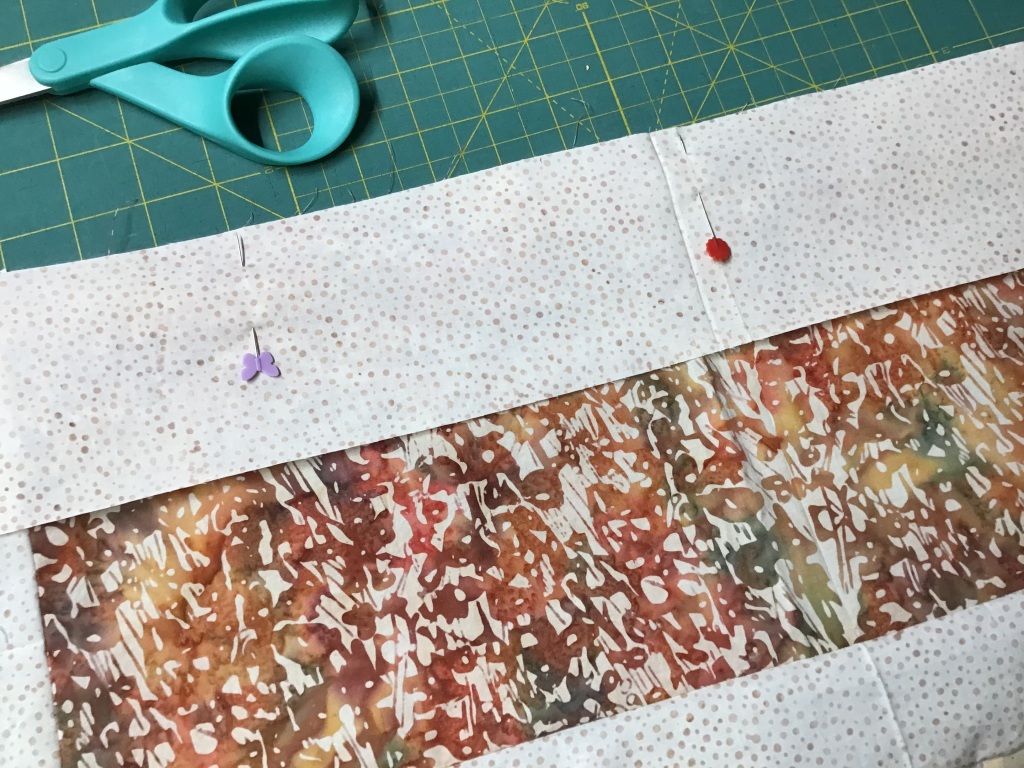
Now that the quilt center is finished, let’s sew the top and bottom borders on. But before we do that, I need to cut my border strips to the right size. I like to lay my border strips across the center of the quilt, trimming the strips to the width of the quilt center. I use the center because the edges can sometimes stretch out. By cutting my strips to the center width, I can bring those stretchy edges back to square. I know this sounds weird, but trust me, it works.
Next I pin my borders to the quilt top. I start by matching the center of the border to the center of the side I’m sewing the border to ( I fold them in half to find the centers, making a crease at the true center). Then I match and pin the outside edges. After the edges, I straighten and smooth the quilt and border, adding more pins between the center and outside edges to keep everything in place while I sew. Finally, it’s time to sew them together, knowing that my borders will be flat and not waving all over the place.
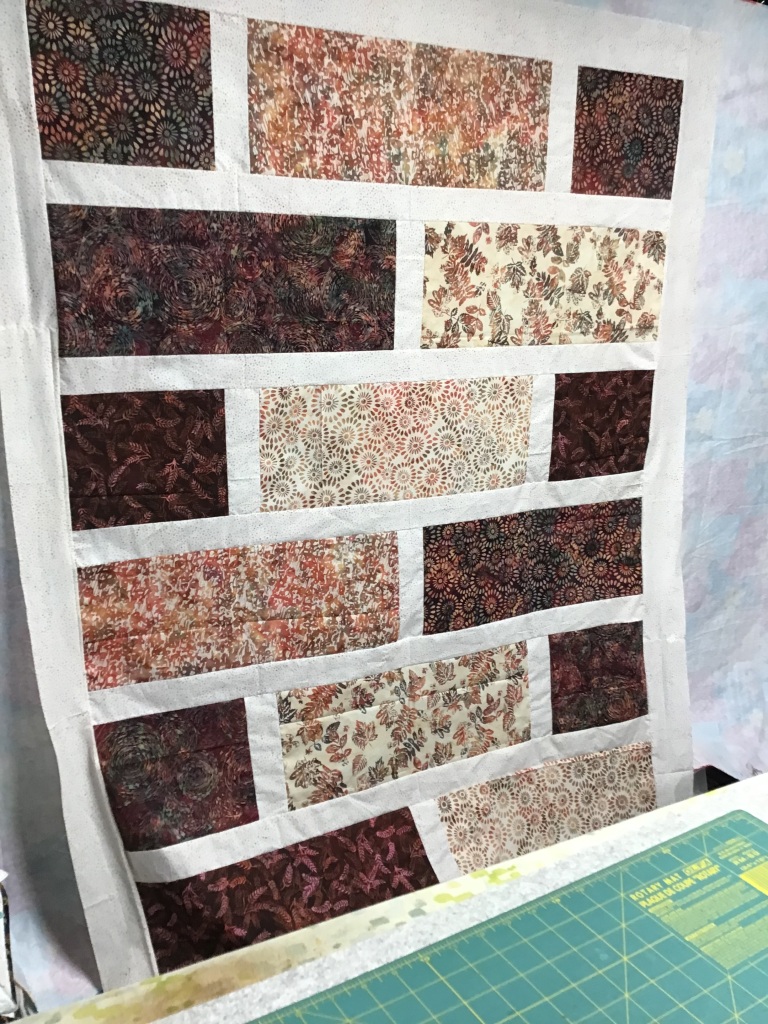
7. The side borders are the last thing to sew to the quilt. They will need to be pieced so the border strips are long enough. For this quilt, I used a straight seam to sew the strips together, but sometimes I use a diagonal seam (I do this when fabrics are busy in order to hide my seam a little better).
Yay! Ebb Tide is done. Eventually, I will back it with cozy fleece, machine quilt, bind, and label it. Hopefully sometime in the next 100 years. Ha!
By the way, I wanted to let you know that it took me about 2 hours to make the Ebb Tide flimsy — that included cutting the fabrics, laying it out, and doing the photography for this tutorial. I wonder how long will it take you to make it?
Here’s a “beauty” shot of my Ebb Tide flimsy — I really wanted to get a pretty picture with my Black-Eyed Susans. Sadly, the breeze wouldn’t cooperate with me, so the bottom of the flimsy kept blowing under the porch. Oh well…….
Thanks for sticking with me through the entire blog post, I know it was a long one, but I hope you enjoyed all of the quilty inspiration.
Yep, I am still in my fall quilt-making zone. Which is not a big surprise really because for the last couple weeks, here in NW PA, we’ve been having very fall-like weather. Today is quite cool with a high temperature only in the 60s and it feels really really chilly. Usually, August is in the 80s and even 90s occasionally. You know the “dog days” of summer? So the 60s is kind of a shock to the system. Our nights have even dipped down into the 40s a couple times. Just chalk it up to the ever-changing world of weird weather, I guess.
So in honor of our early autumn weather in August, I am going to show you how to make anther great Villa Rosa Designs Rose Card pattern, Alassio. Do you really have to use a fall-themed fabric collection like I am doing? Nope, not at all. This pattern will work beautifully with any fabric collection!
Alassio is a super fast quilt to put together and it finishes at a great size of 54″ x 72″! It uses fat quarters and a background fabric. What could be simpler?
I put my Alassio quilt top together in about 5 hours — all in one day — and that included the step by step photos for this tutorial. It goes together so quickly — you’ll be amazed and very happy, especially if you need a quilt in a hurry.
2. Next up is cutting the pieces for our framed blocks from our fat quarters. I like to stack my fabrics and cut 3 or 4 at a time. Do likewise if you want, but it’s perfectly fine to cut them one at a time, too.
3. Moving right along, let’s mix and match our fabrics so each square will have a different fabric frame around it. And after that’s done, we’ll sew matching shorter strips to opposite sides of the squares.
4. Now we need to press our blocks so far before we add the long strips on the other sides of the center squares. I don’t normally do a lot of pressing when I’m making blocks but I do think pressing these blocks as you go results in crisper seams and better blocks.
5. Okay, now we’re ready to sew the long strips on the opposite sides of the center squares. Make sure the long strips match the strips you’ve already sewn onto the squares.
The again, who says your strips have to match — just sayin’…….
6. Head over to your iron again and press those blocks one more time — now our blocks done. That was fast, wasn’t it?
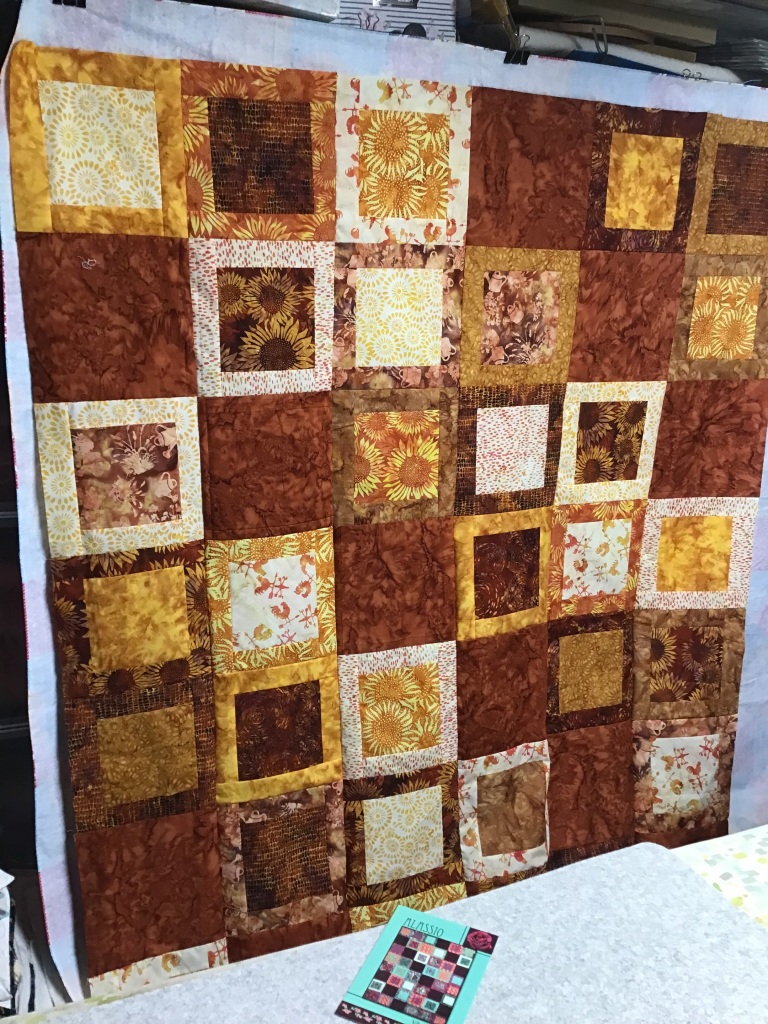
7. I just clipped my flannel-backed tablecloth up on my fabric storage cubes, which is my new design wall. I have to hang it sideways because it’s too long to hang up and down. And because this quilt is so big, I’m going to need to lay it out sideways, too. Fingers crossed that the tablecloth is long enough (or wide enough because it’s hung sideways) to lay out all the blocks.
How do you lay out your blocks before sewing them together? When I first started quilting, I used to lay my blocks out a cement floor. Yikes! Then for a really long time, I laid them out on a queen sized bed, which accommodated most of the quilts I made and saved some stress on my knees and my back. Now I have my very own portable design wall, otherwise known as a flannel-backed tablecloth. And it works great!
So, while we’re laying out the blocks according to the quilt diagram on the back of the pattern, go ahead and move the blocks around so fabrics and colors are well-distributed throughout the entire quilt.
Then once we’re satisfied with our layouts (yay — all the blocks fit on the flannel tablecloth!), it’s time to sew them into rows. Then we will sew the rows together. Quilt top done! Easy piezy!
I am so pleased with how my Alassio top turned out! I can’t wait to get it layered with pretty autumn-themed fleece, machine quilted, bound, and labeled so I can start enjoying it right away!
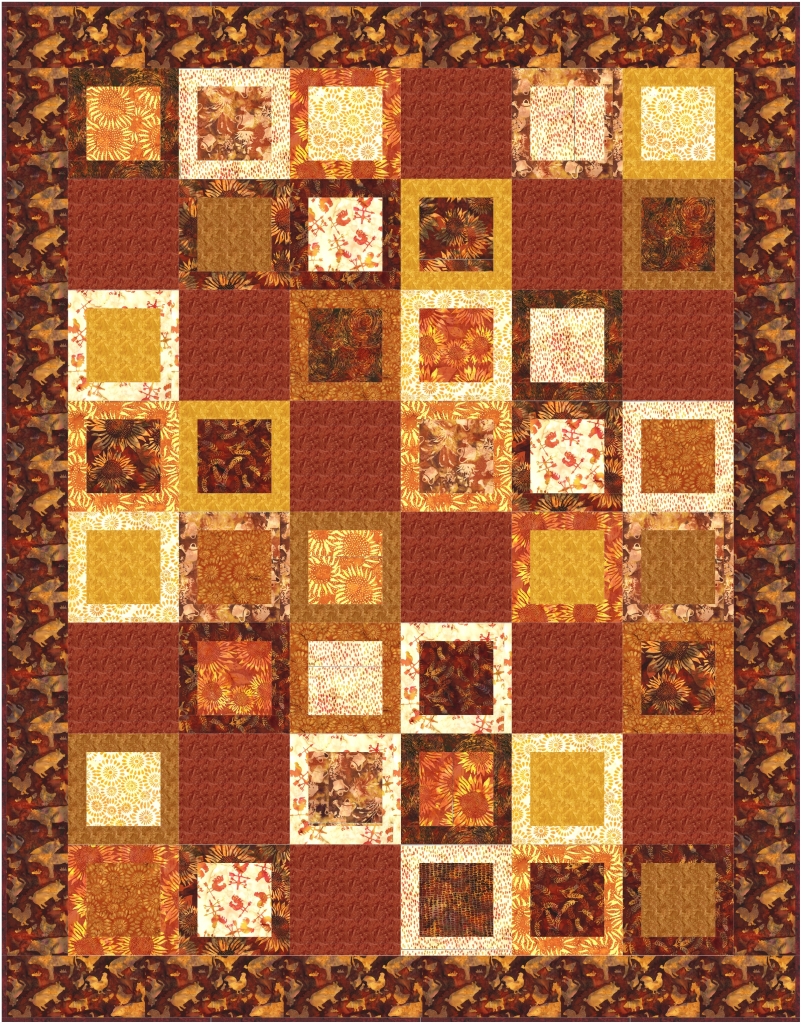
Alassio finishes faster because it doesn’t have a border, but if you want to make the quilt larger, you could add a border. It would look kind of like this:
This version of Alassio features a 4 1/2″ finished border. With this border, Alassio would finish at 64″ x 82″, which fits a twin bed or makes a nice big comfy throw.
To make Alassio with the border, you need 1 1/4 yds for the border (cut 8 strips that are 5″ x WOF) and a total of 5/8 yard (cut 8 strips that are 21/2″ x WOF) for binding.
Isn’t this a great quilt? Bet you can’t make just one!
I thought it would be fun to share with you some behind-the-scenes VRD stuff. I know I’ve mentioned our quilting partners before and you can see a list of our partners along the right side of the blog along with links. Today I thought it would be cool to show you some of the projects we’ve been doing with our partners.
Hoffman California Fabrics
We’ve been working with Hoffman for a while now and I’m excited to share a recent Hoffman catalog where you can find some of our Villa Rosa Designs Rose Card patterns featured. Check out Addison and Bee’s Knees on page 18 and Beaded and Cross Stitched on page 21, all in the CongoBay collection by designer McKenna Ryan.
And you can visit Hoffman fabrics HERE. Check out the fabrics in the CongoBay collection HERE.
The new Fall catalogs will be coming soon, so stay tuned. Don’t forget to ask for Hoffman Fabrics at your local quilt shop.
FreeSpirit
We’re working on a new and exciting project with FreeSpirit! And I’m thrilled to say it’s available at your local quilt shops right now! Here are the 4 VRD patterns featured with the Tim Holtz Abandoned Spark Pack. This Spark Pack includes a set of 10 fat quarters and you can use any of the 4 VRD patterns with the Spark Pack. How cool is that???
Here’s the vido showing the quilts and talking about Spark Packs.
You can get all 4 quilt patterns for $7.50 HERE and can shop our VRD Tim Holtz fabrics HERE.
You can visit FreeSpirit Fabrics HERE and get to know Tim Holtz and his collections HERE.
Keepsake Quilting
We’ve been working with Keepsake Quilting, to pair their fabric collections with our Rose Card patterns to make great kits. You can check out their current catalog to see our Fernanda pattern paired with the Hocus Pocus collection to create an awesome Halloween quilt kit on page 11.
Recently, we’ve been pairing some of the new Blank Quilting fabric collections with our Rose Card patterns. What a lot of fun it is working closely with fabric companies to use our patterns to make their fabrics shine. Or maybe it’s using their new fabric collections to make our patterns shine? I think it’s a little of each. LOL! Anyway you look at it, it’s a win-win for everyone!
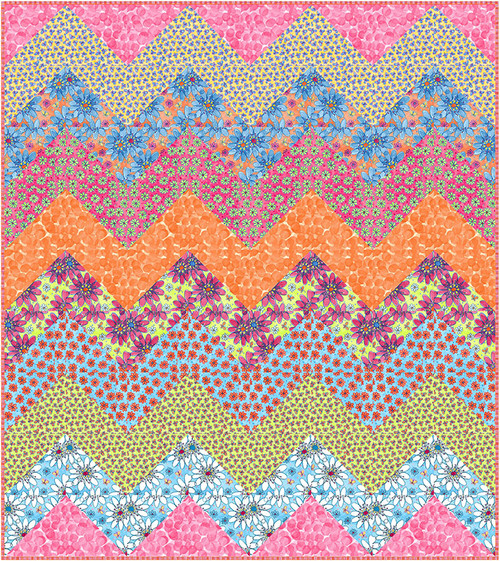
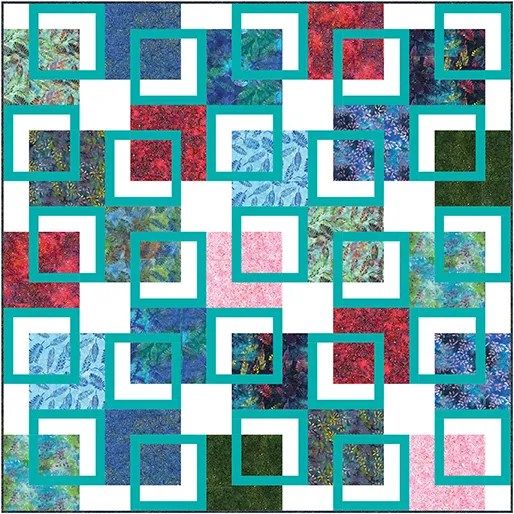
Check out these awesome quilts featuring fabric collections from Blank Quilting.
You can check out Blank Quilting’s Whimsy Daisical 2 fabrics HERE or visit the Blank Quilting website for more info HERE.
Studio E
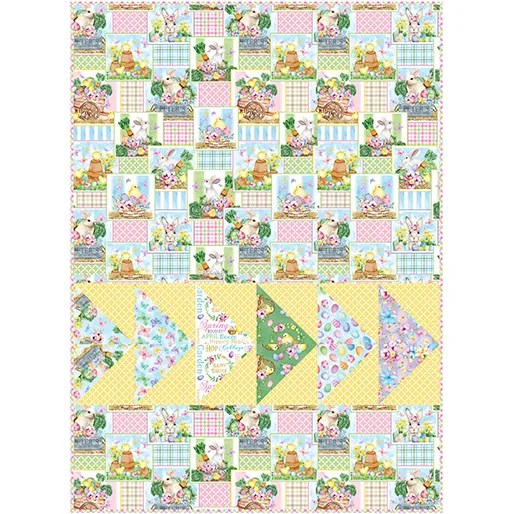
Studio E is a fairly new quilting partner and we’re really glad to be working together! Like with Blank Quilting, we’ve been pairing some of our patterns with their new collections. Check out these awesome quilts!
You can check out all the great Studio E fabrics HERE.
Benartex
We’ve been working with Benartex this year and it’s been really fun matching up our patterns to their fabrics. Here are some of our collaborative designs:
And please don’t forget to ask for these wonderful fabrics at your local quilt shop as well as our Villa Rosa Designs Rose Cards. Support your local quilt shops! If you don’t ask, you local shop owner doesn’t know, so ask away!
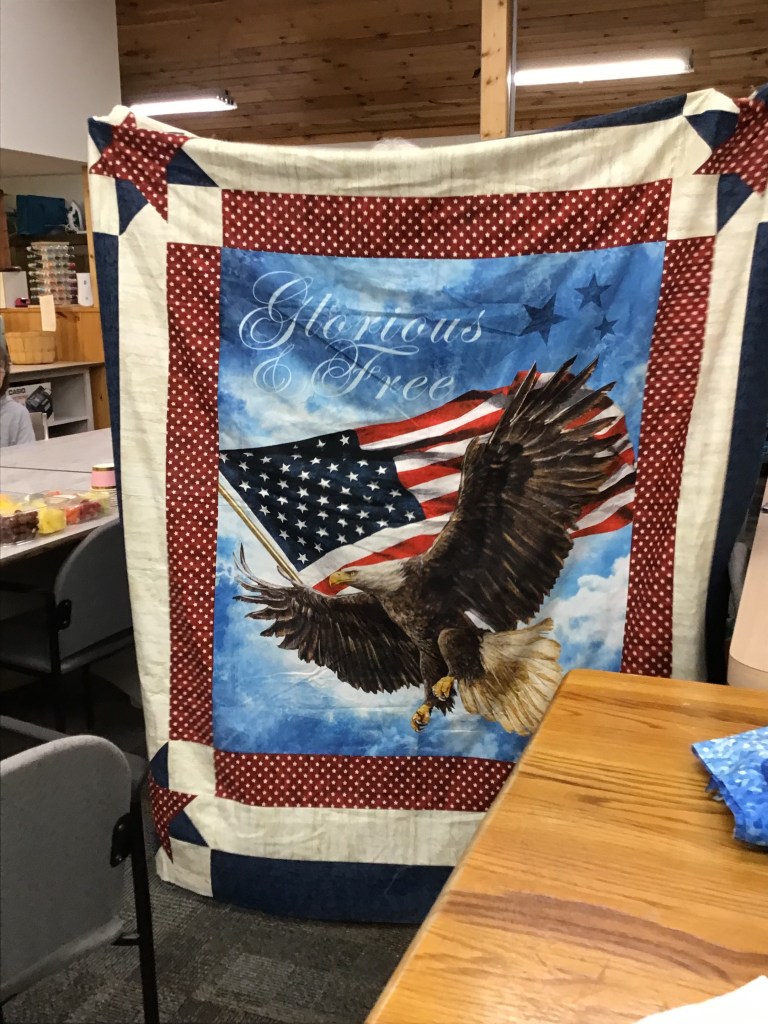
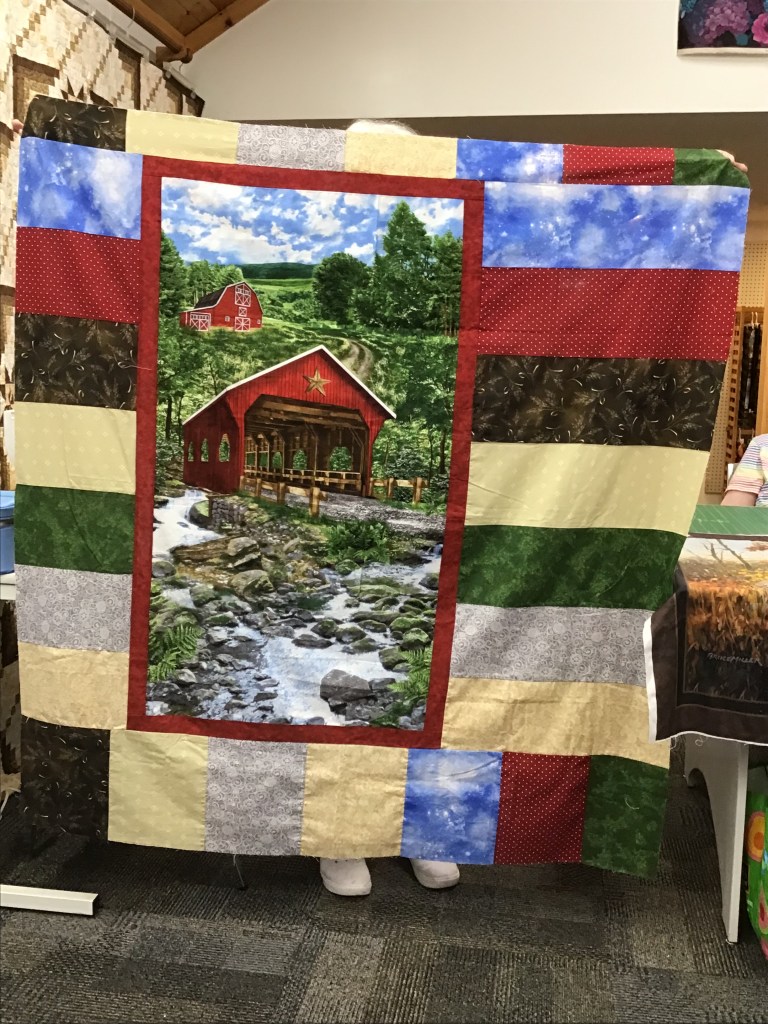
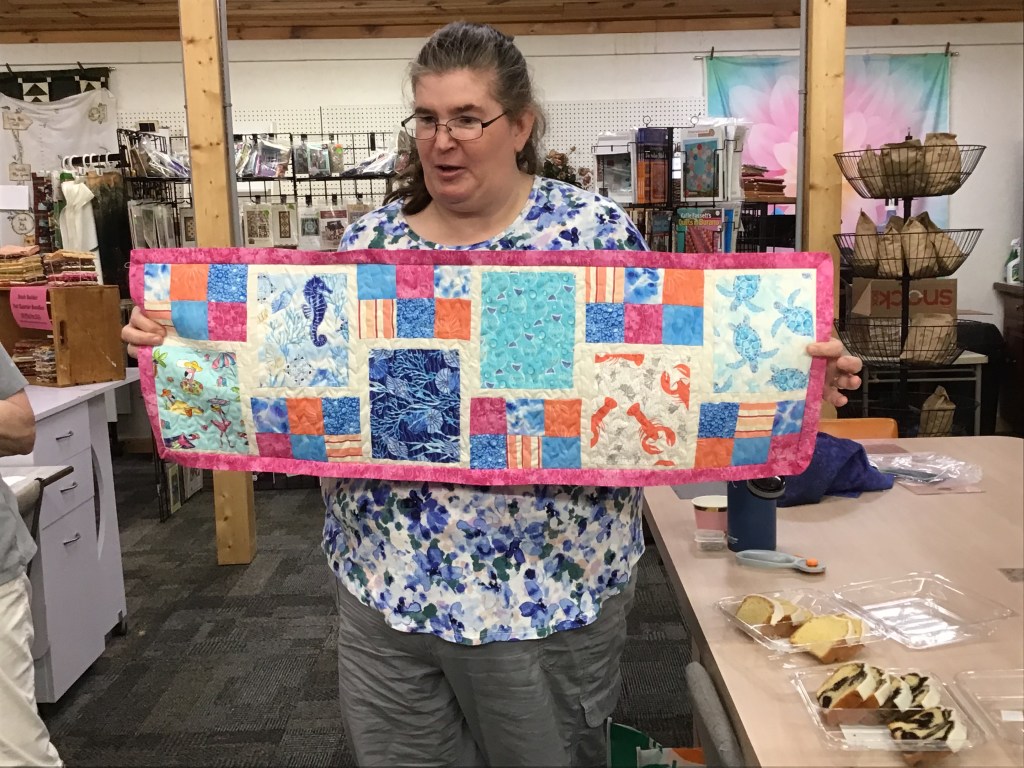
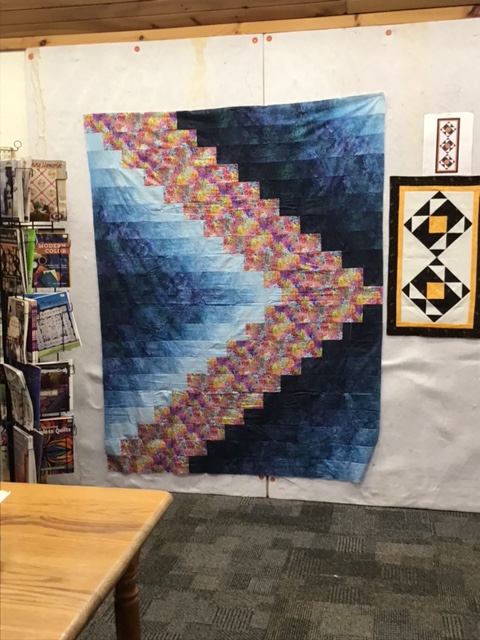
Week after week, I’ve been showing the wonderful, fast, and fun to make Villa Rosa Designs Rose Card patterns. Patterns are great, but I got to thinking it would be fun to share photos of some of these rockin’ Rose Card patterns with you.
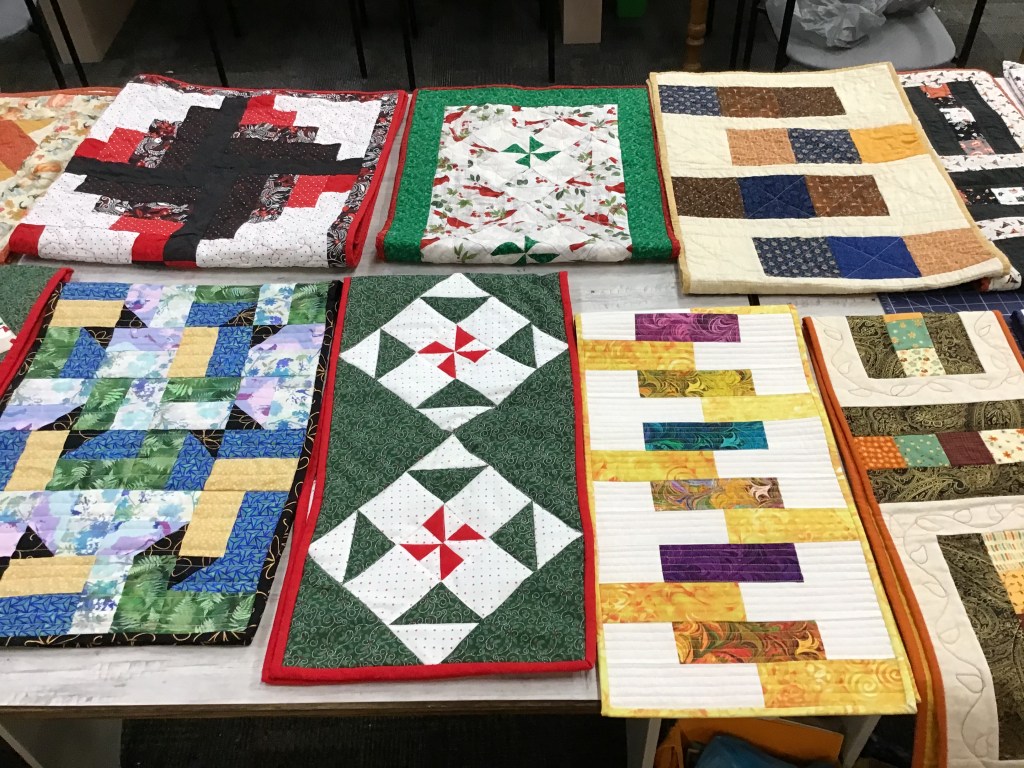
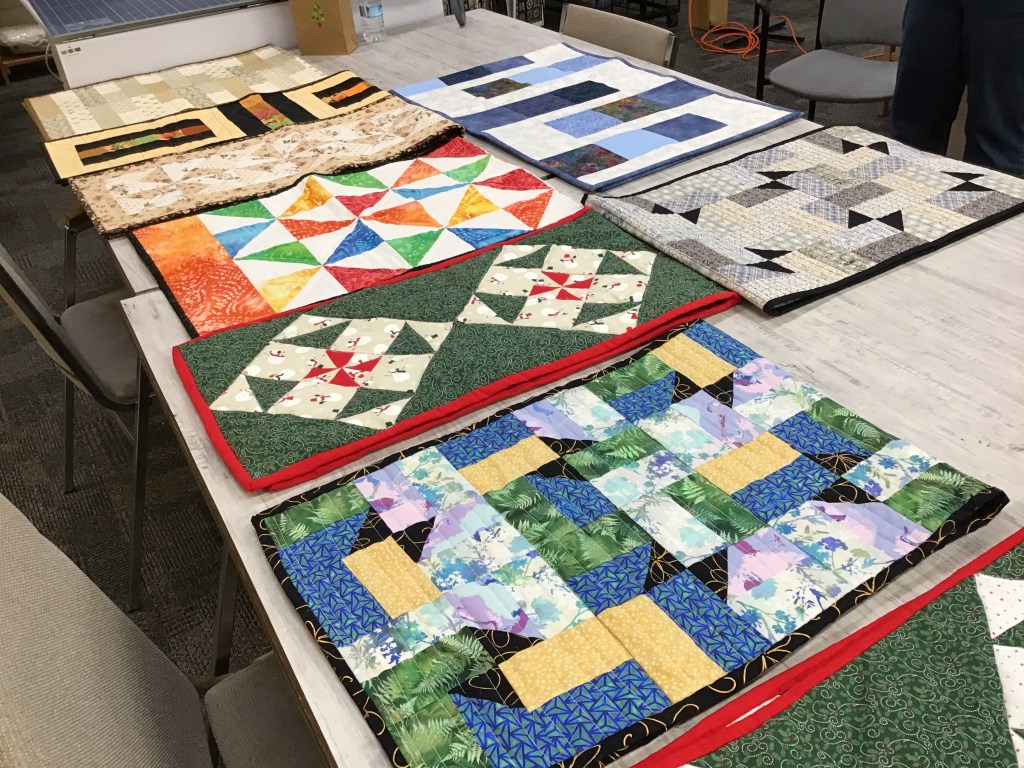
I have an amazing group of quilters that LOVE LOVE LOVE VRD Rose Card patterns. We meet once a month at our local quilt shop from March through December — we skip January and February because winters here in NW PA can be a little unpredictable. We call it a class, but it’s more like a quilt slumber party every month with friends, snacks, and quilts. If you’re a VRD enthusiast and you have friends who are also hooked on Rose Cards, then why haven’t you created your own VRD group??? Just sayin’….
Let me tell you about my VRD group. We’ve actually had this group going for a really long time. In the past, we did sampler quilts, small projects, rulers, and many other topics. We’ve always welcomed new quilters into our midst and most return to the group year after year.
There are so many things I love about this group of women. They welcome newbies in and take them under their wings. Everyone helps everyone. We share quilting tips and tricks as well the joys and sorrows of our lives. We laugh, eat, and catch up every month. When I was laid up after getting my knee replacement, one of the group even stepped up and led the June project. I am humbled and inspired by this group of strong women. We are so much more than simply a “class” — we are a sisterhood of quilters.
Last year (2022) after a couple years of requests by several in the group, I finally agreed to do a year of Rose Cards. So in 2022, we did a “Year of Table Runners”. It was a lot of fun and really whetted everyone’s appetites for more. So for this year (2023) we are doing a “Year of Panels and Novelty Fabrics”.
I thought it would be fun to share some of the incredible work being made by these extraordinary women. So here’s to my ladies — Mary Lee, Sherry, Gaynel, Robin, Kim, Lisa, Anita, Debbie, Jean, Donna, Missi, and our fearless shop owner, Gail.
Sit back and enjoy the quilt show!
Table Runner Rose Cards You See in the Photos Above:
I really hope you enjoyed these wonderful wonderful quilts! And I hope you find inspiration to make and finish your own Villa Rosa Designs Rose Card quilts. Or maybe try a new VRD pattern…..
Quilting in the summer. Do you find it as hard to do as I do? Do you get the summer sewing blues or are you a year-round quilting dynamo?
For me, I start off just fine in May and June, but by July, I’m just not into it anymore. That is until September rolls around, then I can’t wait to fire up my machine and sew, sew, sew with all those wonderful rich autumn fabrics. Over the years, I’ve discovered that I’m basically a three-seasons quilter.
The good news is, there are lots of ideas to keep us sewing all through the summer.
Quiltalongs
Have you thought about joining a Quiltalong? I know that many start in the summer and continue into the fall while others start in January. Check with your local quilt shop, if they don’t have some kind of summer sewalong, there are lots online. Just search for “summer quiltalong” online to see what you find. 🙂
Summer Classes
While you’re at your local shop, why don’t you see what classes they are offering for the summer? Maybe there will be something really fun you can do. Don’t forget that quilt shops are usually air conditioned too which makes sewing a lot more comfortable.
The reason I mention air conditioning is that my basement dungeon studio isn’t air conditioned. I have to rely on a couple fans to move the air around. This does not help me feel motivated to sew, instead it makes me feel motivated to take a nap. LOL!
Small Projects
I really don’t think summertime is the time of year to work on big projects, unless you really have to. It’s better to stick to smaller projects so that you can fit your quilting around your summer activities and still finish some of your projects. Place mats, table runners, wall quilts, pot holders, mug rugs and more are wonderful summer projects. You could even work on some small items for Christmas gifts, if you were so inclined.
Here are some of our smaller Villa Rosa Designs Rose Cards, perfect for summer sewing:
There are tons more fun and fast Villa Rosa Designs Rose Card patterns HERE.
Shop Hops
Shop Hops are often in the summer, so make sure you join your local Hop. You won’t regret it. Take a friend or two and make it a quilting buddy adventure.
Maybe your local shop is sponsoring a bus for the Shop Hop? If so, don’t hesitate — ride the bus. Then you can just focus on having fun and no one has to worry about driving or navigating or getting lost.
It’s a good idea to have a list of things you are looking for with on a Shop Hop or you will find yourself tempted by every pretty thing you see.
Take Along Projects — English Paper Piecing (EPP)
Maybe you do a lot of traveling in the summer. Do you have a take a small sewing project along? My favorite go-to project for travel is my Hexies. Are you familiar with Hexies?
Hexies are (of course) fabric pieces cut into a hexagon shape that you sew together. You can sew Hexies together by machine, but that is definitely NOT for beginners. Sewing hexagons together by hand, now, that’s something most people can do. Have you ever tried it?
There are several different ways to sew Hexies, but I like to use the English Paper Piecing (EPP for short) technique to sew my Hexies together.
Here’s a great video tutorial by quilter Carolina Moore about the basics of English Paper Piecing:
I couldn’t find her book Learn to English Paper Piece from the video, so I am guessing it’s out of print now, but I was excited to see that she has a brand new Paper Piecing book coming out next month in August! Woohoo!
EPP really is a great project to take along with you when you’re on the go. The supplies can fit in a small bag — wouldn’t it be super cute to make a little bag for your EPP out of EPP??? Depending on your bag, it might actually slip down into your purse or tote too. You can even take them with you on that Shop Hop you’re going on!
The supplies you need for EPP are pretty simple and easy to find. You probably already have most of them lurking in your sewing area:
Paper or plastic templates in your desired shape/size
Fabric shapes that are larger than your paper pieces
Thread, needle, thimble
Small scissors
(Optional) Fabric glue stick if you are going to glue your Hexies like in Carolina’s video
Something to store your supplies in
These Hexie paper templates are currently my favorite find:
Do you see the hole in the center of the paper Hexie? Do you know what that hole is for? Snaps to you if you do! If not, let me tell you about it.
When you place your paper Hexie in the center of your fabric hexagon shape, you can use a straight pin in that hole to hold the paper Hexie on the fabric so the paper templates doesn’t slide as you work you way around the paper Hexie, either sewing or gluing the edges. One time I bought a set of paper templates without the holes, and boy did I regret it — I ended up punching a hole in each and every one in the package. Sadly, my hole punch wasn’t exactly big enough so my holes are all off center, which means that sometimes I run into my center straight pin while sewing around the Hexie. Ugh, not fun.
Once upon a time, when everyone was going wild for Hexies, Moda and other fabric companies were making precut fabric Hexies. They weren’t hard to come by back then and totally sped the EPP process up because you didn’t have to cut out the Hexies — you just started sewing. Sadly, you don’t find them around very often anymore. Bummer.
Here’s a precut pack from Kona cottons, if you’re interested. I found them HERE.
English Paper piecing isn’t just for Hexies, though. You can use the technique to sew lots of other shapes, too. And when you mix and match different shapes together, you can create some amazing EPP quilt blocks!
These are just a few of the fun EPP shapes out there. So, you’ll probably never get bored with EPP unless of course you’re trying to make a California King Size quilt entirely by hand with EPP. Good luck, you crazy quilter, you!
Me, I keep things simple and only do Hexies. Those other shapes scare me! LOL! Mostly I make small projects with my Hexies like small table mats, runners, and other little things.
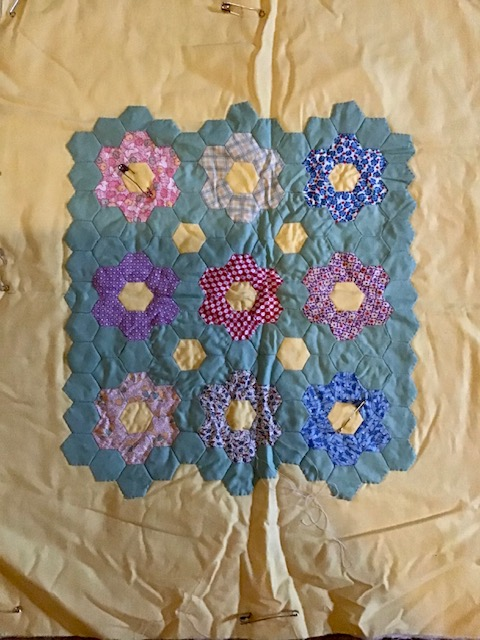
I do have a doll quilt I made with small Hexies (I don’t know what I was thinking, really). I think they are 1/2″ Hexies, by the way. Because it was my take-along project, it literally took me years to make the top. I think I started it in 2010? But that’s okay, I don’t usually have any specific deadlines for my EPP projects.
I’ve been trying to hand quilt my little Grandmother’s Flower Garden quilt now (for years…) but let me tell you, hand quilting is really not my thing. Not at all. I bow down to all of you hand quilters out there.
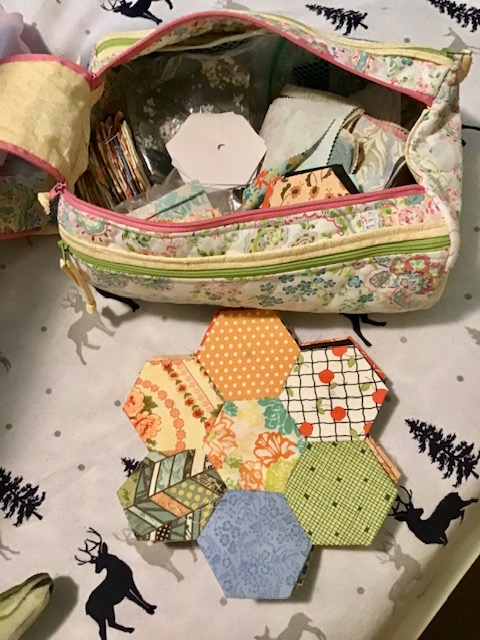
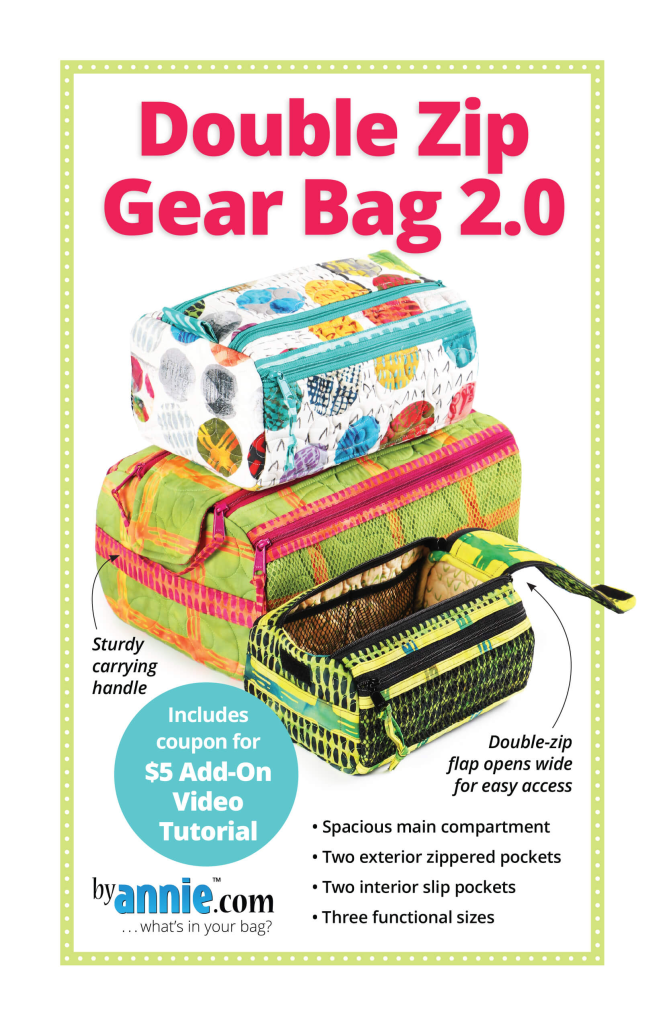
It’s funny but I have many little bags and boxes with EPP Hexies all ready to grab and go. Maybe a little excessive, but then again, I always have an EPP project….or two….or three going and ready so I can just grab it, pop it in my bag and off I go. Below you can see the EPP bag I am sew in love with right now! My quilting pal, Mary Lee, made this great zip bag for my birthday after I hinted very strongly. LOL! Thanks, Mary Lee!
It’s an byannie.com pattern — Double Zip Gear Bag 2.0. You can find the pattern HERE.
Sigh…..if only that ginormous bed quilt would magically fit into a cute little bag so I could tote it around and finish the binding….
Well, that’s it from me. Stay cool and keep on quilting this summer!


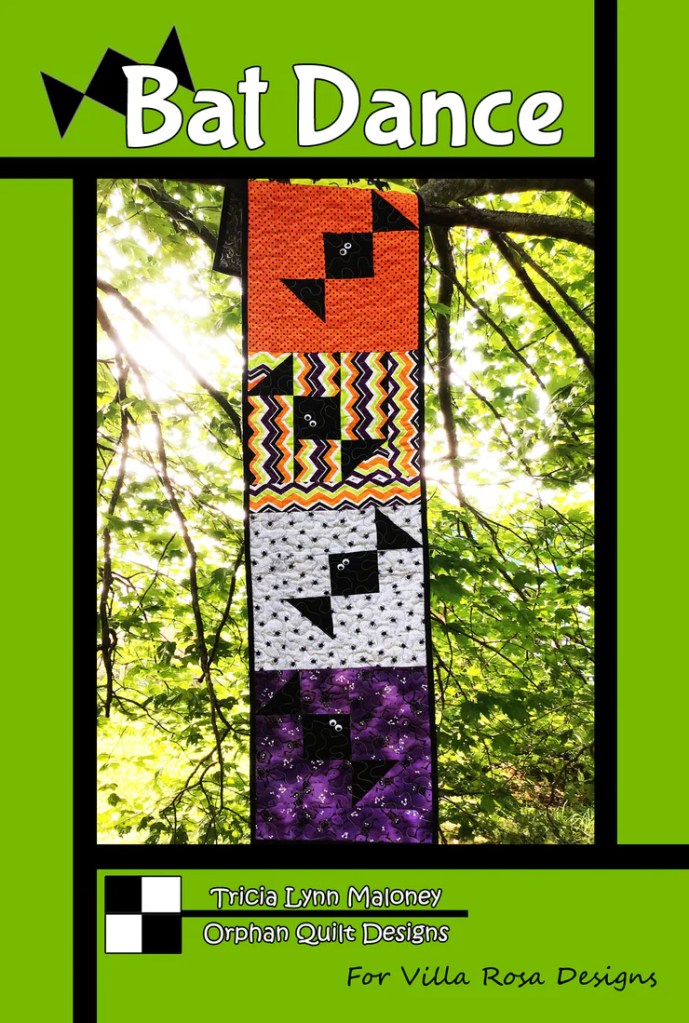


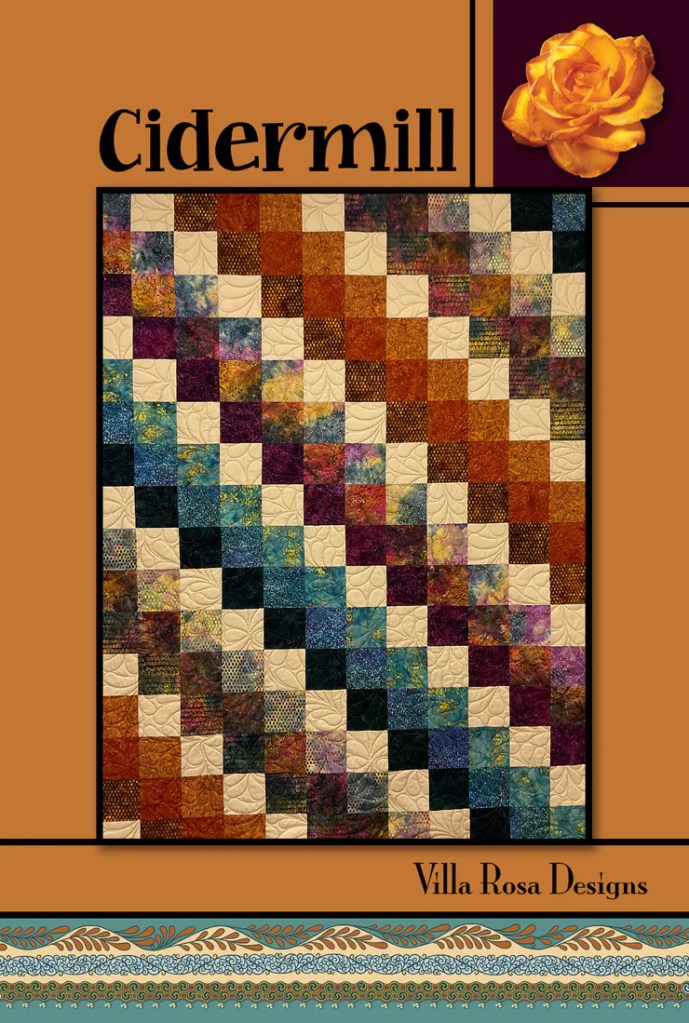
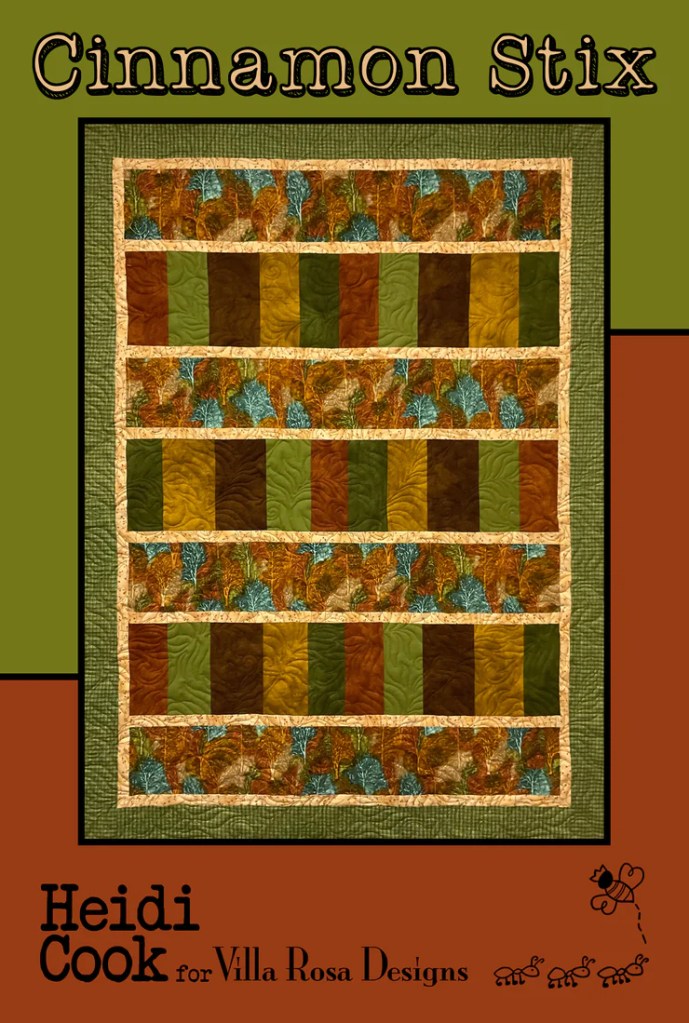
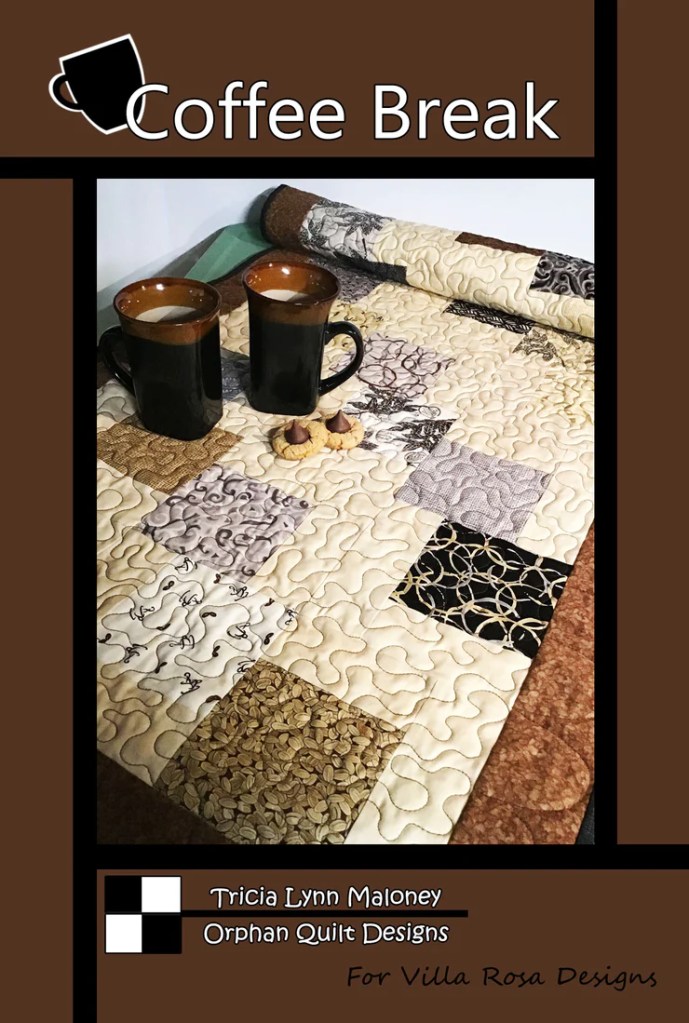


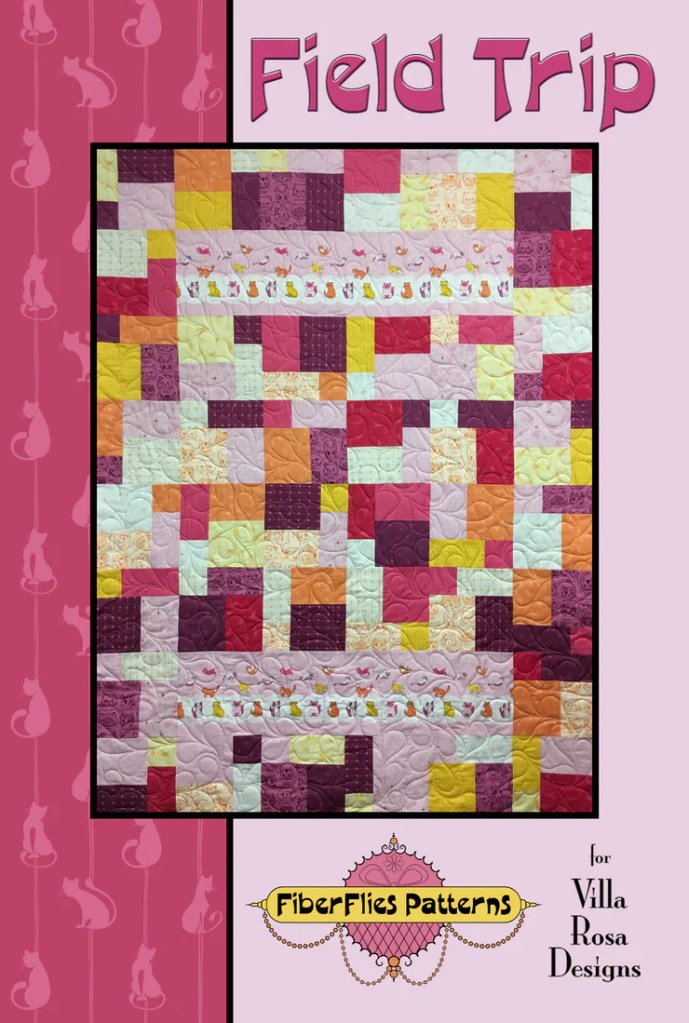

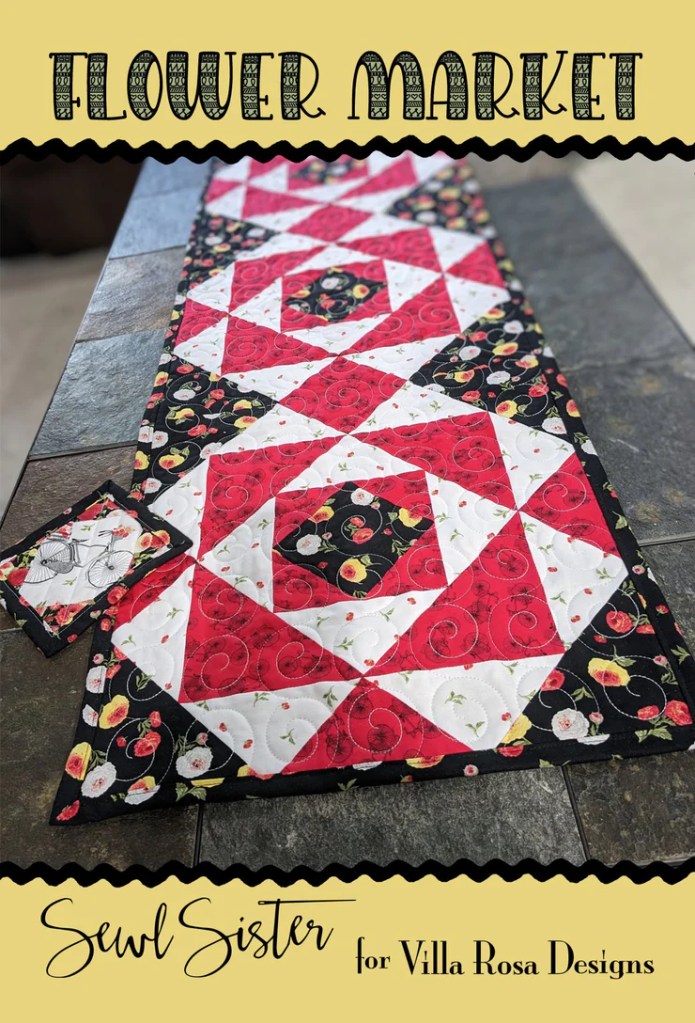
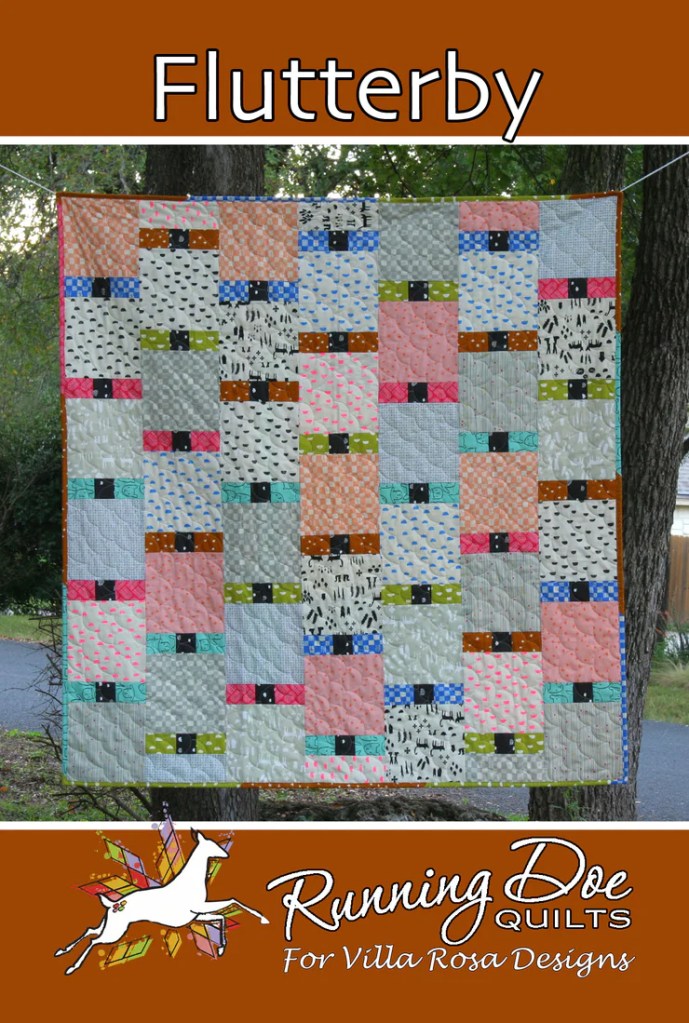

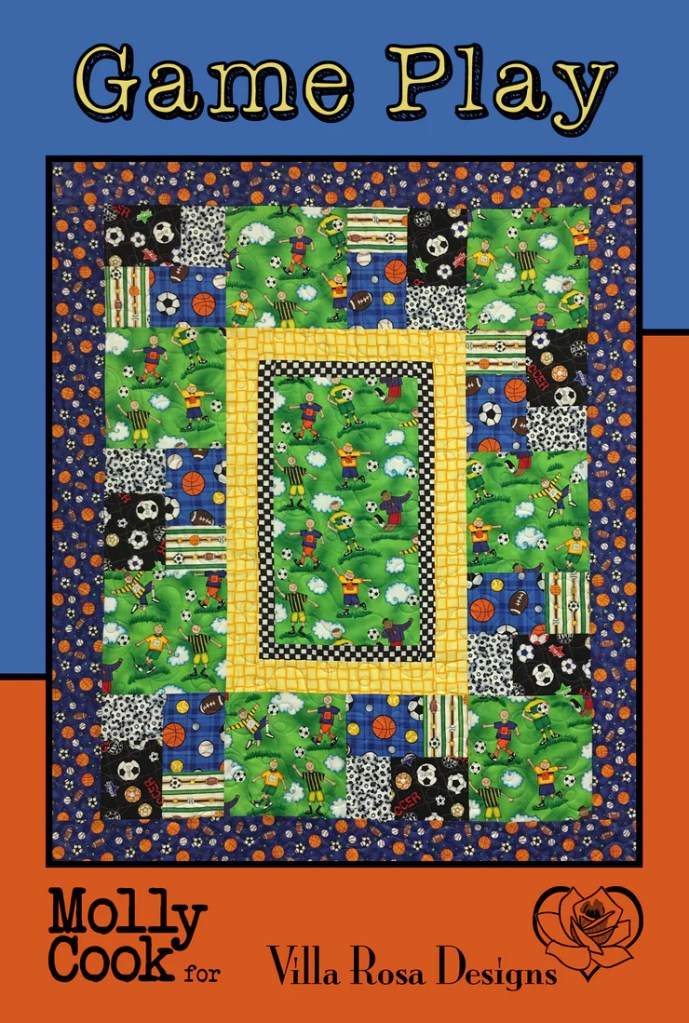
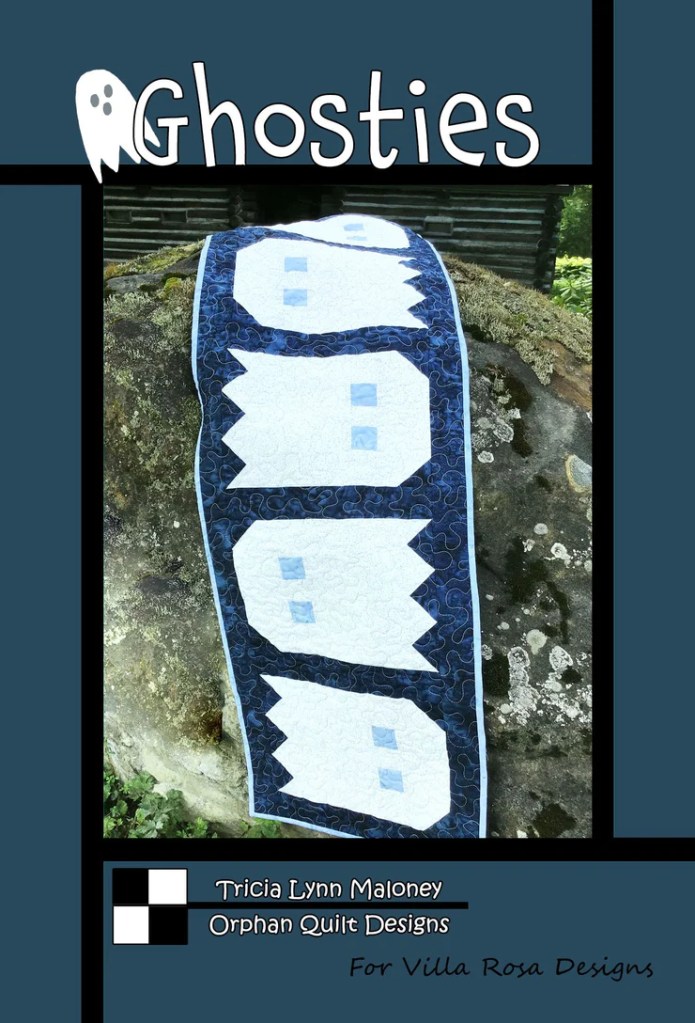
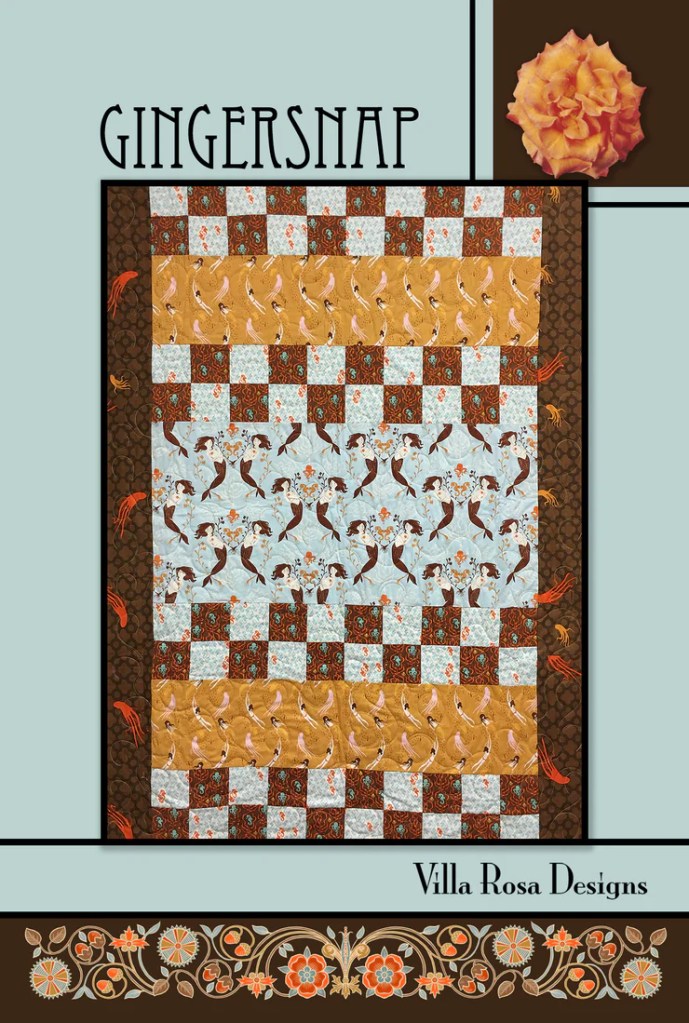

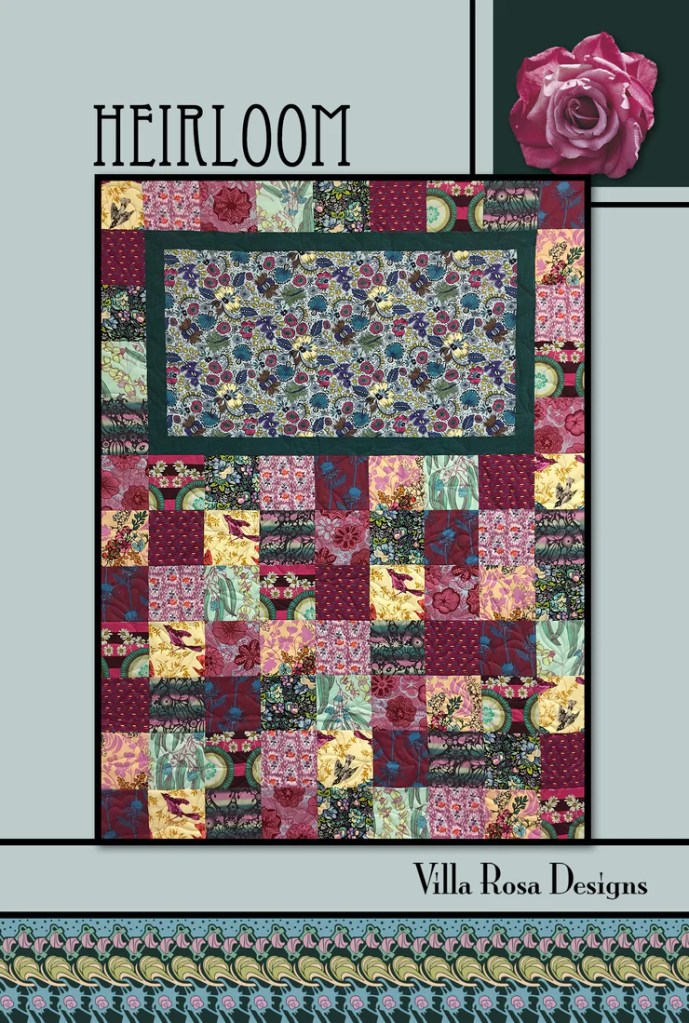
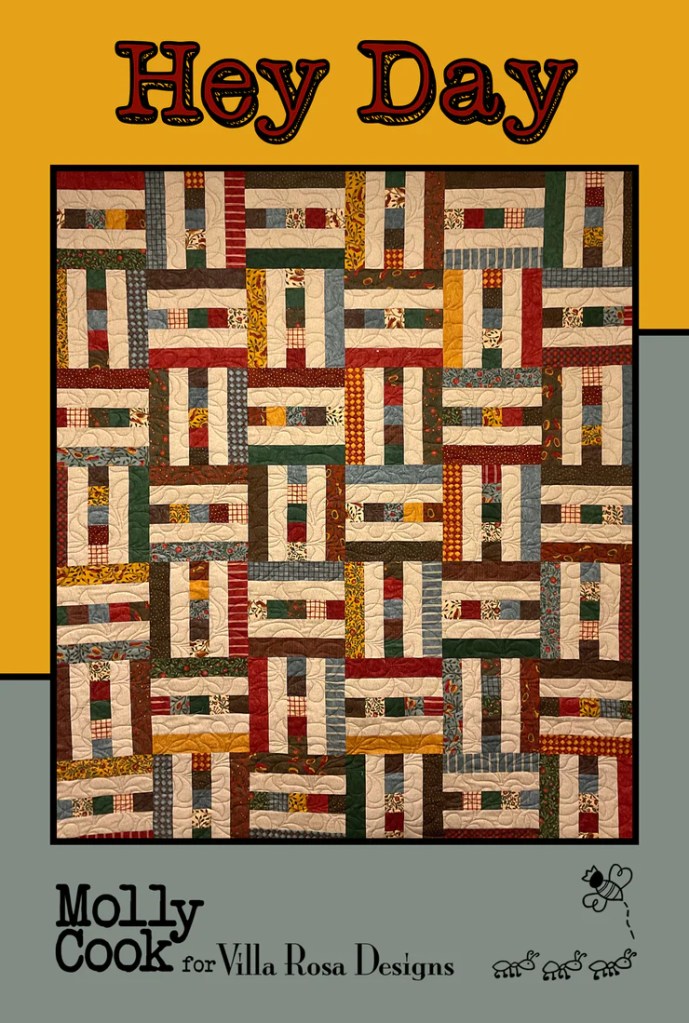
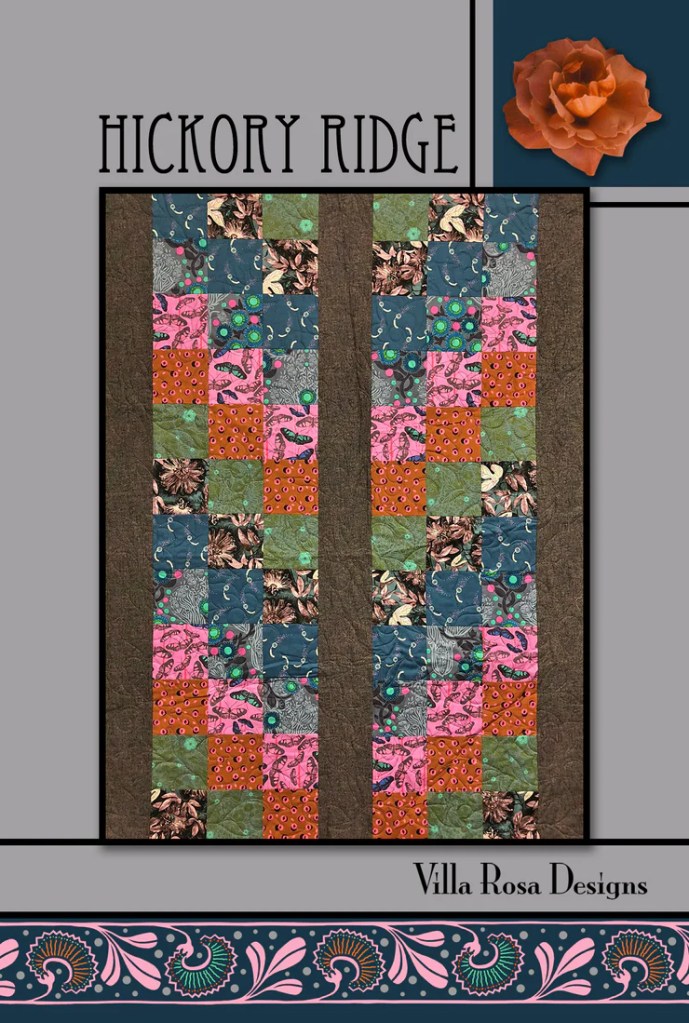

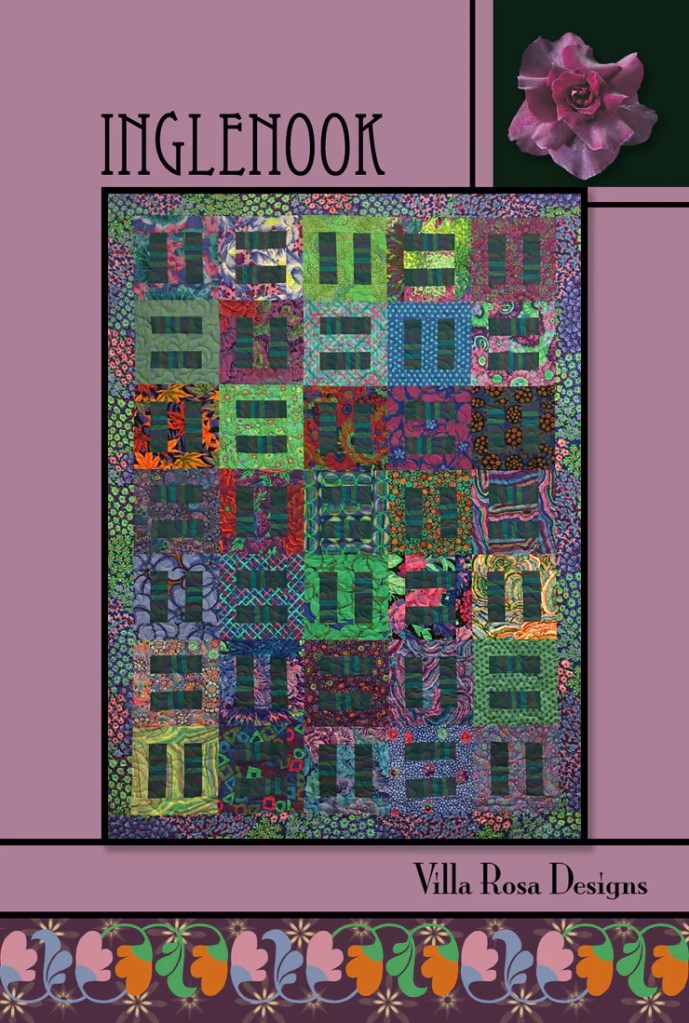
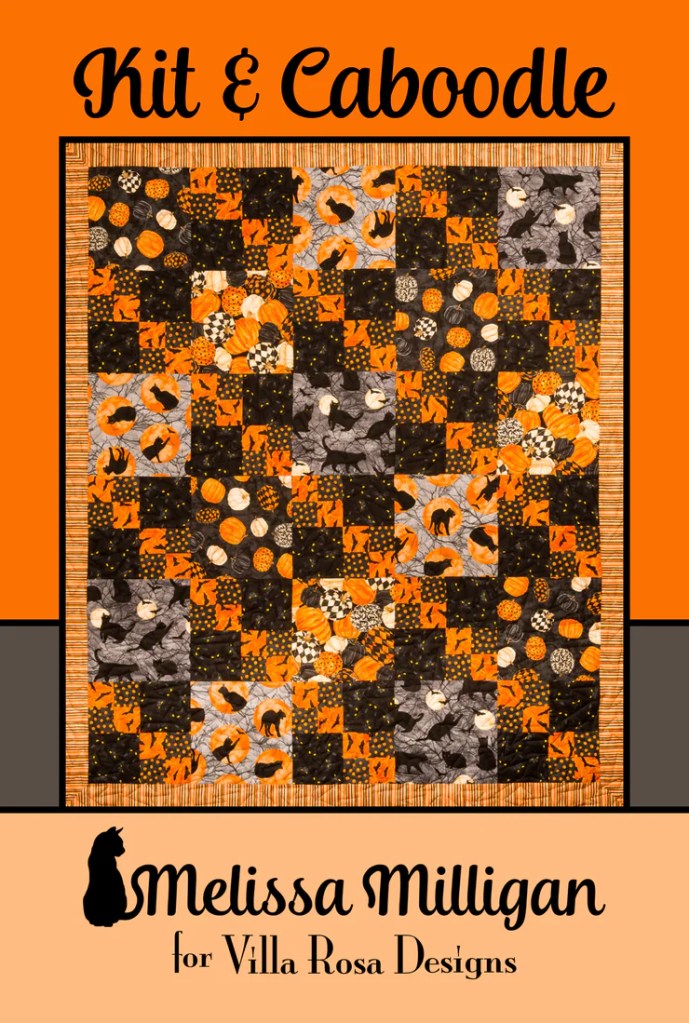
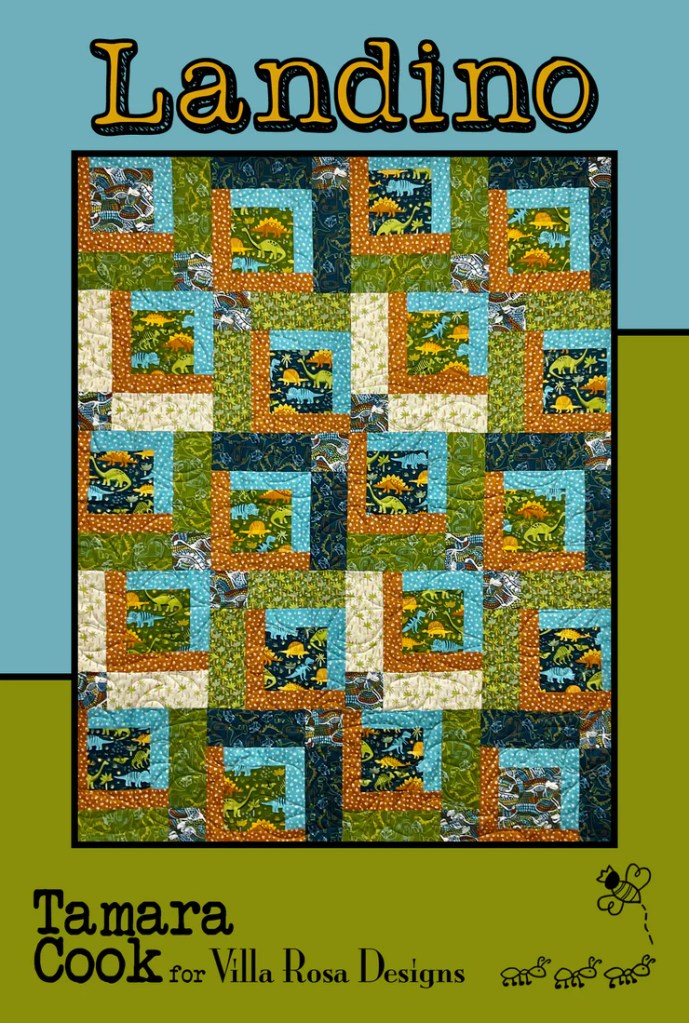



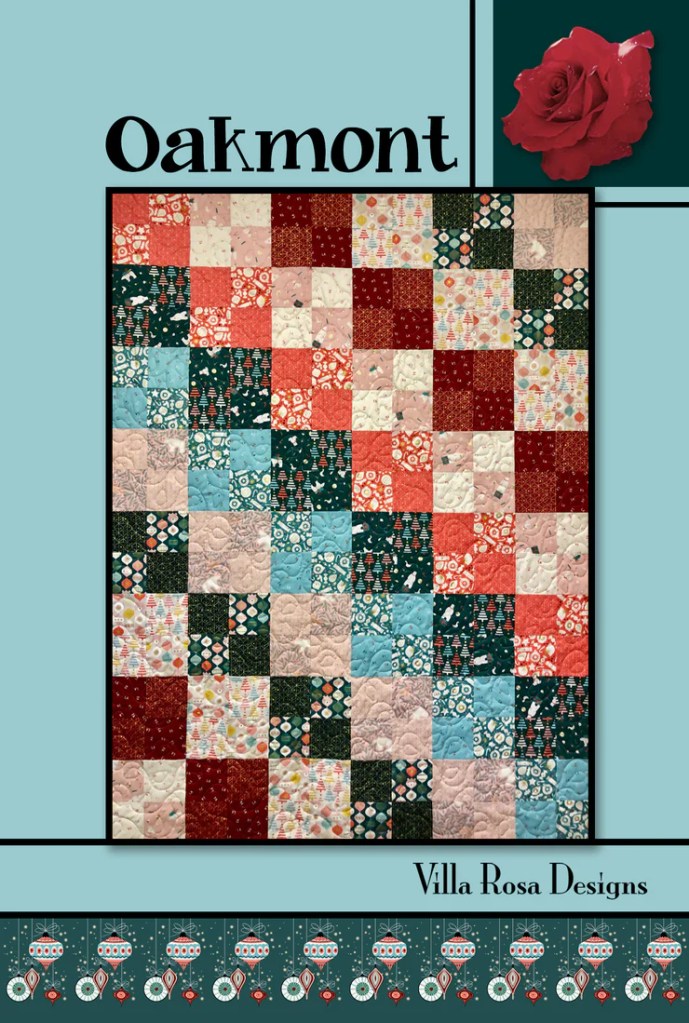
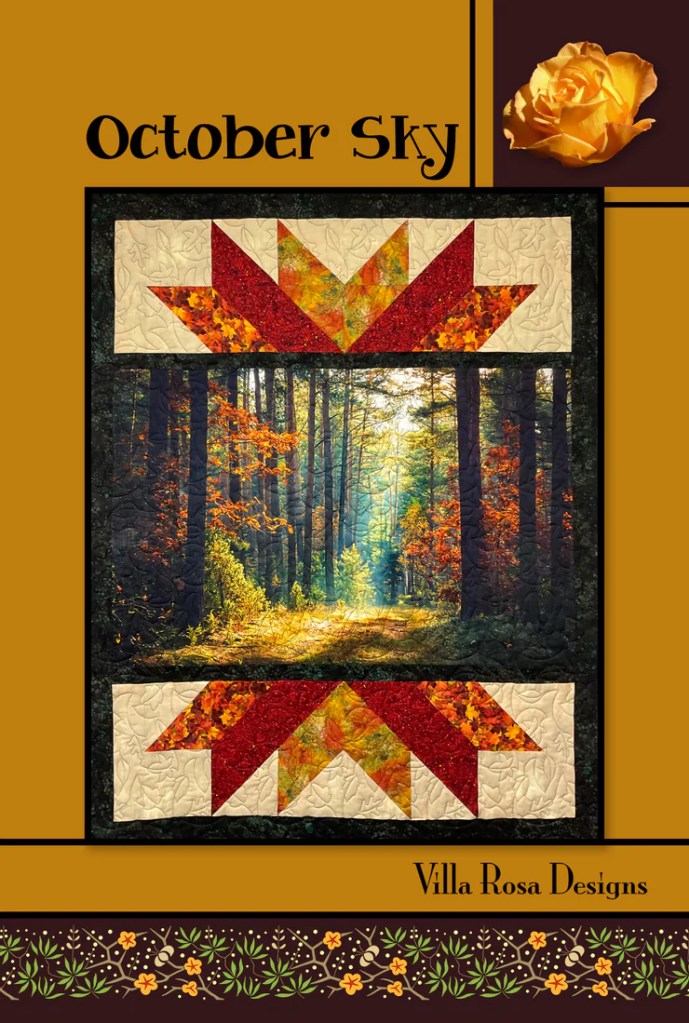
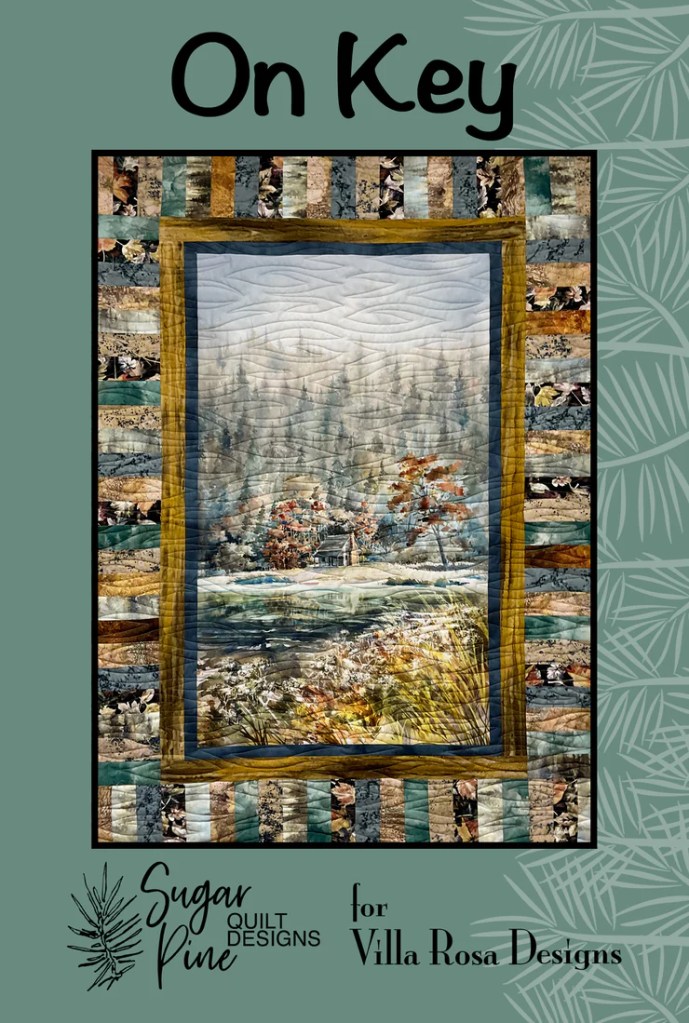

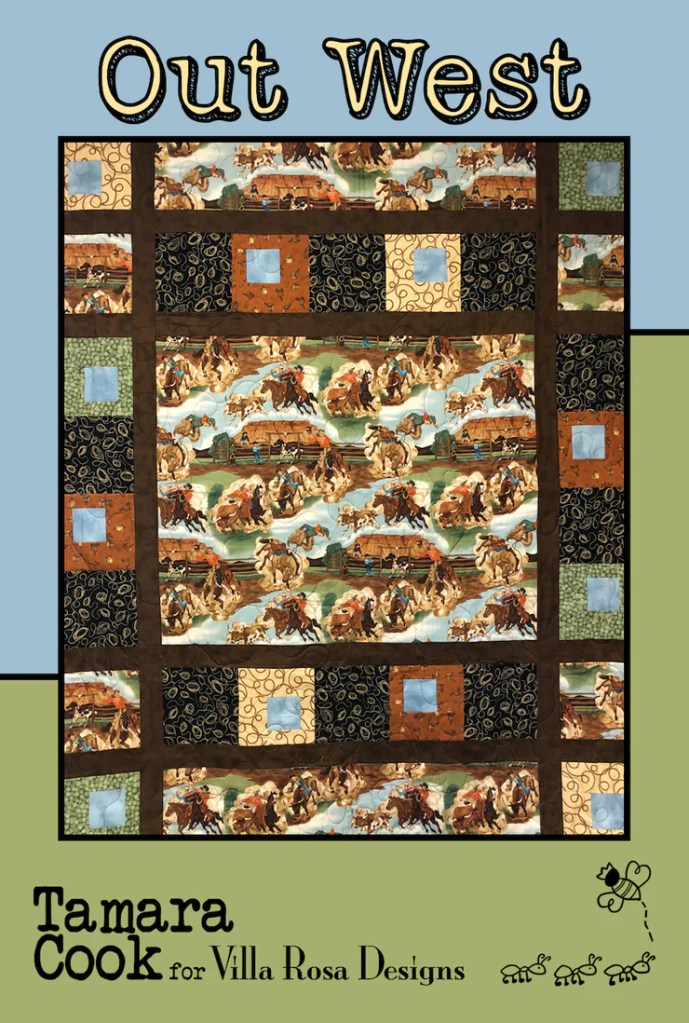
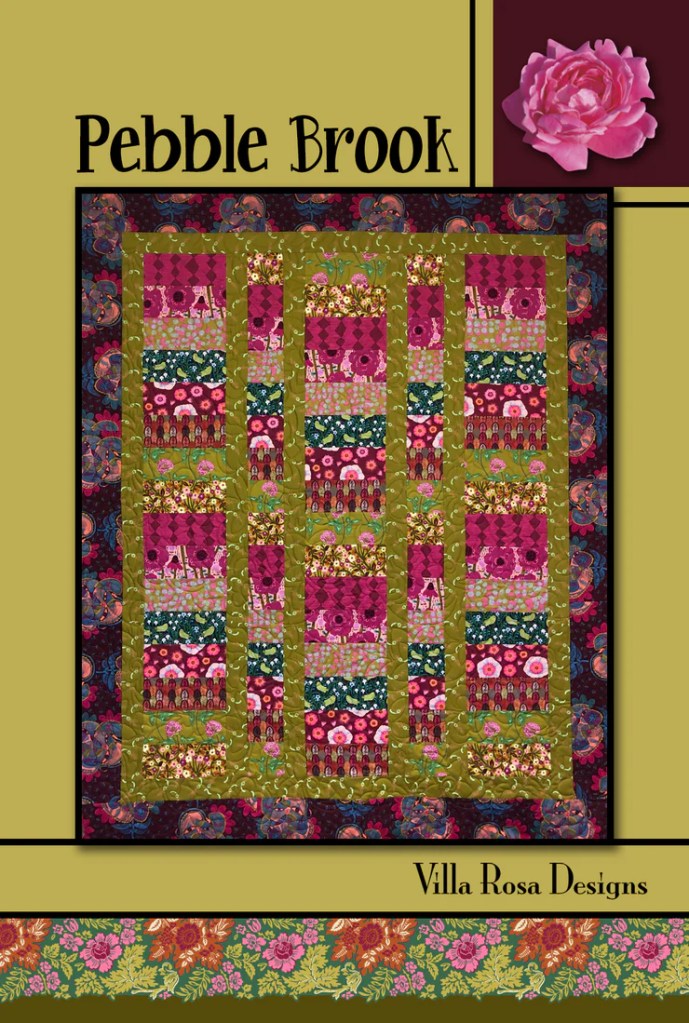
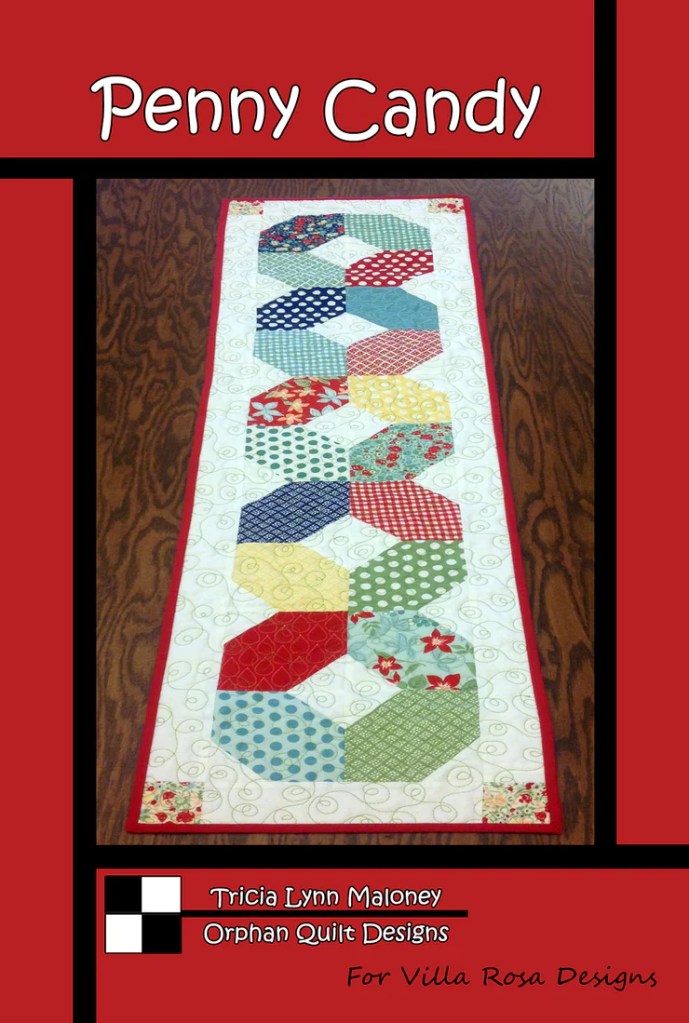
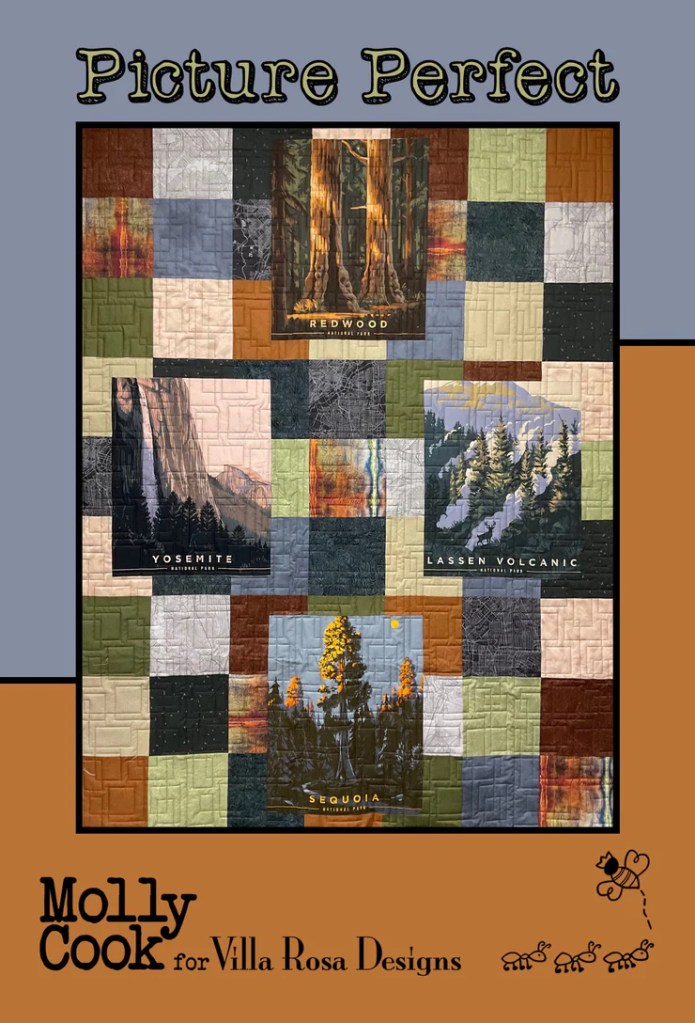
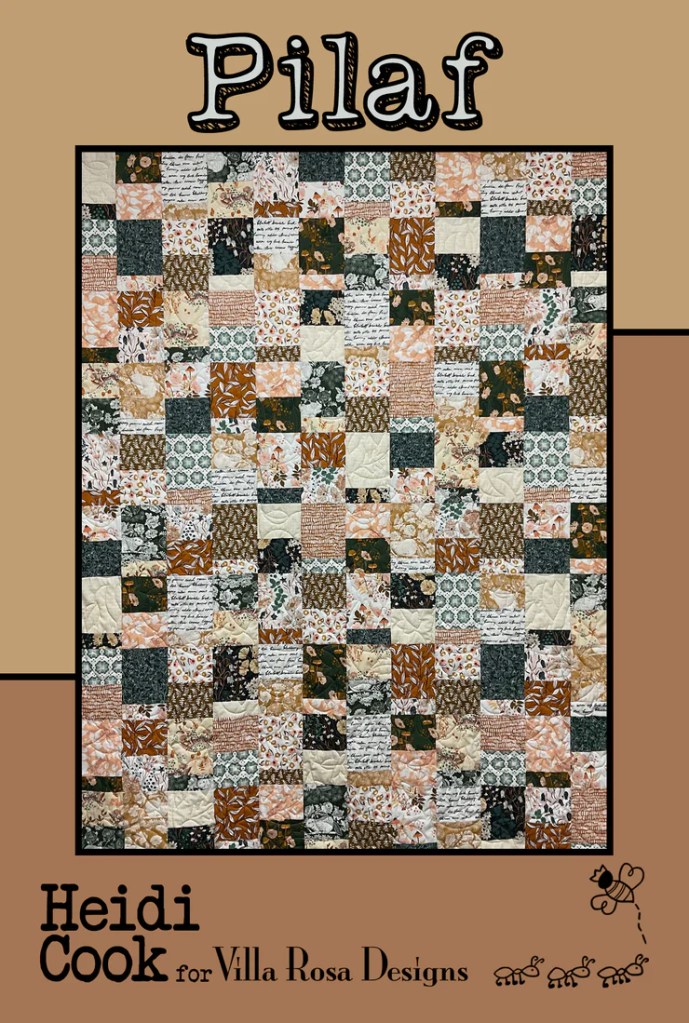





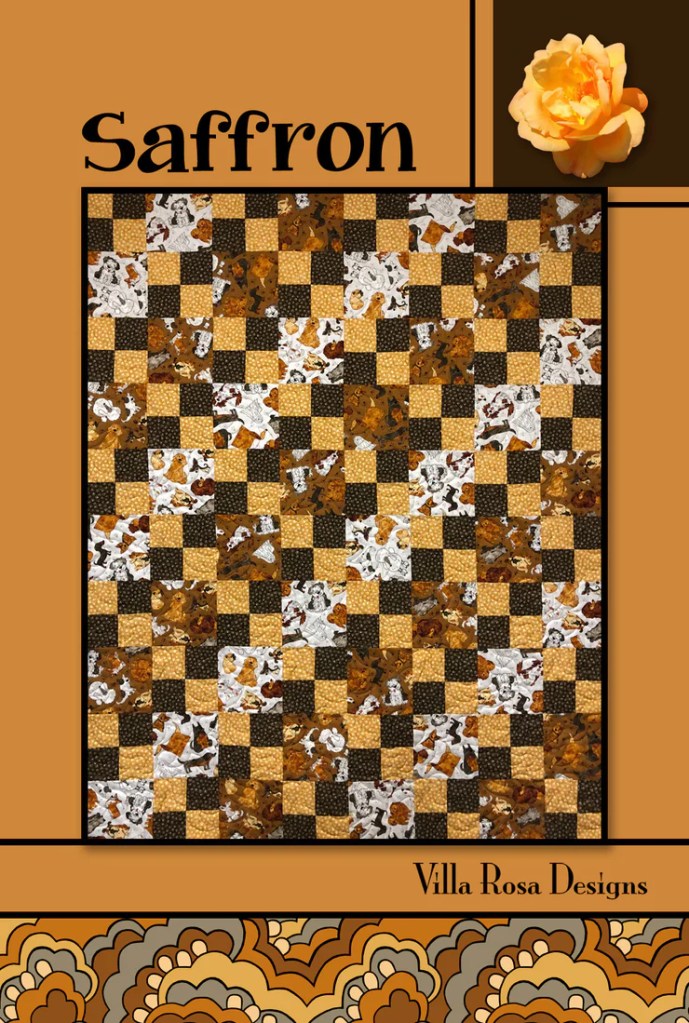


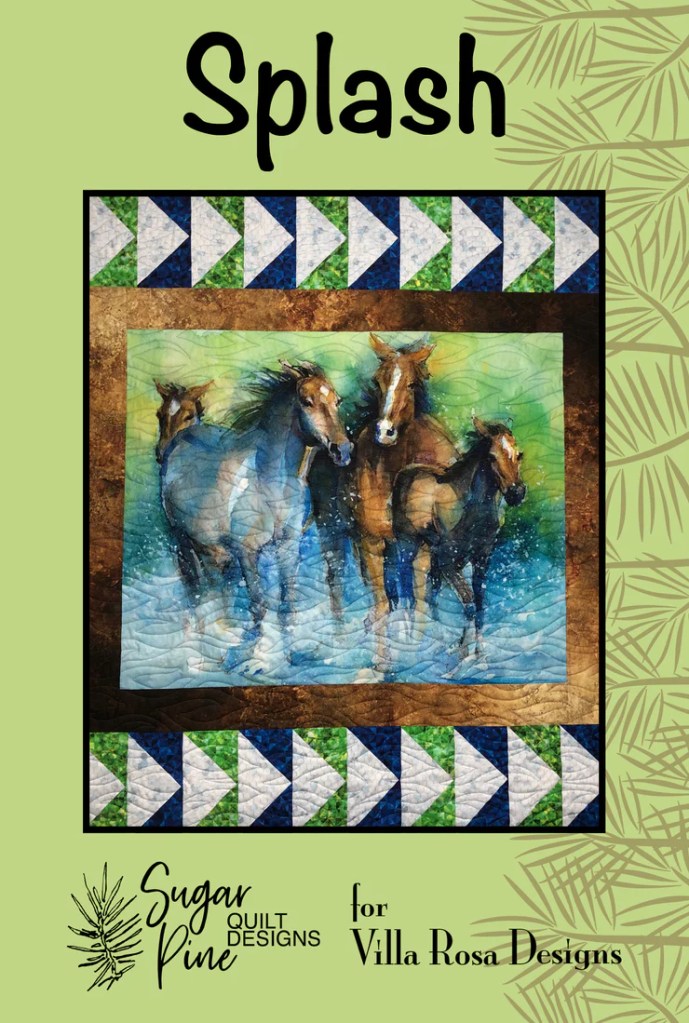
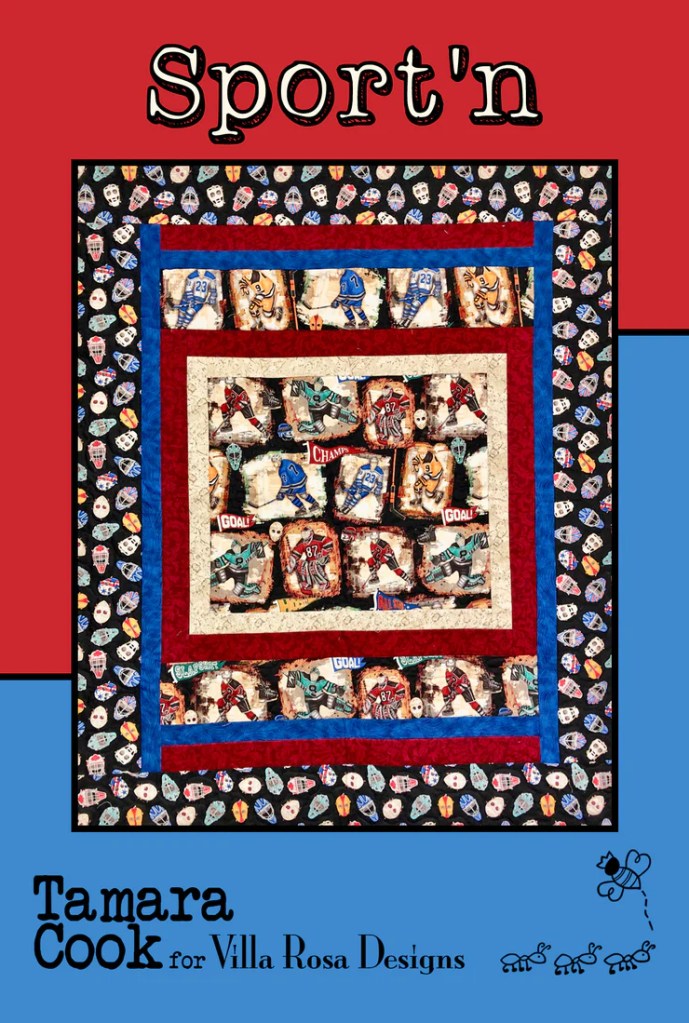
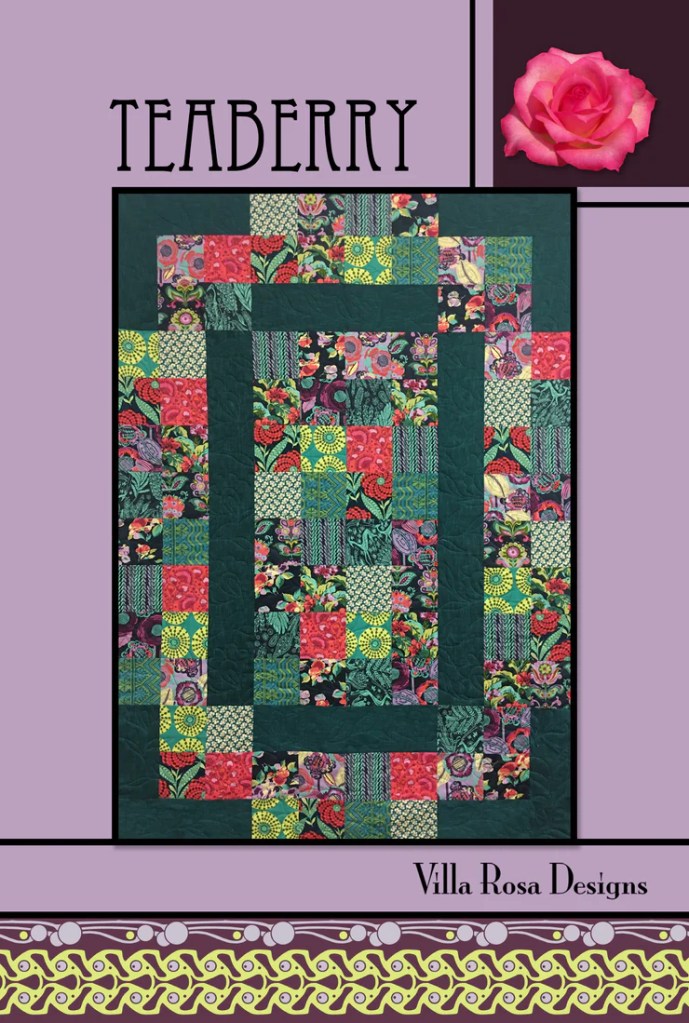


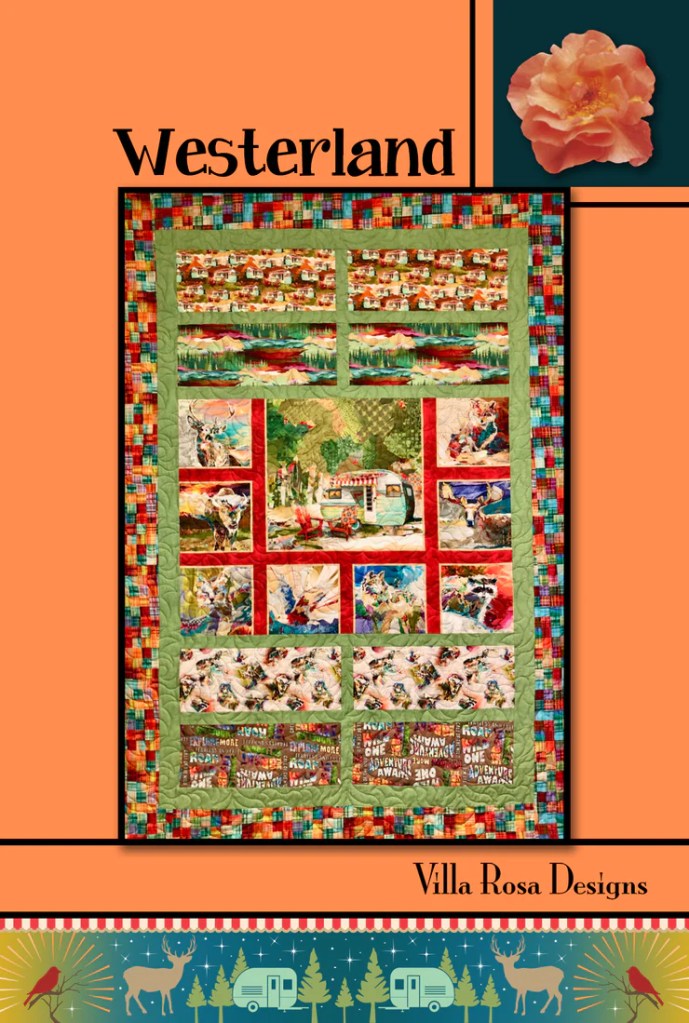
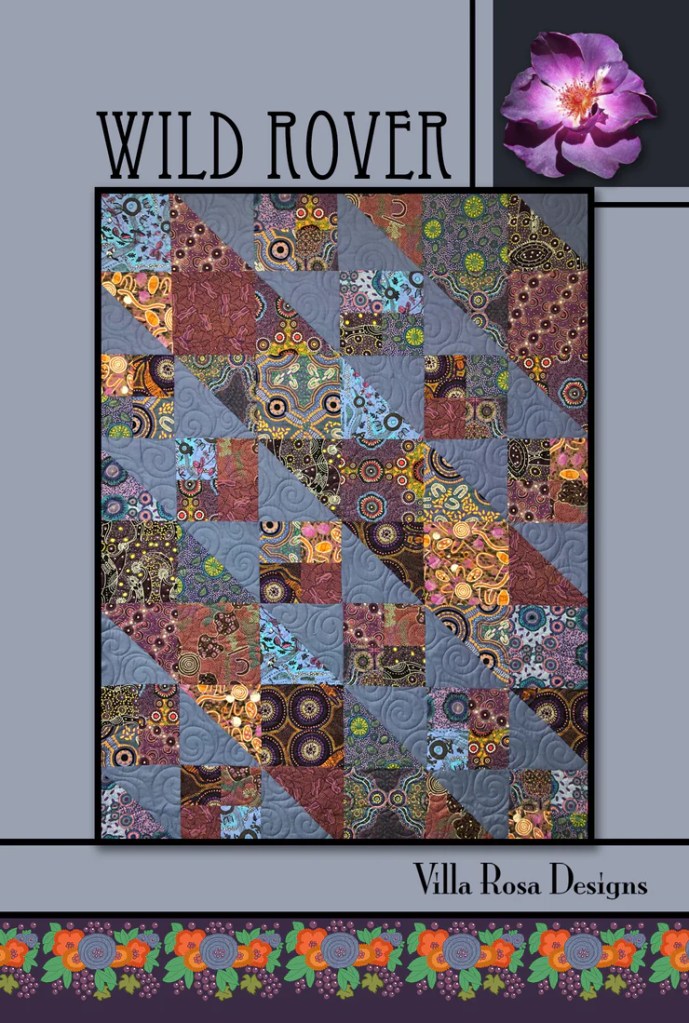

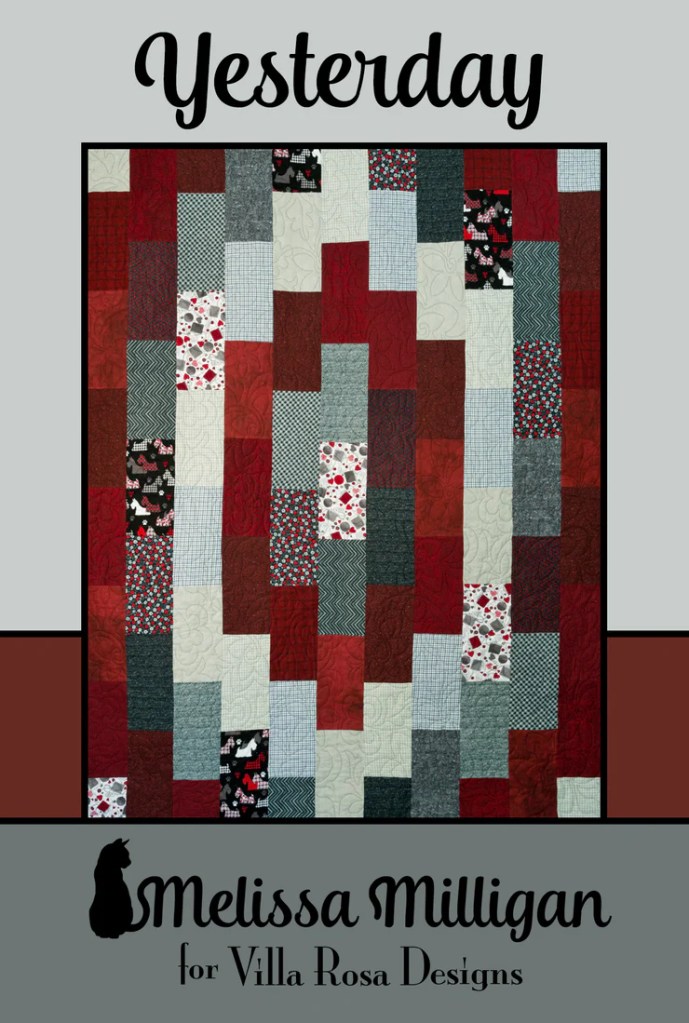
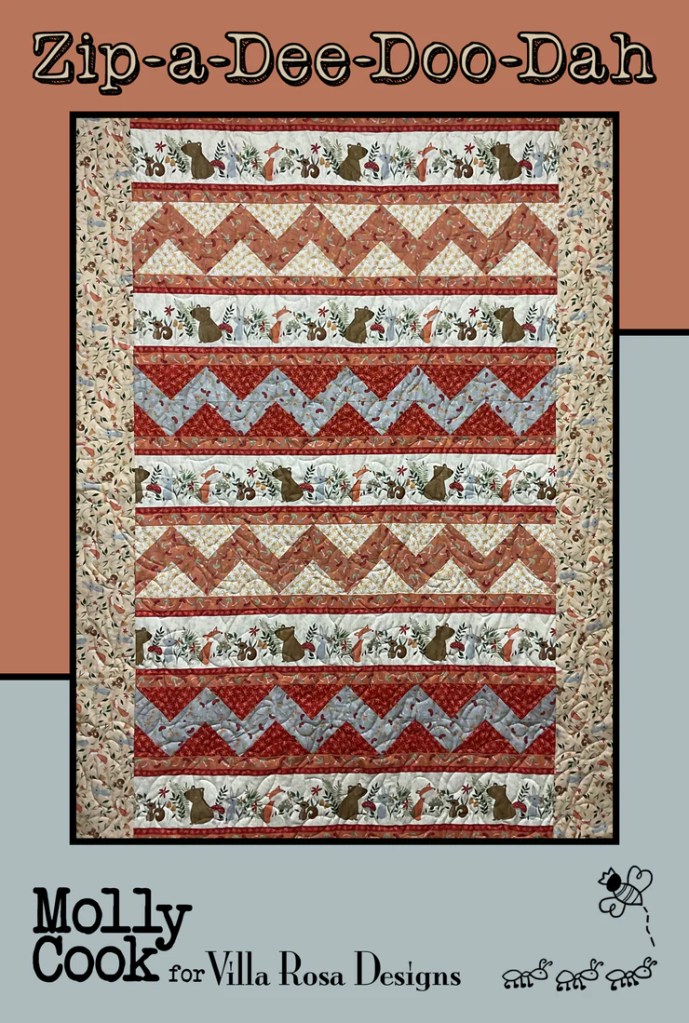


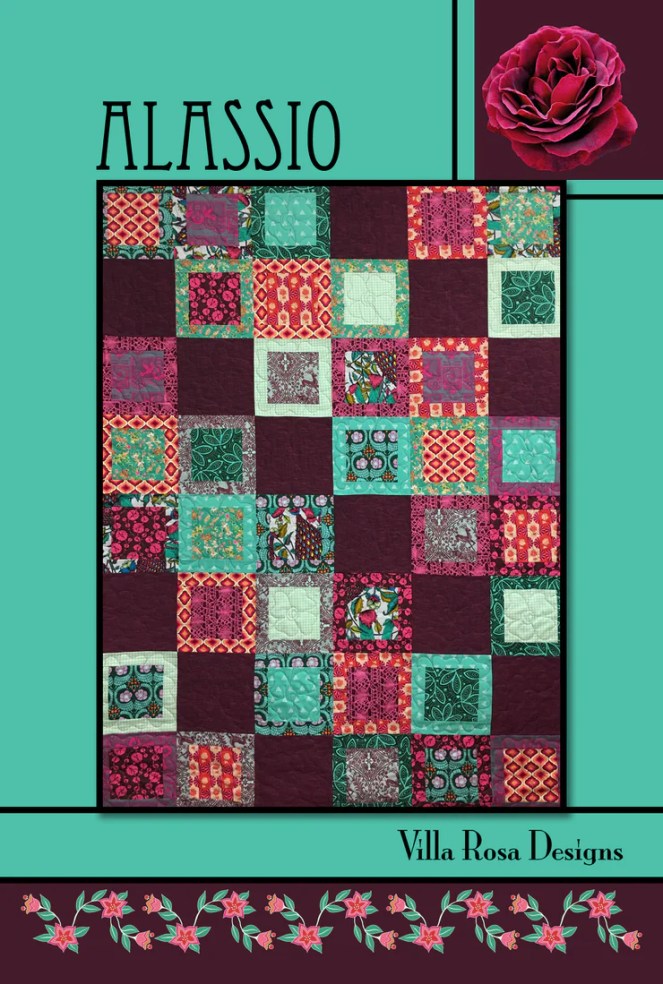
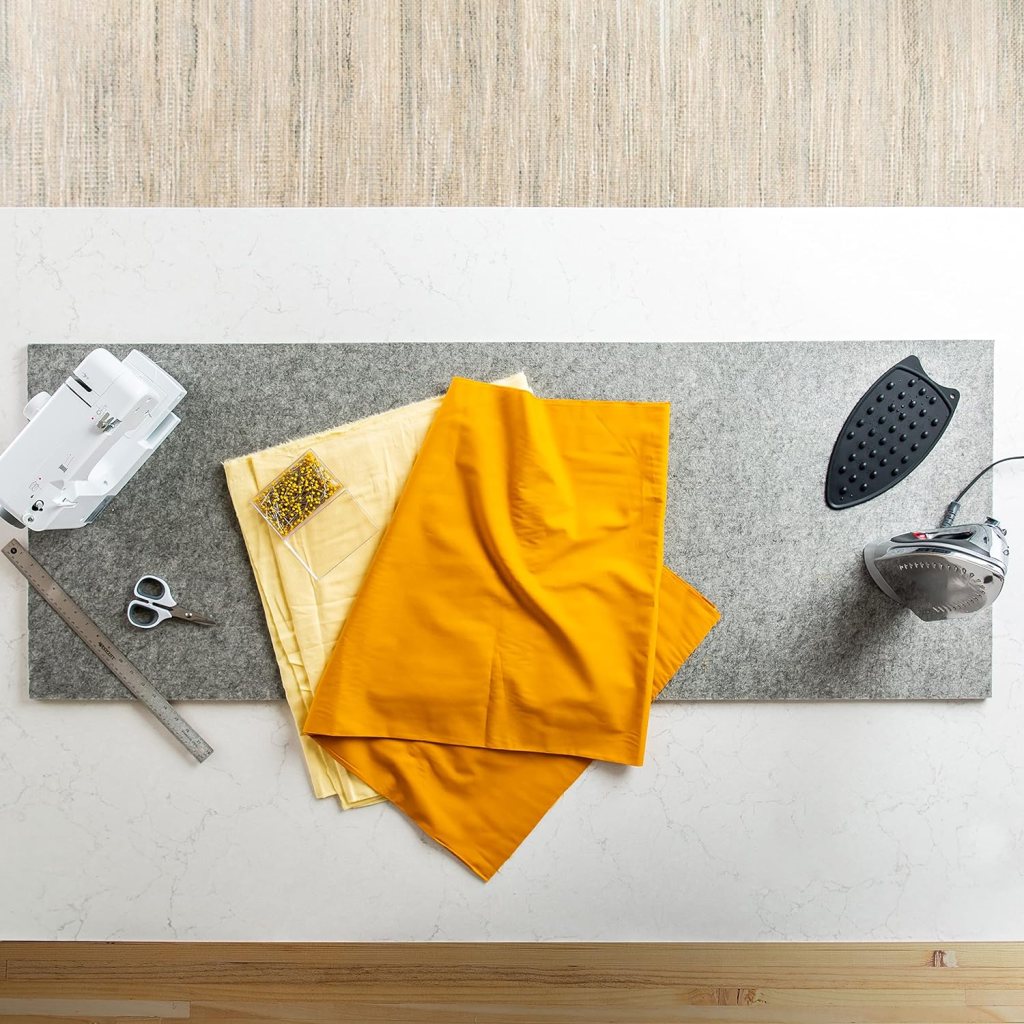


 Image From Amazon