I’m excited to continue on our Beginner Free Motion Quilting adventure! Put your seat belt on and get ready to ride!
I hope you had a chance to read last week’s post, which was a lot of information about things to know before you start. You can find Lesson 1 HERE.
Please note that I’m adding the FMQ series to the right side of the screen under the Blog Topic section so that it’s easy to find each lesson as they get posted.
Lesson 2 – Let’s Doodle!
All right! In Lesson 2, we’re going to DOODLE! Yep, that’s right! DOODLE!
Whenever I taught a Beginner FMQ class, I started out with doodling on a dry erase board. I actually bought a class set of boards which came with felt erasers and even markers, which was super for a class with 4-12 students.
Any kind of dry erase board works – you don’t have to buy a special classroom set (unless you plan to teach FMQ – LOL!). You can even find dry erase boards and dry erase markers at your local Dollar Tree store. So if you don’t already have one, they are easy to find and relatively inexpensive to purchase.
Just make sure you are using real dry erase markers (not sharpies!) on your board or else you won’t be able to erase it and use it over and over.
You might wonder why I’m starting off with doodling and not just jumping right into FMQ on the sewing machine.
Doodling gives you the opportunity to develop eye hand coordination and to build muscle memory. Believe it or not, but doodling really does help when you are starting out with FMQ. If you’ve practiced the movements on your board, they will come easier and more quickly when you are working with your sewing machine.
Besides, doodling is fun and relaxing. You can do it while watching TV, during the commercials, listening to your favorite audiobook, or even while waiting at the doctor’s office! AND you have the ability to erase your doodling whenever you want to. Yay!
Zigzags
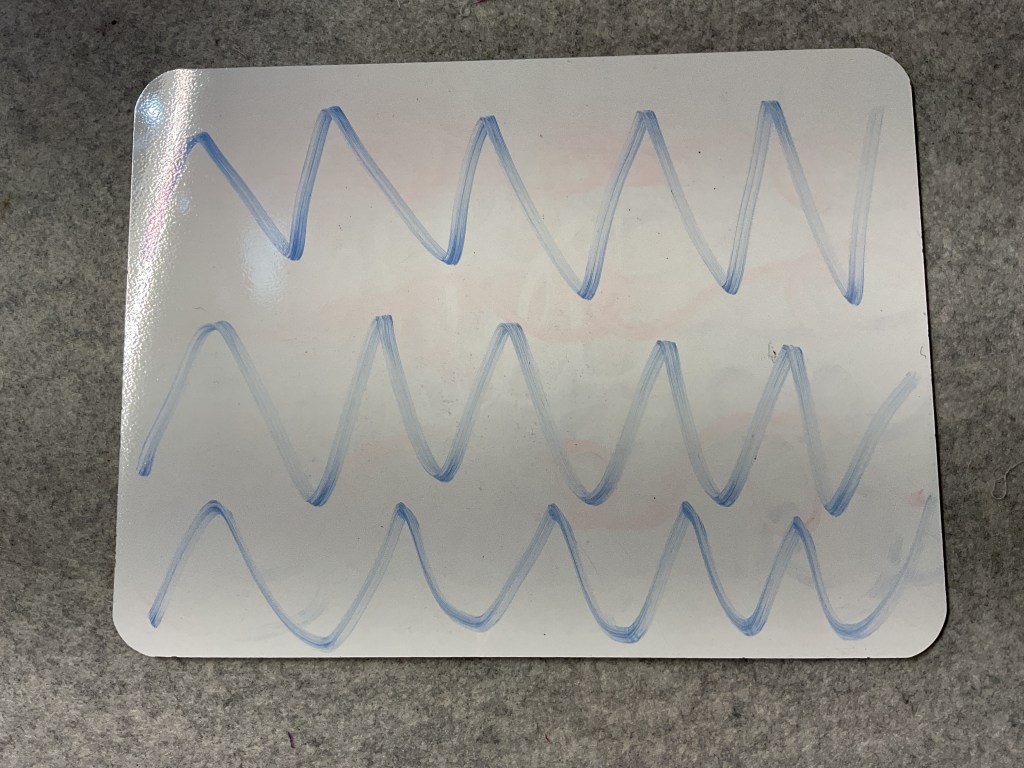
Let’s start out with some fun zigzags. Zigzags will help us to feel comfortable moving across the board and going up and down at the same time. Like hills and valleys. V’s and W’s. Give it a try. Make sure to connect each shape/letter with the next one.
Curves and Waves
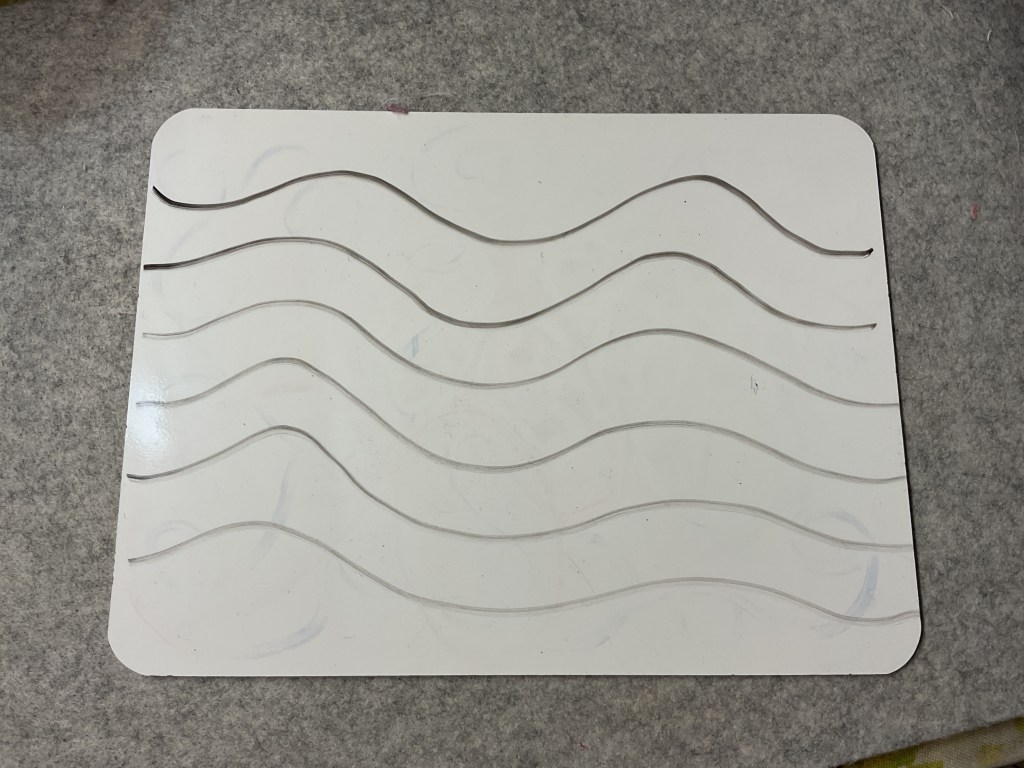
Let’s practice some gentle curves and waves on our boards just to get a feeling for the smooth movement. Don’t overthink this, just relax and glide across the board. If desired, you can even practice these motions in the air with your hands and arms. I’ve always been a big proponent of “air writing.”
ABC’s
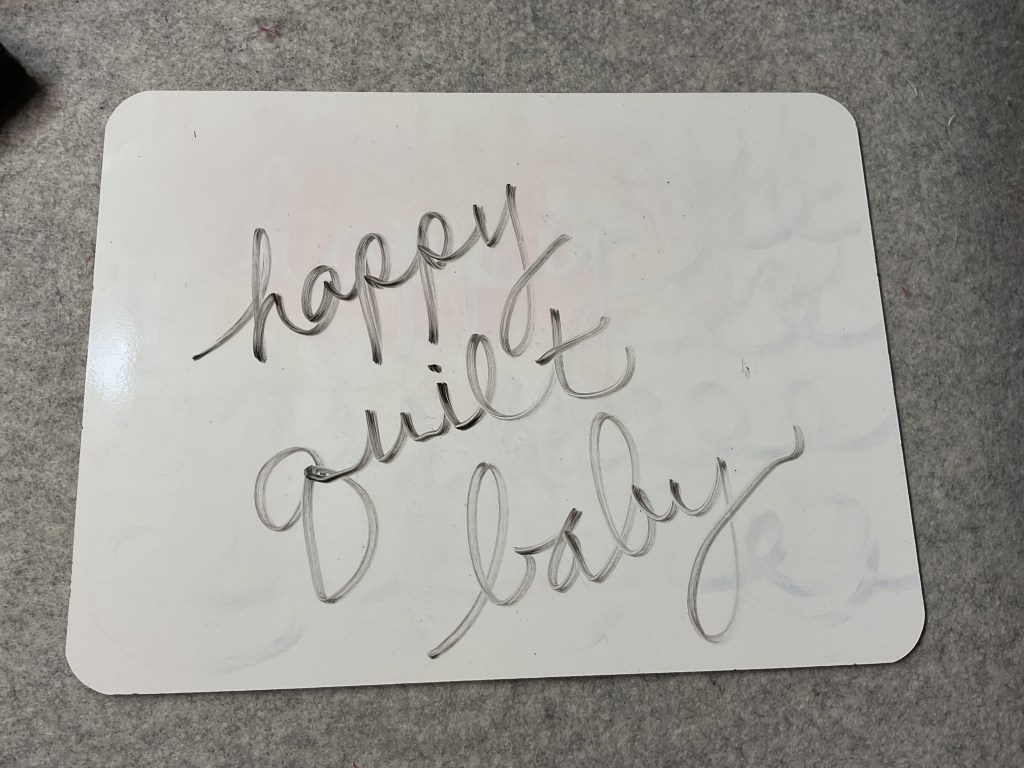
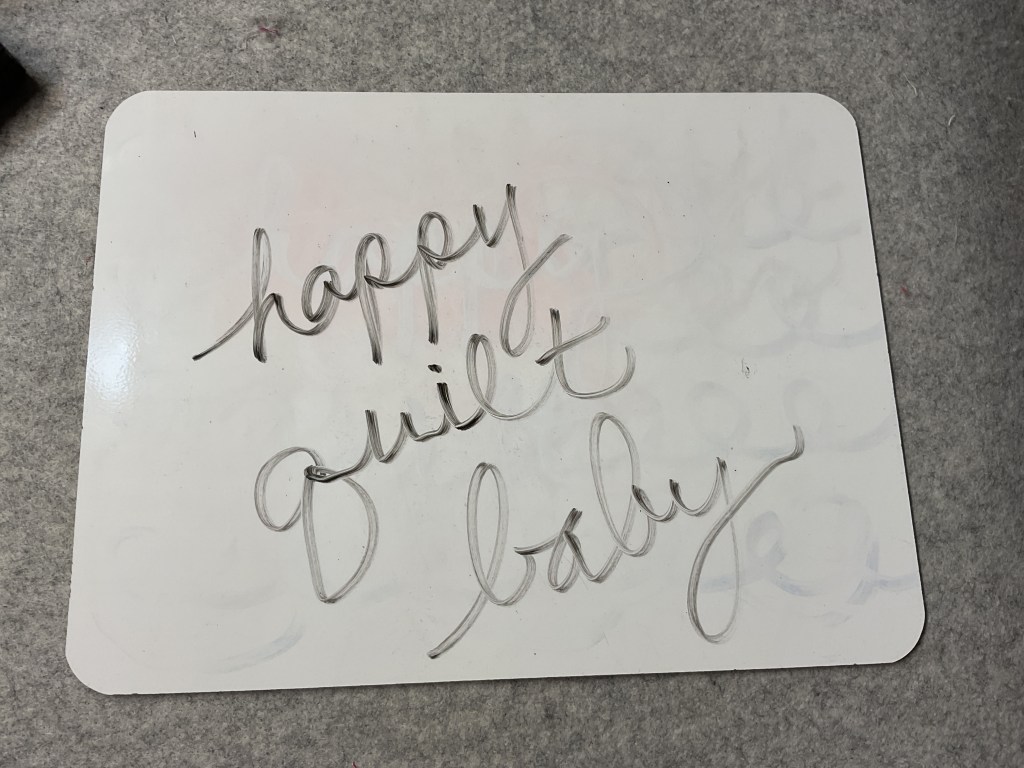
Now let’s try some cursive writing! Believe it or not, but lowercase cursive letters are great practice for FMQ! Seriously! Make sure you are connecting the letters together. I find that the faster I write the alphabet in cursive, the better it looks. Don’t think about the shape of each letter – you already know it – just write it.
Go ahead and write your name in all lowercase cursive letters. You know you want to! Try some other words, too. Just remember to connect the letters together. Feel free to have some fun like I did with my name when I dotted my i’s and crossed my t.
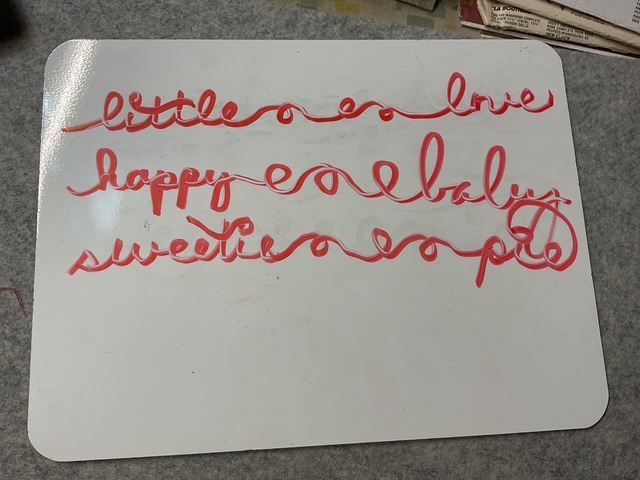
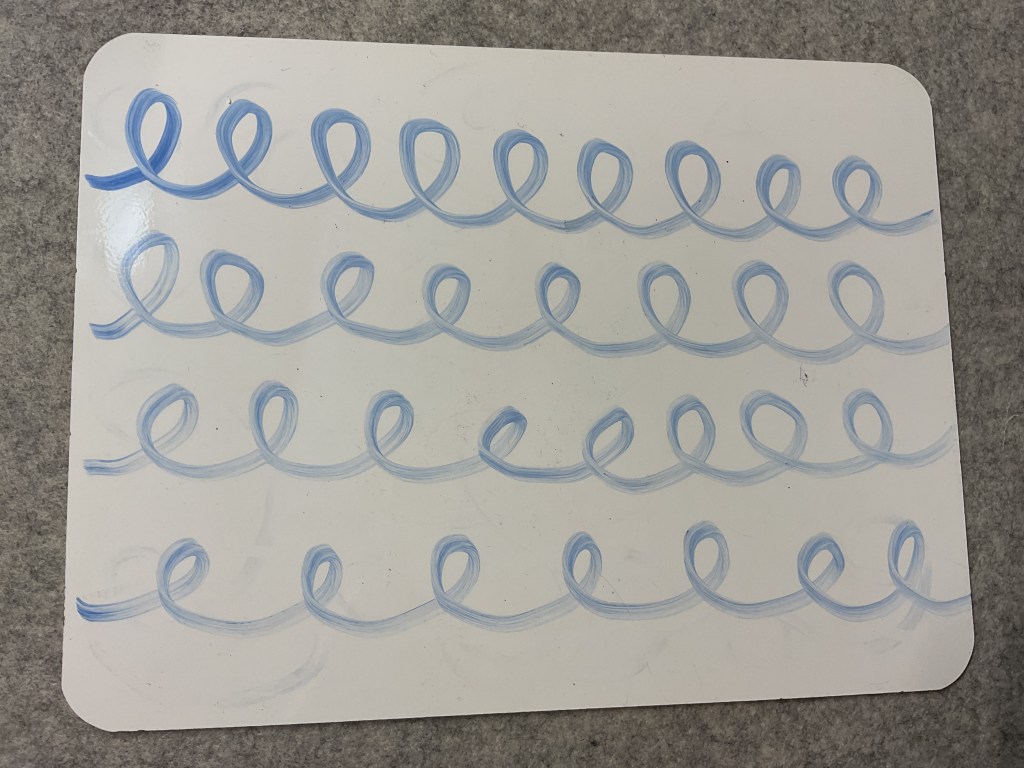
Okay, now we’re going to focus on the cursive lowercase “E” (e) and the lowercase “L” (l). Just keep connecting them together.
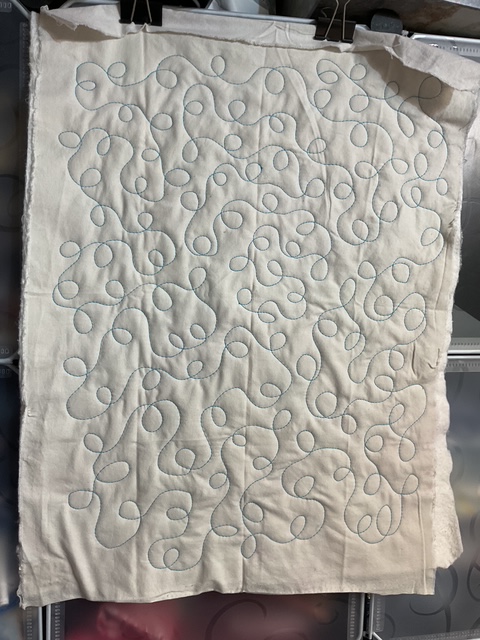
After you are comfortable making e’s and l’s, I want you to try alternating the loops. This may be challenging for some of you, but keep doodling until you feel more comfortable with this. Doodle, doodle, doodle.
We definitely want to alternate the loops, or else we’ll get something like this. Yikes! The idea is to move across the board and fill in the white space, not to make clouds and weird flowers.
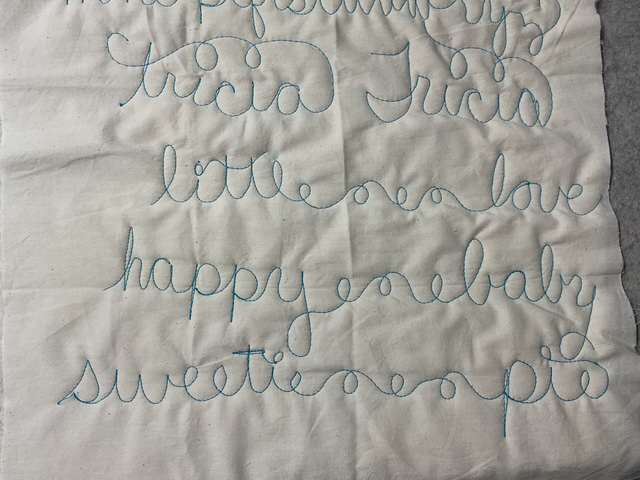
Once you’ve got alternating the loops reasonably down, we’re ready to add more movement to this design. This time we’re going to move our loops up, down, and across the board while alternating the loops (yep, all at the same time!) so we can fill up the white space.
Try not to overthink things here. Don’t stress yourself out if things aren’t perfect – we’re not going for perfection here. I find the faster I go, the better it looks. Remember, you can keep erasing it and trying again.
Loops!
Wohoo! Pat yourself on the back! You are making loops!
Loops are one of my favorite and best go-to designs. AND it’s the design I start out with when I teach FMQ! Go you!
I’ve found Loops to be more beginner friendly for most people. Being able to cross over your lines gives you a little more feeling of control. I have found, though, that perhaps 1 in 10 quilters have a hard time mastering loops – mainly the alternating of them – so those folks I encourage to move on to stippling/meandering.
Have you ever taken a beginner FMQ class where the teacher starts you out with stippling/meandering? I bet there are a lot of you who felt really frustrated because you couldn’t master the design and may have even quit trying to master FMQ after that class.
Well, I’m here to tell you that –
YES, YOU CAN MASTER FMQ!
So “let’s start at the very beginning, a very good place to start” (kudos if you can name the movie, the song, and the actress for this quote).
And the very beginning is making loops!
I hope you’ll spend a little time doodling this week because next week for Lesson 3, we are going to start working with our machines and our Loopy design. I’d love to see your doodles in the comments or on our VRD Facebook page.
I’ve been itching to do a new series on the blog and decided that I really wanted to do one about Free Motion Quilting, or FMQ for short. I taught beginner FMQ at my local quilt shops for many years, but it’s been awhile since I’ve taught a class that I also thought it would be fun to revisit my FMQ techniques and share them with you.
This series will be aimed at beginning Free Motion Quilters, but more experienced quilters are of course welcome. LOL! I thought I’d start off with an intro post about getting ready to quilt.
Is there anything specific you would like me to address in this Beginner FMQ series? I’ll try to include it.
Let’s get started!
What the Heck is Free Motion Quilting (FMQ)?
Before we can go much further, I’d like to take a minute and talk about what FMQ really is.
A lot of quilters I know use a walking foot and quilt straight lines on their quilts with their feed dogs up. This is great and gets the job done, but this in NOT FMQ.
Ruler work is starting to take hold in my area now, but this isn’t exactly FMQ either, but it has many similarities.
Free Motion Quilting is exactly as the name implies — it is free motion quilting. This means that you, the quilter, are moving the quilt sandwich. Yes, you can FMQ on a long arm quilting machine, but for this series I am going to work from the domestic machine perspective as that is how I roll.
The feed dogs are down (or covered) when you are Free Motion Quilting and you, the quilter, are making things move which then creates whatever design you are quilting. The machine’s job is simply to provide the juice so the needle will go up and down.
Don’t believe me? Watch this quick video:
The needle goes up and down really fast. And that’s it!
If you still don’t believe me, try it yourself. Disengage your feed dogs, attach a FM foot (darning foot) and push your foot pedal to the metal. No hands!
See??? All the needle does is go up and down really fast until you make a thread knot on the back and your thread eventually breaks. That’s it.
YOU are what creates the actual quilting design in FMQ. YOU are in control.
One more thing about true FMQ — we don’t really mark our quilts or try to quilt on a drawn line. True Free Motion Quilting is free.
When I was a beginning quilter, I tried hand-quilting and my stitches were terribly huge. So then I tried machine quilting in the ditch and couldn’t quilt a straight line to save my life. Then I finally discovered FMQ and found out I wasn’t a complete dunce and I really could machine quilt. Yay me!
The Fear of Free Motion Quilting
As a FMQ instructor for many years, I heard a lot of different ideas about FMQ from my students. One of the most repeated statements was a fear of how fast FMQ looks.
Please don’t be afraid of speed in FMQ. YOU are the one moving the quilt around on your domestic sewing machine. The machine itself just powers the needle to go up and down. If you’ve forgotten, watch the video, above, again to remind you.
The machine is not moving anything — YOU are moving the quilt sandwich so the speed at which you move the quilt is entirely up to you. The needle’s job is just to go up and down. What you do and what the needle does are 2 different things. You need to focus on moving the quilt sandwich at a comfortable speed for you, not trying to go as fast as the needle is going up and down. You will need to find the perfect balance for YOU.
Take a deep breath and repeat after me — “My job is to move the quilt. The needle’s job is to go up and down.” Repeat as many times as you need to in order to internalize and believe this statement.
Another fear I have frequently heard was that quilters were afraid of the needle itself. Just like when we are sewing a seam, we have to keep in mind where our fingers are in relation to the needle. So it is with FMQ. Keep your hands away from the needle by repositioning frequently. We’ll talk about this more later in the series.
No fear, okay? With a little practice, FMQ is a lot of fun and it’s very satisfying to machine quilt your own projects.
The Tools of FMQ
Like anything else, yep, there are tools that can make FMQ easier and more comfortable. Of course, the tools I am going to talk about below are the ones I personally use, and may not be what works for everyone. So please use what tools work best for you. If you’re not sure what works for you yet, try out some different ones to see what you like. If you were a student in my class, I would have all of the thing below so that you could try them out. I’ve even had students use my own sewing machine in class.
Sewing Machine
This is an absolute must for FMQ! LOL!
You don’t need a fancy shmancy machine, though, to successfully FMQ your quilts. What you do need is a reliable sewing machine on which you can drop your feed dogs. Dropping (or disengaging) the feed dogs is a lot better than simply covering the feed dogs. The cover can create a bump on your machine bed which may have a negative affect on your FMQ.
A heavier machine is a better choice than a lightweight one because the lighter the machine, the more it will bounce while you FMQ.
Just a heads up — my quilty pal, Mary Lee, found out the hard way that older Pfaff machines DO NOT like to do FMQ. It just about ruined her machine. She ended up buying a Janome.
Janomes are great machines for FMQ. I can say that personally because I’ve had 2 different Janomes. My current one is a Horizon MC8900 QCP. I’m not sure if they even make this model anymore, though, as it’s some years old now. What makes my big machine awesome at FMQ is that it has a large throat at 11″. I know that some domestic machines are being made today with even larger throats. Wowza!
If you are considering a new machine, head to your local machine retailer (which is also one of my local quilt shops for me). Talk to the people, tell them what you need and might want to do in the future with your machine. Make sure you test lots of different machines. Take your time selecting you new best quilting friend. I’ve bought machines online and I’ve bought machines at my local quilt shop. The best part of buying at your local shop is the customer service. You don’t get that online.
Get the biggest throat on your new machine you can afford. Make sure the feed dogs drop. Does it come with all the quilting feet or do you have to buy them separately? Remember, take your time and get the best machine that does what you want it to do at a price you can afford. You can always upgrade sometime down the road if your needs change.
Needles
I found out a long time ago that quilting needles worked better than universal needles for, well, quilting. There is pretty much a needle for any type of sewing you want to do — embroidery, jeans, etc. So why shouldn’t we be using quilting needles for quilting?
Here are the needles I’ve used and been happy with:
Klasse and Schmetz needles are very good and easy to find at your local shop or online. But these days, I primarily use Janome Purple Tip needles for piecing and quilting on my Janome machine. My machine likes these needles best and as I like to keep my sewing machine happy, I use Purple Tip needles.
You might want to check with your sewing machine manufactureror your local retailer to find out what needles they recommend for free motion quilting on your particular sewing machine.
Sewing Machine Foot
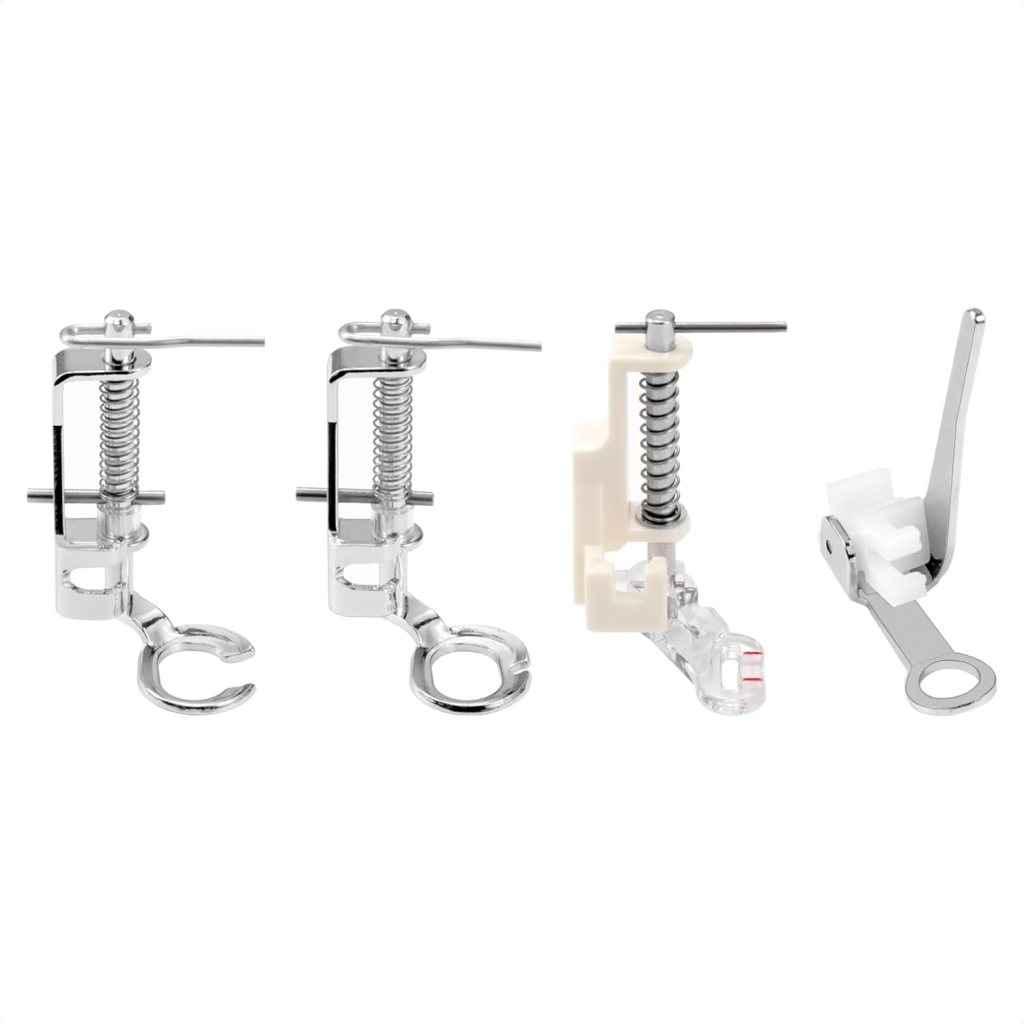
In order to do FMQ, you will need a darning foot, which is also called a FMQ foot or a hopping foot.
Please make sure to check your sewing machine manual to find out what type of shank your machine has. These days most are low shank, but there are also high shank and slant shank.
If you are fortunate, your sewing machine might have come with a set of quilter’s feet which usually includes a 1/4″ foot for piecing, a walking foot for straight line quilting, and a darning foot for FMQ. If your machine didn’t come with a darning foot, you will need to purchase one. Please make sure to check your sewing machine manual to find out what type of shank your machine has. These days most are low shank, but there are also high shank and slant shank machines. A good place to start is your machine retailer who will hopefully have the foot you need to fit your sewing machine. If you cannot find one that matches your machine, there are different generic feet available out there.
Here are some darning foot examples.
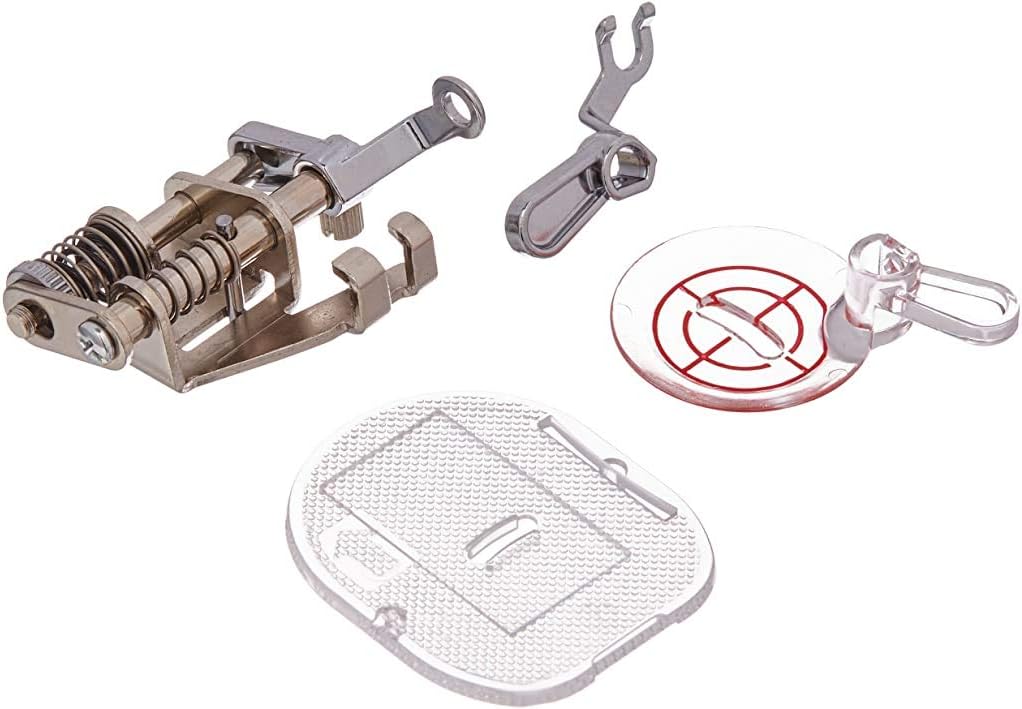
When it comes to the darning foot I use on my machine, I have a convertible foot that came with my machine, but can be bought separately.
You might wonder why I like this FMQ foot system the best. First, it work great with my machine. Second, I prefer an open toe for my FMQ foot and this set has one. And third, it doesn;t hop up and down — it’s stationary, so FMQ is smoother, which improves my quilting.
Extension Table
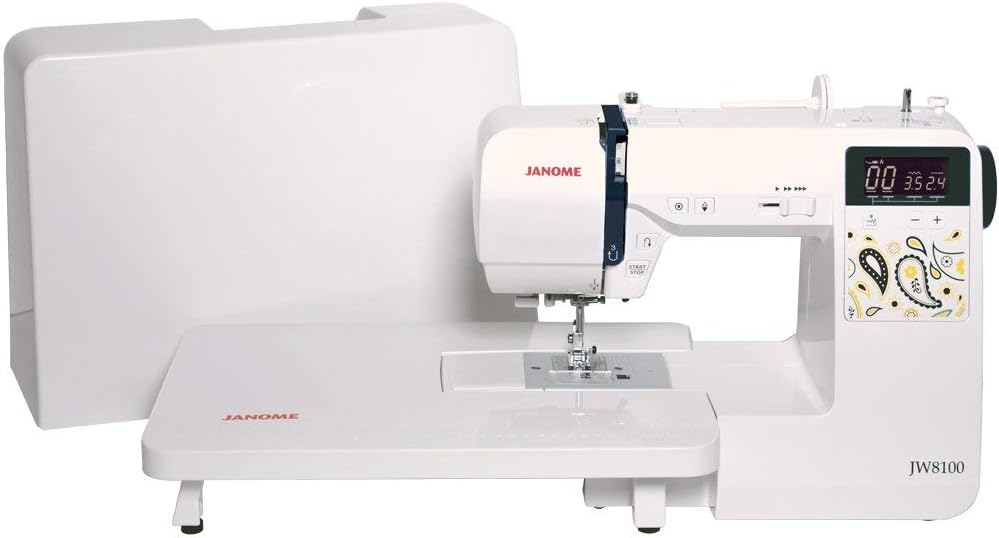
Does your sewing machine have an extension table? My Janome does as do my 2 smaller Brother machines. An extension table is a great thing when you are doing FMQ because it gives your hands somewhere to rest while you work. Most sewing machine beds are pretty small which doesn’t give you much room to work. An extension table is like a super secret FMQ weapon!
If you are lucky, your sewing machine came with an extension table built exclusively for your machine model. If you don’t have one, check with your local machine retailer to see if there is one that fits your machine. Of course, there are generic extension tables too, but I personally feel that they don’t fit your machine as well as one specifically built for that model.
An example of a sewing machine with an extension table.
Gloves
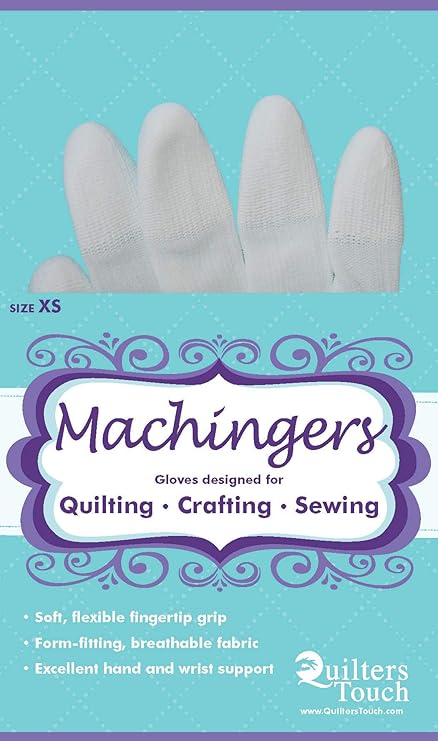
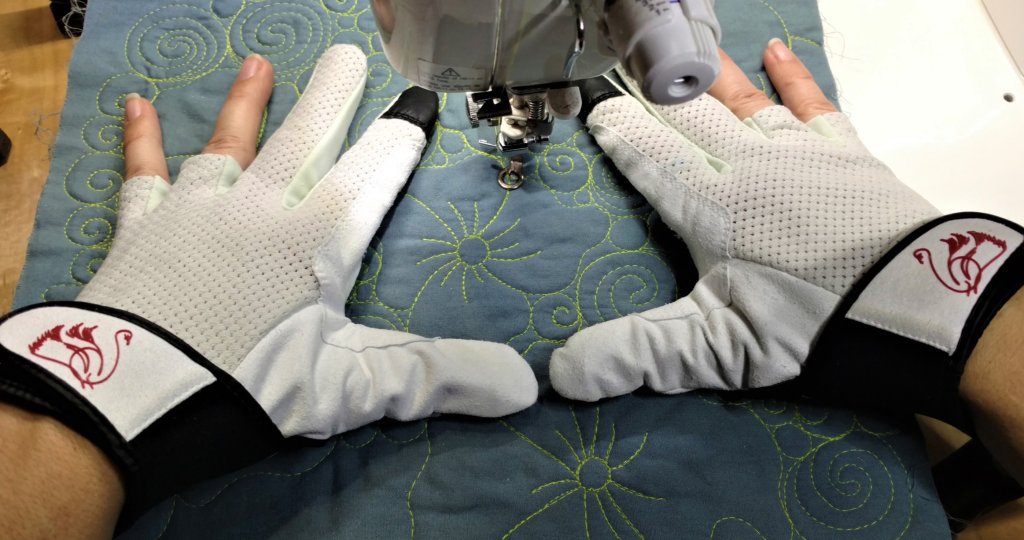
When I first began FMQ, I didn’t even know there were gloves out there for FMQ. I saw my first pair of gloves in a lovely urban quilt shop called Quiltology in Chicago (the shop is now closed and morphed into a personal design studio) when I was at a teaching conference years and years ago (I slipped away for a few hours one afternoon and took a cab to the shop). The first pair of gloves I ever used were called Machingers.
Wow! What a difference in my FMQ when I started using gloves. I had much better control over the quilt sandwich and I had better gripping power. The only problem I experienced with Machingers was that the elastic wrists stretched out after a while and the gloves were kind of loose.
Eventually I stumbled onto Grabaroos. They fit more snugly than the Machingers and were nice and cool, even when I was FMQ in the middle of a hot summer day in my un-air conditioned studio, but the fingers were a bit too long for me. But they worked great and I kept improving my machine quilting. Alas, the wrist elastic also stretched out and I went through several pairs a year.
Then some years ago, I went to a Quilt Market Schoolhouse lecture and found the perfect machine quilting gloves for me! Swan Amity gloves. Yep, I’ve talked about these gloves before. I love that they are leather and they have an adjustable wrist strap so they fit perfectly every time. And they last a long time! My first pair lasted for years and I’d still be using them right now except I bought another pair a a couple years ago.
Do you have to have gloves for FMQ? No, not really. BUT, like a sewing machine extension table, quilting gloves are a secret weapon in your FMQ arsenal.
Supreme Slider
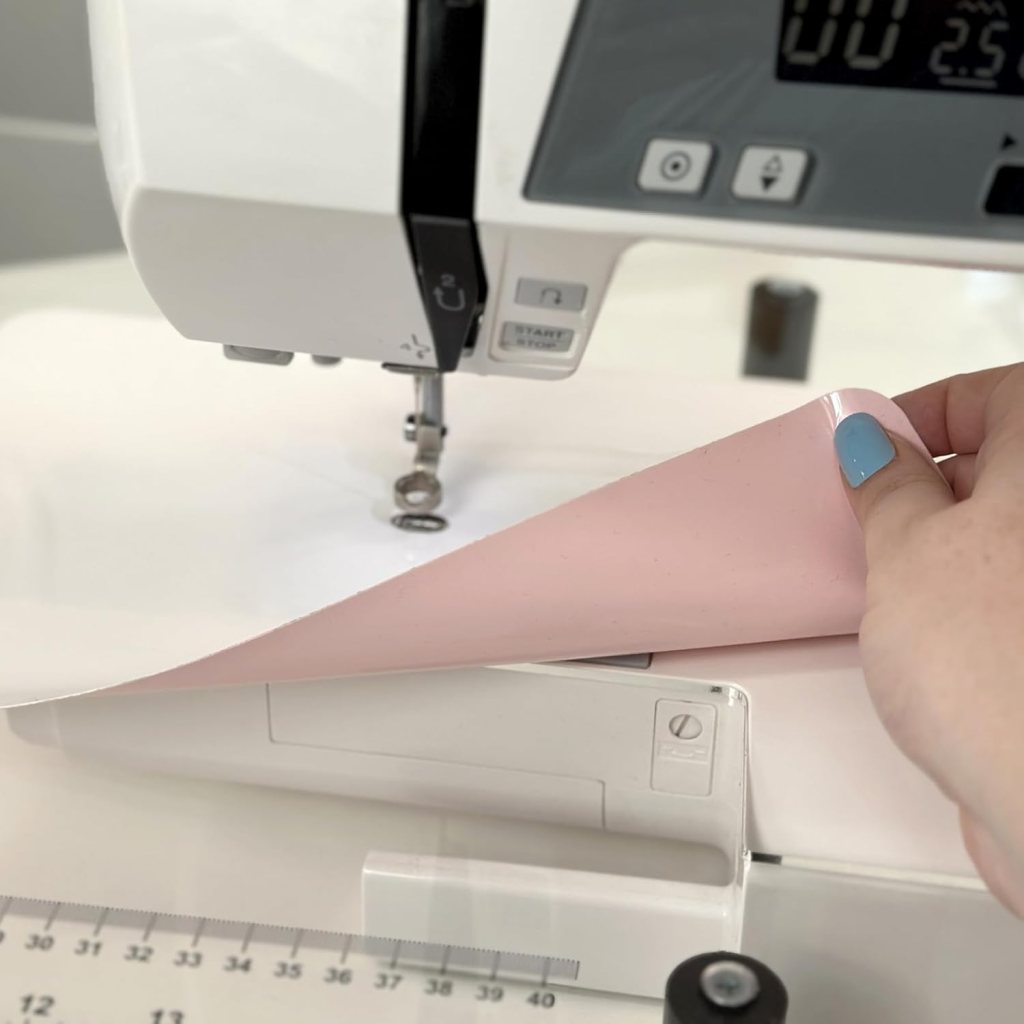
As I’ve become a more experienced free motion quilter, I rarely use my Supreme Slider anymore. But it is a good tool to have around so that when your quilt sandwich just won’t slide nicely on your sewing machine bed, you can take a quick break and slap on your Supreme Slider. Voila! Your quilt sandwich now slides around for lovely consistent smooth stitching.
A Supreme Slider is a super slippery Teflon sheet that sticks to your sewing machine bed. It has a tacky back that is reusable — you just need to dampen it and pat it dry so it sticks again.
Just a note — do make sure your Supreme Slider is tacky and sticks to your machine bed. If it isn’t sticking, you will sew the thing to the back of your quilt. Been there, done that. Learn from my mistake.
A Supreme Slider is a very thin slippery sheet that sticks to your sewing machine bed.
A Supreme Slider really does improve your FMQ by reducing friction between your quilt sandwich and the sewing machine bed.
Sewer’s Aid
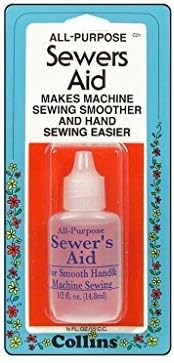
I’m sure I’ve talked about Sewer’s Aid before. It is another one of those FMQ tools that are great to have around when you need them, although you might not use it very often. There are times that I get so frustrated with my FMQ — those days when no matter what I do, my thread keeps breaking. UGH! So, what do I do??? I drop beads of Sewer’s Aid all over my spool of thread, re-thread my machine, take the bobbin out and put it back in, and then I get back to the business of FMQ.
I call this stuff liquid magic!
Sewer’s Aid is a polymer liquid you drop onto your spool of thread which then helps your thread to pass smoothly through the machine without breaking. Yup, it reduces friction for the thread just like the Supreme Slider does for your quilt sandwich.
Do you have to have all of these things to get started with Free Motion Quilting? Of course not, but I am a proponent for using tools to make sure I achieve the positive results I want. The tools, above, help you to be more successful with FMQ. Of course, there are lots of other FMQ tools out there. What are your favorites?
Thread
Have you looked at thread lately? There is so much to choose from these days. When I first started FMQ, “machine quilting” were bad words in the quilt community so we free motion quilters used invisible thread because it supposedly looked more like hand quilting (naw, it didn’t look anything like hand quilting). Eventually, FMQ became its own art form with its own super stars. Now your choices of thread are literally mind-boggling.
I guess you could call me old school because I prefer 100% long staple cotton thread for piecing and FMQ. Over the years, I’ve tried other types of threads, but I always come back to my cotton thread. I like how it quilts, how it looks, and my machines have always liked cotton thread the best.
So, what kind of thread should you use? These days, pretty much anything goes. My suggestion is to try out different types of threads and see what you — and your machine — like the best.
I do caution you, however, about using old spools of thread. Thread can weaken over time, so as economical and green as it sounds to use old spools of thread, I recommend that you steer clear of them. You don’t want you quilt to fall apart someday down the road.
Books, Websites, and More
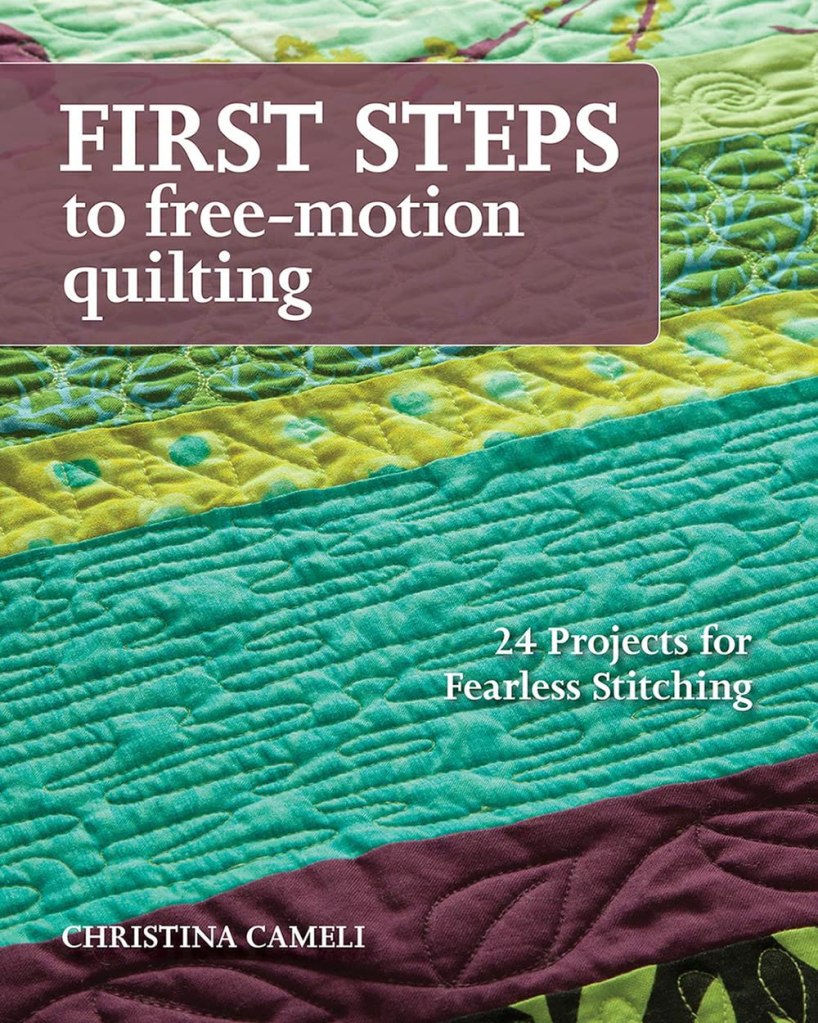
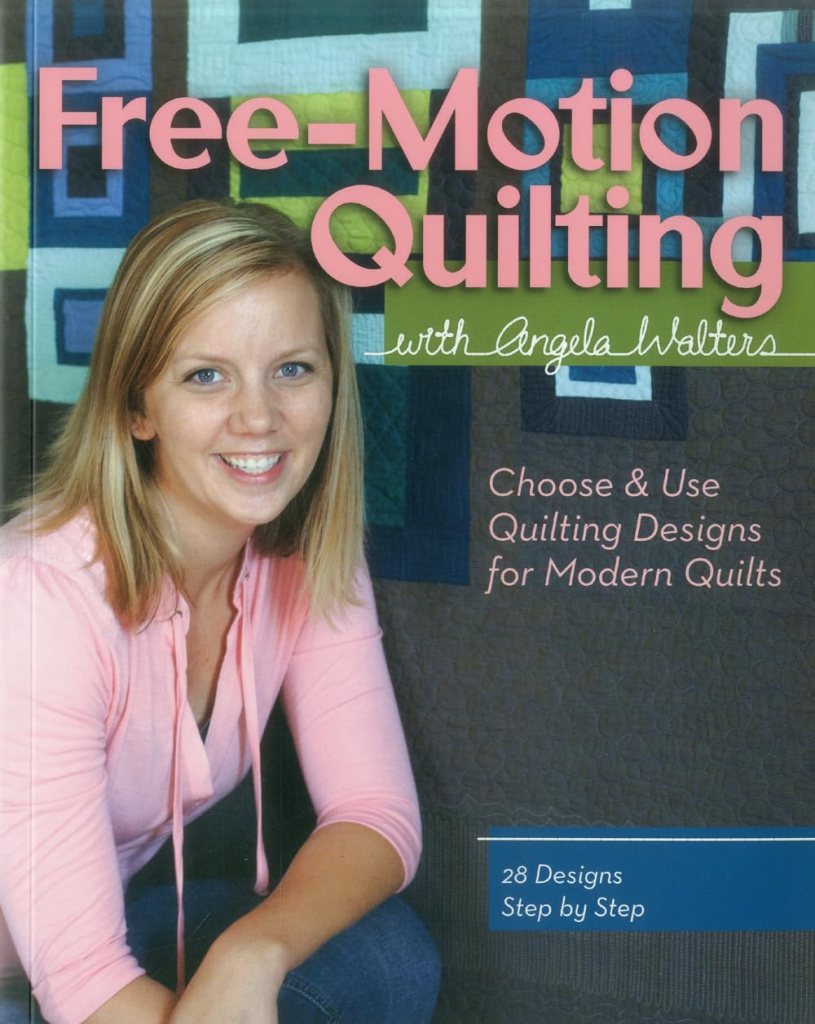
As a former teacher and librarian, of course I have a list of helpful books for FMQ. Tehehe….
How Do I Quilt It? Christa also has quite a few books out there on machine quilting.
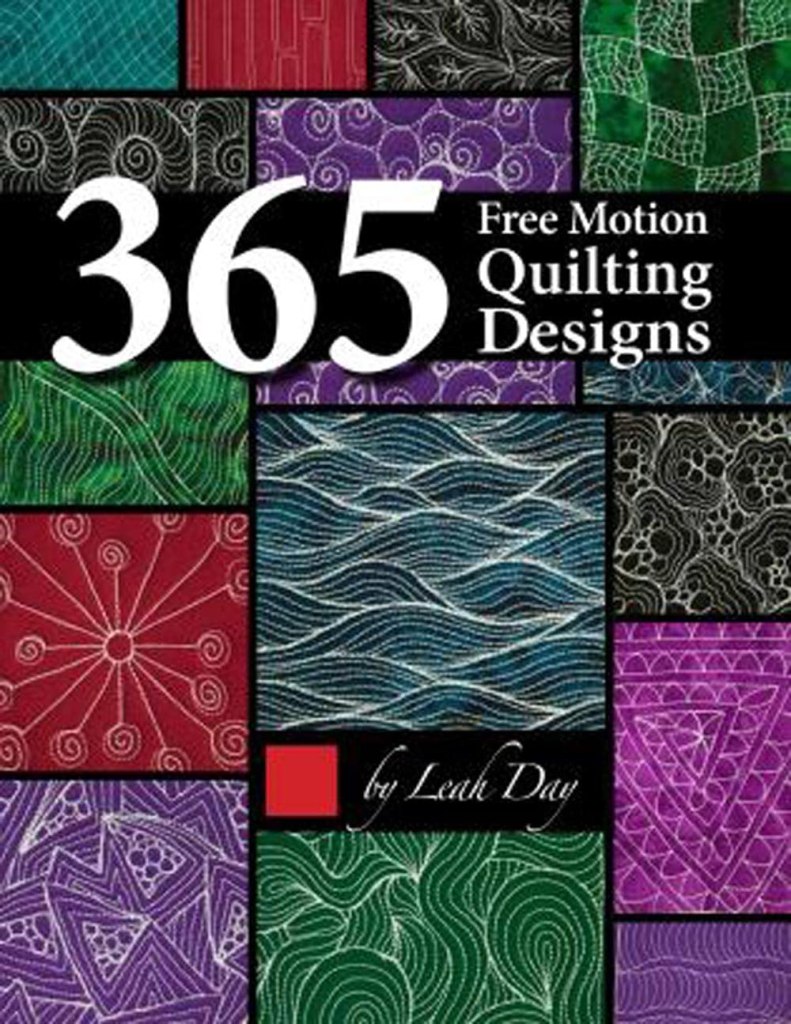
Leah Day was probably the first Free Motion Quilter I ever actually saw in action on the Internet.
365 Free Motion Quilting Designs This book is out of print now so if you see it, snap it up. Years ago Leah Day challenged herself to do a new FMQ design every day for a year. On her website she has 100 of the designs as free tutorials.
These days, you can find tons of beginner FMQ videos, blogs, and how-tos online. Just make sure they are giving you quality information. There are many different sewing and crafting academies online, too, where you can take video classes. You might want to check them out.
Well, I think that’s enough introductory information today. Join me next week for more FMQ!
It’s been a long time since I jumped on here for a tutorial, but I finally got this one put together just for you!
I was looking at some panels in the shop recently (to see my tour of the VRD shop, go HERE) to sew up into a quilt. I was SEW inspired by the National Parks panels and I LOVE that there are a couple of different choices. Have you seen these yet???
UtahCalifornia
You can find the Utah panel HERE and the California panel HERE.
We also have some awesome Rose Card patterns to showcase these great panels!
Both are fun and amazing patterns — of course, I might be a little biased, since one is my sister’s pattern and the other one is mine. LOL! 😁
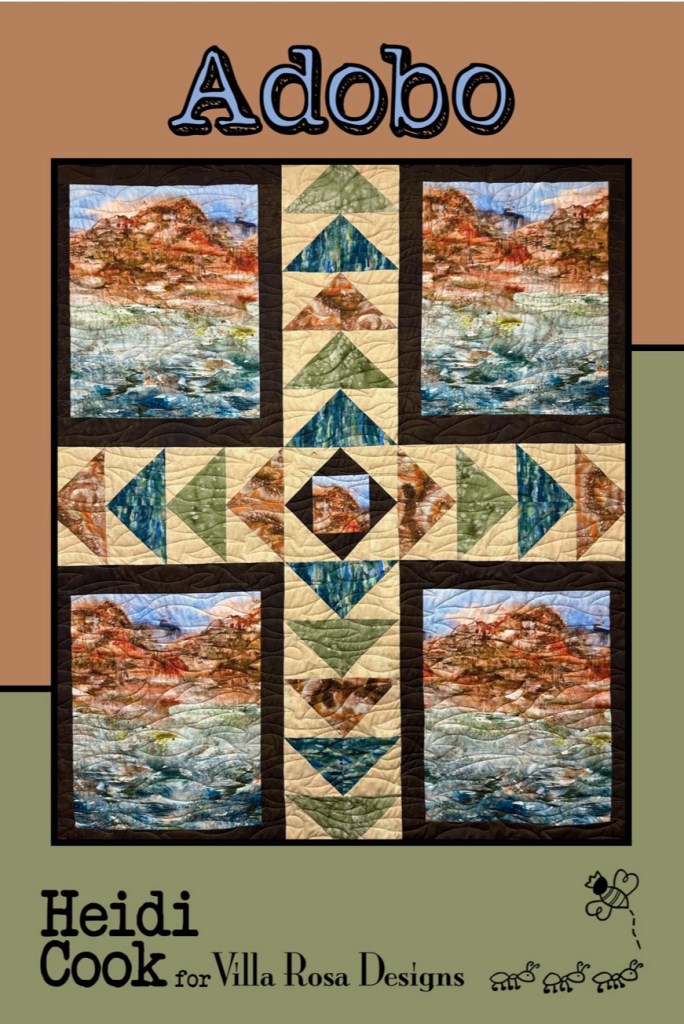
If you don’t already have these great patterns in your stash, you can find digital Picture Perfect HERE, digital Adobo HERE, print Picture Perfect HERE, and print Adobo HERE.
For today’s tutorial, though, I’m going to do Heidi’s pattern Adobo because I really want to use the Riley Blake Utah panel.
VRD Adobo Quilt Pattern Tutorial
GUESS WHAT????
You can sew along with me! We made up kits for today’s tutorial. Go grab your Utah Adobo kit HERE and we can sew together! How cool is that?
Your Adobo kit will include all the fabric for the top and binding as well as the pattern.
I wanted to make this Adobo quilt in all Riley Blake Designs (RBD) so I found some RBD fabrics that pulled out the colors from the panel — Poparazzi sand for the background, Poparazzi brown for the sashing, with Dapple orange, Blossom brown, and Blossom green for the Flying Geese.
Let’s get started!
Cut the squares from the background and the coordinates. Pair up each coordinate square to a background square.
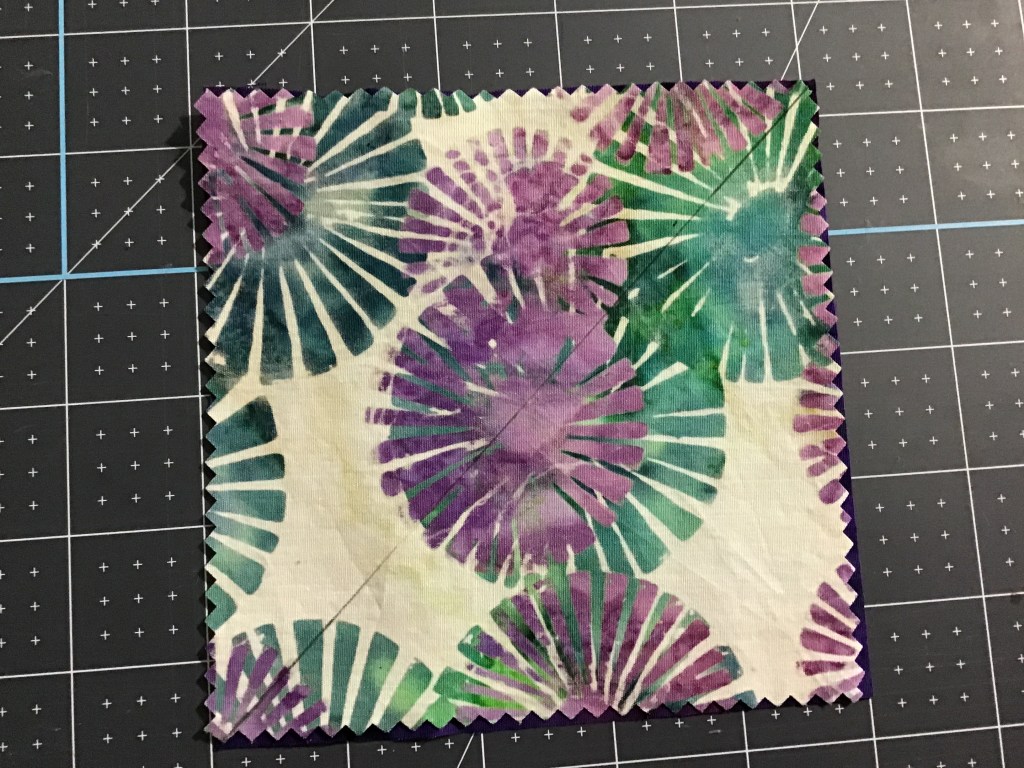
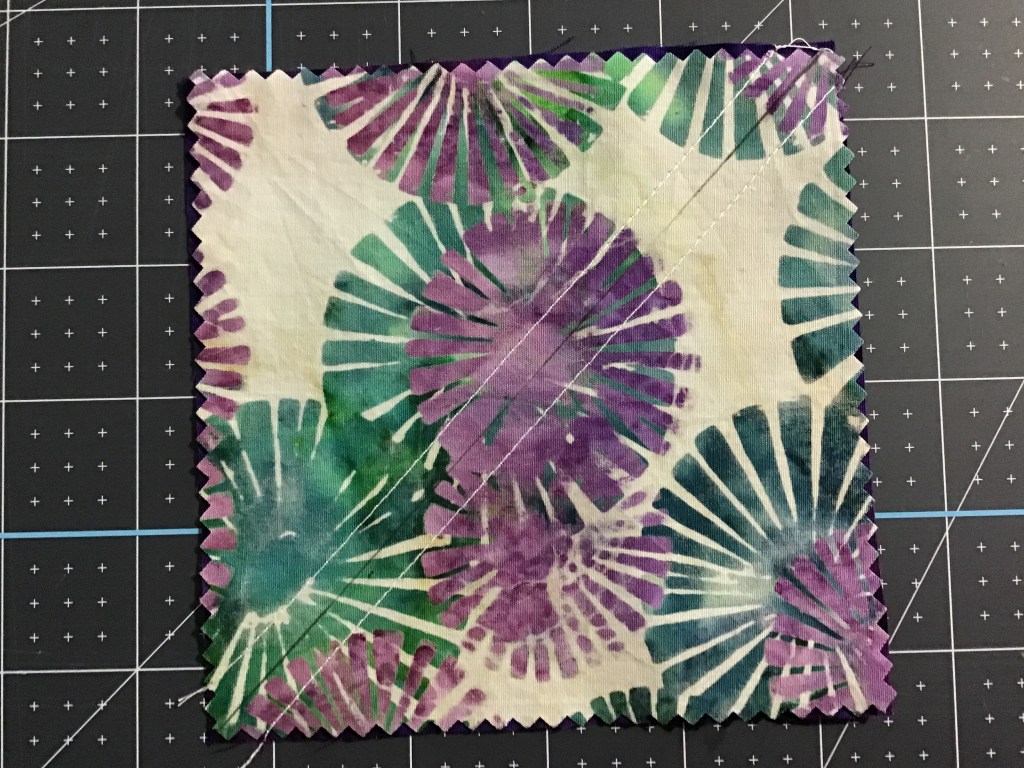
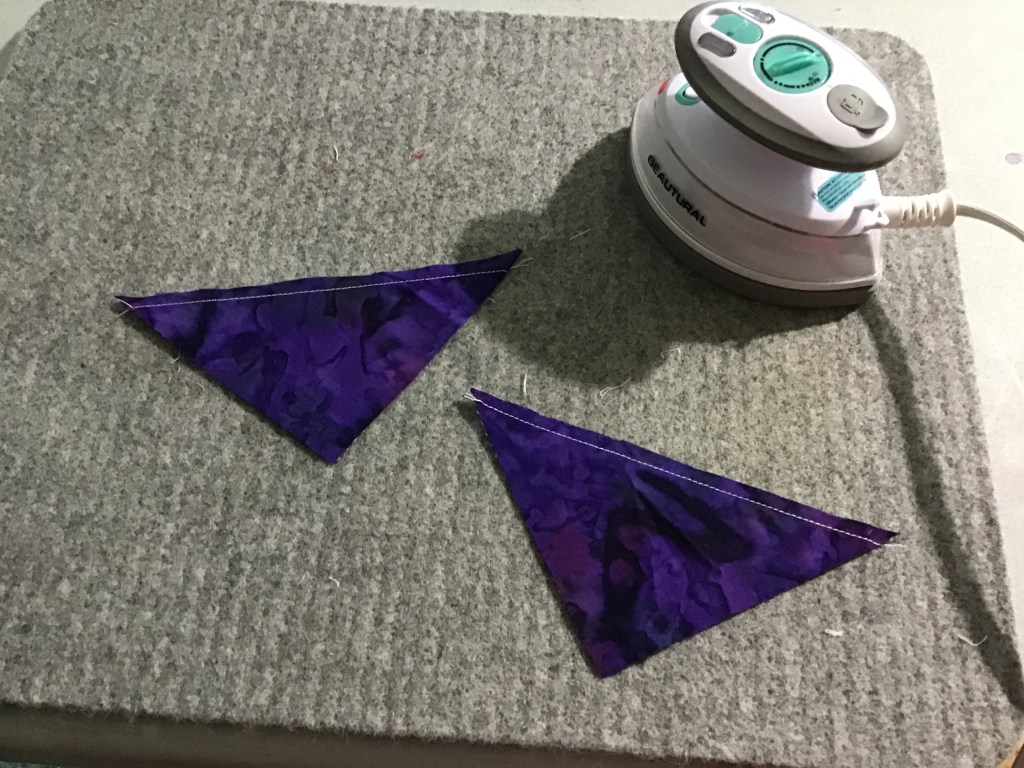
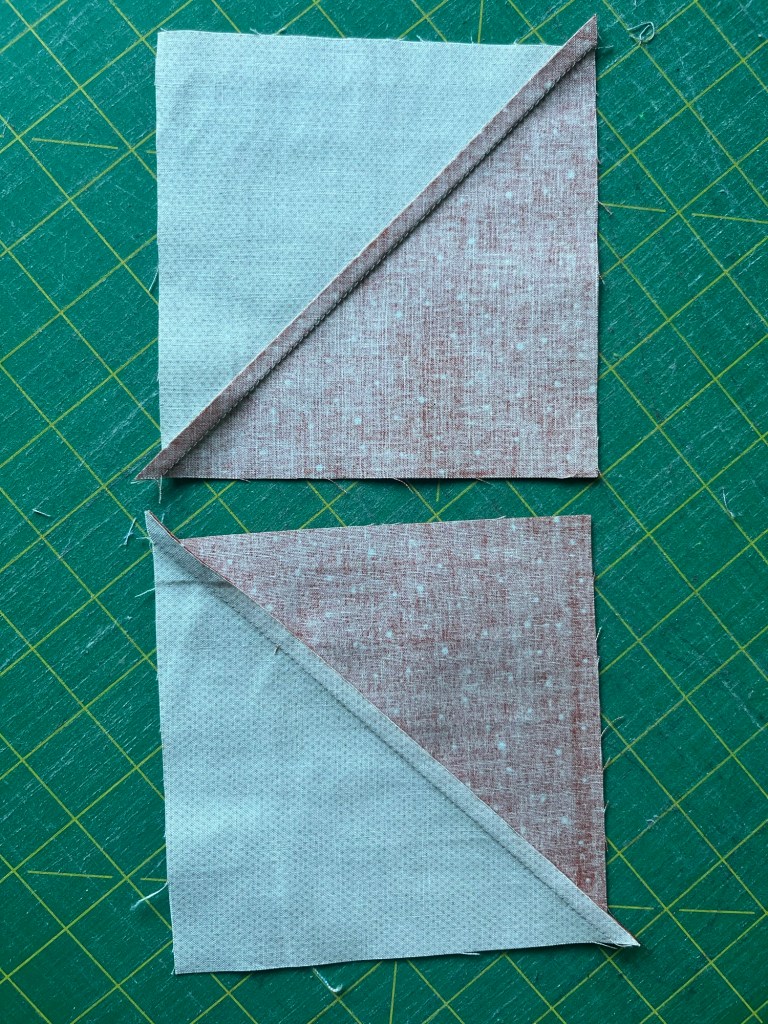
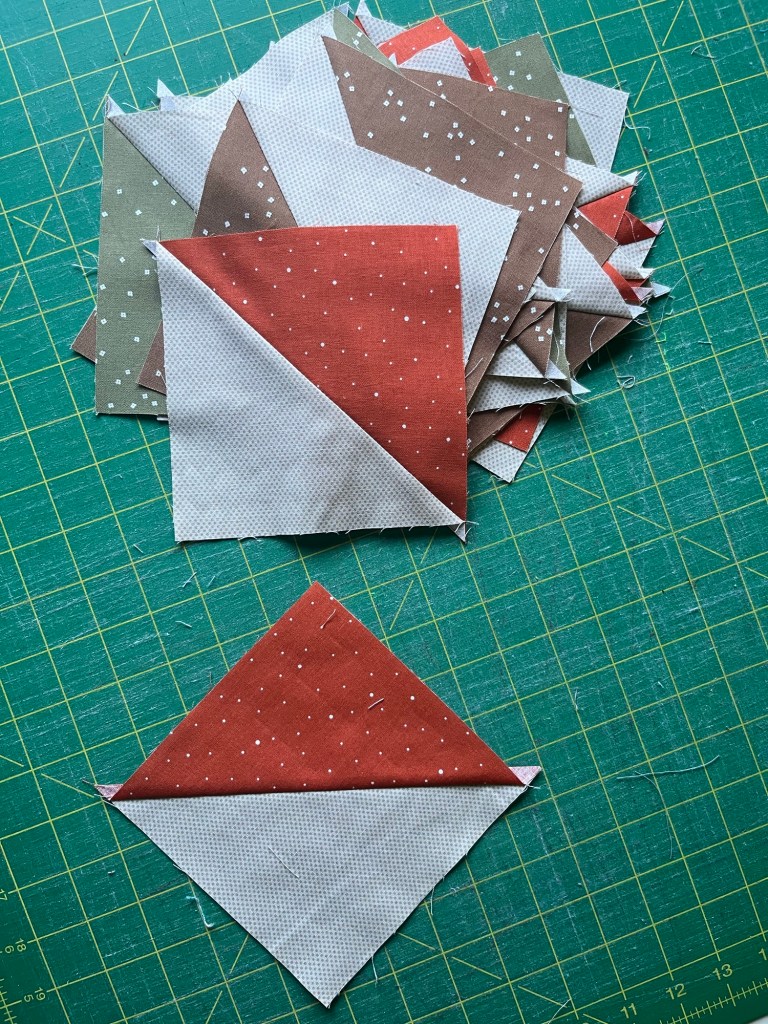
Make Half Square Triangles (HSTs) by drawing a diagonal line then sewing 1/4” on either side. Cut apart and press open. Don’t forgot to square up your HSTs if needed.
Tip from Heidi (who’s keeping an eye on me as I work on this tutorial) – Press half the seams of each color HST to the background and the other half to the color.
Now sew 2 matching HSTs together to make a Flying Geese Block A. If you pressed half of the HSTs to the colored fabric and the other half to the background, use one of each to make a Flying Geese Block A. Like magic, the seams will lock together! Great tip, Heidi!
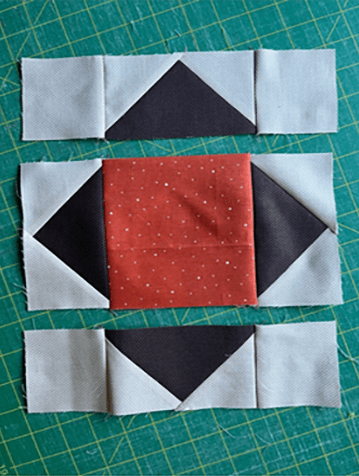
Next we need to create a Flying Geese block for the sashing center. We’re going to use a slightly different technique for this one.
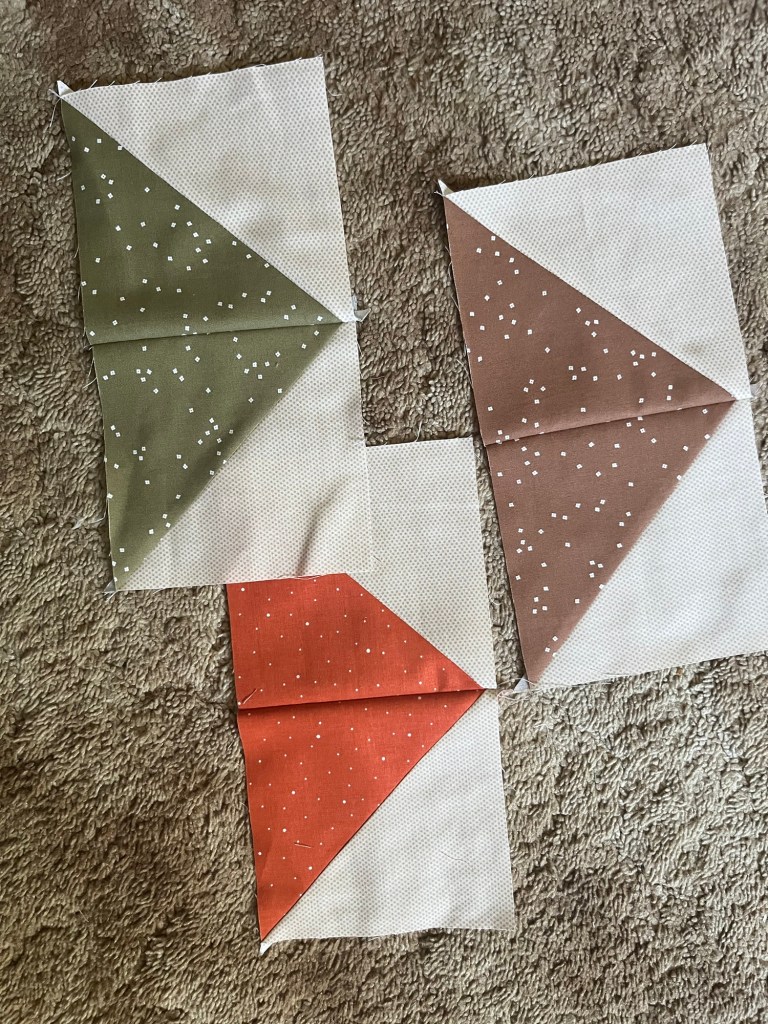
Layer a background square right sides together (RST) on the side of a rectangle sashing fabric. Draw a diagonal line from the bottom outside corner to the opposite top corner. Sew on the drawn line and cut 1/4″ away from the line. Repeat for the other side. Make 4 Flying Geese units.
Next sew background squares to the ends of 2 Flying Geese units.
Sew the 2 Flying Geese units to the sides of an orange square. Then sew the Flying Geese units with the background squares on the ends to the top and bottom. Make 1 Block B.
Molly’s Tip – If using your main print for the center square, cut it from the yardage after you cut your main print/panel C pieces.
Instead of using a main print, though, I’m using the Utah panels so we just need to cut them apart (make sure they are the right measurements – trim if needed).
If using a main fabric, cut the C pieces to the size listed on the pattern.
Next, cut the sashing and add them to sides first, then to the top and bottom. Make 4.
Lay out the main print/panel C pieces and the Flying Geese Block A’s so the Geese are flying away from the center. Sew together (please note that I added an extra background strip to the top and bottom of my quilt. Feel free to do the same, but you will need a little bit more background fabric).
Layer your quilt. Quilt it as desired. Bind it. And don’t forget your label!
TA DA! That’s it! Done! Eazy piezy!
I’m going to add one more little detail to my quilt — I’m going to embroider UTAH in the center square!
Here are some other fun Adobo quilts VRD has as kits. You can find them HERE.
Kitty The CatCall of the Wild
Thanks for stopping by and sewing with me!
Now let’s check out the new January VRD Rose Card patterns!
NEW January VRD Rose Card Patterns
I’m excited that I get to show the new patterns off today! Tricia usually does it, but today it’s my turn. Yay!
Here are the 5 main patterns.
Look! There are 2 panel quilt patterns this month – one using a 24″ panel and the other one uses a 36″ panel. Cool!
This set of patterns gives you a nice variety to add to your VRD Rose Card collection. You can get all 5 print patterns HERE (if you want digital patterns, you can order each pattern individually).
But wait — there’s more (Sorry, been wanting to say that)!
Tricia has a new table runner for you called Snowfall.
You can get the print Snowfall HERE or the digital Snowfall HERE.
And here’s our 11th Snack Mat, Woolly Mitten (just in case you’re keeping track, this is the next to the last one).
You can get the print Woolly Mitten Snack Mat HERE or the digital Woolly Mitten Snack Mat HERE.
We still have some kits available for this month’s patterns (if you know me, I’m all about kits). Get yours now before they’re gone cause they’re going fast.
Farm Fresh (with the Out of Farm’s Way collection)
We have lots to cover this week, so let’s jump right in with both feet! Elf shoes are optional.
First up I’m going to share with you awesome, fast, and fun VRD Rose Card patterns you can whip up as last minute Holiday gifts. And after that I’ll share our NEW VRD Rose Card quilt patterns with you.
Fast and Fun Holiday Gifts to Make in a Hurry
Snack Mats
Snack Mats make great gifts all through the year! They are about 8″ x 14″ and are in between a place mat and a mug rug. We have 10 different designs right now, so you have lots of choices! You can make Snack Mats up in a wink x 2 because each pattern makes 2 mats at a time.
You can find all of our Snack Mat Patterns (digital and print) HERE.
Scarves
Did you know we have Rose Card patterns for super fun and fast quilty scarves??? Your pals will be truly amazed at both your creativity and your savvy gifting skills.
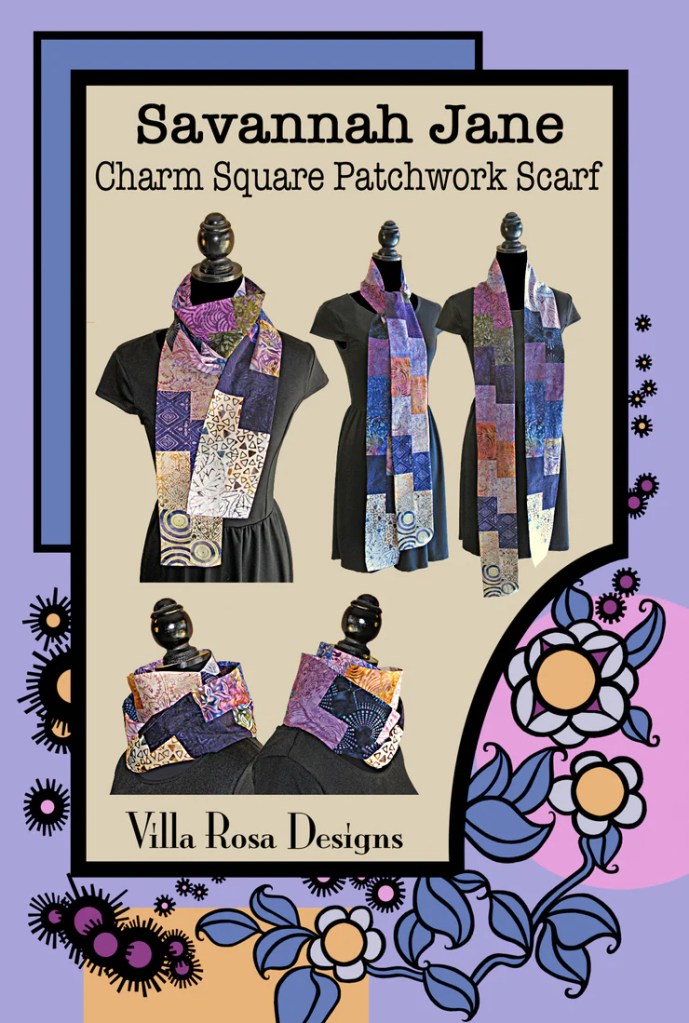
Here is Savannah Jane. It uses a collection of your favorite 5″ squares, so every scarf you make can be totally different, depending on the charm squares you choose. Hey! You can even raid your stash and make scrappy scarves — very economical. Or try some cozy flannel…..
Get your Savannah Jane Rose Card print pattern HERE.
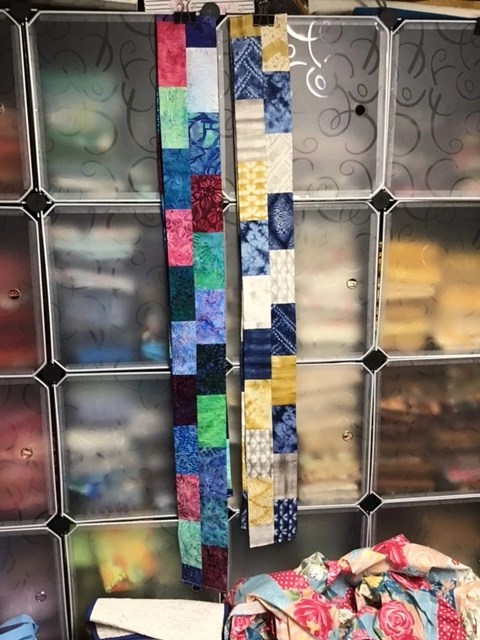
LOVE this pattern! I’ve made several Savannah Jane scarves and they go together in a jiffy. Last year I even gifted the scarves, below, to my 2 nieces, Meg and Morgan.
BUT WAIT! THERE’S MORE!!
We have another scarf pattern just for you! Check out Inessa Jane, a fun and super fast Infinity scarf. You only need 1 yard of your favorite fabric! Easy peasy and done in a flash! While you’re making them as last-minute gifts, make one for yourself, too.
Place mats are a great way to make a statement on your table or on someone else’s. They go together quickly and you can get them wrapped and gifted in the nick of time for the Holidays.
Dinner Party is our newest place mat pattern — it’s part of our new 12 Quilts of Christmas pattern collection. 4 fat quarters make 4 coordinated place mats. Done before you can sing your favorite Christmas carol.
Get your Dinner Party digital pattern HERE or print pattern HERE.
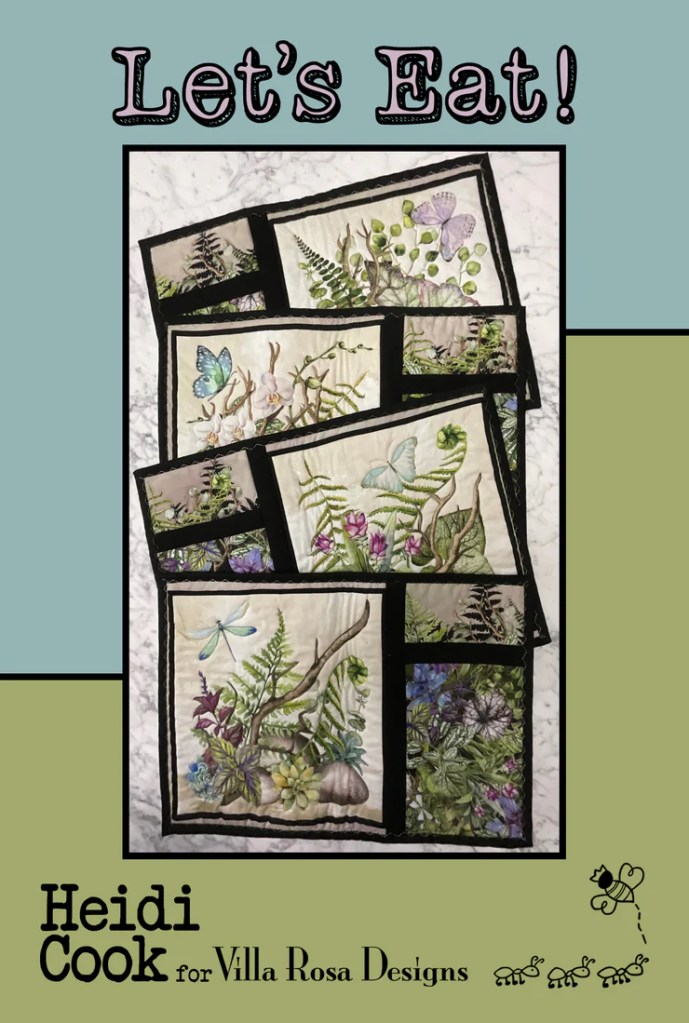
Let’s Eat! uses panel squares and coordinates, but you can use whatever fabrics your li’l ol’ heart desires! Wouldn’t these be adorable with Christmas fabric? Or Hanukkah fabric? Or Kwanza fabric? Maybe a set for winter with blue and white and lots of snowflakes? Anything goes with Let’s Eat!
Get your Let’s Eat digital pattern HERE or your print pattern HERE.
Petula Jane is a great place mat for friends and family who eat at their desks at work. This great easy-to-make portable place mat rolls up and secures with a tab and even has pockets for a napkin and silverware. This place mat will elevate your desk lunch and make you smile.
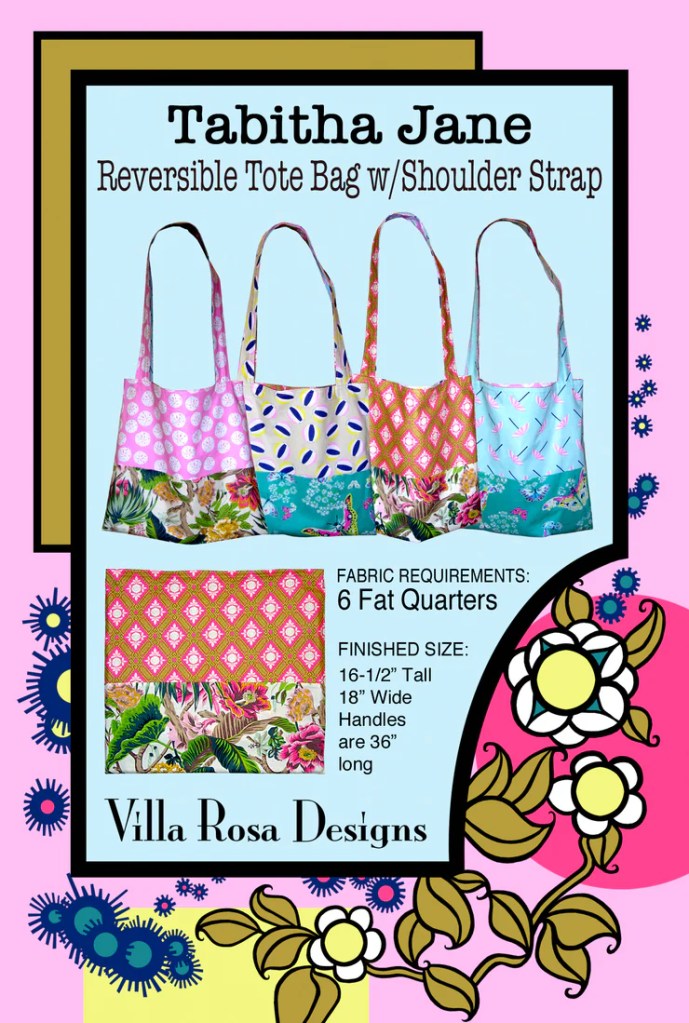
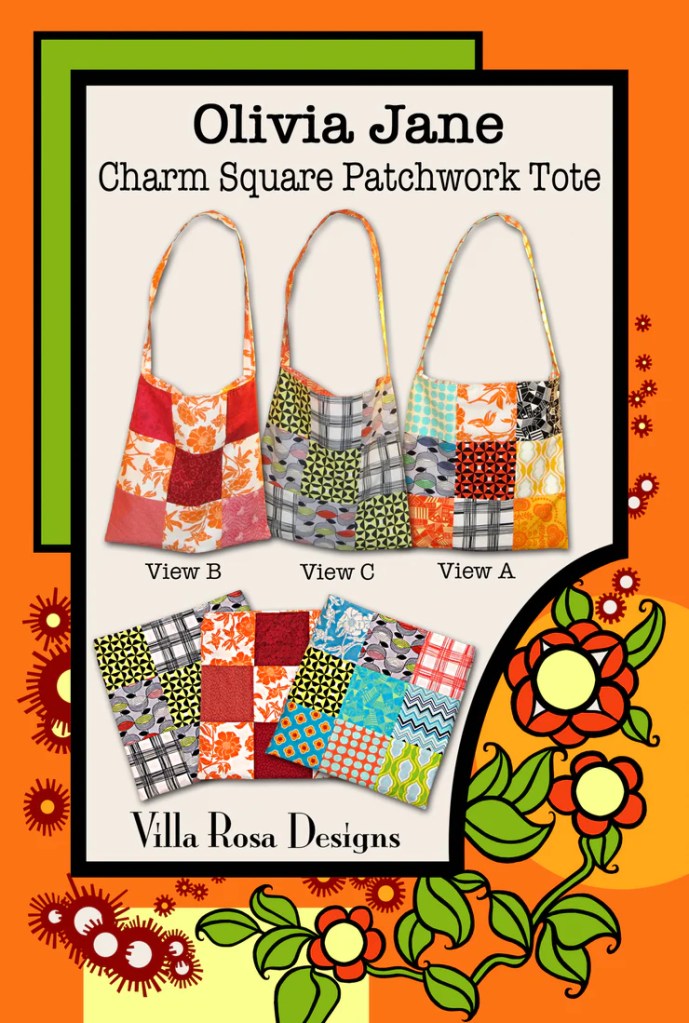
Surprised??? Yep, we’ve got Tote Bag patterns, too. Here at VRD, we’ve really got something for everyone when it comes to our Rose Card patterns. Totes make great gifts for just about anyone and it is fun to tailor the fabric choices to the person who will receive the bag. Did I mention they go together in a flash?
Here’s Tabitha Jane. All you need is 6 fat quarters! I bet you’ve got some of those yummy 6 fat quarter bundles tucked away in your stash — I know I do!
Below you can see my Olivia Jane tote. I had some happy blue and yellow charm squares and added a few coordinates. Didn’t it turn out cute?
Accessory Patterns
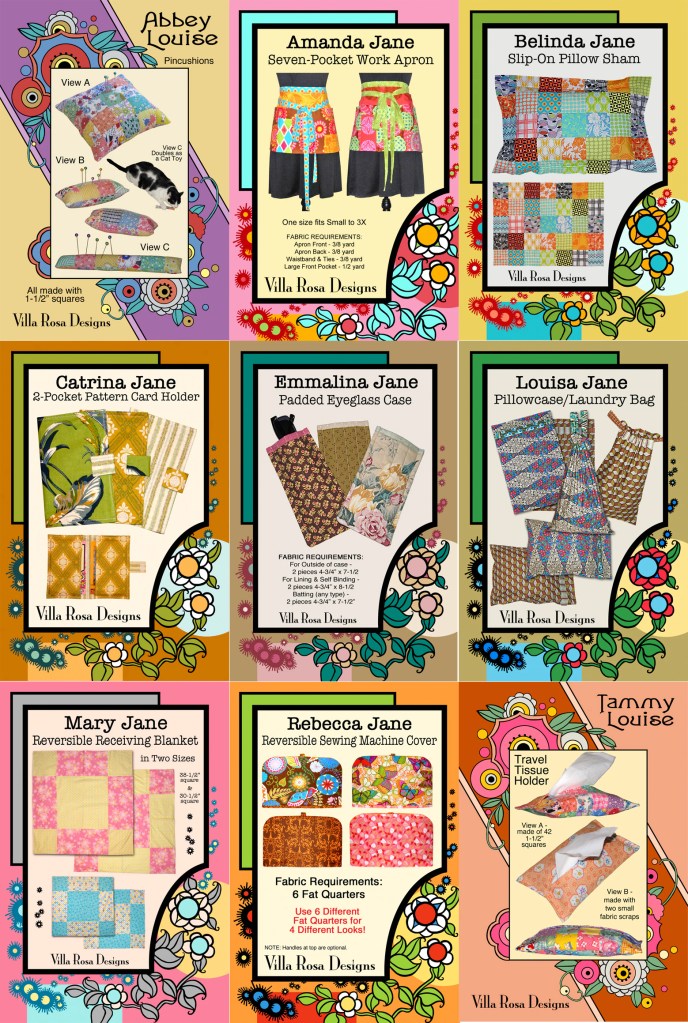
In addition to the scarves and tote bags, above, we have many other great small project VRD patterns. These patterns are great to have around when you need a quick little gift for someone.
You can find all of our VRD Accessory Rose Card print patterns HERE.
Table Runners
Table Runners are always a great gift to give and we have runner patterns that go together faster than you can whip up a batch of microwave fudge (okay, maybe not quite that fast, but still really quick). Okay, now that I’ve piqued your interest in fudge, here’s one of my favorite Easy Fudge recipes – 2 Ingredient Fudge.
You can find ALL of our table runner patterns HERE, but I’m going to showcase a few runners that you can make up in no time flat.
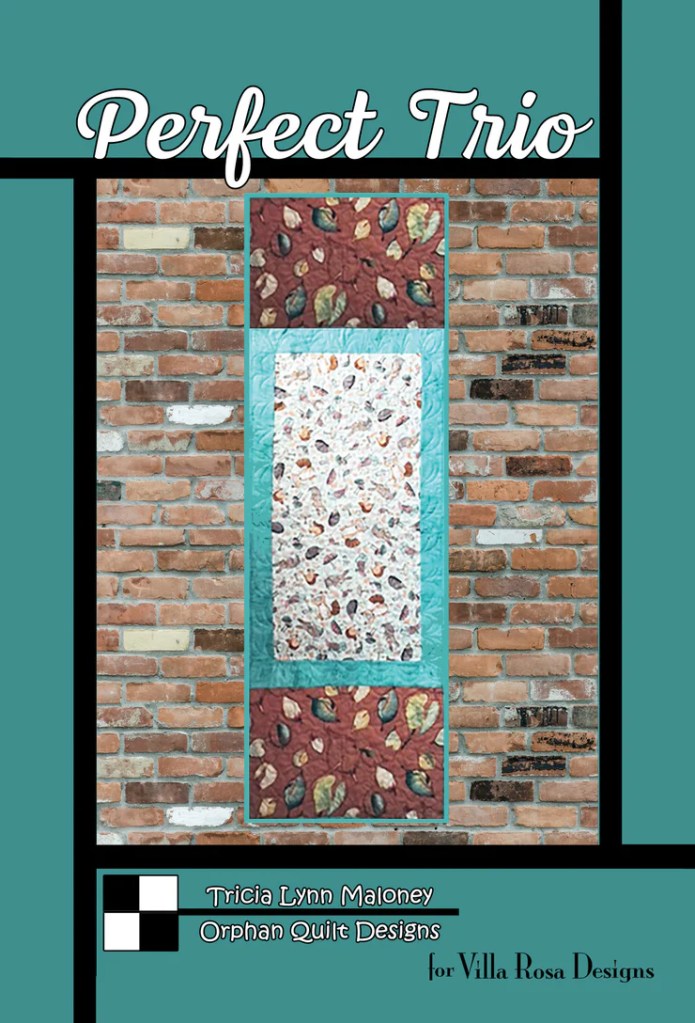
Get your Perfect Trio digital pattern HERE or print pattern HERE
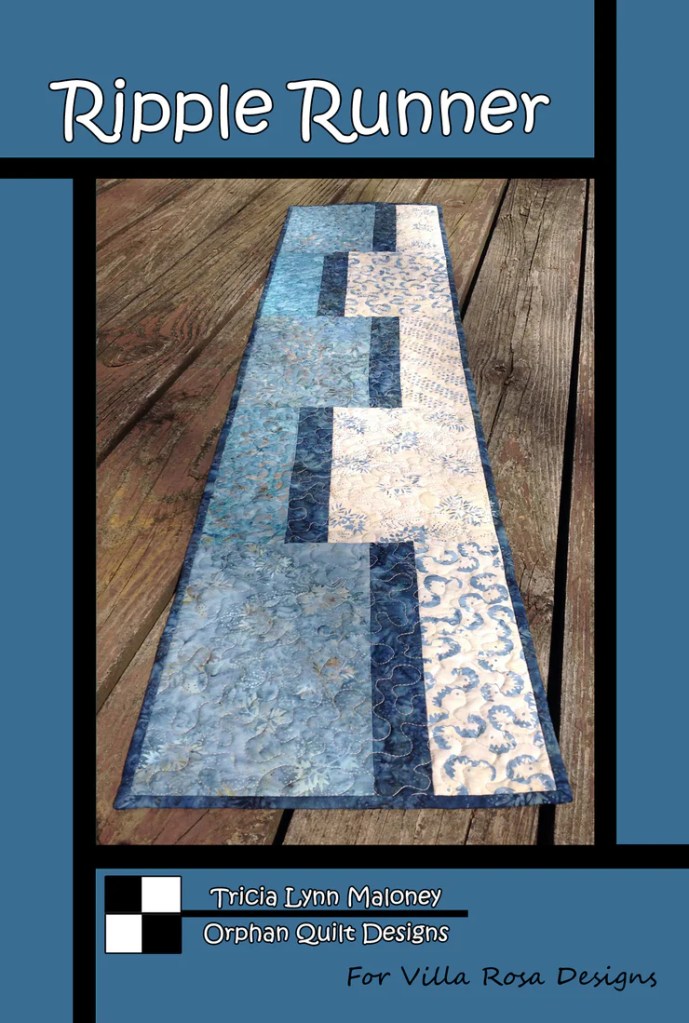
Get your Ripple Runner digital pattern HERE or print pattern HERE.
Get your Season’s Greetings digital pattern HERE or print pattern HERE.
12 Quilts of Christmas
I wanted to include our new 12 Quilts of Christmas collection because the set of 12 patterns is a gift in itself — one that will provide the receiver with hours and hours of quilty pleasure. Or maybe you want to select some of these great projects to make and give as gifts. They are fast and fun, of course!
If you can’t get a project made in time for a quilty friend, why not gift her with the whole 12 Quilts of Christmas collection? You could even add the fabric ingredients for one of the projects as an extra something something. Just remember to get a set for yourself, too.
Get your 12 Quilts of Christmas print pattern collection HERE.
Now let’s take a look at our exciting NEW December patterns because new VRD patterns every month is like getting presents each and every month of the year from VRD!
NEW December Villa Rosa Designs Rose Card Patterns
Woohoo! Check out this month’s NEW Rose Card Patterns!
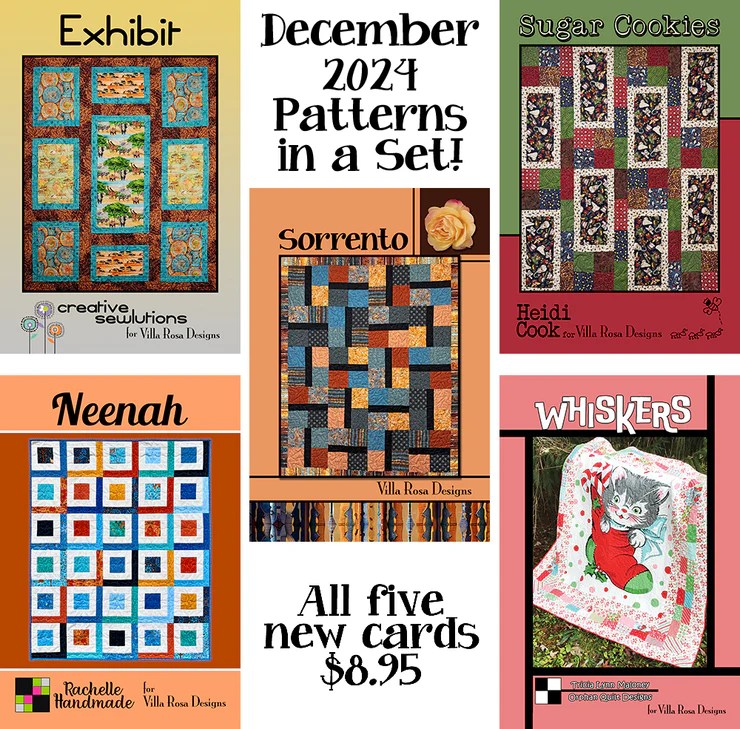
Exhibit and Sugar Cookies can handle printed panel squares or large prints with ease. Grab your fat eighths and fat quarters for Sorrento and Neenah. And Whiskers gives you a great pieced frame for those large 36″ panels.
Today is my last post about Quilt Market and Festival.
We’ve covered the insider’s view of Market HERE and the 50 year Celebration of International Quilt Festival HERE. We’ve also explored some of the amazing and wonderful quilts on display this year during Market and Festival HERE.
So what’s left to talk about????
All the cool stuff at Market and Festival, of course!
My Finds at Market and Festival
I’m going to share with you the things that inspired me at Market and Festival. I wish I could showcase every single thing I saw because there was sew much eye candy in Houston, but that would make this post into a very long long book, I’m afraid. So I guess I’ll focus on the things that I found interesting, cool, or just plain fun, in no particular order.
Just sit back and enjoy…………
Sew Q Laser
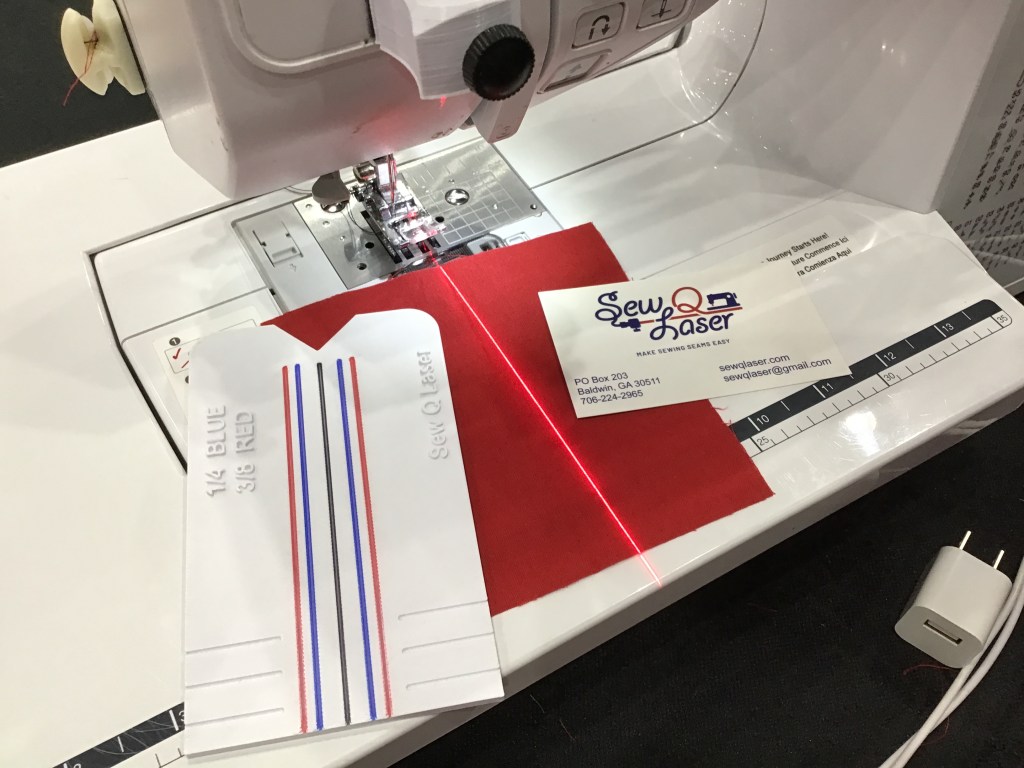
I watched a demo of this cool system in the Sew Q booth. It really was quite fascinating! I’ve been using my trusty 1/4″ seam guide foot for a long time, but I can really see a lot of possibilities with this laser system. You can check out their website HERE.
ThimtecThimble Tape
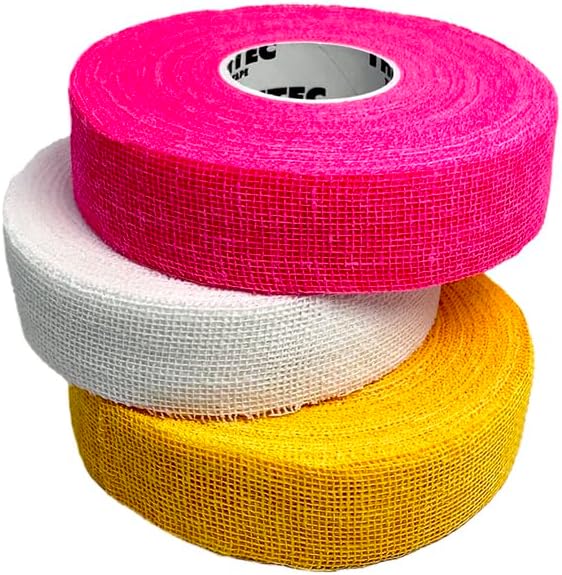
The Thimtec booth was right beside our VRD booth during Market and I had the opportunity to stop by to learn about this new product. Thimtec tape is easy to use, only sticks to itself, and molds to the shape of YOUR finger. It’s reusable and economical, Cool beans!
I took my pink roll to my Friday group and everyone made an individualized thimble to take home and use. After everyone was done creating one, I still had half a roll left!
You can find video demos and more info on their website HERE or find it on Amazon HERE.
Classy American Quilt Design Walls
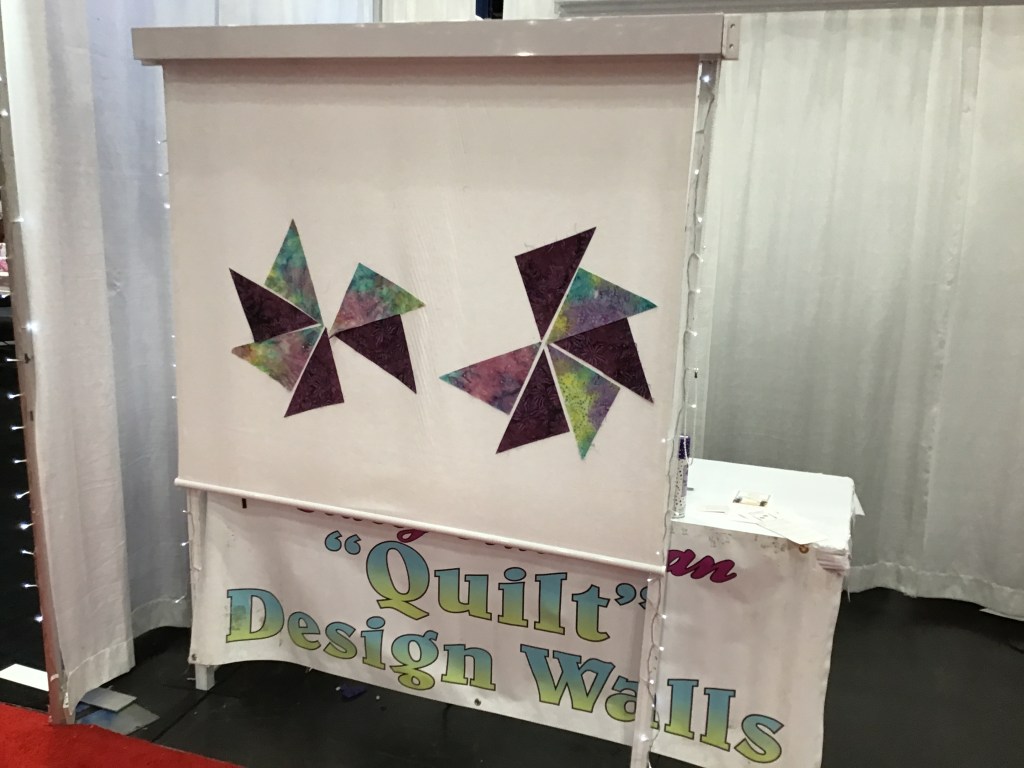
I met the owner, Tony, when he asked if I could watch his booth for a couple minutes. Of course I did and I had the fun opportunity to play with the Quilt Design Walls. I must say that this is now sew totally on my quilter’s wish list! The smaller one (in the photo above) is big enough for a long throw quilt, but my dream is the really big one because — gasp — it has a remote control! AND I LOVE GADGETS! LOL! The small one would be great, too, as it goes up and down easily just like your window blinds. I tested it out, of course, and discovered that if you were careful putting it up and down that your quilt blocks could actually stay stuck to the design wall. Brilliant!
You can see Tony himself introduce his design wall in the video below and you can check out Tony’s website HERE. Just tell him Tricia sent you. Tehehe……..
Patience Griffin Books
I don’t remember what she said to me that had me laughing that hard………….
I had the pleasure to meet Patience Griffin at Quilt Market. In addition to being the popular author of both the Kilts and Quilts book series and the Sweet Home, Alaska series, Patience is a quilter and also a new fabric designer with Riley Blake Designs. You can see Patience’s collection, A Touch of Celtic, coming to a shop near you in May 2025, HERE.
If you love quilt fiction as much as I do, you can find her books HERE.
Printed Felt Board Story Panels
This one is for all you librarians, teachers, early childhood educators, parents, and grandparents. I mentioned this adorable felt printed panel by Jennifer Long for Riley Blake a couple weeks ago (the Created with Love panel, above, will be available in shops April 2025), but I just had to include it again on my “favorite finds” list.
When I was a children’s librarian, I created my own felt board pieces to go along with the stories, rhymes, songs, and activities I used for my weekly felt board story as part of my library toddler story time. Oh! How these wonderful shapes would have been a fabulous addition to my felt activity repertoire! Although I am no longer a librarian or early childhood educator, I still have very fond memories of engaging the youngest library patrons with fun stories, songs, and rhymes accompanied by my humble pieces.
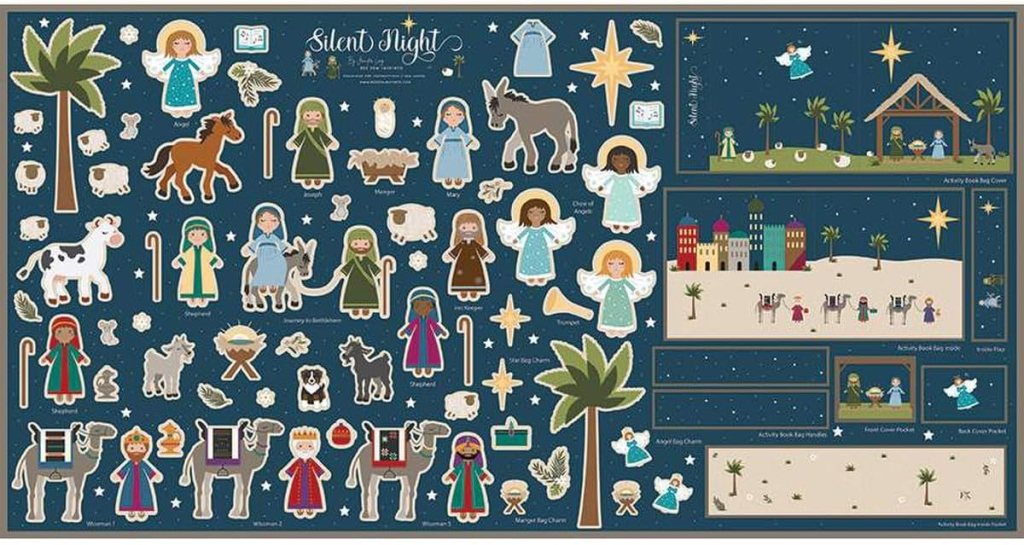
Here’s a Nativity felt panel by Jennifer, which is available right now. You can find it HERE.
Goldie Lou’s Shirts
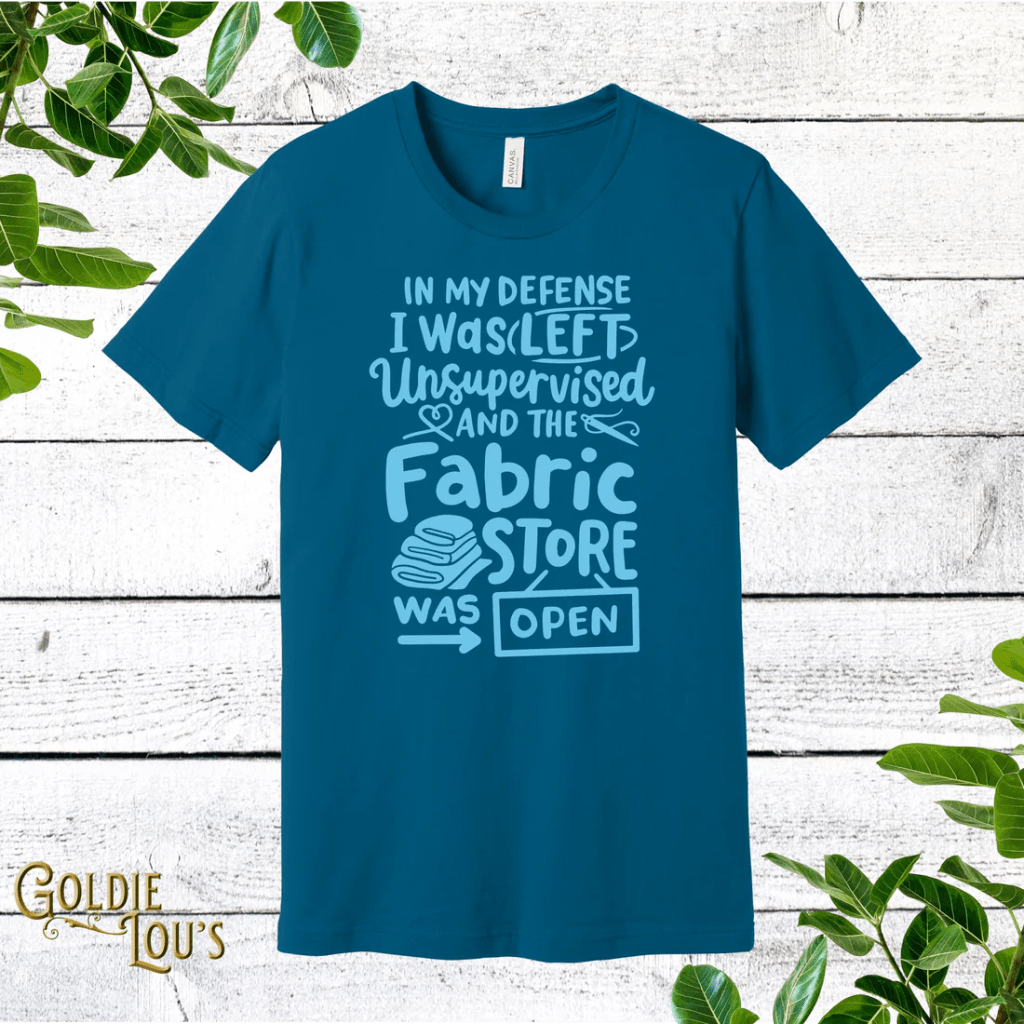
Image from the Goldie Lou website
Goldie Lou’s was a new business at Market and Festival this year. They were selling the most fun quilting shirts and sweatshirts with the cutest tongue-in-cheek sayings! Oh sew fun! I bought a couple shirts myself to show off my quirky quilter style, including one of the shirts you see above (it is sew me!). You can find more info about Goldie Lou’s HERE.
Horn of America Deluxe Storage Chest
I am sew sew in love with this cabinet! It has drawers and shelves and cubbies on one side and a flip up extension table on the back where you can even add more shelves! This would be a real dream piece of furniture in anyone’s sewing space! I kept walking past it whenever I went to the food court and dining area — it stopped me every time and I would pause to test out the drawers or just imagine it in my own sewing dungeon, er — studio. I would want the one in the white finish……You can find more info HERE.
Mary Ellen’s Best Press
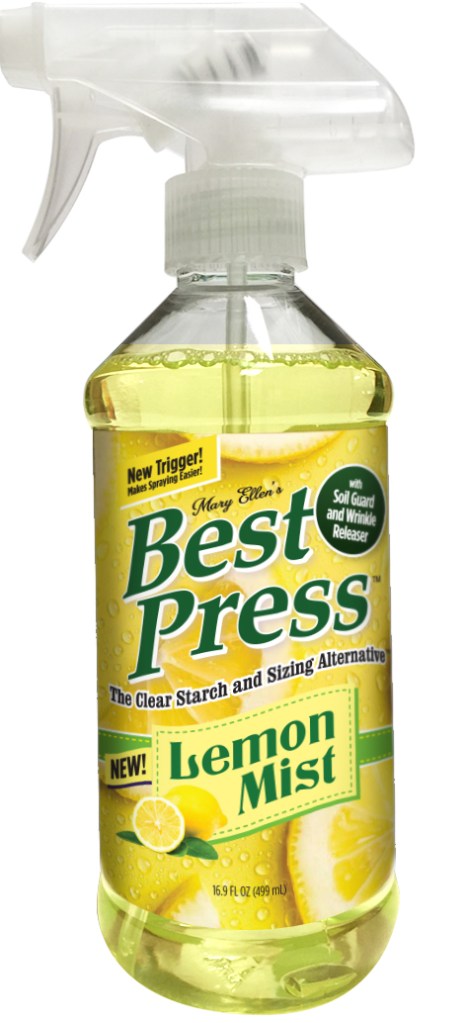
Yippee! Mary Ellen’s Best Press Spray has a new scent — Lemon Mist! I’ve been using the Best Press starch alternative spray for a long time now and I am thrilled that they finally have a lemon scent. I was very excited to have scored a sample at Market so I can test it out, but I already know I am going to love the Lemon Mist scent. It will most likely be my new favorite. You can find it HERE.
Well, folks, I hope my favorite finds will inspire you — they have certainly inspired me! Now I’m adding everything to my quilter’s holiday wish list. Sigh…..do you think that cabinet will fit down the chimney????
That’s it for me this week. Take care and travel safe this coming week if you are heading somewhere to celebrate Thanksgiving. And while football is playing after Thanksgiving dinner, maybe you can sneak away and read all about my recent visit to Ohio Amish country for my Mom’s birthday.
Sorry for the very long title this week, but we have SEW much to cover! Buckle up and enjoy the ride!
12 Quilts of Christmas
I am super hyped to show off our NEW VRD pattern collection — the 12 Quilts of Christmas!!! We debuted this collection at Quilt Market and Quilt Festival and folks were really excited about it. We’ve been working on this project for quite a while now and it’s so so exciting that it’s finally available. I wanted to show it off last week, but we weren’t quite ready yet.
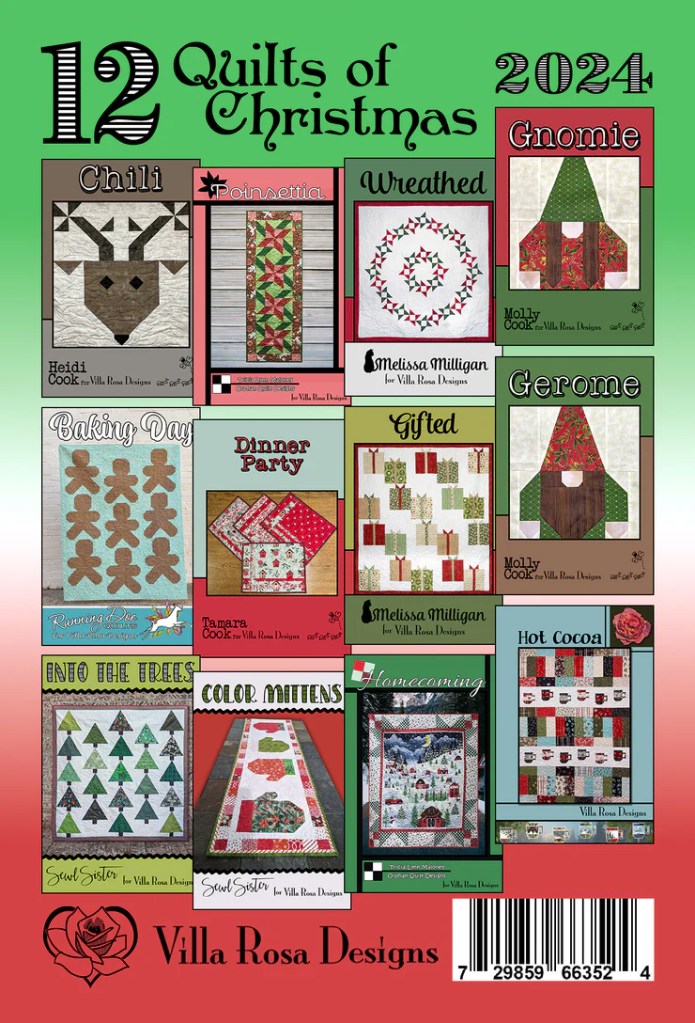
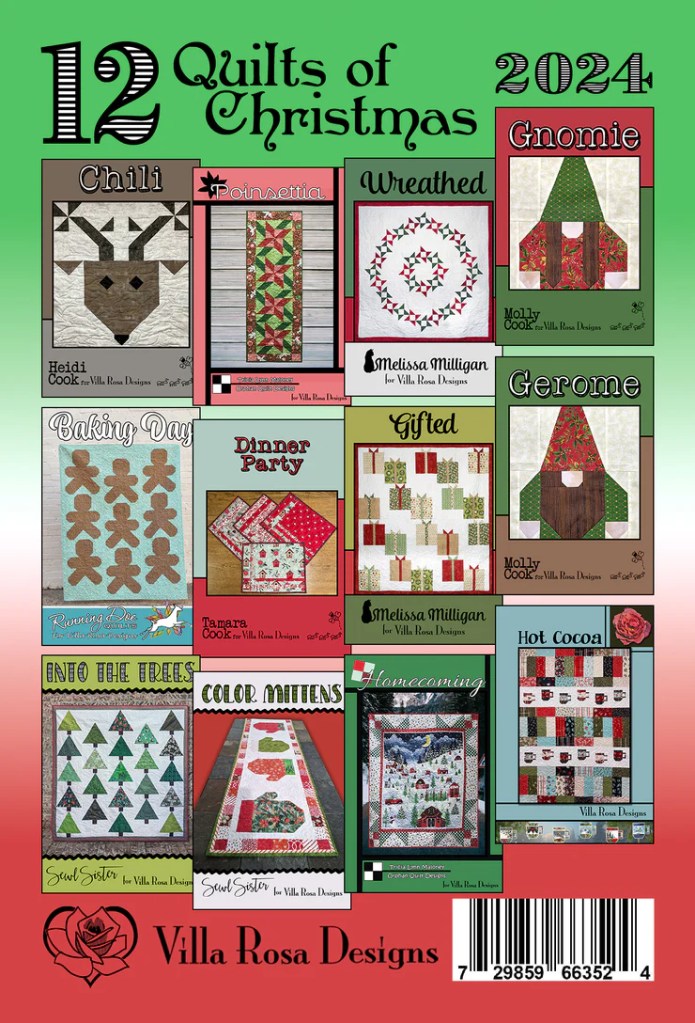
Let me tell you a little bit about this collection. It includes 12 brand new Rose Card patterns for the holidays from your favorite VRD designers. You can see the individual patterns included in the collection in the image, above.
You will find —
1 set of place mats (Dinner Party), 2 table runners (Color Mittens and Poinsettia), 2 Gnome quilt blocks (Gnomie and Gerome), 1 wall quilt (Chili), 5 larger quilts (Wreathed, Baking Day, Gifted, Into the Trees, and Hot Cocoa), and 1 panel quilt (Homecoming). That’s a great variety of projects which are also classic VRD patterns which means they are fast and fun!
Featured designers in this collection —
Heidi Cook
Molly Cook
Tamara Cook
Melissa Milligan
Orphan Quilt Designs (moi)
Running Doe Quilts
Sewl Sister
Villa Rosa Designs (Pat Fryer)
The wonderful thing about our VRD designers is that we each have our own style and that means you get a super awesome group of projects!
You can order the patterns individually on the VRD website in both print and digital. The 12 Quilts of Christmas collection which includes all 12 new Rose Card patterns is only $14.95 for all 12 patterns! WOW!
Now, how about a GIVEAWAY????
12 Quilts of Christmas Collection Giveaway
To kick off our NEW 12 Quilts of Christmas Collection with a bang, I’m going to give away 2 sets of the collection right here on the VRD blog, Villa Rosa Quilts! Yay!
All you have to do is leave a comment below telling me a favorite holiday tradition.
I apologize, but this giveaway will be for US residents only.
Oh, almost forgot! You have from today, November 14th through Thursday, November 21st to leave a comment. I will select 2 lucky winners randomly on Friday, November 22nd.
Good Luck!
Now let’s look at more quilts from International Quilt Festival.
Quilts from International Quilt Festival in Houston
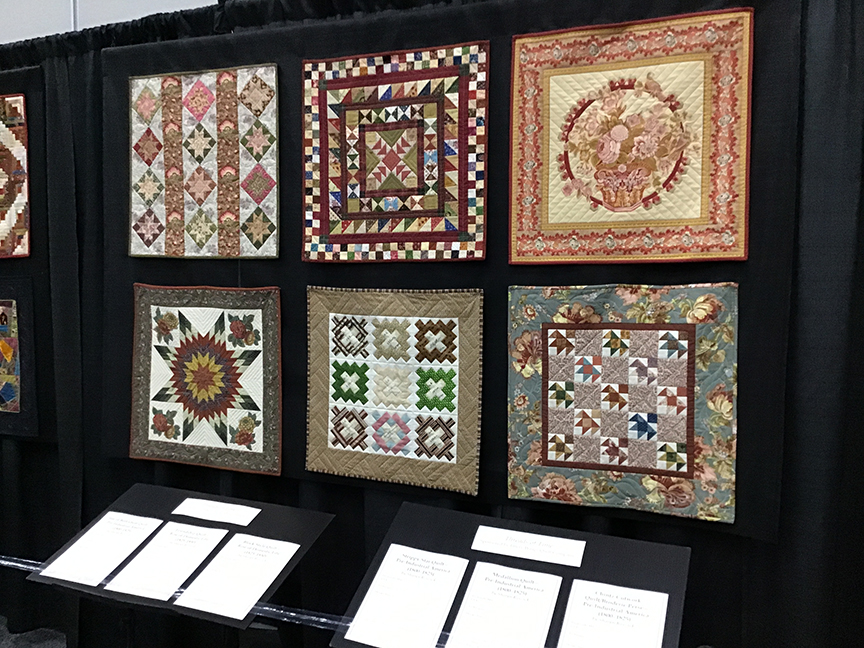
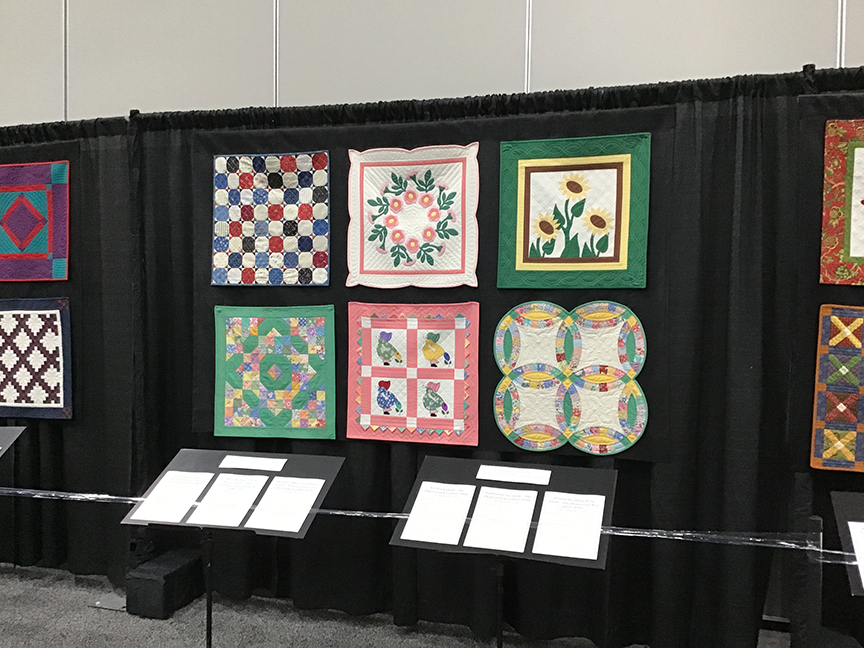
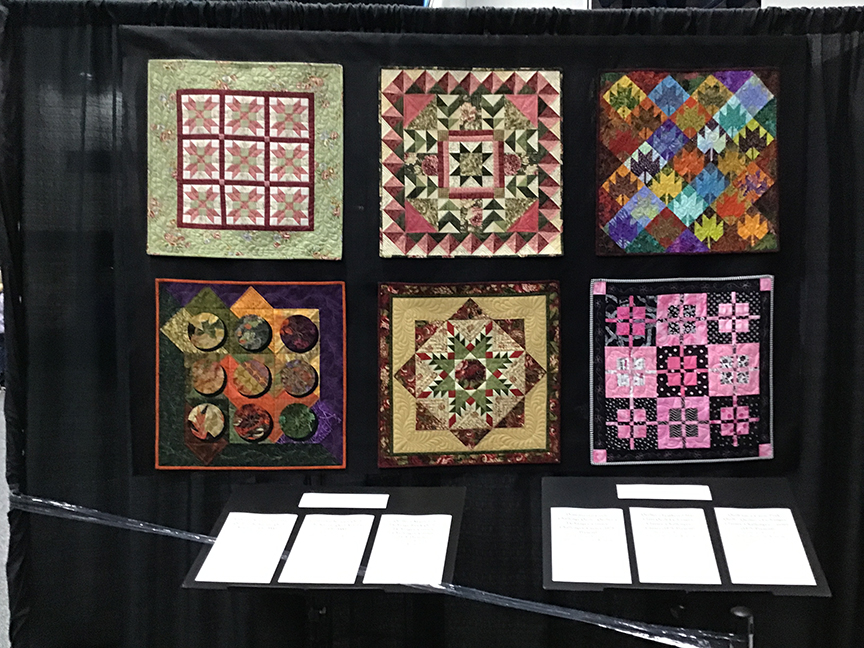
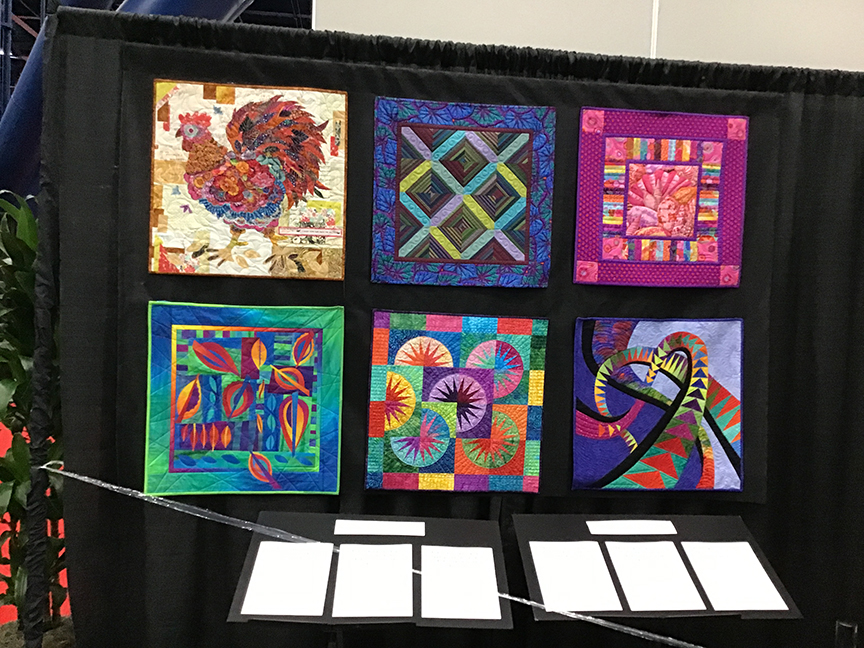
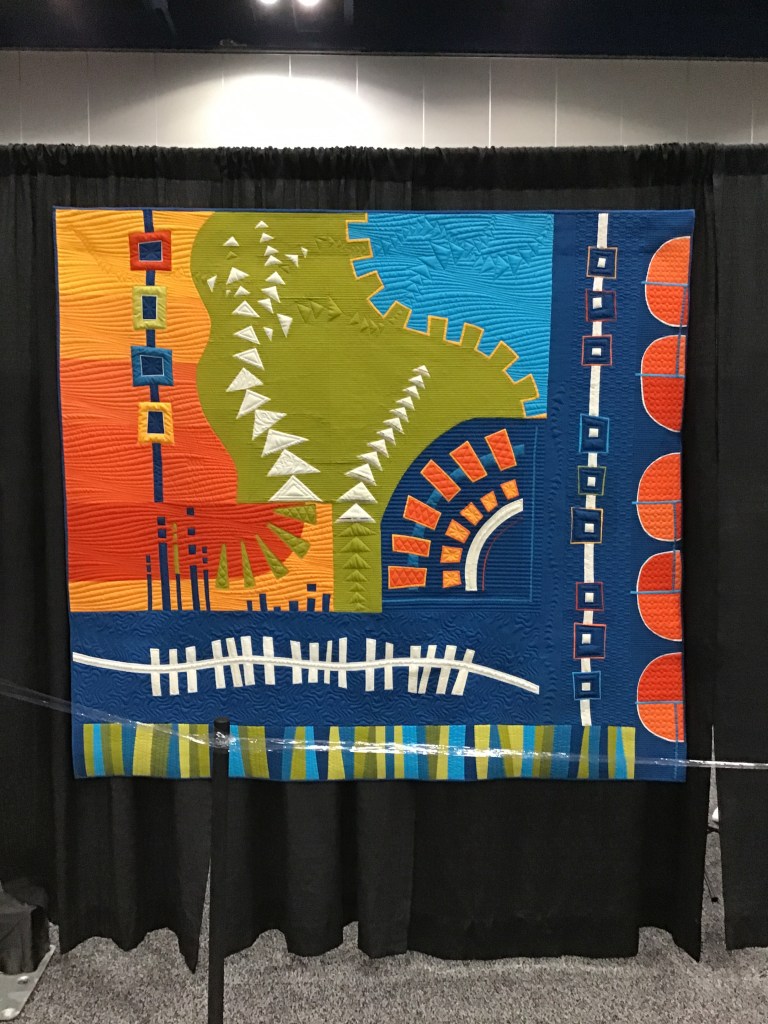
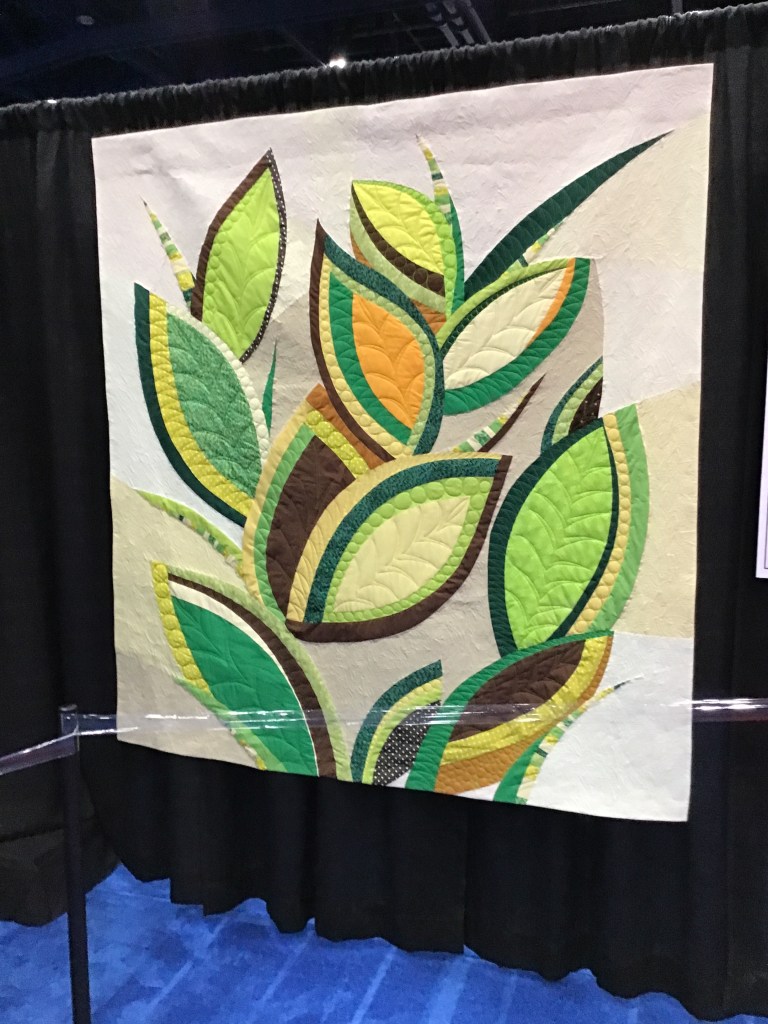
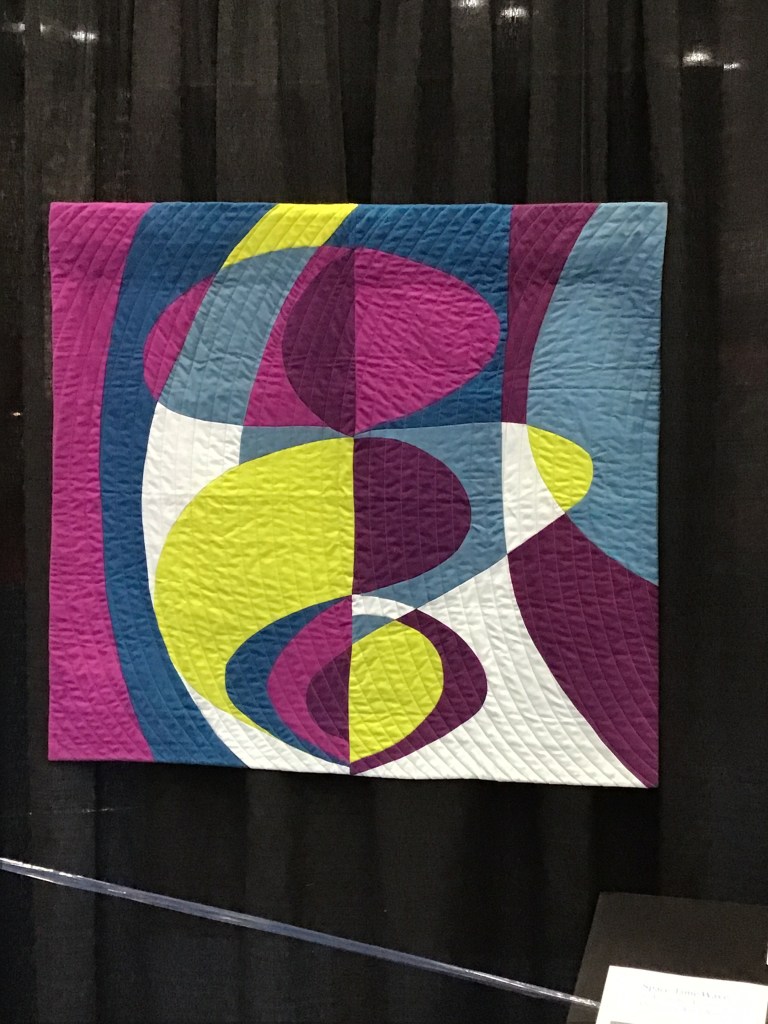
I think I mentioned last week that there were around 1100 quilts on display at Market and Festival. What a mind-boggling amount of quilts to be displayed under one roof. I don’t know if this was a larger number of quilts than usual, but it was truly awe-inspiring. I must admit the reason I didn’t see every quilt on display was because I actually had quilt overload and had to stop looking at quilts. But I did see most of them and I took lots of photos to share with you.
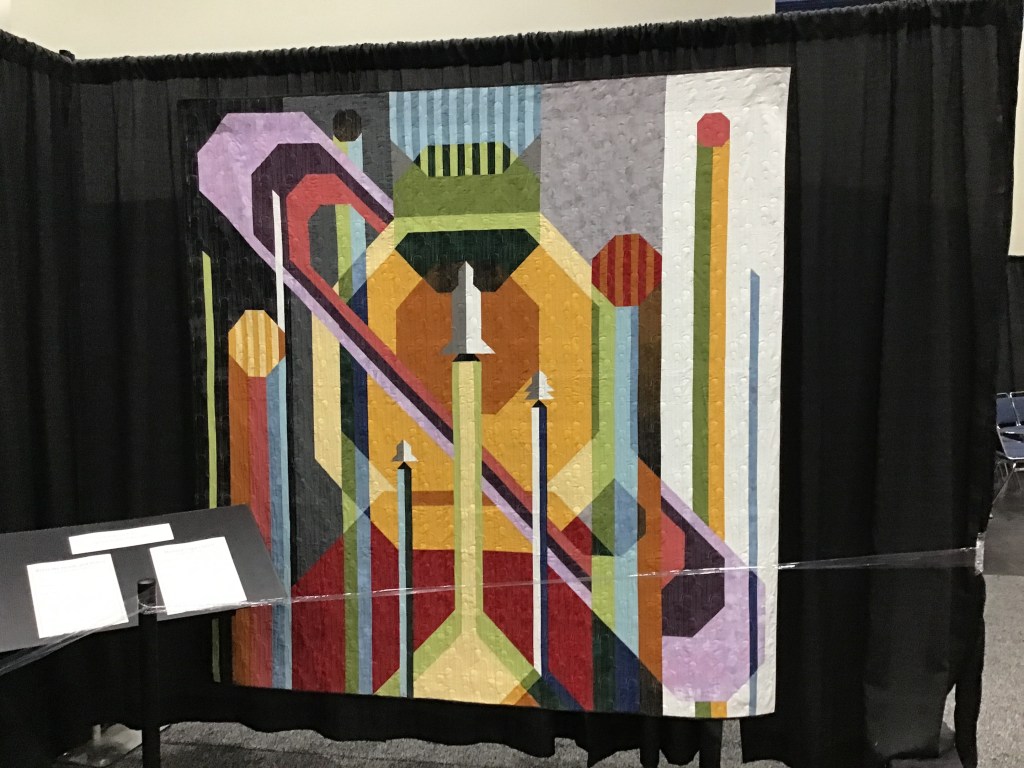
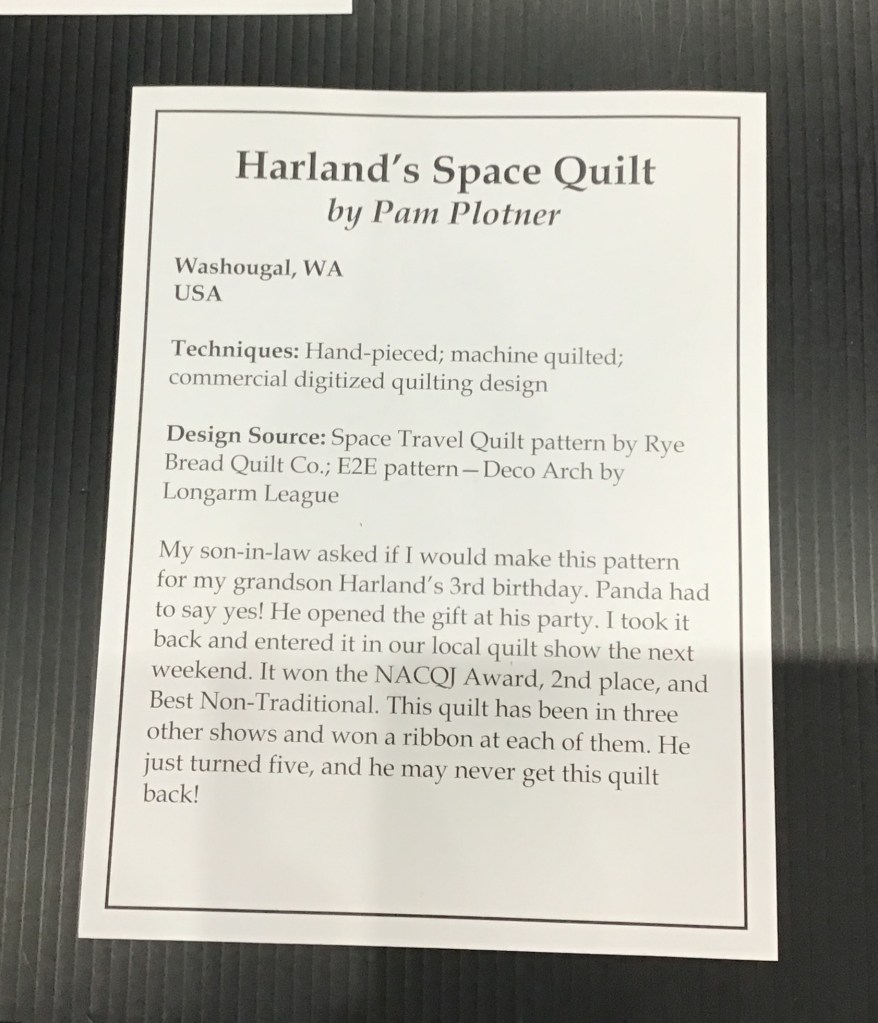
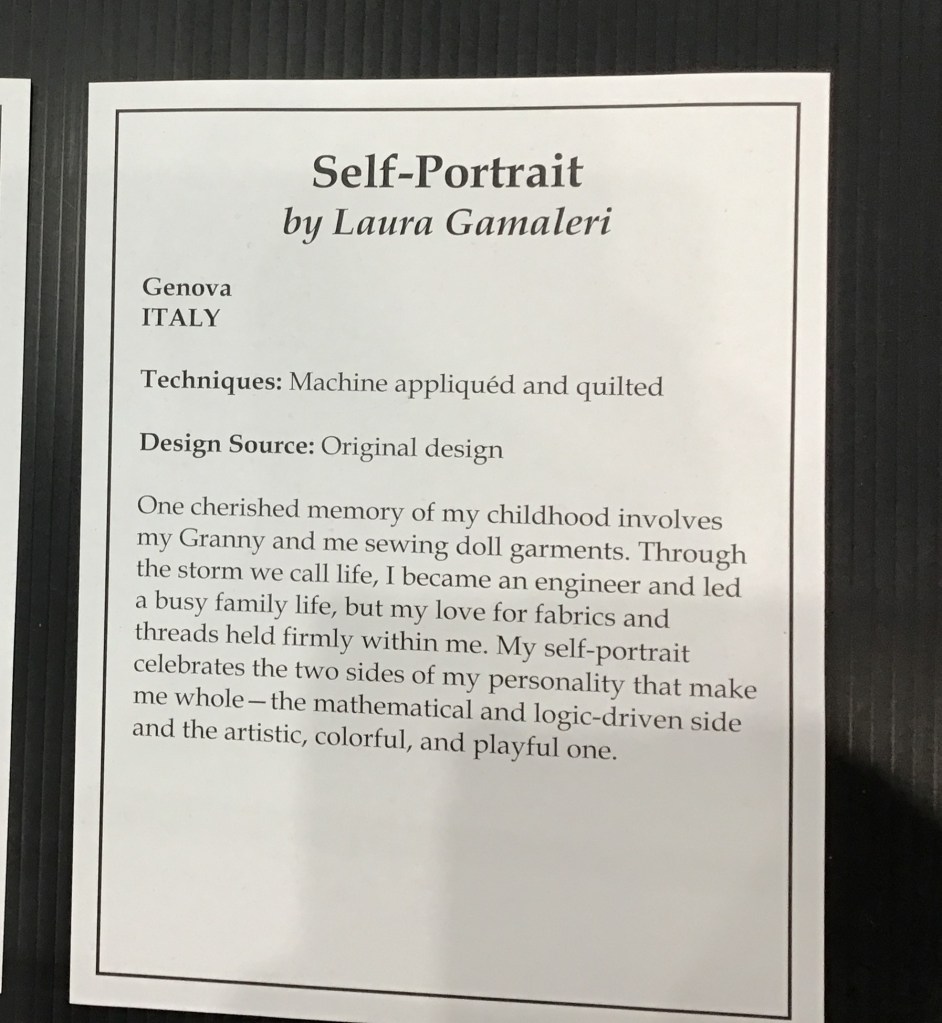
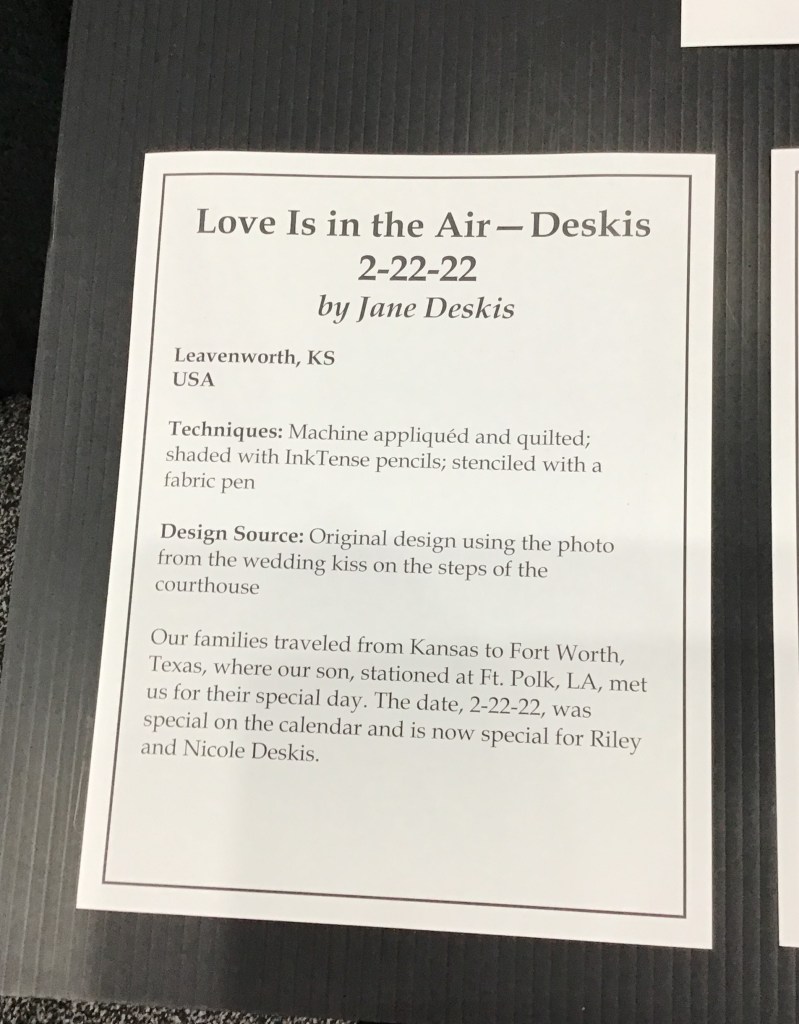
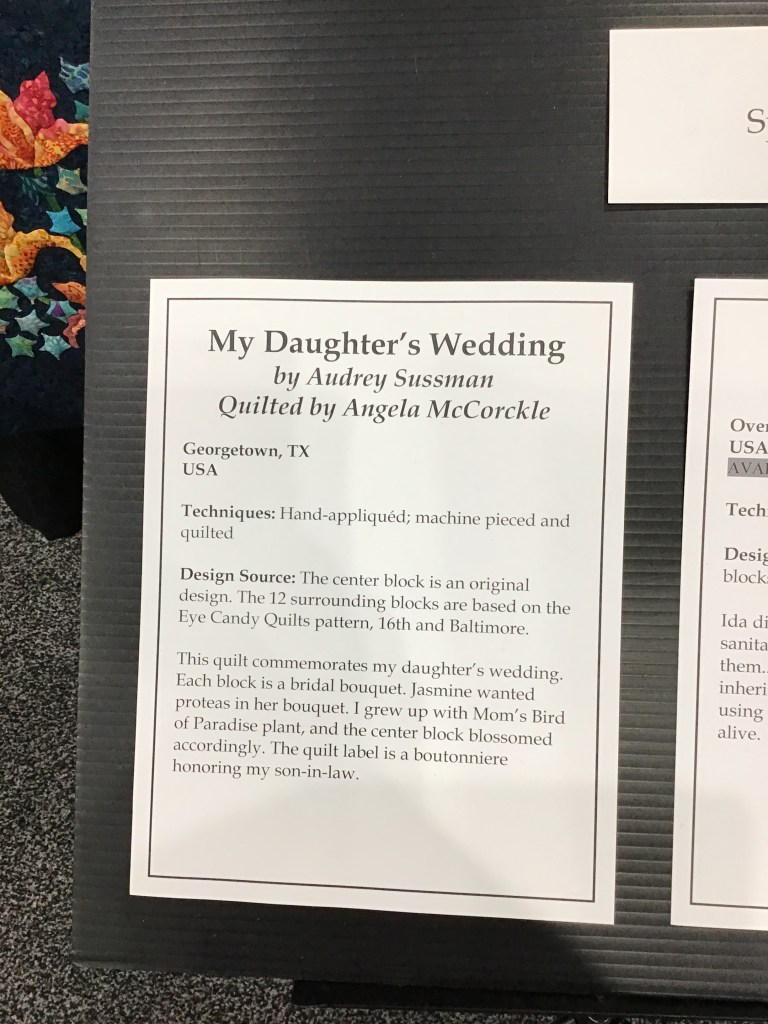
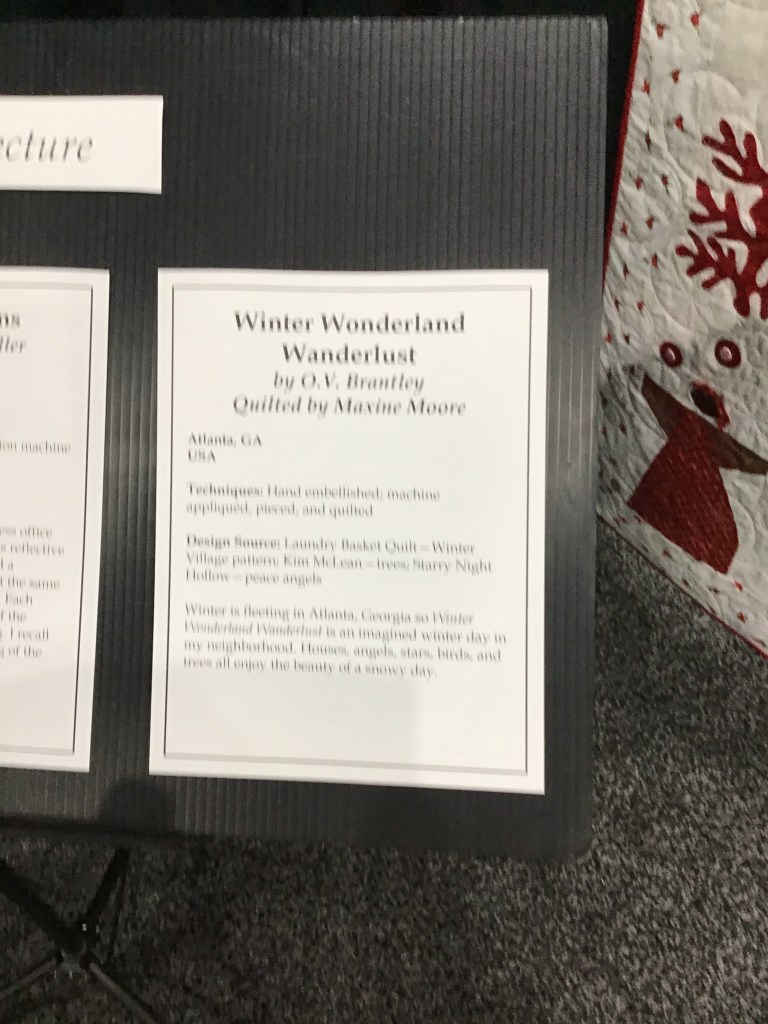
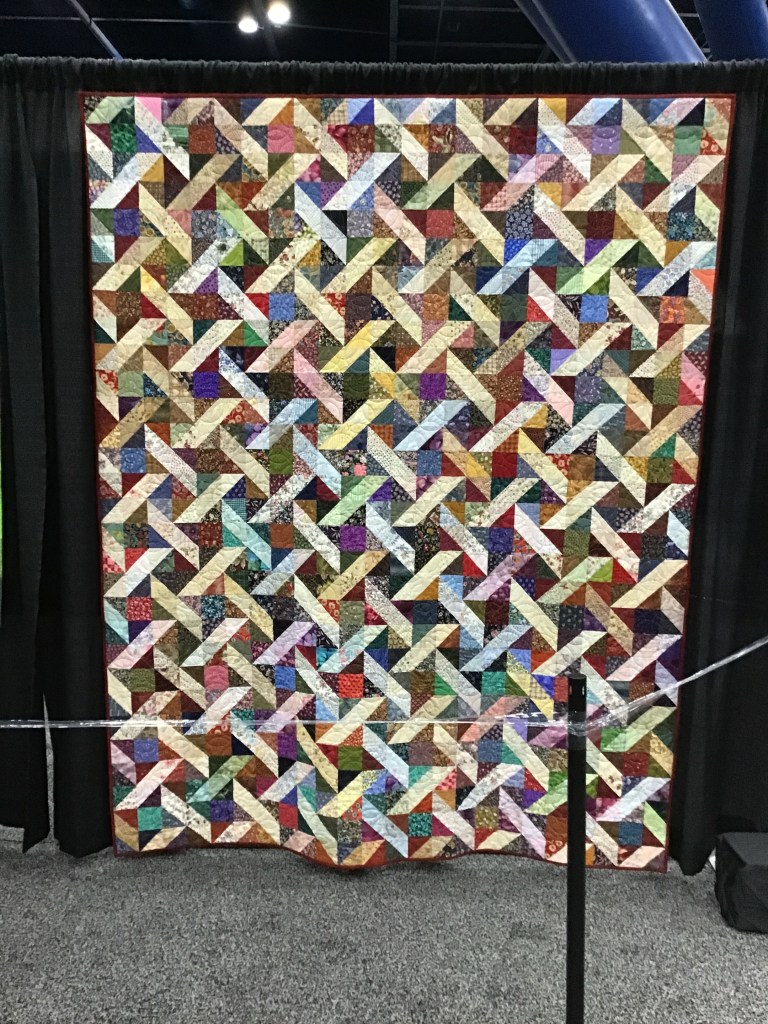
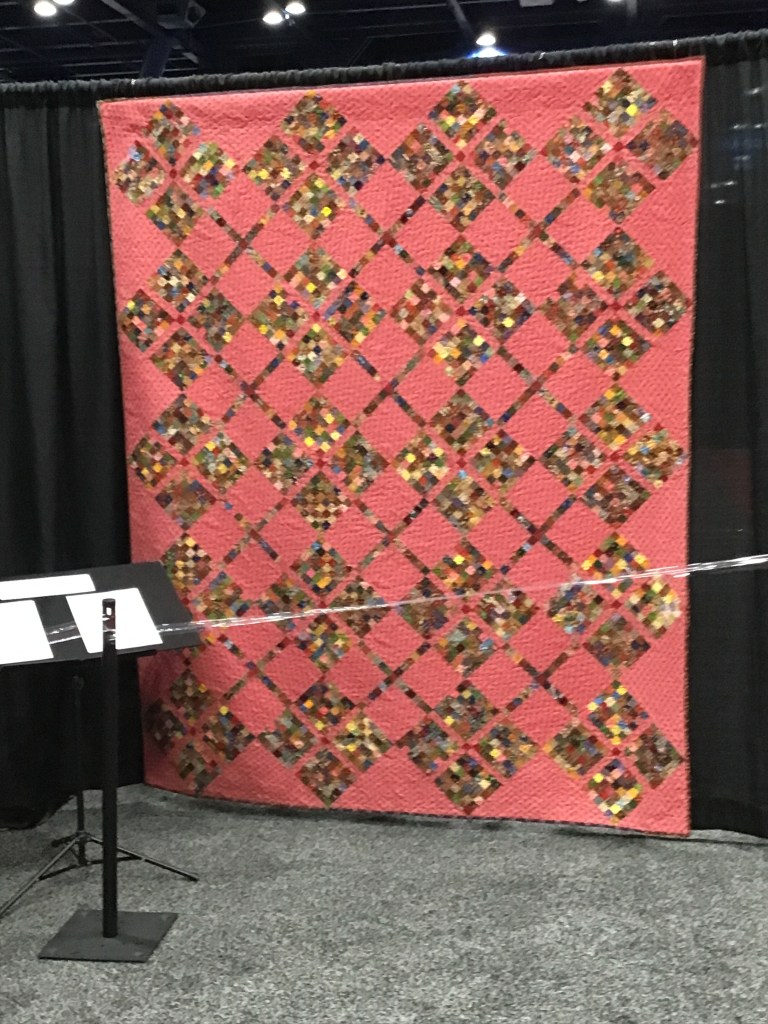
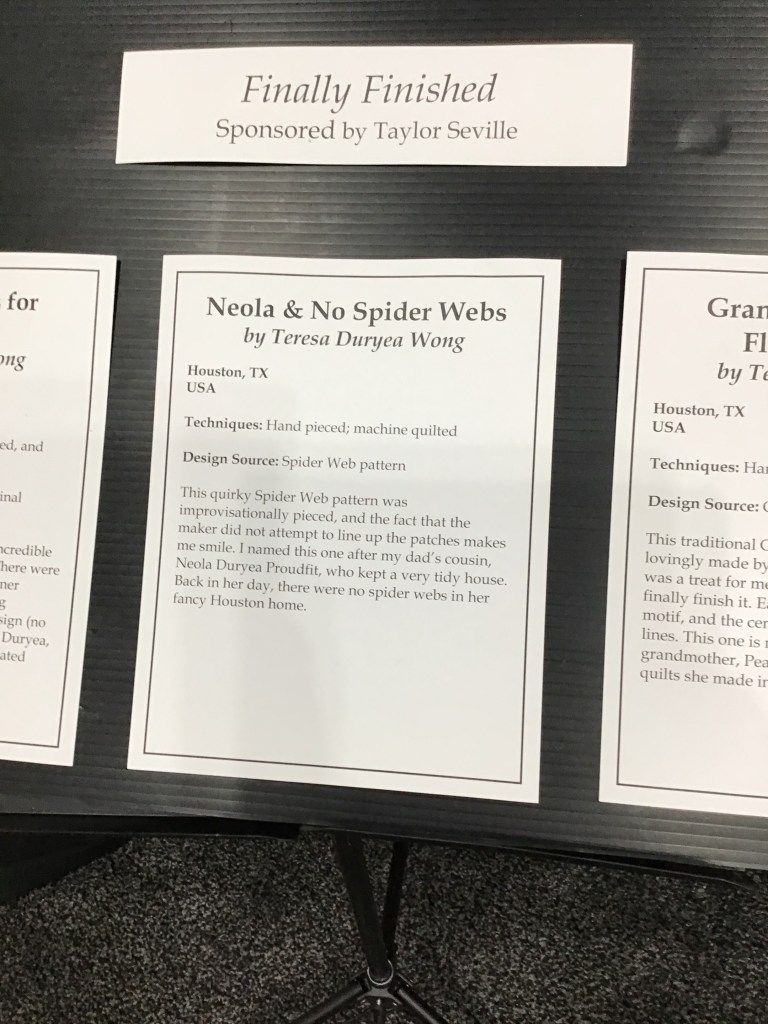
Many of you already know what a stickler I am for copyright law protection for designers, so I will only show quilts from the show that I also have the documentation for. This is a great tip for anyone who likes to photograph quilts at quilt shows or events — in addition to asking for permission to photograph the quilts, it’s equally important to include documentation with each quilt photograph because down the road, you or someone else might want to know who created or designed the quilt, quilted it, or what pattern the quilter used. Keeping documentation with a quilt helps to protect the rights of the quilt maker. I usually take a photo of the quilt first and then a photo of the information after the quilt and as long as I do this consistently, I can share quilt photos on social media without compromising the quilt maker. In my opinion, one should not just post or repost quilt (or any other art form) without the maker information included.
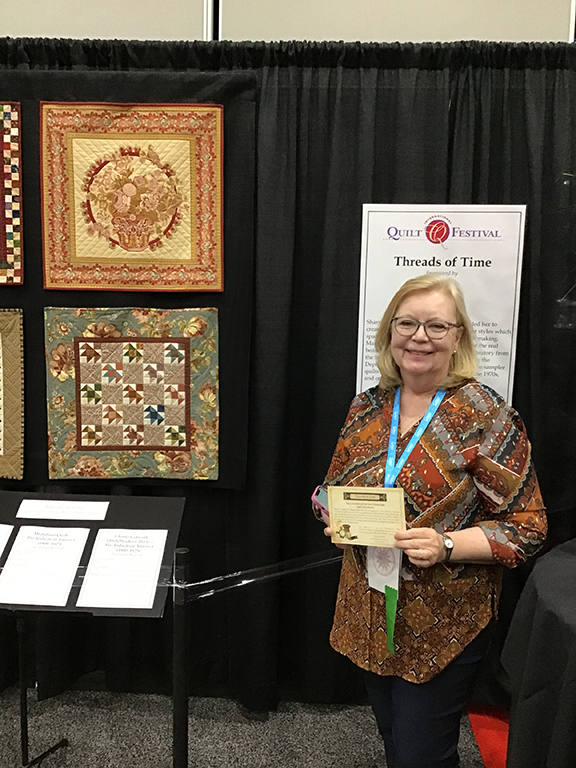
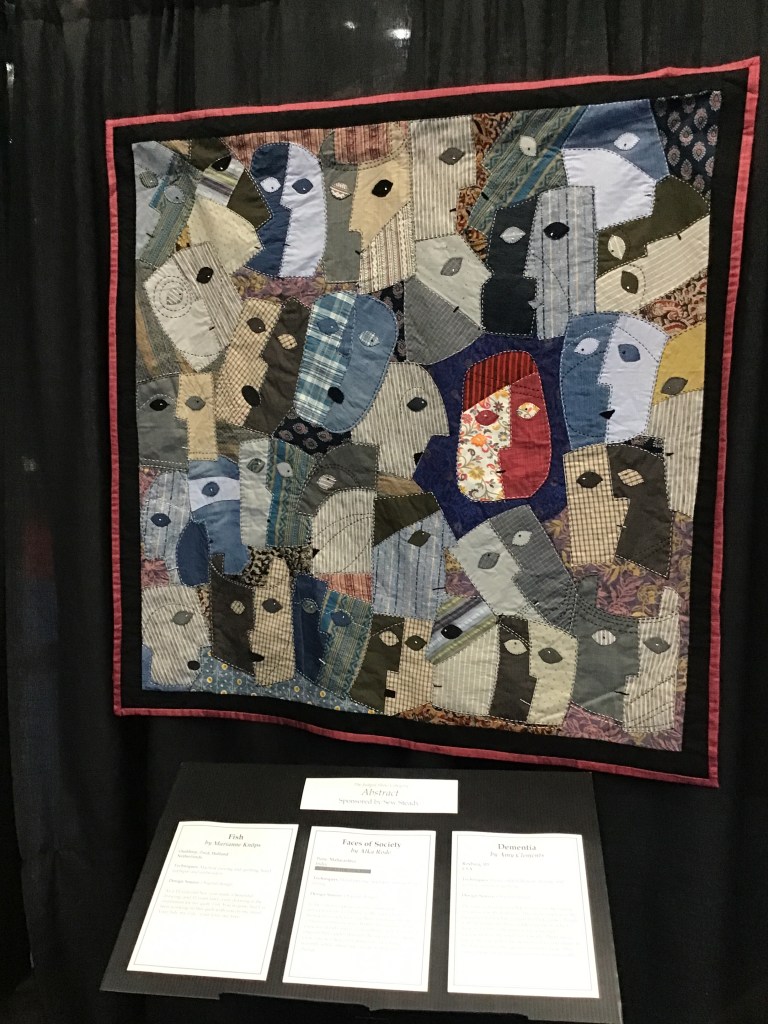
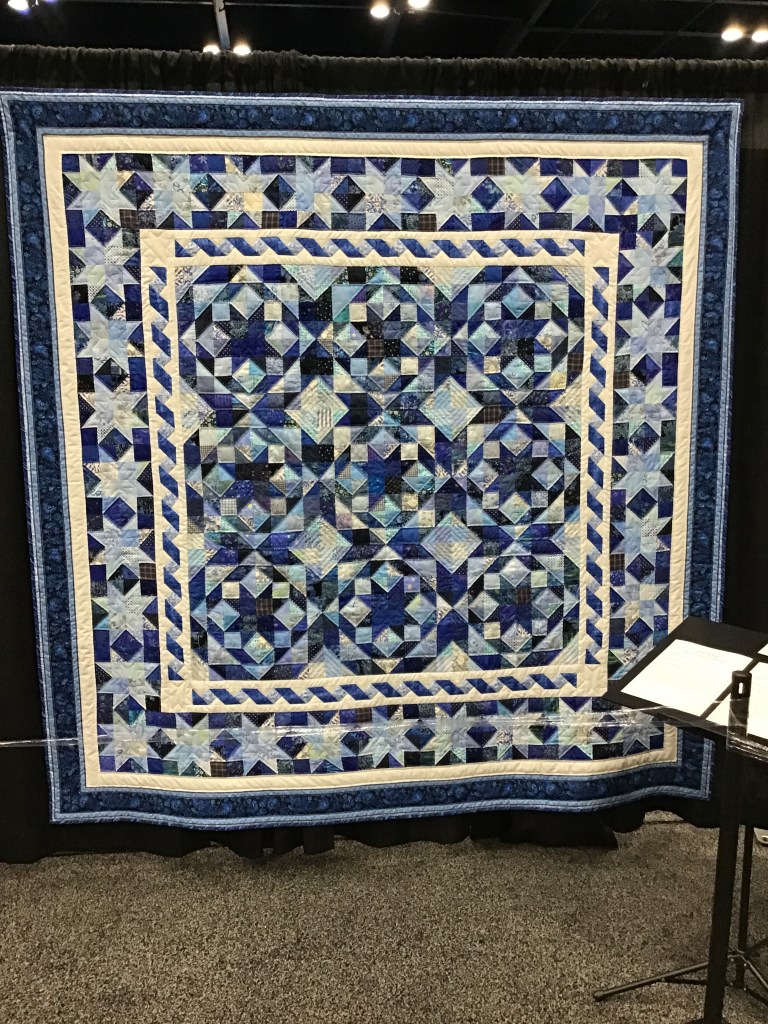
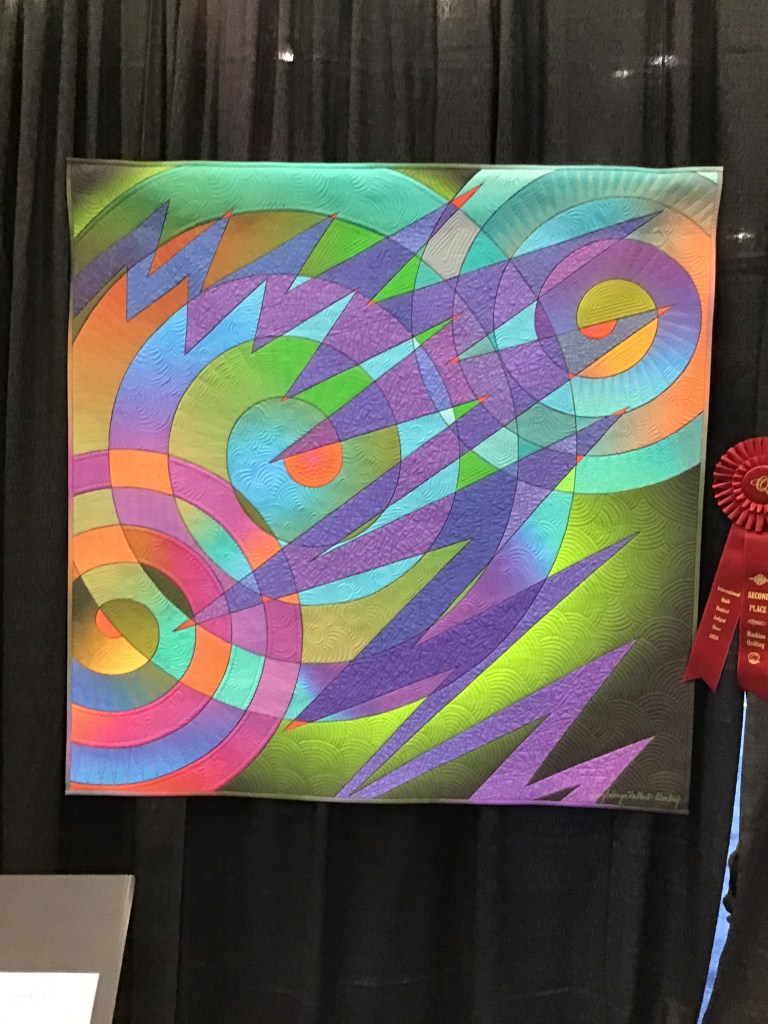
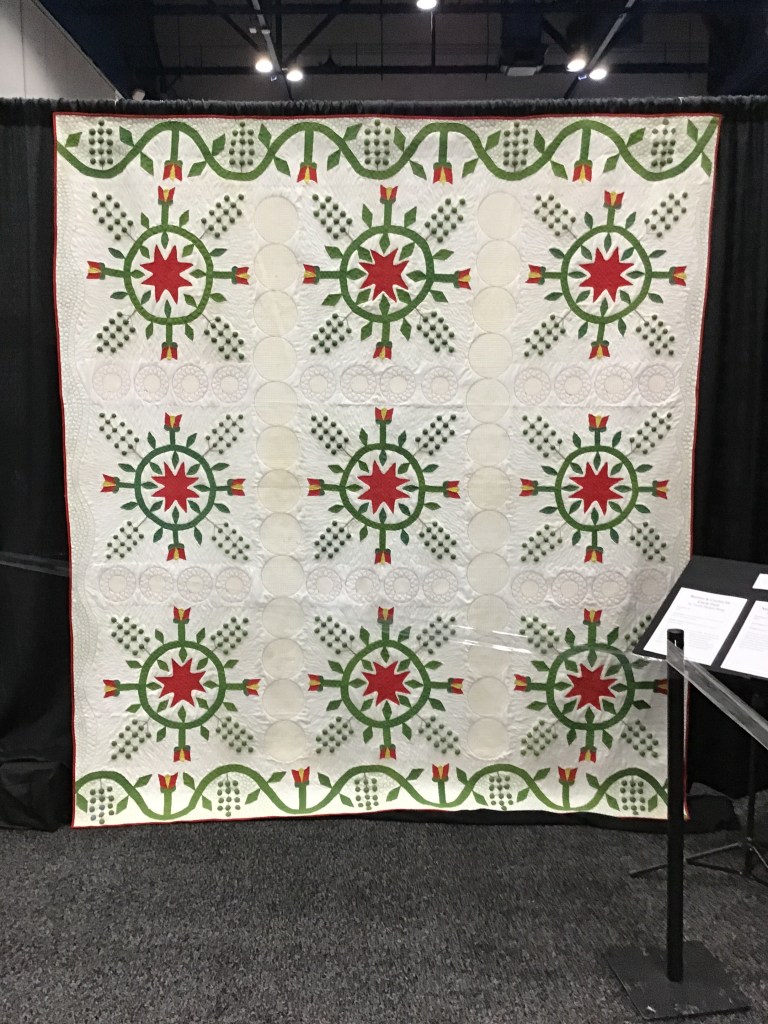
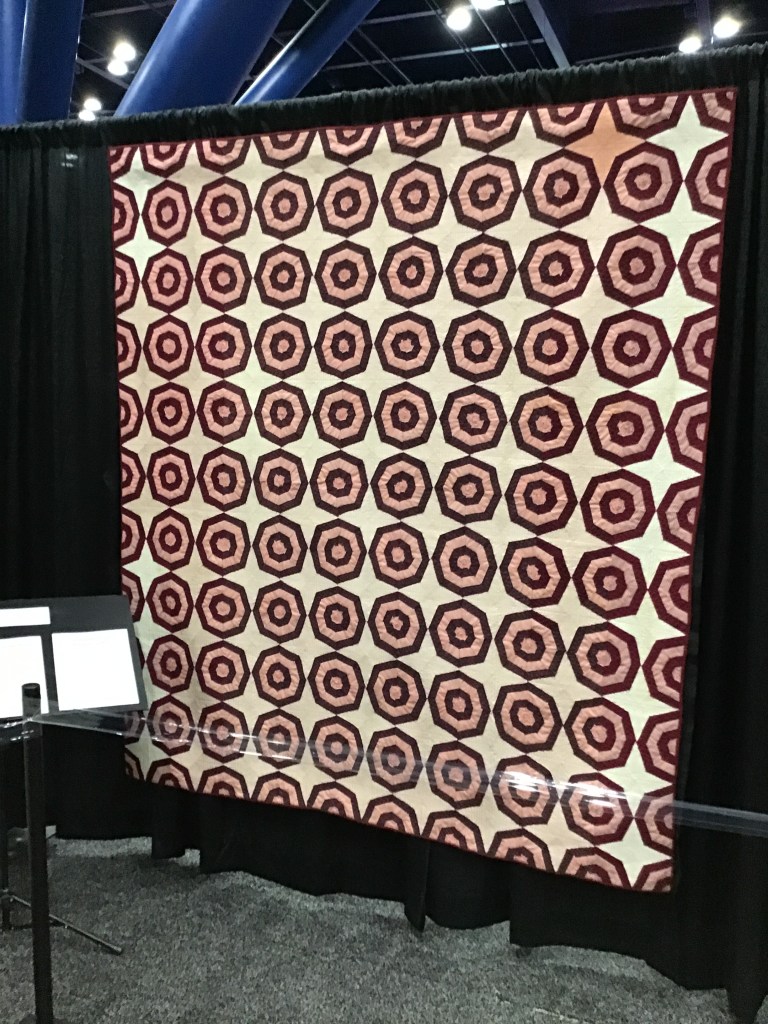
Take your time and please enjoy the quilts in the slideshows, below. I am not going to introduce each slideshow because the first image of each slideshow tells you the Exhibit along with a description (in most cases).
Just a quick note about Sharyn’s display — the quilts are arranged from right to left instead of the usual left to right. Knowing this will help make sense of the quilt timeline Sharyn created.
Below you’ll find information about the planned Exhibits for 2025. Have you ever thought about submitting a quilt for International Quilt Market and Festival? Maybe 2025 will be your year!
I wanted to share more about Festival, but it’s getting late and I need to wrap things up. So, that’s it for me this week. Stay tuned for next week — I’ll announce our 12 Quilts of Christmas winners and I want to show you some of the fun stuff I found at Market and Festival.
Just got home from International Quilt Market and Festival in Houston. Texas was a very welcoming and friendly place, like always. I didn’t get to many places as it was primarily a work trip, but I did make it to Phoenicia. Unfortunately, I never made it to Guadalajara’s for lunch with my quilty pals, Cathey and Leslie – maybe next year.
I am deliriously happy to be writing this post on my trusty desk top computer instead of the laptop I took with me to Houston, which fought me every step of the way. What a relief to type and actually see the words show up on on the screen one at a time instead of me typing and waiting and waiting some more before my words actually made it it onto the screen.
It’s always great to get home after being away for a while. You should have seen my pup, Bailly, when I walked in the front door. She was so excited she could hardly contain herself – her little backside was wiggling like crazy and her tail was doing circles! There’s just something so incredibly special to come home to a furry pal, even if you were only gone a few hours. The cats were also happy to see me and showed me in their much more reserved cat-like ways. It feels so good to be loved like that. Of course, I brought goodies home for each of the fur babies from my trip! And Bailly is wild about her new yellow squeaky dog shaped like a banana. LOL!
Before I jump into a bit about Quilt Festival, I want to share the NEW November Rose Card patterns with you, which came out while we were at Festival last week.
NEW November Rose Card Quilt Patterns
We’ve got 5 new throw-sized quilt patterns for this month from 5 different VRD designers.
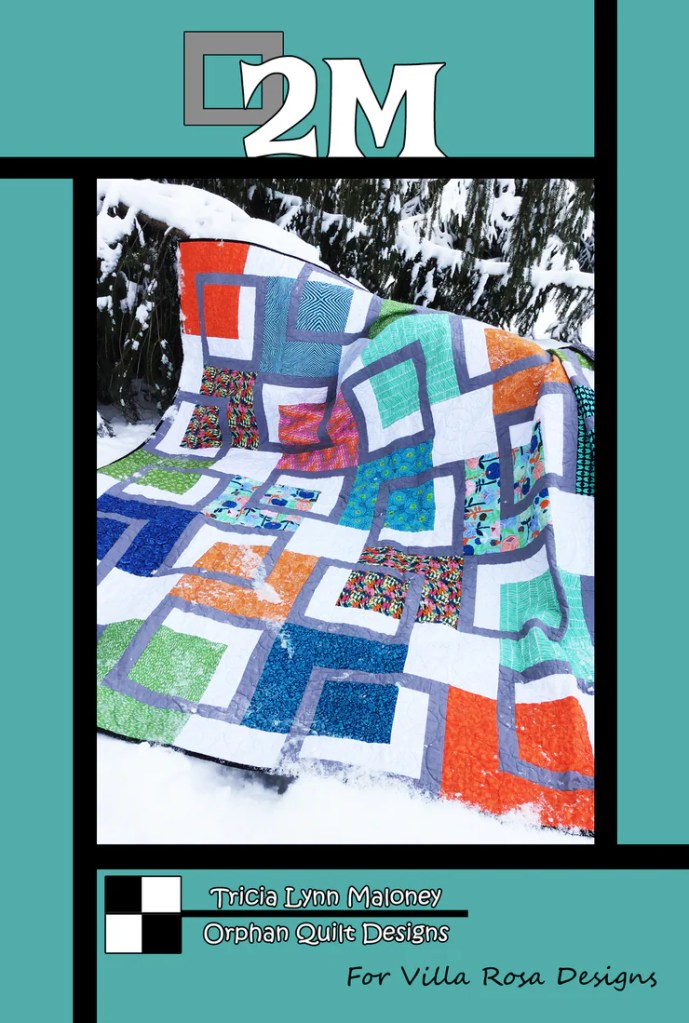
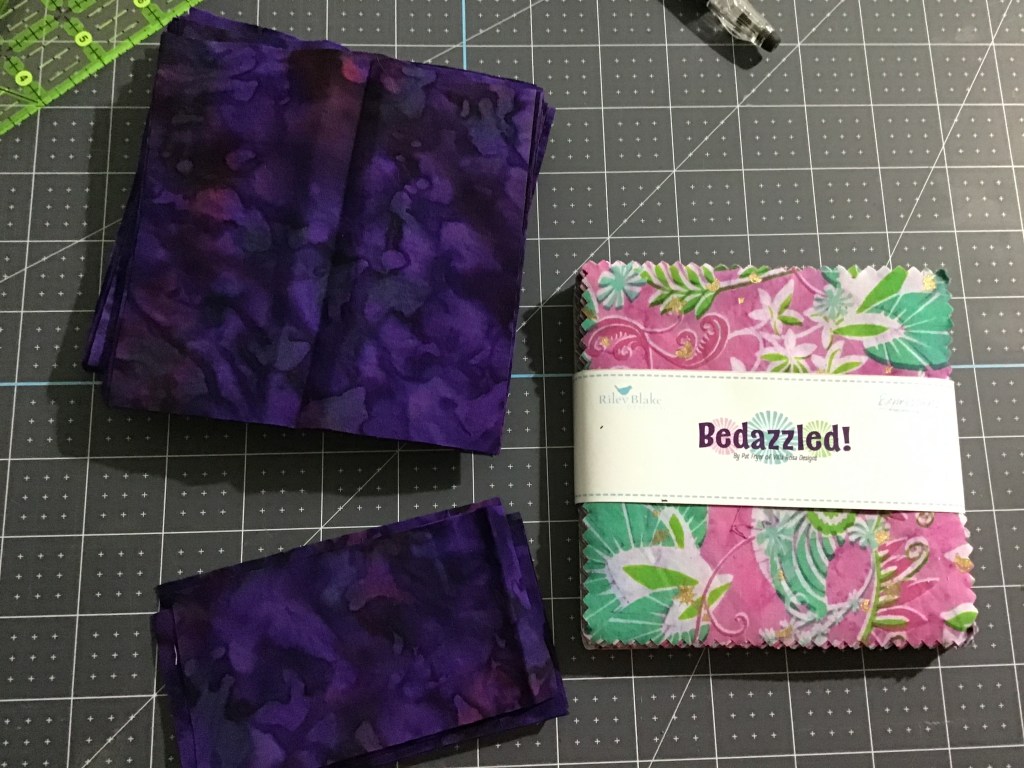
I’m excited to finally show my new throw-sized pattern, 2M Junior. If you loved the original 2M pattern (see below), but maybe didn’t want to make a large bed-sized quilt, then 2M Junior is just for you. And I’m absolutely thrilled to tell you that I used Pat’s new Riley Blake fabric collection, Bedazzled, in 2M Junior. Bedazzled is shipping to shops in December and you’ll be able to pre-order it soon.
Get your 2M Junior print pattern HERE or your digital pattern HERE
Get your original 2M print pattern HERE or your digital pattern HERE
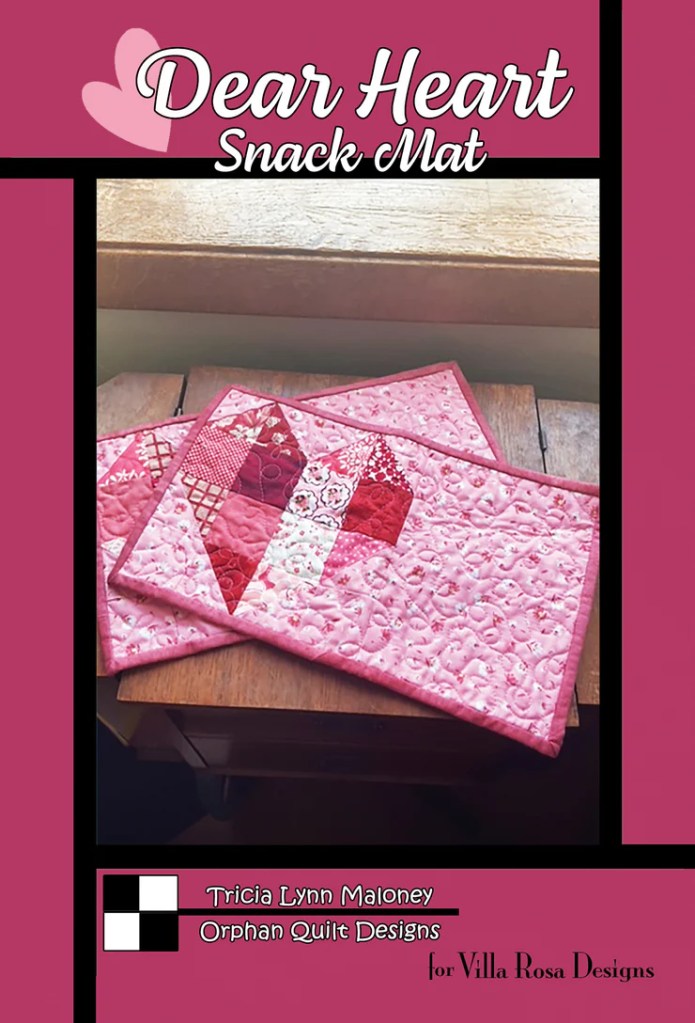
And we can’t forget this month’s table runner, Bespoke, and our new snack mat, Little ‘Shroom.
Get your print Bespoke HERE and your digital Bespoke HERE
Get your print Little ‘Shroom HERE or your digital Little ‘Shroom HERE
With 7 brand-new November patterns to choose from, which one will you make first???
International Quilt Festival’s 50th Anniversary
This year, 2024, International Quilt Festival celebrated its 50th Anniversary! How amazing is that??? There were something like 1100 quilts on display!
I spent some time exploring the quilt displays, but I definitely did not see all of the quilts this year. I did take lots of photos to share with you, however!
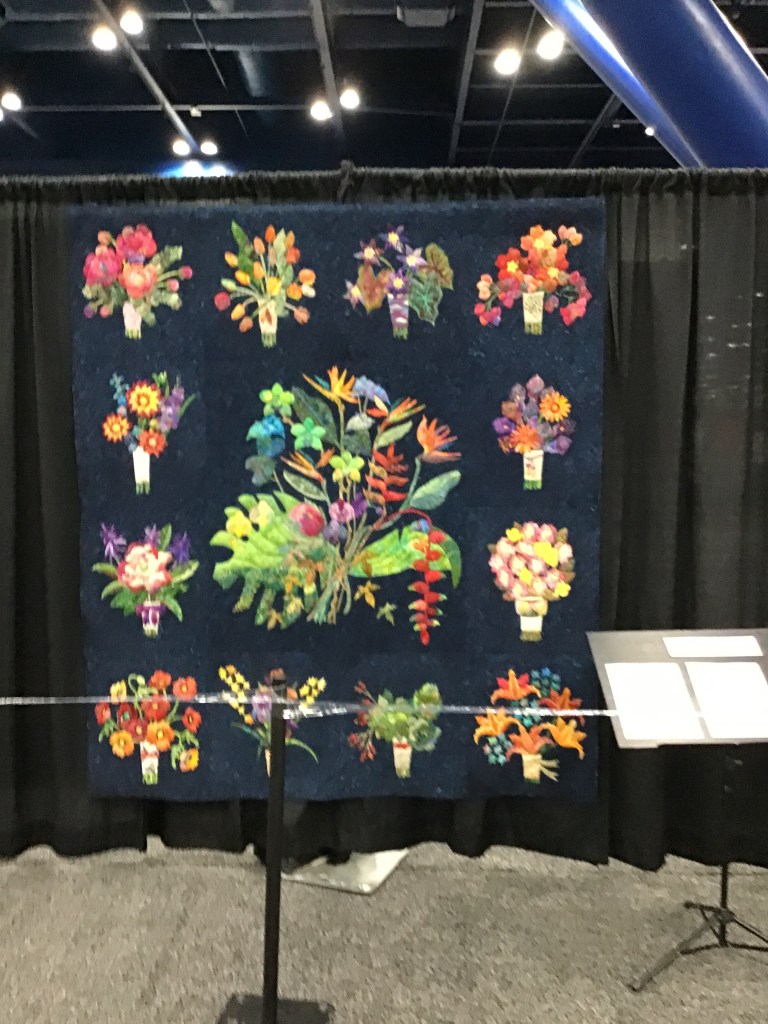
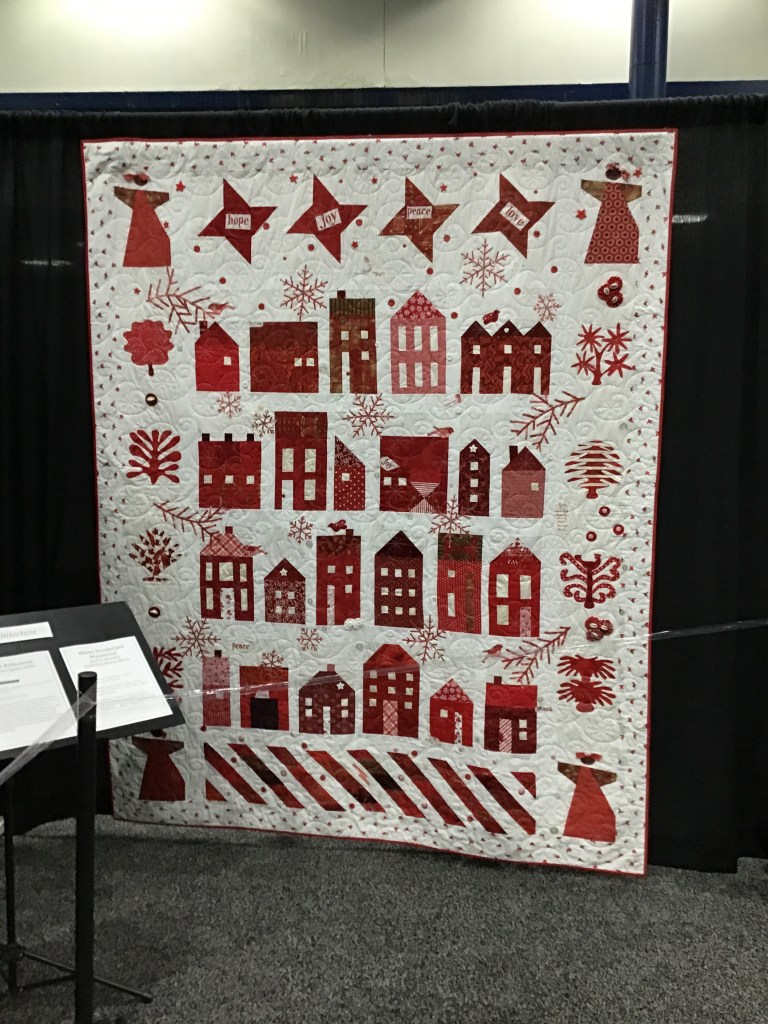
There was a special Red, White, and Blue quilt display hung from the ceiling in the quilt area. Oh my goodness! It was mind-boggling! So many gorgeous quilts from traditional to modern from small to large all in red, white, and blue.
Let me share some photos I took, although they cannot do justice to the display at all, but I hope you will enjoy them.
Inside the circle of quilts hanging from the ceiling was a mini quilt display.
There were also more red, white, and blue quilts all the way around the ceiling display, too. Here are 2 of my favorites by the amazing Combat Quilter, Andrew Lee.
Well, I guess that’s it for me today. I hope you enjoyed a peek at some of the quilts on display. Stop back next Thursday so I can tell you more about my trip to Houston for Quilt Market and Festival. And, yes, there will be more quilts, I promise.
Whew! What a crazy whirlwind the last few days here at Quilt Market have been! As I sit down to write this, Market is over and Festival is just beginning and I thought I’d share a little bit about my Market experience with you. So here goes.
Time to Travel
While Molly and Heidi were flying in from California and I was on my way from Pennsylvania last Thursday, Pat was already here in Houston. Pat spent the day hauling stuff from the van to the booth and running here and there to pick up shipments. Molly and Heidi’s plane was diverted which made them arrive a few hours late and my plane was early, so the three of us actually met at the airport.
Check out these really cool clouds I saw from the plane. I’ve never seen clouds quite like this before with strange finger-like projections on the top of the clouds. You might need to zoom in on the photos to see the weirdness.
DID YOU KNOW?????? Snack Mats are a great accessory for plane travel — they are just the right size for the seat trays. What a great way to brighten up your flight (and keep things clean) as you enjoy the onboard snack and beverage. I discovered this quite by accident when I was finishing a bit of binding and laid my mat down on the table. Huh! Happy accident! You can find ALL of our VRD Snack Mats so far to date HERE.
Up to this point, everything had seemed so easy for me – too easy, I guess – as there ended up being an issue with Molly’s rental car so the three of us went to 2 different rental companies until we were finally on our way to the house Pat had rented. We dropped our stuff off at the house and headed for Wal Mart to grab what we needed. Wouldn’t you know it, but the closest Wal Mart wasn’t even a real Superstore because it lacked sections such as dairy and produce, so we ended up having to go to Randal’s to pick up our food items. Yikes!
We finally made it back to the house so we could settle in. Sheesh, I was totally worn out! Travel days can be like like that, can’t they?
Behind the Scenes at Marketand SEW Much More!
We headed to the Conference Center the next morning on Friday to get the booth set up for Quilt Market. This is definitely no easy task, let me tell you! First, you have to get everything inside so you can set up your booth. Luckily Pat had spent Thursday doing just that so we didn’t have to move much inside. Secondly, you have to navigate around all the other vendors’ stuff sitting in the aisles as they are also setting up their booths. Let me show you some photos of set up. Don’t forget the loaders and equipment, the trolleys and carts….
See what I mean??? These photos are looking up and down the aisle the VRD booth is located in.
And here’s our VRD booth in the beginning stages. We had a Schoolhouse session at 1:55 PM, so we couldn’t do much with the quilts until afterwards. Schoolhouse sessions are basically mini break out lectures where vendors can share their current and upcoming products and programs.
I was thrilled that our quilting partners, Hoffman, were in the booth right beside us. It was great seeing my Hoffman pal, Sandy, again. Oops, I never did take any photos of their booth. Mea culpa…..
So, halfway through set-up, we took our cart of quilts (which you see above in the third photo) and headed up to the classroom assigned to us for our session.
WOWZER!
There ended up being well over 100 people in attendance to see what was new with Villa Rosa! And to see all the quilts, too! Amazingly, we showed every single one we brought upstairs. It was crowded and standing room only — just the way we like it. YAY!
Look at all those happy people!
Then it was straight back to the booth to really get it set up. Molly and Heidi worked on hanging quilts. Pat and I kept working on Rose Cards. It was hustle time!
Finally, we were ready for the onslaught of eager shop owners on Saturday! It never fails to amaze and delight me when a disorganized space suddenly turns into a beautiful booth. Big SHOUT OUT to Molly and Heidi — they hung all the quilts, moved tables, helped Pat figure out the layout….
Me, I just try to stay out of the way and look pretty. LOL!
Quilt Market is On!
Saturday went incredibly fast as we were pretty much swamped all day. It took all 4 of us to man the booth. I just LOVE chatting with everyone and hearing their wonderful VRD stories and experiences. I didn’t get to grab any photos for you on Saturday, sorry.
Sunday was also pretty steady, but not the mobs like on Saturday. Molly and Heidi had some meetings at fabric companies to order new fabrics just for you! You’ll have to stay tuned to see what new fabrics are coming into the shop over the next year.
Here are some great photos Molly and Heidi wanted to share with you:
By the way, Molly promises to drop into the blog soon – she’s working on some new posts just for you. 🙂
Monday was my play day! Woohoo! When I wasn’t needed in the booth, I headed right down to the first aisle and enjoyed some great eye candy as I meandered my way through the aisles. I was such a slowpoke, though, because I kept stopping and chatting, but hey, that’s part of a show, isn’t it? After all the Markets I’ve been to now, I’ve developed lots of show friendships over the years, so it’s great to check in with folks and catch up.
Of course, I also love to meet new people, too.
I even managed to get some photos with a few folks myself. Cool!
With Minki Kim, a Riley Blake designerWith Kaffe Fassett and LizaWith Brandon Mably
I stopped by and met some other great designers too. Sandy Gervais has been one of my all-time favorite fabric designers for a very long time, so it was great to meet her.
Monday was such a relaxed day, I didn’t feel like I had to hurry to see everything all at once. Surprisingly, I did actually get to see everything. Yay!
This is a wonderful felt board set – it’s a felt panel! – by Jennifer for her Created With Love fabric collection coming to shops in May 2025. There will even be a felt panel sew along in May, so watch for it!
I absolutely adore it!
When I was a Children’s Librarian at my local public library a few years ago, I led a Tuesday Toddler Time and we always did some kind of felt board activity. Oh, how the kiddos would have loved this set. It does come with a cute little book for storage and play, but you could use them on a large flannel board, too. If you have little ones in your life, you might want to watch when this collection comes out and grab the felt panel because it probably won’t last long.
Schiffer Publishing booth
I wouldn’t be a very good book nerd if I didn’t show at least one photo with books, would I? There were 3 different publishers present this year. That was really great to see because since the Pandemic, book and magazine publishers have been slow to return to Market. Still no magazine publishers, though. Maybe next year.
Schiffer Publishing (the photo above) has always been my go-to publisher for amazing historical quilt books with an abundance of gorgeous photos. It was so nice to see my Schiffer pal, Joe, and catch up with him. I haven’t seen him at a show since before the Pandemic so it was great to see him.
C&T Publishing was there this year, too. In addition to being one of our 2024 Blog Hop participants and sponsors, they were my publisher for my book, I Love Precut Quilts!
Fox Chapel was there, too. They were also one of our awesome 2024 Blog Hop sponsors.
Next up is Quilt Festival! If you’re planning to attend, please please please come see us and introduce yourself — we would love to see you. You can find us at booth 721. I promise, we’ll have some great shopping for you – kits, patterns, fabric, and super fun fat quarter bundles! Wait until you see our amazing dump table.
See you there!
Well, looks like that’s it for me this week! Stay tuned for next week’s post all about Quilt Festival!
Today is the day! As you read this post, I’m on my way to Houston, Texas for International Quilt Market AND I am staying for Festival again this year. I wasn’t originally planning to do that, but things worked out and I am able to stay for Festival now. Yay!
I definitely have to thank my family for taking care of my Bailly pup, my kitty boy Griffy and our kitty girl Pip. I know they’ll be spoiled and loved, but I will miss them a lot while I’m down in Houston. It will be fun to come home again to my Bailly’s tail wagging a million miles a minute! And I can’t forget my Griffy’s show of affection when he gives me random whole body rubs against my legs. And Pip — what can I say? – she is very quiet and observant of everything around her, but she’ll walk right over to tell me she’s glad I’m home. If you’re a pet parent, I know you’ll understand exactly what I’m talking about.
If you are planning to attend Market and/or Festival, I hope you’ll find time to stop over at the Villa Rosa Designs booth and say hello! Pat, Molly, Heidi, and I would love to meet all of you in person! 🙂
The VRD booth during Festival 2023.
I’m sitting here, smiling, thinking about last year’s Market and Festival. My friend, Cathey of Cathey Marie Designs, and I met for lunch during Market — we hadn’t seen each other since Market 2022. This year, our friend and fellow designer Leslie, is attending Market with Cathey. My fingers are crossed that we might be able to break away for a little lunch at Guadalajara, our favorite Mexican restaurant in downtown Houston, but we’ll see….
Last year my pal, Gaynel, and her sister Evie, went to Quilt Festival, so I was able to have a quick lunch with Gaynel — giant Texas-sized potatoes, of course! A long way to travel for lunch! LOL!
Here I am, showing off my yummy potato smothered in cheese, sour cream, and bacon!
Did I mention the food??? LOL! One of my favorite things to do when I travel (which is actually not very often) is to try different restaurants. Who wants to spend time cooking when you can spend time eating????
Of course, while I do get to have a bit of fun, I am also working at the VRD booth for Market and I get to help at the booth during Festival, too. Market and Festival are such a whirlwind of creativity, inspiration, and exhaustion.
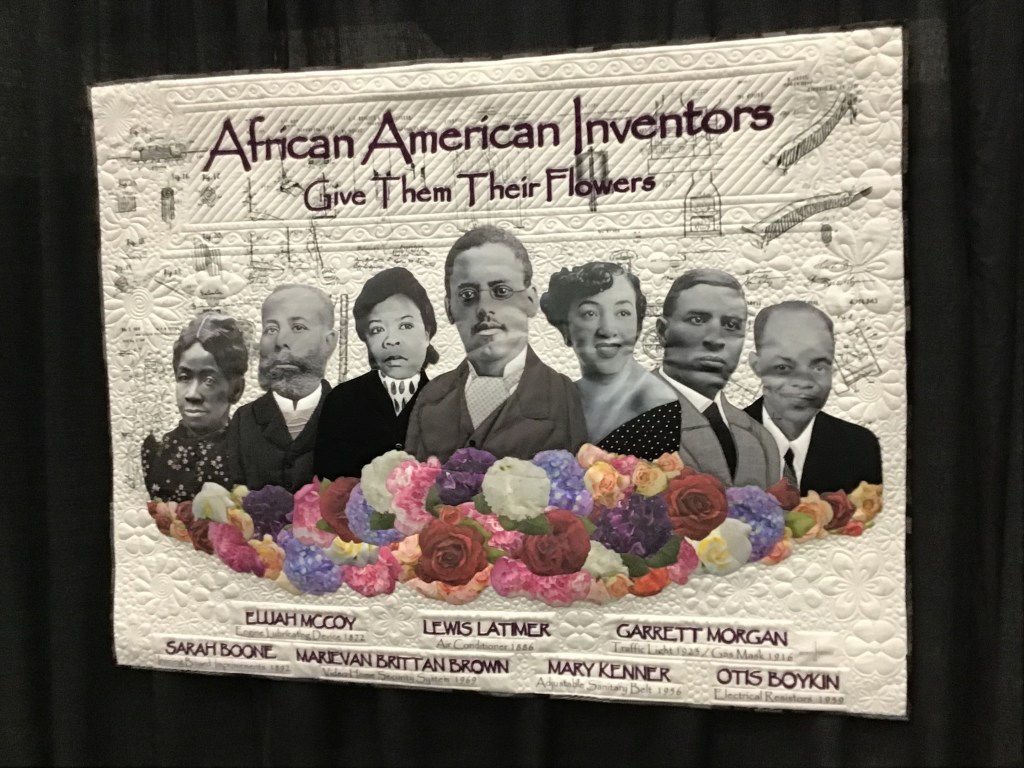
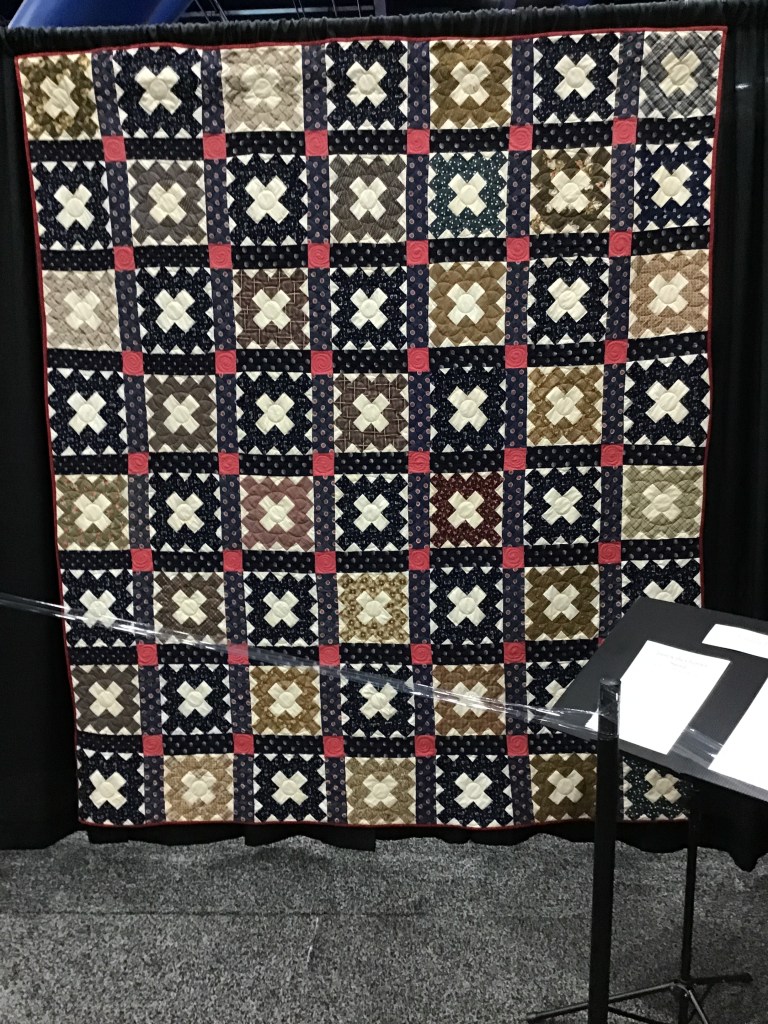
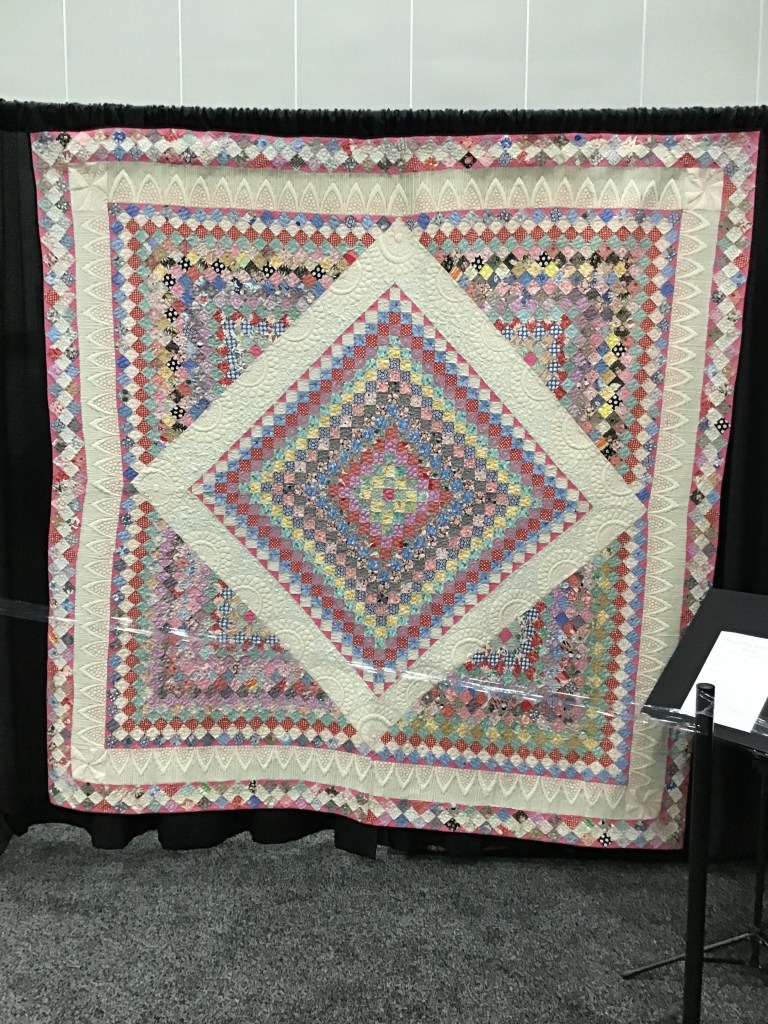
One of the biggest features of both Market and Festival is the HUGE amount of quilts on display in the exhibit area. Most of the time, I don’t get to see all of the quilts, but I sure do try to slip a little quilt-gazing into my trip. Last year, there was a wonderful antique quilt display and I was lucky to be in the right place at the right time to participate in a quilt walk through the exhibit. what fun! There were quilts from the 1800’s right up to the 1980’s! Some of my favorites were the unique and original African American quilts. I am in awe of the art these women created with what they had. I really could have stood there for hours just looking at the fabrics and how everything fits together!
I was also totally mesmerized and amazed at how quilters in the 1960’s and 1970’s turned double knit polyester into gorgeous works of quilted art. I have always been fascinated with the idea of double knit quilts and I am very lucky to have a couple examples now — sweet little doll quilts. I will definitely have to share some of my sweet and wonky doll quilts sometime on the blog, won’t I?
What else is there to see at Market and Festival? Why, the people, of course! Lots and lots of folks from all over the world — it isn’t called International Quilt Festival for nothin’! I just love to hear all the happy and excited voices in different languages on the show floor, in booths, among the quilt exhibits, at the food court, and in the halls. The excitement and inspiration is so intense, you can almost taste it.
You might also get the chance to meet a famous quilting rock star, too. Over the years, I’ve met quite a few of my quilting heroes and they are always so gracious, even when they are mobbed by their fans.
Both Market and Festival offer a plethora of classes, too, although I rarely get the chance to pop into any classes these days. While Market Schoolhouse lectures are going on, we’re busy getting the VRD booth together for you. When it’s time for our VRD schoolhouse session, we grab the quilts and hurry upstairs. Then it’s back down to the show floor to finish setting up the booth.
If you’ve never been to Quilt Festival, I hope you’ll get the chance sometime — it’s the biggest most awesome quilt show and shopping venue! And if you are a quilting professional, I hope you get to attend Market at least once to experience all the sights and sounds of the quilt industry.
I count myself so lucky that I’ve been to Market more times than I can count and this year will be my second Festival. I’m ready — bring it on!
If you celebrate Halloween, I trust that you are buying candy and putting together Halloween costumes as well as possibly planning your Halloween parties and events. When I was a kid, my family was really into Halloween. Of course, my sister and I went trick or treating (only treating, I assure you) and we often hosted a family-friendly Halloween party for friends and their kids. I remember one fun year, we blacked out the the windows in our garage and made a spooky room with pumpkin-headed creatures and creepy music. Our guests arrived to the party at the garage entrance and toured our display before entering the actual party. We had a playroom in the basement part of the garage (where my dungeon office and studio live now) and all of us kids hung out there while the adults commandeered the upstairs space. Ahhhhh, those were the days.
Of course, not everyone celebrates Halloween, but for those of you who do, what are your traditions? And what are your most cherished Halloween memories? Any favorite costumes?
My favorite costume was when I dressed up as an “injured” person, complete with bandages and a pair of crutches (I really detested those crutches by the end of trick or treating, I can tell you!). My friend, Shelley, and I went trick or treating together that year. We’d visit the houses one block at a time while my Mom waited in the car at the end of the block. Shelley chose to wear a fancy purple dress, a tiara, high heels, and a white fake fur wrap. She told everyone that she was Barbie and she hit me with her Barbie car! This is really true — I couldn’t make this one up if I tried. Good times…….
I know that you probably already realize Villa Rosa Designs has patterns for pretty much any occasion or need, but did you know we have some great Halloween quilt patterns, too?
Today I thought it would be fun to share them with you. And you know with VRD Rose Card patterns, you still have time to get a quilt finished before the holiday! Yes, they really are THAT fast and fun!
When I was strolling through the VRD website this evening, I even discovered this simply adorable Halloween Parade panel! And it’s still in stock. You can find it HERE.
But wait…..there’s more! The ladies at the shop put this panel and coordinate fabrics together into an On Key kit just for you! It includes the pattern, panel, borders, and binding. All you have to add is a little time, thread, batting and backing and you’ll have this too-cute-for-words Halloween quilt done and on your wall before the Halloween! There are a limited number of these On Key kits left so grab your kit HERE.
Time for us to get started on our curated list of Halloween Rose Card patterns! If you want, feel free to turn out the lights and turn on your flashlight for just the right touch of spooky………
Lucky you! The kit for the quilt sample on the Pumpkin Patch pattern, above, featuring the Candelabra collection, is still available. You can find the kit HERE.
Again, lucky you — there a few Pumpkin Pie kits still available featuring the Happy Harvest fabric shown on the pattern front, above. You can get yours HERE.
Okay, go ahead and turn the lights back on – the list is over. Tehehe.
Seriously, though, I hope this list gave you some fun Halloween inspirations. And you still have time to make a new quilt before the holiday. Remember, Villa Rosa Designs Rose Card patterns are super fast and fun!
That’s it for me this week. Take care and enjoy a little bit of October color!