
Hello Quilty Friends!
Happy Thursday!
Hi guys! Psst! It’s me, Molly!
It’s been a long time since I jumped on here for a tutorial, but I finally got this one put together just for you!
I was looking at some panels in the shop recently (to see my tour of the VRD shop, go HERE) to sew up into a quilt. I was SEW inspired by the National Parks panels and I LOVE that there are a couple of different choices. Have you seen these yet???

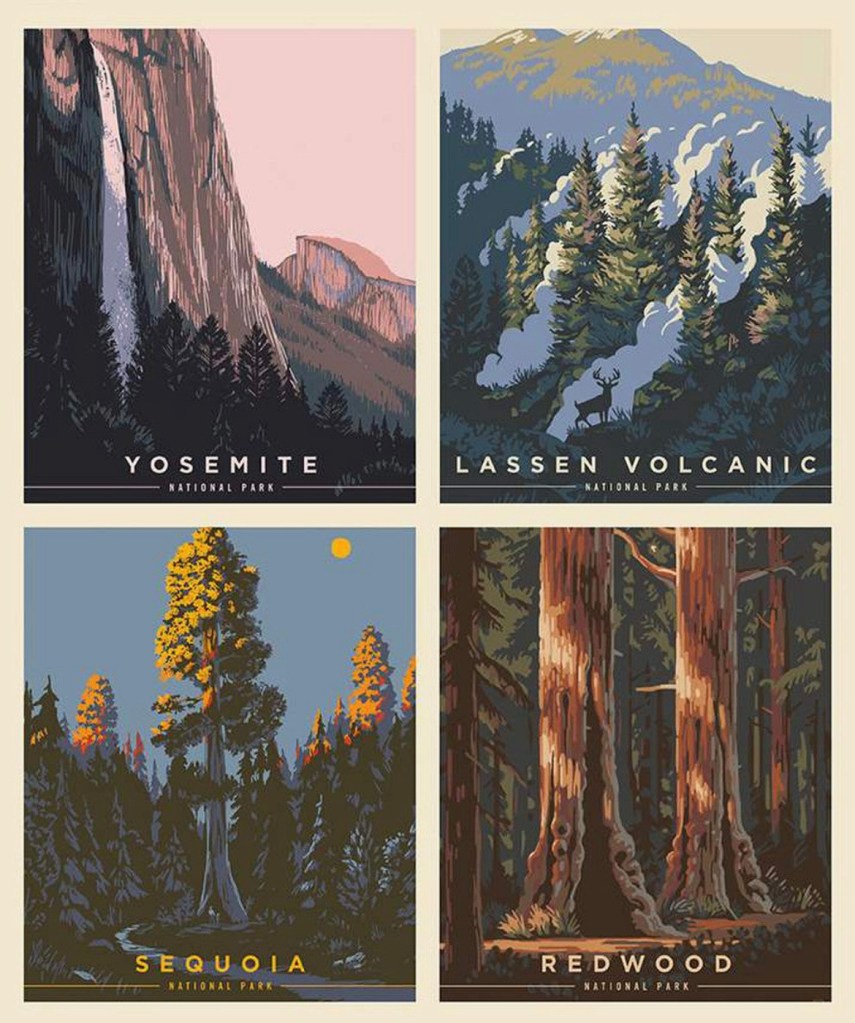
You can find the Utah panel HERE and the California panel HERE.
We also have some awesome Rose Card patterns to showcase these great panels!

Both are fun and amazing patterns — of course, I might be a little biased, since one is my sister’s pattern and the other one is mine. LOL! 😁
If you don’t already have these great patterns in your stash, you can find digital Picture Perfect HERE, digital Adobo HERE, print Picture Perfect HERE, and print Adobo HERE.
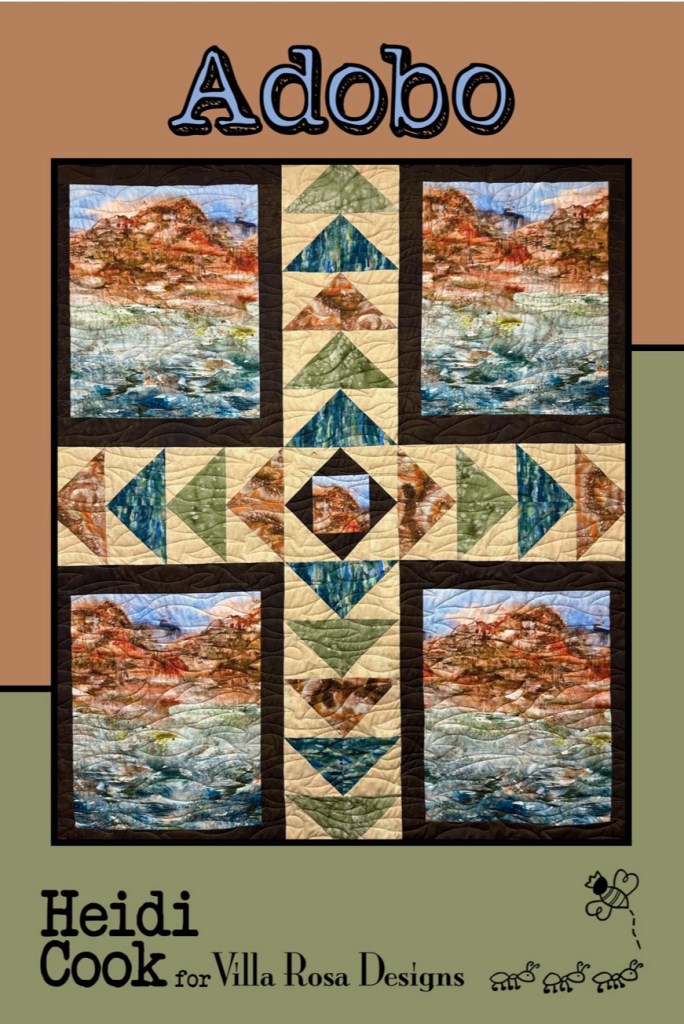
For today’s tutorial, though, I’m going to do Heidi’s pattern Adobo because I really want to use the Riley Blake Utah panel.
VRD Adobo Quilt Pattern Tutorial
GUESS WHAT????
You can sew along with me! We made up kits for today’s tutorial. Go grab your Utah Adobo kit HERE and we can sew together! How cool is that?
Your Adobo kit will include all the fabric for the top and binding as well as the pattern.
I wanted to make this Adobo quilt in all Riley Blake Designs (RBD) so I found some RBD fabrics that pulled out the colors from the panel — Poparazzi sand for the background, Poparazzi brown for the sashing, with Dapple orange, Blossom brown, and Blossom green for the Flying Geese.

Let’s get started!
Cut the squares from the background and the coordinates. Pair up each coordinate square to a background square.
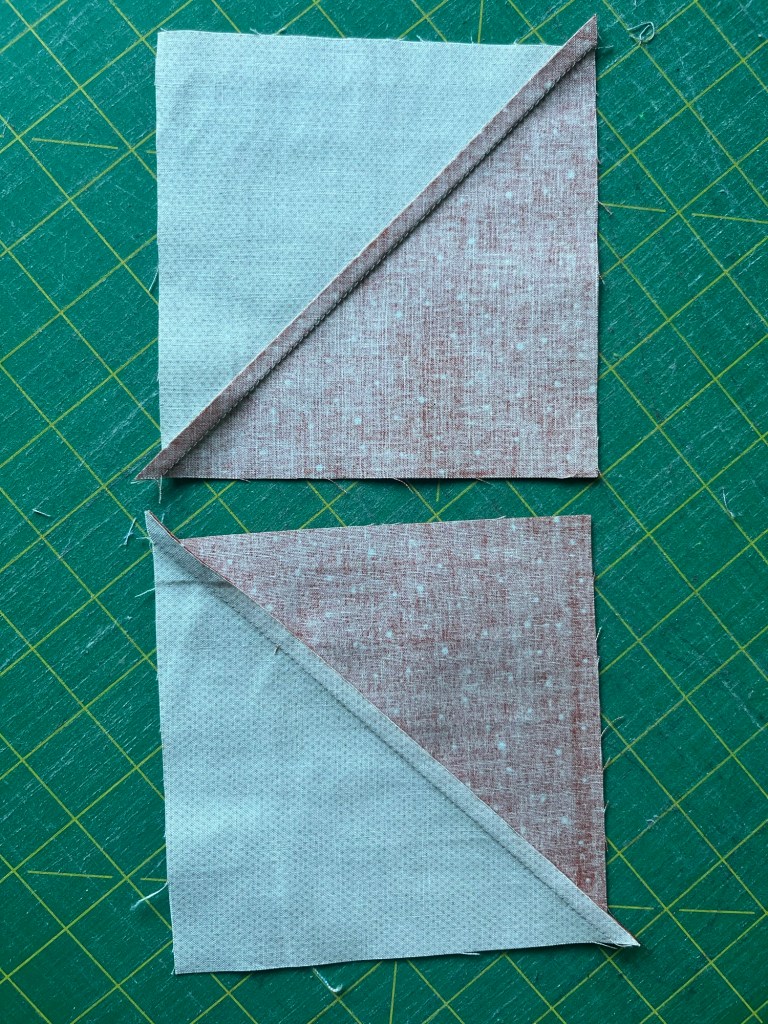
Make Half Square Triangles (HSTs) by drawing a diagonal line then sewing 1/4” on either side. Cut apart and press open. Don’t forgot to square up your HSTs if needed.
Tip from Heidi (who’s keeping an eye on me as I work on this tutorial) – Press half the seams of each color HST to the background and the other half to the color.


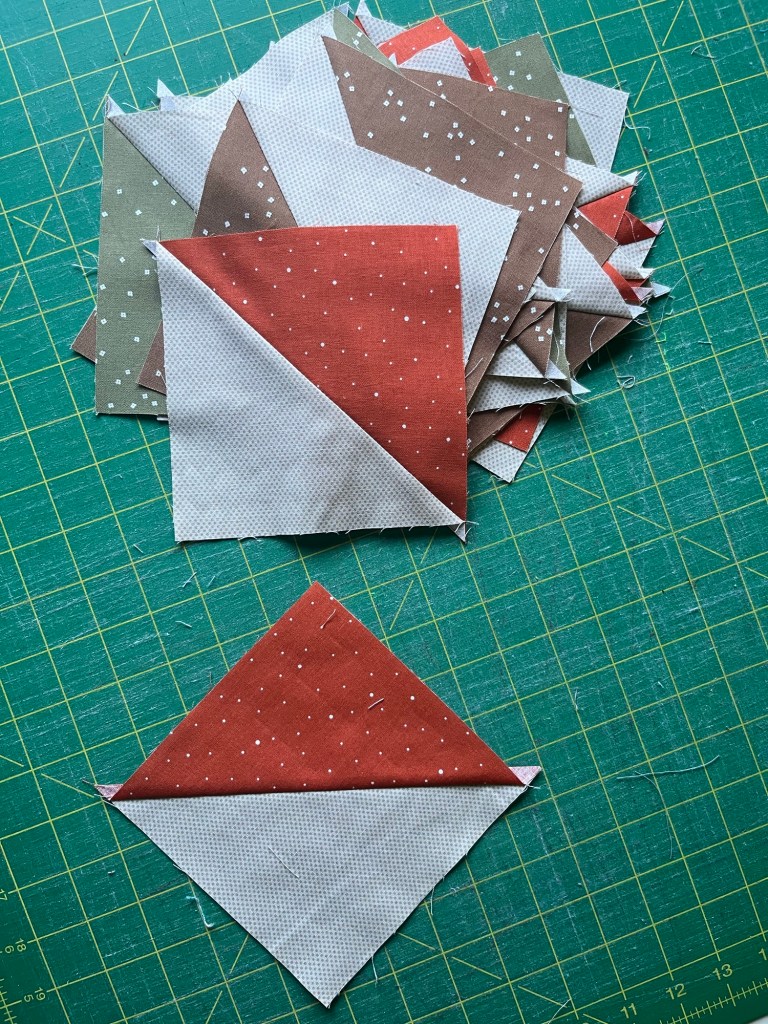
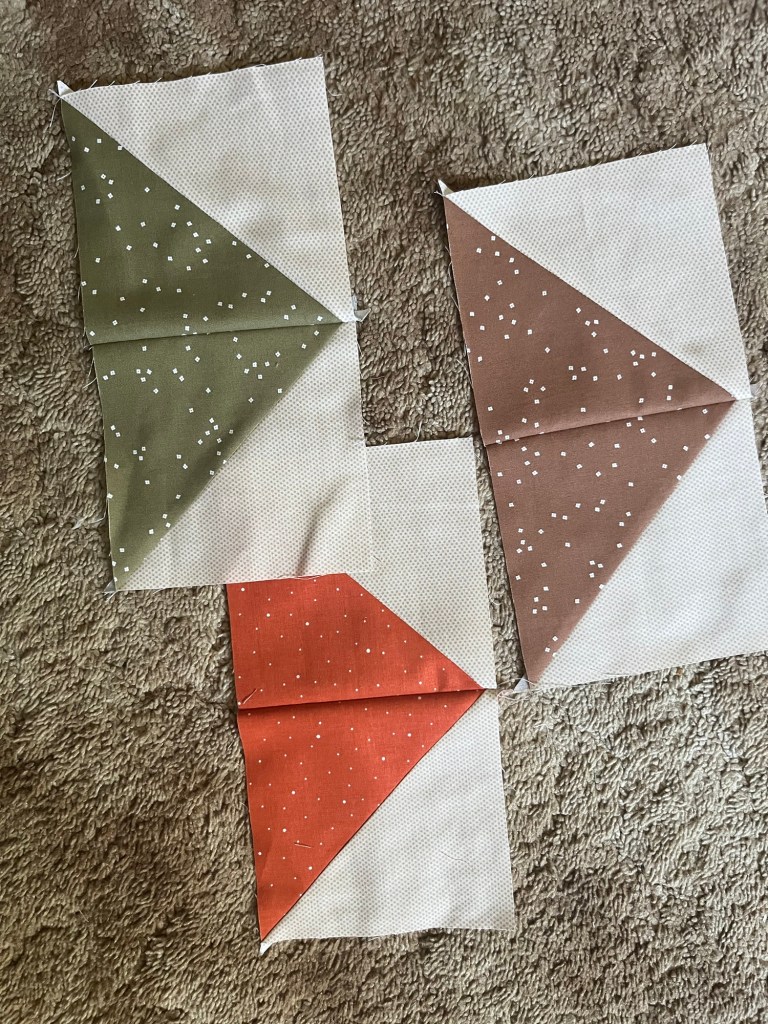
Now sew 2 matching HSTs together to make a Flying Geese Block A. If you pressed half of the HSTs to the colored fabric and the other half to the background, use one of each to make a Flying Geese Block A. Like magic, the seams will lock together! Great tip, Heidi!
Next we need to create a Flying Geese block for the sashing center. We’re going to use a slightly different technique for this one.
Layer a background square right sides together (RST) on the side of a rectangle sashing fabric. Draw a diagonal line from the bottom outside corner to the opposite top corner. Sew on the drawn line and cut 1/4″ away from the line. Repeat for the other side. Make 4 Flying Geese units.

Next sew background squares to the ends of 2 Flying Geese units.

Sew the 2 Flying Geese units to the sides of an orange square. Then sew the Flying Geese units with the background squares on the ends to the top and bottom. Make 1 Block B.
Molly’s Tip – If using your main print for the center square, cut it from the yardage after you cut your main print/panel C pieces.

Instead of using a main print, though, I’m using the Utah panels so we just need to cut them apart (make sure they are the right measurements – trim if needed).
If using a main fabric, cut the C pieces to the size listed on the pattern.

Next, cut the sashing and add them to sides first, then to the top and bottom. Make 4.

Lay out the main print/panel C pieces and the Flying Geese Block A’s so the Geese are flying away from the center. Sew together (please note that I added an extra background strip to the top and bottom of my quilt. Feel free to do the same, but you will need a little bit more background fabric).

Layer your quilt. Quilt it as desired. Bind it. And don’t forget your label!
TA DA! That’s it! Done! Eazy piezy!
I’m going to add one more little detail to my quilt — I’m going to embroider UTAH in the center square!
Here are some other fun Adobo quilts VRD has as kits. You can find them HERE.


Thanks for stopping by and sewing with me!
Now let’s check out the new January VRD Rose Card patterns!
NEW January VRD Rose Card Patterns
I’m excited that I get to show the new patterns off today! Tricia usually does it, but today it’s my turn. Yay!
Here are the 5 main patterns.

Look! There are 2 panel quilt patterns this month – one using a 24″ panel and the other one uses a 36″ panel. Cool!
Rewey uses fat eighths, Pink Piece uses fat quarters, and Yorkshire uses half yards.
This set of patterns gives you a nice variety to add to your VRD Rose Card collection. You can get all 5 print patterns HERE (if you want digital patterns, you can order each pattern individually).
But wait — there’s more (Sorry, been wanting to say that)!
Tricia has a new table runner for you called Snowfall.

You can get the print Snowfall HERE or the digital Snowfall HERE.
And here’s our 11th Snack Mat, Woolly Mitten (just in case you’re keeping track, this is the next to the last one).

You can get the print Woolly Mitten Snack Mat HERE or the digital Woolly Mitten Snack Mat HERE.
We still have some kits available for this month’s patterns (if you know me, I’m all about kits). Get yours now before they’re gone cause they’re going fast.
Farm Fresh (with the Out of Farm’s Way collection)
Pink Peace (with the pink Tim Holtz fabrics)
Yorkshire (with the Elegance collection)
Yorkshire (with the Toil & Trouble Halloween collection)
Rewey (with Australian fabrics)
Well, that’s it from me. I can’t wait to see your Adobo quilts.
Until next time —
Sew. Laugh. Repeat.
Later,

Thank you for the tutorial! I love the new cards for this month too!
LikeLike