Hello Quilty Friends!
Happy Thursday to you!
I am thrilled to show you our NEW September Rose Card patterns! I can’t wait until the first Fry-Day (Friday) of each month when the new set of patterns is released — it’s always great to see what our awesome VRD designers have come up with. You can see the new patterns first if you have joined the email list to receive our VRD email newsletters.
What??!! You don’t get our newsletter??? You can sign up for our newsletter HERE.
Of course, I follow up with the newest patterns on the next Thursday after the patterns are released each month here on the blog in case you missed them in the newsletter.
Well, here they are! Cue the trumpets! Throw the confetti! Applause!
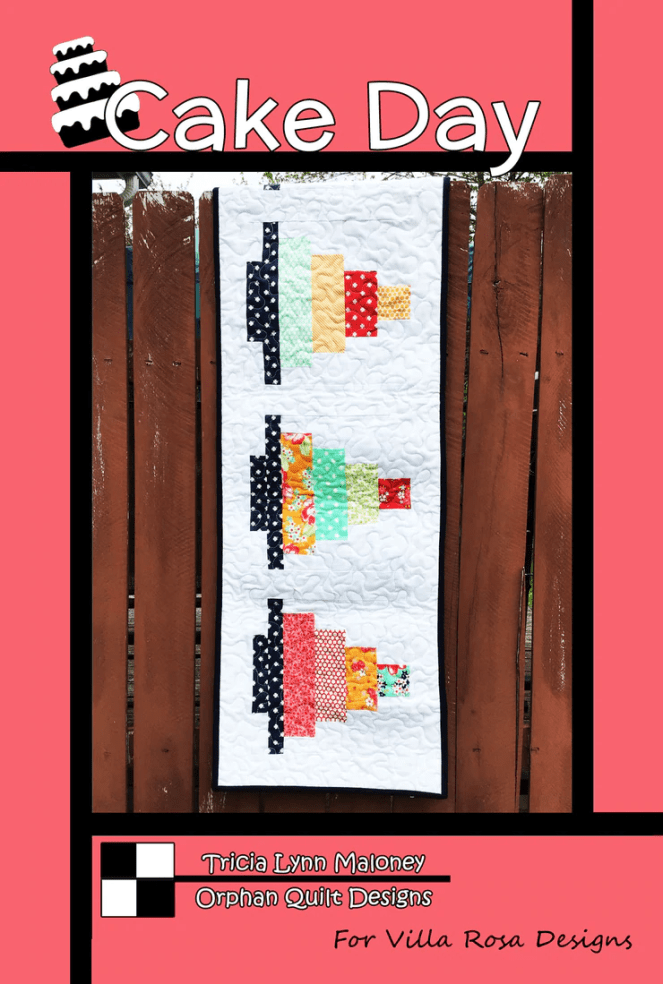
September’s NEW Rose Cards

You can order all 5 cards HERE for the low low price of $8.95.
But WAIT…….there’s MORE! (Sorry, not sorry — you know how much I love saying this.)
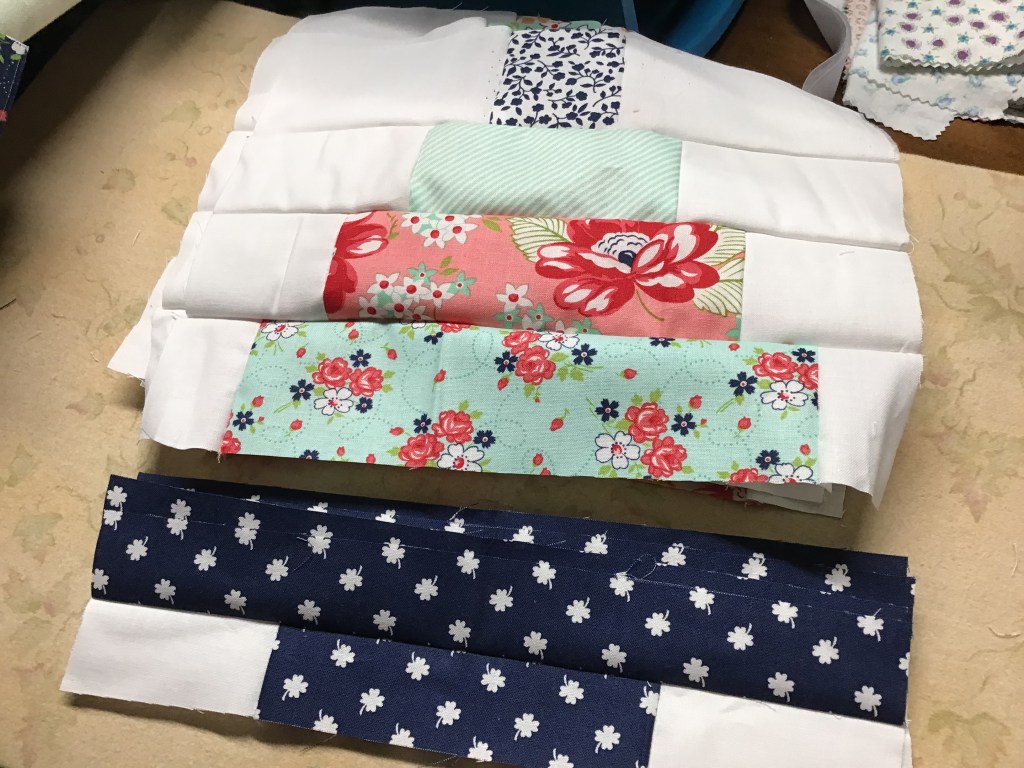
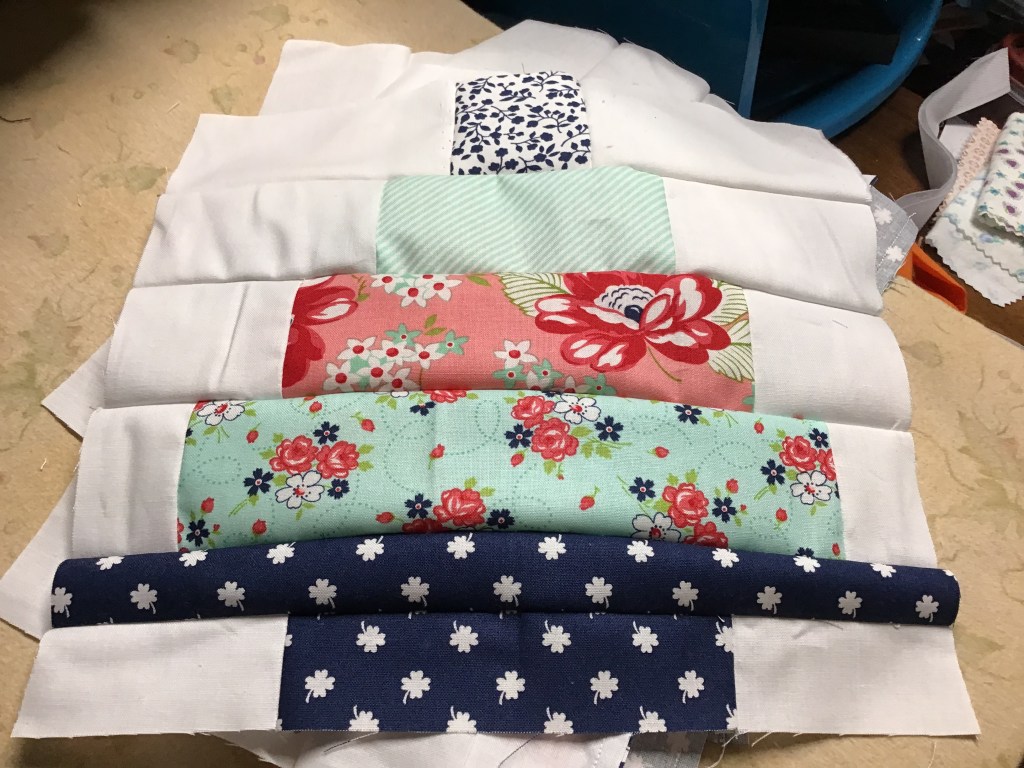
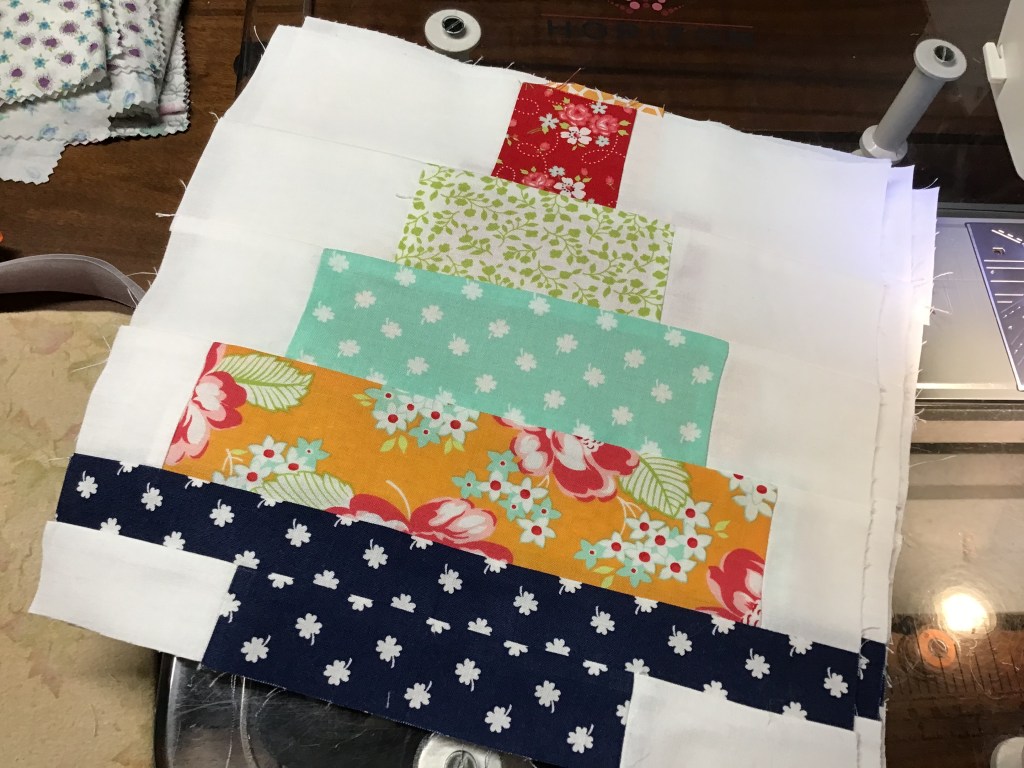
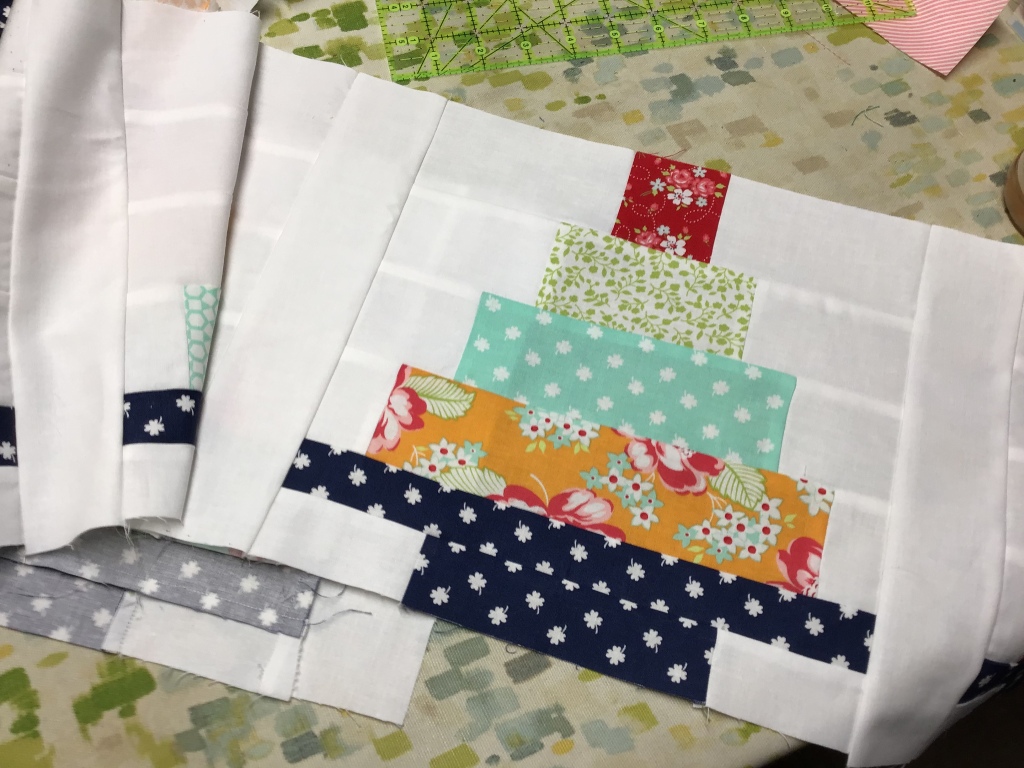
Here’s my September table runner, Maple Grove!

You can buy the Maple Grove pattern HERE.
There are also kits for some of the September Rose Cards — did someone say KITS??? Each kit comes with the fabric for the top and binding as well as the pattern. You can find kits below, for as long as they last.
Of course, our website, www.villarosadesigns.com, is always stocked with great kits. You can see our current kit offerings HERE. You’re sure to find one…..or maybe a hundred that you can’t live without.
Pressing Techniques
Let’s dive right back into our Basic Quilting Skills for Beginners with Pressing Techniques 101.
I bet you never really thought about the concept that there are different kinds of pressing techniques for different types of projects. Well, I’m here to tell you that how you use an iron for quilting is different than how you use an iron to iron your shirts or pants.
There’s ironing. And then there’s pressing.
According to the Merriam-Webster Dictionary:
(to) iron
1a : to smooth with or as if with a heated iron iron a shirt
1b : to remove (something, such as wrinkles) by ironing
(to) press
5 : to exert pressure (this is the closest definition for pressing with an iron I could find)
You can see a little difference between the two definitions, can’t you? Ironing requires moving the iron around while pressing is more of an up and down motion.
I found this pretty decent YouTube video from Hobby Lobby about the difference between pressing and ironing along with some tips. You can check out the video HERE.
Over the years, I’ve tried a lot of different irons from cheap travel models to expensive specialty irons. Some irons are hotter than others. Some have more weight so you don’t have to press down as hard. Some have longer cords or are larger models. Some have continuous steam or bursts of steam. So many choices, but it all depends on what you want out of your iron and what your budget is. So look around, test out different models and brands. Find the one you like the best, for what you want to do, don’t just go for the most expensive or the least expensive.

One of the coolest irons in my opinion is the Oliso iron. It lifts up after so many seconds so there’s no chance that you will burn your fabric or project by pressing too long or forgetting about the iron in the down position. AND they come in a bunch of really pretty colors! You can usually find Oliso irons at your local quilt shop or your favorite online vendor.
Here’s a great YouTube video by SewVeryEasy about what to look for in an iron as well as lots of tips and tricks. You can check out the video HERE.
Some quilters swear by using the steam function of their iron for pressing. Me, I like a dry hot iron for quilting AND I love to use Mary Ellen’s Best Press Starch Alternative. A long time ago, I used spray starch in the can, but got tired of the little flakes and the shiny spots on my fabrics, so when I found Best Press, it was a total game changer for me.
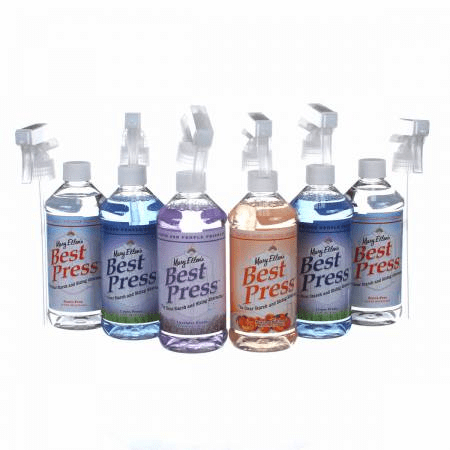
A little spritz is all you need. Best Press helps me to get crisper flatter seams without having to work very hard, which then helps my quilt fabrics to stay square and not to stretch out of shape. An added bonus is that Best Press comes in many fun scents and also comes in unscented, too. My personal favorite scent is Peaches and Cream. You can find Best Press at your local quilt shop or favorite online vendor.
I hope these pressing techniques and tips are helpful! Stay tuned for next week’s post all about batting, backing, and preparing a quilt for quilting.
Until next Thursday —
Sew. Laugh. Repeat.
Always,
Tricia @VRD