Hello Quilty Friends!
Happy Thursday to you!
Yep, it really is Thursday today. Bet I surprised a lot of you on Monday with our special VRD Announcement about upcoming changes (good ones, I promise you!). If you missed Monday’s VRD announcement, you can find it HERE.
Before I dive into this week’s inspirational quilt tutorial, I wanted to take a minute and share Hoffman’s Fall 2025 Project Catalog with you. I’m sure you’ve noticed I use a lot of Hoffman collections for our blog tutorials by now. We work closely with our friends over at Hoffman to inspire you by pairing new Hoffman fabrics and our easy breezy VRD Rose Card patterns.
Please enjoy the catalog and don’t forget to visit your local quilt shops to request these new upcoming Hoffman fabric collections and, of course, Villa Rosa Designs Rose Card patterns.
Lots of wonderful inspiration in this catalog, isn’t there? Which one(s) did you fall in love with and are adding to your “gotta make” list???
Now let’s make a quilt!
VRD Busy Bee Quilt Tutorial
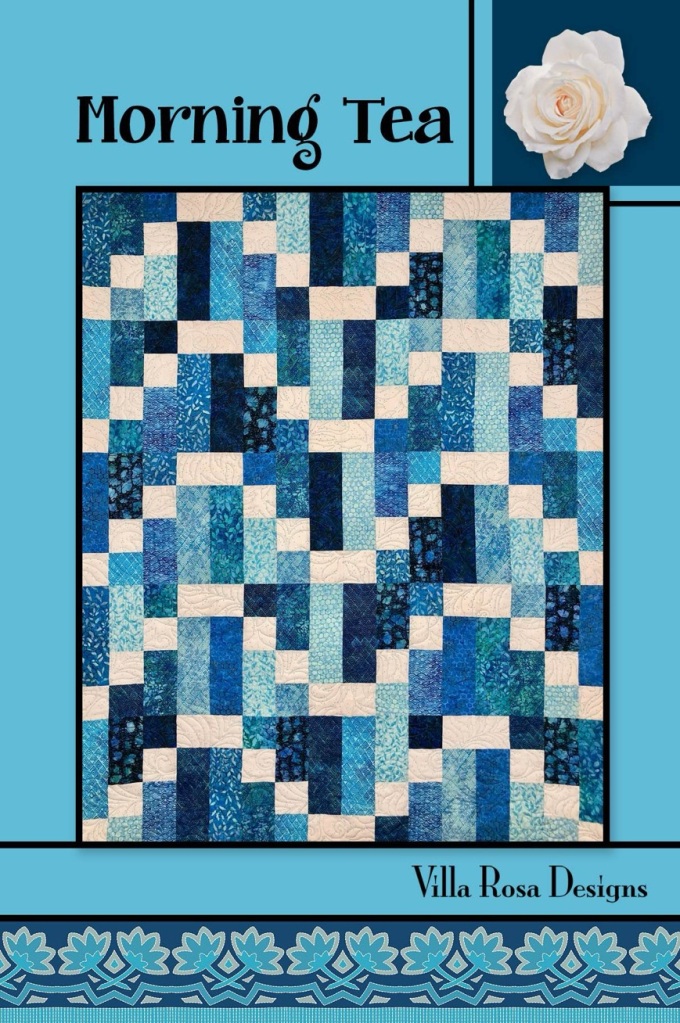
Are you ready for a super fun tutorial today? Busy Bee is an oldie, but a really great goodie! I know you’re gonna love it!
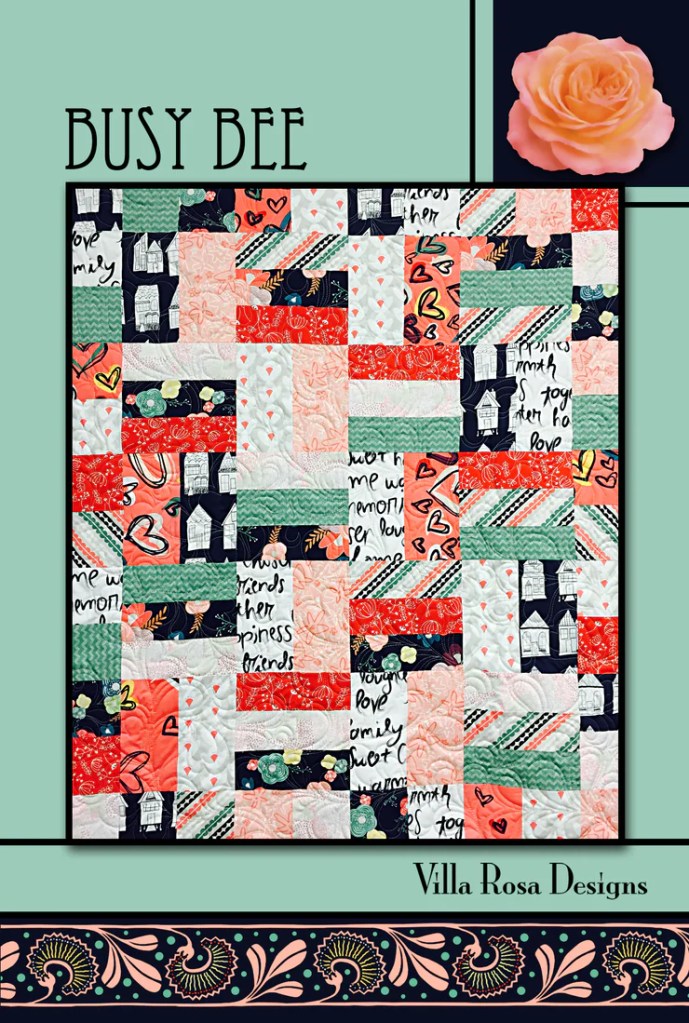
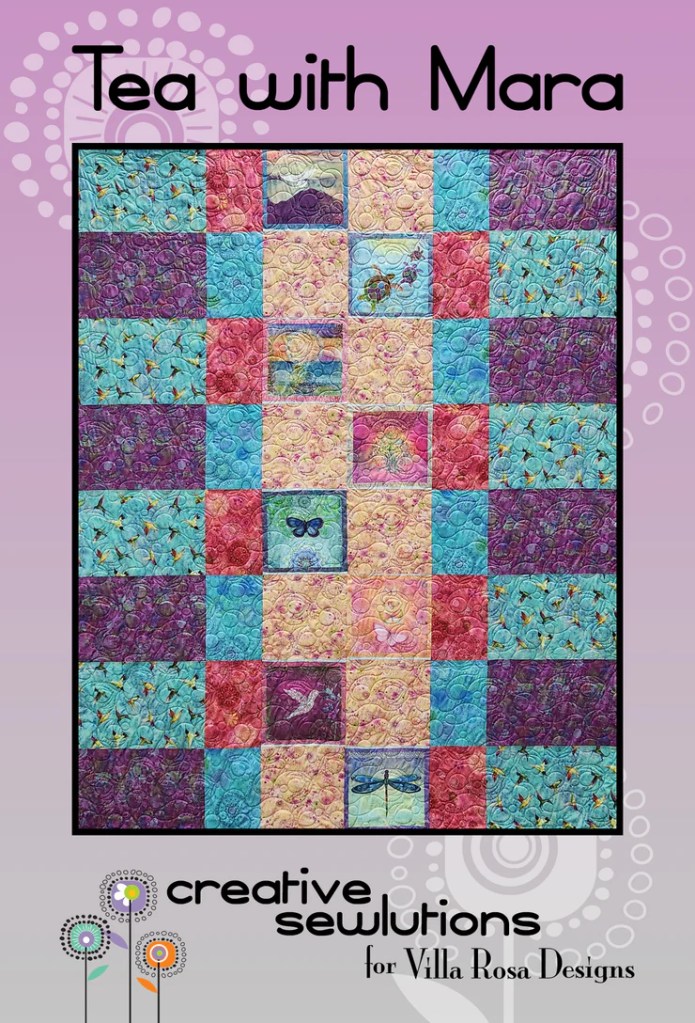
Get your digital pattern HERE or your print pattern HERE
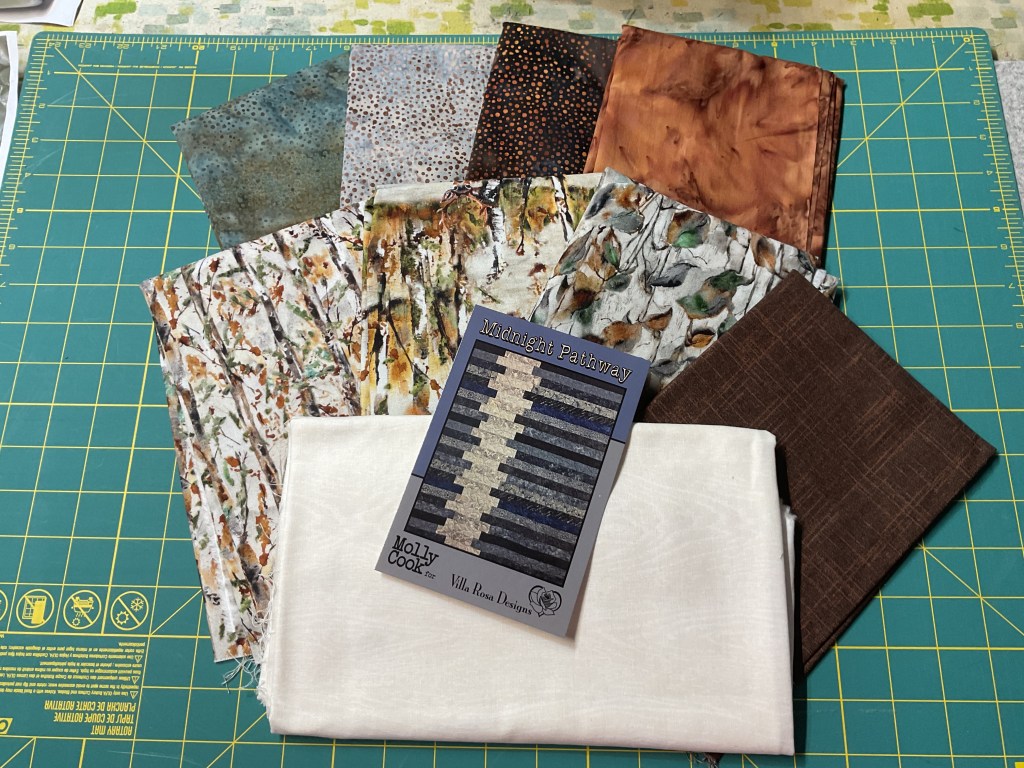
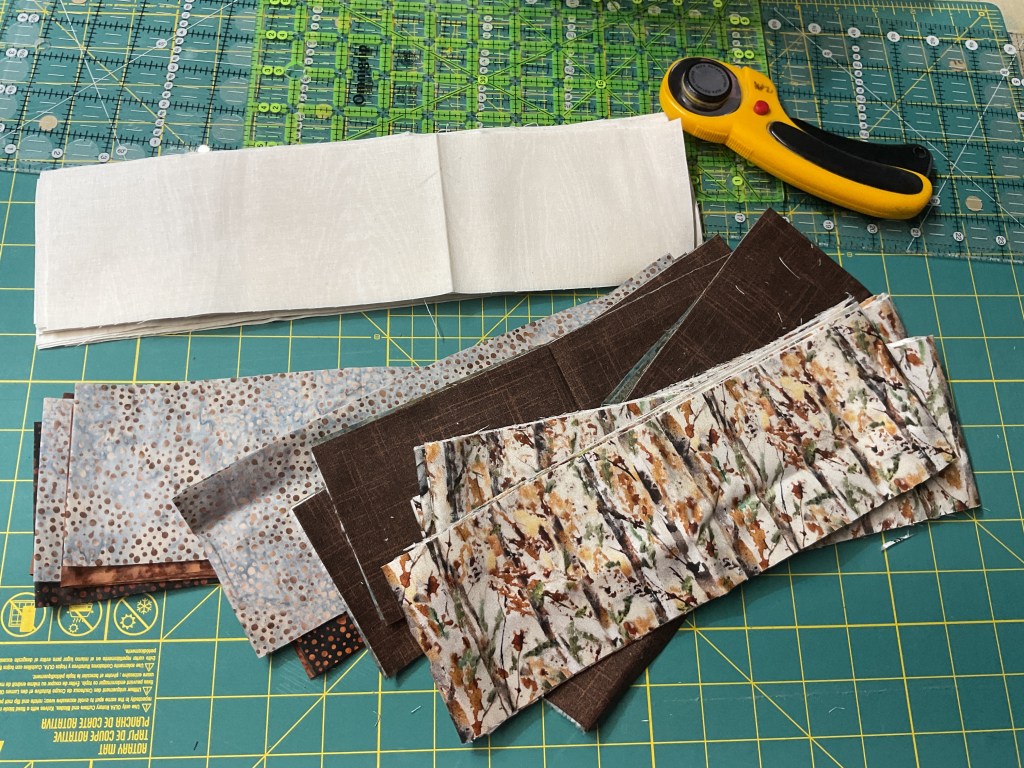
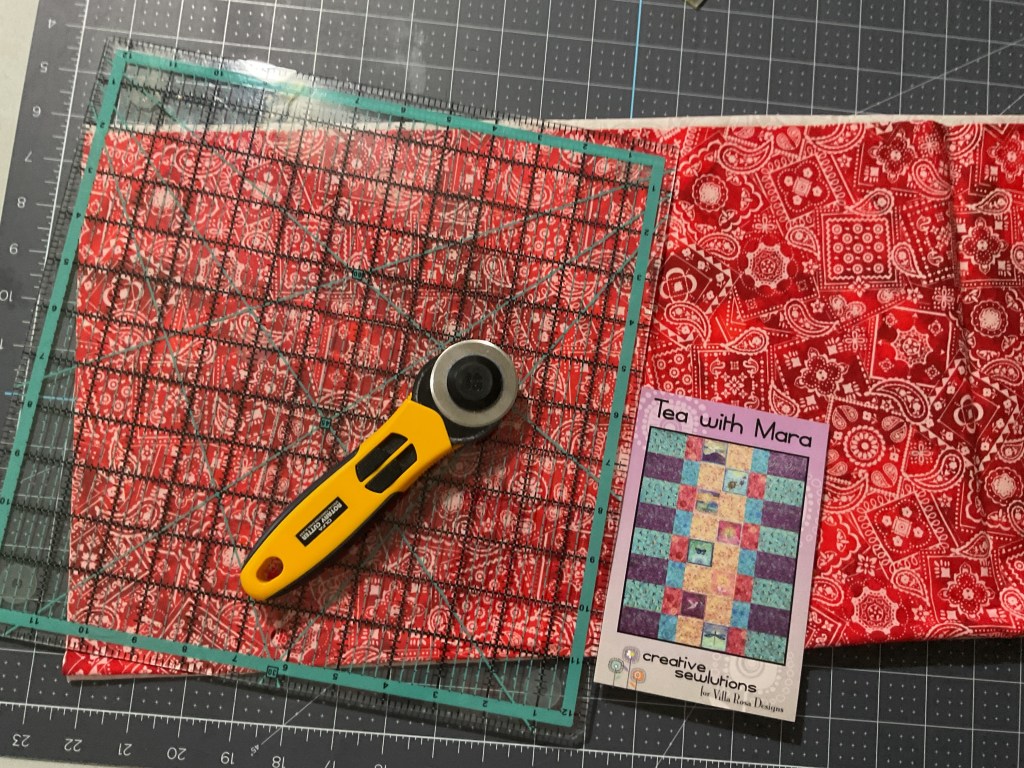
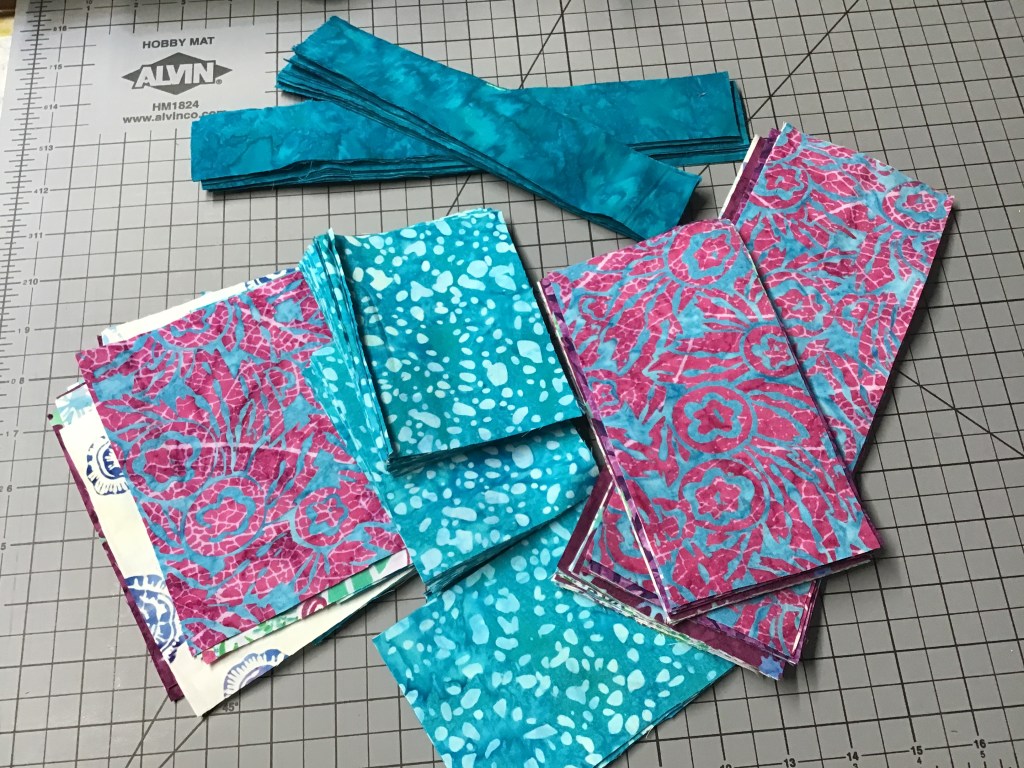
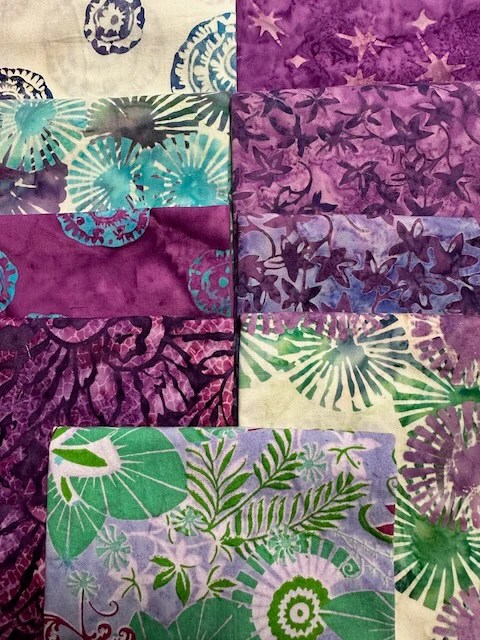
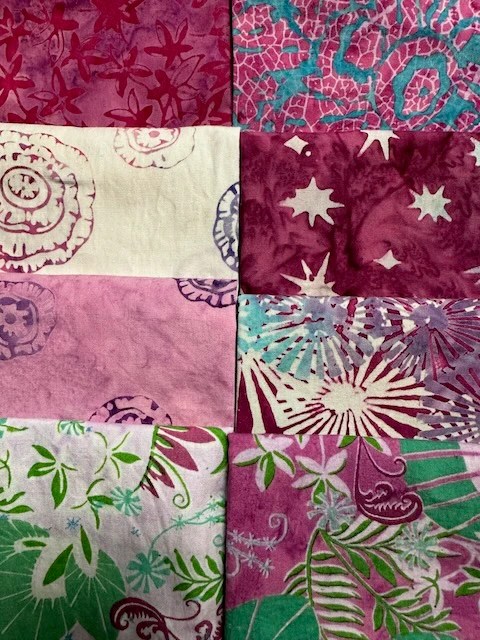
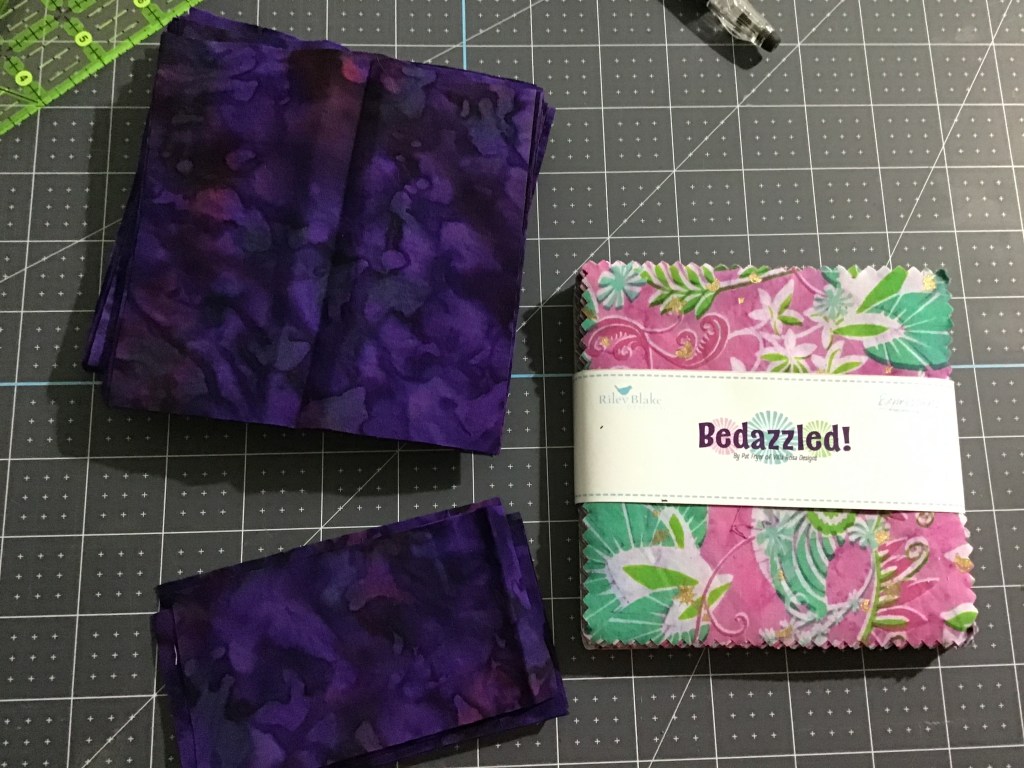
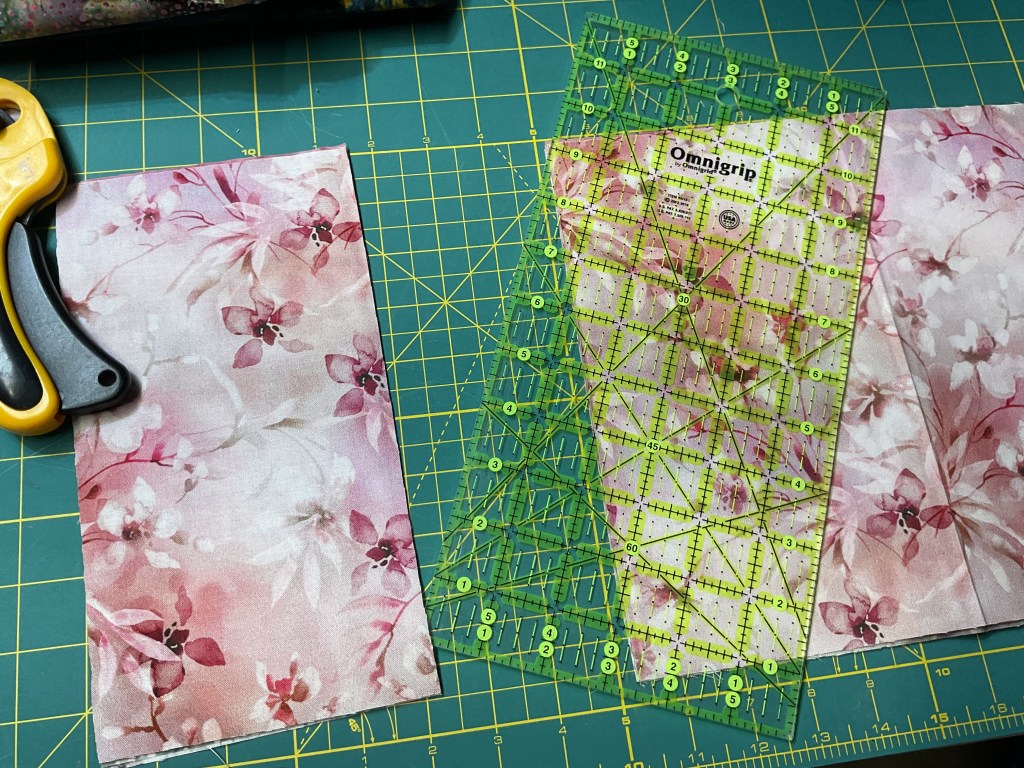
First things first, let me show you the fabric I’m using today for Busy Bee. You’ll notice right away that these fabrics don’t exactly have an autumn vibe going on, but I couldn’t resist these gorgeous fabrics when I was looking through my stack of quilt kits to choose my next victim….er, tutorial project. LOL!
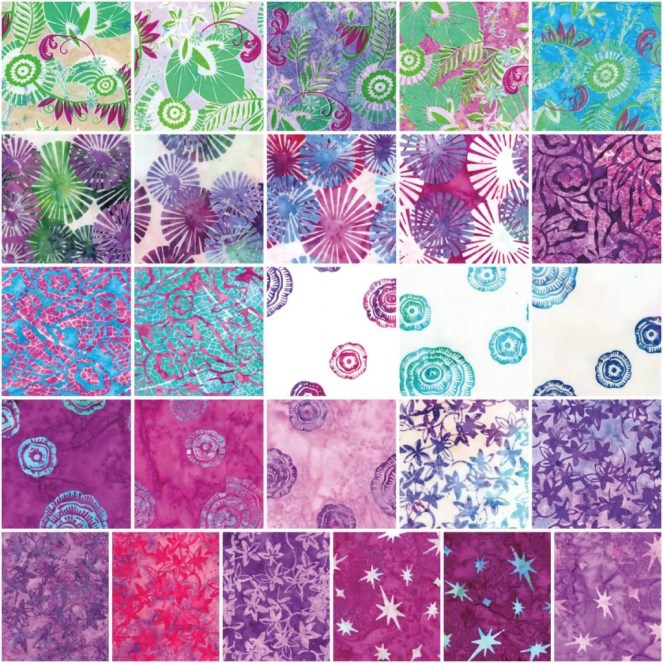
Seriously, though, aren’t these fabrics divine??? This older Hoffman collection is called Blush Garden. It’s possible you still might find some bolts at your local quilt shop or at your favorite online shop, but somehow I doubt it as it’s just so yummy. Sorry……
Busy Bee is a fat quarter (FQ) pattern which means you only need FQs for the quilt top. No background, no borders. Busy Bee is stunningly simple and goes together like greased lightning!

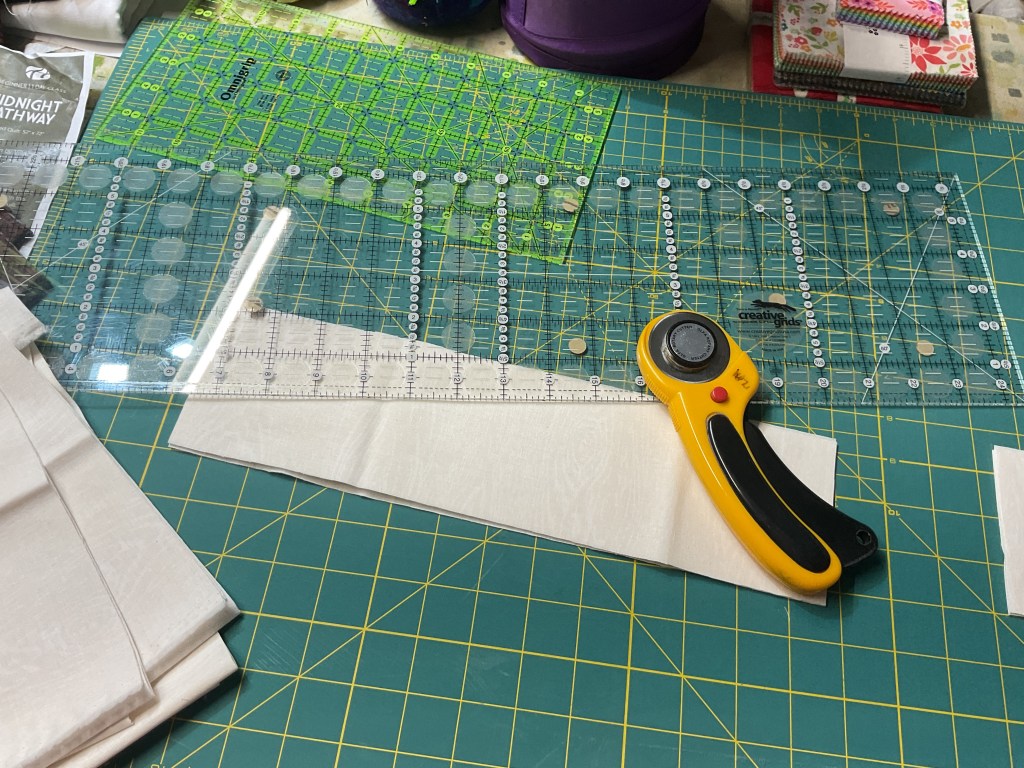
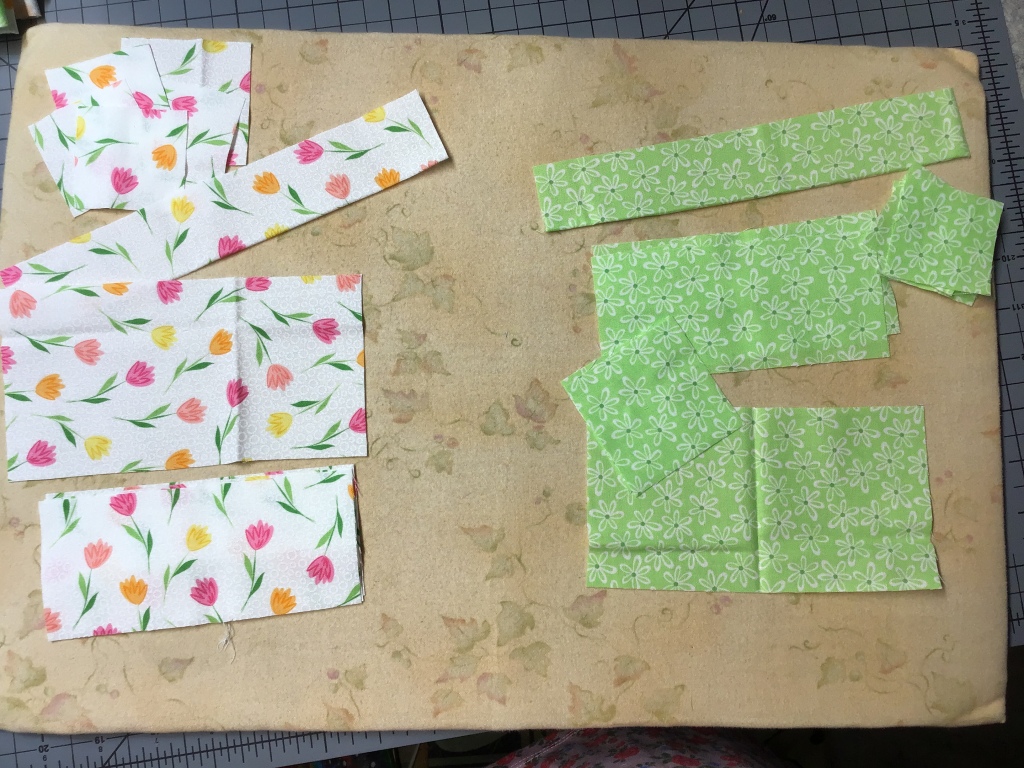
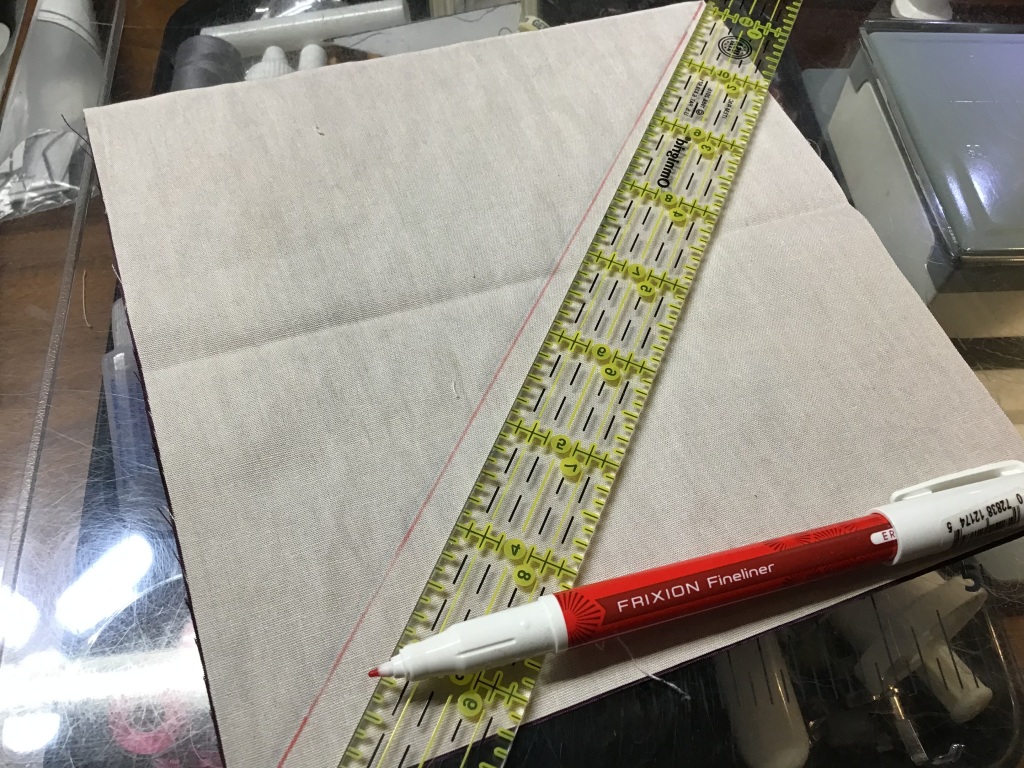
Before we can get to the sewing, we have to cut our fabrics. You need to divide your FQs into 2 equal stacks.
With the first stack, we’re going to cut our FQs into strips and then into fat rectangles and squares.

Moving on to the second FQ stack, we’re gong to cut skinny rectangles and squares.


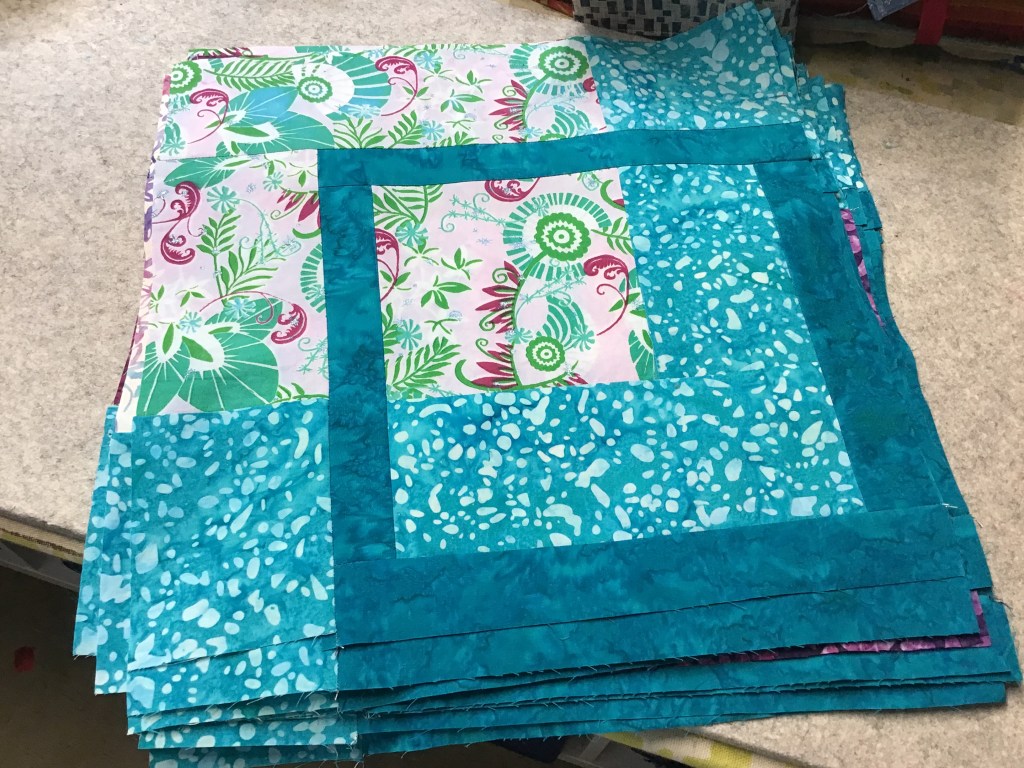
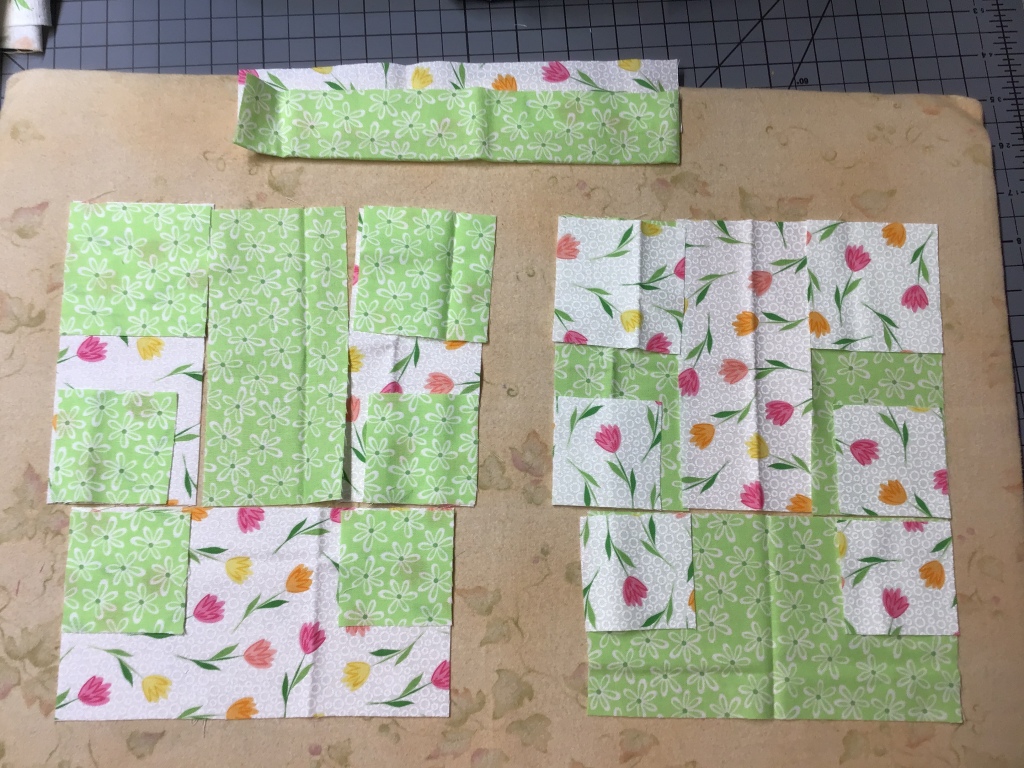
Here are all our pieces ready to sew. And that’s it for cutting for the whole quilt top. I just love patterns like this, don’t you?

Time to sew!
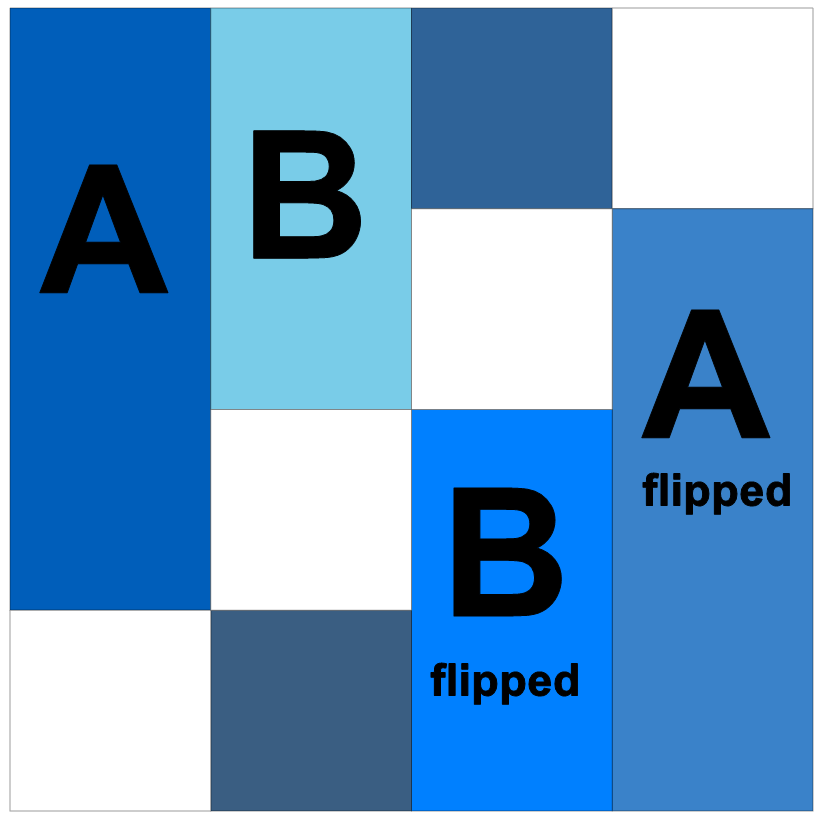
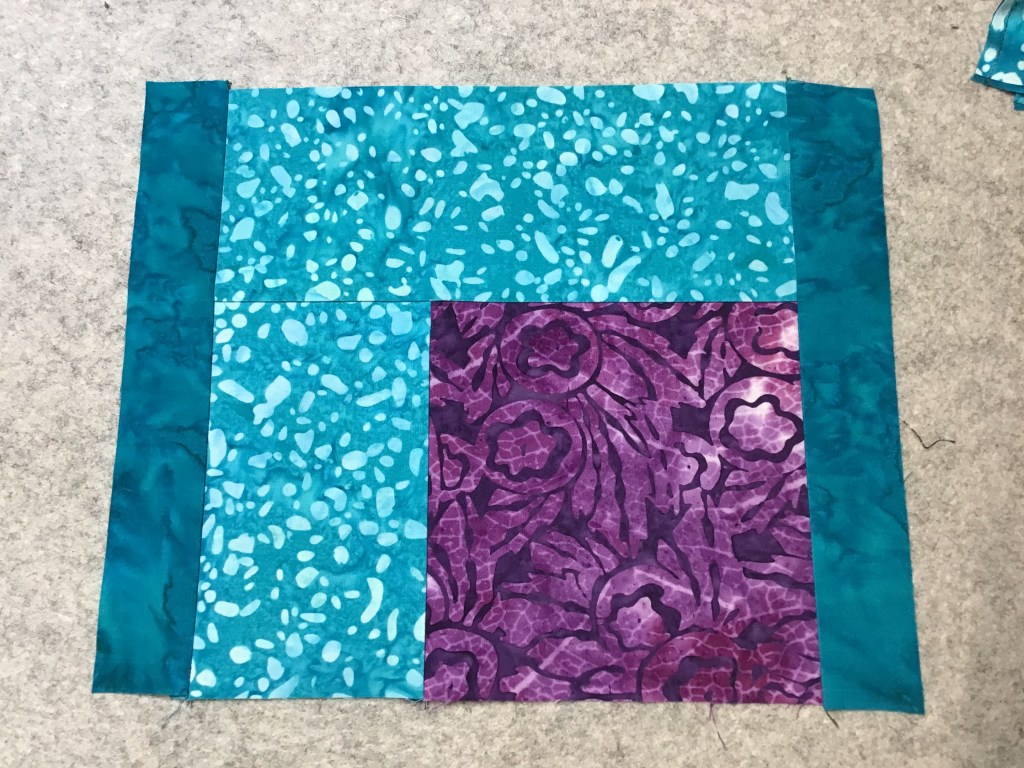
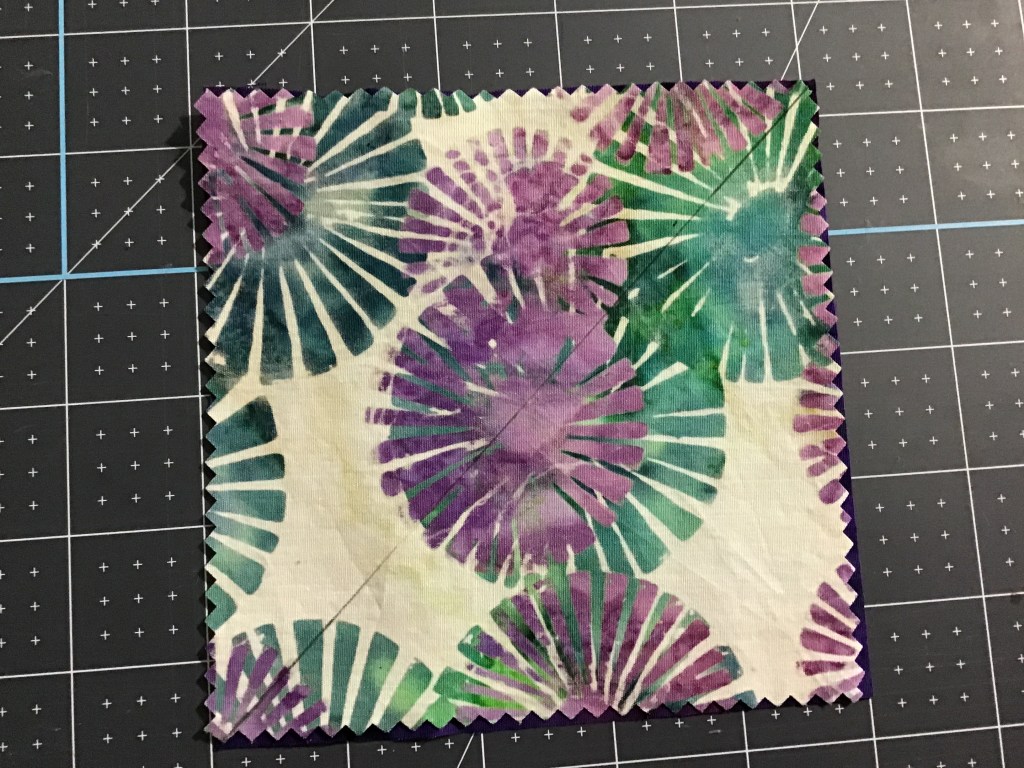
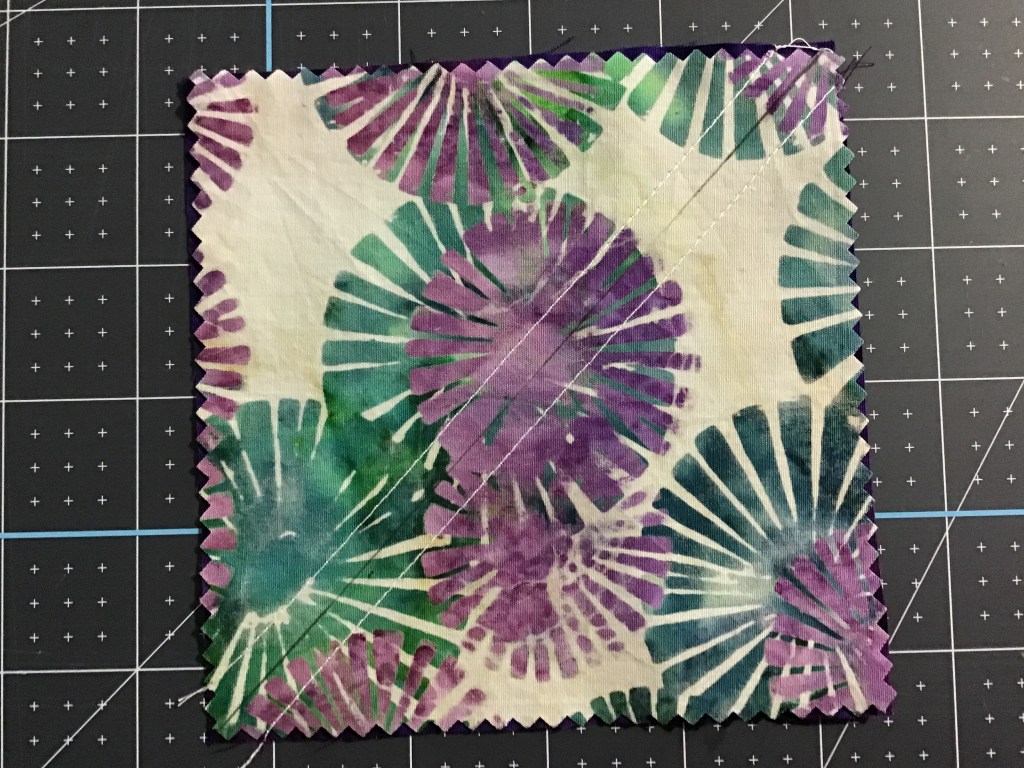
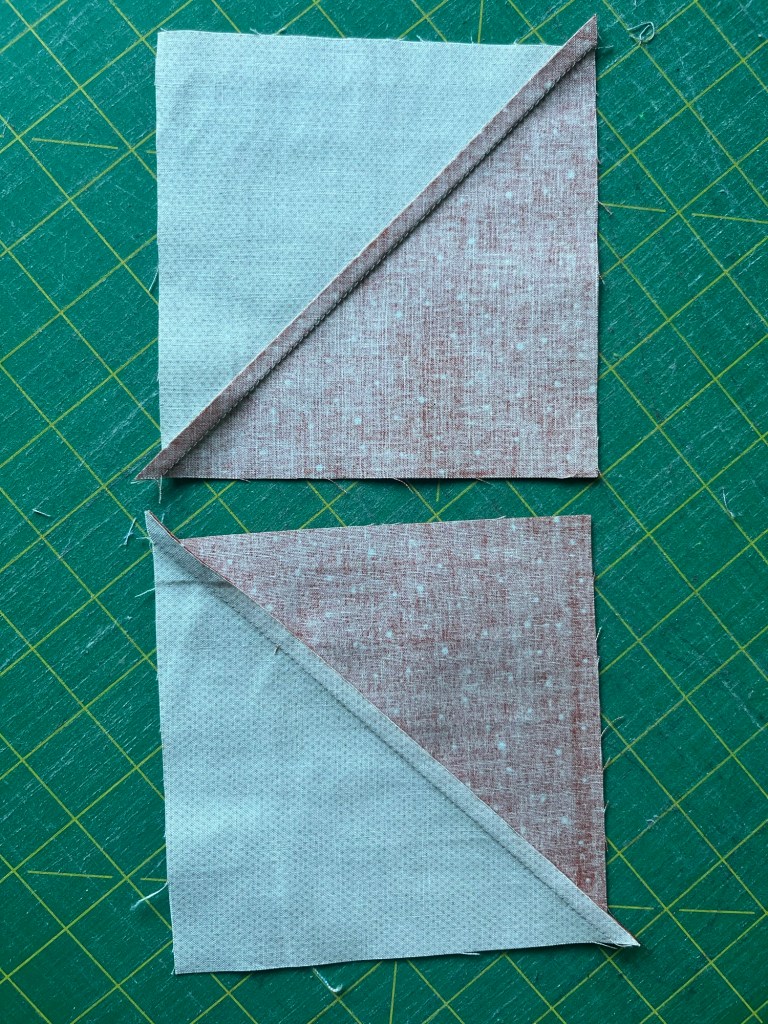
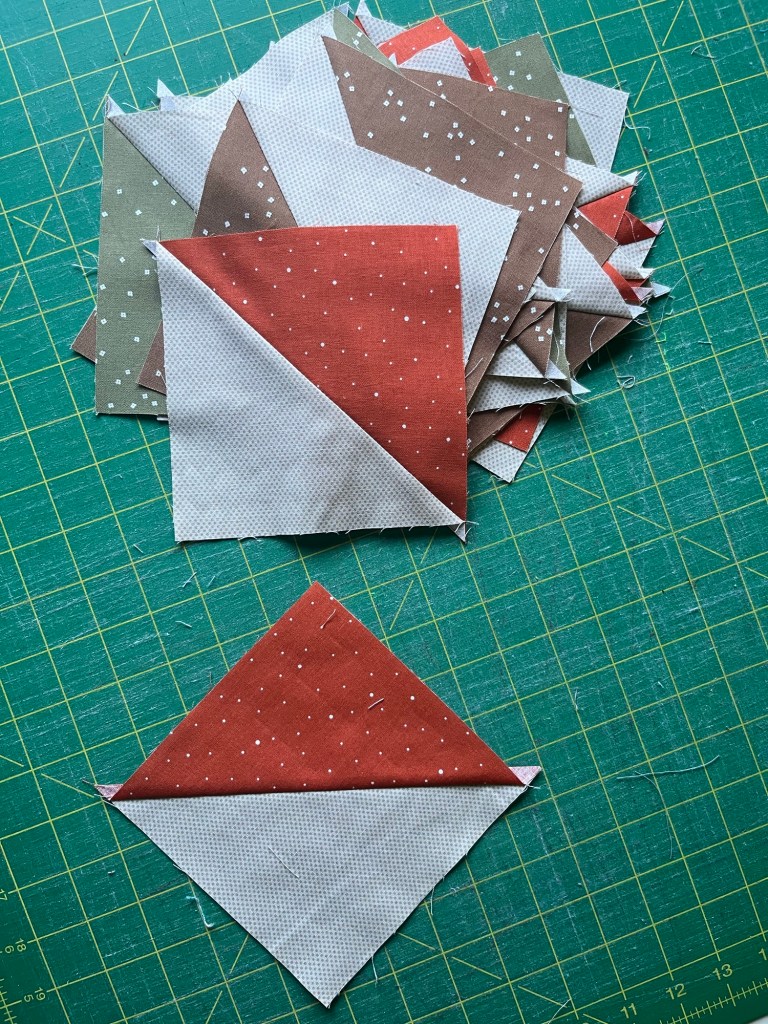
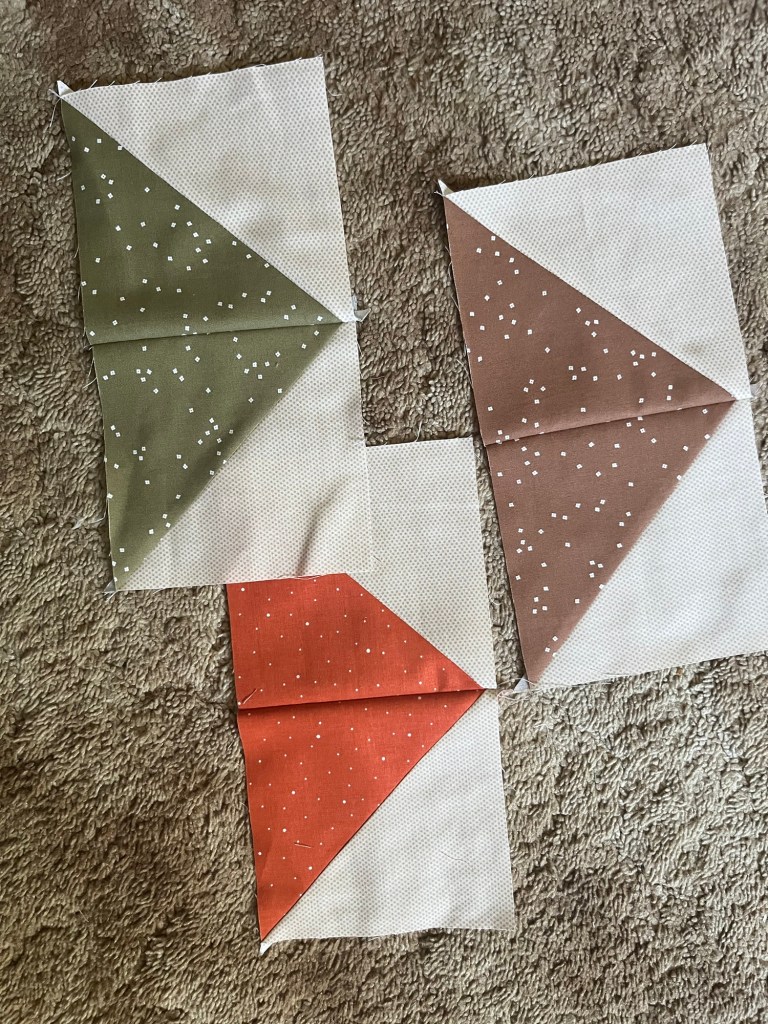
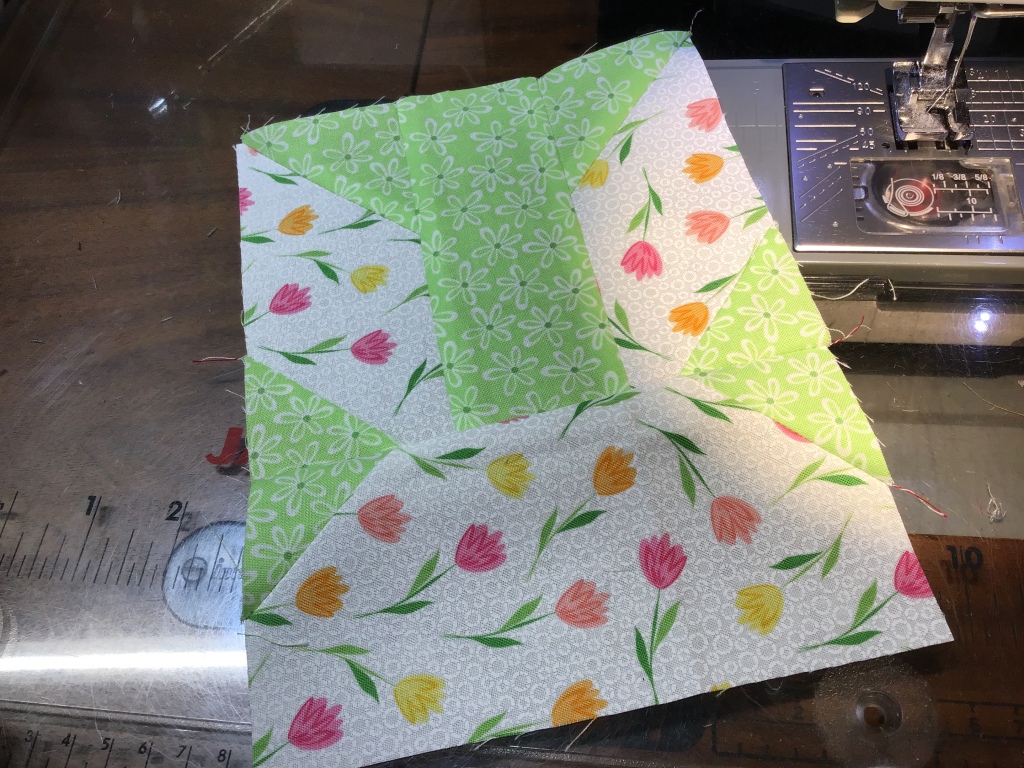
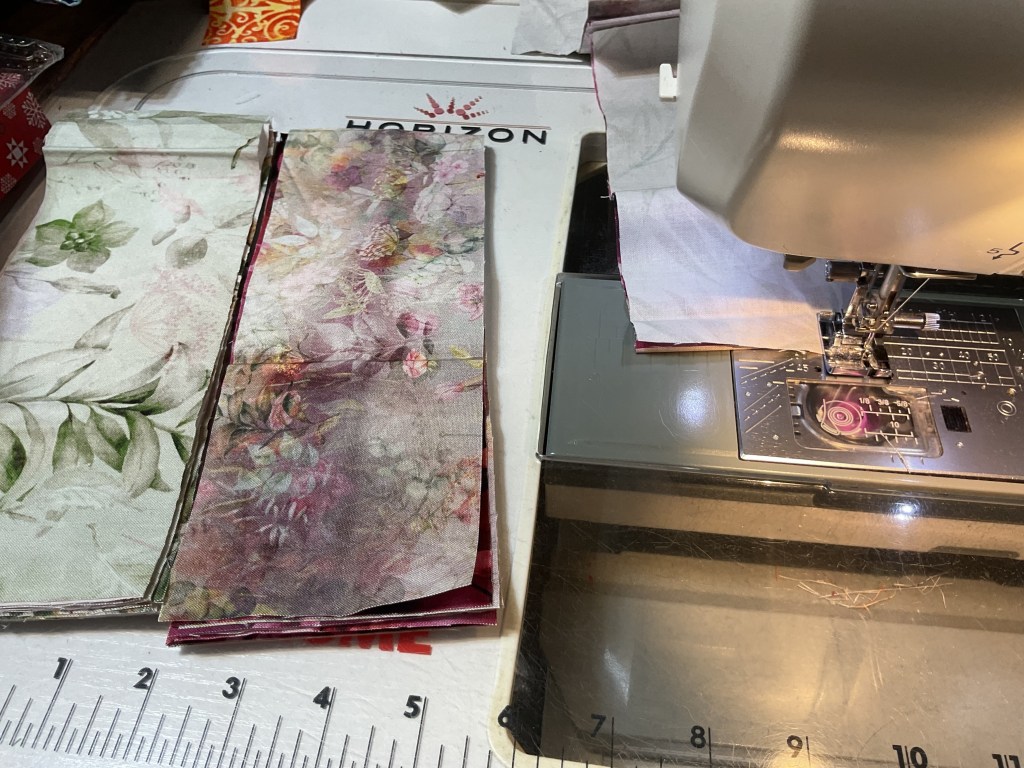
We’re going to sew 2 assorted fat rectangles together to make Block 1. I divided them equally into 2 piles and set them to the left of my machine so I could just grab the 2 top rectangles and feed them through the machine to chain piece them. If I didn’t like the combination or had 2 of the same on top, I just grabbed another one off one of the piles. Sew simple.
Do you chain piece your pieces together? Chain piecing is when you keep feeding/sewing pieces together through your sewing machine without cutting the thread in between the units. It saves both time and thread.

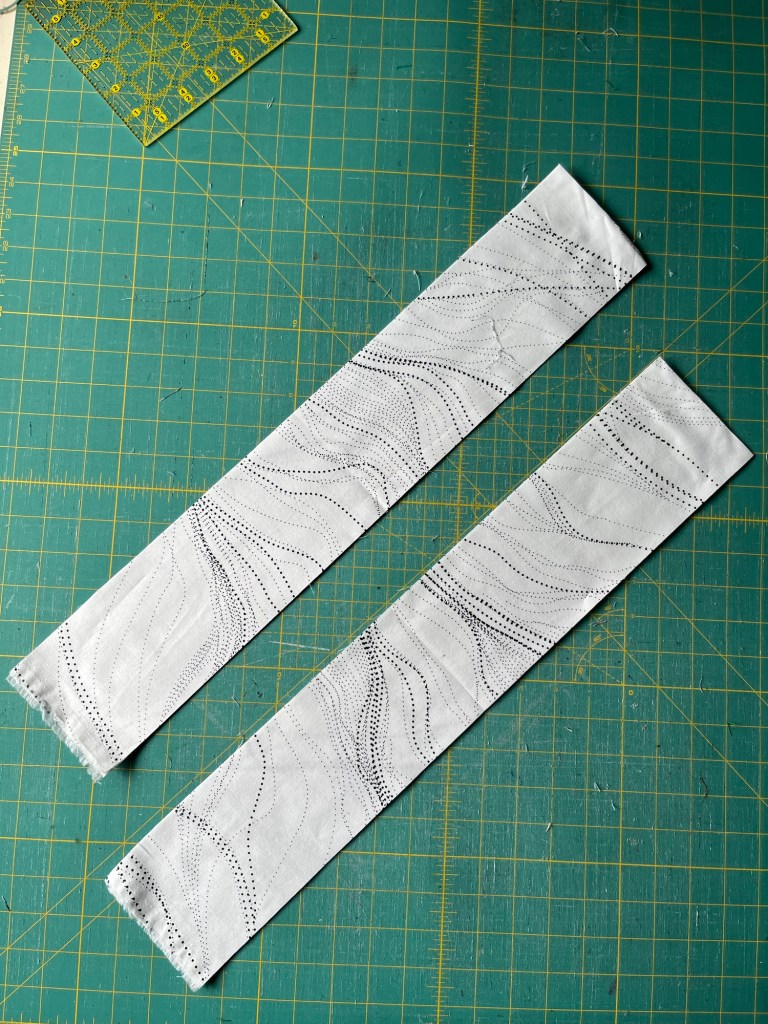
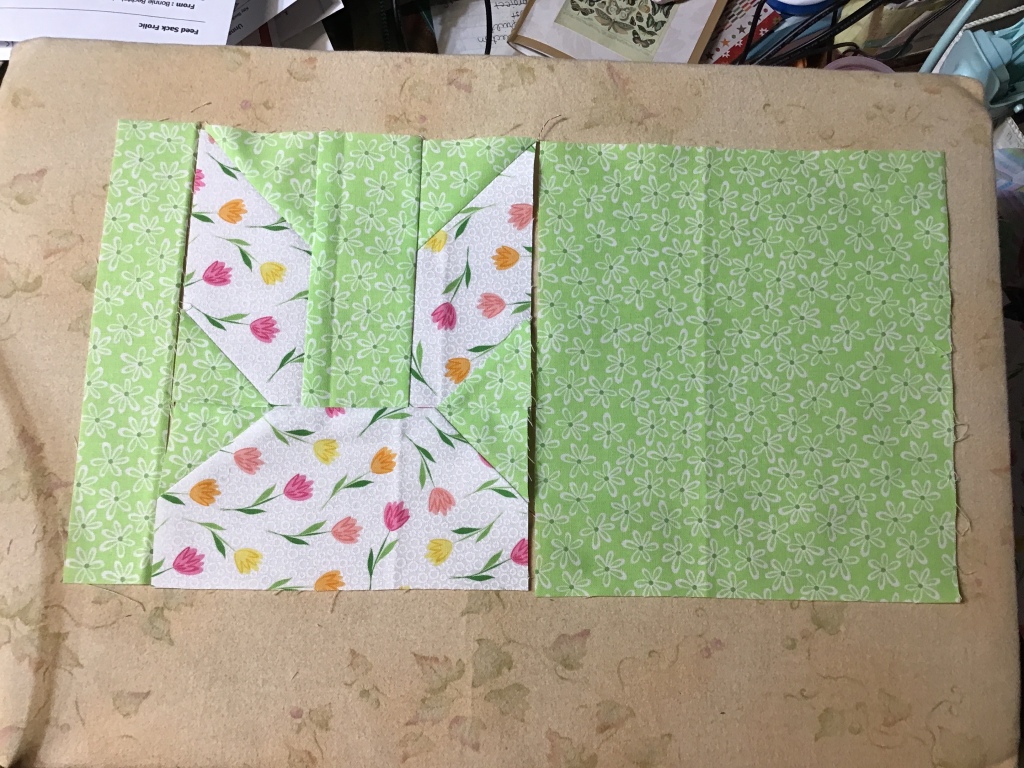
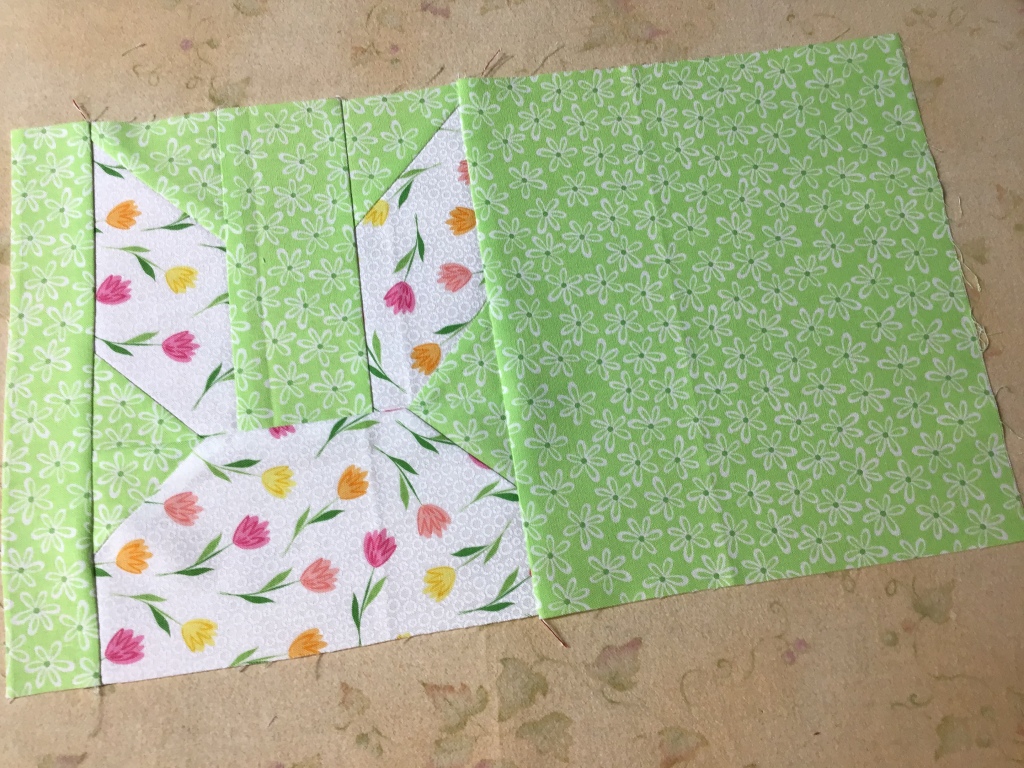
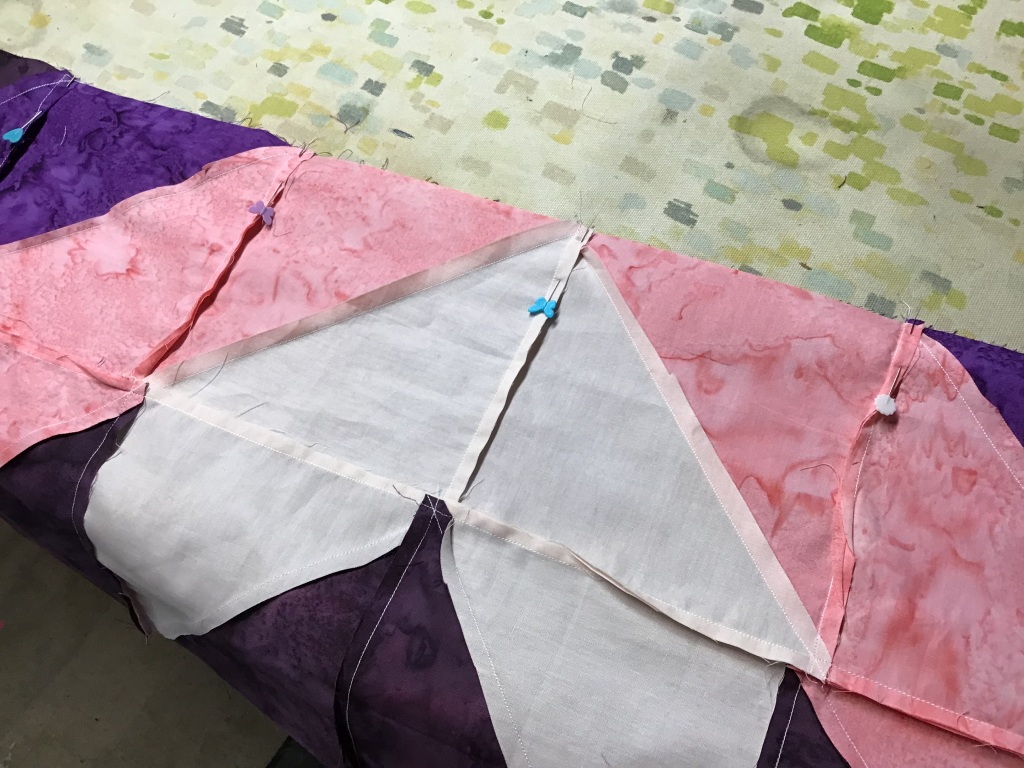
Now for Block 2 – we’re going to sew 3 assorted skinny rectangles together to make a Triple Rail Fence block. Again, I divided my strips equally into 3 piles and put them to the left of my machine. First I sewed 2 rectangles together from 2 of the 3 piles, leaving the last pile for last. Then I added a 3rd rectangle to all the pairs, making sure each Rail Fence block had 3 different fabrics.

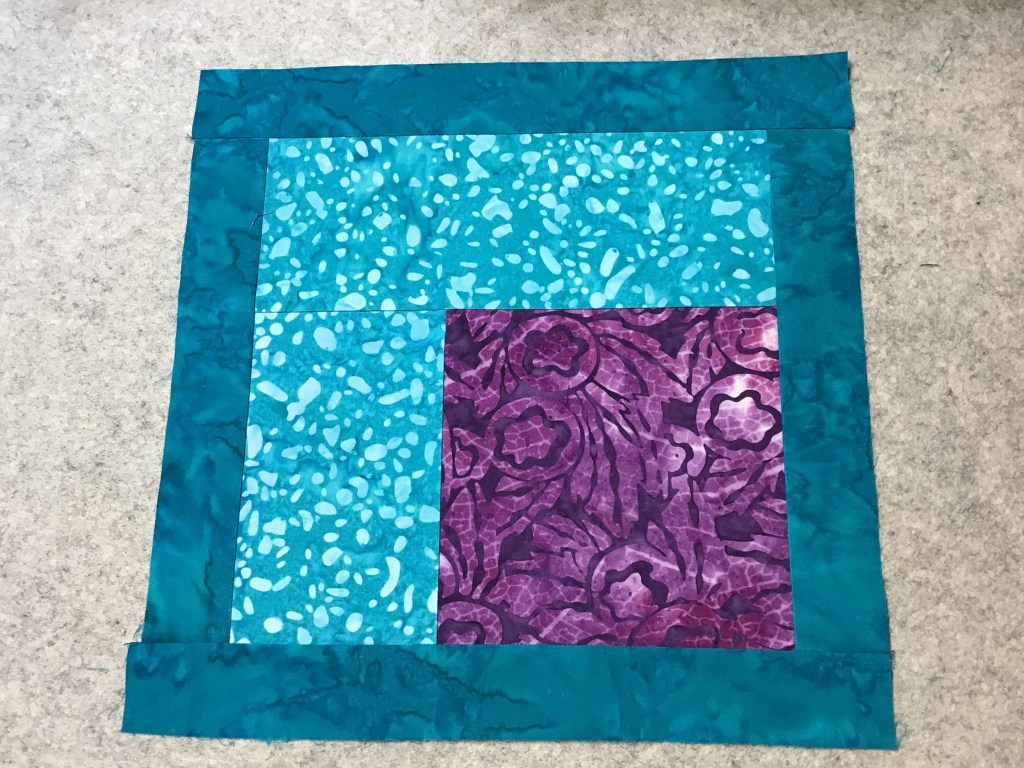
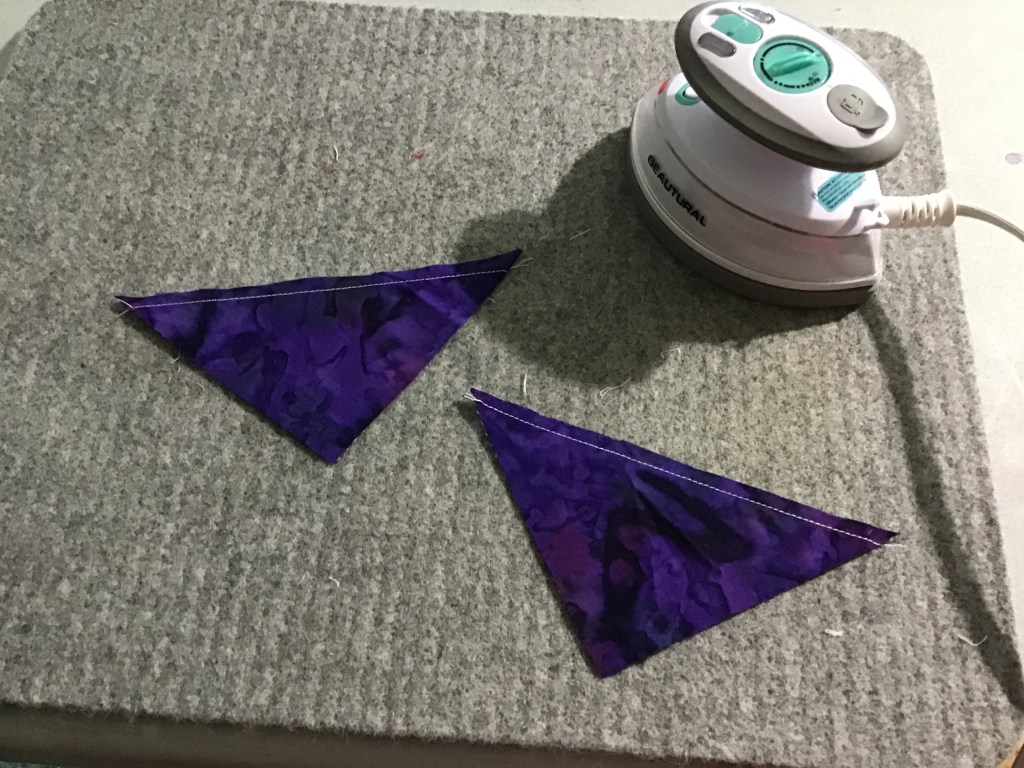
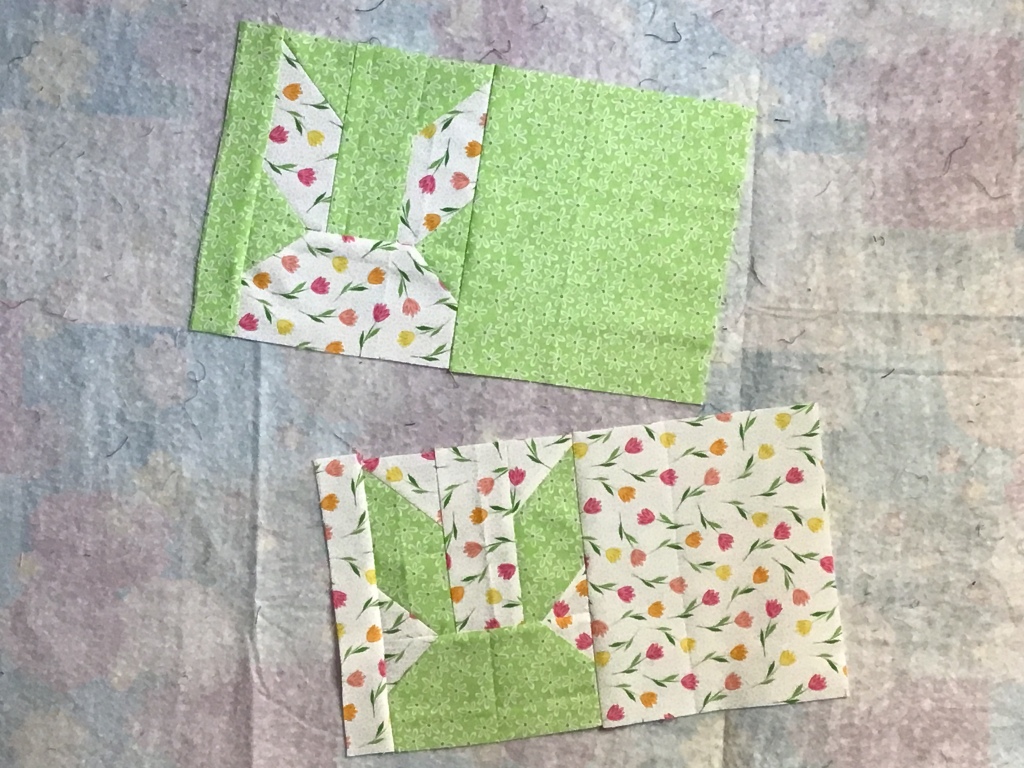
Time to head over to the ironing board to press all of my blocks flat.


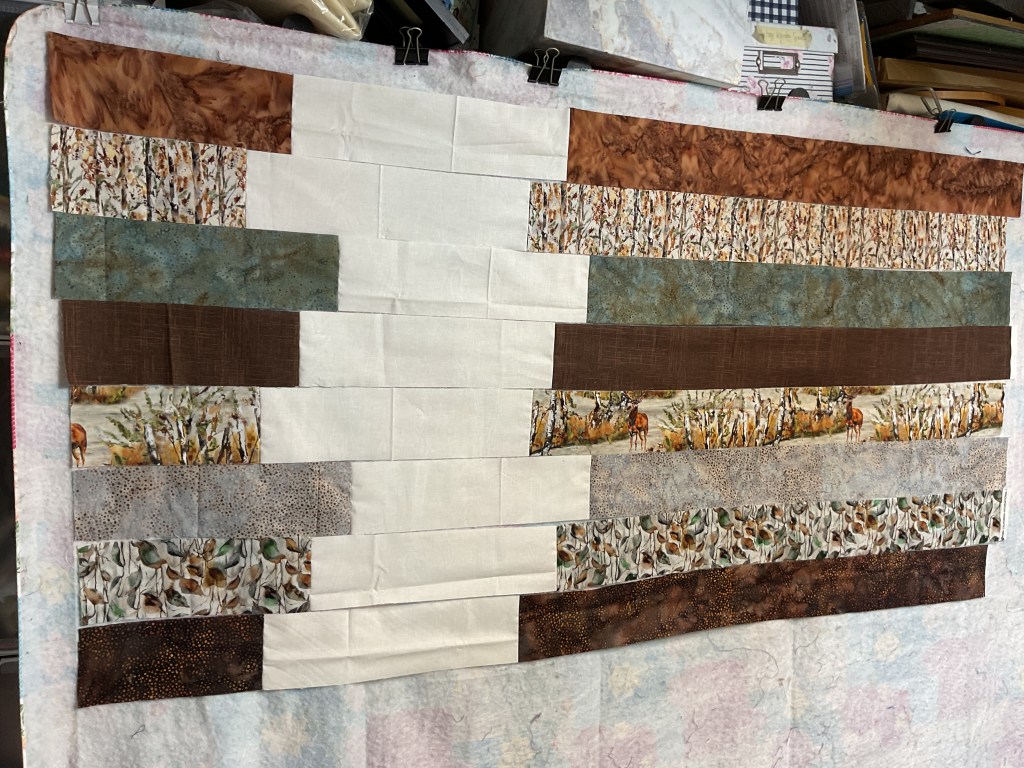
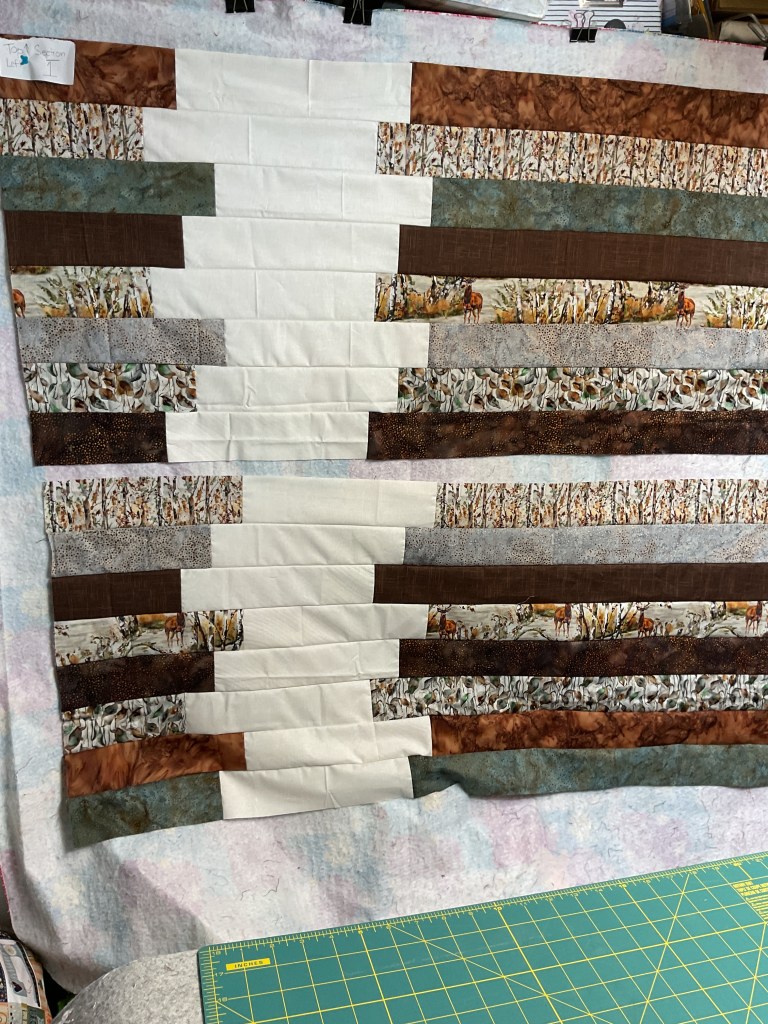
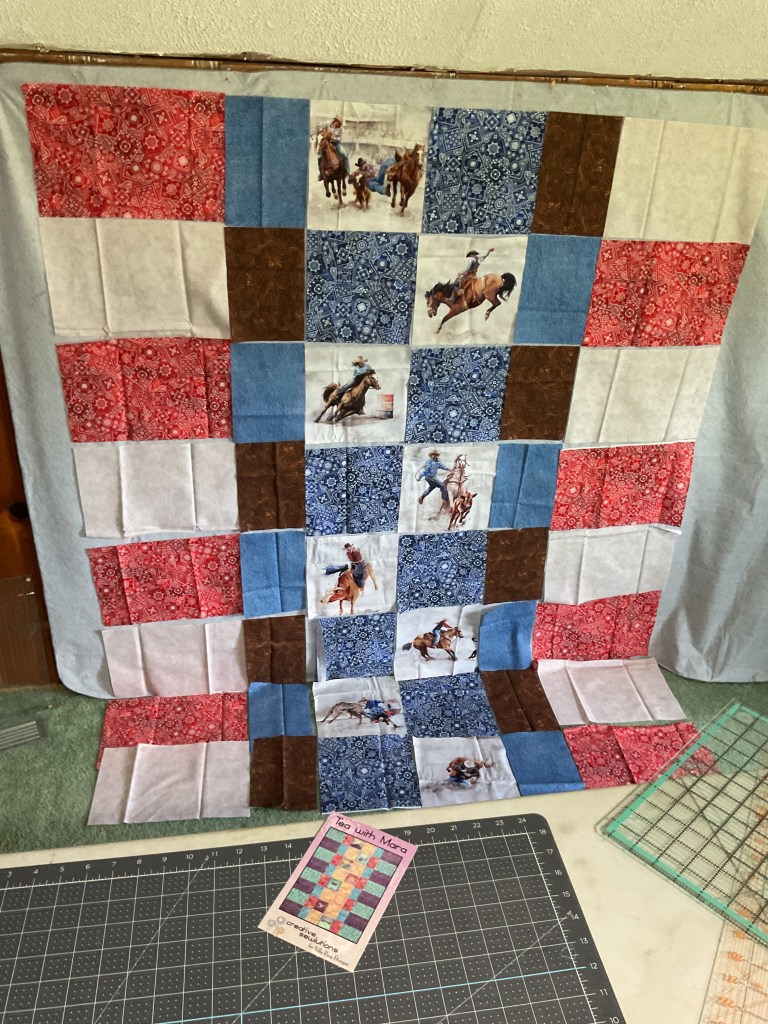
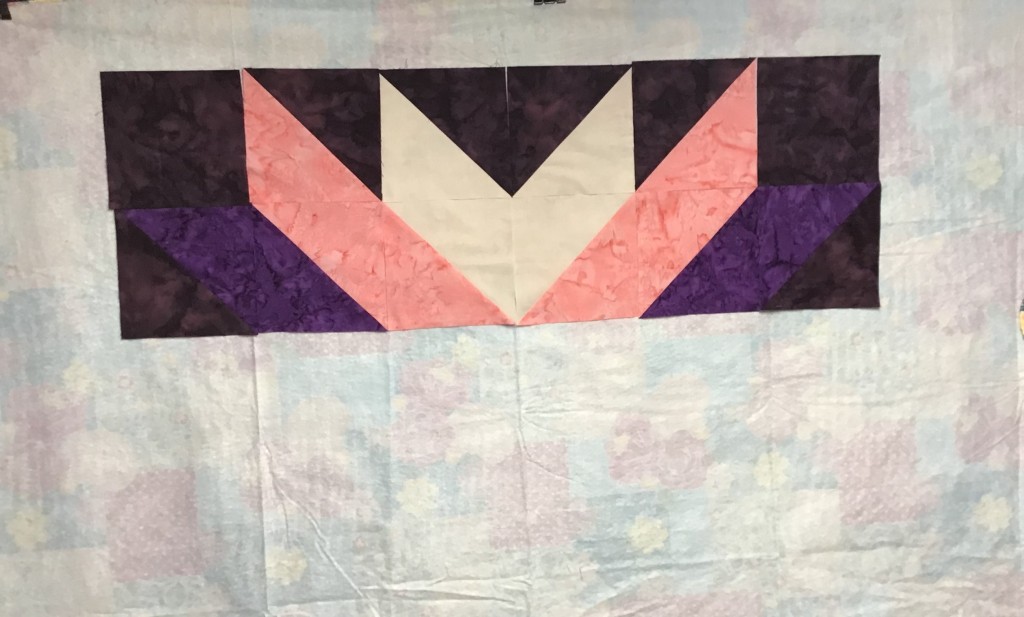
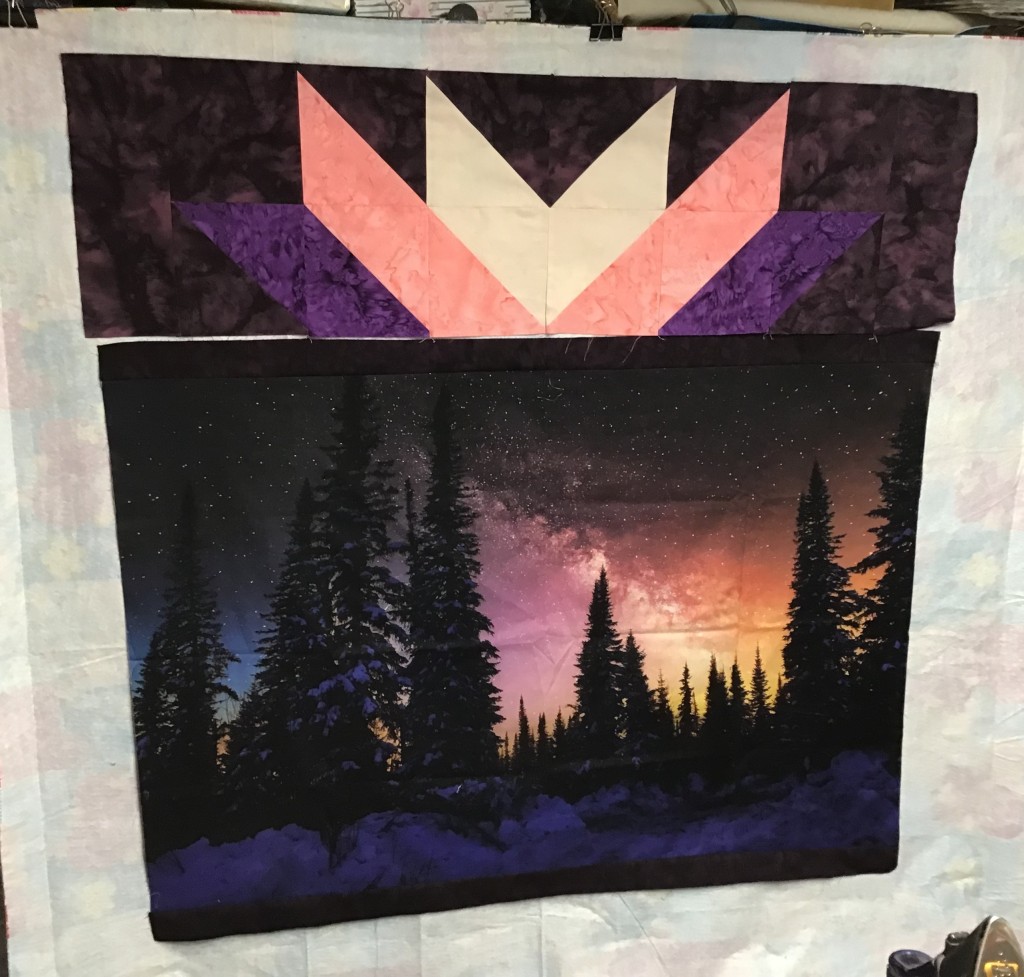
All righty, all the blocks are sewn and pressed, so now we’re going to put them up on the design wall so we can play switcheroo until we’re happy with the block arrangement.
The layout is an easy one for because we’re just going to alternate the blocks.
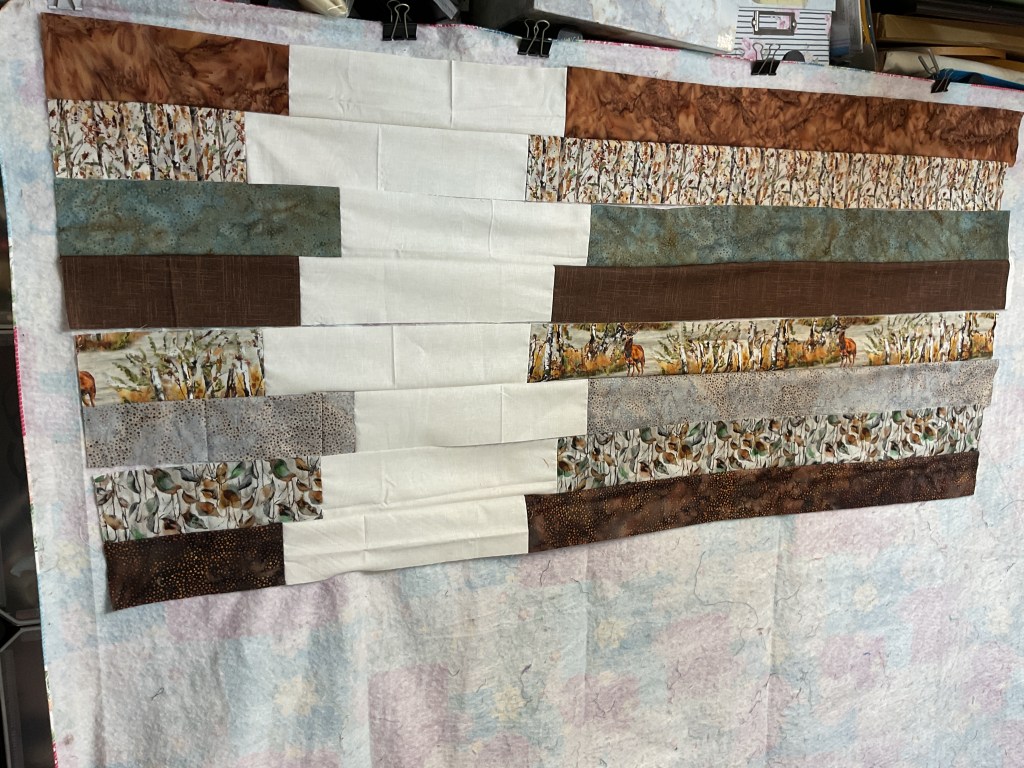
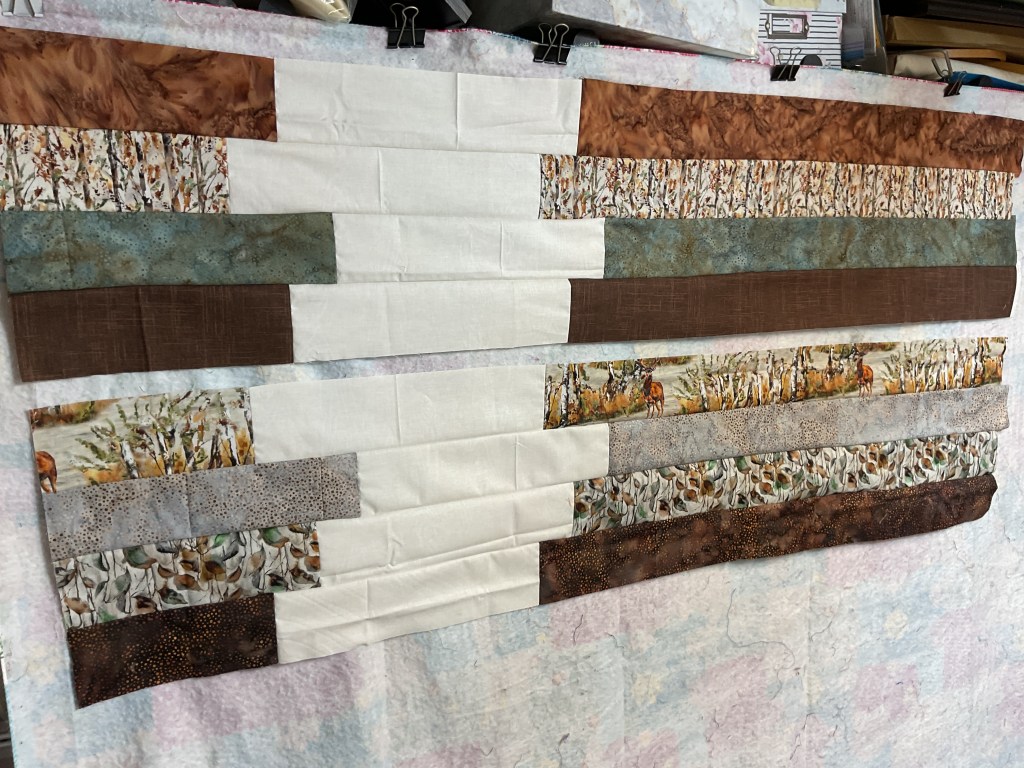
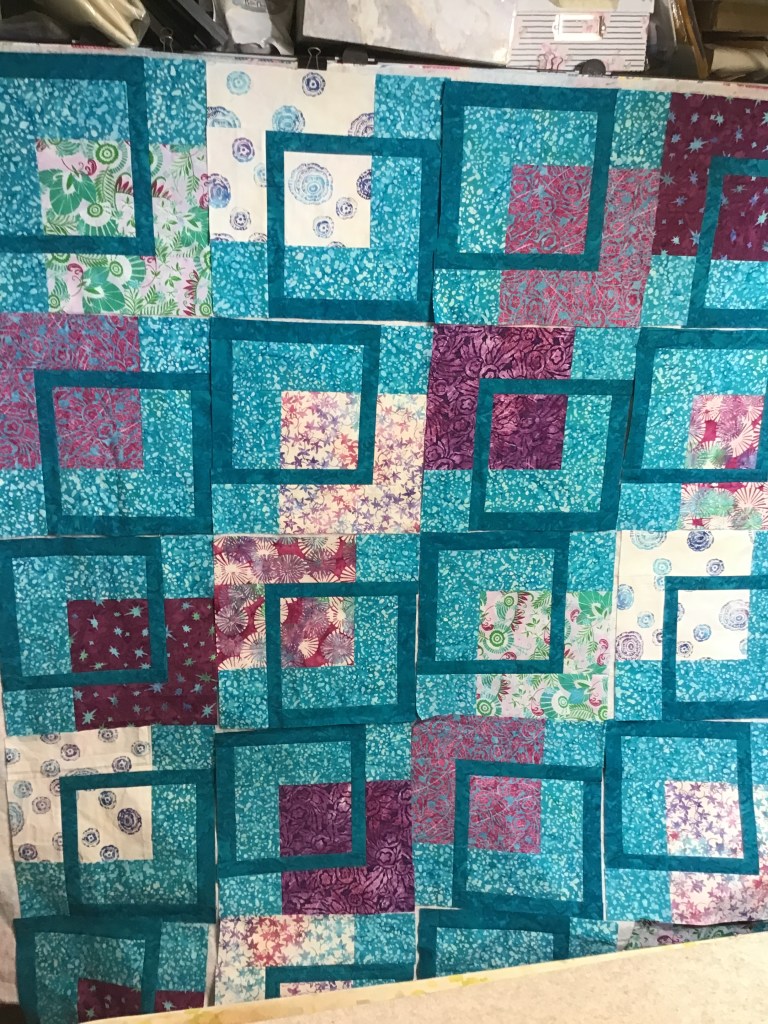
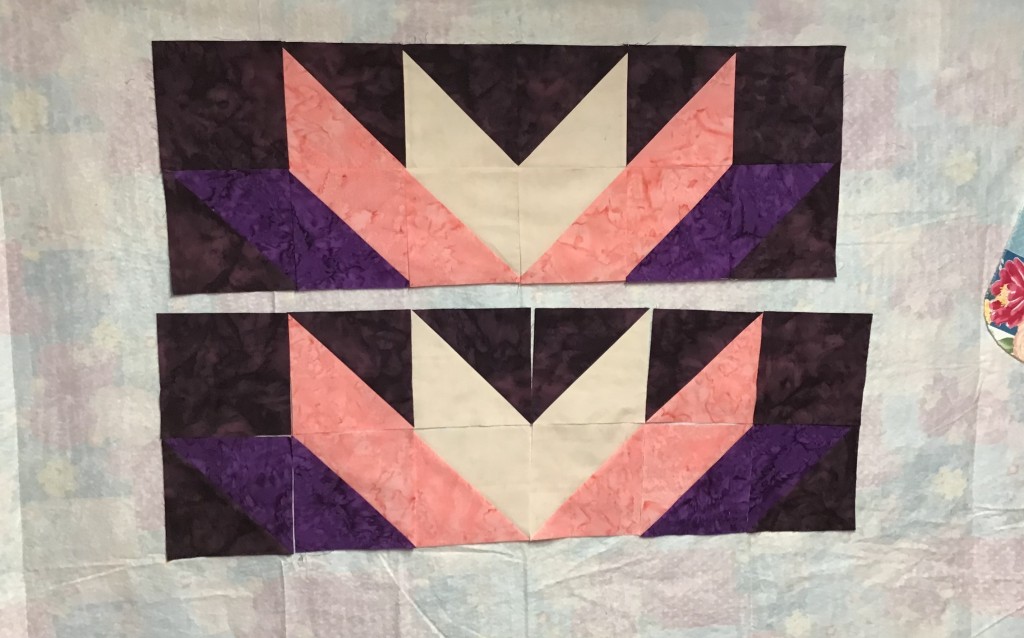
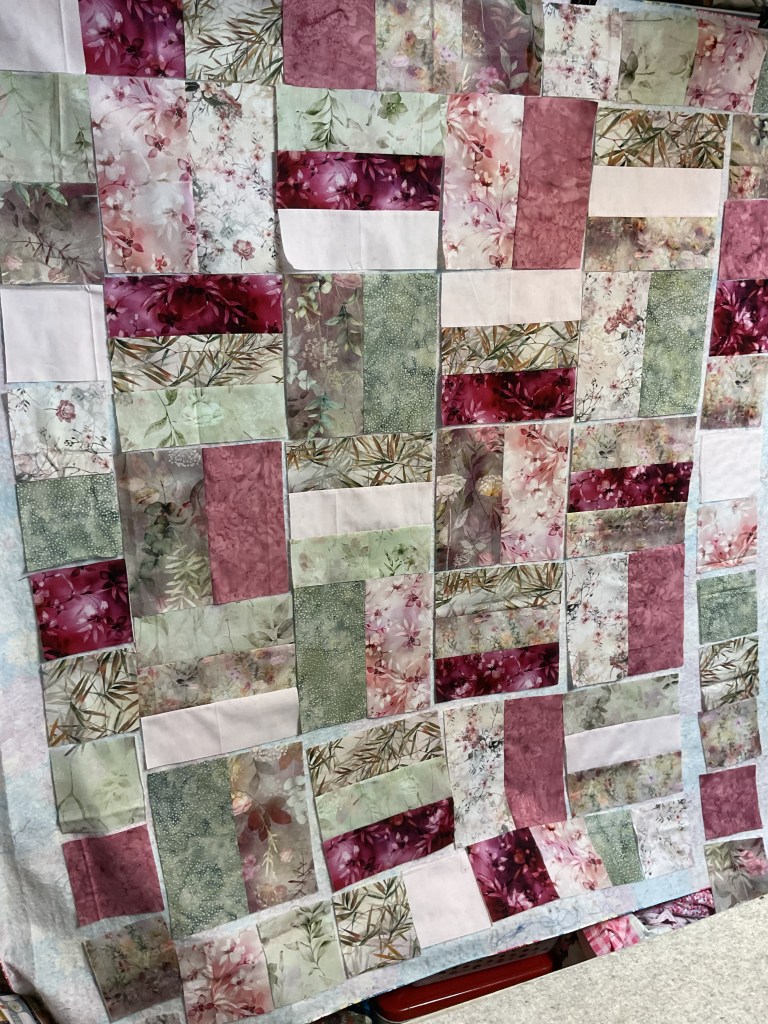
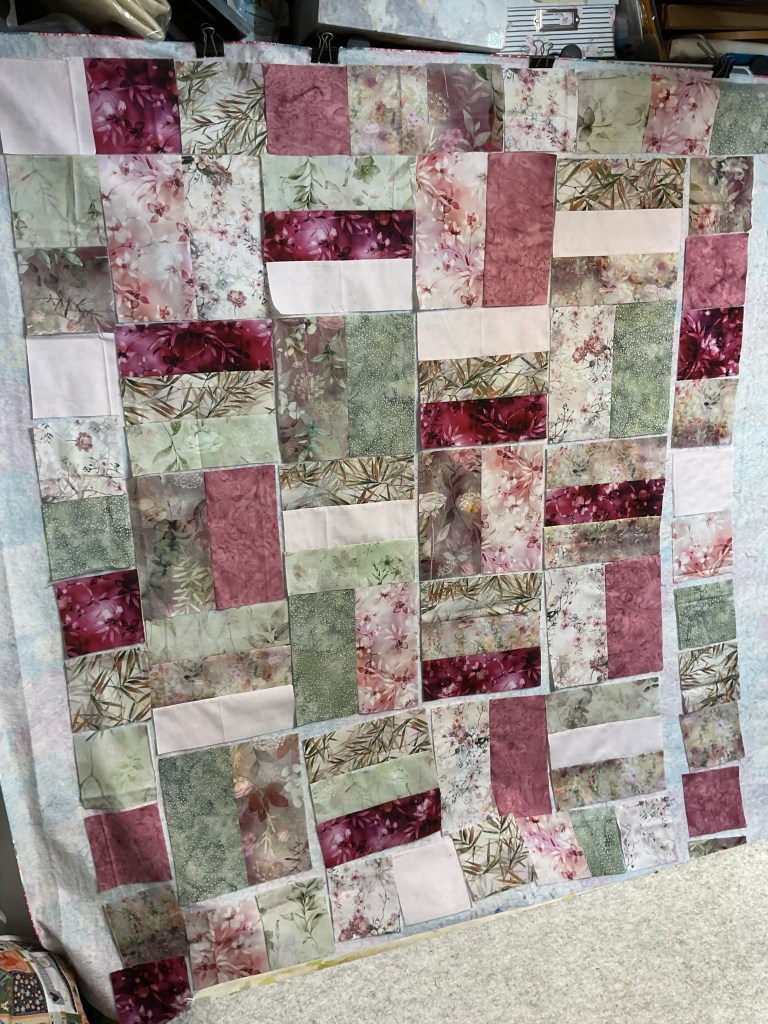
Take a look at some of my swaps. See how the dark reds are accumulating at the lower right corner of the photo at the left. In the middle photo, I swapped some blocks around and it’s starting to look a bit better, but we’re not quite there yet. And then the photo at the right looks the best of all. Often, arranging the blocks takes longer than sewing the whole top together, especially if you’re making a Villa Rosa pattern!


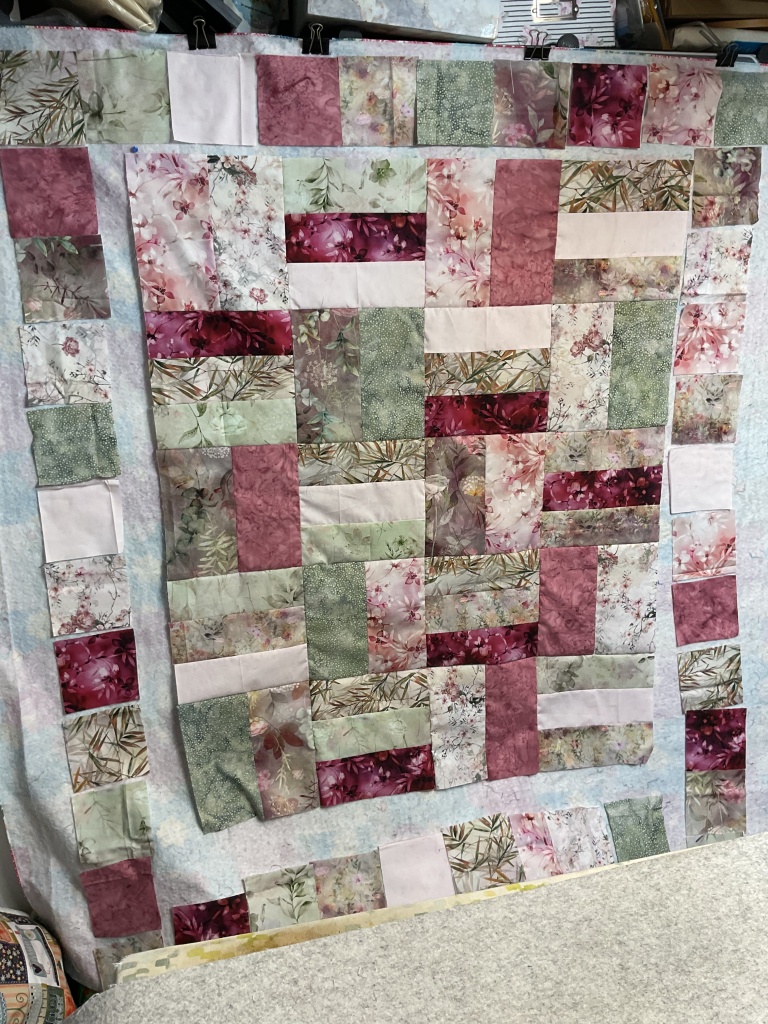
Now that I’m happy with how the blocks look, we’re going to add a border of squares all the way around the blocks. Huh! Bet you were wondering what we were going to do with all those squares (besides add them to our 5″ square stash).
Guess what?!? Now it’s time to swap the squares around until the quilt looks just right (are you feeling a little bit like Goldilocks, ??? LOL!).
Take a look at some of my swap outs below. You might wonder why I went ahead and laid out my border of squares before I sewed the blocks together for the quilt center. I was afraid to sew the blocks together in case I would need to tweak them again once I laid out the border squares.


Okay, I’m happy with the blocks and outer squares layout, so I’m going to sew my blocks into rows and then sew the rows together.


The center of the quilt is now sewn together. OH NO! Somehow I flipped a block at the bottom right corner of the quilt center! Sheesh! How’d I manage to do that?!?
Oh well, don’t panic! We can fix this. We have 2 options – either leave it alone and continue or else take a break to rip out the corner of the quilt and sew the blocks back together. Can you guess which option I chose?
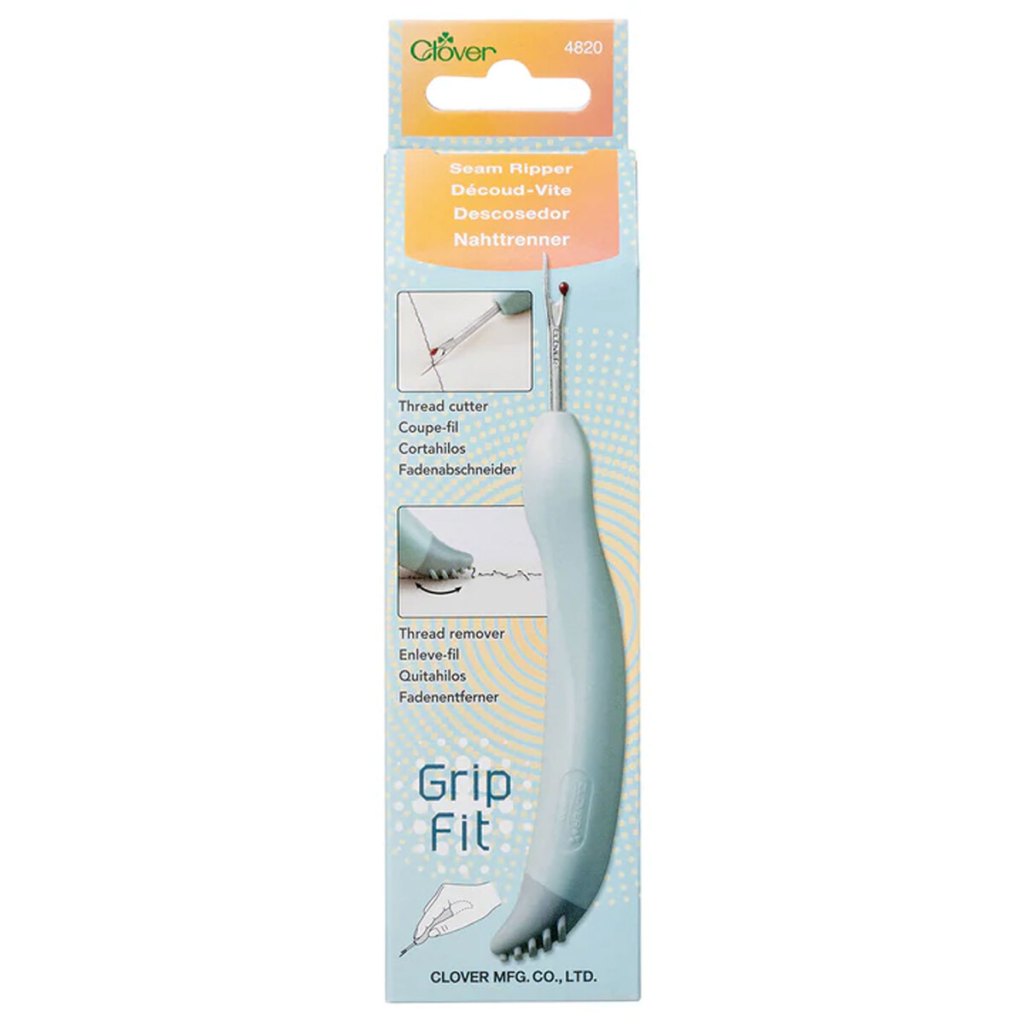
Yup, time to grab my pal (and my enemy – I guess that makes him my frenemy, doesn’t it?), Jack the seam ripper. Do you have a favorite seam ripper? Mine is by Clover. In my humble opinion, it’s simply the best seam ripper ever. Don’t have this one? You can find it HERE. Let me know what you think.

Anyway, time to rip!

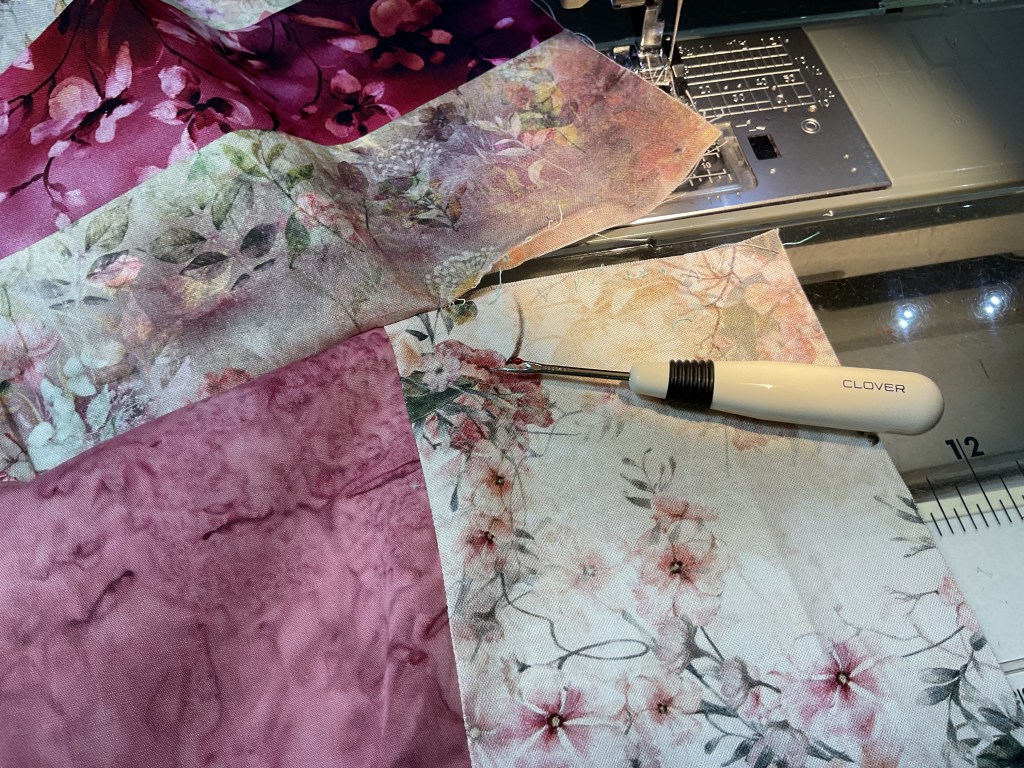
Ugh! Look at all the threads bits! Ripping out stitches is definitely NOT my favorite thing to do, but it’s necessary sometimes. And besides, Jack really enjoys himself when we do.

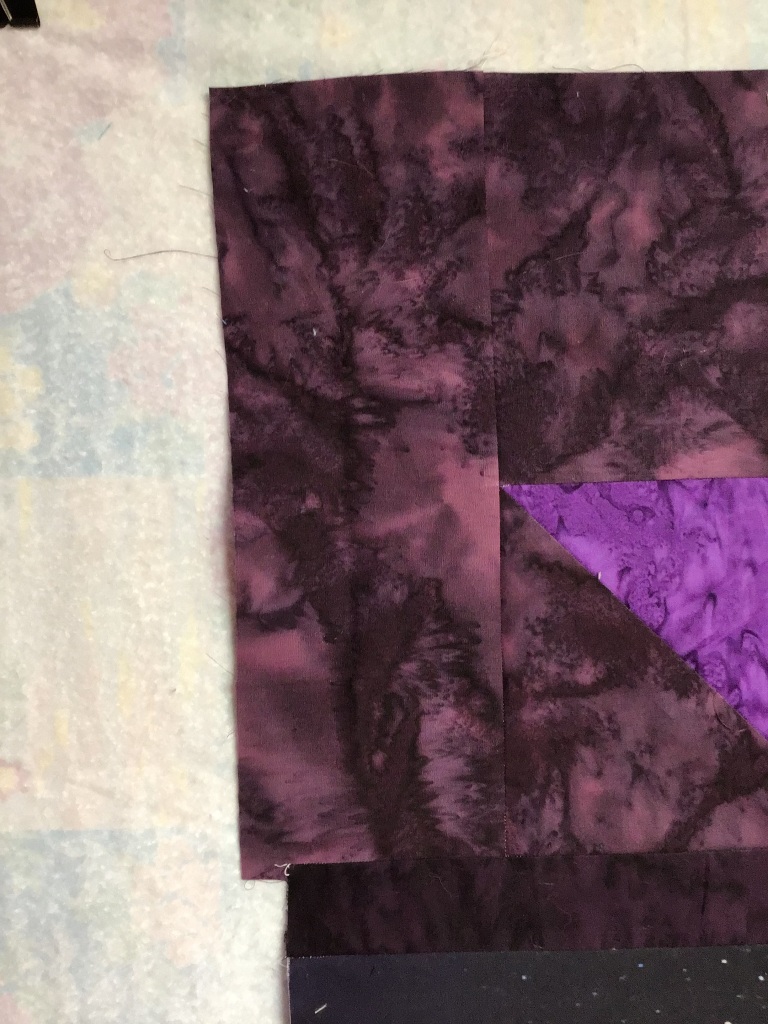
Now I can resew the block into the quilt. This time, I’m making sure it’s turned the right way.


Okay, disaster averted, thank goodness. I’m still not a fan of the mauve rectangle touching the dark red one, but unless I want to do a ton more ripping and resewing, I’ve decided I can live with it. What do you think? Should I have ripped out the other block, too?

Moving on……..time to sew my squares into rows and then I’ll sew them to the quilt center. Fingers crossed I don’t get any of them mixed up. I’m going to sew the top and bottom squares together first and then I’ll sew them to the top and bottom of the quilt center.

Next I’m going to sew the side border squares together and then I’ll sew them to the sides of the quilt center.
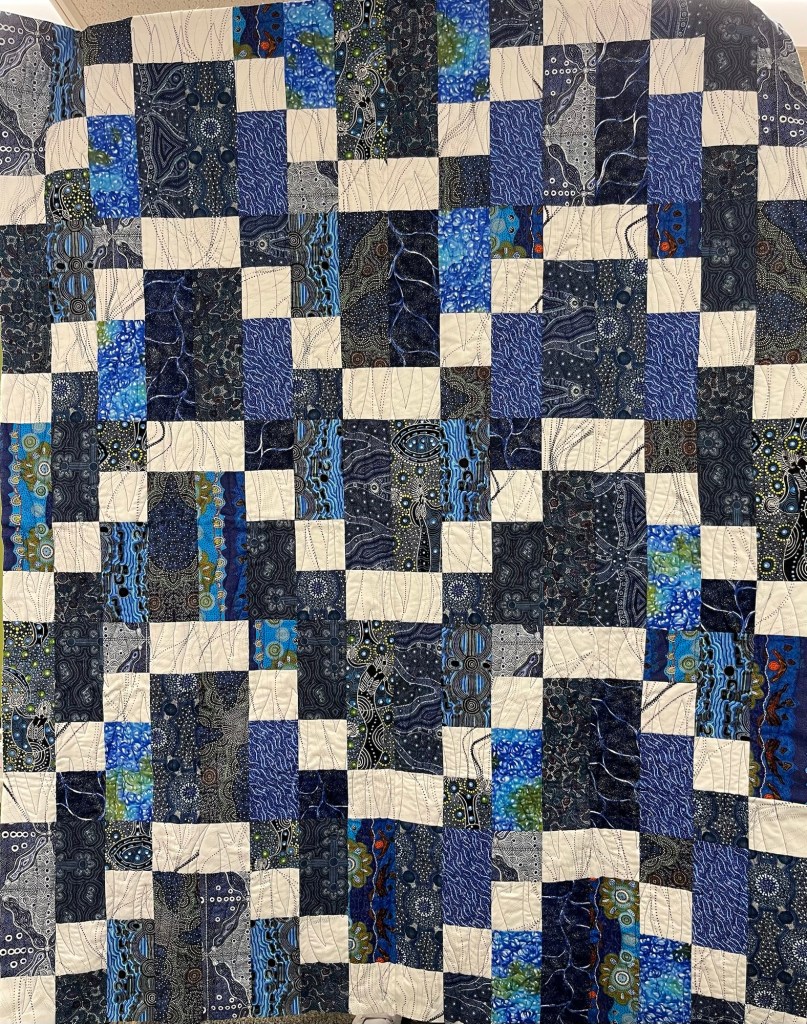
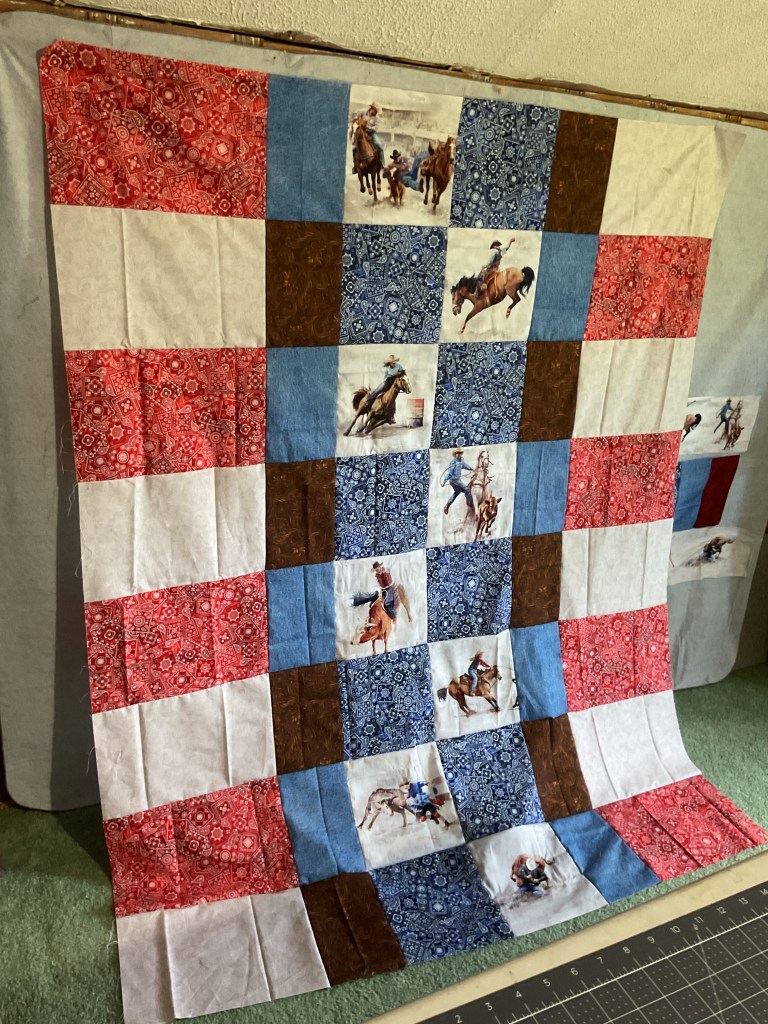
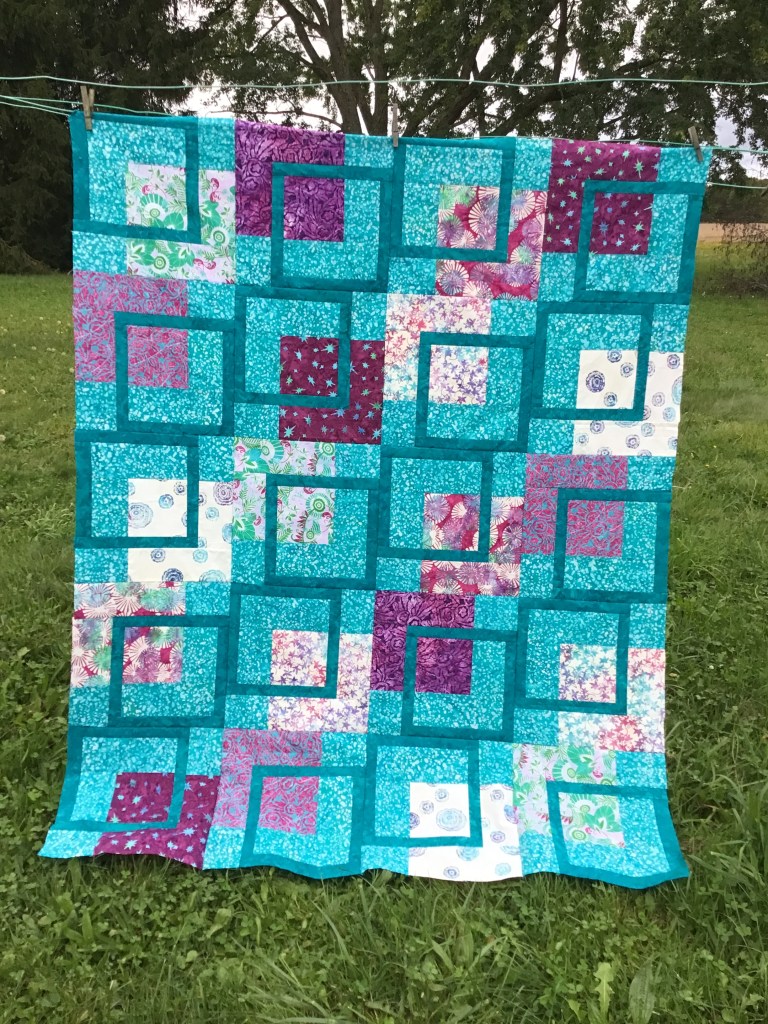
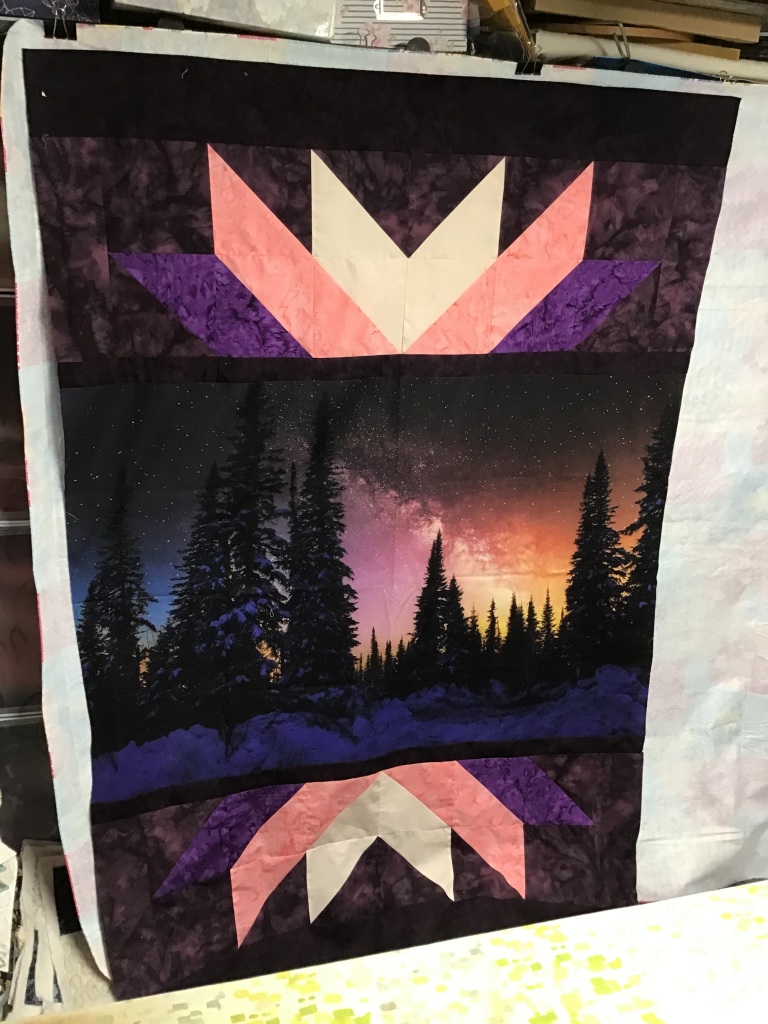
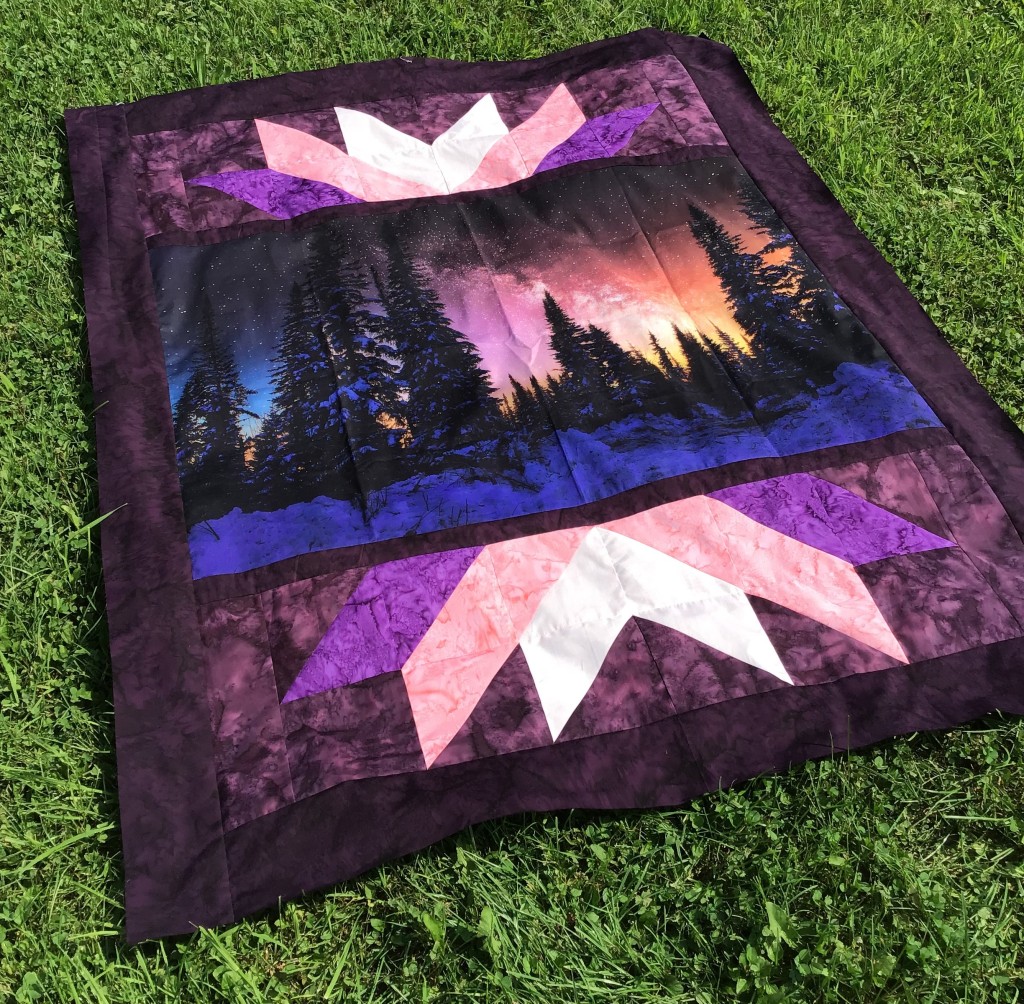
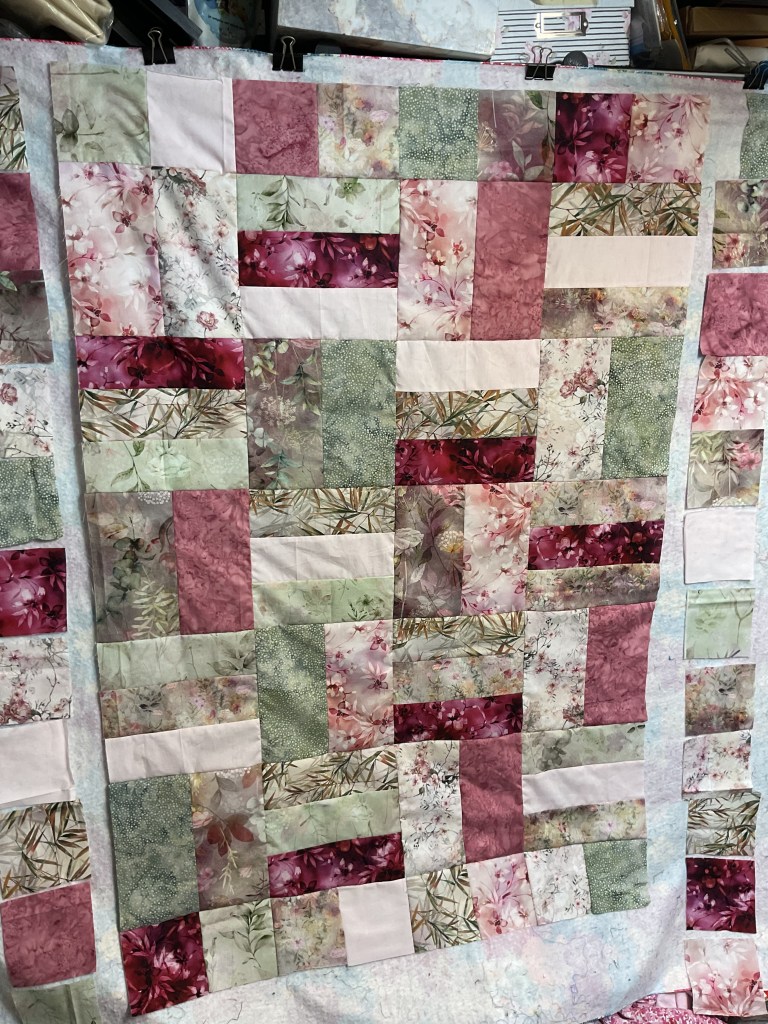
And here is the completed Busy Bee quilt top (or flimsy). Isn’t it really beautiful? LOVE LOVE LOVE these fabrics!


Let’s take it outside in natural light to see the fabrics sparkle (instead of my dark sewing dungeon). Love it sew much! Can’t wait to finish this one.

Of course, after you get the flimsy finished, it’s time to layer it with batting and backing and quilt it. Then bind it and add a label. Hopefully soon.
Well, that’s it for me this week. Try to get a bit of sewing in this week.
See you next week!
Sew. Laugh. Repeat.
Always,
Tricia @ VRD