2026 Small Project Summer Challenge · Rose Cards · Tutorials · Welcome Blog Post

Small Project Summer Challenge Week 2 and a NEW VRD Rose Card Tutorial – Tabitha Jane

Hello Quilty Friends!

Happy Thursday to you!

Happy 250th birthday to America!

A patriotic illustration celebrating America's 250th birthday with fireworks, a vintage red truck, and an American flag. The design features bunting, colorful stars, and the text 'Happy 250th Birthday America!' along with the years '1776' and '2026'.

I hope you are all set to enjoy the celebration this weekend for the 250th Birthday of the United States of America. I’m looking forward to the fireworks and all the different events going on.

Of course right now the weather is looking rainy, but I have hopes it will clear up and be a gorgeous weekend for everyone. We’re having a heatwave right now with temperatures in the mid 90’s. I am not a hot weather girl at all, so I will stay in the air conditioning and ride out the heat. Just hand me a bowl of ice cream – something with chocolate – and I’ll be happy as a clam. And cool. LOL!

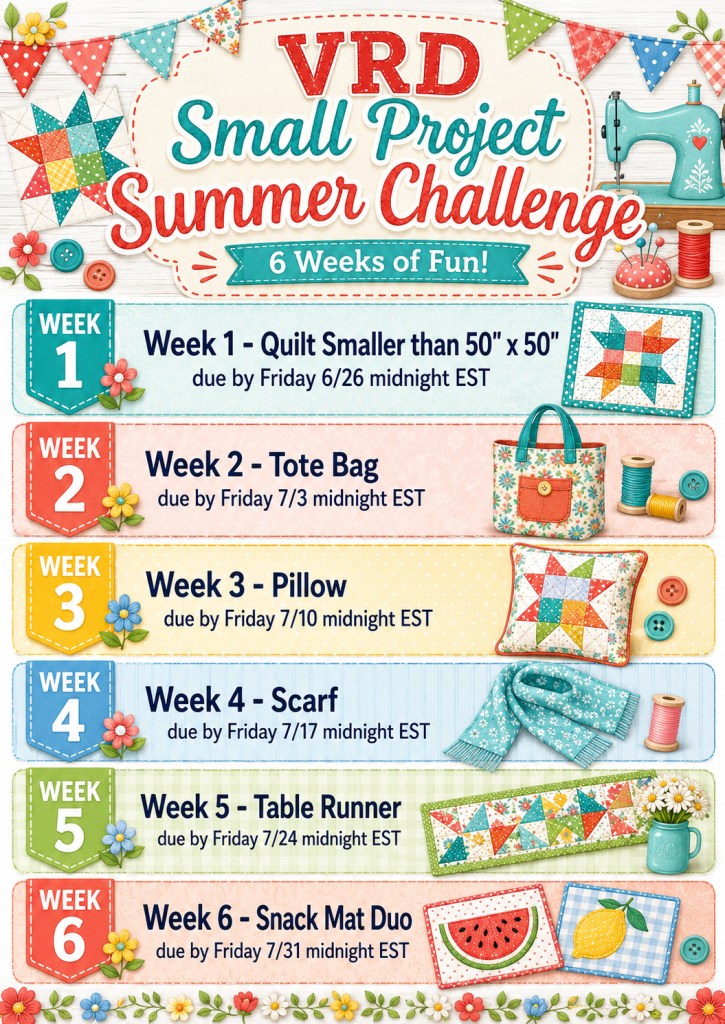
We are wrapping up Week 2 of our Small Project Summer Challenge this week – our project is a VRD Tote bag. Here’s the info and schedule in case you need it.

Now let’s revisit Week 1 with a winner!

Week 1 Winner

Yay! It’s time to announce our first Small Project Summer Challenge winner!

Toss the confetti!

Cue the band!

And our Week 1 winner is………….

Susan L. from WV

Congrats, Susan!

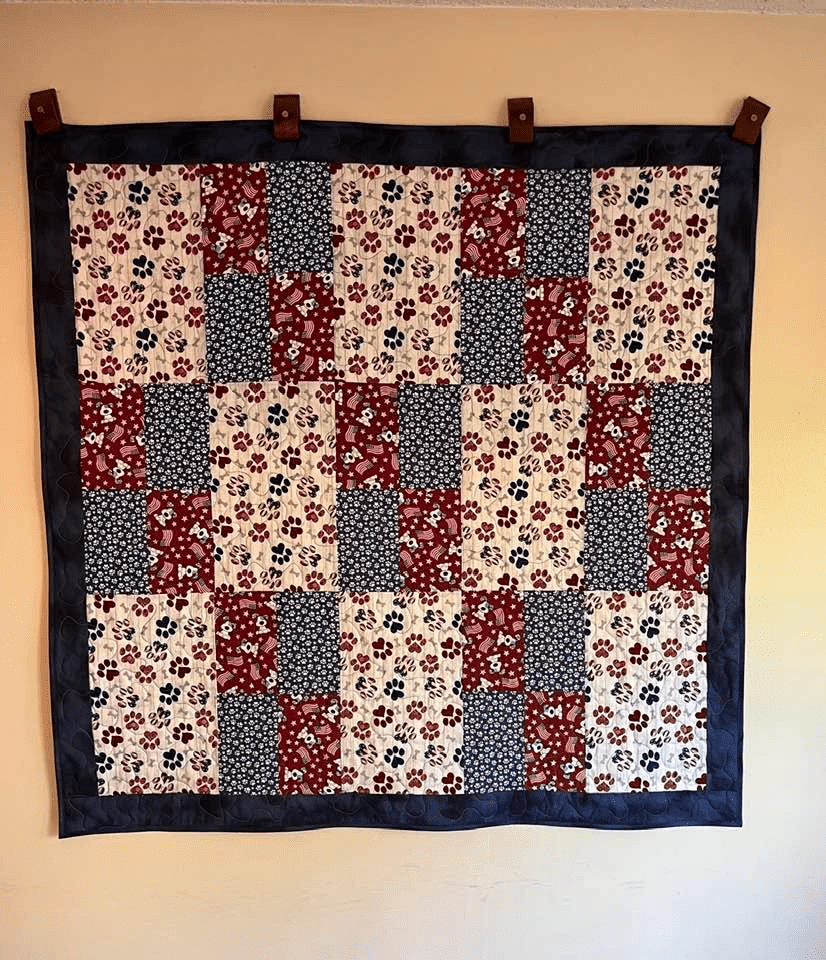
Susan made a fun dog lover’s version of Fairhaven. This one really makes me smile because of all the canine fabrics. A fun fast make!

A colorful quilt hanging on a wall, featuring a patchwork design with red, navy blue, and floral patterns.

Guess what? Susan already donated her Fairhaven quilt to Project Linus!

Project Linus has been giving handmade blankets and quilts to kids since 1995. And in 31 years, they’ve given over 10 million blankets to children. WHOAH! You can find additional information or how to get involved on the Project Linus website HERE.

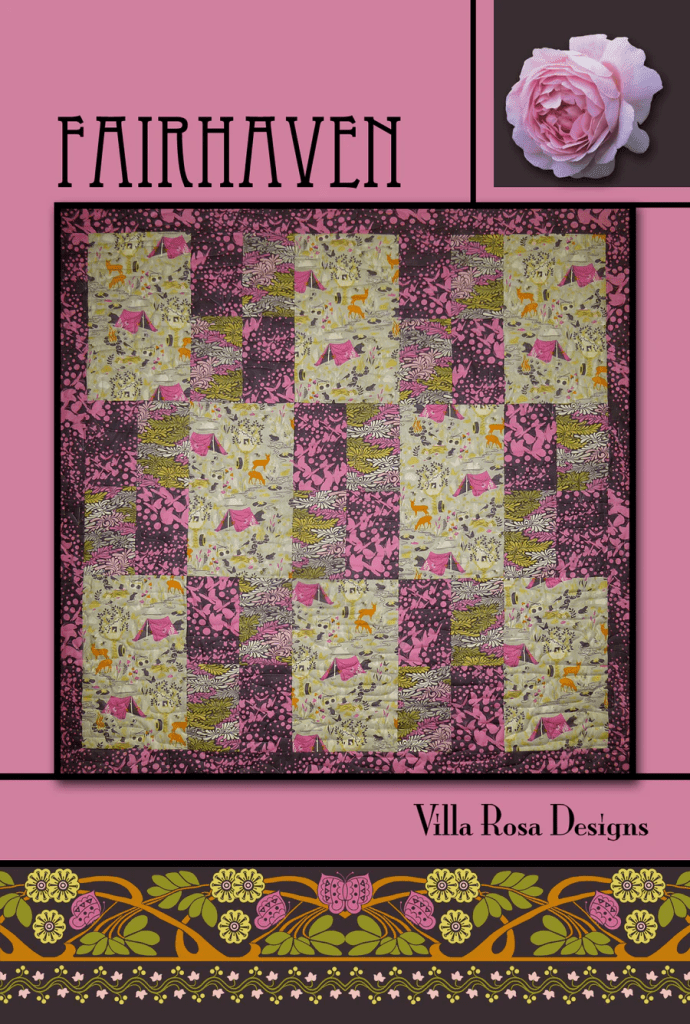
A colorful quilt titled 'Fairhaven' featuring various fabric patterns with pink and green tones, displayed against a pink background, along with a floral accent in the upper right corner.

Get your digital pattern HERE or your print pattern HERE

VRD Small Project Summer Challenge Week 2

Our Week 2 Challenge this week is for a VRD tote bag. Your tote bag project is due Friday, July 3rd by midnight EST.

We have 2 different VRD tote bag patterns or you could adapt a different VRD pattern into a tote bag. What a fun idea! I hadn’t thought of that until one of the participants asked me about it. Thanks for the great idea!

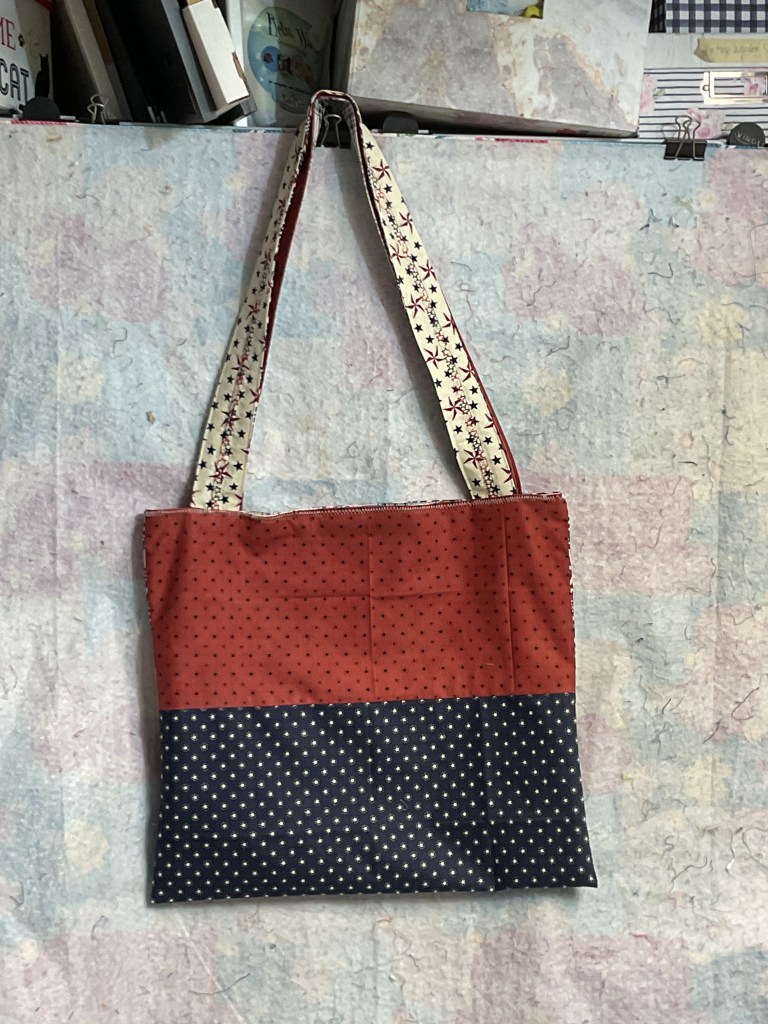
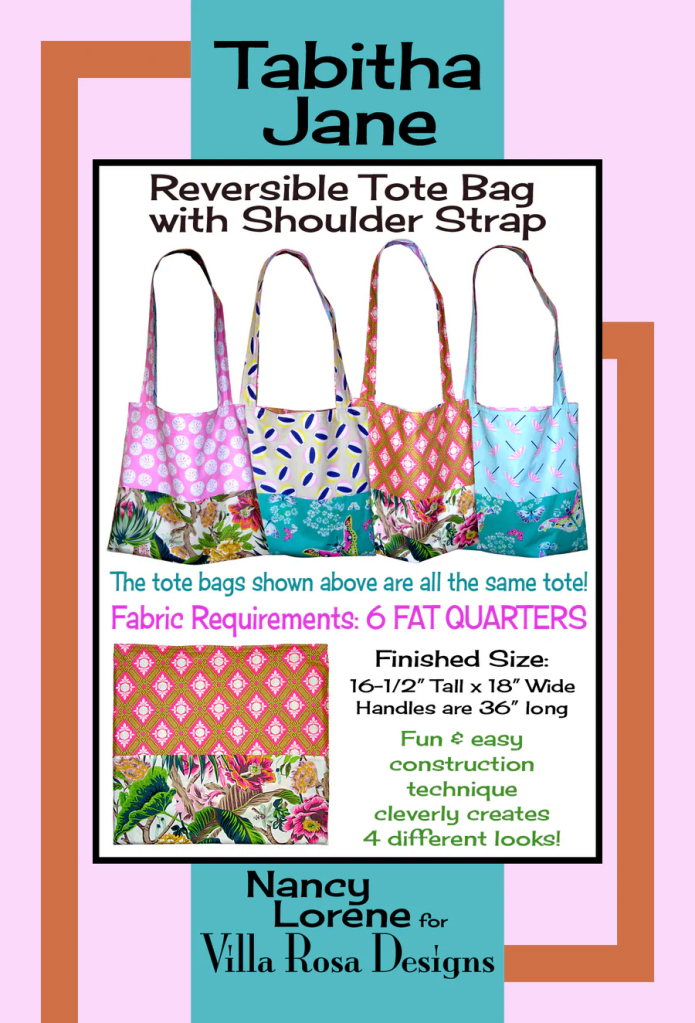
So……..my tote bag this week is Tabitha Jane. Have you made this one yet? It’s totally reversible, which means you get 4 looks with one tote bag. That’s uber cool, right?

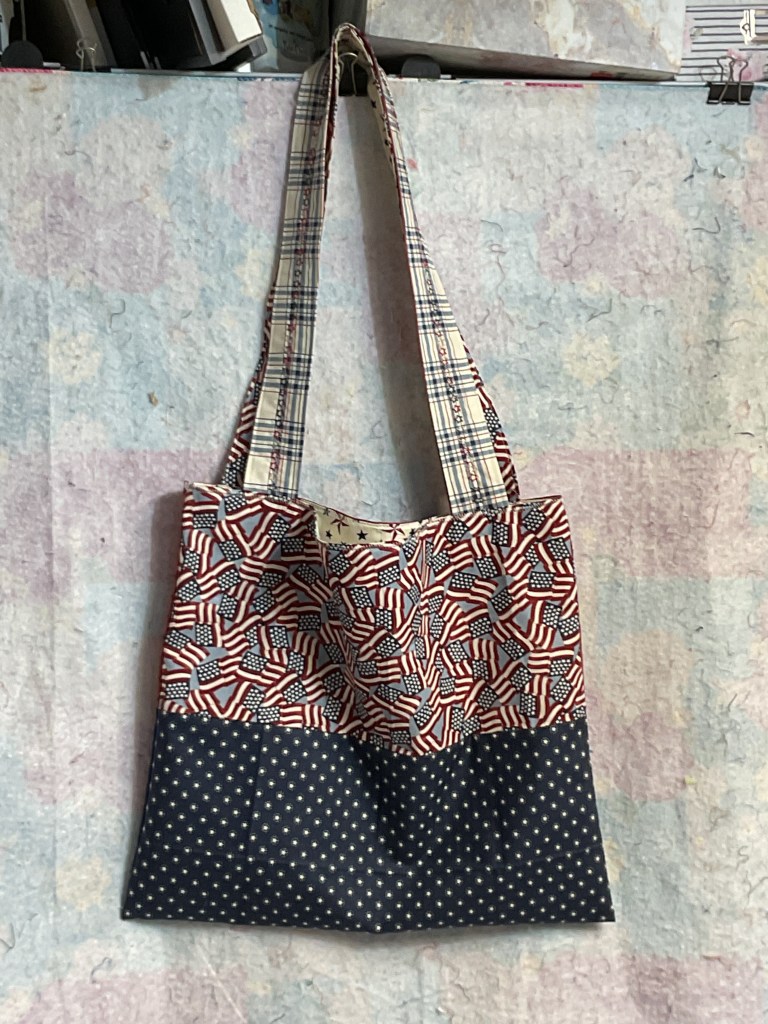
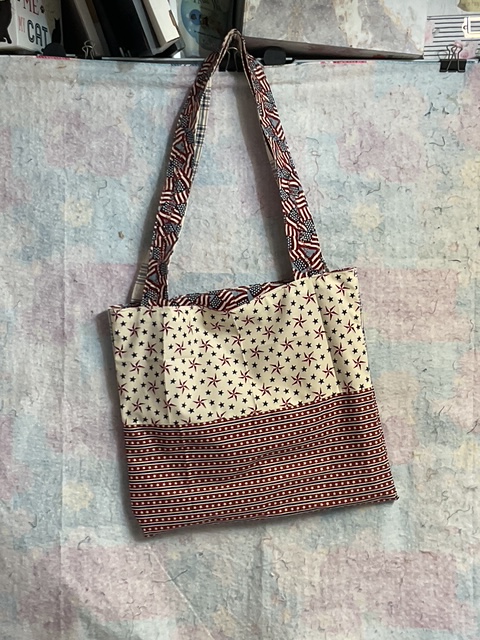
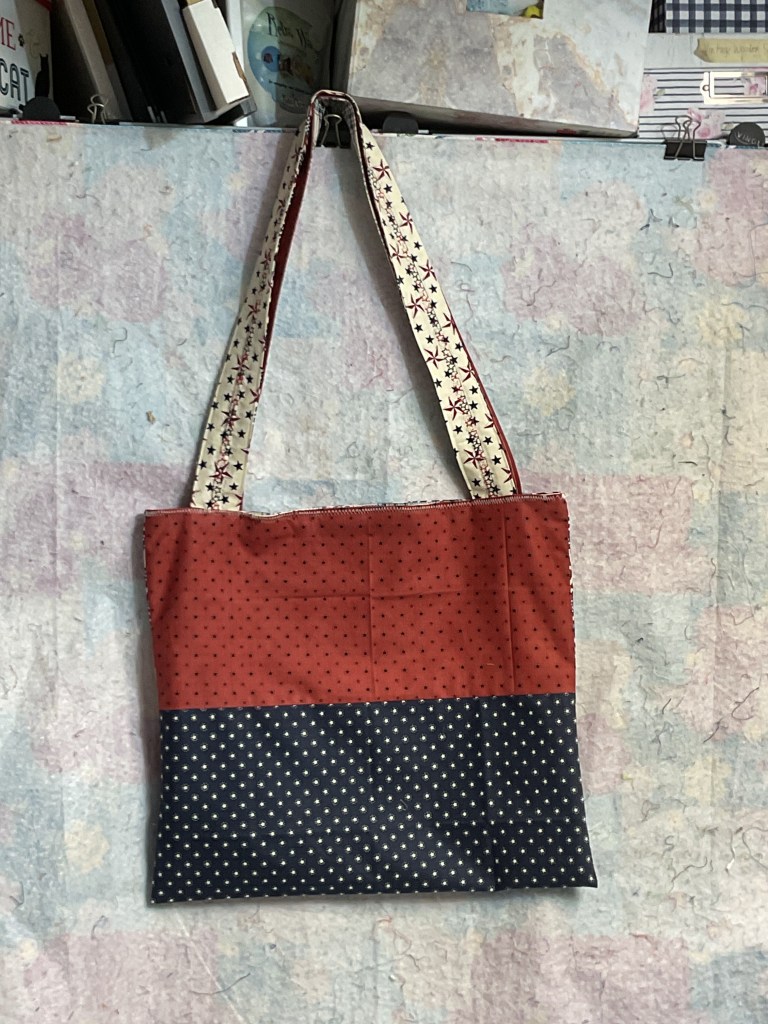
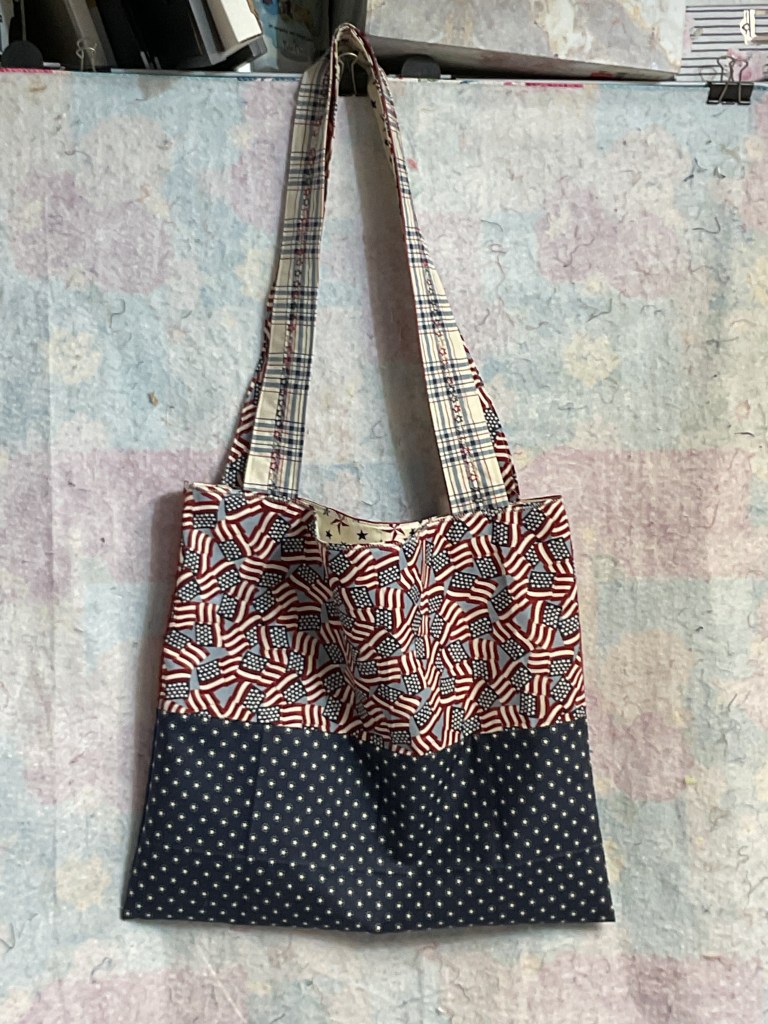
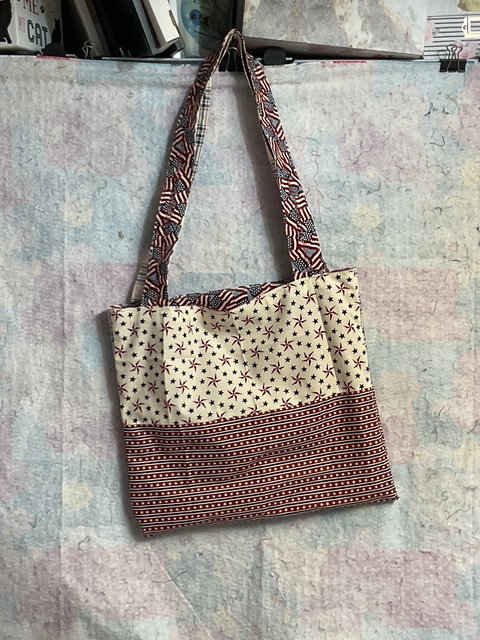
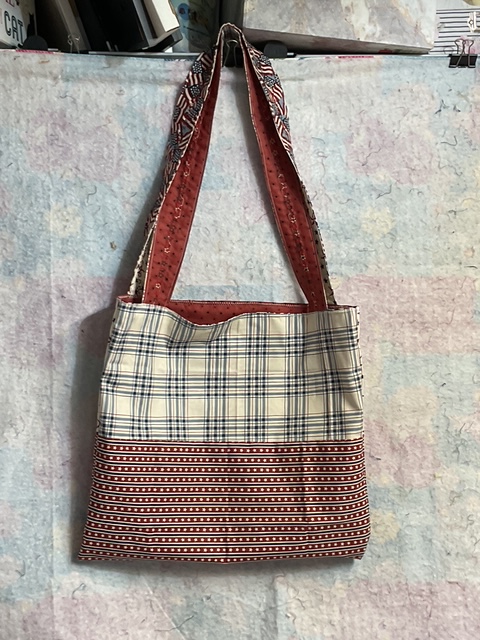
So here’s my red, white, and blue version of Tabitha Jane!

Like I said: 1 tote bag – 4 different looks! I can’t decide which side I like the best. Which one do you like?

It was really quick, perhaps 2 or 3 hours (including photography on my end) to make this super useful and fun tote. Tabitha Jane would be a great tote for yourself or for someone else! I can’t wait to make a few more, maybe one for each season? Did I mention it’s made out of fat quarters???

Graphic showcasing a reversible tote bag design by Tabitha Jane, featuring four different looks with vibrant patterns. The text highlights fabric requirements and the finished size of the tote, along with design credits for Nancy Lorene and Villa Rosa Designs.

Get your digital pattern HERE or your print pattern HERE

I also created a tutorial for you for Tabitha Jane. Now you’ve totally got to make one of these!

VRD Tutorial Tabitha Jane

Probably the hardest thing about this pattern is choosing your 6 FQs! Of course, you can absolutely make more than one of these totes so you can can choose 6, 12, 18….or more FQs. LOL!

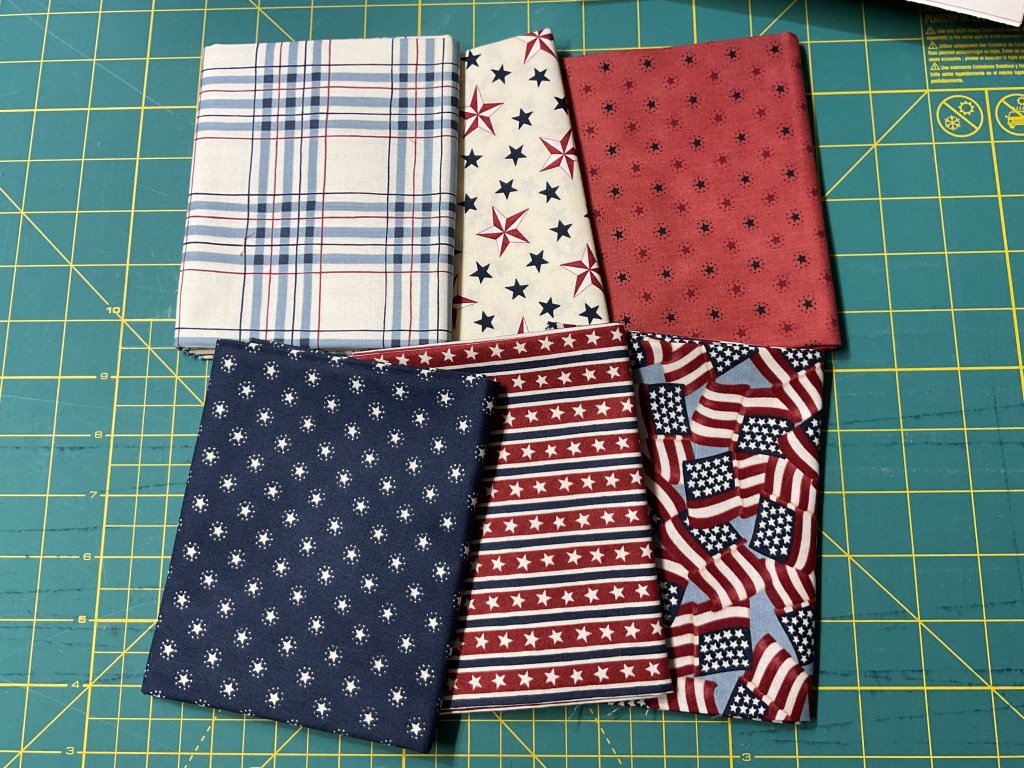
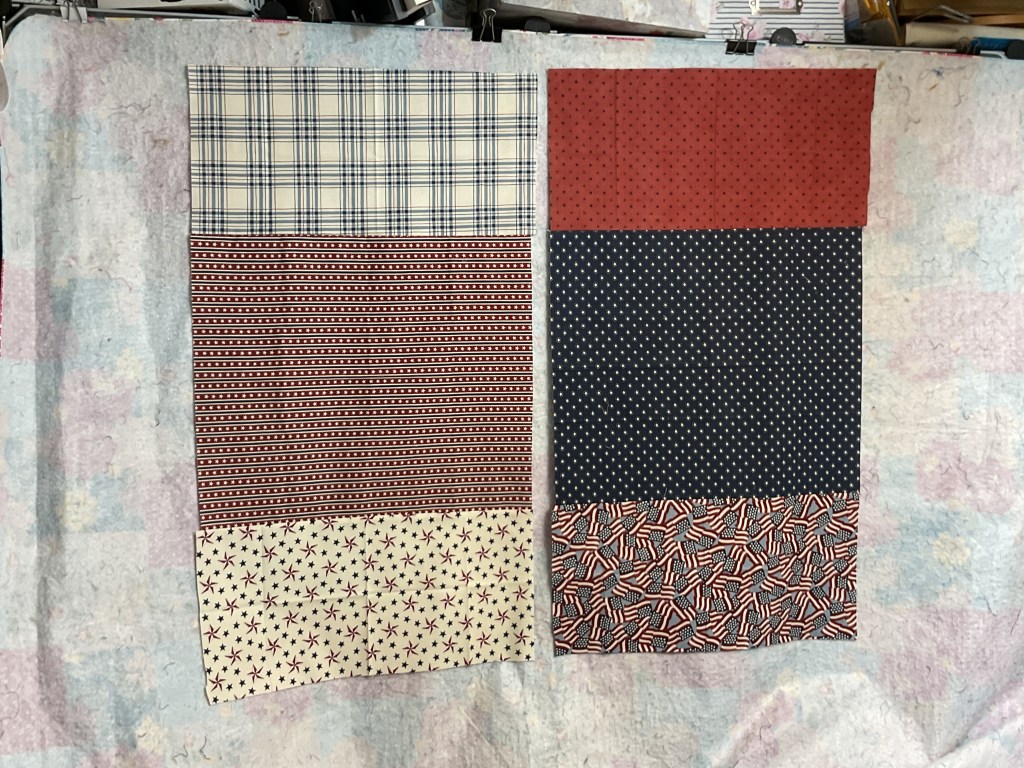
I settled on these 6 patriotic FQs from Deb Strain’s America 250 Years collection by Moda Fabrics. What a surprise – I’m making red, white, and blue projects for the Summer Challenge. Ha ha!

A collection of six fabric pieces featuring patriotic patterns, including plaid, stars, and American flags, arranged on a green cutting mat.

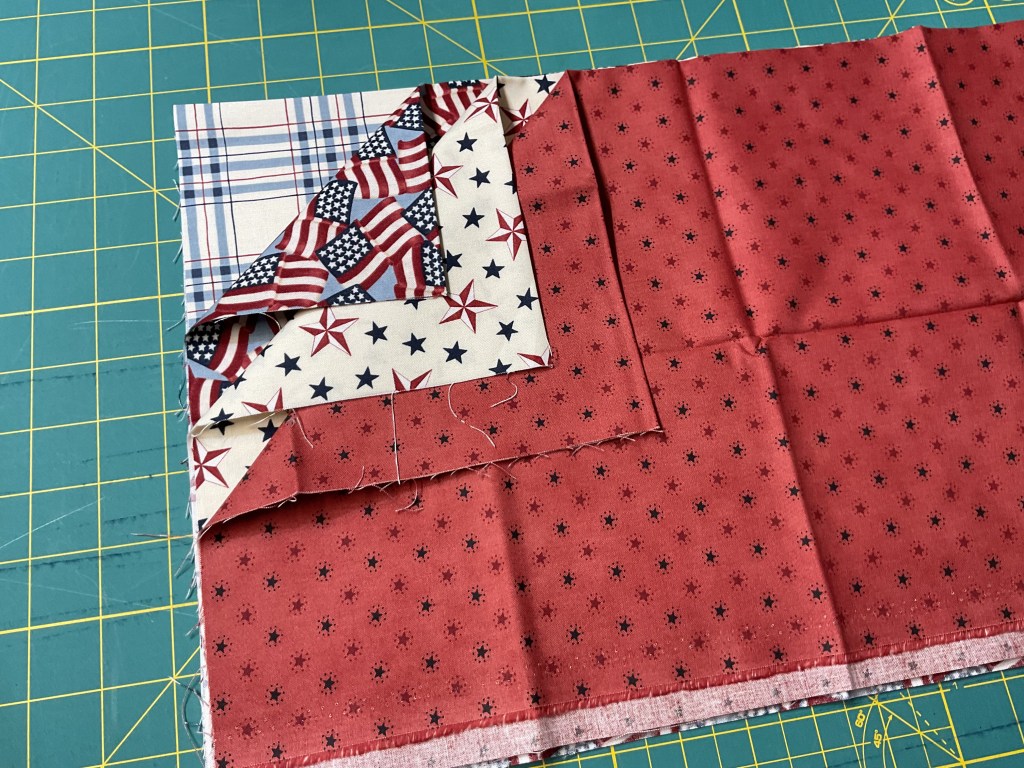
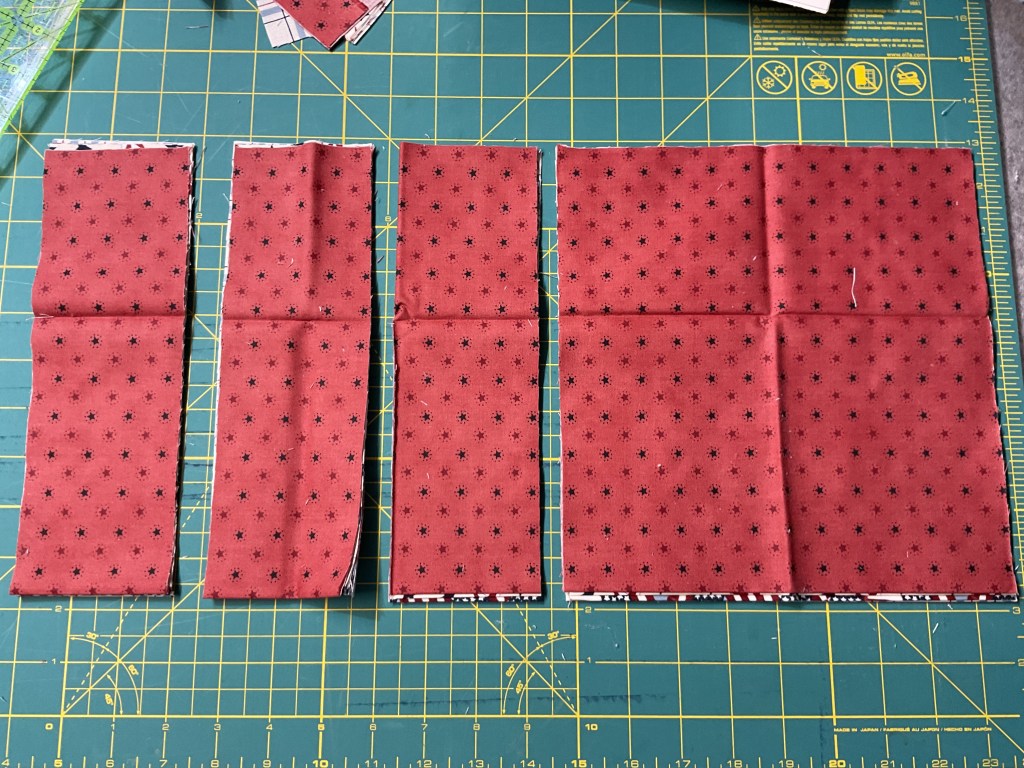
Next up is cutting. I layered my FQs together so I only had to cut once. Do likewise if you feel comfortable, but cutting 1 layer at a time is perfectly okay too.

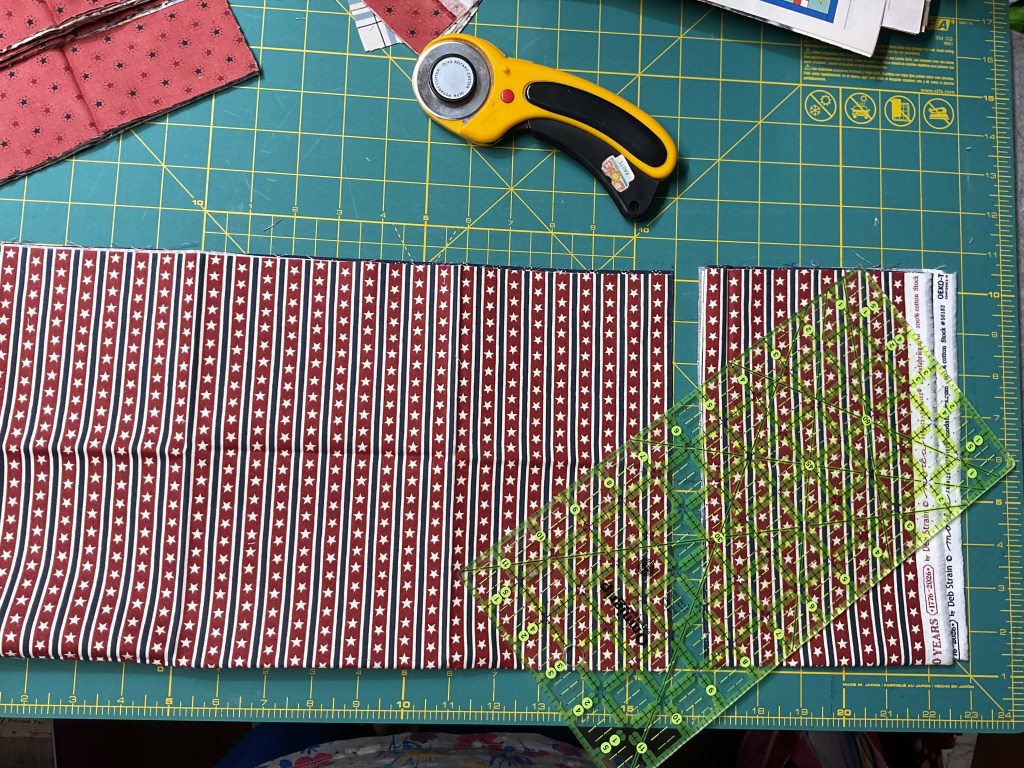
Now to cut the other 2 FQs. And with that, the cutting is finished. Wow! That was quick!

A green cutting mat with a rotary cutter, a patterned fabric piece in red and white stripes with stars, and a clear quilting ruler placed on the fabric.

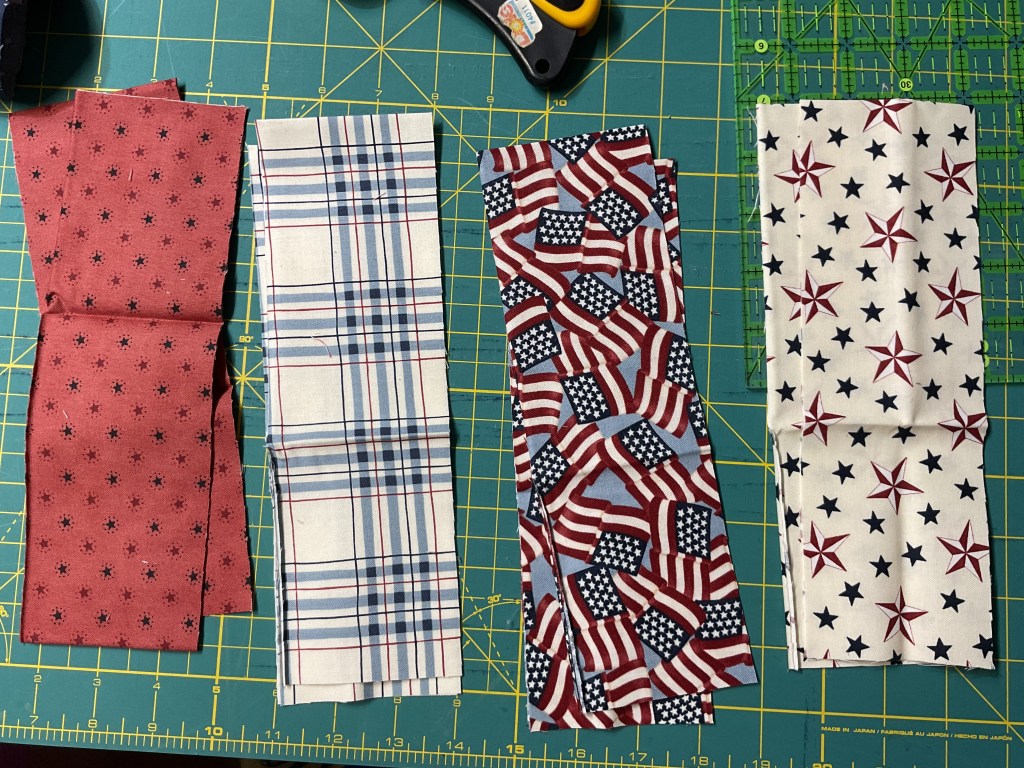
We’re going to make our straps first. Here are my 4 fabrics for my straps.

Four pieces of fabric in red, white, and blue patterns laid out on a cutting mat, featuring stars, stripes, and plaid designs.

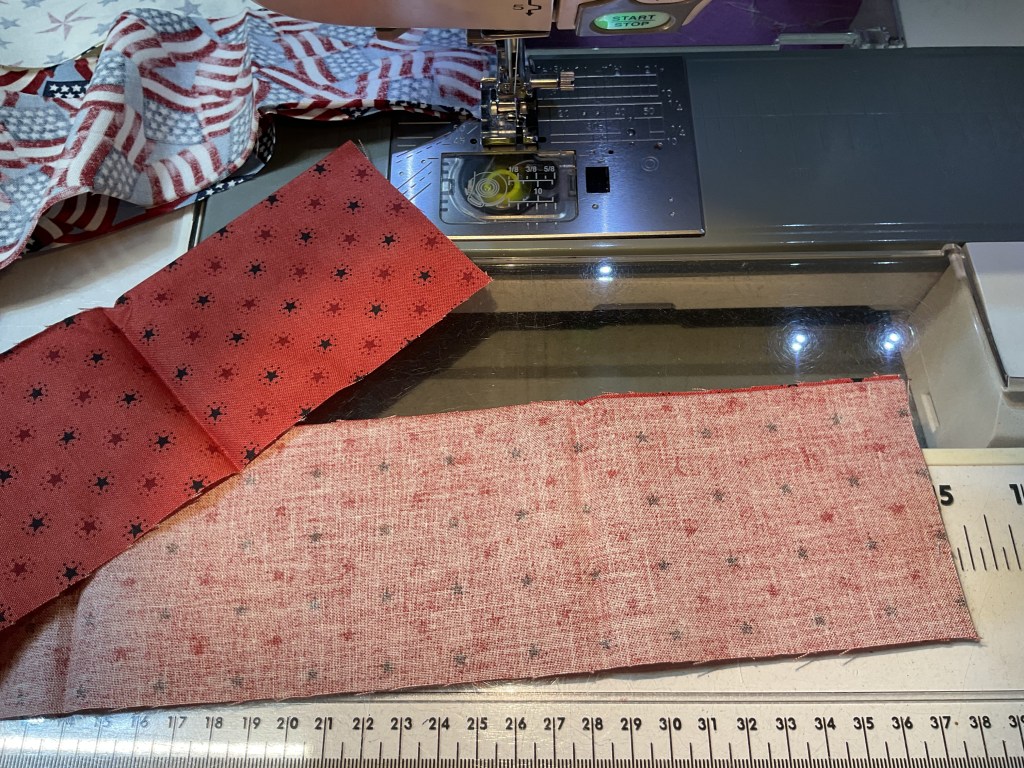
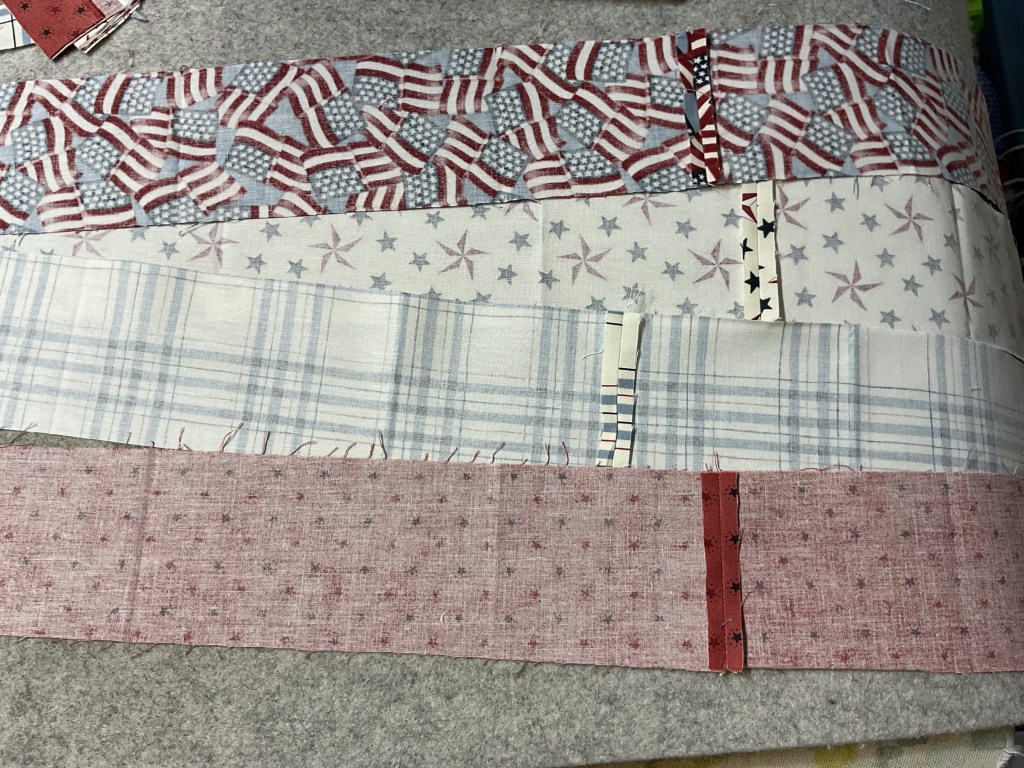
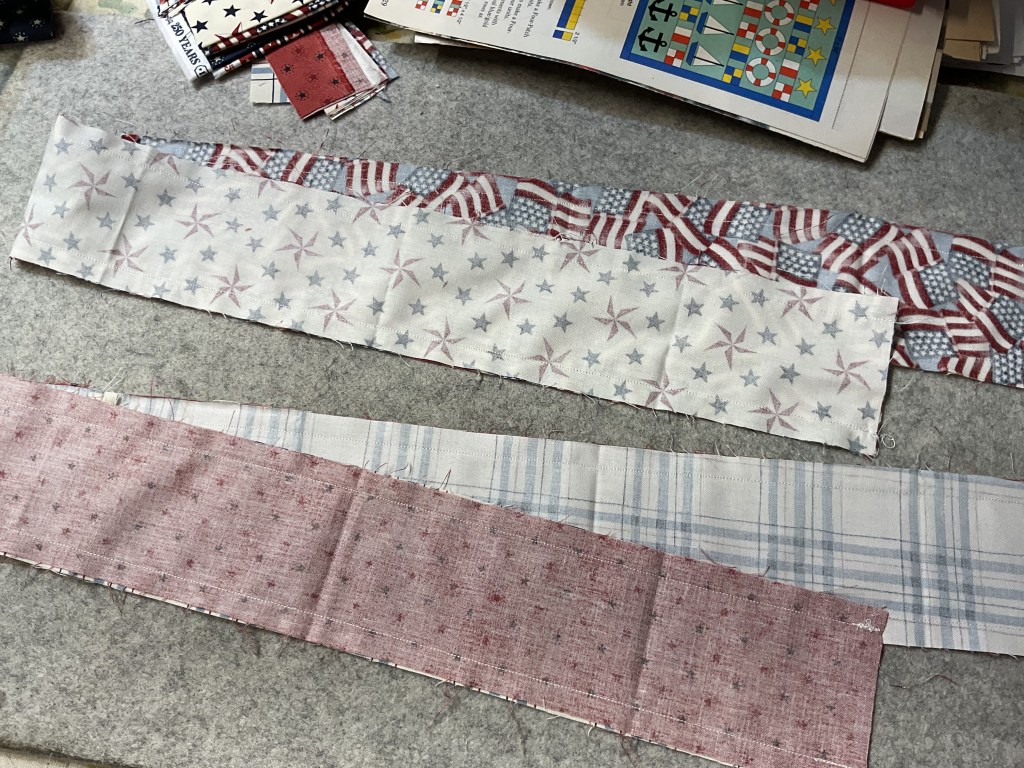
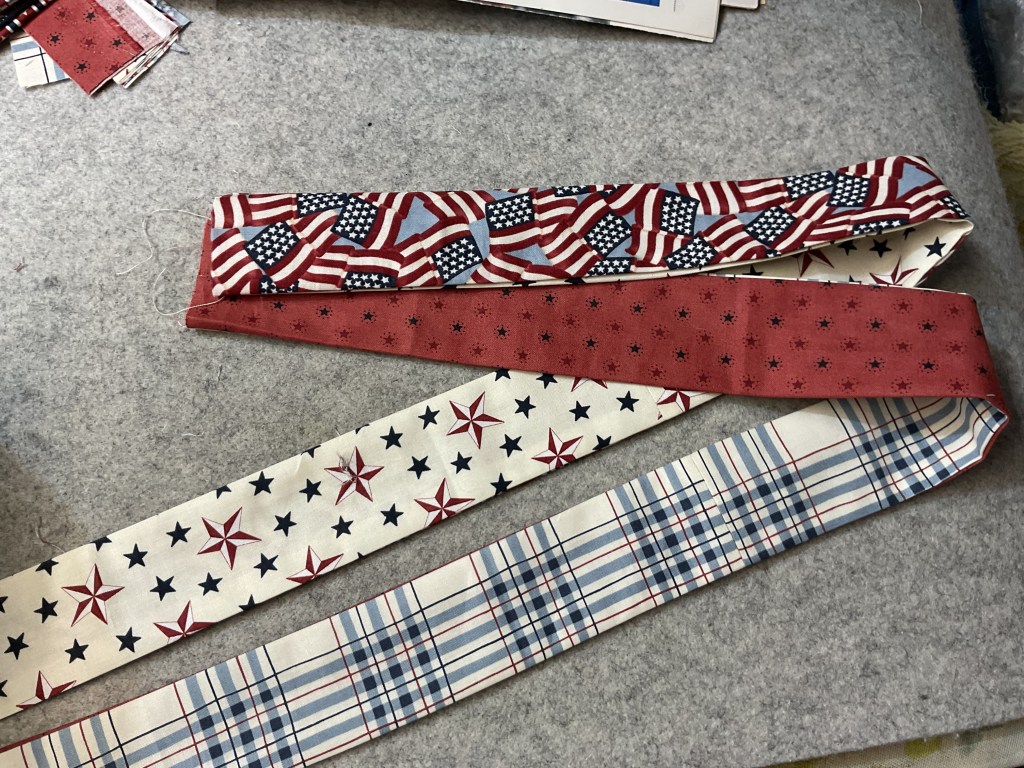
To make the straps, the first thing to do is stitch the smaller strips together to make 4 long strips. I chose to sew matching strips together, but you can totally scrap this up if you want to. You do you.

After I stitch my strips together, I’m going to press the seams open.

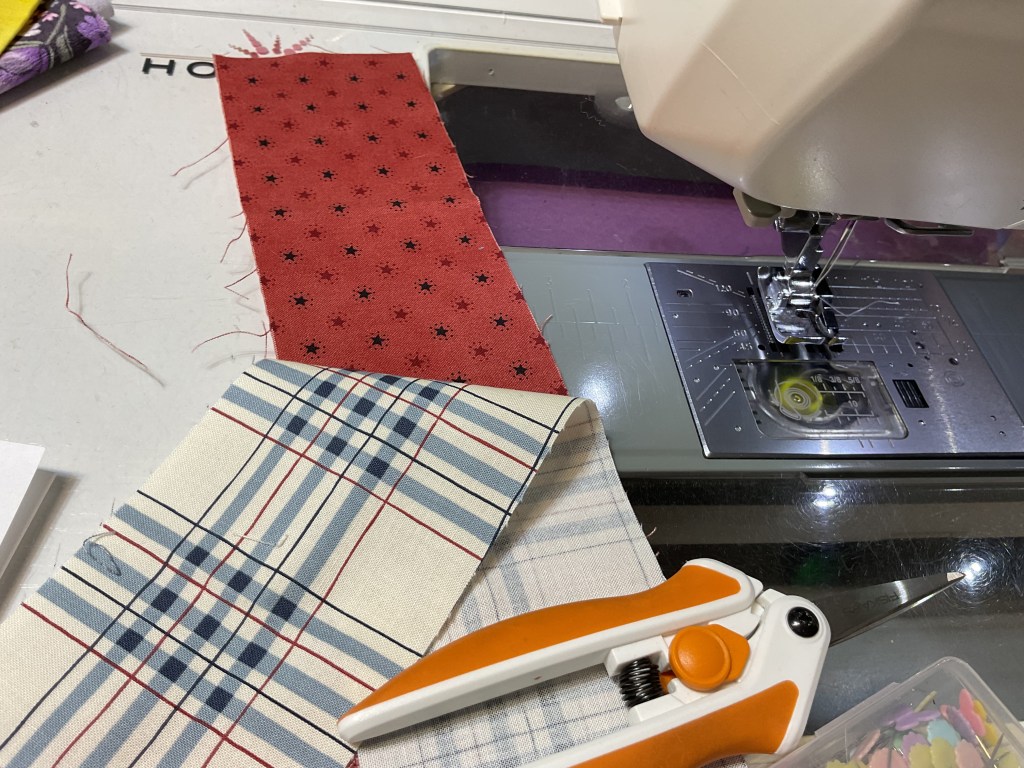
Next I am going to layer 2 strap strips right sides together (RST) and sew down both long edges to make my 2 straps.

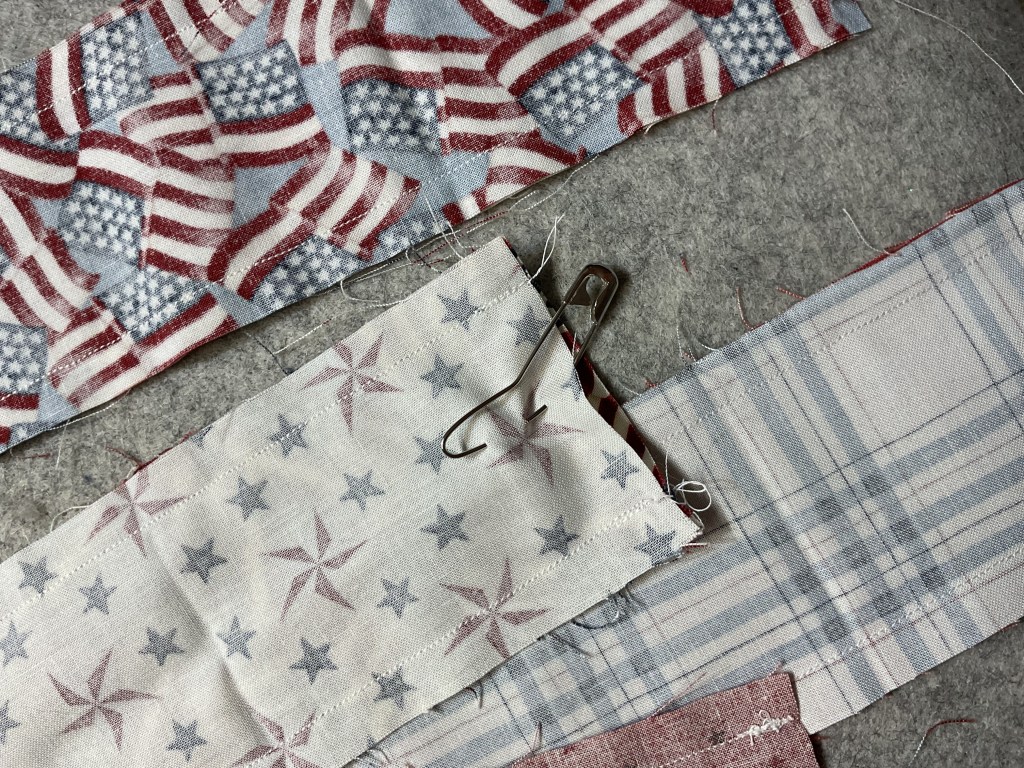
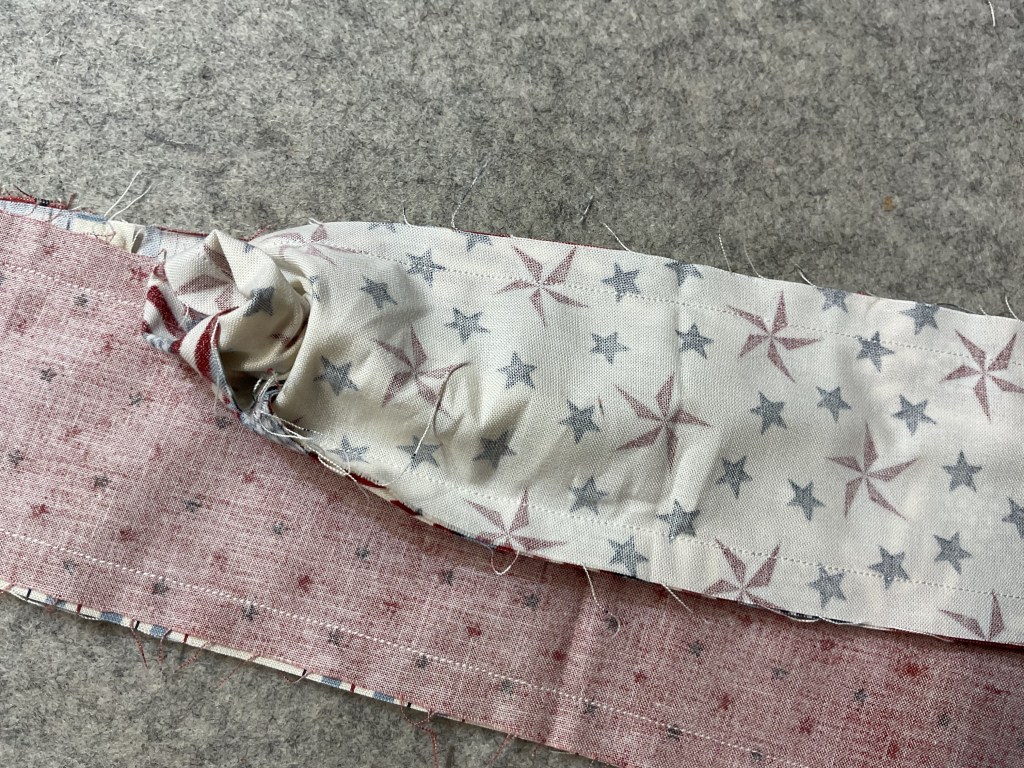
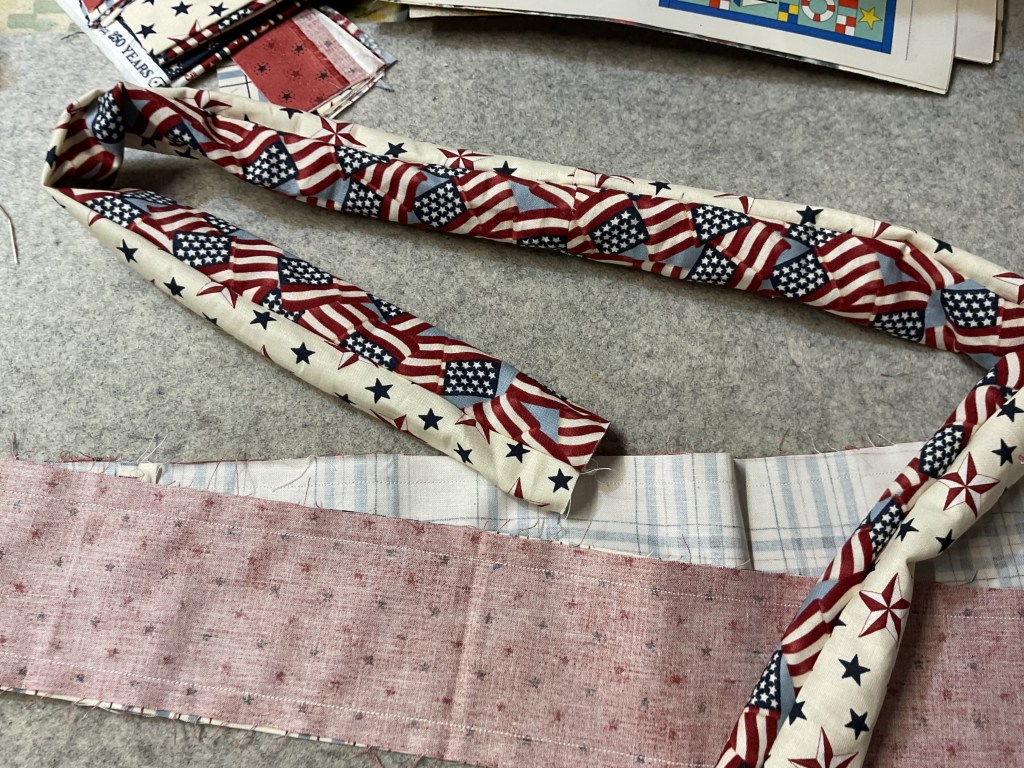
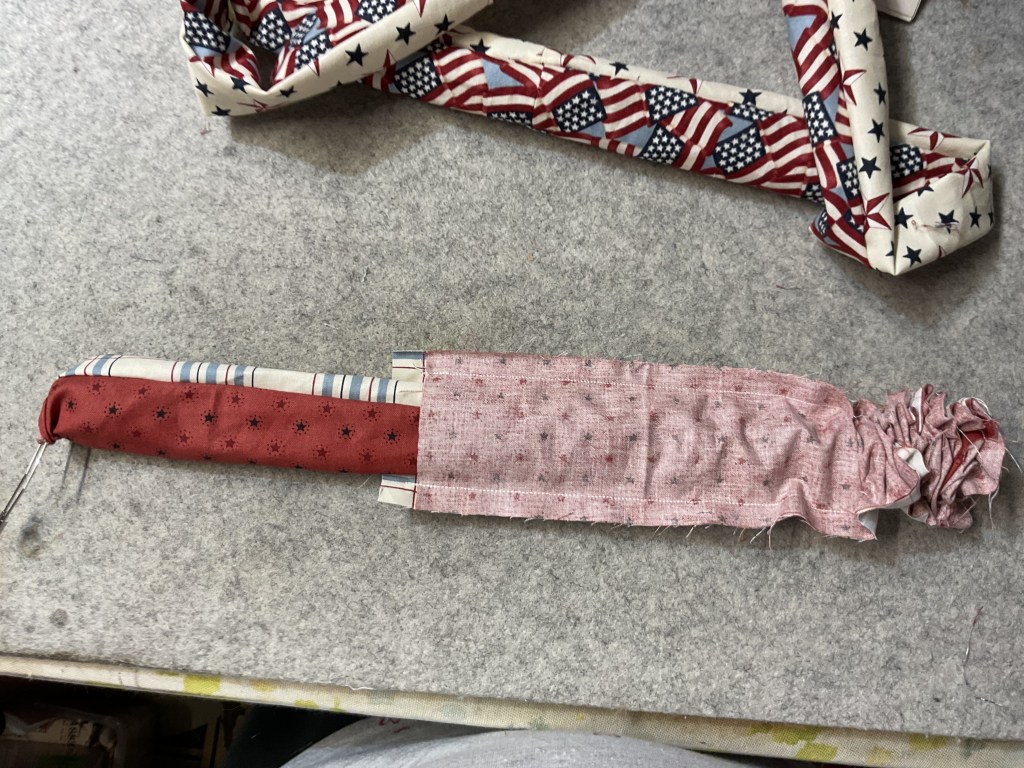
Oh goody (not really)….Time to turn both straps right side out (RSO). This is one of my least favorite things to do when sewing bags. Usually I fold my strips in half and then in half again to avoid having to turn things RSO. But these straps are pretty wide, so here goes……

I am using a large safety pin (Yup, one of my quilt basting pins) to turn my strips RSO. The pin gives me something to hold onto as I turn the strap.

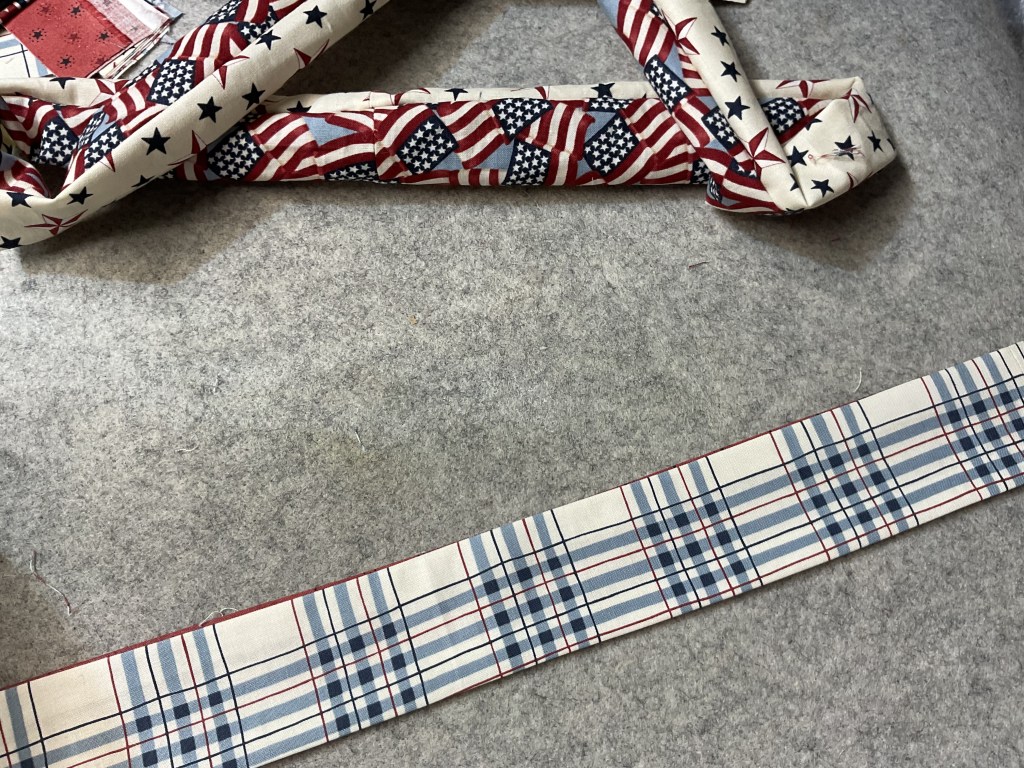
Now I need to press my straps flat.

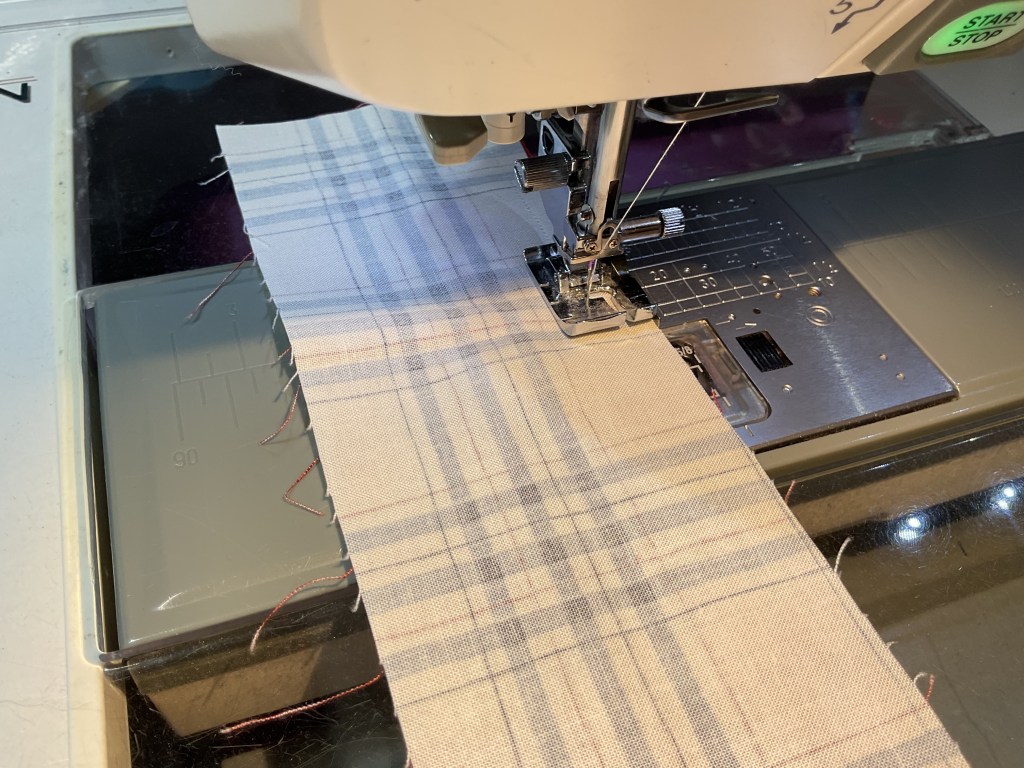
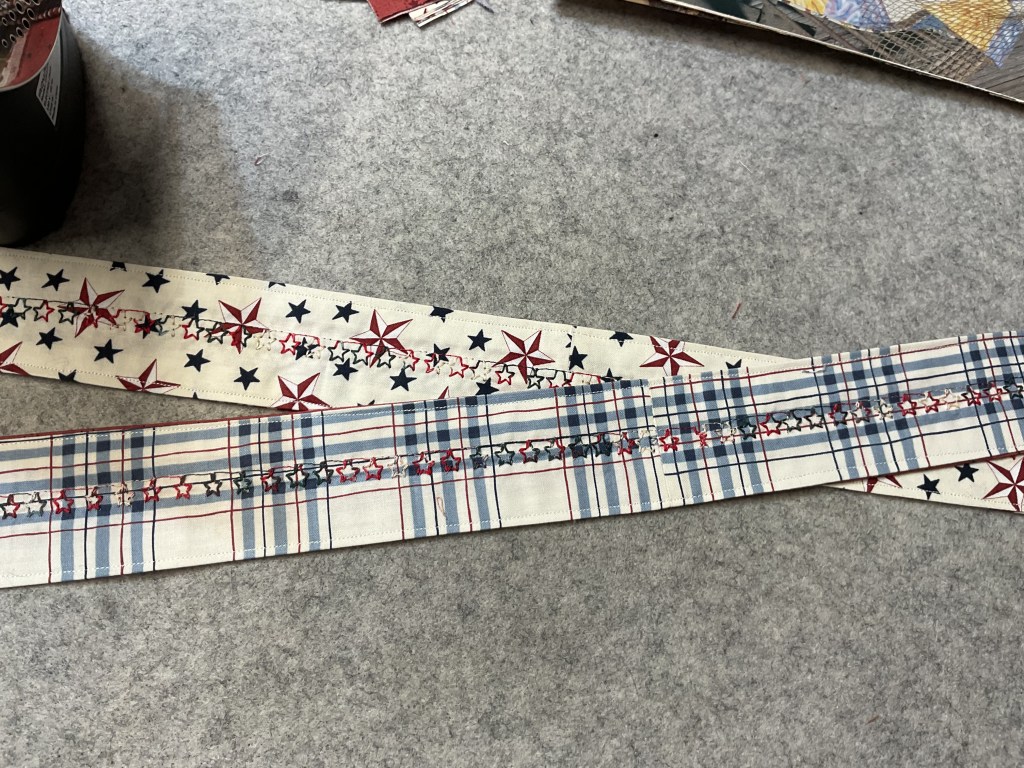
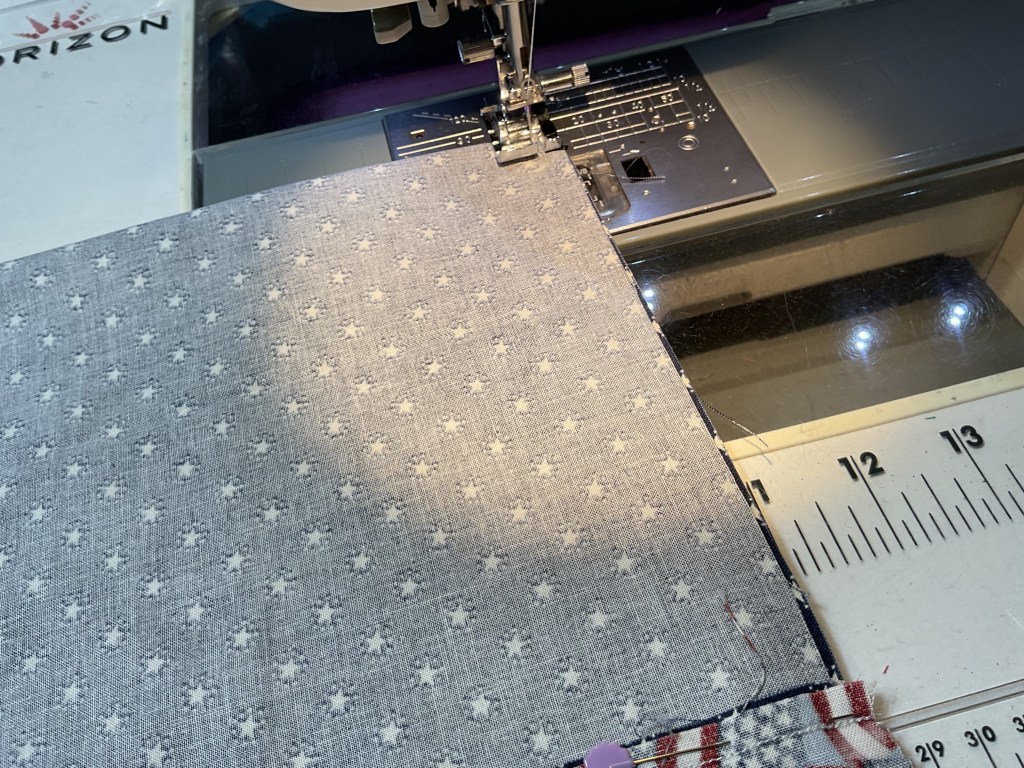
I’m going to sew close to both sides of each strap. This is for 2 reasons – 1st because it will keep the straps flat and 2nd because the stitching will help stabilize the straps as we did not add any interfacing or batting.

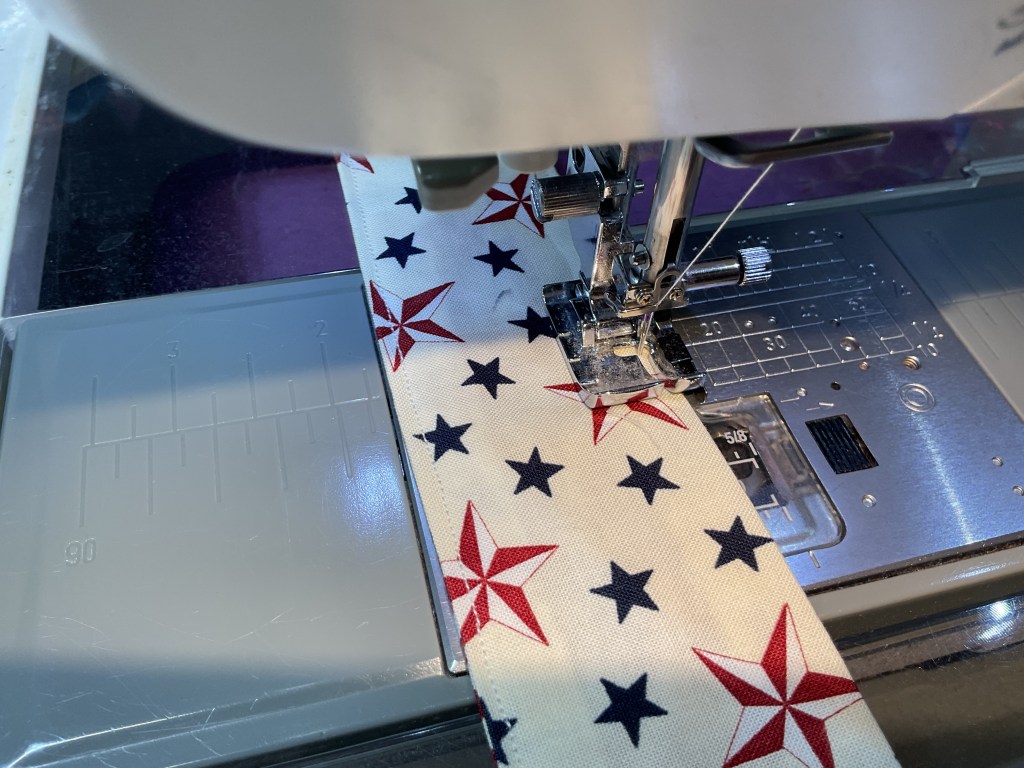
I’m also going to add more stitching down the middle of each strap for even more stabilization. And I’m going to use one of the zillion special stitches on my sewing machine to make it fun. I chose this cute star and decided to use variegated thread.

After I finished the straps, though, I wish I had used a solid navy blue thread instead of the variegated because the stars would have shown up better. Oh well…….

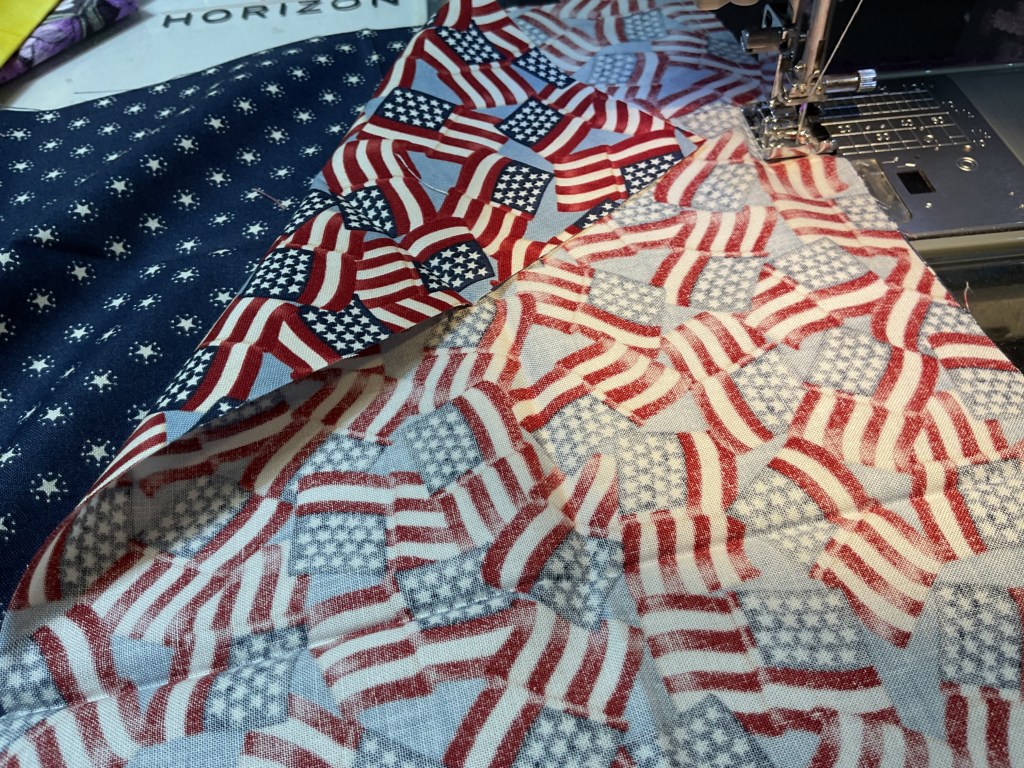
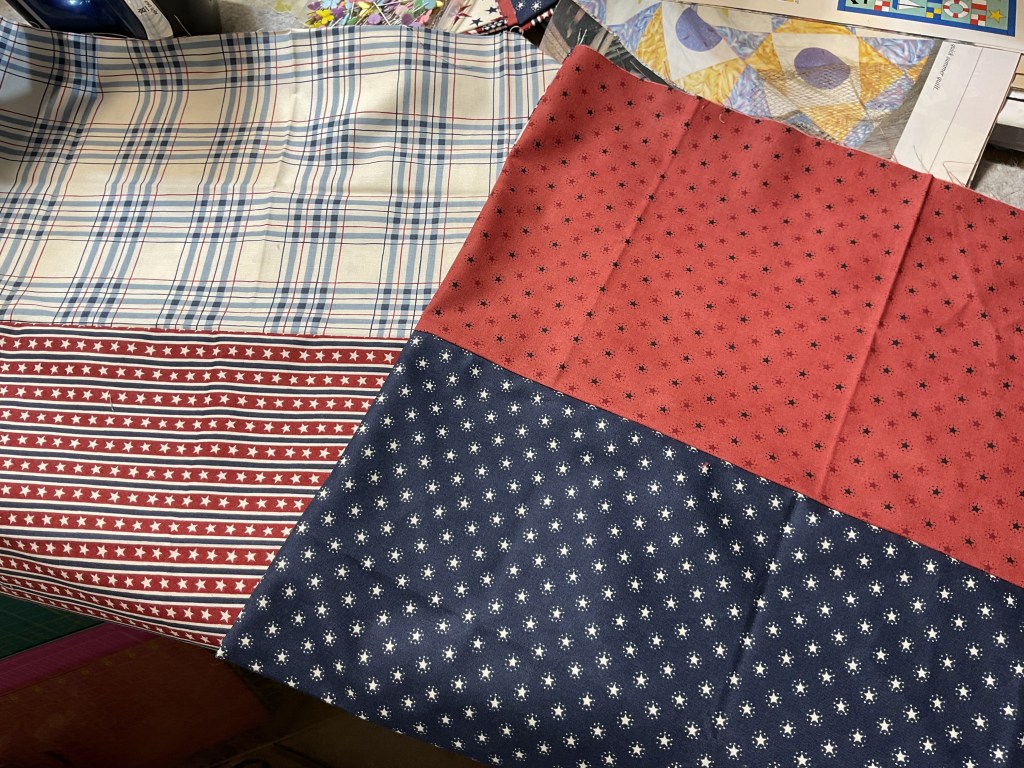
Time to work on the body of the tote now. I’m going to sew the smaller rectangles to the top and bottom of the large rectangles to make 2 bags. The finished bag doesn’t have any interfacing or batting, so if you want to add any to make your bag sturdier, now would be the time to add it. But I’m going to continue without adding any stabilizer for this one.

When I make a project for the first time, I like to follow the directions pretty close so I understand how it all goes together. Then if/when I make another one, I might choose to make changes or adapt the pattern.

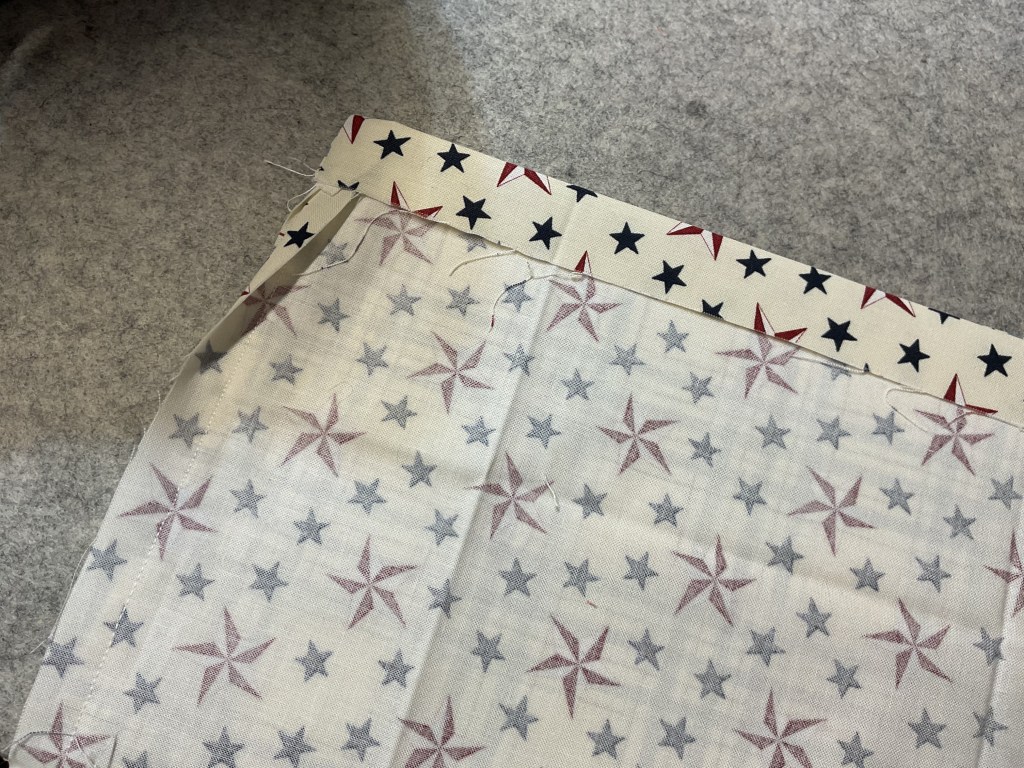
I’m going to fold each bag body section in half with RST so the top and bottom edges match. Then I’m going to sew down both sides of the tote for both pieces. When you turn them RSO, don’t forget to push out the corners and give the bags a press.

All that is left is to assemble the bag parts and the straps.

If desired, you can fold under the tops of the bags as the next step before placing one bag inside the other with wrong sides together, but I prefer doing the top seam allowance after 1 bag is already inside the other bag because I find I can get the top seams lined up better.

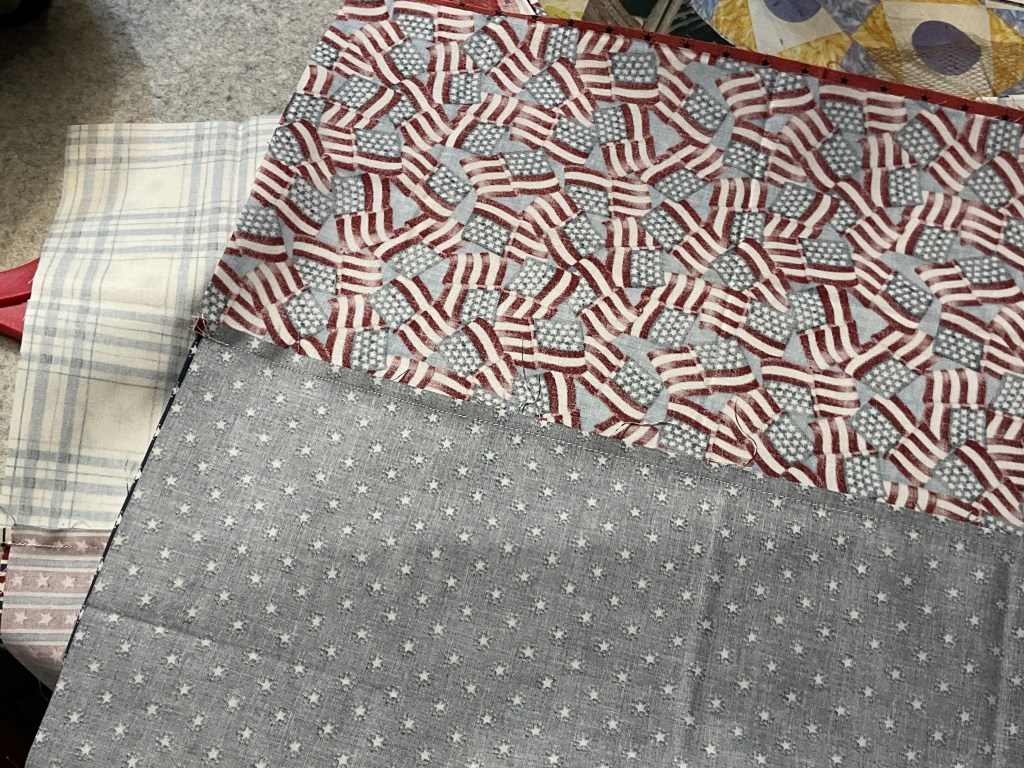
I’m going to turn one of the bags inside out again and place it inside the other bag (which is RSO) so that the wrong sides are facing towards each other. Smooth the bags out and line up the side seams.

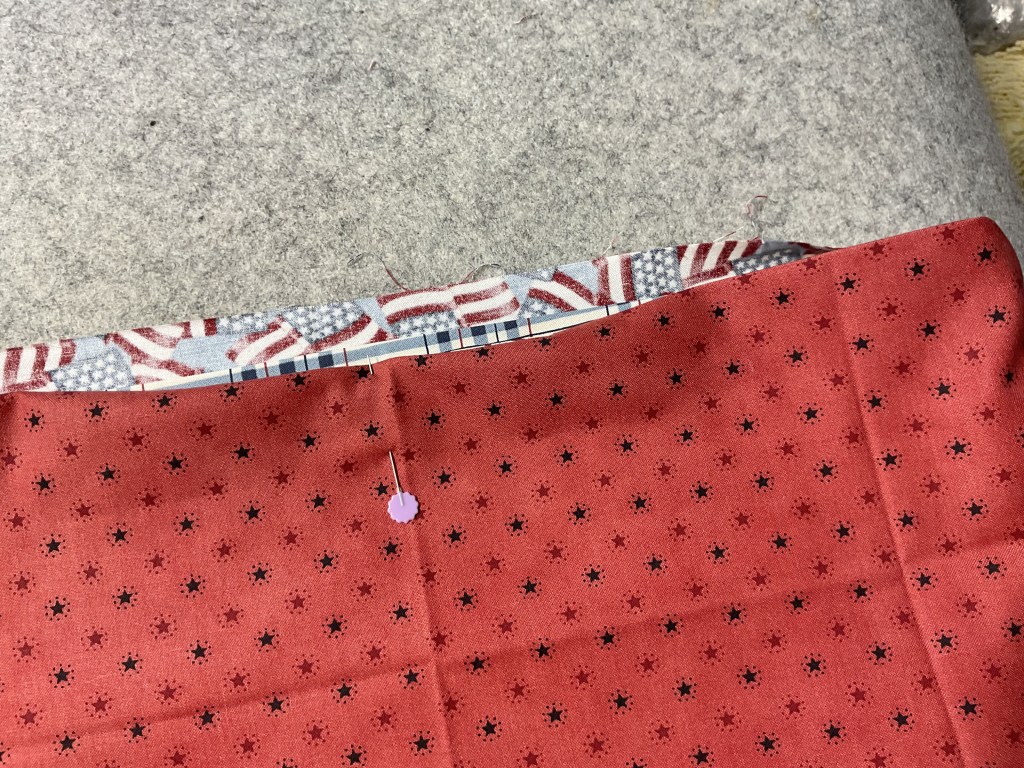
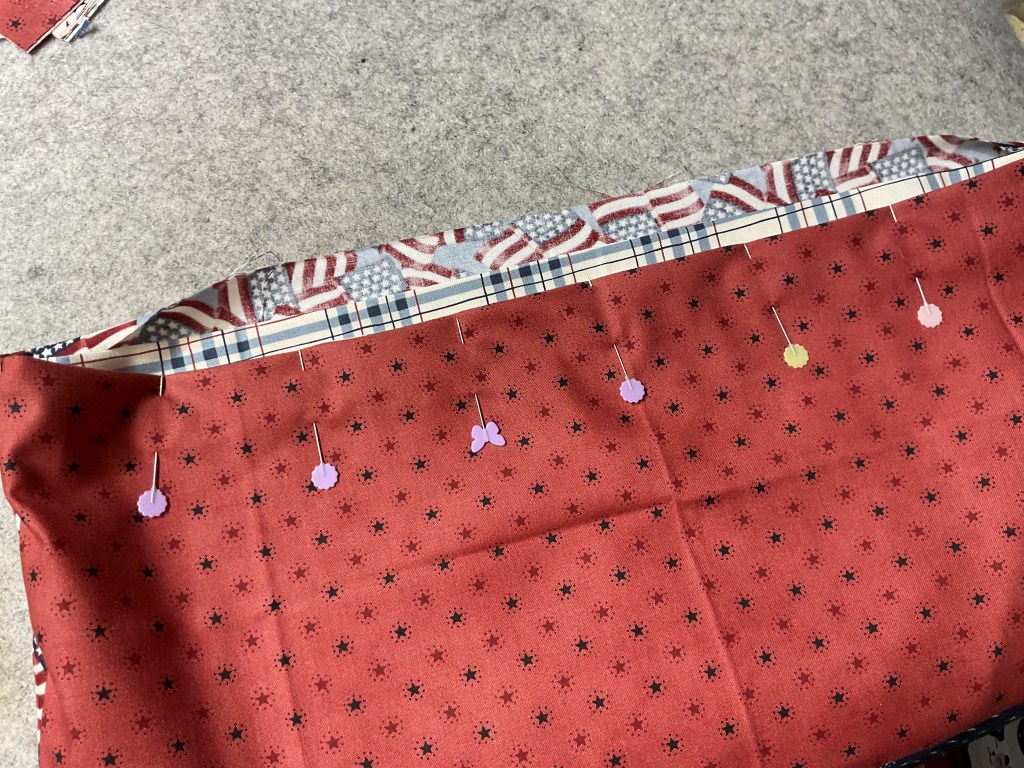
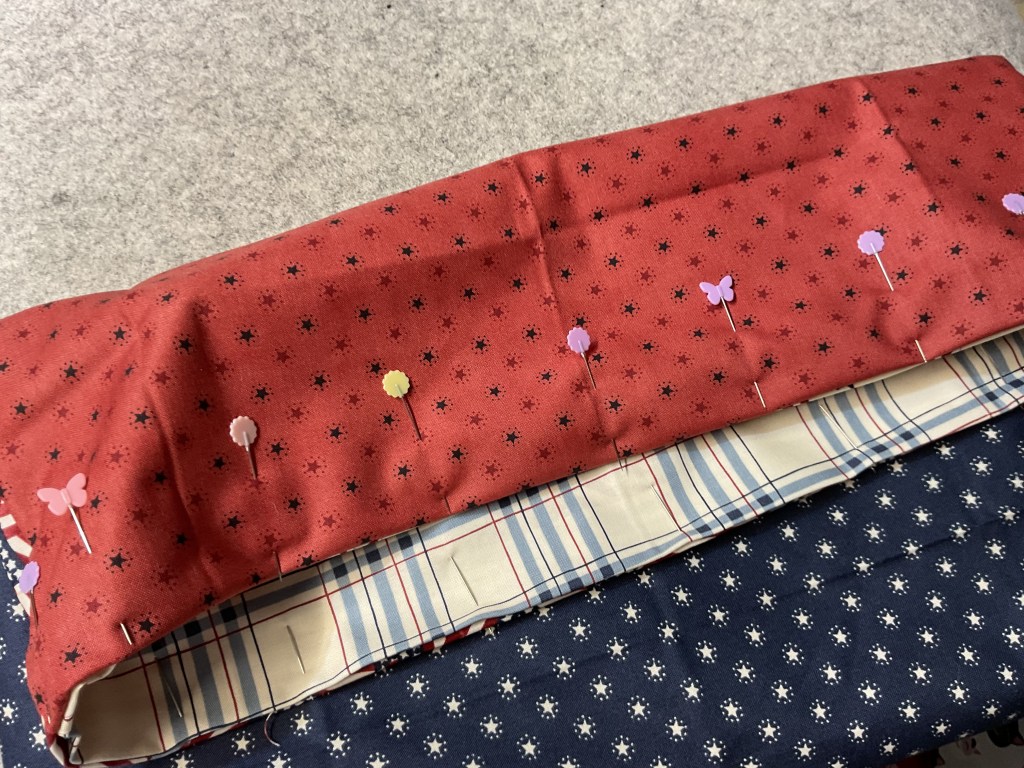
I like to work with one bag at a time as I fold and press the seam allowance to the wrong side of the bag. Next I’ll match the top edges as I fold the 2nd bag seam allowance towards the wrong side and press. I pin generously to keep the bag tops lined up.

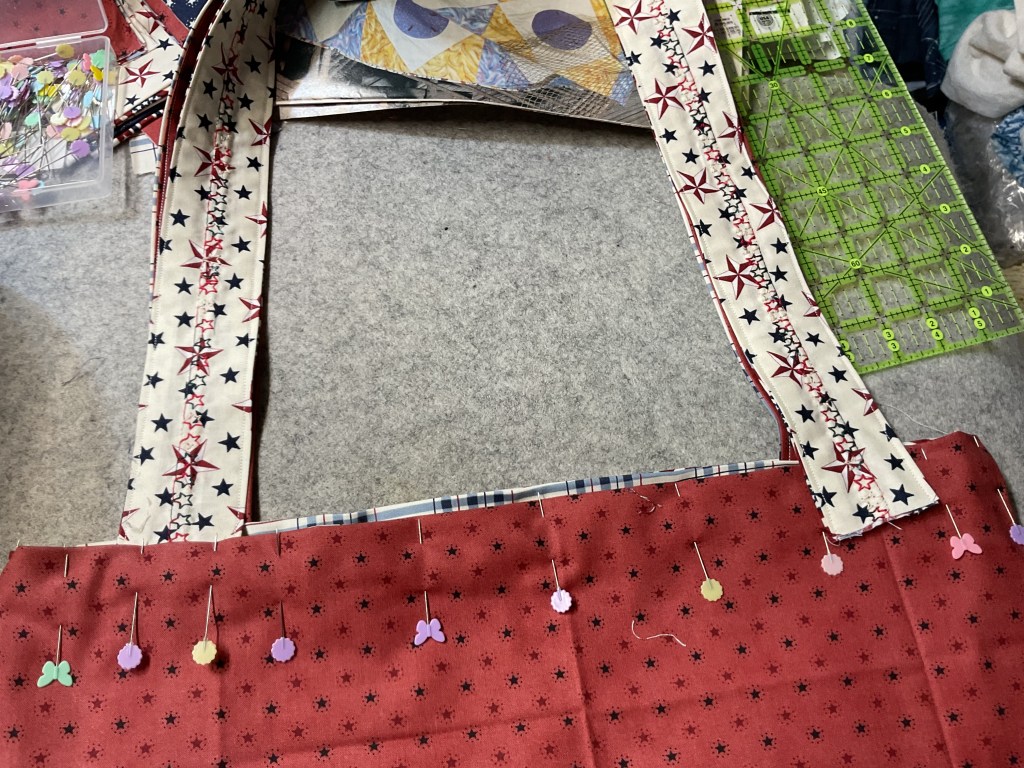
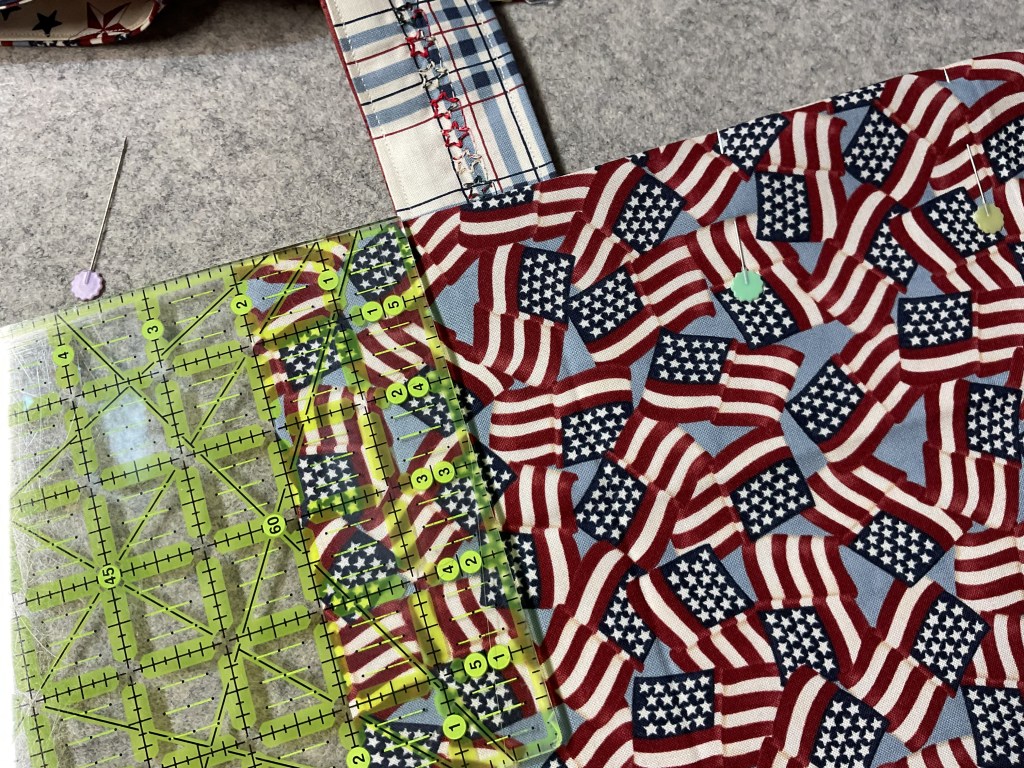
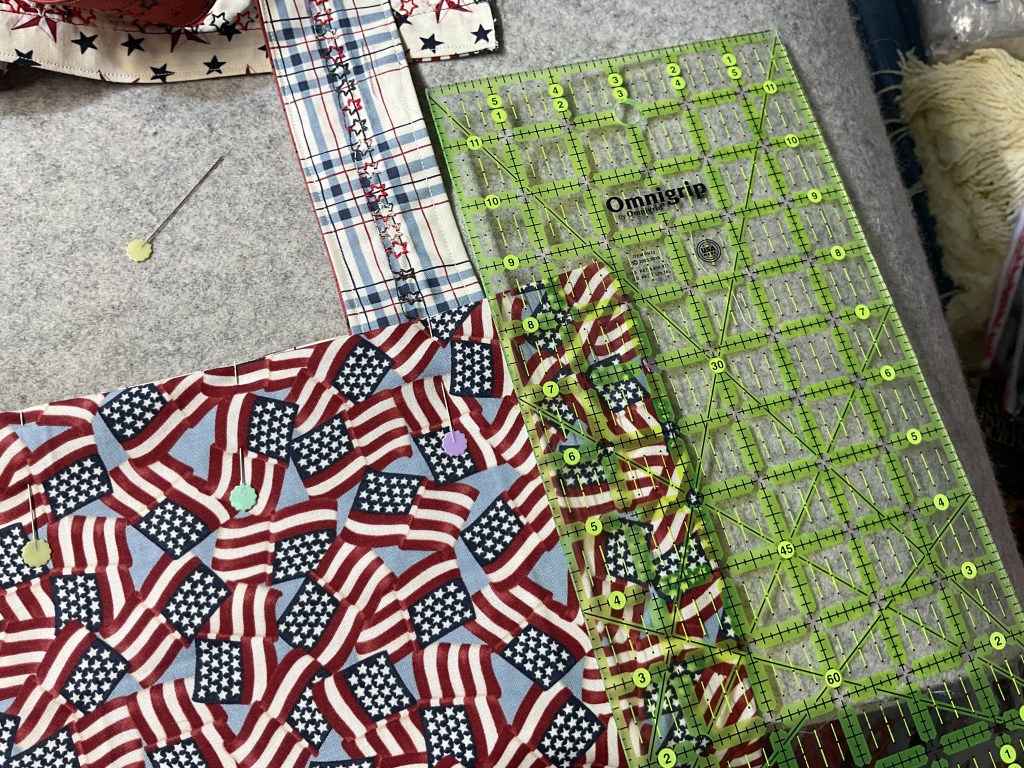
Before I sew the top of the bag, though, I need to insert my straps and pin them. I used my ruler when I pinned the straps between the 2 bags so that everything would be neat and square.

The last thing to do is to sew around the top of the bag close to the edge. I then zigzagged around the top of the bag to give the straps a little more support. Apparently, I forgot to take a few photos of this step. LOL! Sorry about that.

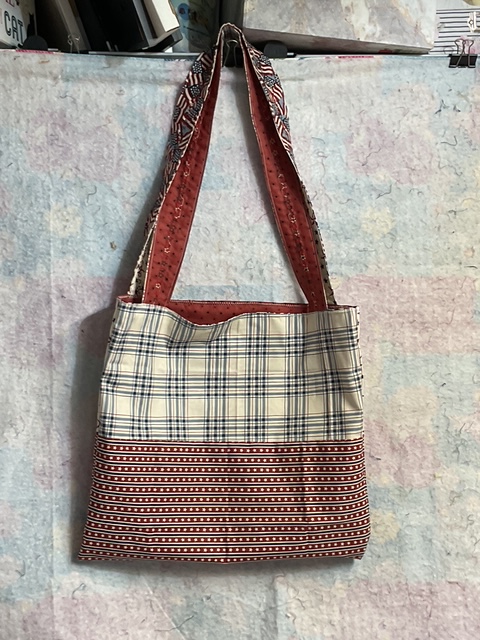
Anyway, here is my finished bag (again). All 4 sides.

What a super fun tote bag! Hmmmmm……..I’m thinking these would make great “gift bags” for Christmas. A gift within a gift.

Small Project Summer Challenge Week 3 Next Week

Next week for Week 3 of our Small Project Summer Challenge, we’ll be making pillows/pillow covers. We have some really fun VRD options for you! You can find both digital and print pillow patterns HERE.

Garden Wishes

Parade Day

Spring Blooms

Good Luck

Dot to Dot

Happy Hearts

Belinda Jane

Louisa Jane

Your pillow project is due by midnight July 10th EST.

Enjoy your 250th celebration this weekend!

Until next week!

Sew. Laugh. Celebrate. Repeat.

Always,

Tricia @ VRD
2026 Small Project Summer Challenge · Quilt Shows and Trade Shows · Rose Cards · villa rosa designs

NEW VRD Rose Card Quilt Patterns for June, A Local Quilt Show (YAY!), and the Upcoming VRD Small Project Summer Challenge
Hello Quilty Friends!

Happy Thursday to you!

Gosh, we have a ton of stuff to do today. I was hoping to add another post over the weekend to finish my quilt show experience, but with my Dad sick, I was just too busy to sit down and write it. Sorry about that, but we’ll get the rest of the trip added to today’s post about NEW PATTERNS and our VRD SMALL PROJECT SUMMER CHALLENGE. Let’s dive right in!
NEW VRD Rose Card Patterns for June
I won’t even say it – you know – how much I love the Thursday after the first Friday of every month. Dang – I said it. Well, hopefully I get an E for effort because I tried. LOL!

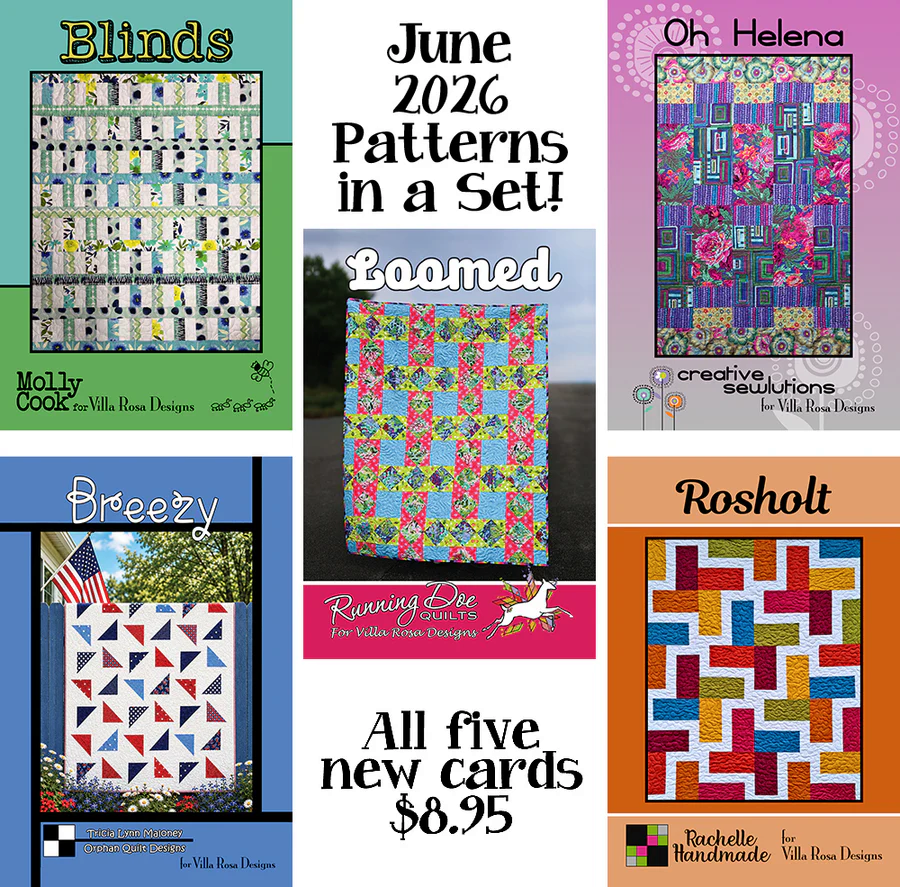
Here are this month’s new patterns!

A collage of quilt patterns for June 2026, featuring five designs: Blinds, Loomed, Oh Helena, Breezy, and Rosholt. Each quilt design is displayed with its respective name and designer, promoting all five patterns available for $8.95.

Get all 5 print patterns HERE.

Molly’s latest pattern is called Blinds and uses your favorite Jelly Roll plus a background. You can find a kit featuring the same fabrics as the pattern front HERE or one in Pat’s Bedazzled fabrics HERE.

Catherine of Running Doe Quilts is back with another fun star pattern called Loomed. I know what you’re thinking – where are the stars? You’ll just have to trust me if you haven’t gotten your pattern yet. LOL!

Deanne of Creative Sewlutions has a new pattern this month called Oh Helena. What fun! You can find a kit featuring the Birds collection HERE. And you might remember one of her earlier pattern called Oh Henry. I think they are fraternal twins….

Rachelle’s latest pattern is called Rosholt. It’s fast, fun, and fat quarter friendly. You can find a kit featuring Hearts and Stars + Sunprint fabrics HERE.

My new quilt pattern this month is called Breezy and it really is an easy breezy quilt. Grab a set of fat quarters or fat eighths and a background fabric and this quilt practically makes itself!

Next up are the Accessory patterns for June!

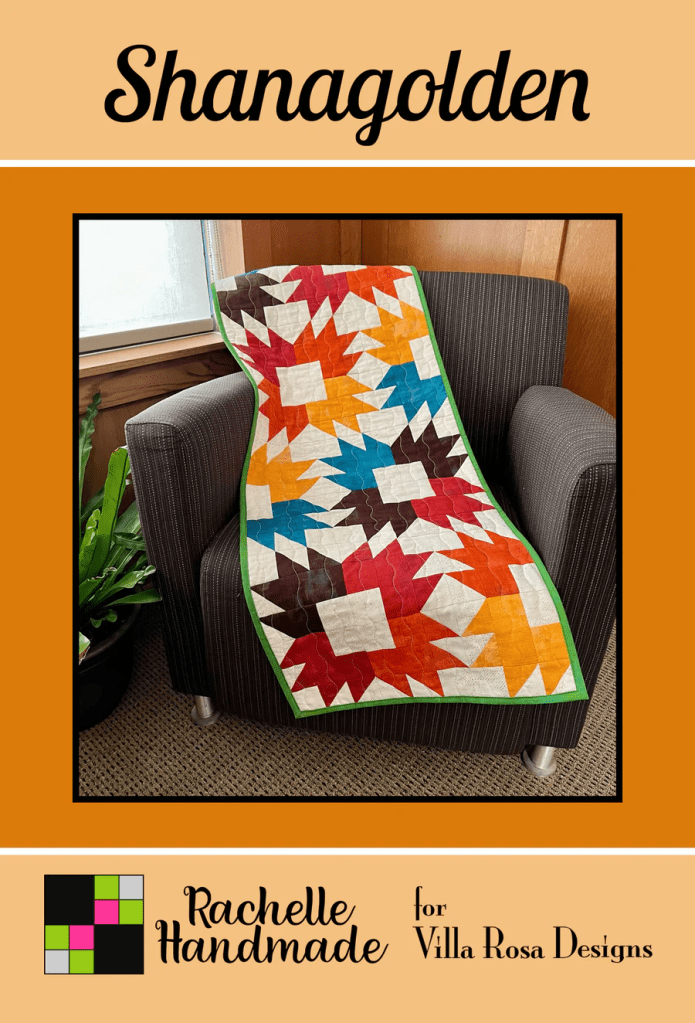
A colorful quilt featuring star patterns, draped over a gray armchair with a plant nearby, showcasing a cozy indoor setting.

Get the digital pattern HERE or the print pattern HERE

Rachelle’s second pattern this month is this cool table runner, Shannagolden. It’s another fat quarter friendly pattern and I can just imagine it in red, white, and blue. I think it would look like fireworks!

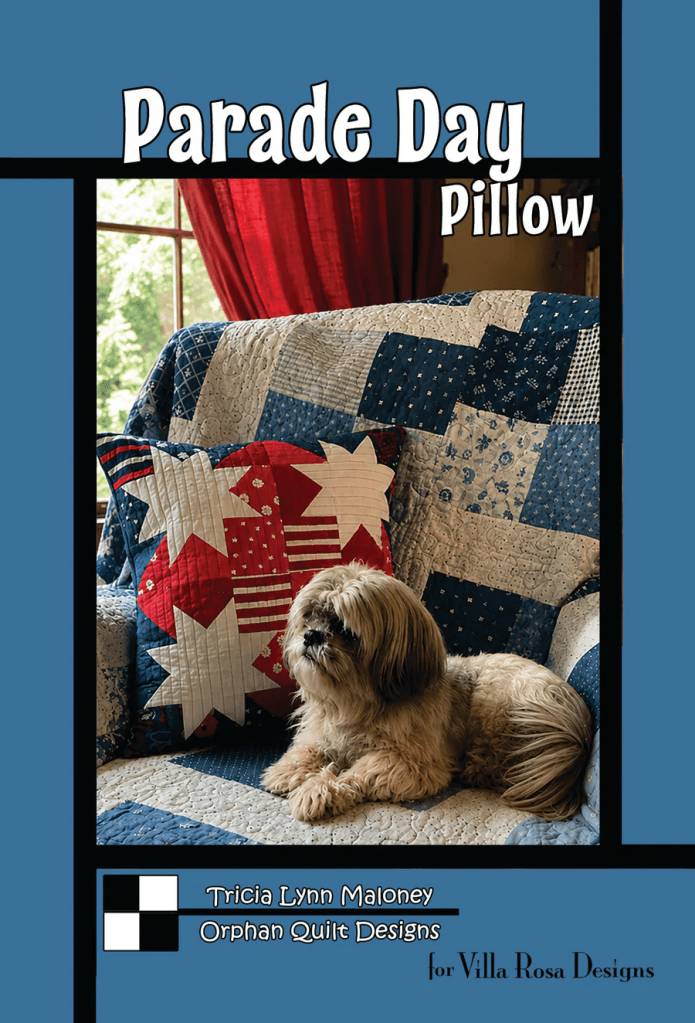
A cozy pillow design titled 'Parade Day Pillow' displayed on a blue quilted sofa, featuring a patterned quilt in shades of blue and red, with a fluffy dog resting beside it.

Get your digital pattern HERE or your print pattern HERE

Last but certainly not least is my June pillow pattern, Parade Day. I really love the bold red, white, and blue fabrics – it’s charm square friendly so grab your favorite patriotic charms and get started on this great pillow. And there is little Miss Bailly posing beautifully like the little queen that she is. You might even recognize the quilt on the chair – it’s my VRD Farmhouse Blues quilt. It provided such a great backdrop for both the Parade Day Pillow and Bailly. You can find the Farmhouse Blues digital pattern HERE or the print pattern HERE.

I’m really getting my red, white, and blue on right now and I think any of this month’s quilts would be wonderful in patriotic colors. Time to get busy making those quilts in anticipation to all of the awesome events happening in July to celebrate the 250th birthday of the Declaration of Independence!

Quilt Show Wrap Up

Now I’m going to finish last week’s post about my quilt show trip, so if you missed the beginning of the post last week, you can check it out HERE.

I stopped last week right after the slide show of quilts that inspired me at the All Hands Around Erie Quilt Show because I took my Dad to the Emergency Room and I never got back to my computer. He is hanging in there, but he still has an awful cough a week later. Ugh.

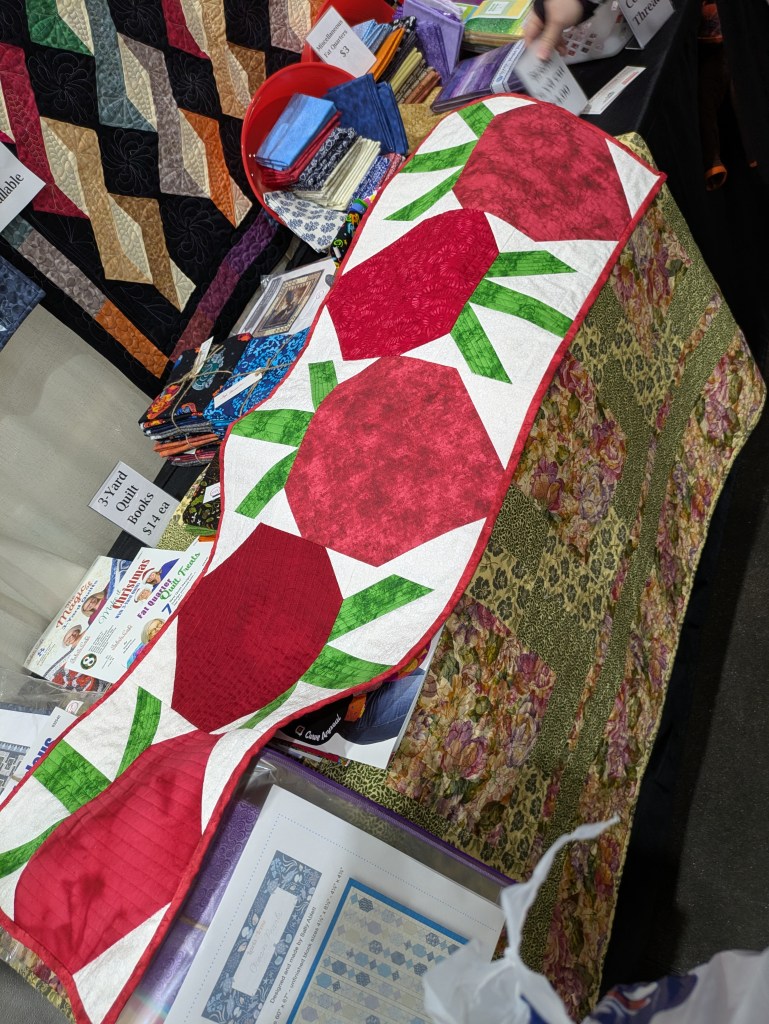
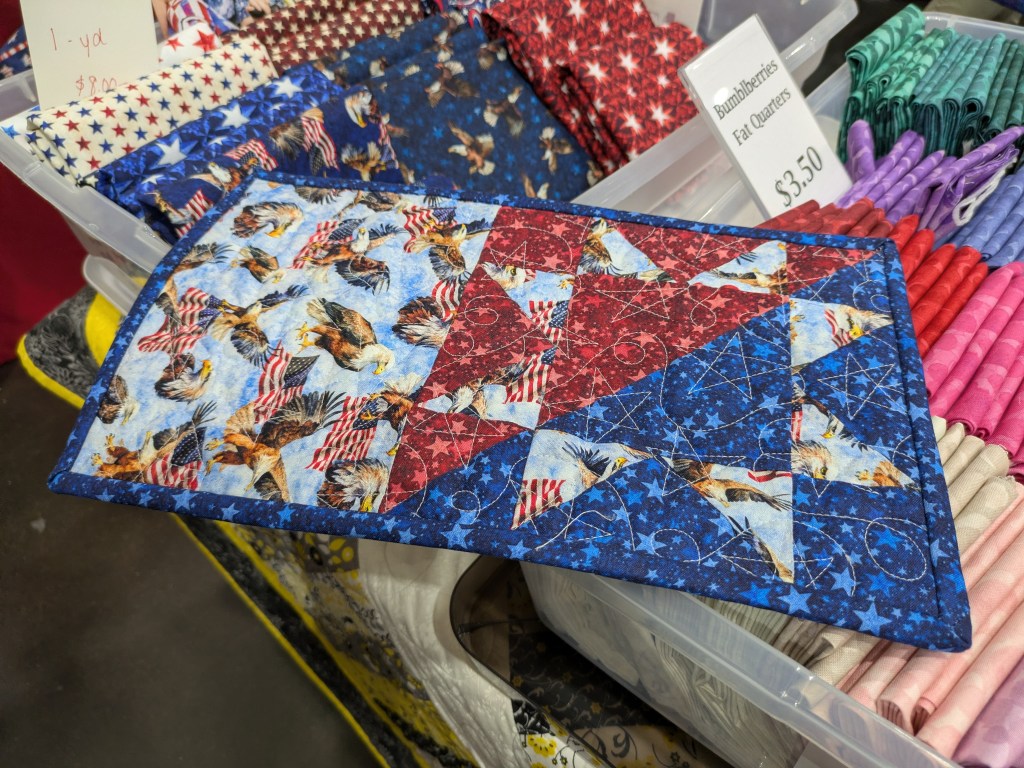
Anyway, I wanted to tell you about the vendors at the show. Many of them had VRD patterns and kits. Yay! My local shops were vending so it was great to catch up with them and to visit with some new-to-me ones, too.

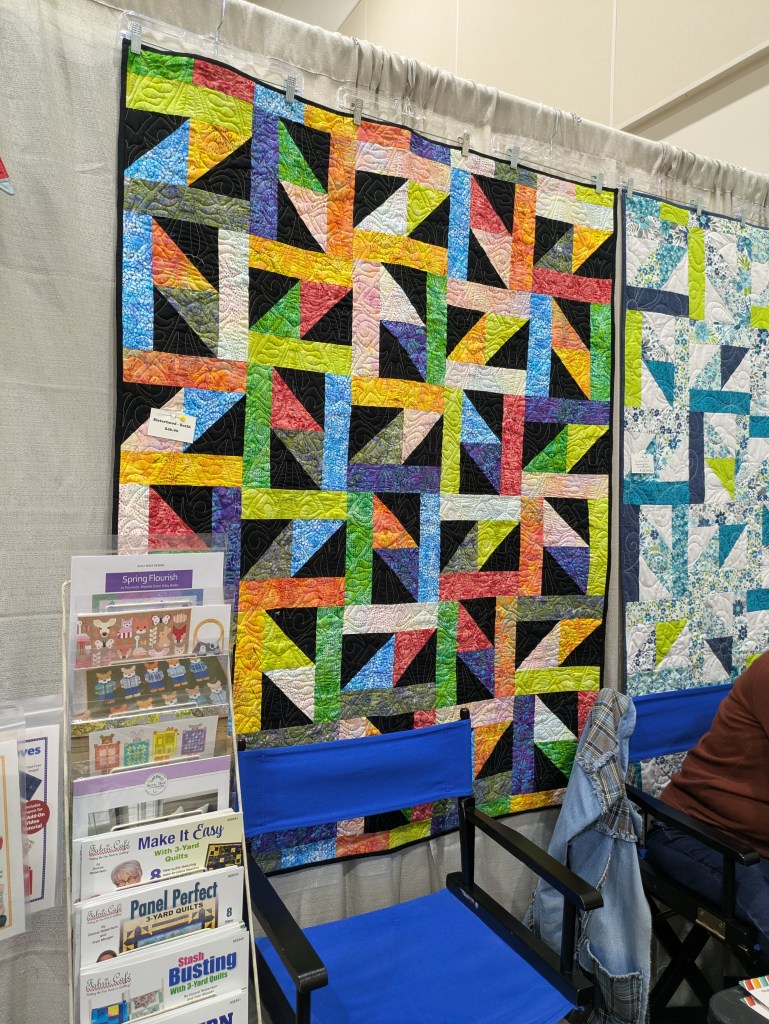
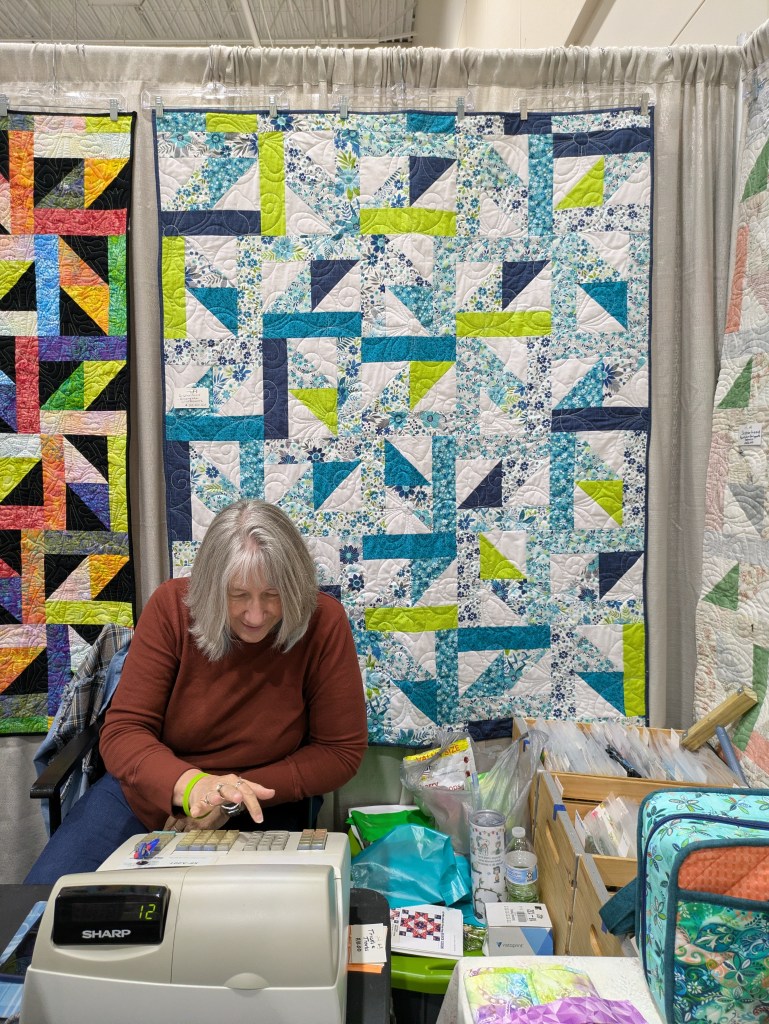
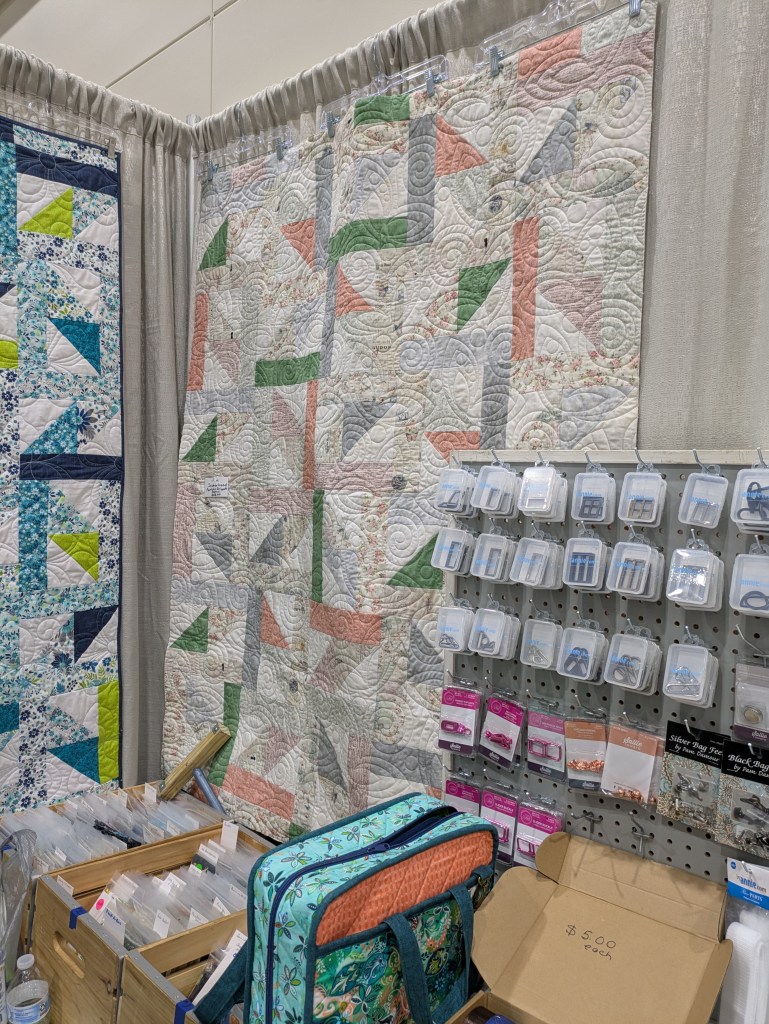
One of my local shops, Quilter’s Cupboard, had – not one Sisterhood sample and kit available – but three totally different options! Wow! They just love VRD there. So, a big shout out to Shirley and Brenda at Quilter’s Cupboard!

Sisterhood digital pattern HERE or print pattern HERE

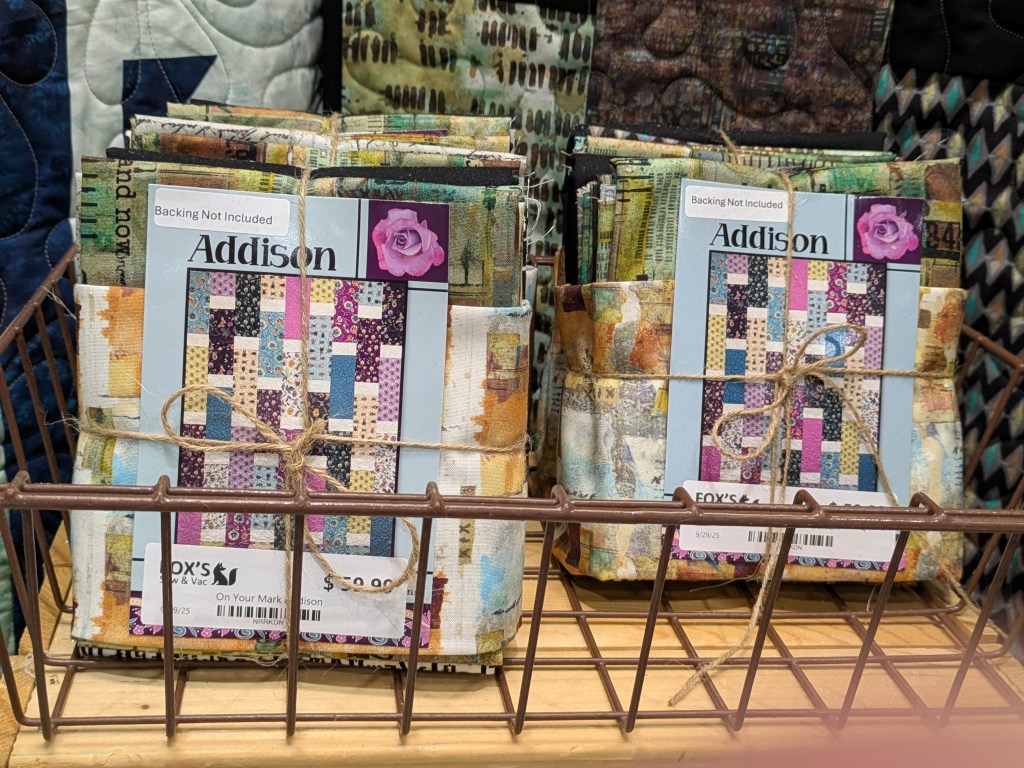
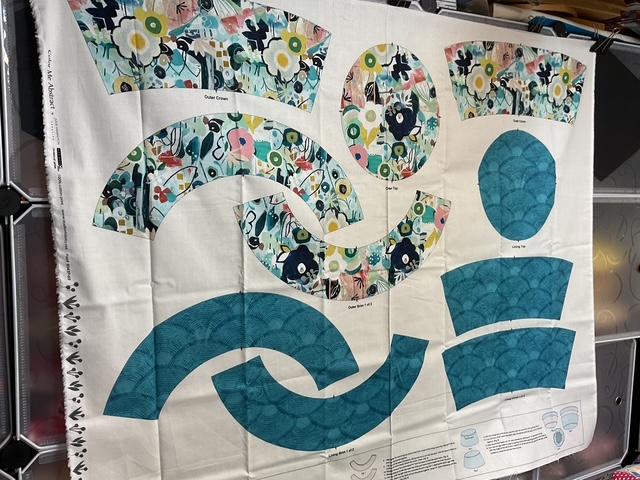
Another of my local shops, Fox’s Sew and Vac was there vending, too. They always have tons of great stuff and offer VRD patterns and kits. I bought a really cool panel to make a bucket hat at their booth. I spied this Addison at Fox’s booth. Big Howdy going out to my friends at Fox’s!

A basket containing two bundles of fabric squares tied with twine, labeled 'Addison'. Each bundle features colorful fabrics with different patterns, and a tag stating 'Backing Not Included'.

Addison digital pattern HERE or print pattern HERE

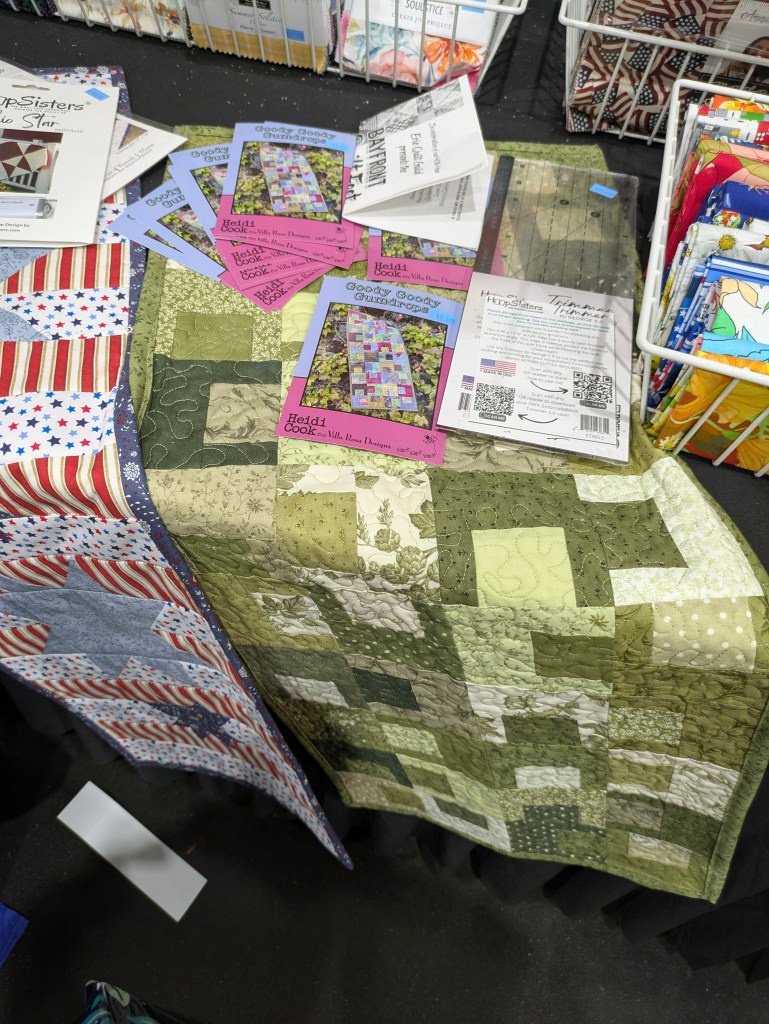
Detzel’s Sewing Center was there too. It’s also a local shop and I must admit, I haven’t been there. It used to be only sewing machines, but they have expanded and are continuing to expand. They had lots of VRD kits in their booth! I was totally delighted to see some of mine and introduced myself. I met Cathy and we really hit it off and now she’s reserved July 25th and 26th for their Christmas in July event. Now we just have to figure out what we are doing. LOL! So a huge huge HELLO! goes out to my new friends at Detzel’s.

Left: Berry-liscious (digital pattern HERE or print pattern HERE)

Center: Independence Day Snack Mat (digital pattern HERE or print pattern HERE)

Right: Goody Goody Gumdrops (digital pattern HERE or print pattern HERE)

Basically, the shopping was awesome!

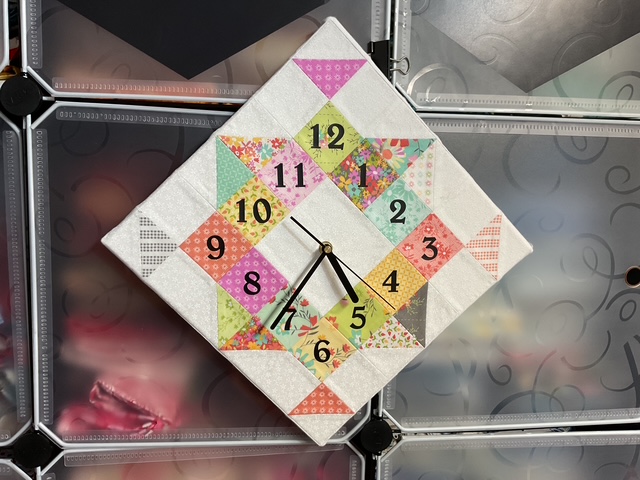
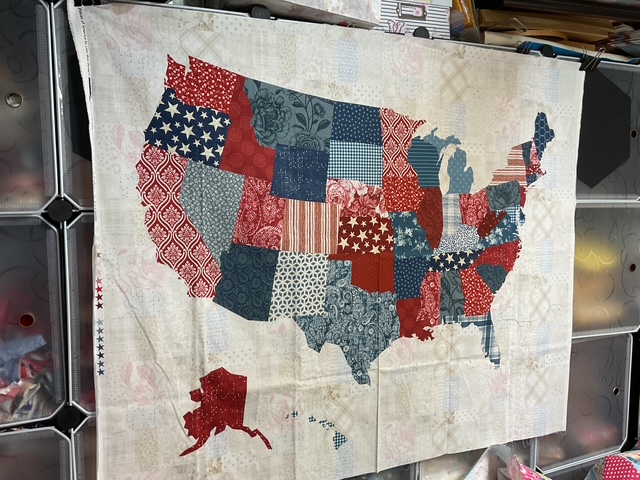
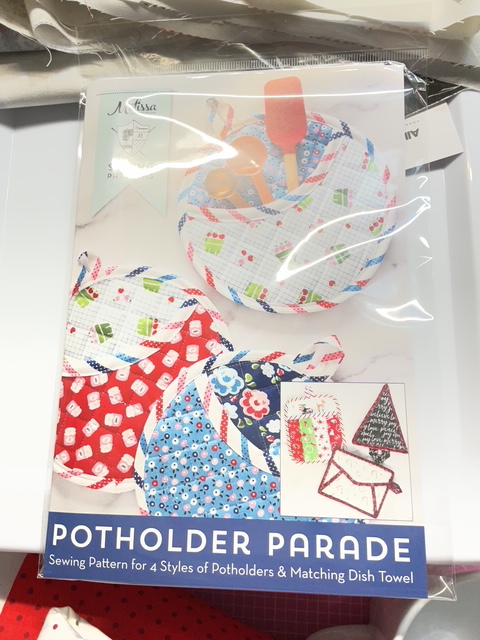
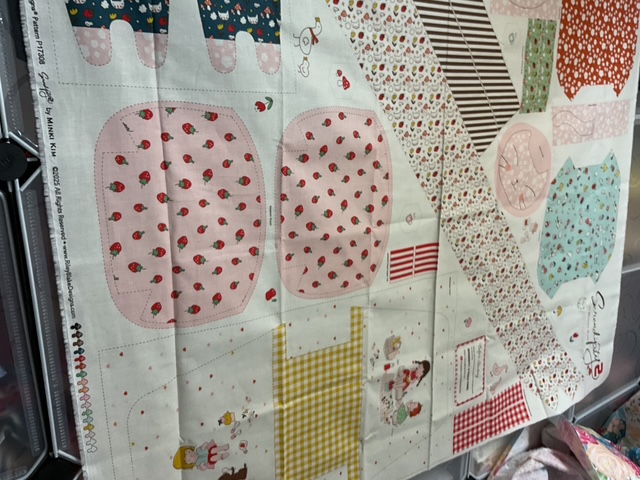
Here’s what I bought at the show – a one of a kind quilt clock, a quilty USA panel, a fun pot holder pattern, Minki Kim pouch panel, and the bucket hat panel.

I’m really interested in what is going on with panels these days – pouches, hats, toys, etc. give sewists and quilters a lot of new and exciting options.

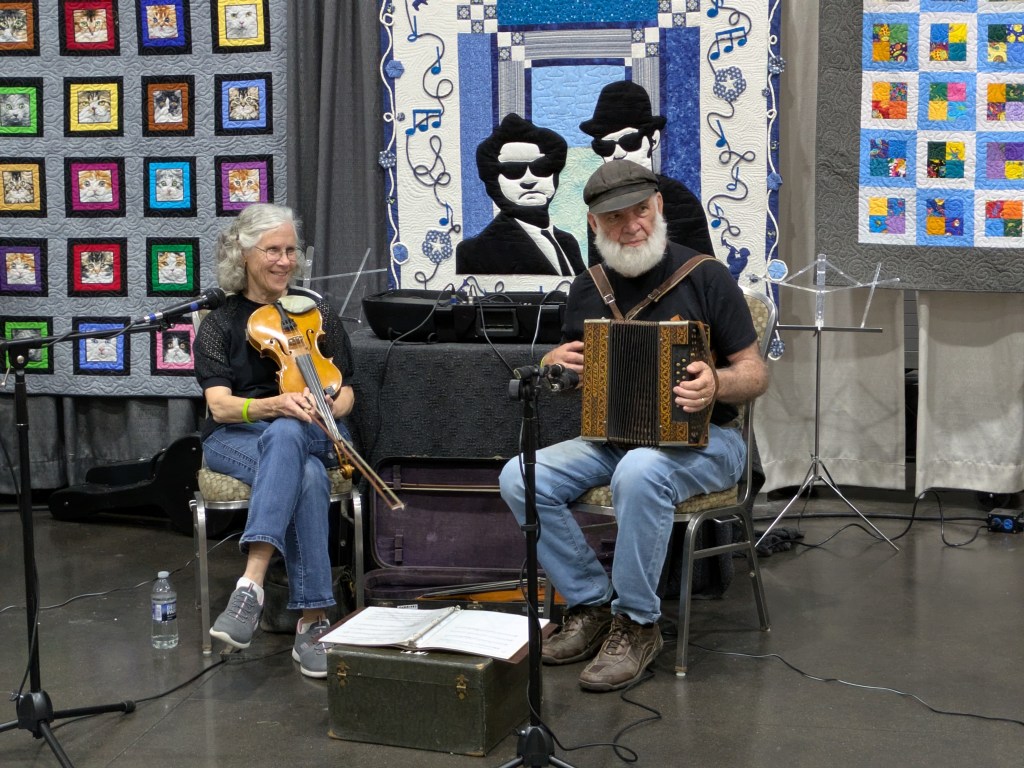
Did I mention there was live music at the show?????? I thought this was really awesome, it added another layer to the quilt show experience.

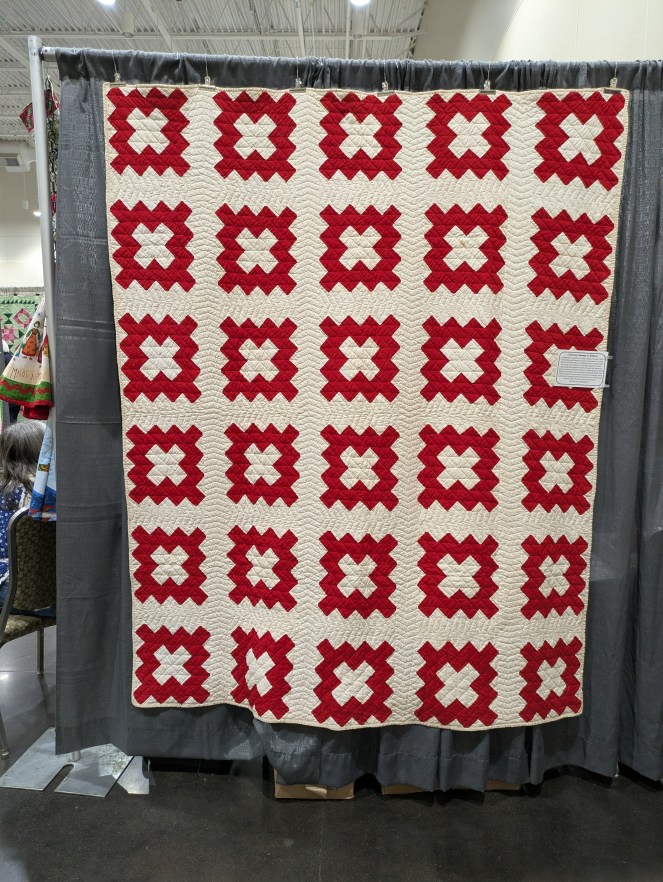
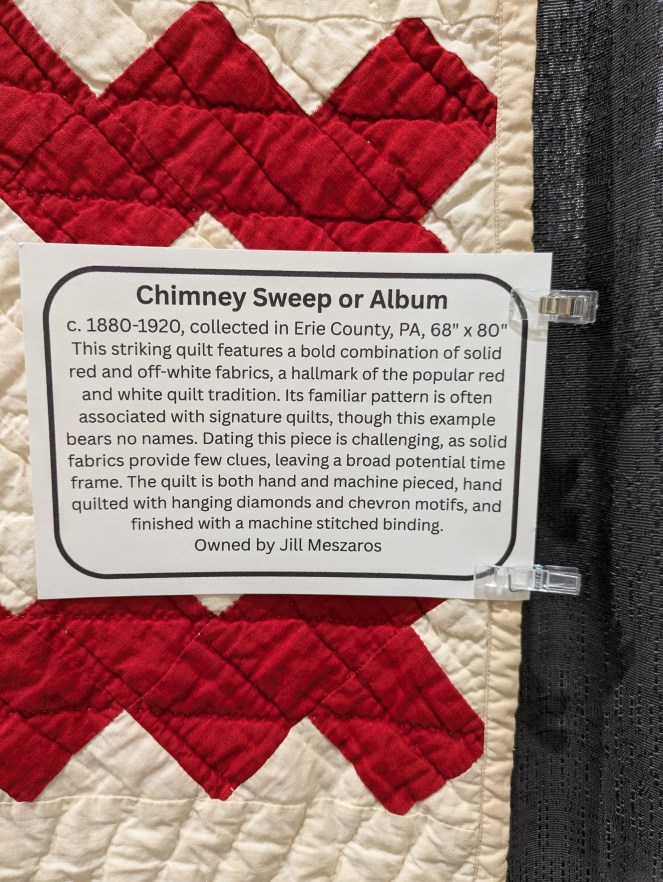
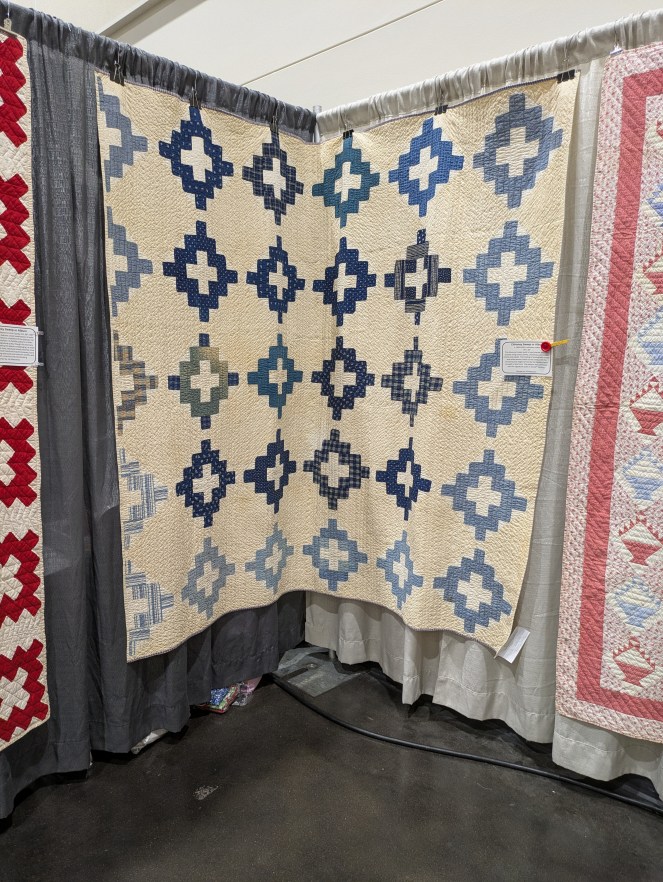
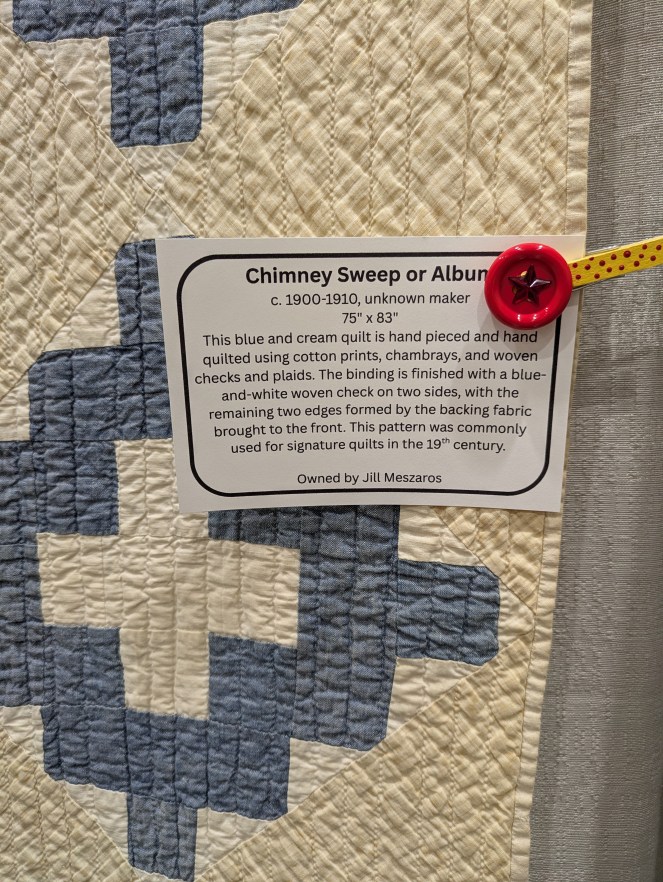
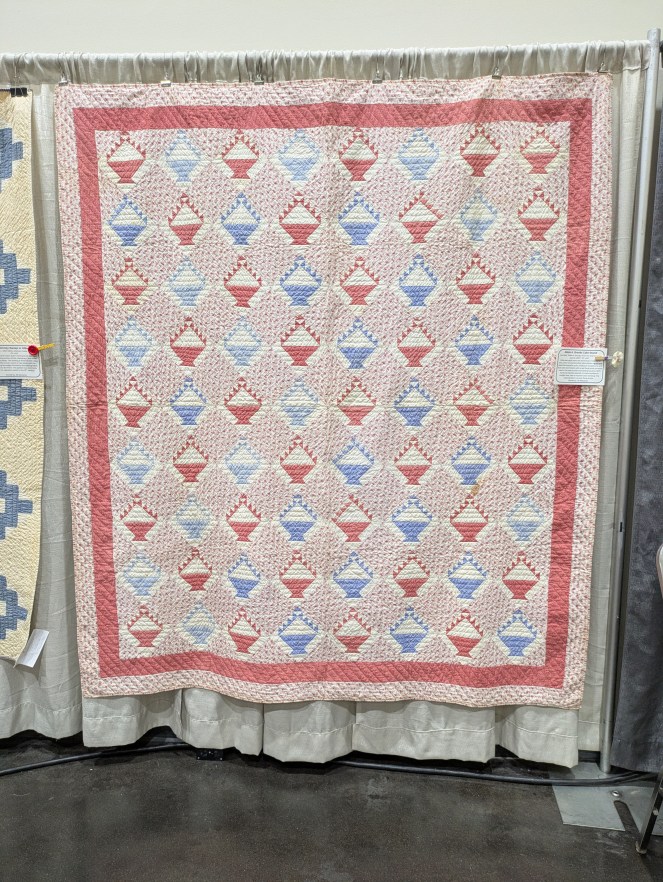
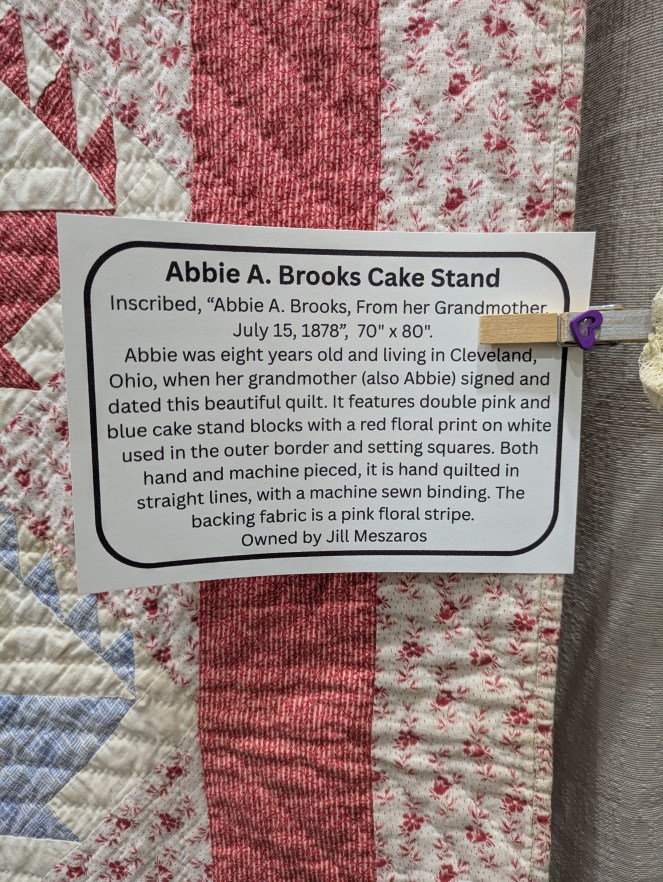
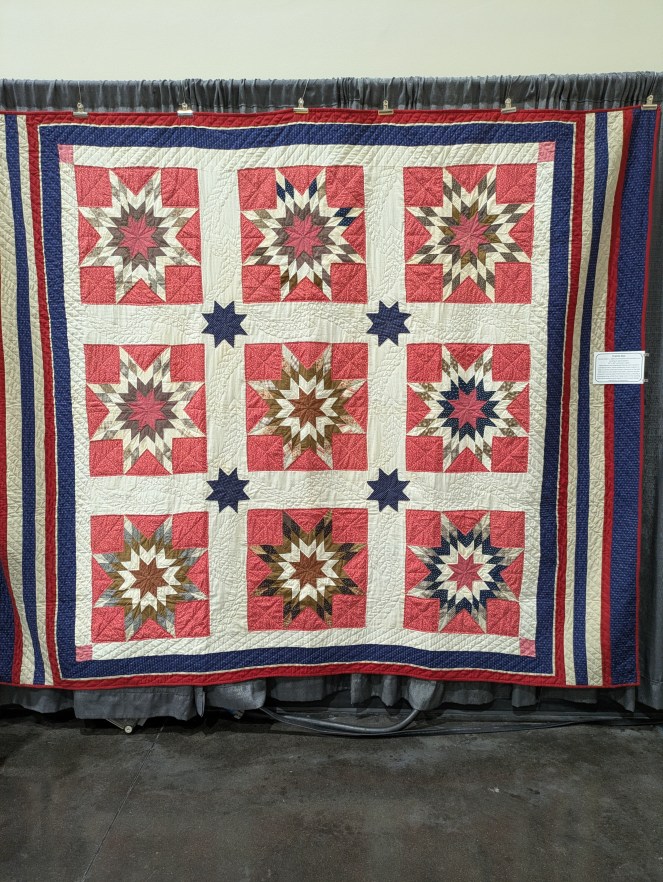
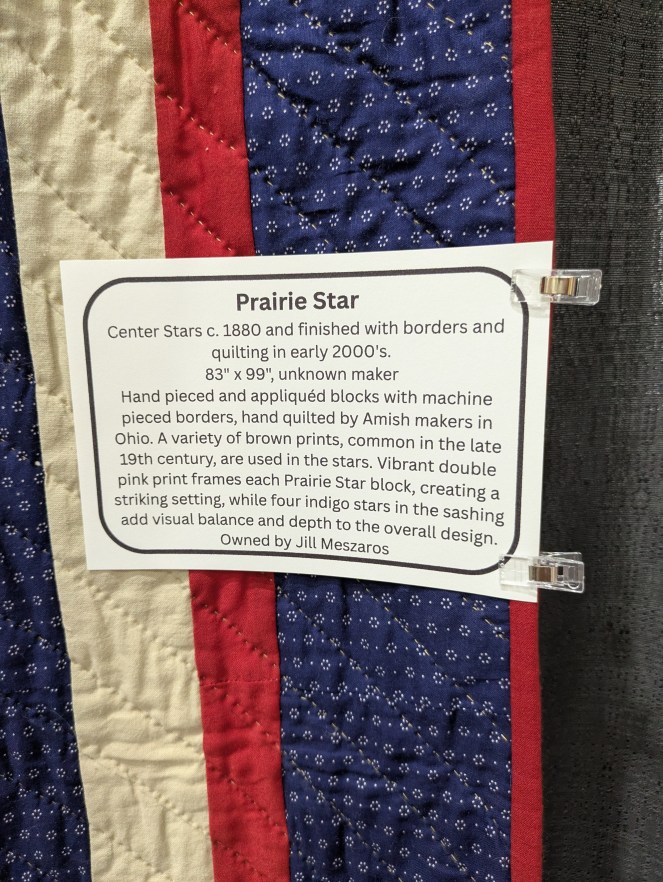
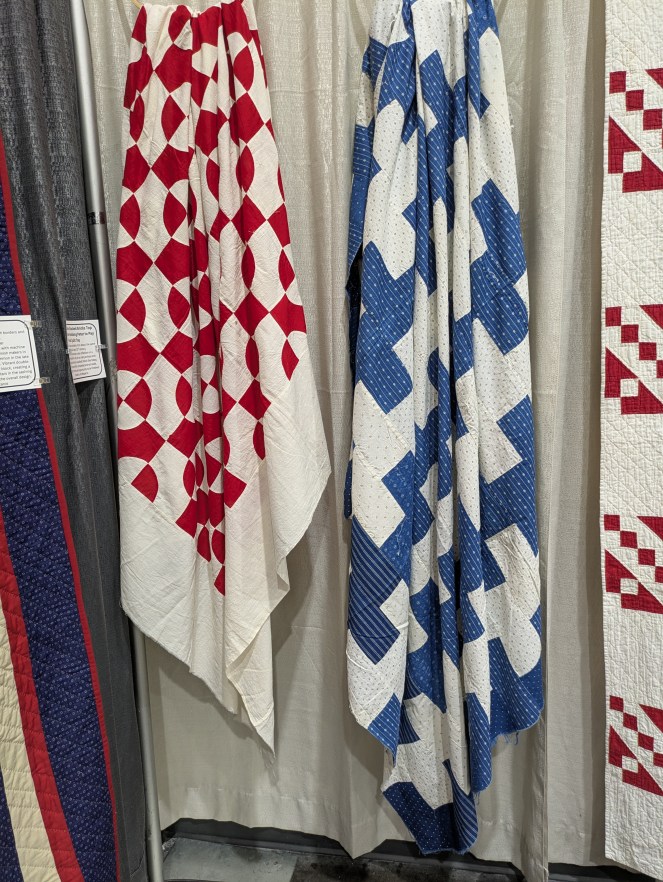
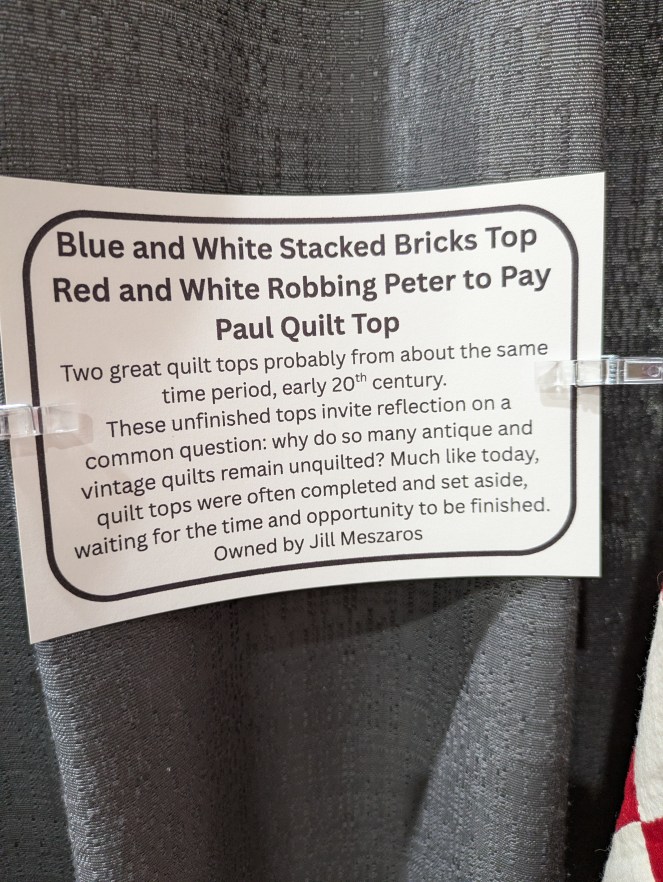
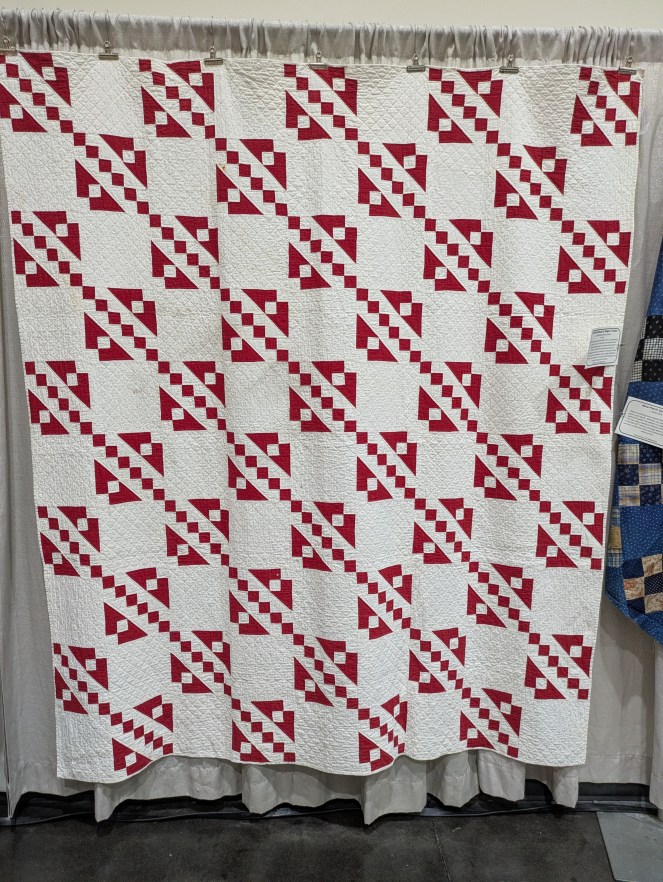
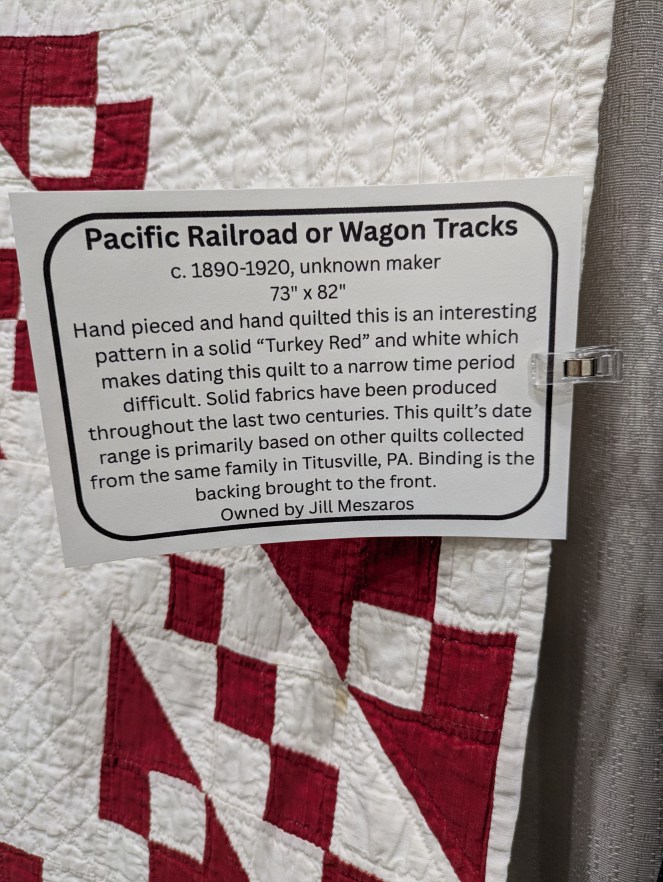
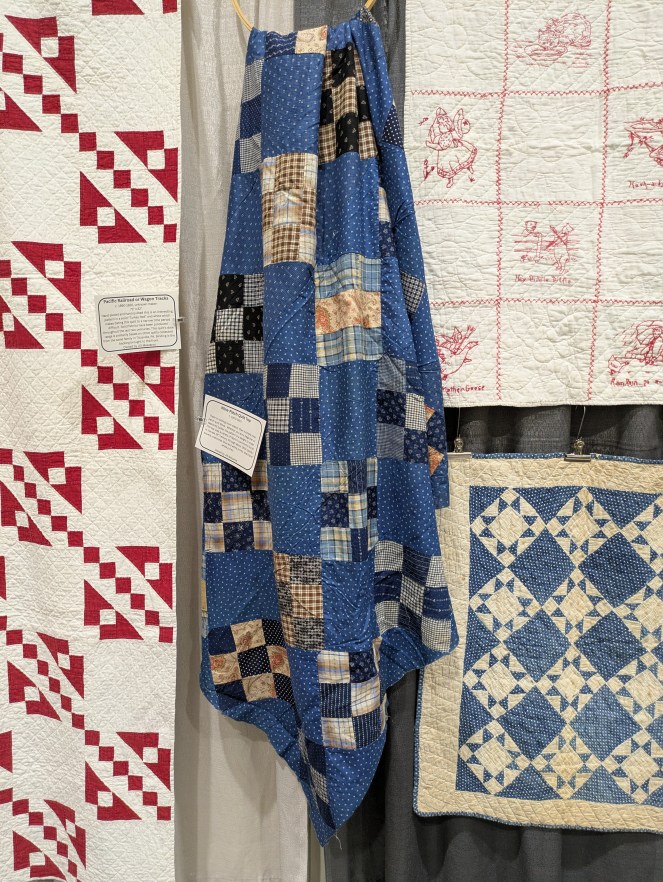
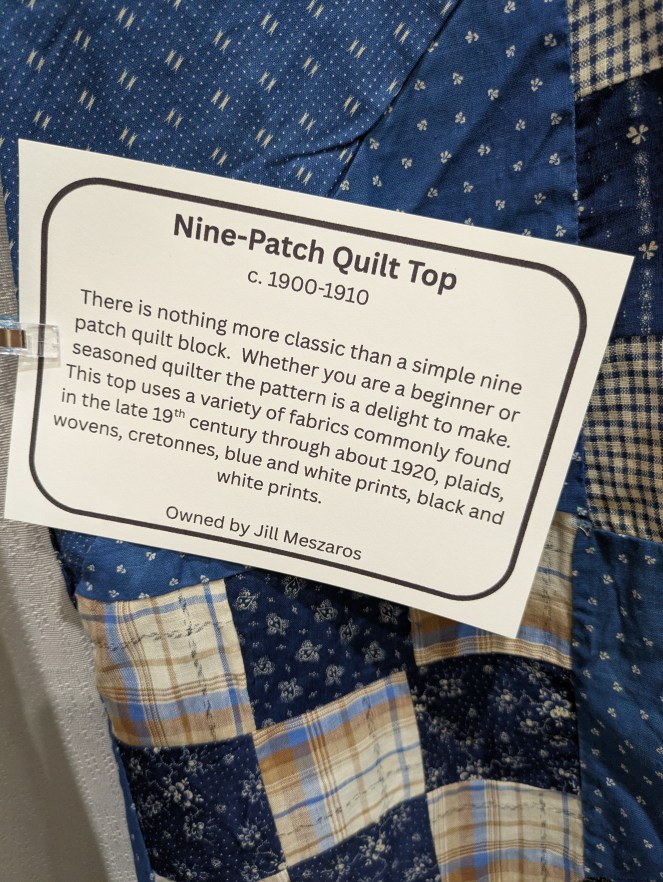
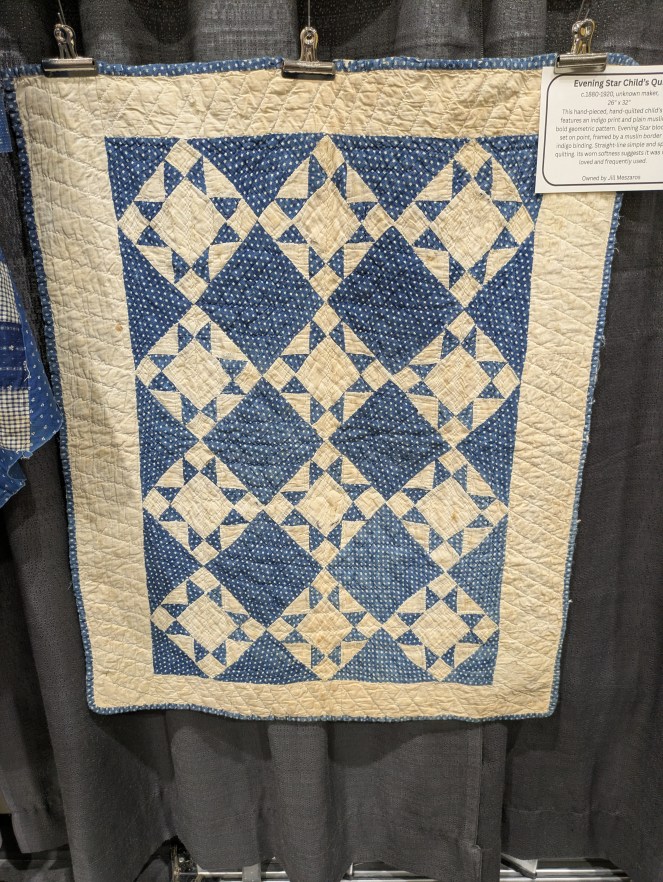
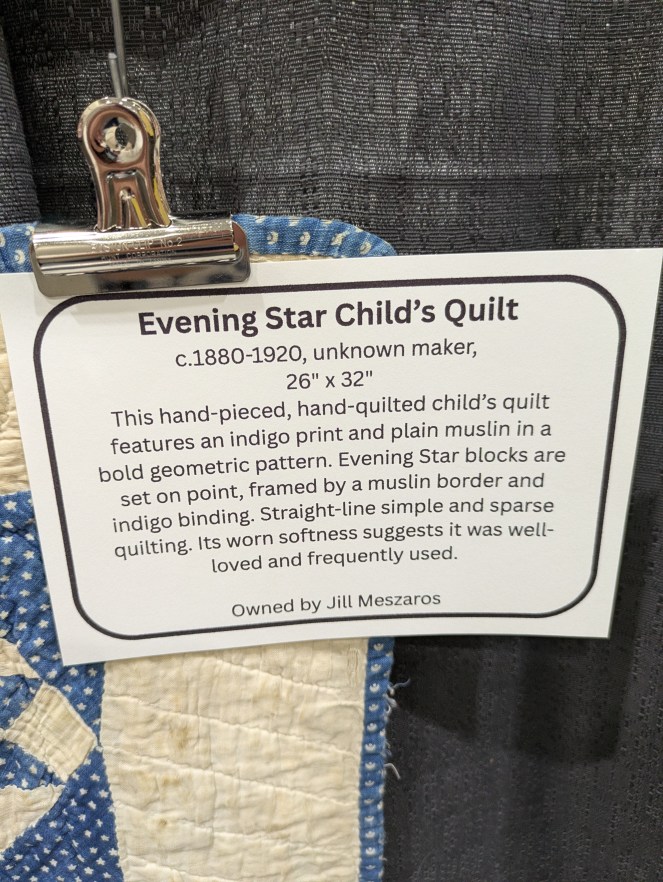
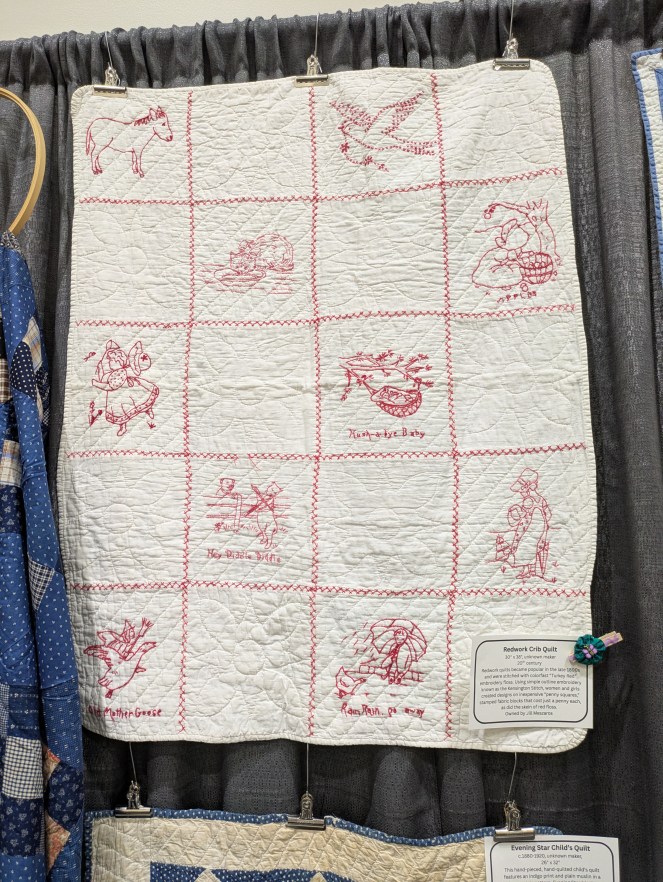
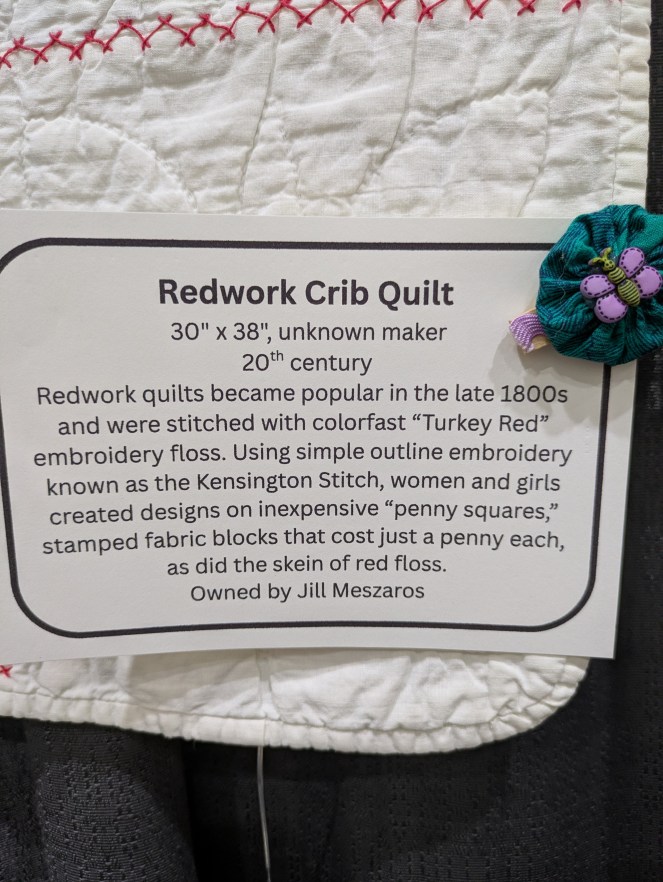
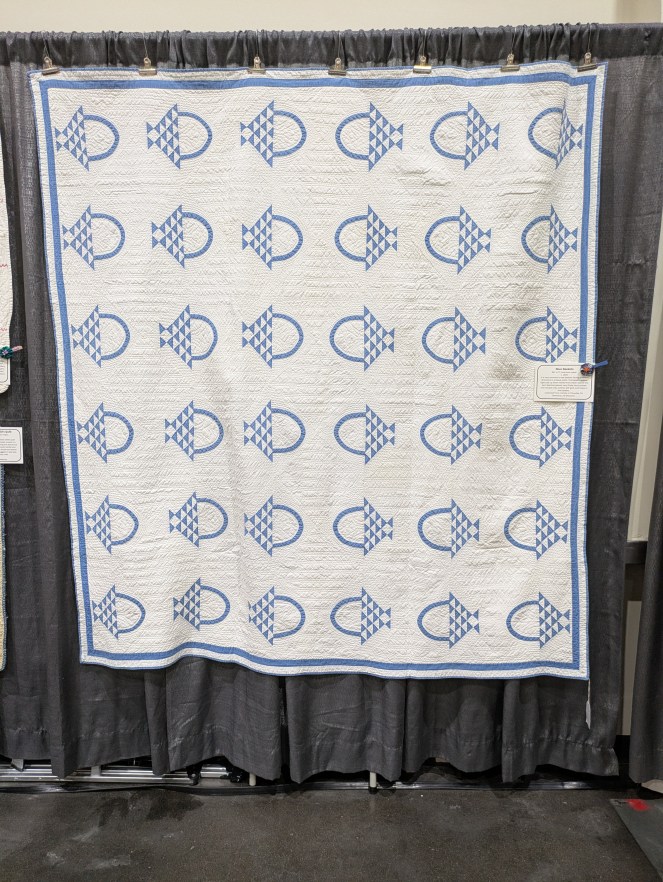
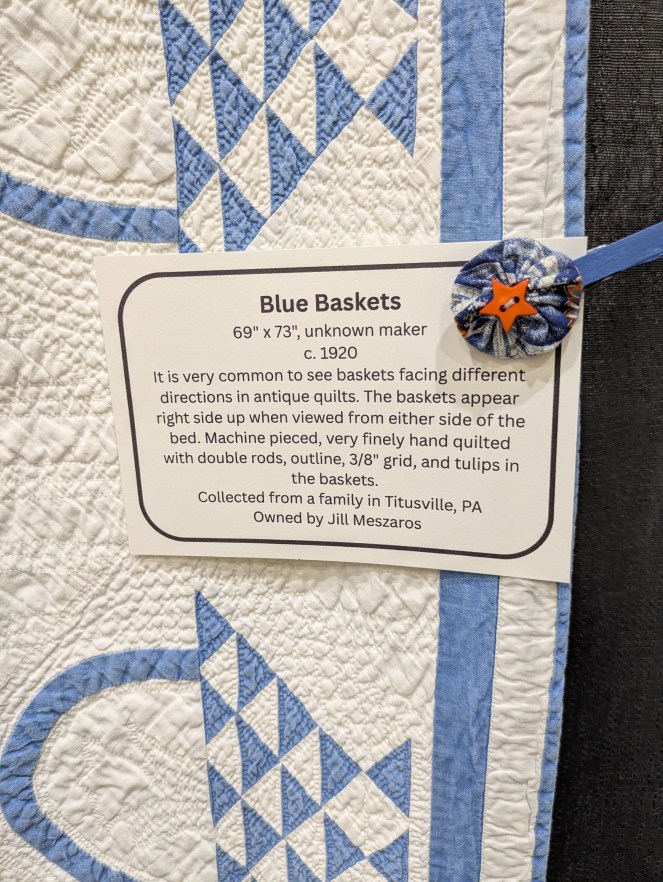
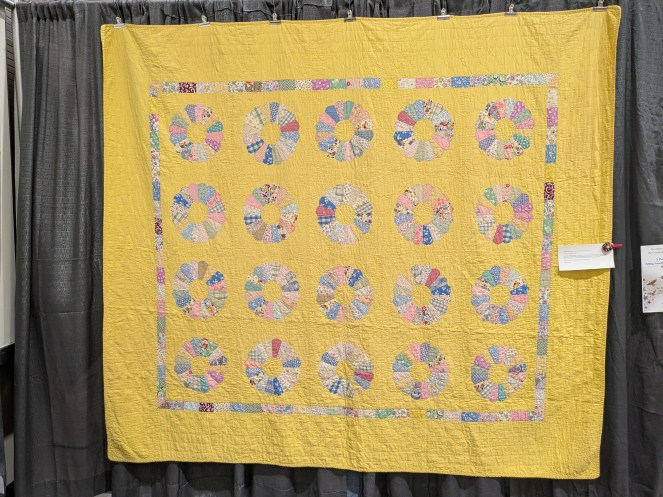
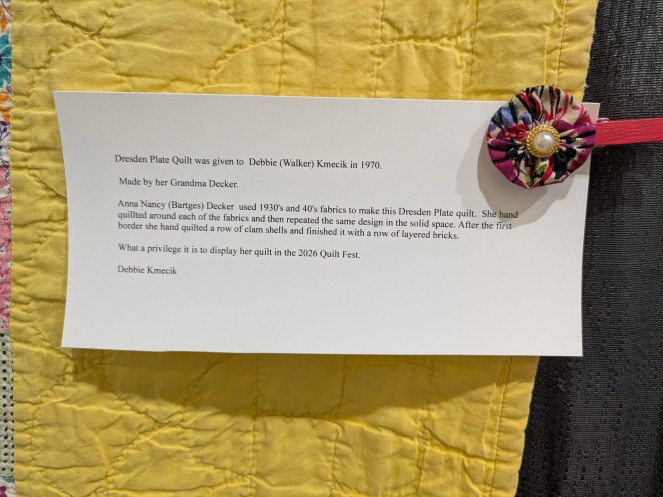
Finally, I saved one of my favorites for last…….a display of antique quilts. The display was put together by our local antique quilt expert, Jill Meszaros, who has also curated a quilt exhibit at The Baldwin Reynolds House Museum here in Meadville, PA. I haven’t gotten there yet, but it’s one of the things I have on my summer bucket list (I’ll be sure to tell you all about it when I go).

So, please enjoy this slideshow of antique quilts. The info card is after the quilt photo.

Finally! I finished last week’s post about the quilt show. Now let’s move on to our VRD Summer Challenge!

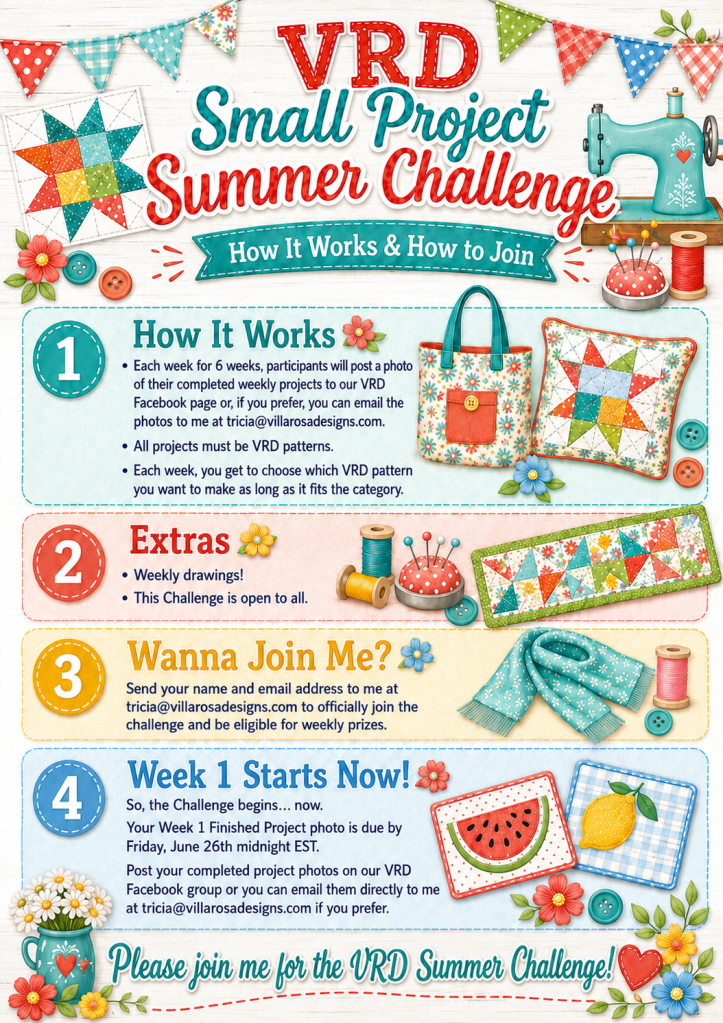
VRD Small Project Summer Challenge

Who’s up for a Summer Challenge????

I know I am – I had a super time completing the 6 Quilts in 6 Weeks Challenge with you and I have decided I want to continue doing fun Challenges on the blog.

So……here’s the info you’ve been waiting for……..

VRD Small Project Summer Challenge

Colorful graphic promoting the VRD Small Project Summer Challenge with details on weekly projects and deadlines, including quilts, tote bags, and more.

The Rules and All the Details of the Challenge:

Promotional graphic for the VRD Small Project Summer Challenge, highlighting participation details and deadlines. Features a colorful quilt pattern, a sewing machine, and various crafting materials, with sections detailing how to join, weekly drawings, and submission instructions.

Each week for 6 weeks, participants will post a photo of their completed weekly projects to our VRD Facebook page or if you prefer, you can email the photos to me at tricia@villarosadesigns.com.

I will post my before/after photos on the blog, villarosaquilts.com, each week and I will try to post them on the VRD Facebook page as well.

All projects must be VRD patterns – this is the VRD blog, after all. All projects must be completed by the Friday at midnight EST each week to qualify for the weekly drawing.

Each week there is a different project theme: Week 1 – Quilt under 50″ x 50″, Week 2 – Tote Bag, Week 3 – Pillow, Week 4 – Scarf, Week 5 – Table Runner, Week 6 – Snack Mat duo. Each week, you get to choose which VRD pattern you want to make as long as it fits the category. Easy Peasy.

Each week, I’ll draw a name randomly from those participants who posted photos of their completed projects by each weekly deadline. Weekly winners will get a surprise quilty surprise in the mail after the Challenge ends. Goodies might be from me or from one of our lovely quilting partners.

This Challenge is open to all, but please note that International winners will receive a selection of VRD digital patterns.

You might be wondering what happens if you don’t post a photo for a weekly Challenge or you miss the deadline. It’s pretty simple – your name won’t go into that week’s prize drawing – that’s okay because life gets busy. I’m not kicking you out of the Challenge, though – feel free to participate in any or all weeks. Your name will go into each weekly drawing that you complete a project and post your completed project photo before the weekly deadline.

All participants are on the honor system – please post only newly made and completed projects for the challenge. It’s not fair to other participants to post items that you made prior to the challenge.

I think that’s all the important info. I hope I’ve answered any questions you had. If not, feel free to email me.

Send your name and email address to me at tricia@villarosadesigns.com to officially join the challenge and be eligible for weekly prizes. Your name and email will only be used for this Challenge, I promise you.

So, the Challenge begins….now. Your Week 1 Finished Project photo is due by Friday, June 26th midnight EST (yes, you have 2 weeks to sign up and get your Week 1 project finished). Post your completed project photos on our VRD Facebook group or you can email them directly to me at tricia@villarosadesigns.com if you prefer.

Ready! Set! Go make something fun!

WHEW! That’s it for me this week. If you managed to get through the entire post, I applaud you. KUDOS! Hope you’ll join me for the Summer Challenge.

Sew. Laugh. Make. Repeat.

Always,

Tricia @ VRD