Hello Quilty Friends!
Happy Thursday to you!
Spring literally starts a few days, which is probably why we have snow on the ground again and it was like 16 degrees last night. BRRR! Regardless, I’m definitely thinking spring! So I thought it would be fun to leap into some fun spring quilt tutorials to get me into the spirit even if the weather doesn’t cooperate with the season.
I’m also thinking it’s time for a spring 6 Quilts in 6 Weeks Challenge. Anyone up for that? I did a 6 in 6 last fall and we had great time. It was incredible to finish one VRD quilt a week for 6 weeks. 6 completed quilts at the end. Which was rockin’ awesome! Especially considering all the tutorial sample tops that I’m accumulating. LOL! So……who’s in? I’m thinking to start this the first week of April, 2 weeks from now. It would last for 6 weeks. Right now, I’m just putting feelers out to see who wants to join me for this 6 in 6 challenge? I figure if I do this challenge twice a year in spring and fall, we can all get up to 12 quilts finished in a year.
There are a few rules, though, I’d better mention –
1) Quilts must be made from VRD patterns
2) You must post a before and an after photo on our Facebook page or email them to me if you’re not on FB to be entered in the weekly drawings
3) Anyone can participate
4) If you don’t have stacks of VRD UFOs like I do, no problem – you are welcome to make new VRD quilts/accessories to participate
I think that’s pretty much it for the rules to get started.
If you’re interested, you have 2 weeks to email me your name and email address at tricia@villarosadesigns.com. I promise your email address will only be used by me to notify you if you win a prize.
Now….on to our first Spring into Spring VRD quilt tutorial!
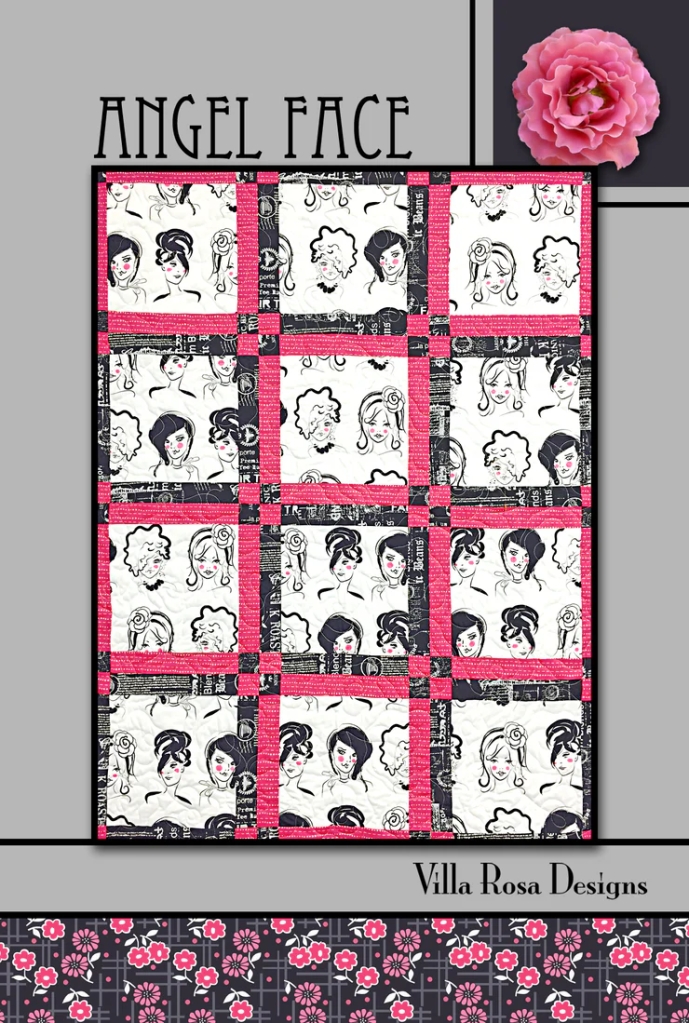
VRD Quilt Pattern Tutorial Honey
There’s nothing like a new table runner to add a touch of spring to you space! Have you ever made Honey before? If not, you’re in for a treat because this runner goes together quick as bunny and looks great in just about any group of fabrics you want to use.
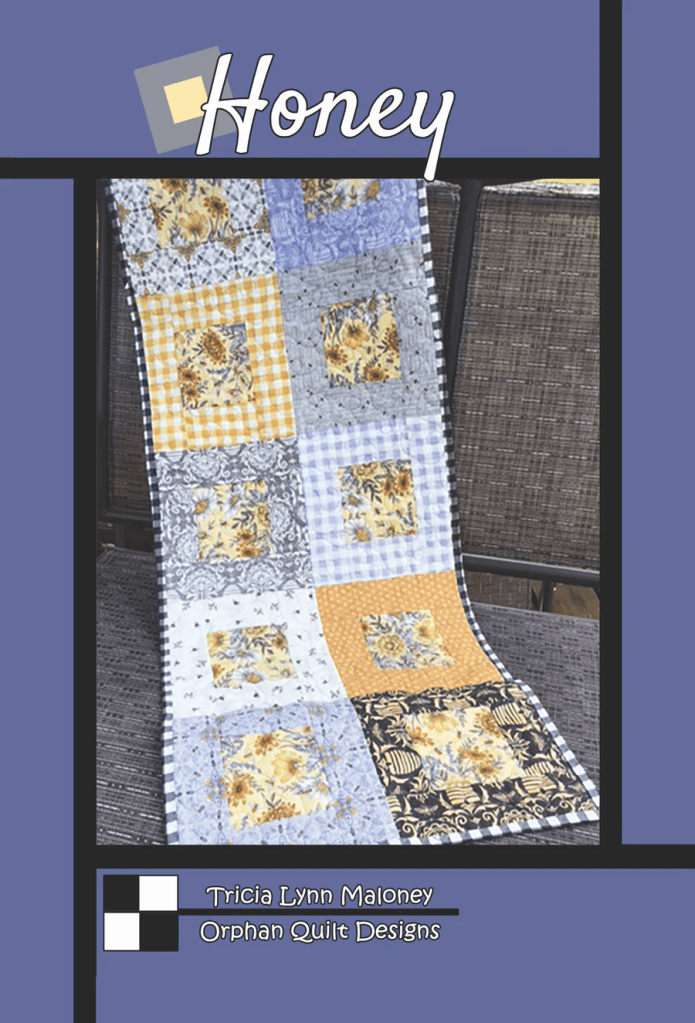
Get your digital pattern HERE or your print pattern HERE
Let’s get started!
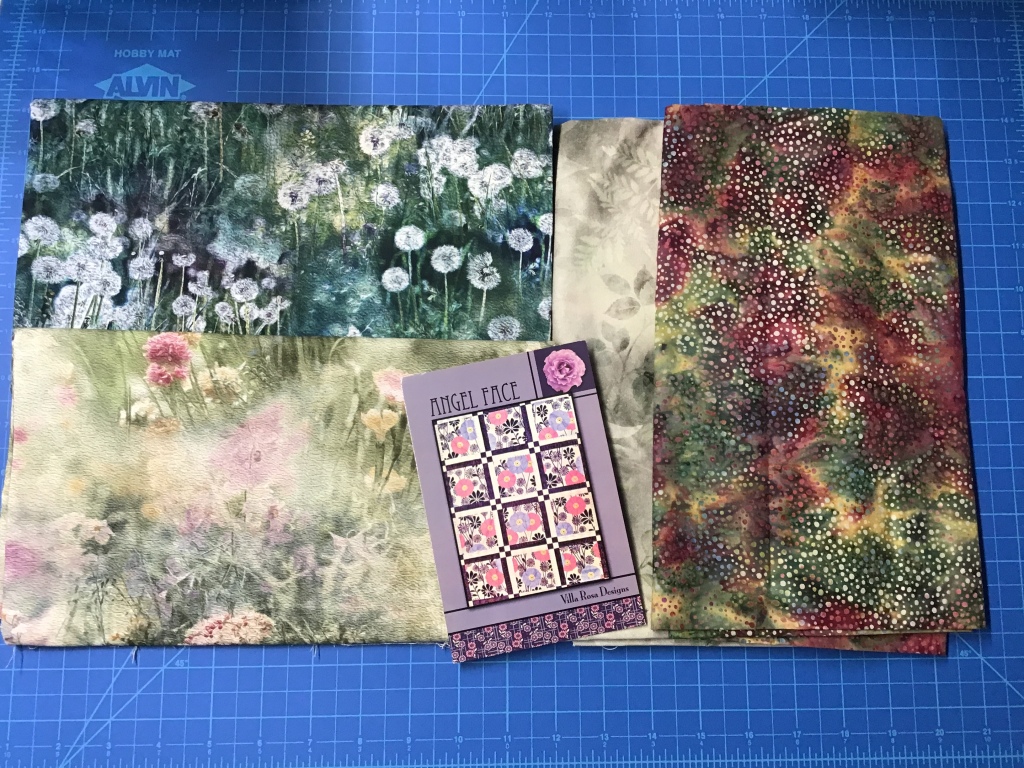
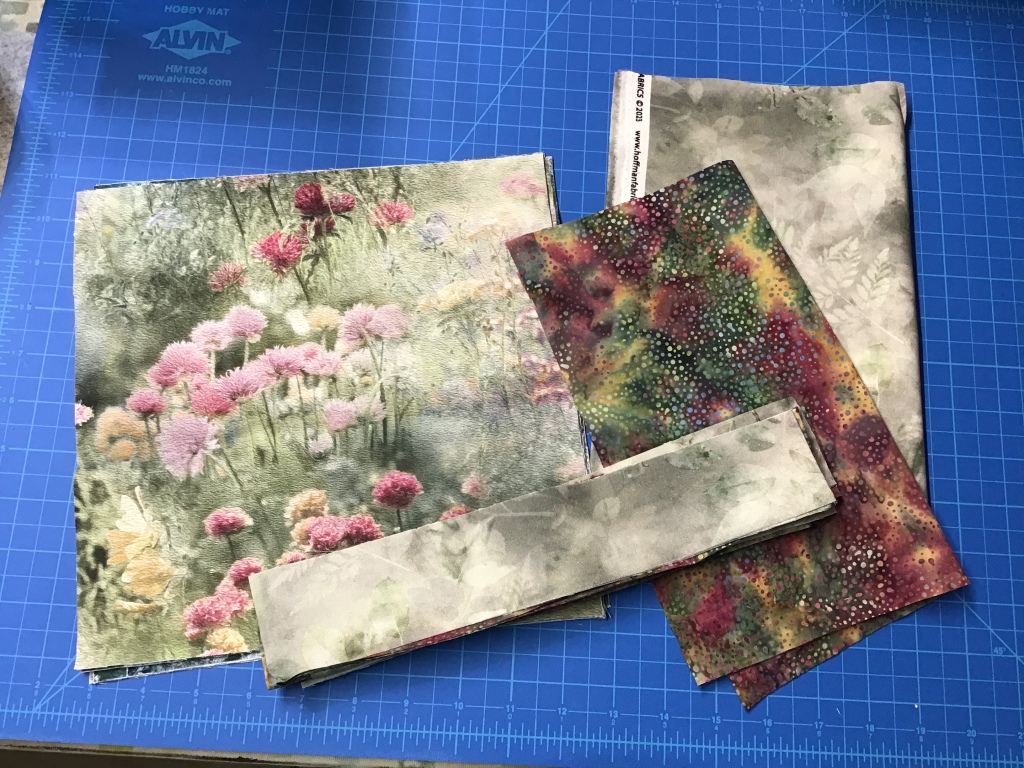
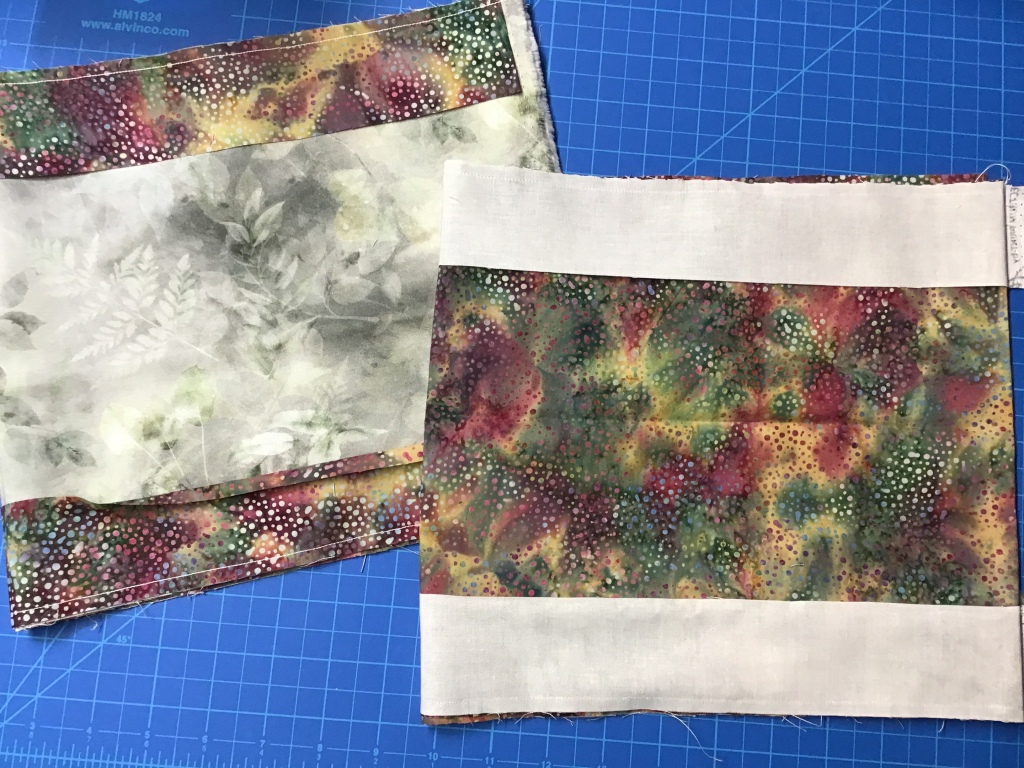
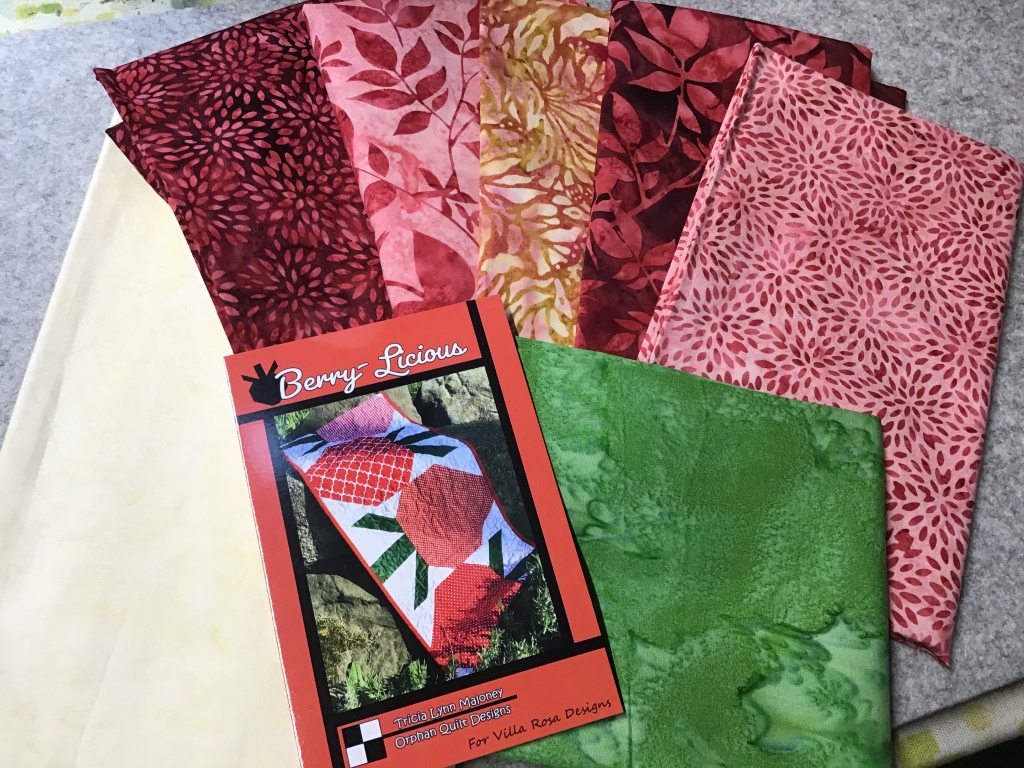
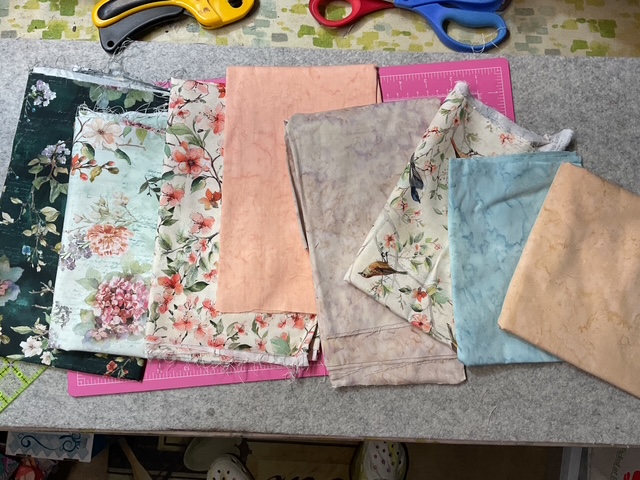
1. Time to gather up our fabrics. I’m using lovely sample fabrics from our quilty pals over at Hoffman Fabrics today. SHHH! This fabric isn’t even available yet, so you’re getting a sneak peak!
It’s an upcoming new collection called Nesting Hour and there are some lovely sherbet-y 1895 Watercolors batik coordinates, too. Quilt shops will be able to order this fabric next month and it will ship to shops in September. So ask your favorite retailer to order Nesting Hour!
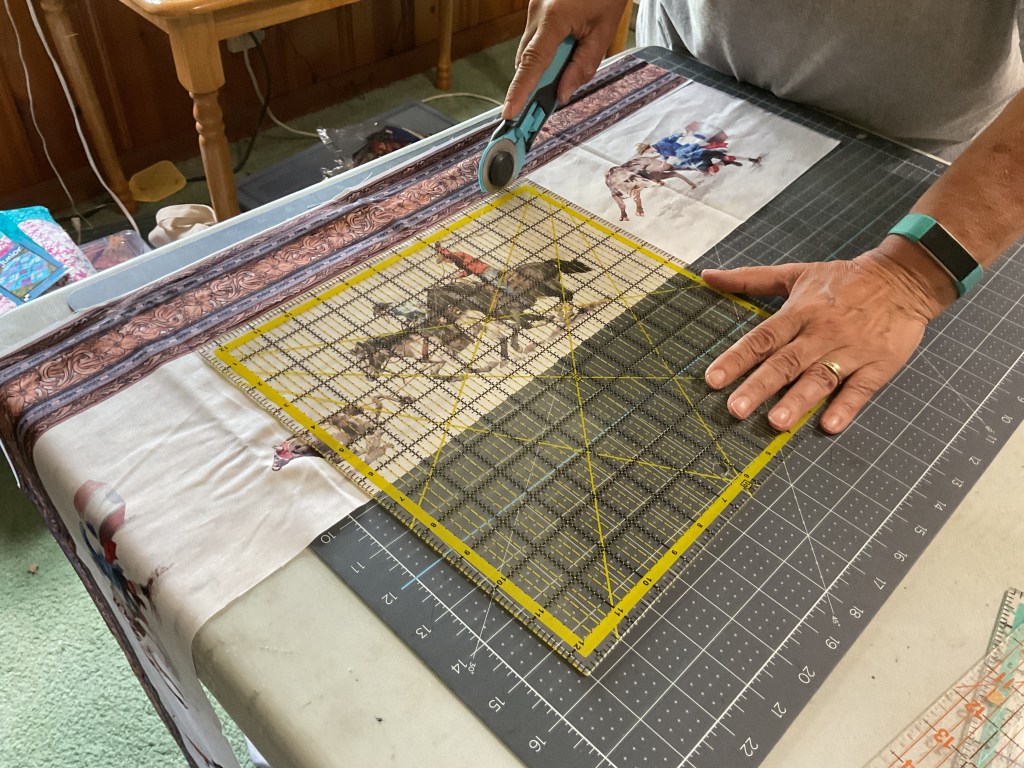
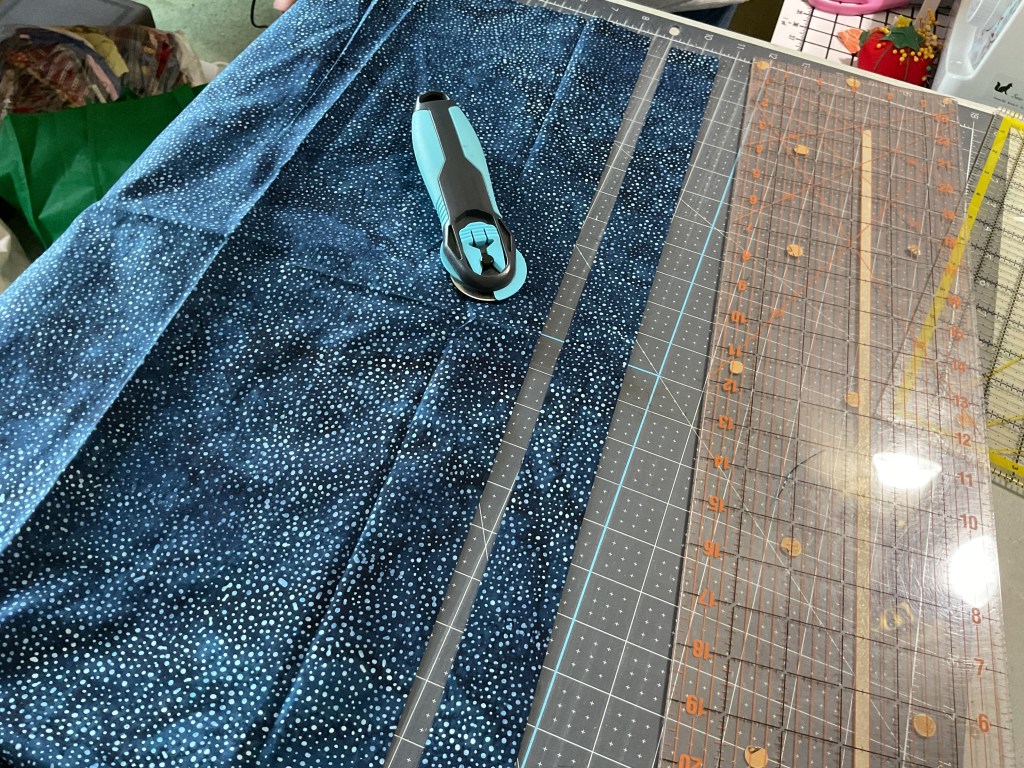
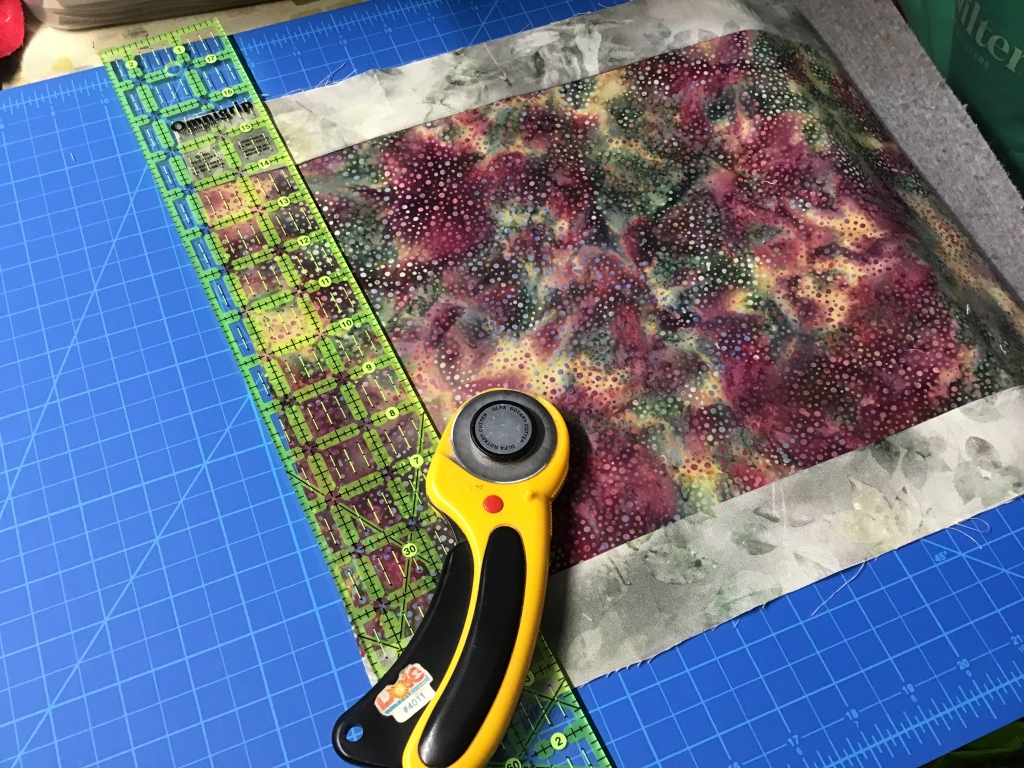
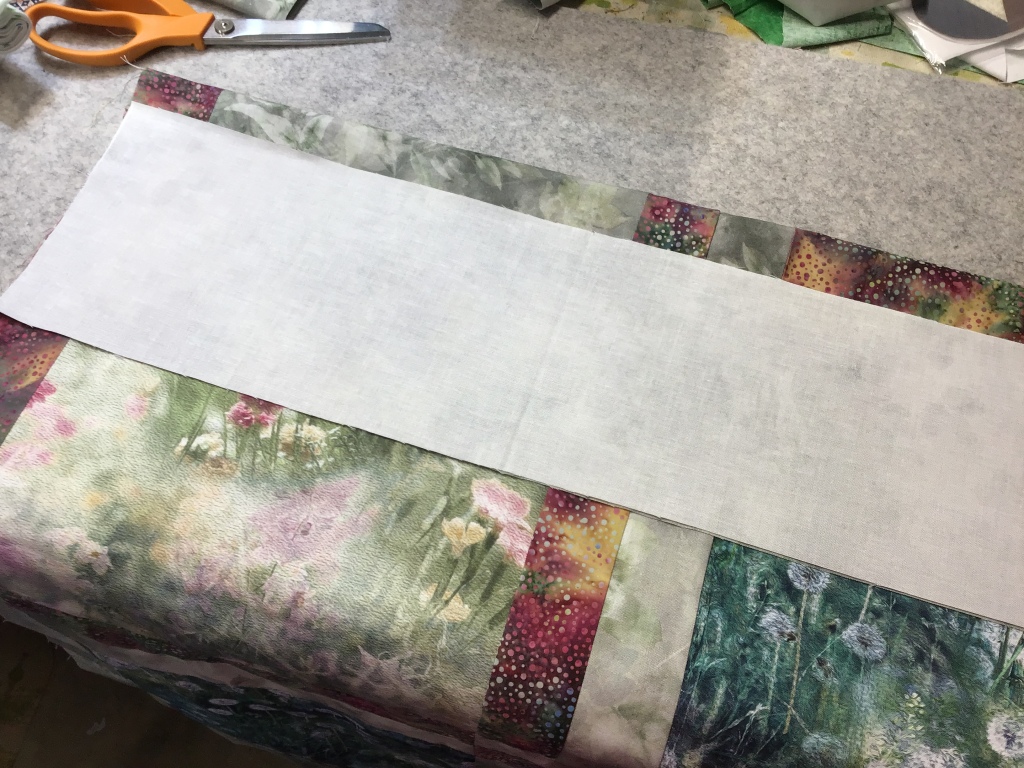
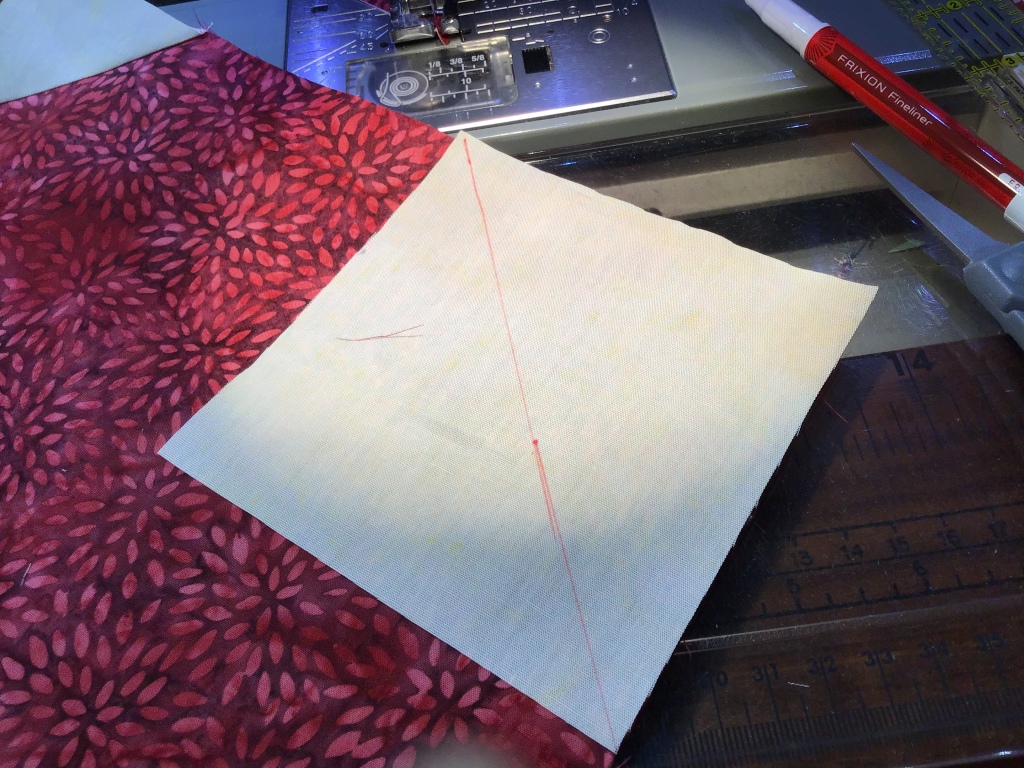
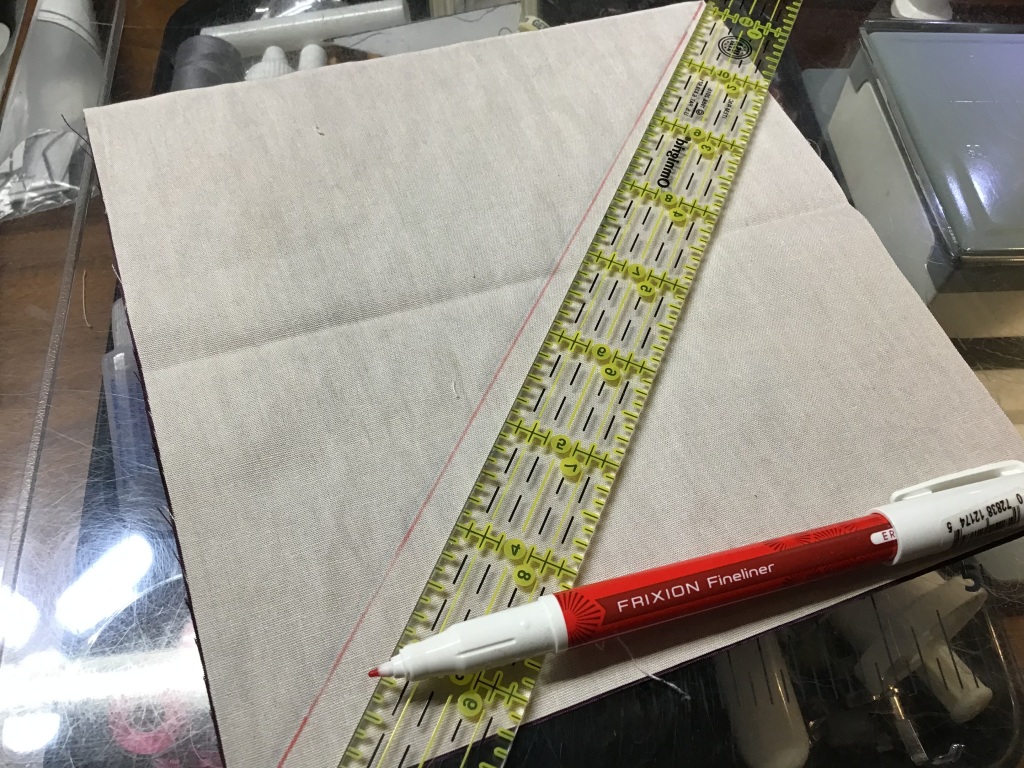
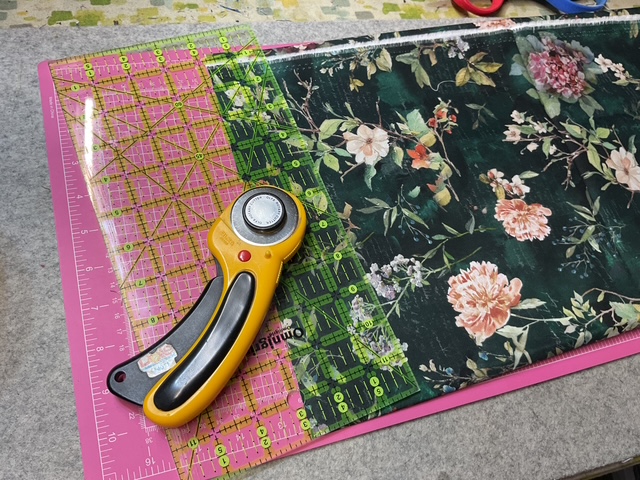
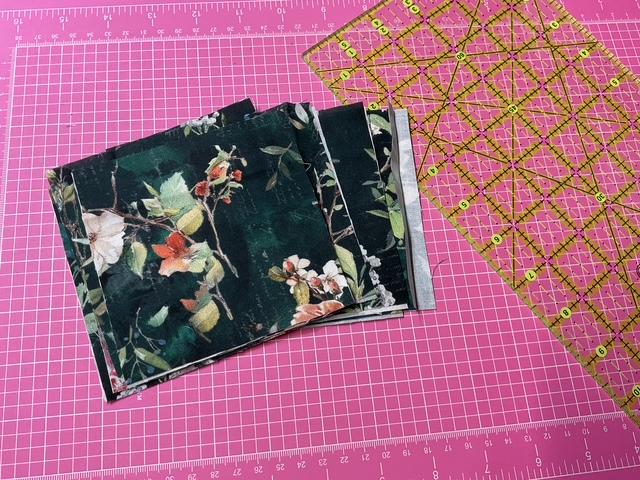
2. All right! Let’s get some cutting done. First, I’ll cut strips for the block centers and then I’ll cut the strips into squares.
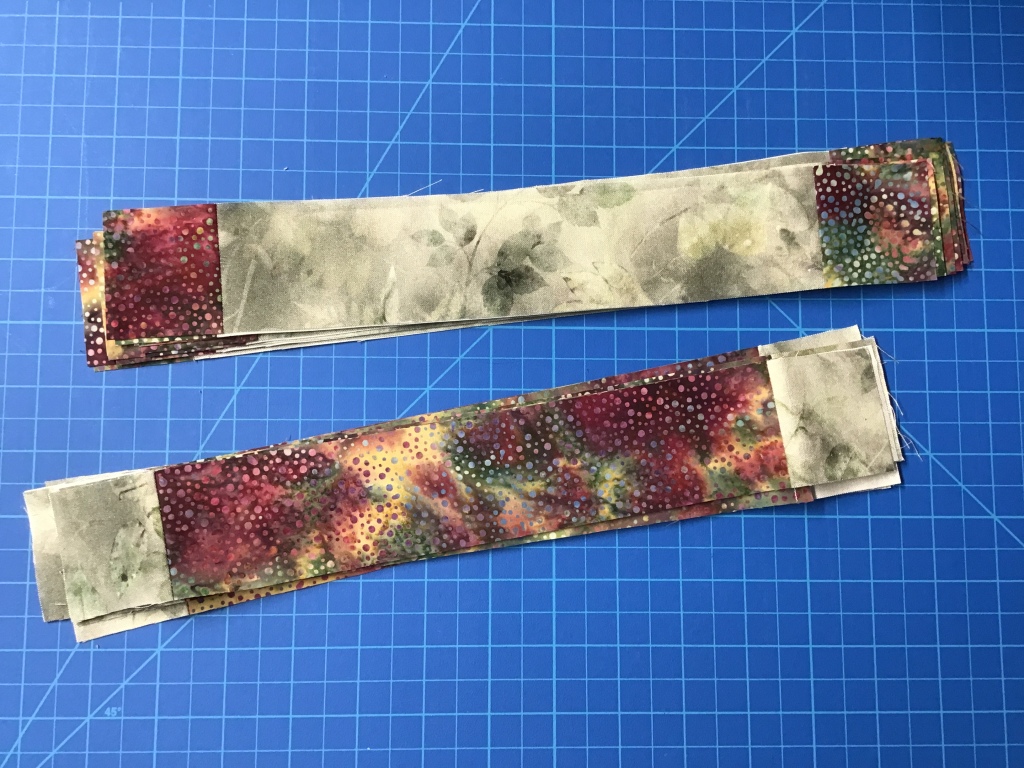
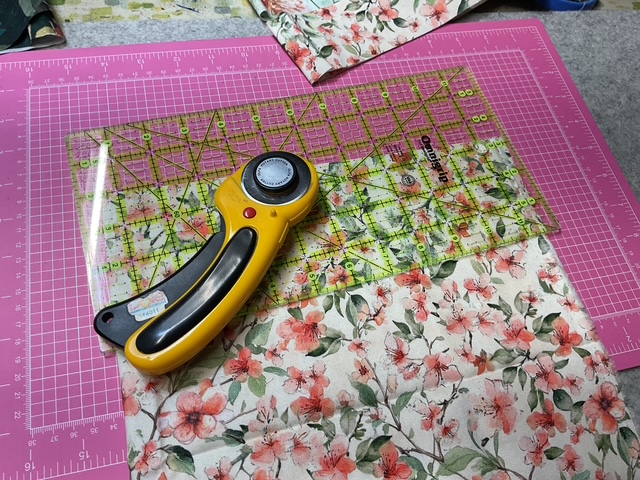
3. Next I’ll cut the strips for the frames and then subcut the strips into the needed smaller pieces.
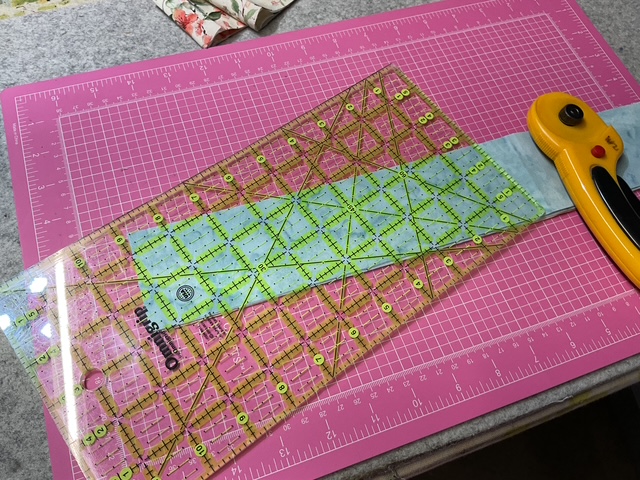
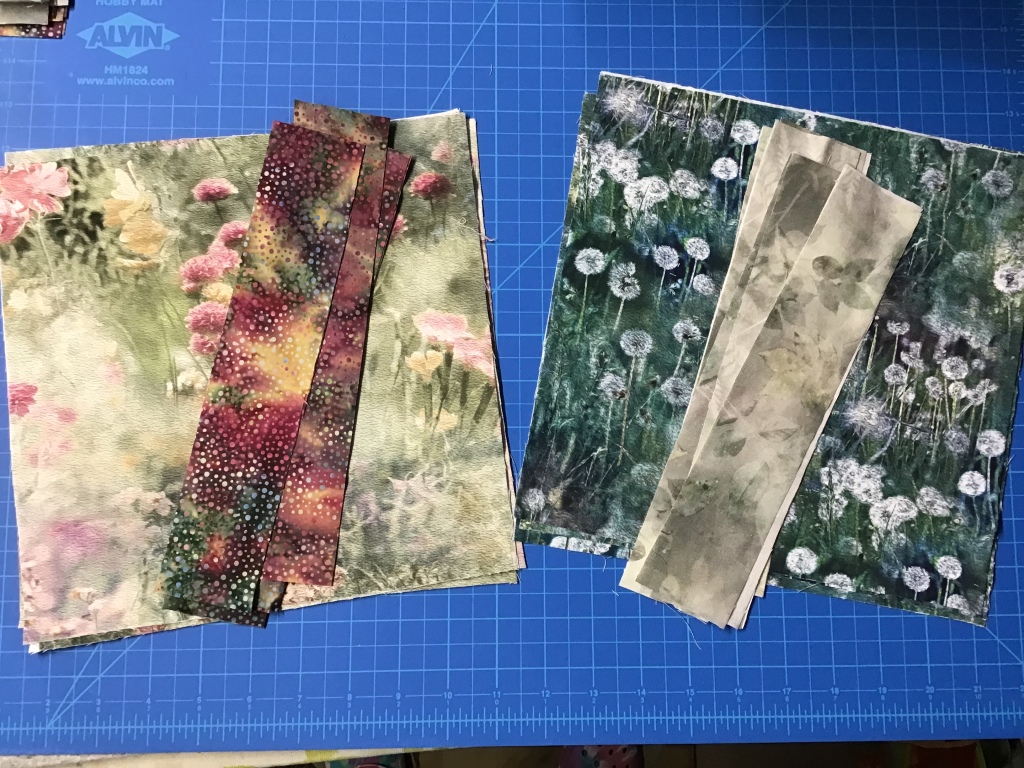
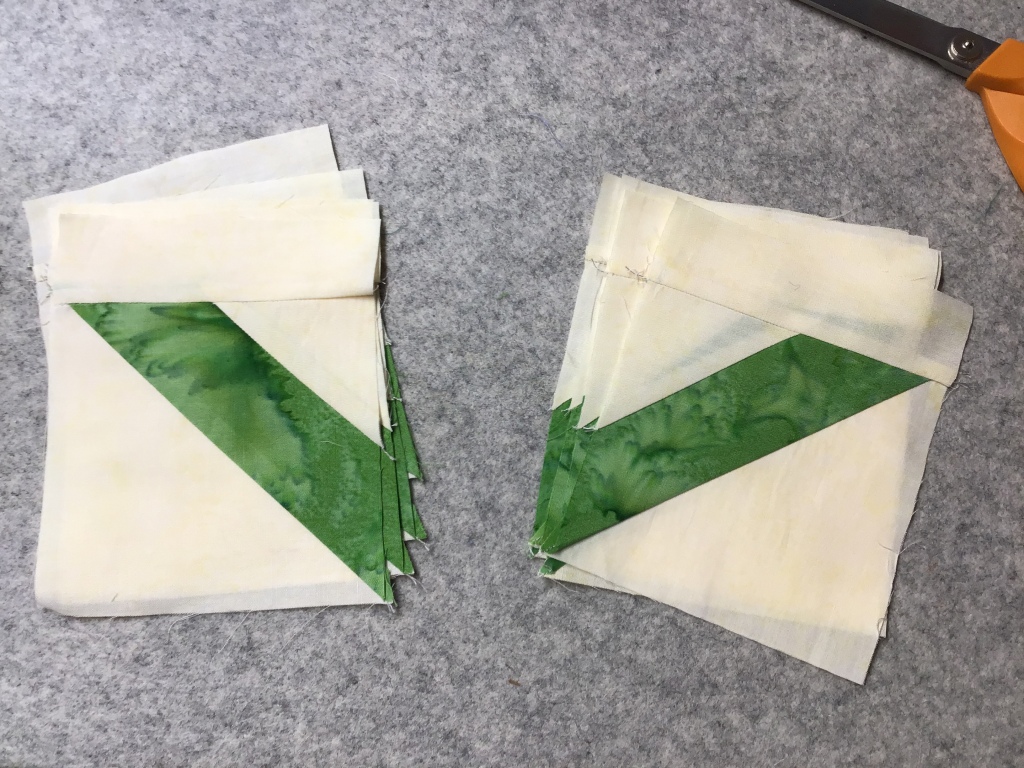
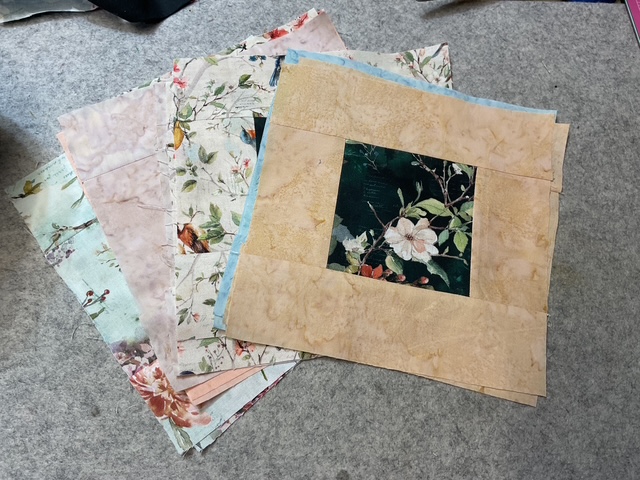
4. All the pieces are cut, organized by shape, and ready to sew. Yay!

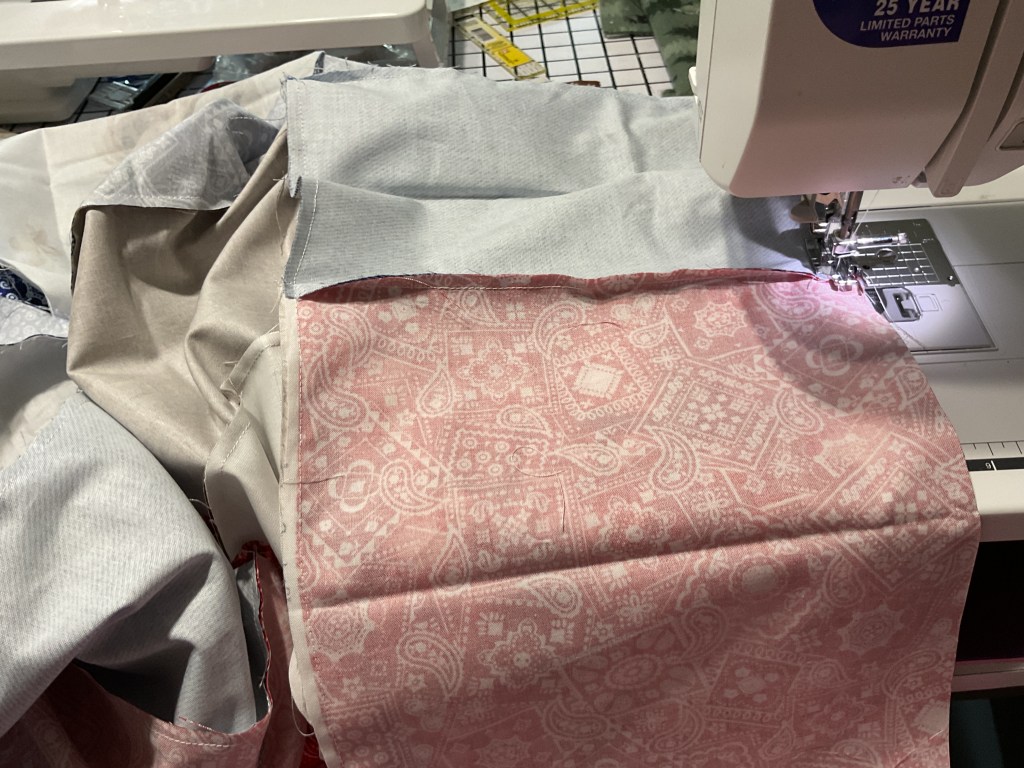
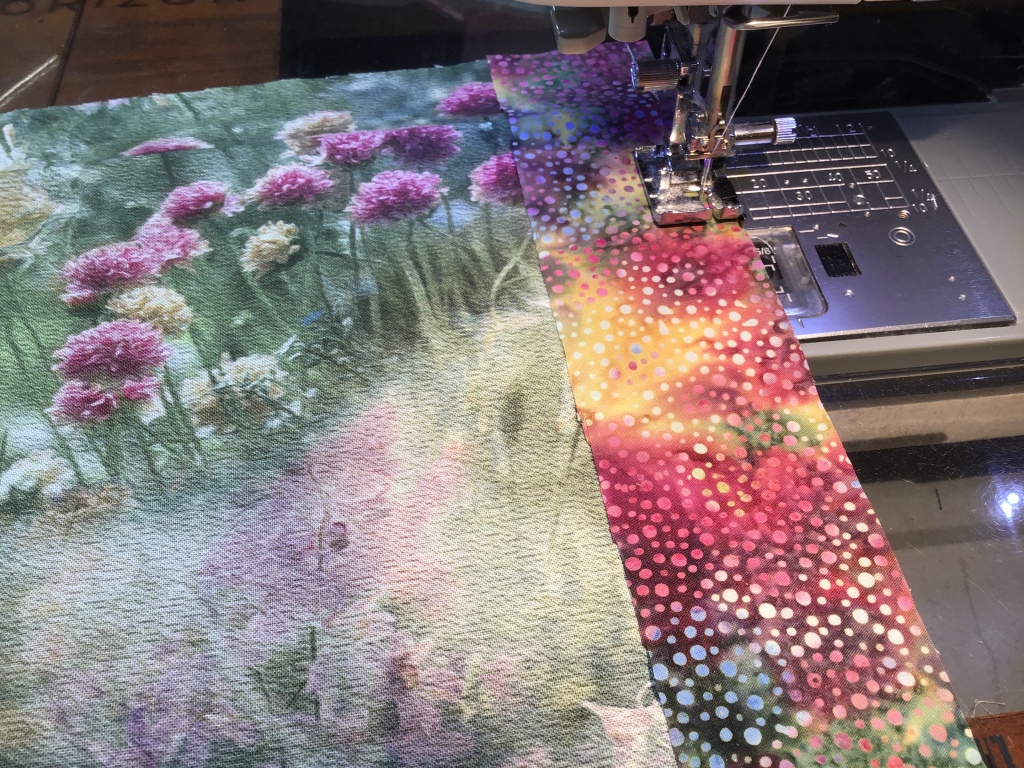
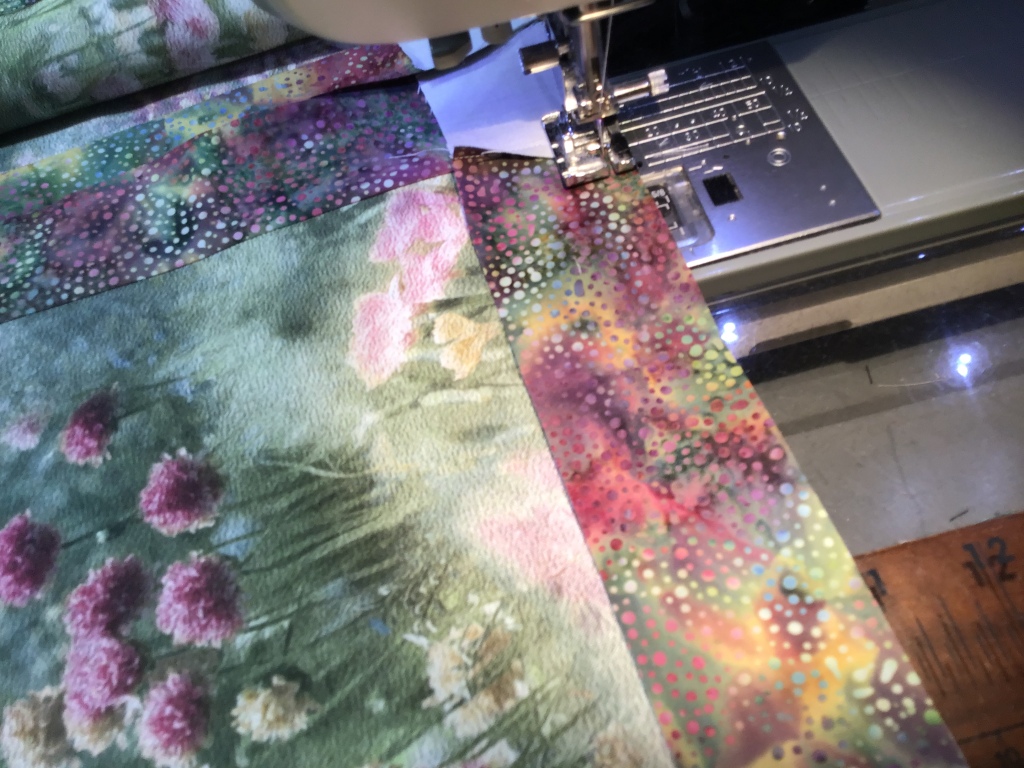
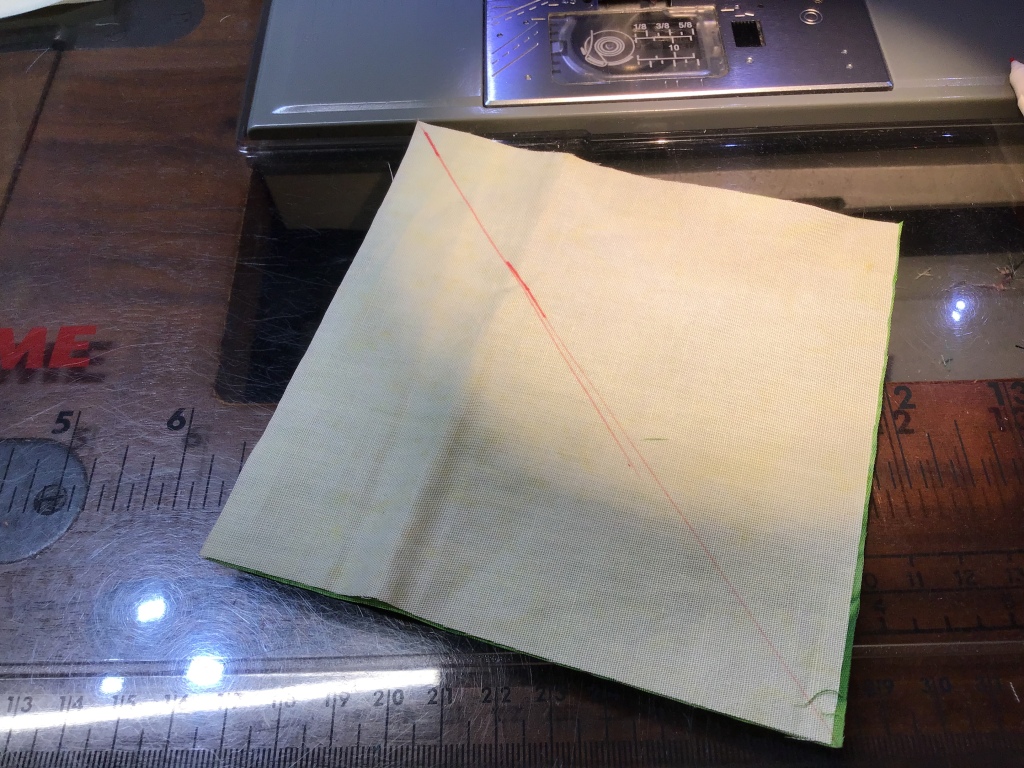
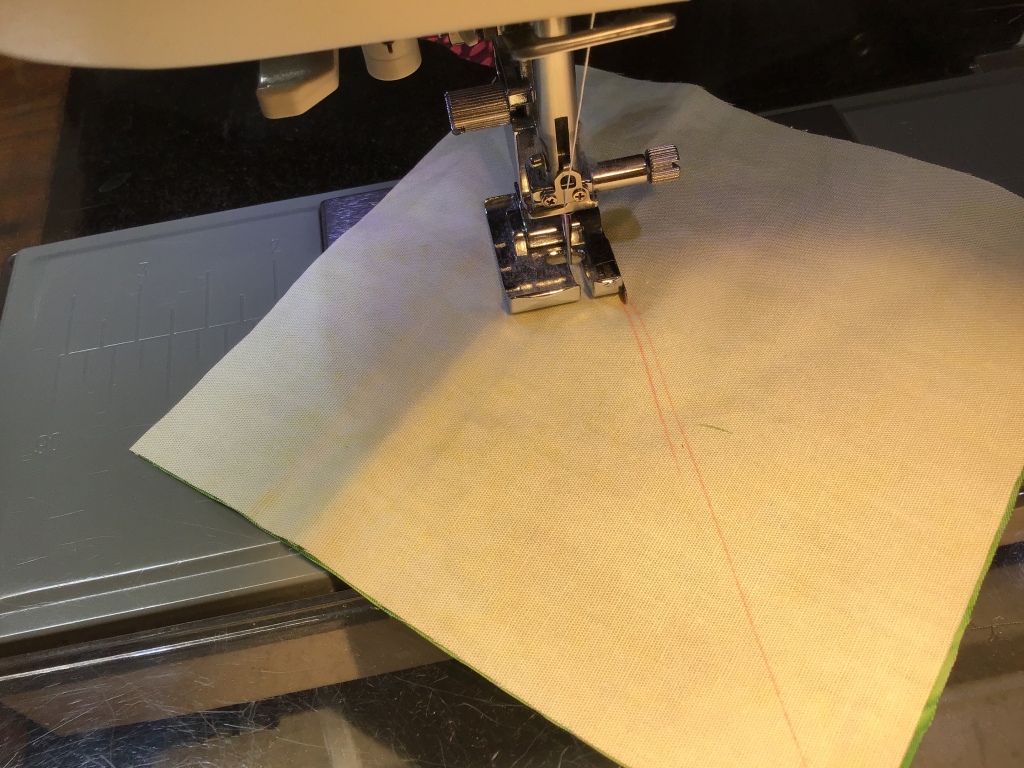
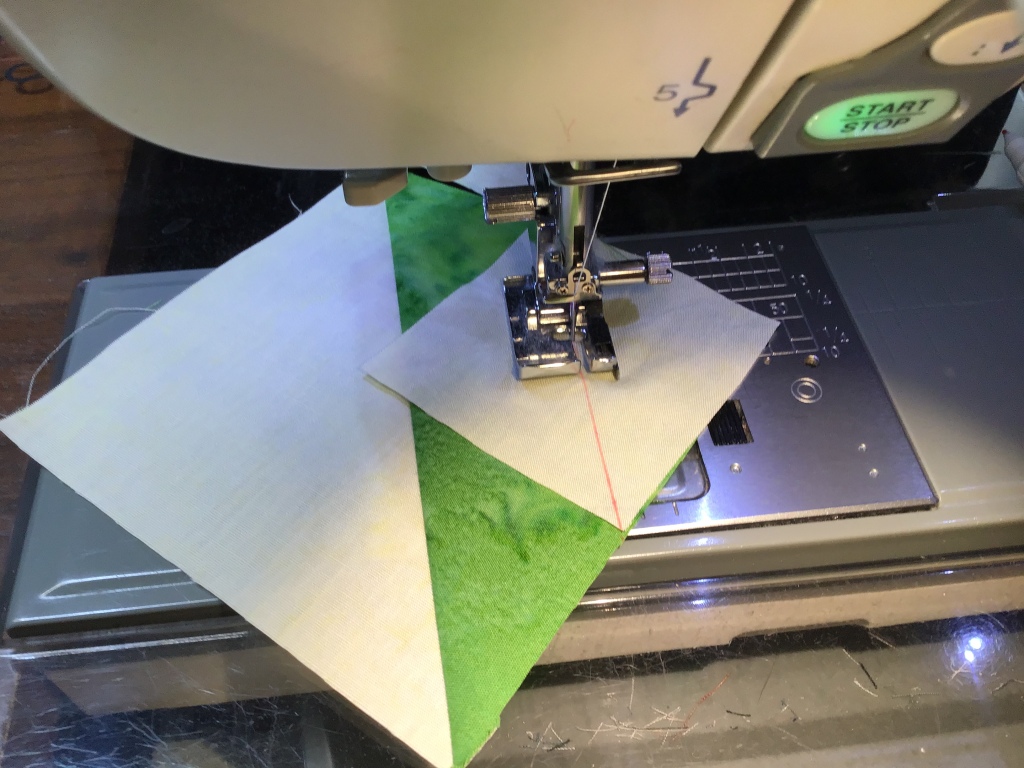
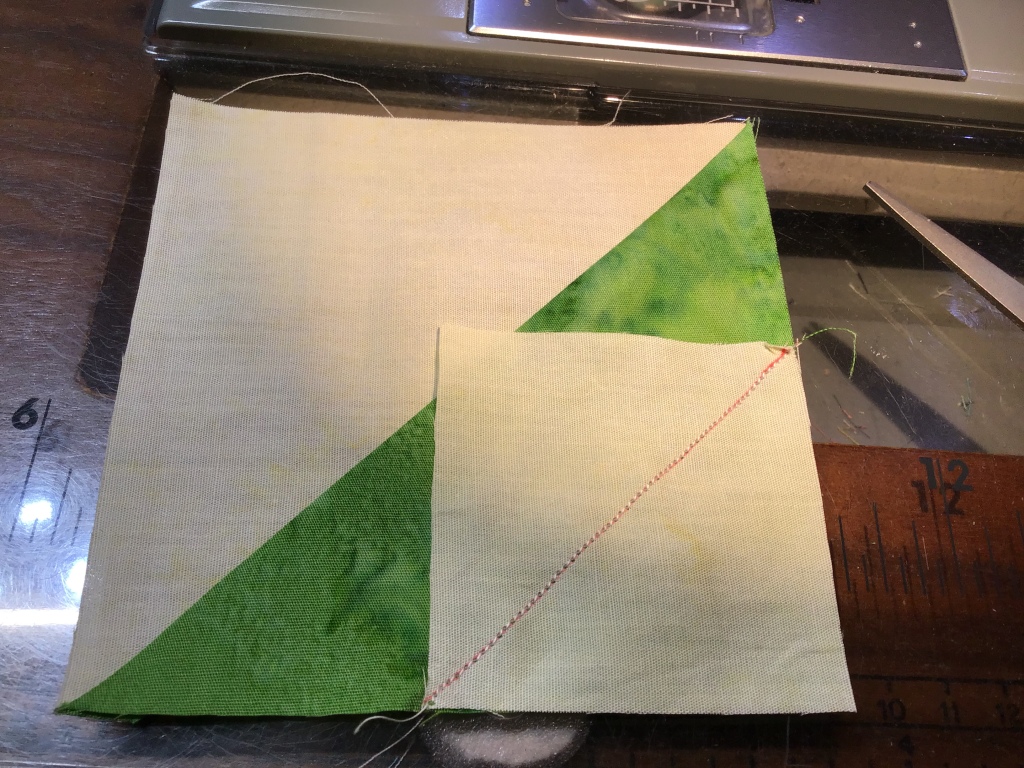
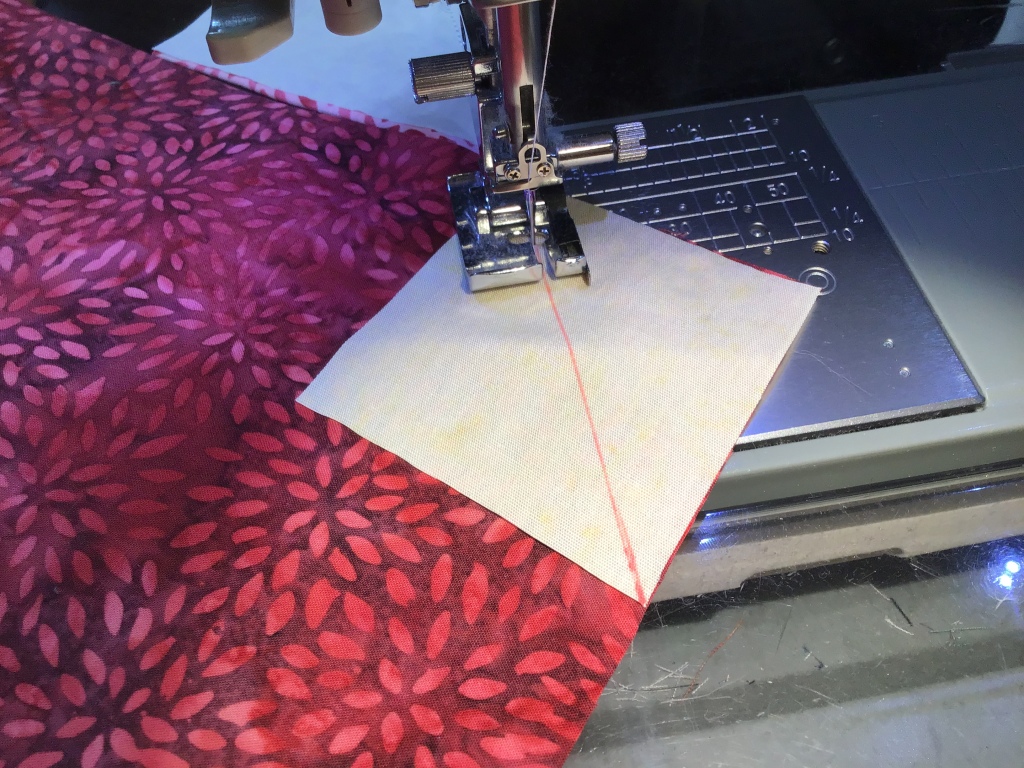
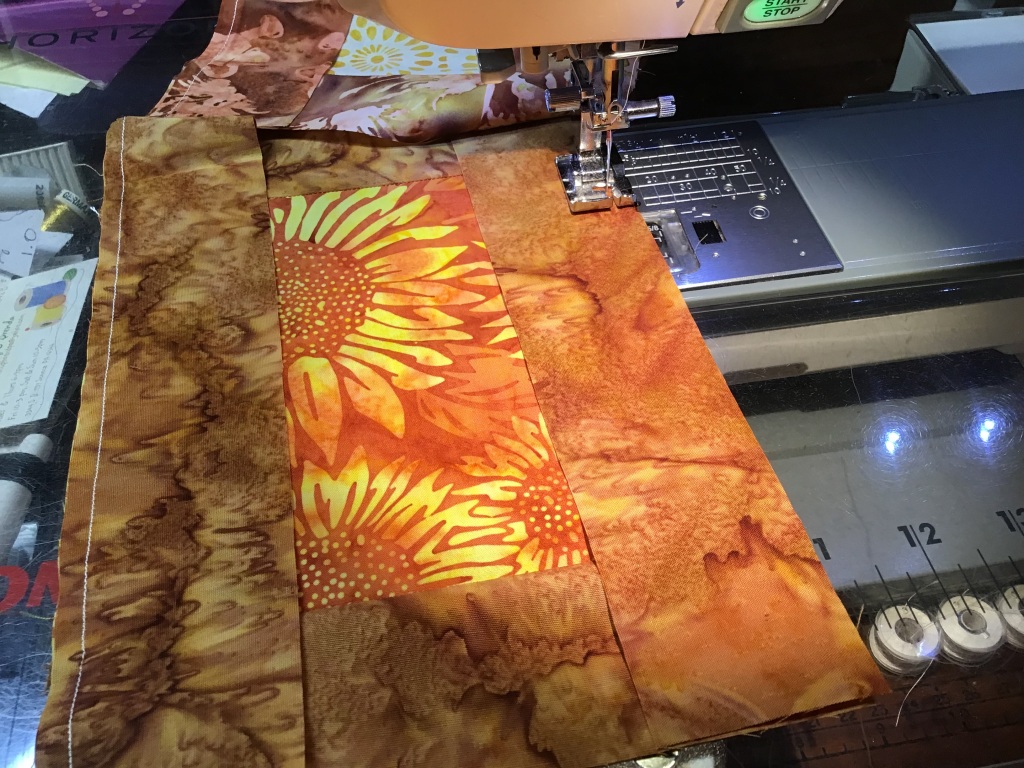
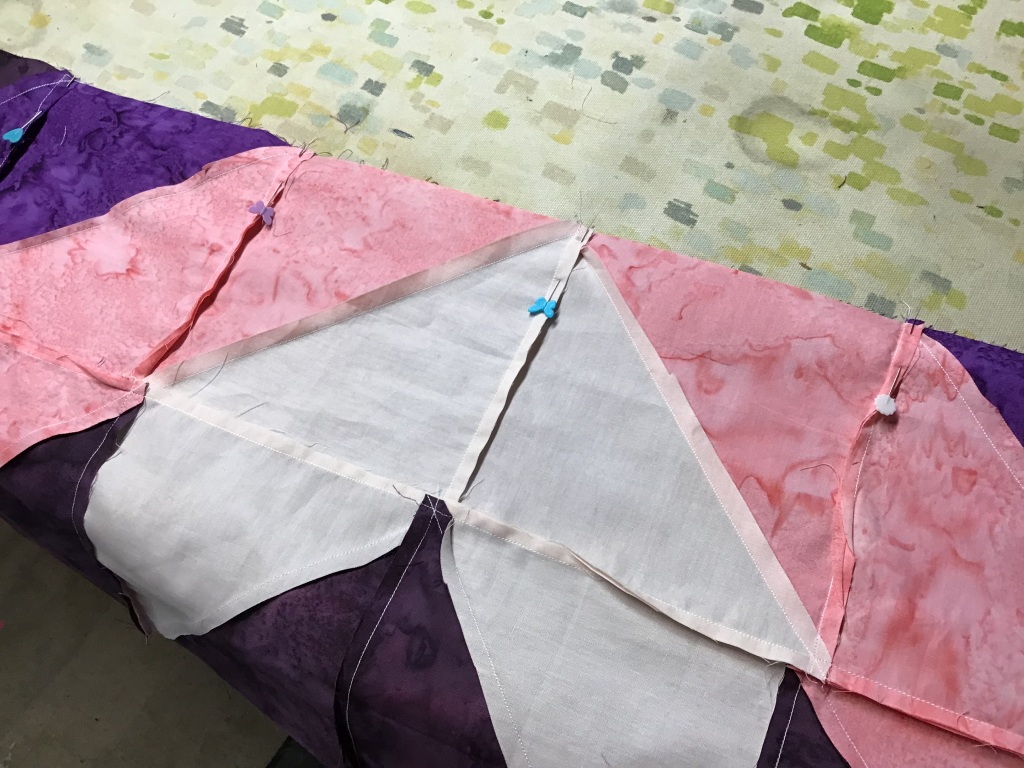
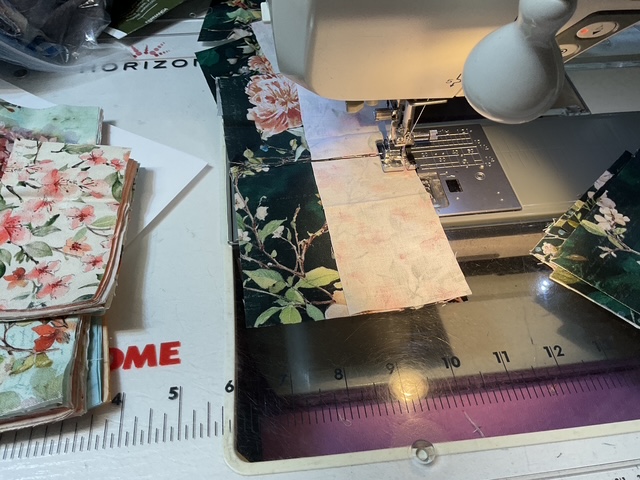
5. We’re headed to the sewing machine to make the blocks. I’m going to sew the short strips onto opposite sides of the center square. When I’m sewing the same step over and over, I really love chain piecing because it saves both time and thread.
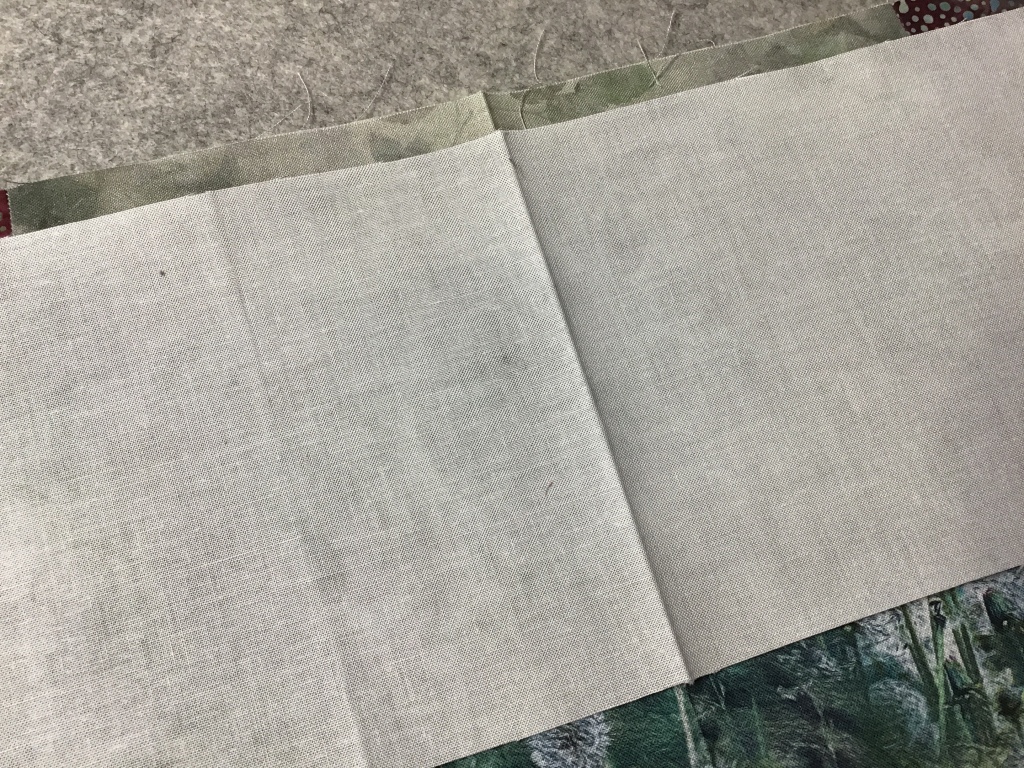
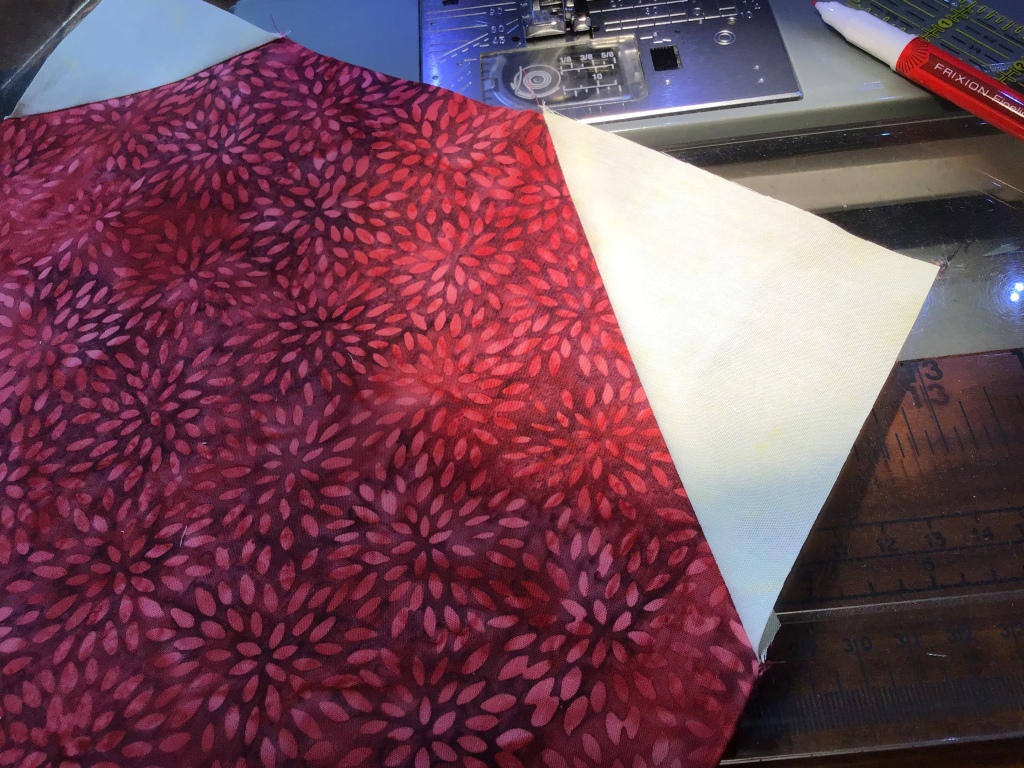
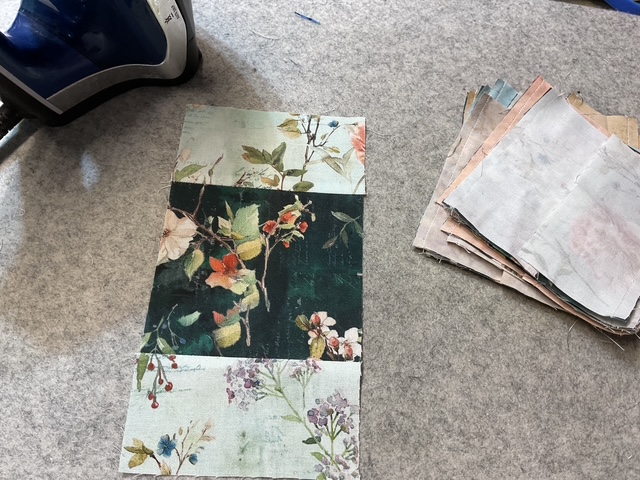
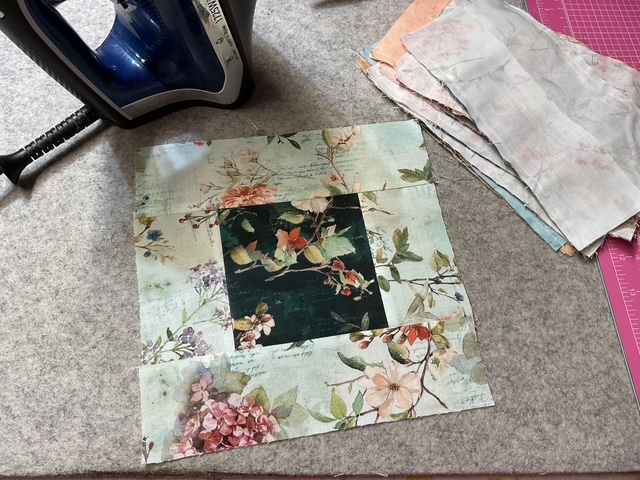
6. After I sew the matching short strips to opposite sides, I’m headed over to the ironing station to press my block so far before adding the next strips. I don’t always press in the middle of sewing a block together, but today I am because I want the blocks to turn out really crisp.
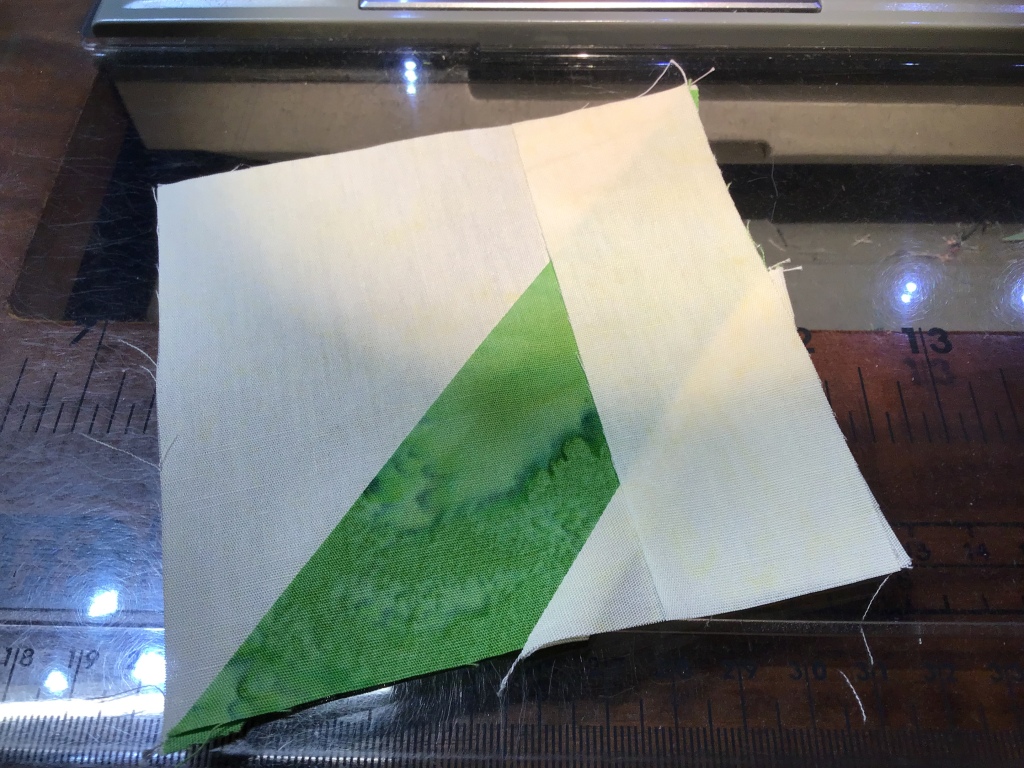
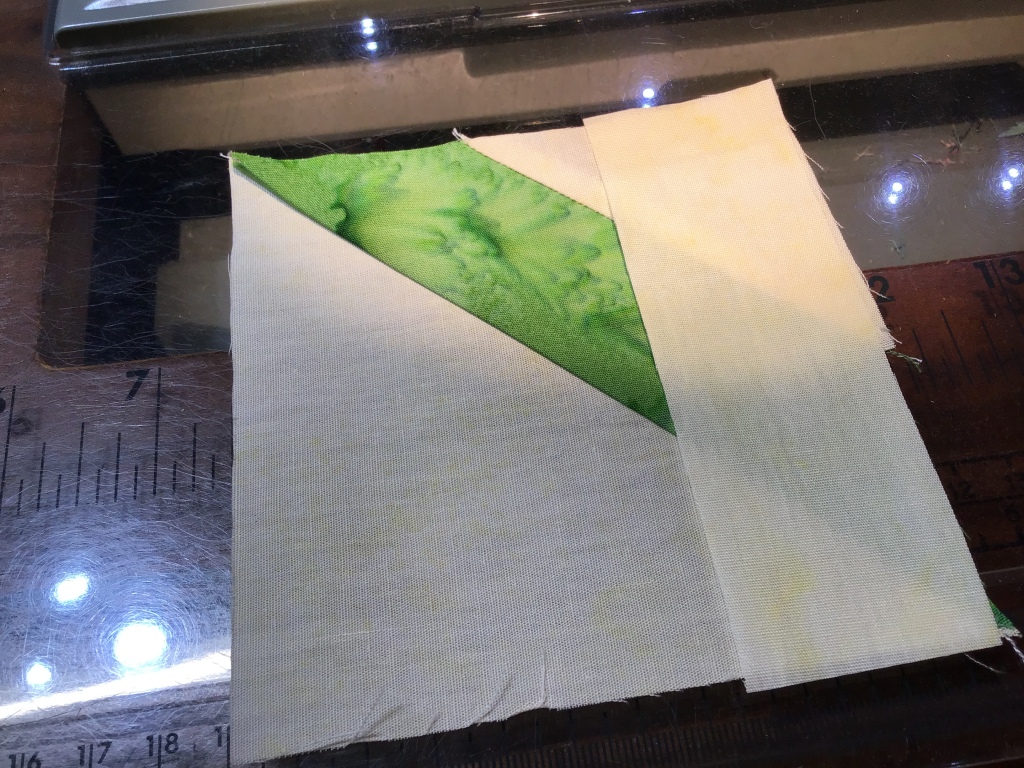
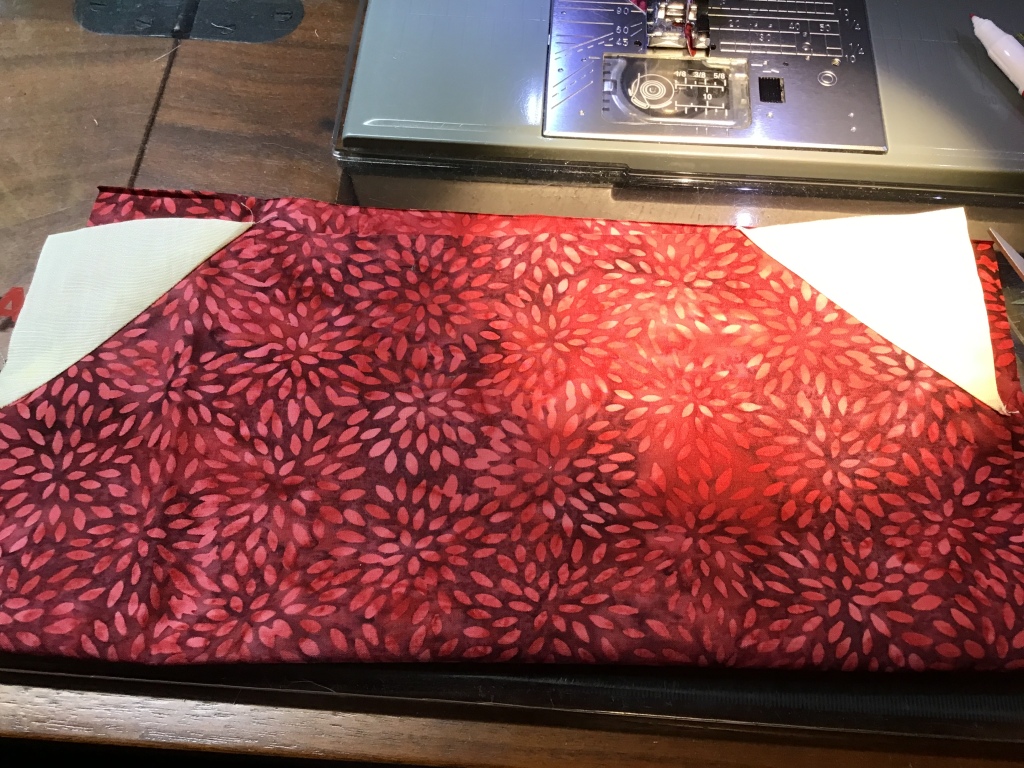
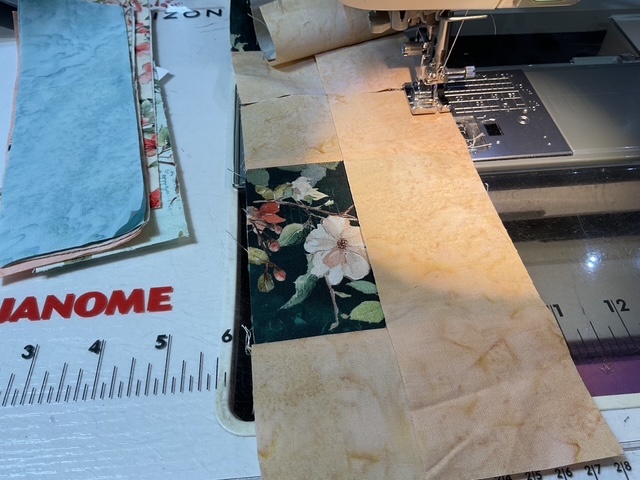
7. Then back to the sewing machine to add the long matching strips to opposite sides of the center square to complete the frame for each block.
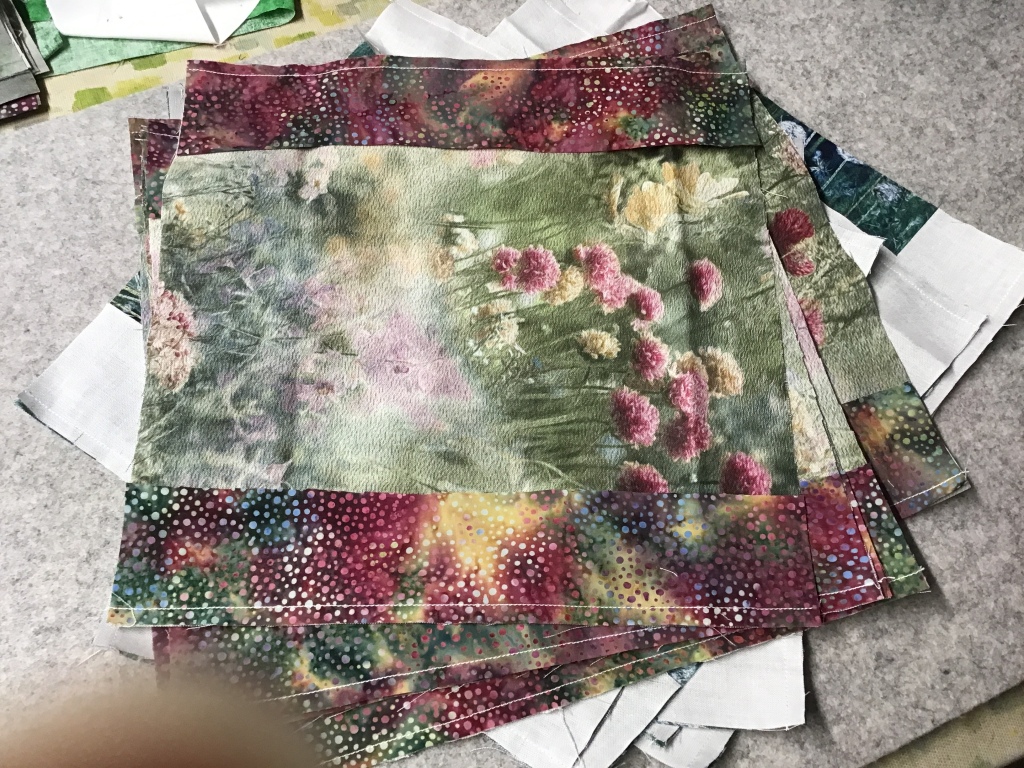
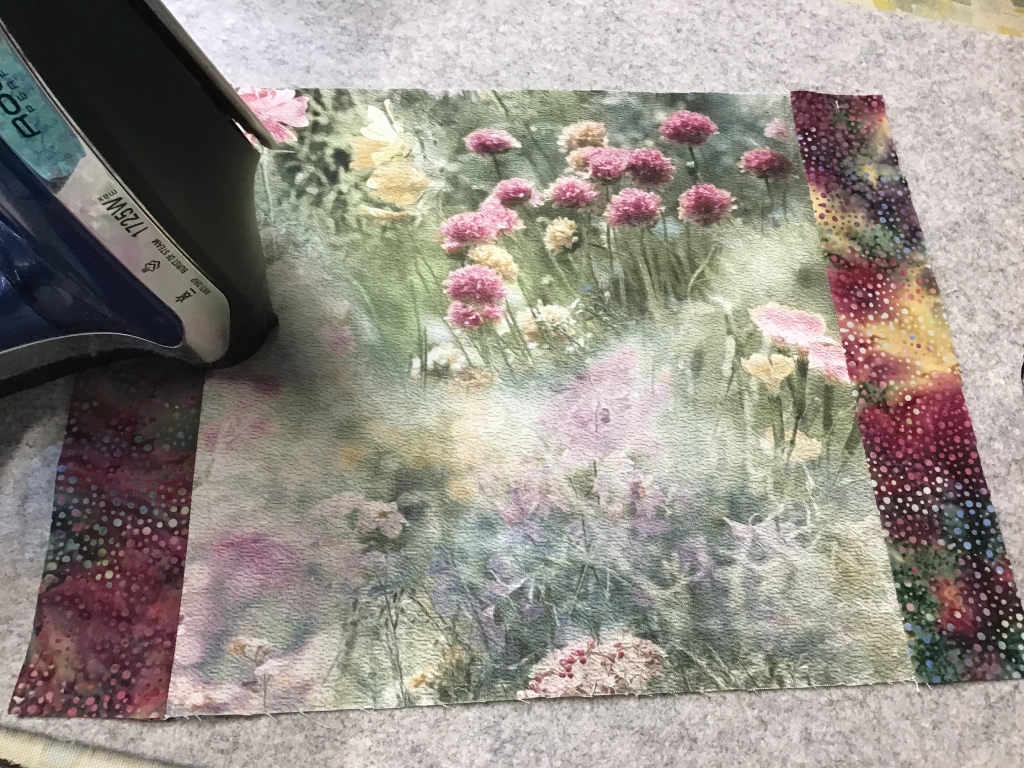
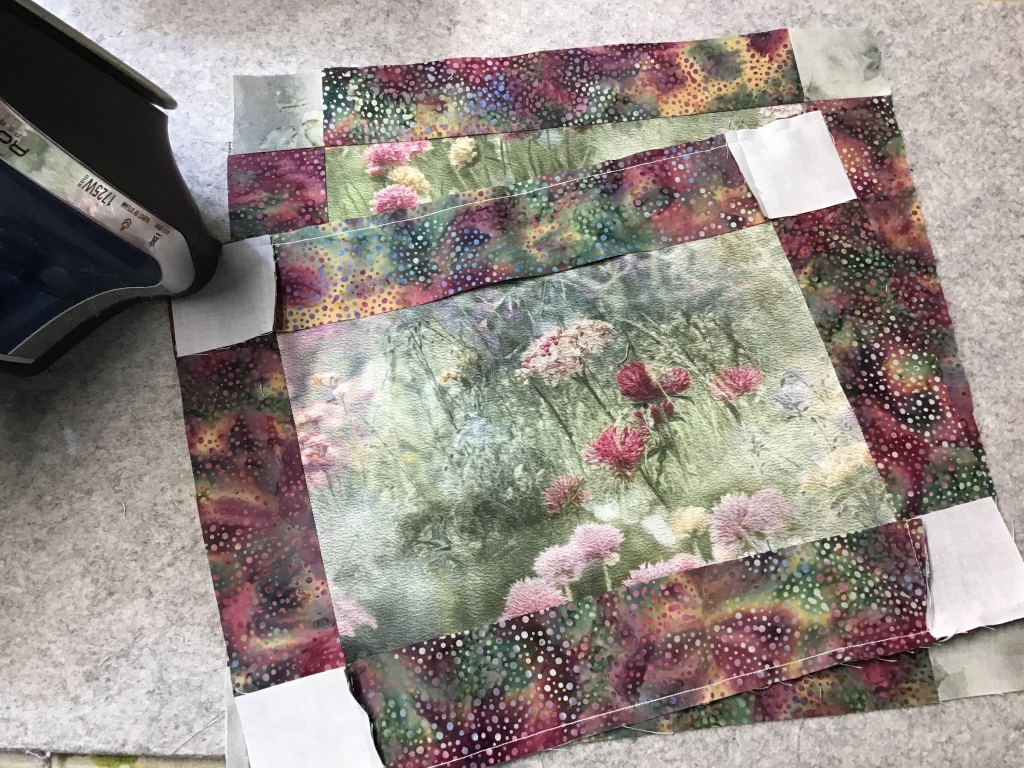
8. And back to the iron to press the completed blocks so they will be nice and crisp. I’ve noticed that when I press blocks on my wool pressing mat, I don’t have to use pressing spray to get sharply pressed blocks.
Right now I have an 18″ x 60″ mat on my 24″ X 60″ ironing station. My Dad designed and made the ironing board for me years ago. My lovely big board sits on top of an Ikea Kallax 8 cube shelf on casters and it’s the perfect height for me!
The 18″ wide mat just seems too narrow for me now, so I’m thinking of upgrading. I see mats are now available in 22″ x 60″ and 24″ x 60″, which is really great. Maybe I won’t run off the edge anymore. Definitely worth thinking about now if they have the exact size I need.
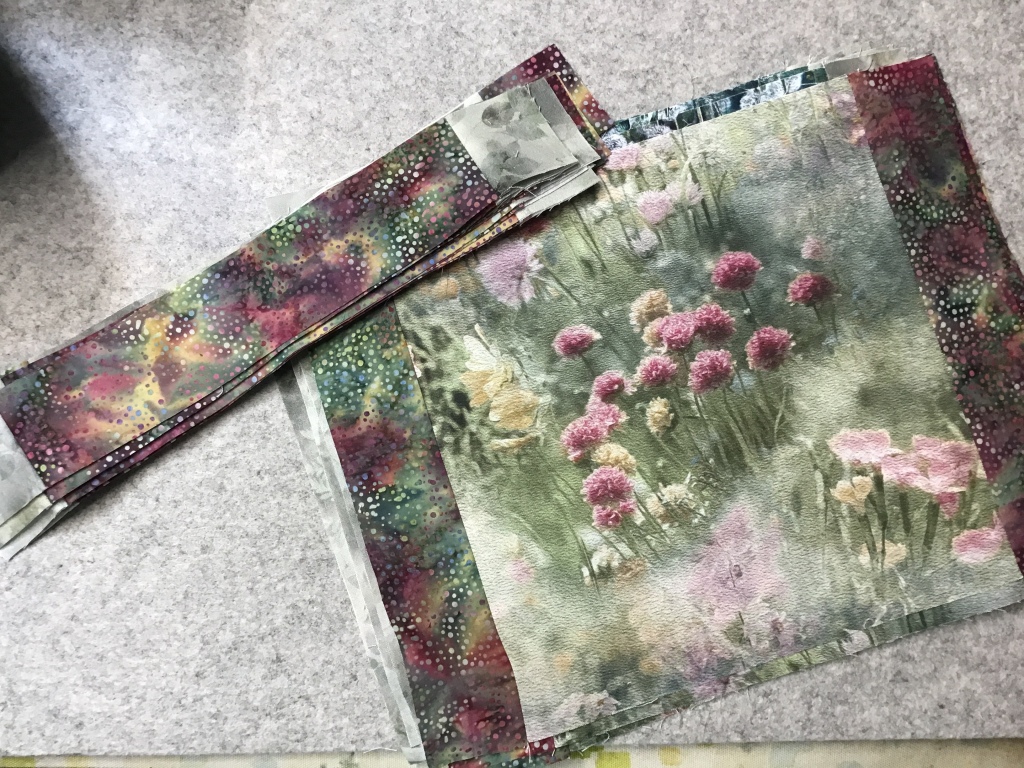
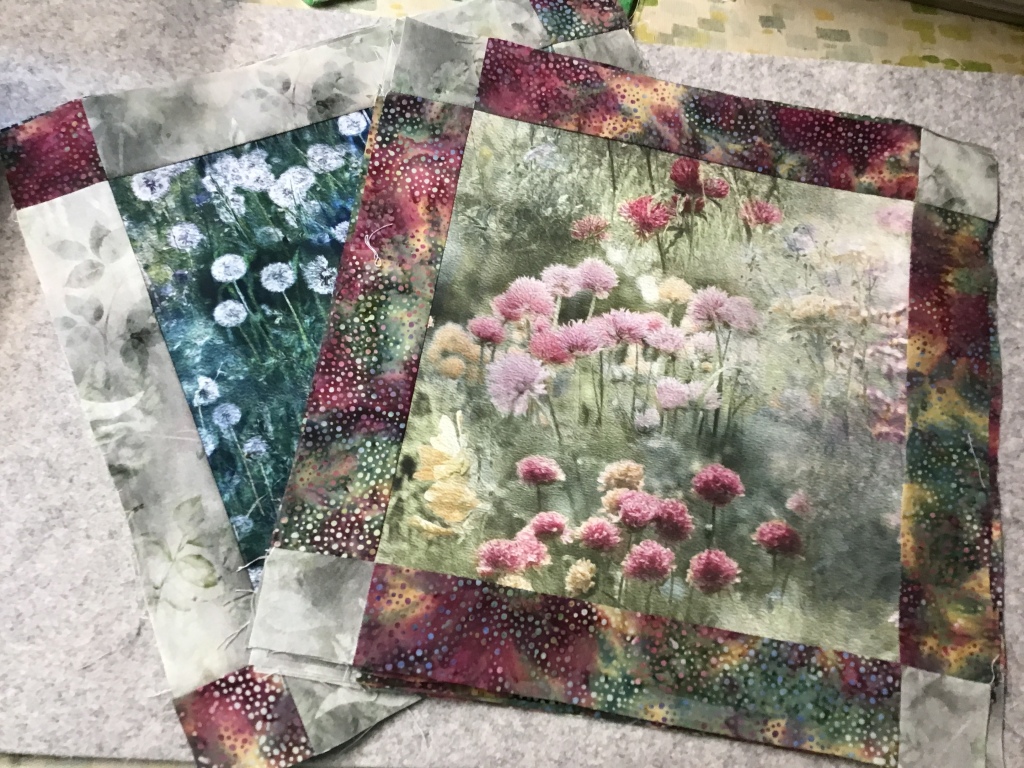
9. Yay! My blocks are all pressed!
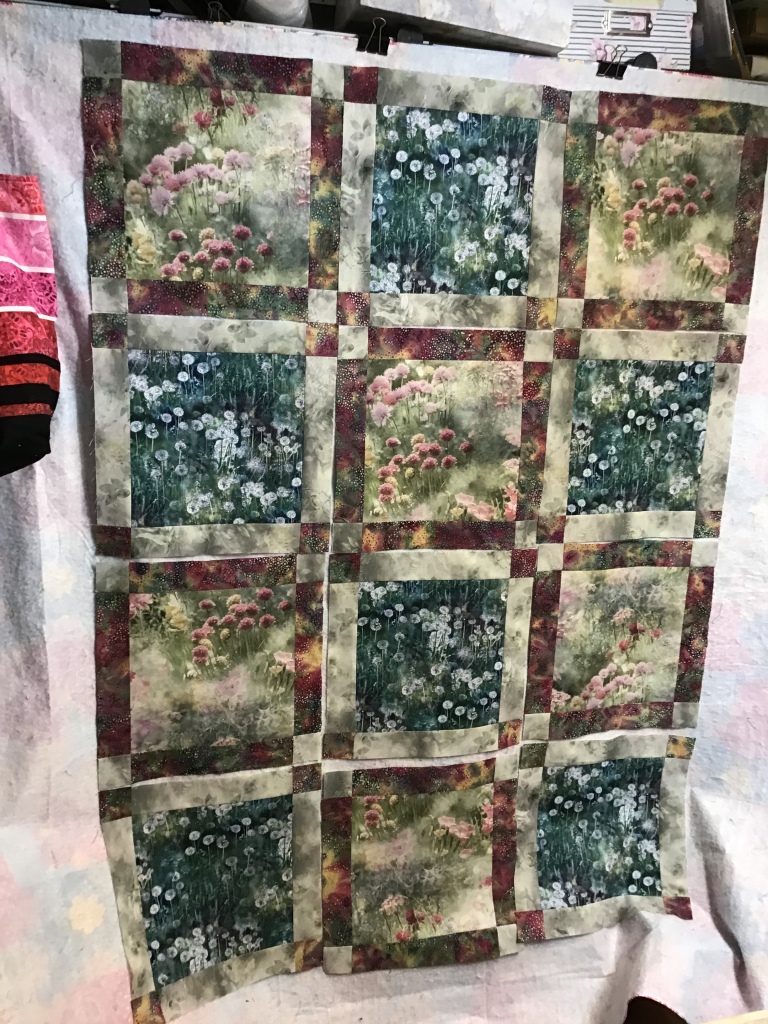
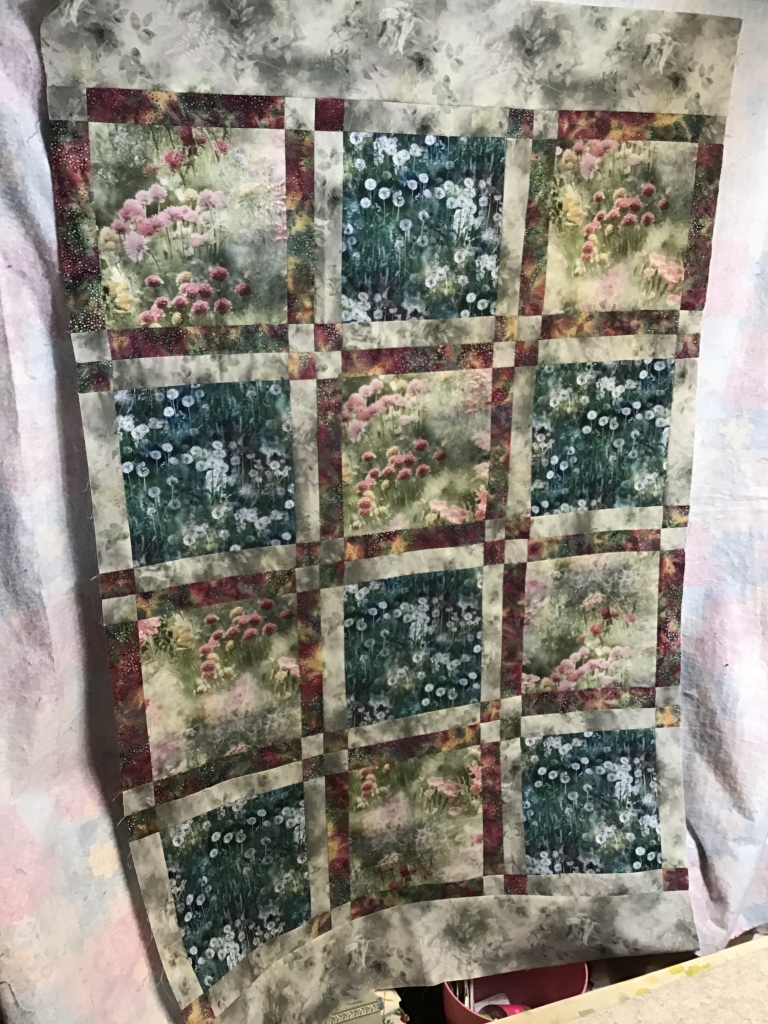
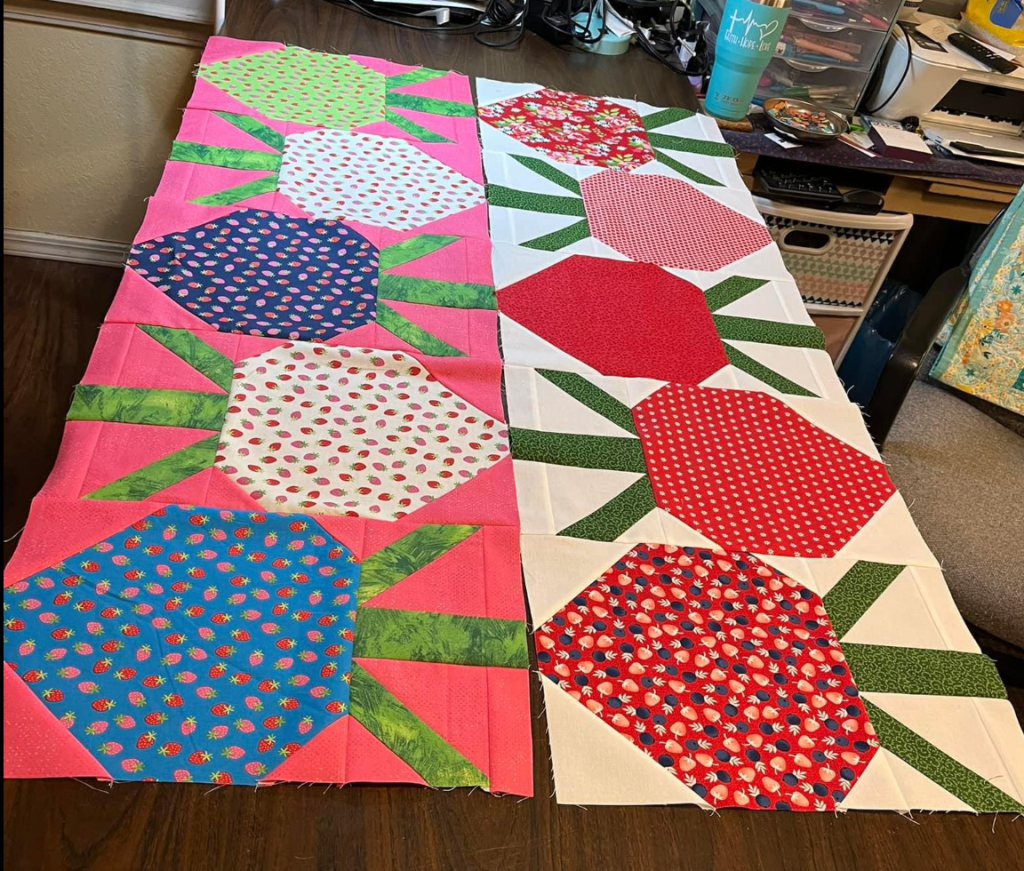
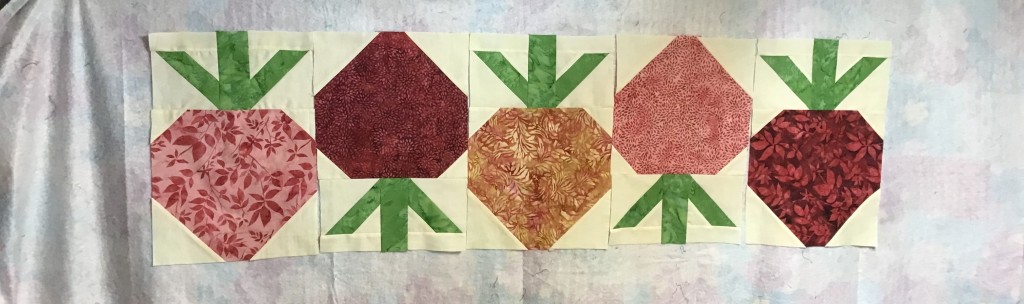
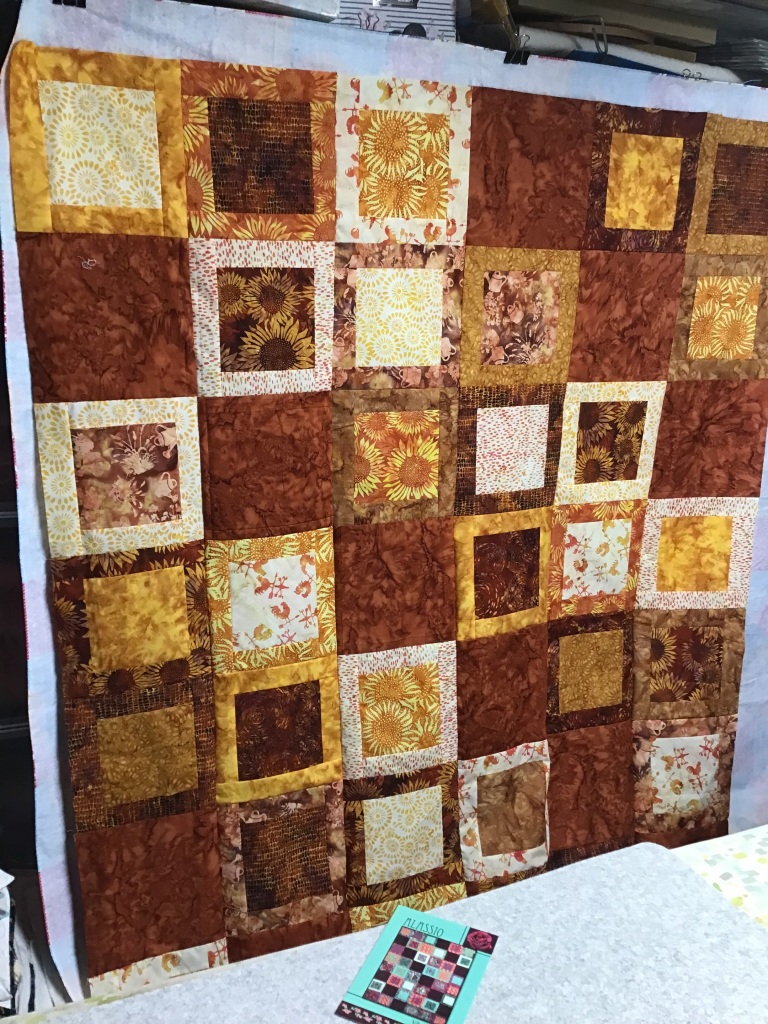
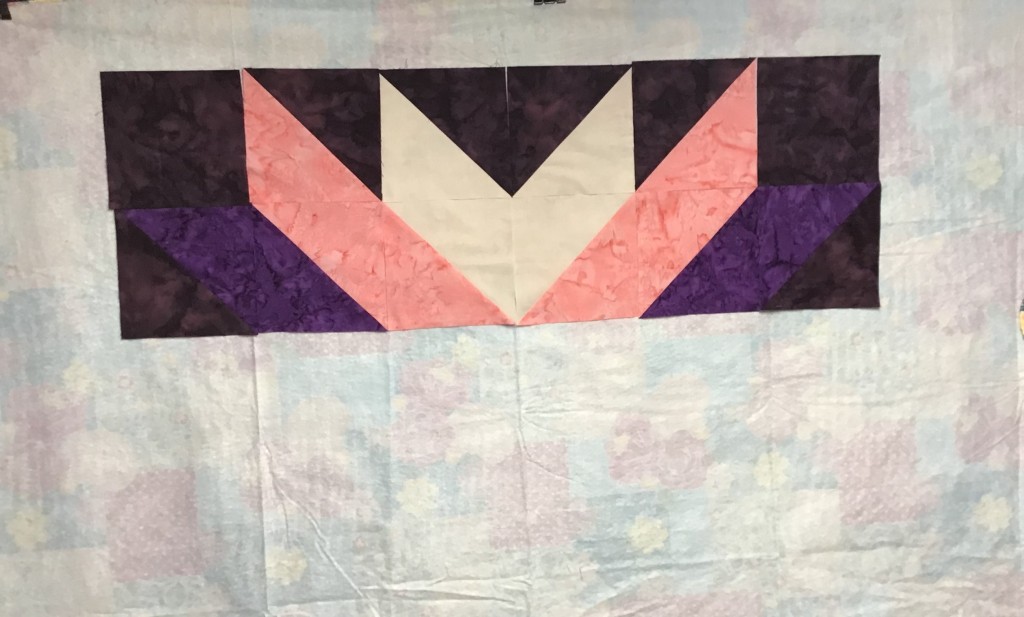
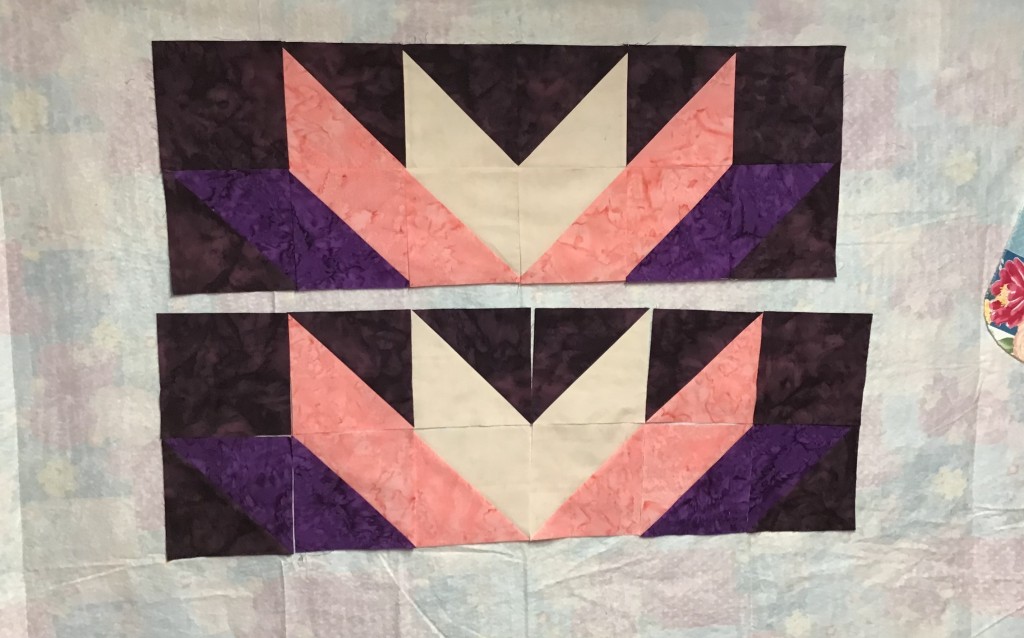
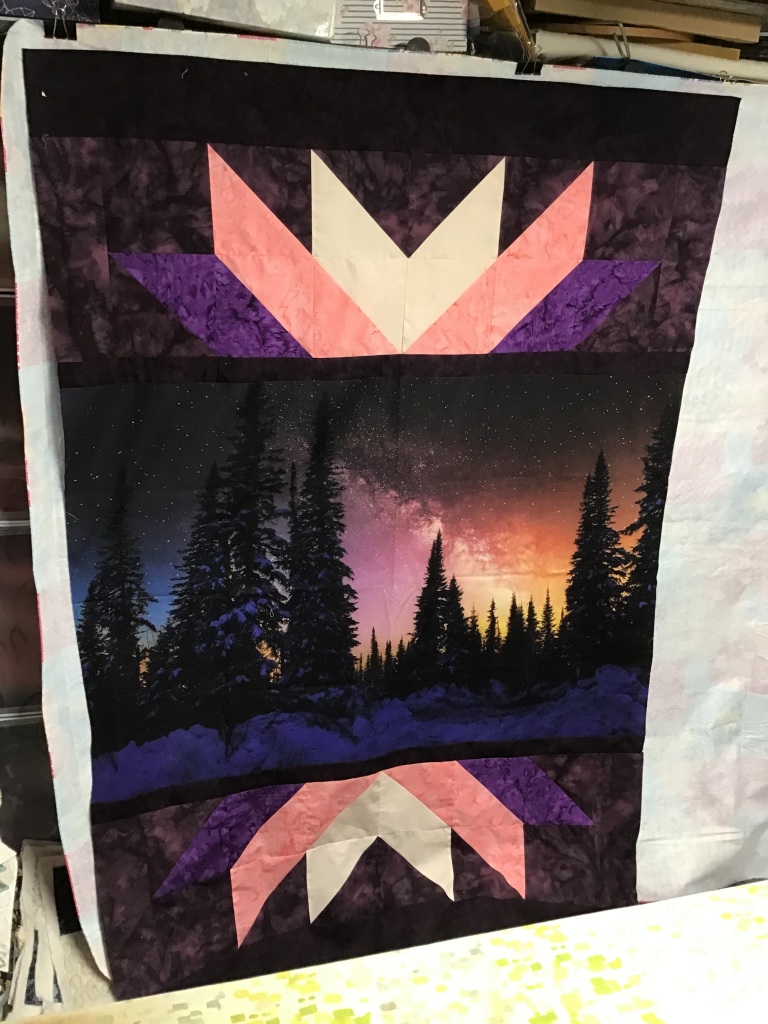
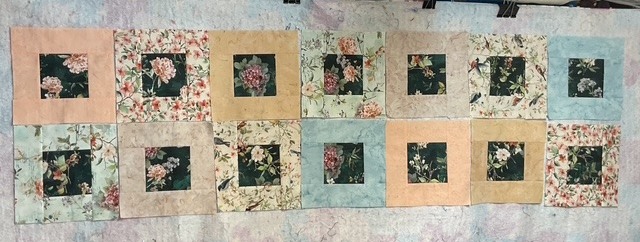
10. Next up is putting my blocks up on my design wall so I can rearrange them. Here’s a few photos showing how I’m moving things around. Sometimes this step takes more time than I’d like, but it is a really important one because nobody wants a visually lopsided quilt.
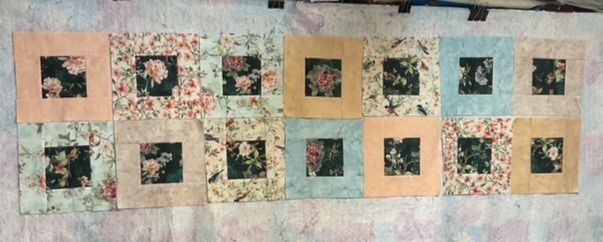
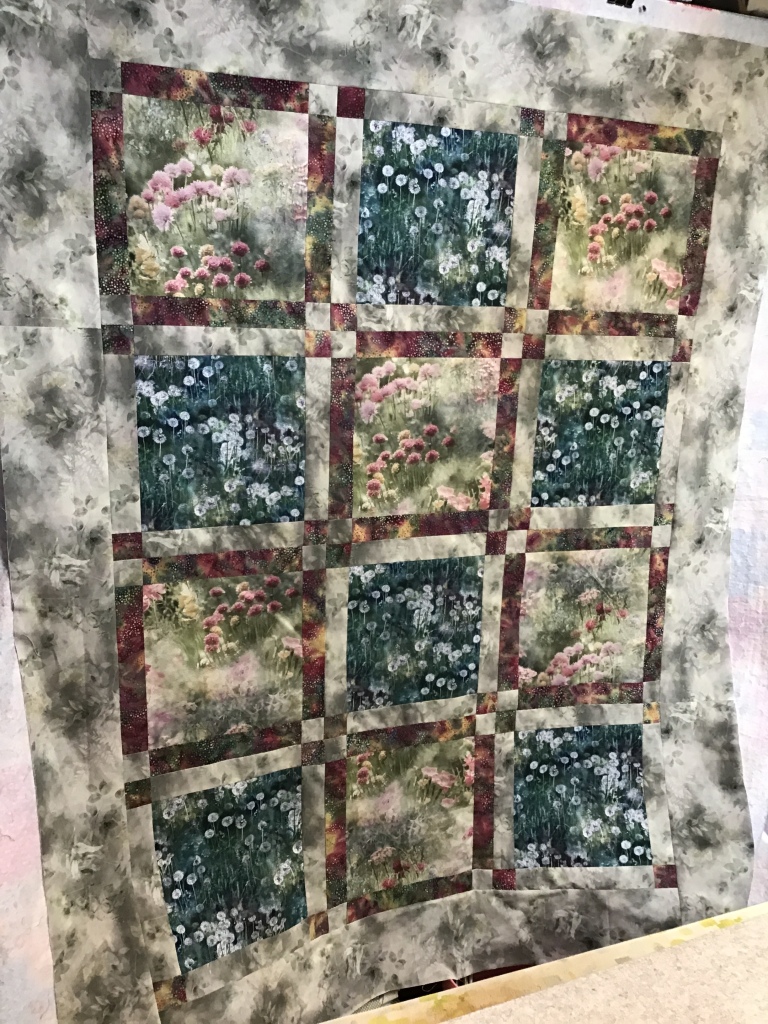
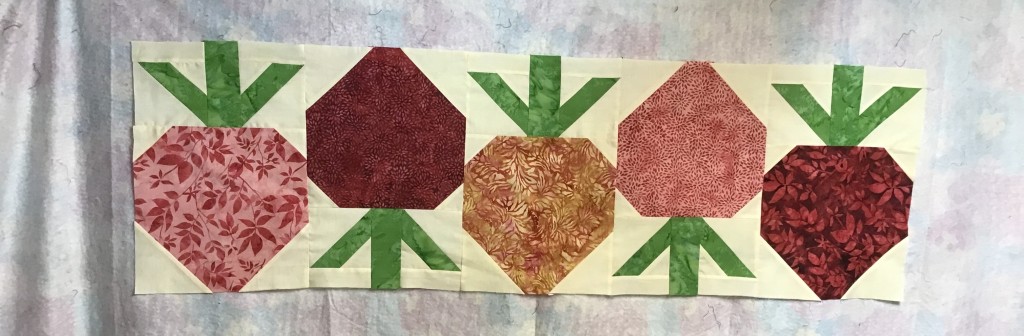
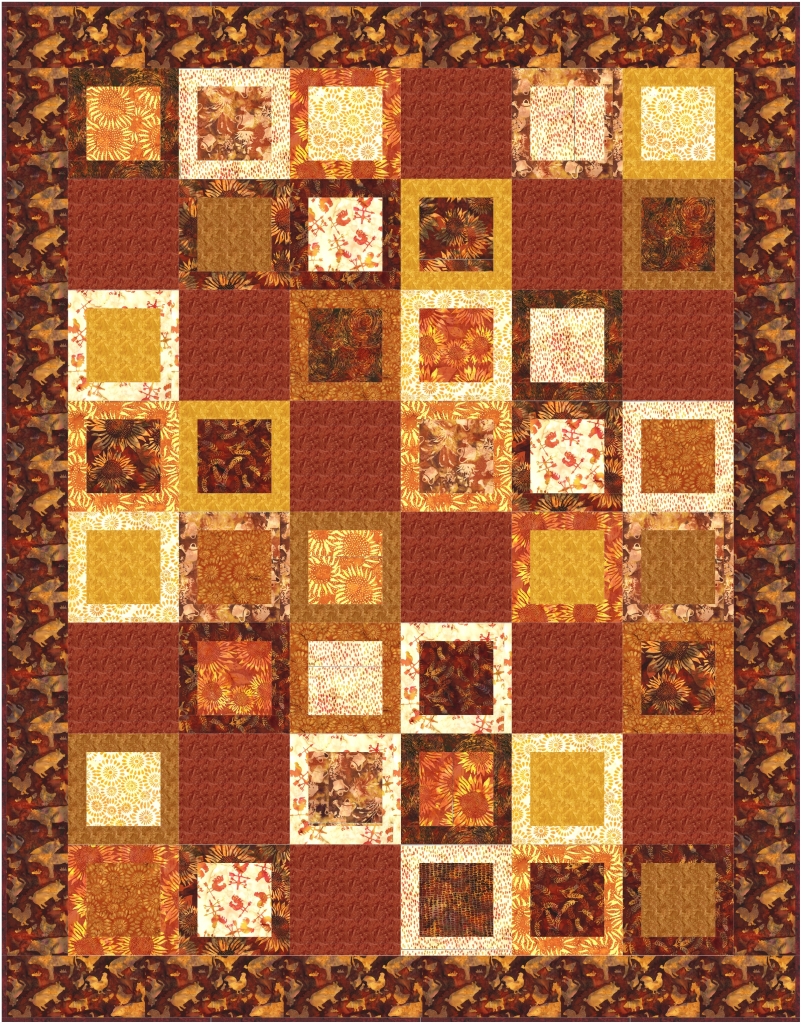
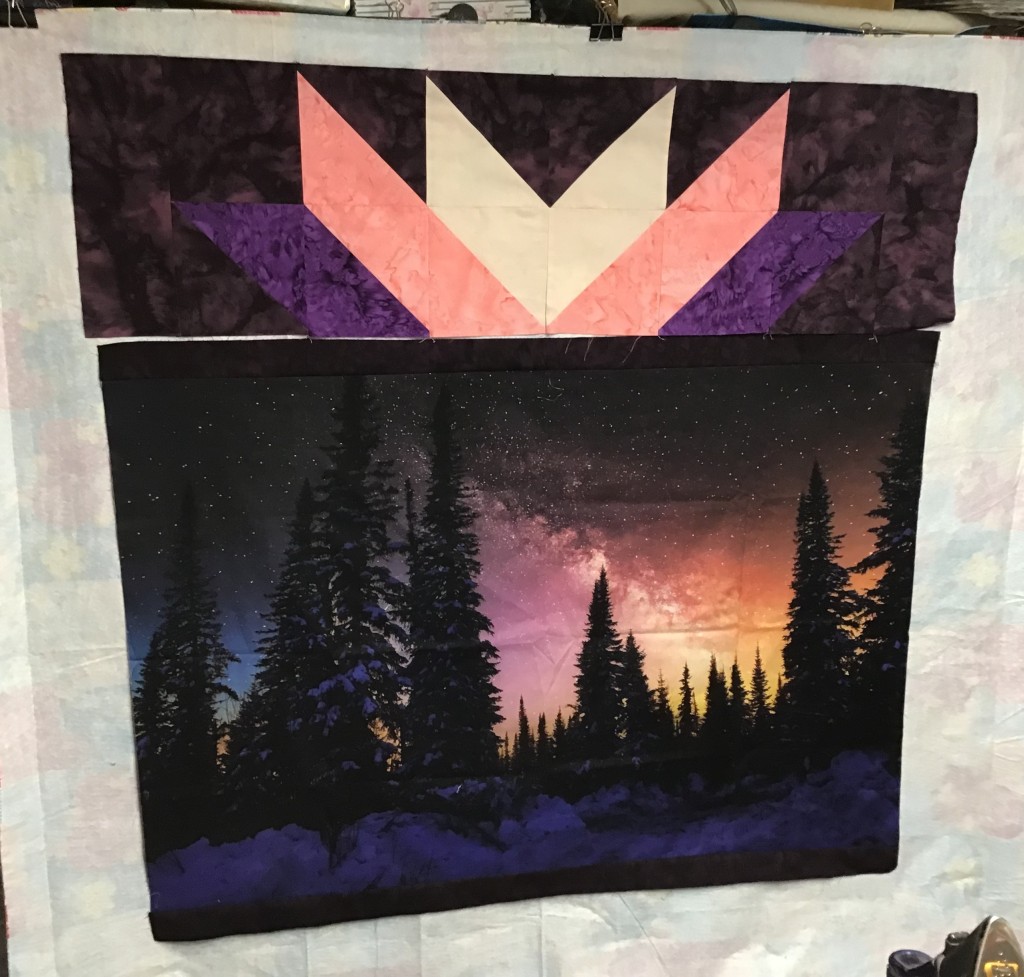
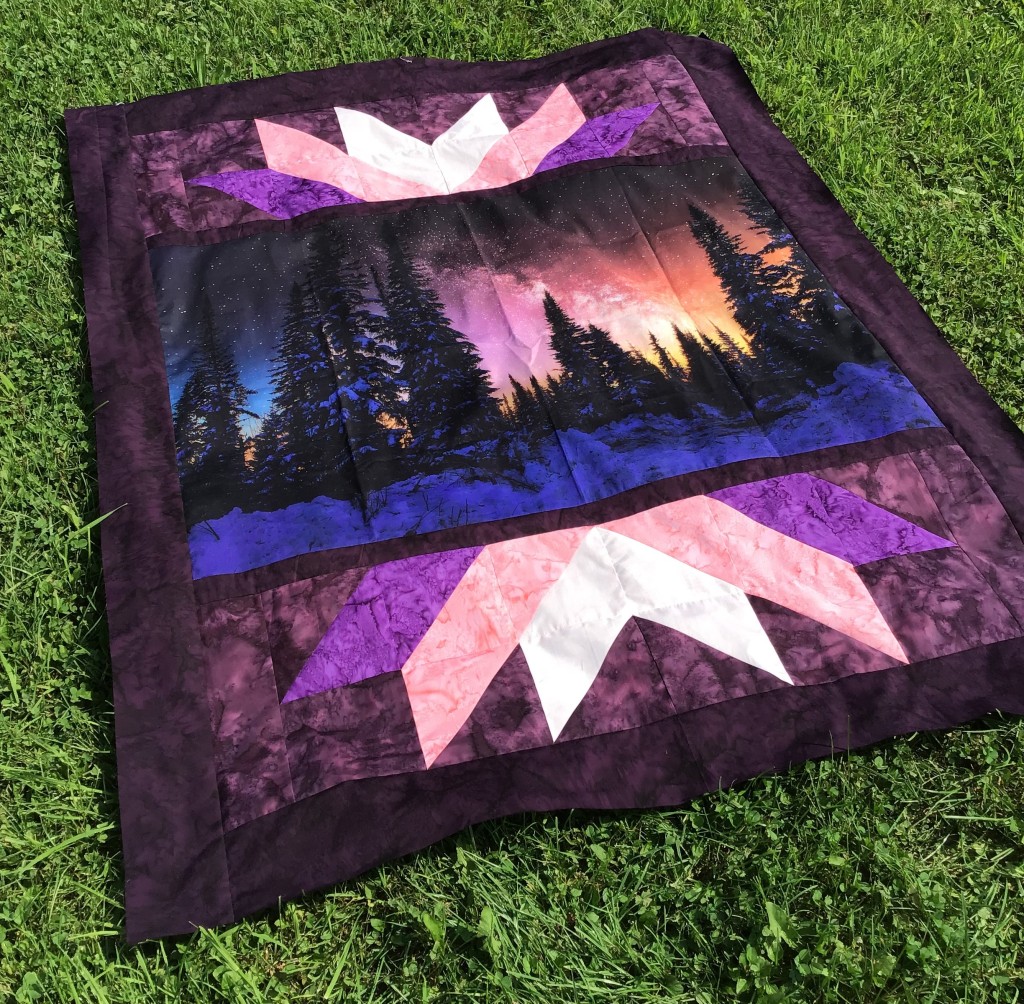
11. Here’s the arrangement I decided upon. Then it was back to the sewing machine to sew the blocks together. Next up with be layering, quilting, adding a label, and binding…….sometime.
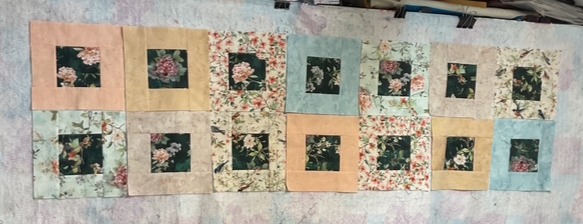
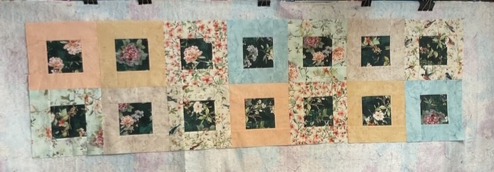
I really like how it turned out, don’t you? So soft and fresh. I can’t wait for the fabric to be available in quilt shops come September 2026.
Your homework for the next couple weeks is to decide whether you want to join me in a Spring 6 Quilts in 6 Weeks Challenge. Drop me an email (tricia@villarosadesigns.com) if you want in. I’ll post more info next week.
Let’s get quilting and finishing together! YEAH!
See you right here next week for another Spring into Spring tutorial.
Sew. Laugh. Sew Some More. Repeat.
Always,
Tricia @ VRD