
Hello Quilty Friends!
Happy Thursday to you!
It’s summer time and the living is easy! After last week’s unusual heatwave here in NW PA, this week has been delightfully pleasant! I’ve enjoyed some quality time on the back porch hanging out with my pup, Bailly, and watching our local eagles. Breakfast on the porch? Yup! Lunch on the porch? Double yup!
As I’ve shown in photos before, the little valley where I live, tucked into the foothills of the Allegheny Mountains, truly is a little slice of paradise.


I hope you are able to slow down your pace a smidge in order to enjoy nature, too.
I’ve also been getting in some much-needed sewing as well. WHEW! I am so relieved that crazy has settled down a little bit for me in recent weeks! You’ll see some of my industriousness when the new July Rose Card patterns are revealed!
In the meantime, let’s get going on this week’s summer tutorial — Angel Face.
Angle Face VRD Quilt Tutorial
I’ve been a big fan of Villa Rosa Designs Rose Cards since my first Quilt Market in 2010 when I first met the amazing Pat Fryer, but Angel Face was one of the very first VRD patterns I’d seen in one of my local quilt shops way back when as they used it as the pattern for their beginner quilting series. Funny how little memory nuggets resurface, isn’t it???
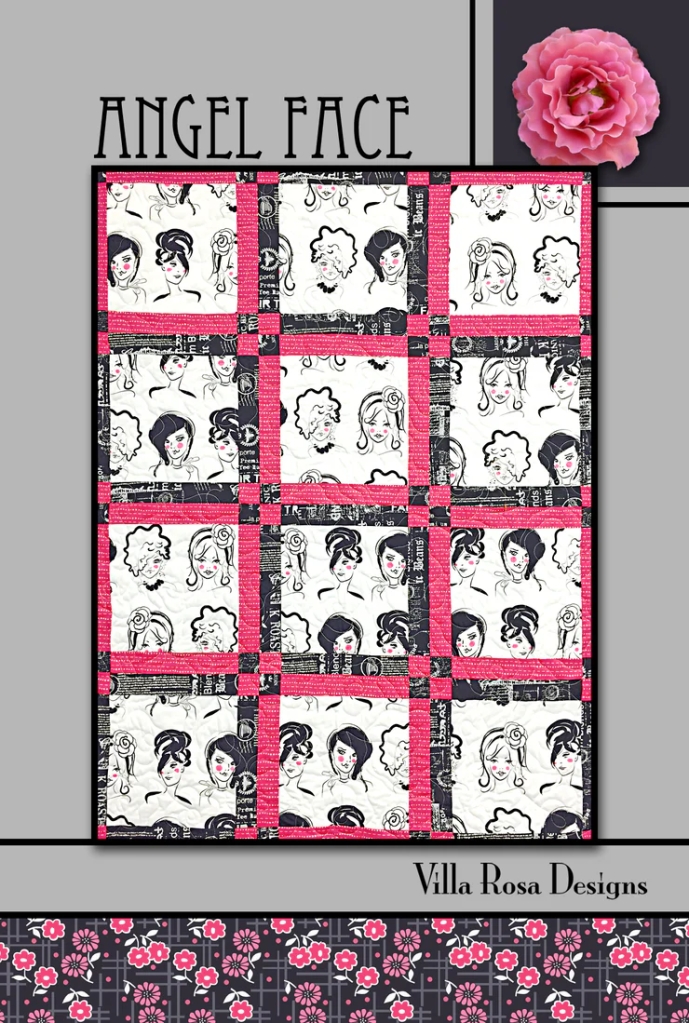
You can find the Angel Face Print Pattern HERE or the Digital Pattern HERE.
Sew, let’s get this tutorial part started!!
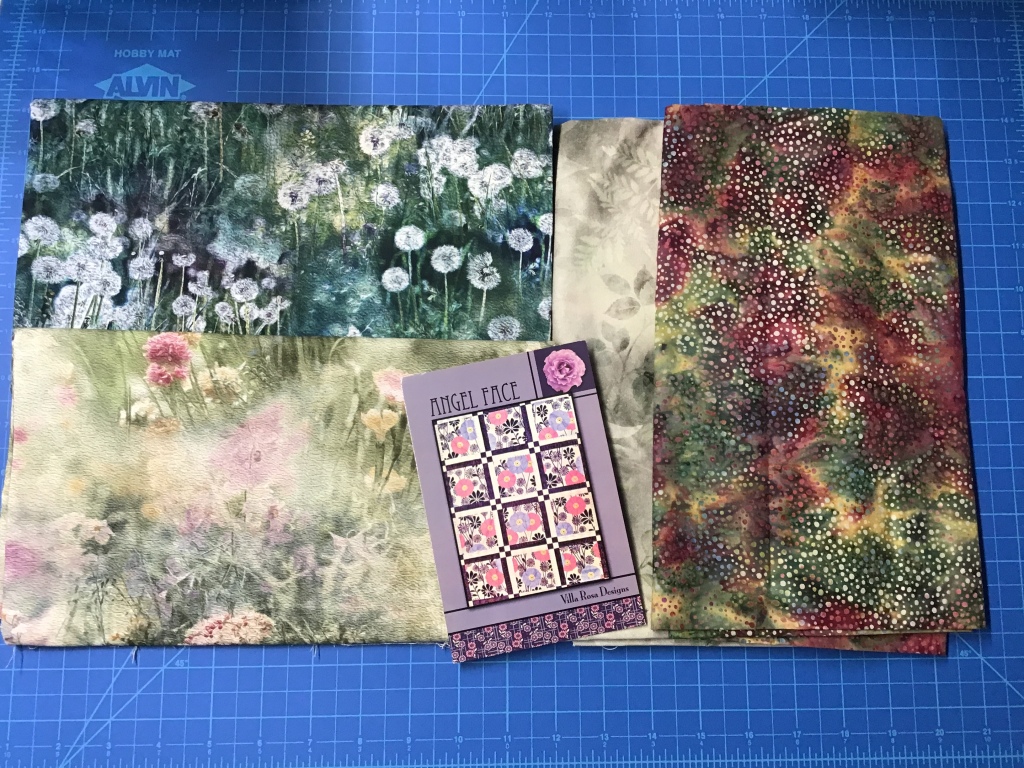
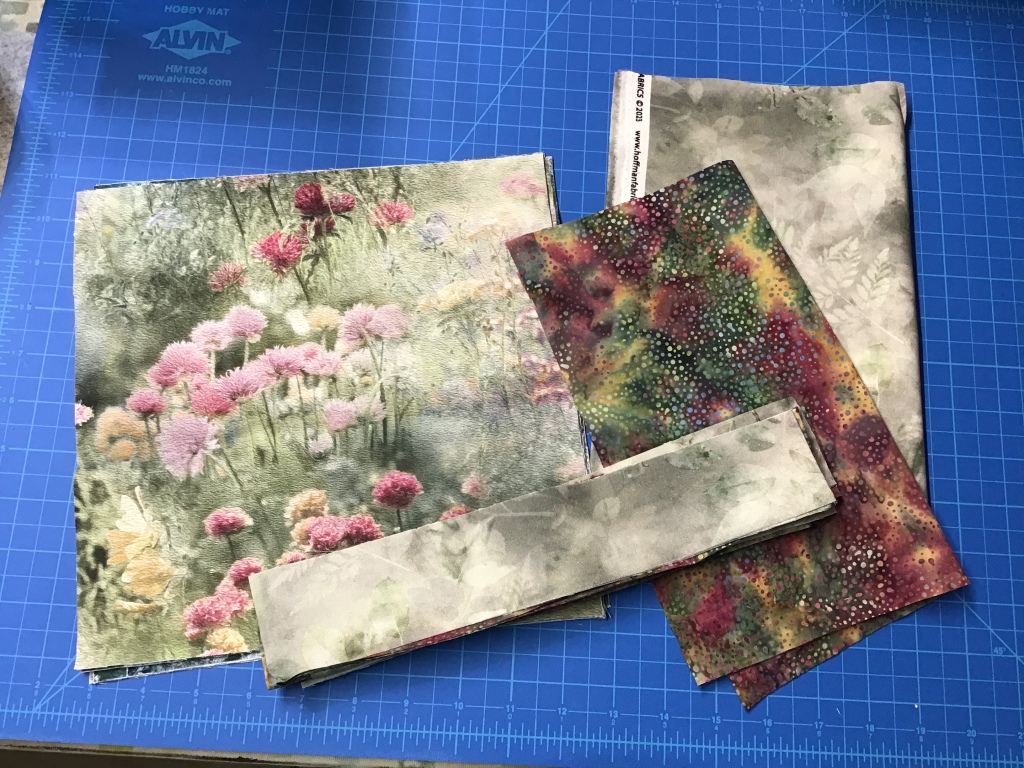
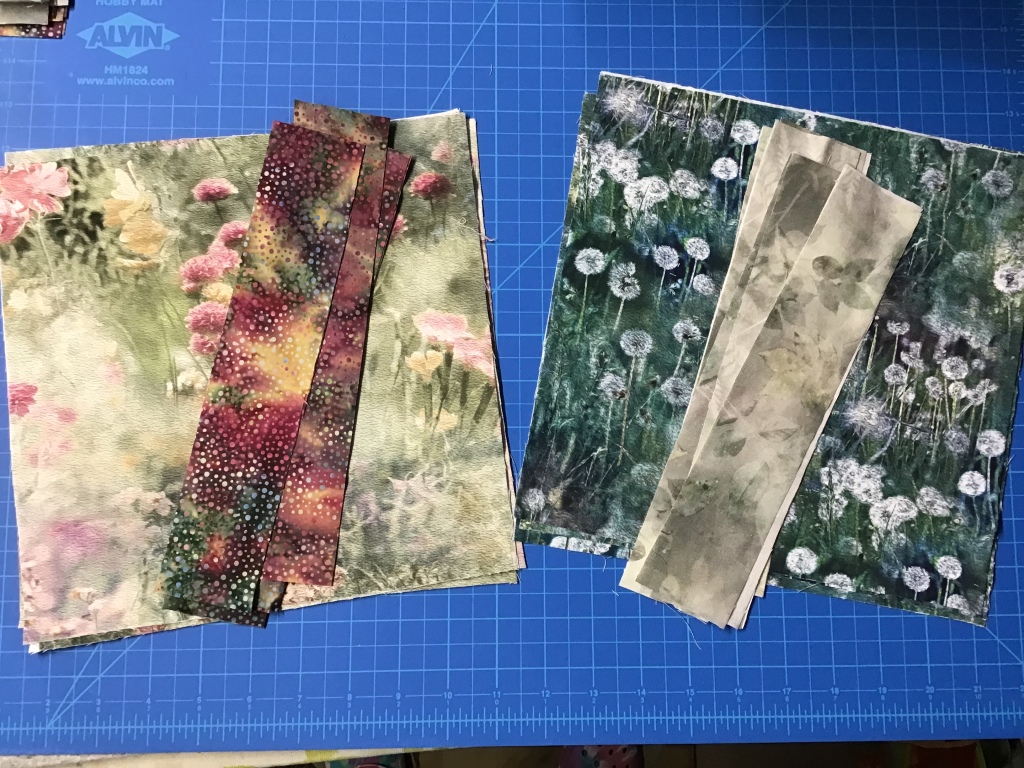
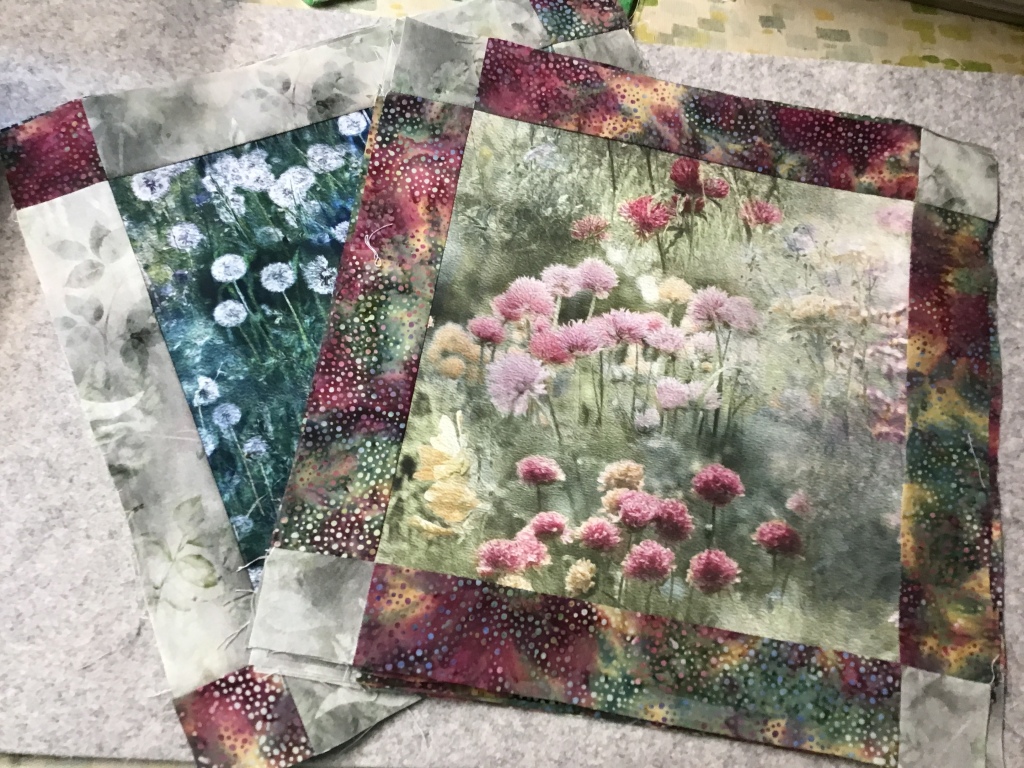
Today I’m using fabric from the Dandelion Wishes digital collection and an 885 Dot Batik companion from our quilting pal, Hoffman. Love, love, love these fabrics — the colors are so so soft and gentle. There are 2 colorways — green and pink — and I used a little of both for this fun beginner quilt project.
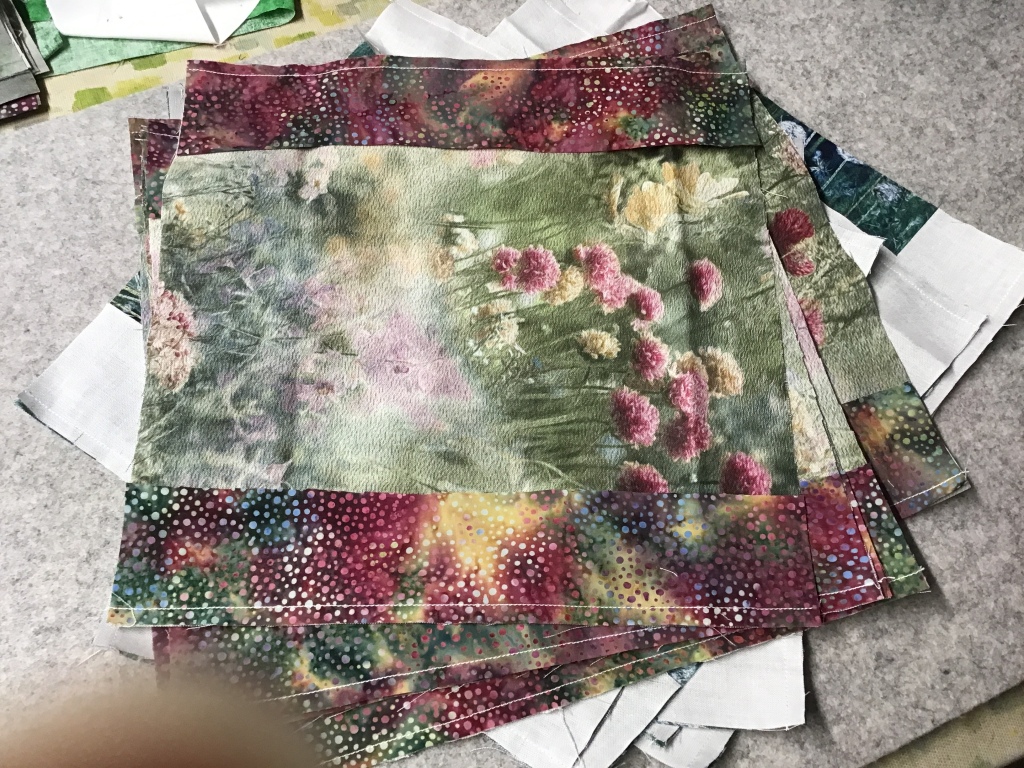
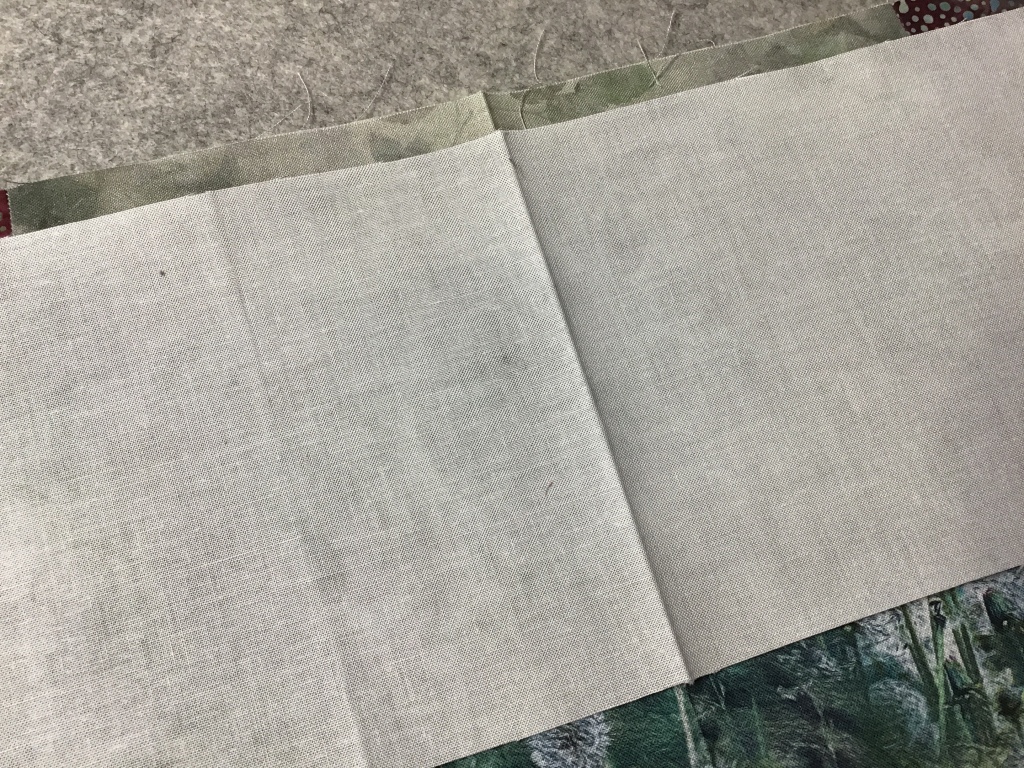
Heads up! I did make a slight change to the pattern instructions. The pattern calls for a single main print, but I went with and alternated the 2 prints you see on the left side of the photo because I just couldn’t decide between them. Big surprise, there, huh?
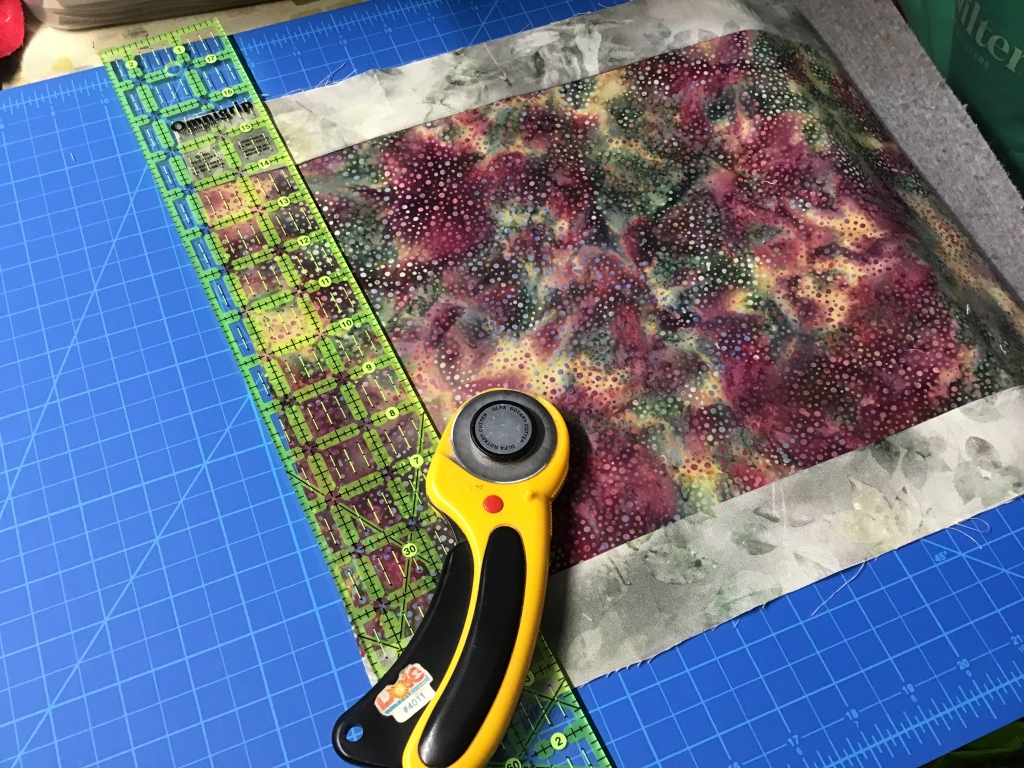
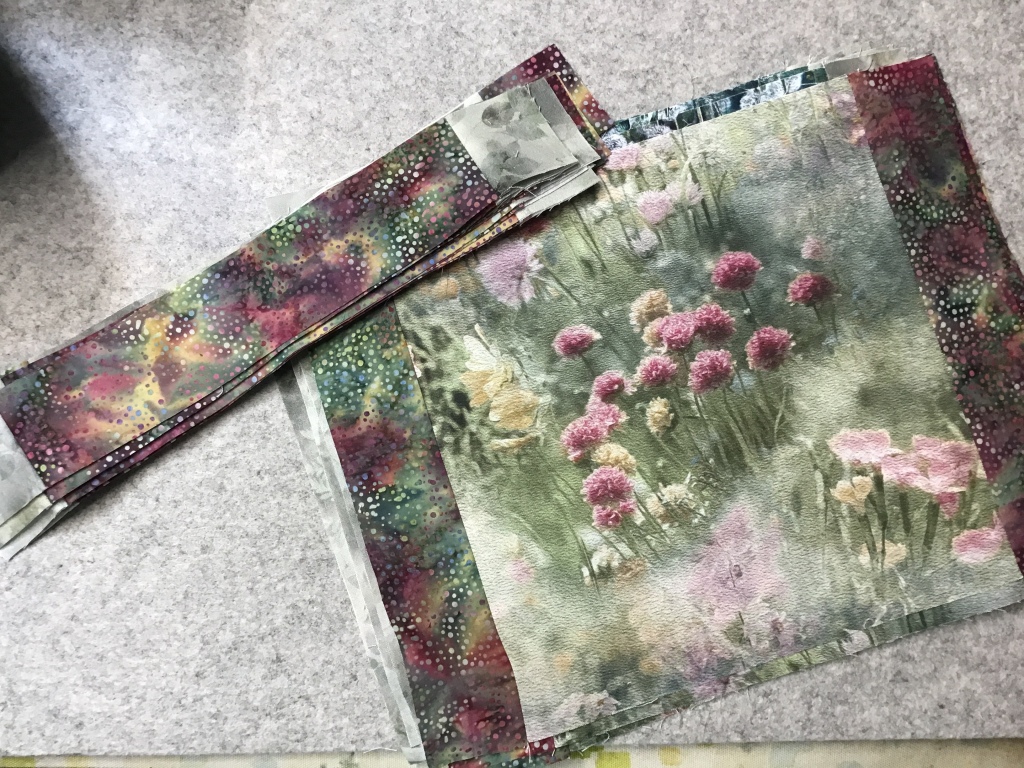
First up is cutting out all the pieces, which doesn’t take because we’re going to do some strip sets, so no little pieces. Easy Piezy!
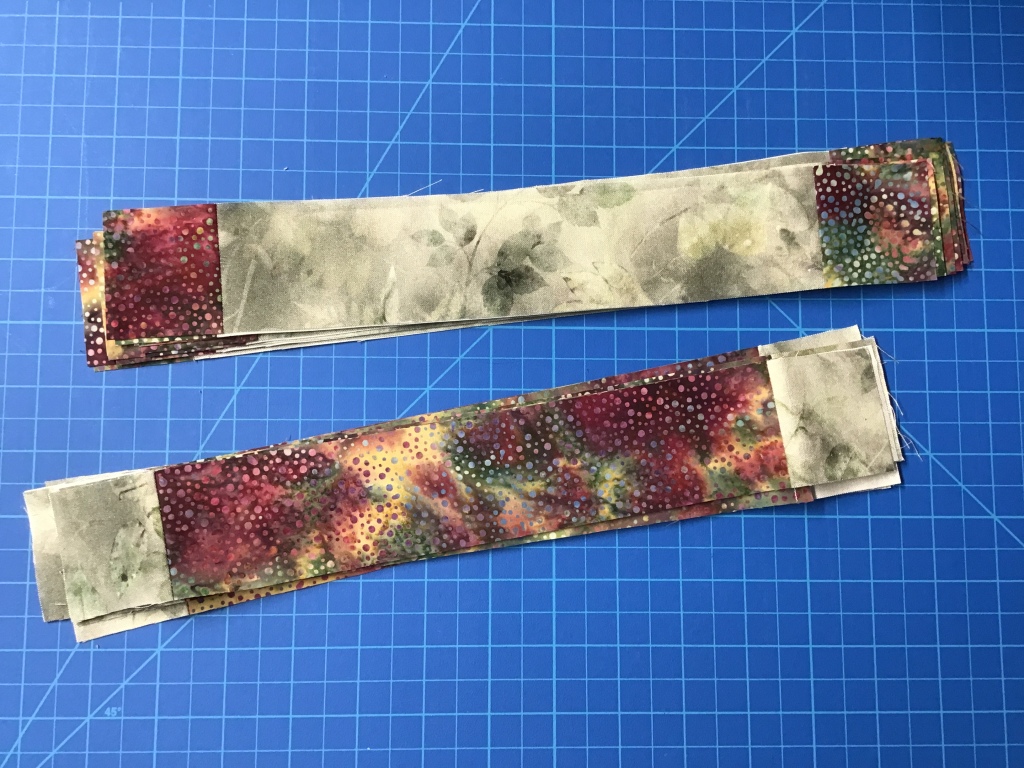
Let’s sew a couple strip sets together. Press the seams towards the narrow strips. Then we need to subcut our strip sets into units. Bet you can do this with both eyes closed, right?
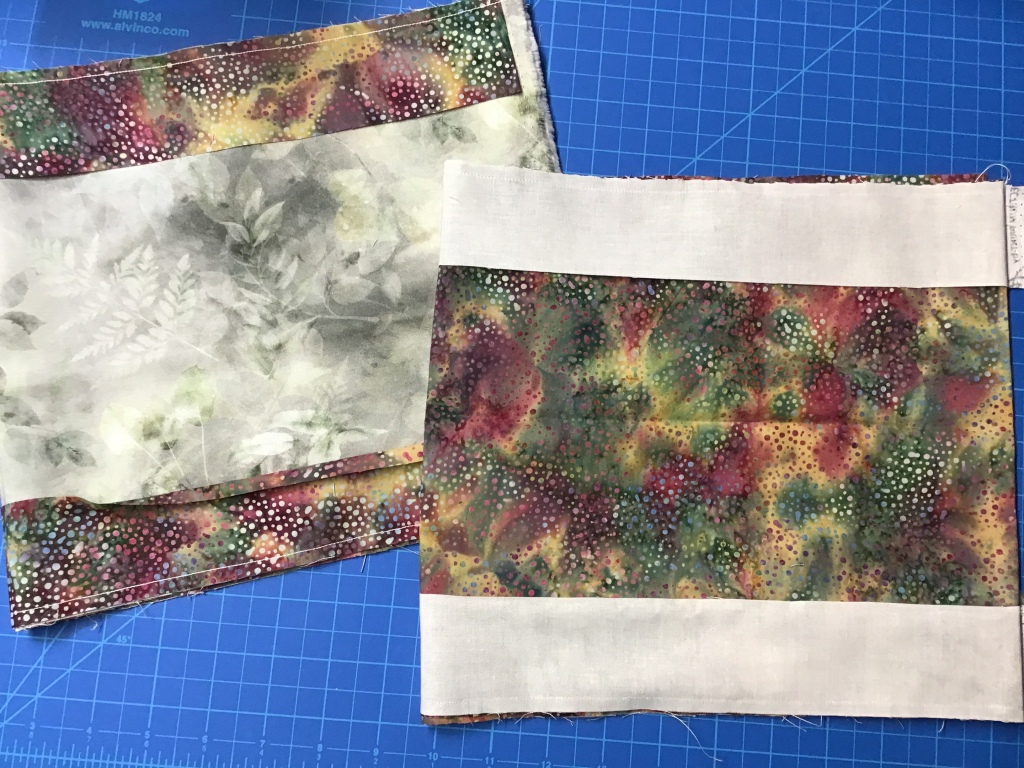
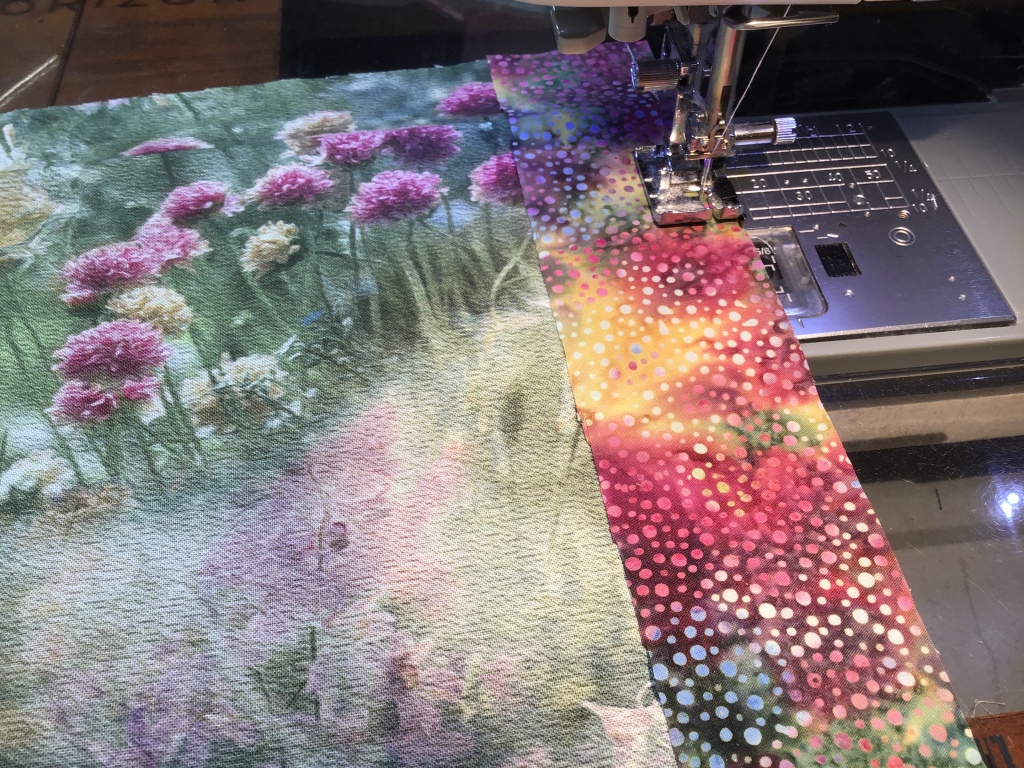
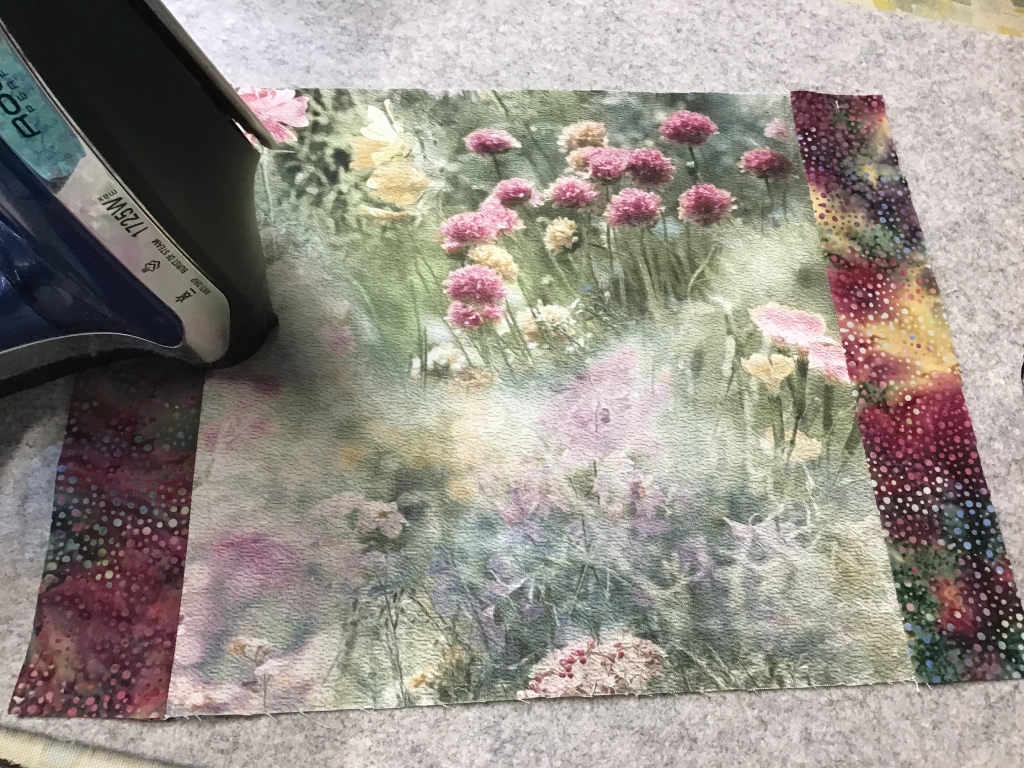
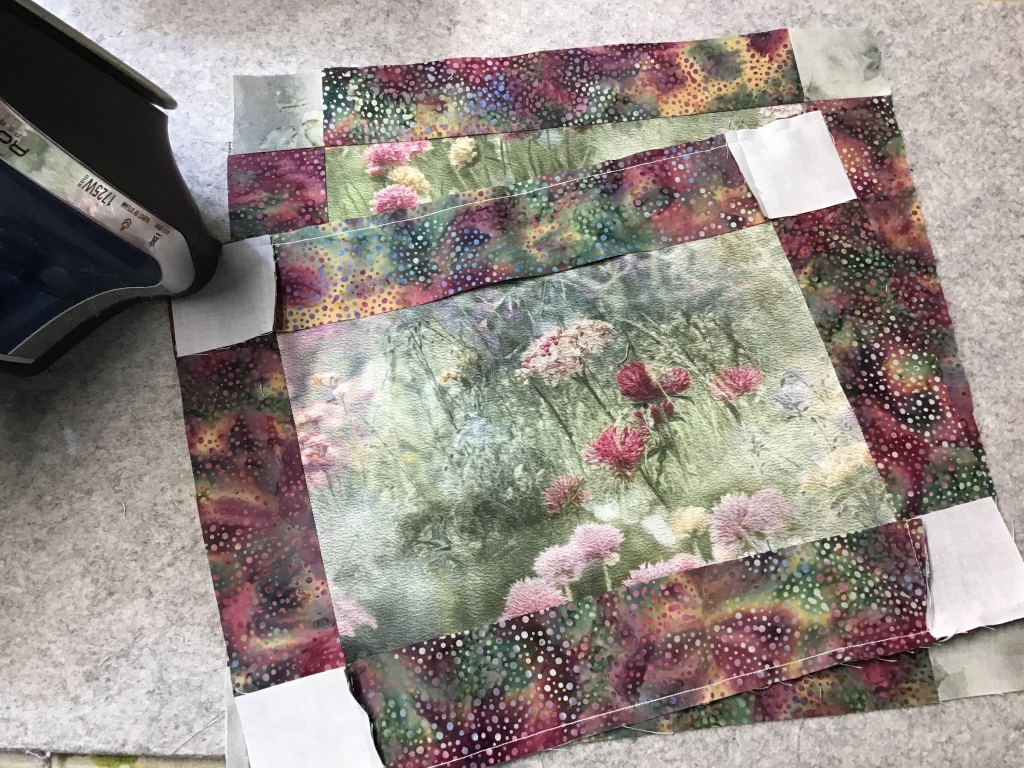
Our next step is to sew the unpieced strips to opposite sides of our main print (or prints) squares.
Now that our strips are sewn to our squares, let’s give them a nice press. Press your seams towards the center square.

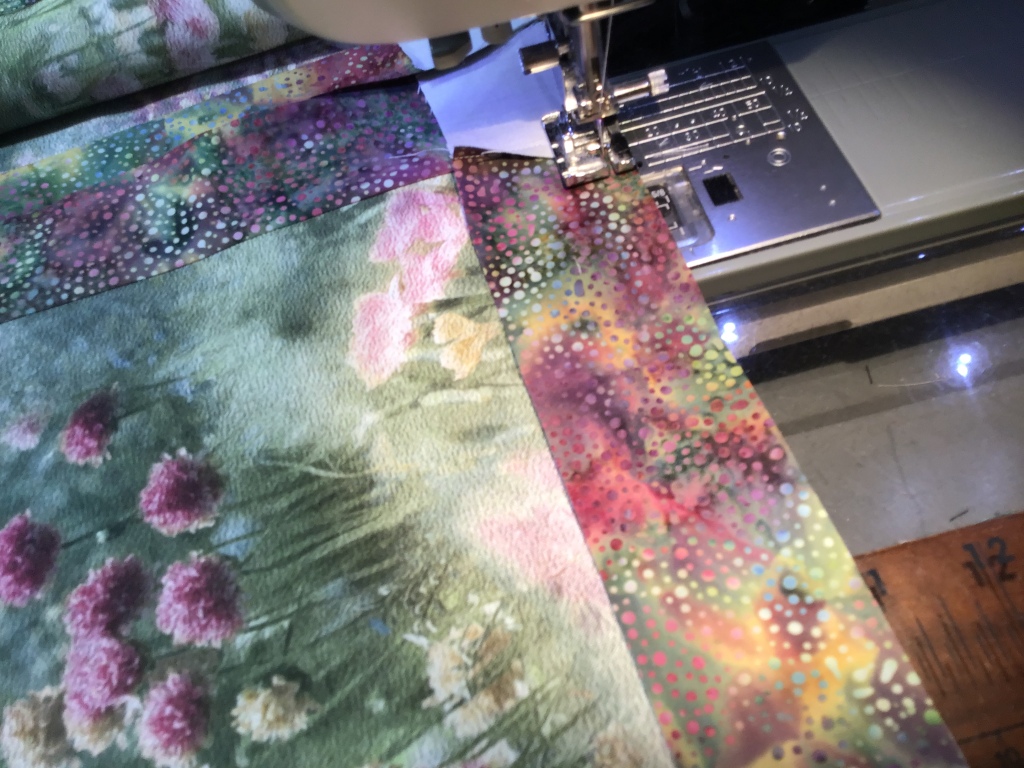
Remember those pieced units we cut from our strip sets? It’s time to sew them to the other 2 sides of the squares. There is a teeny bit of matching seams on the ends, but if you pressed the way I suggested above, the seams will nestle together nicely. Pin if you need to and just take your time.
Good to go! Time to give them a little press.
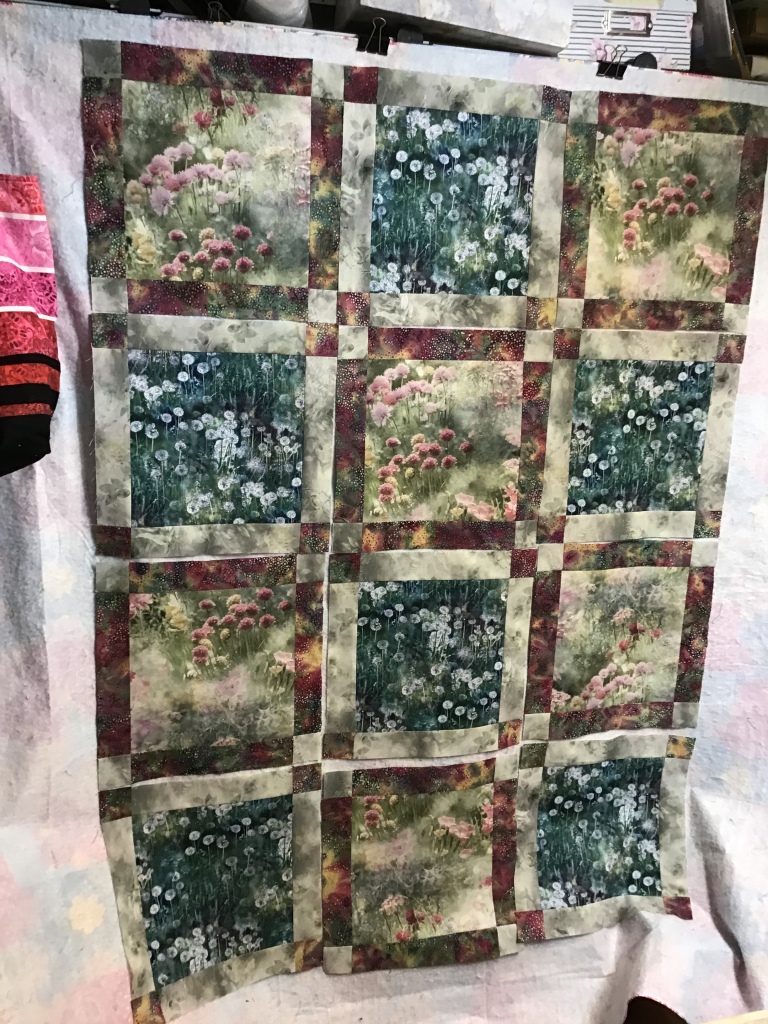
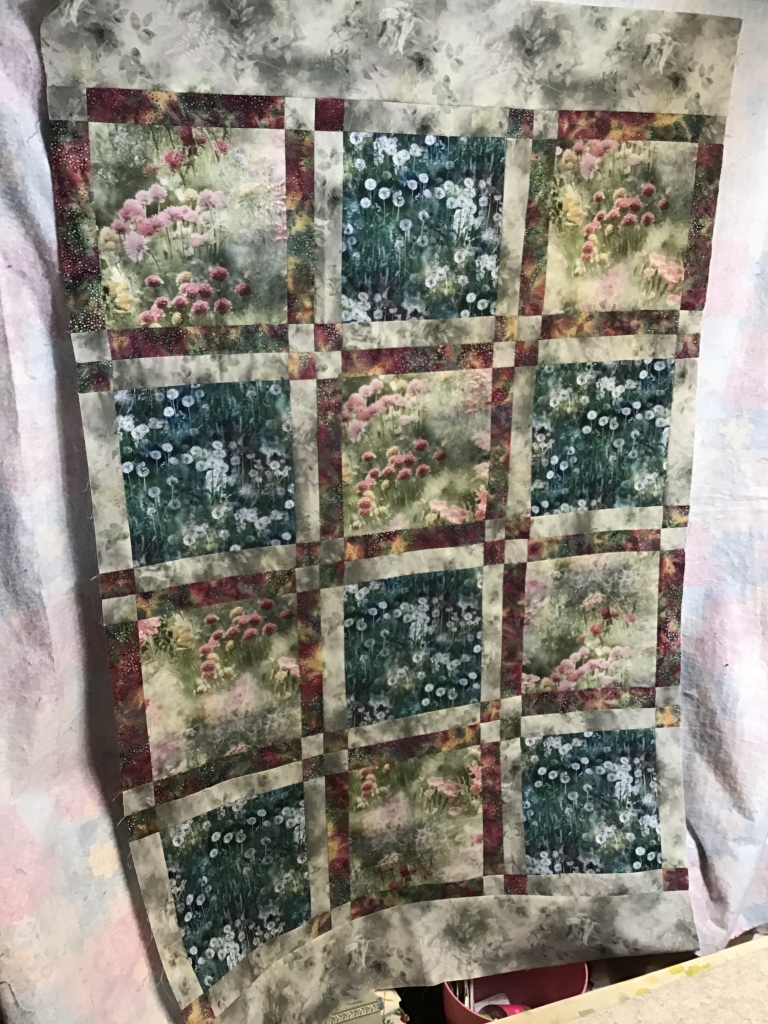
My next step because I used 2 different main prints is to slap my blocks up on my design wall so I can make sure to alternate the 2 blocks. I really like how it looks with 2 fabrics, don’t you? You could even use 12 different fabrics for the squares if you wanted to. Angel Face is a very versatile pattern.
Now let’s sew the blocks together into a quilt top. Remember, that there is some fidgety seam matching when you sew the blocks together, so pin if you need to and go slowly. I promise you, though, that Angel Face goes together super fast!

You can stop here and call your top finished. This size makes a wonderful baby quilt! Layer, quilt, lable, and bind.
OR, you can add a border to make Angel Face the perfect size for a throw quilt.
I’m going to add a border. In fact, I’m using the lighter of the 2 accent fabrics as my border. I think it will make the mottled purple accent strips really pop!

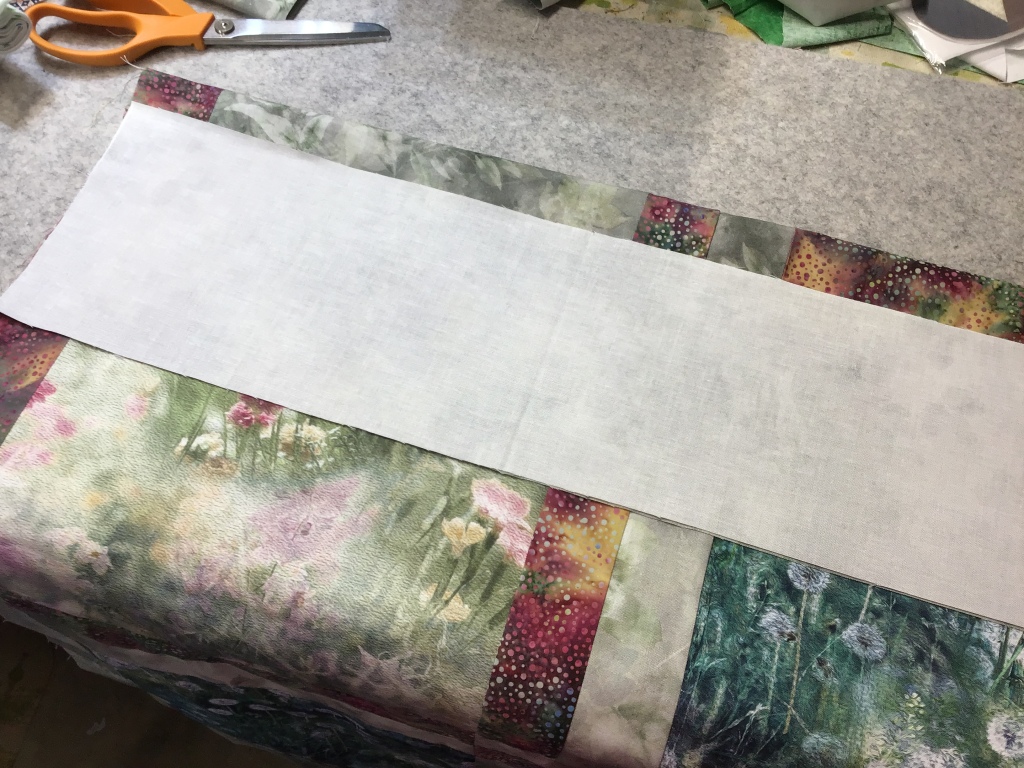
Go ahead and cut out your border strips for the quilt. I chose to add the top and bottom borders on first because the width of the quilt top is less than the width of my fabric, so I won’t have to piece the top and bottom borders.
To measure my top and bottom border strips for cutting, I found the center of my quilt vertically (up and down) and I line up the end of my 2 strips and then I match them up to the edge of the quilt. I pin everything together to keep the 2 borders and the quilt lined up. Then I smooth the strips across the width of the quilt center and cut them to match the width of the quilt top. No more measuring with a measuring tape or ruler for me when cutting border strips.
Then I find and make creases at the centers of the top and bottom borders and the centers of the top and bottom of the quilt. This little step makes it really easy to match up the centers to assist in keeping my borders nice and square instead of getting all crazy and wavy.
Match up the center creases and pin. Next match the ends of the border strips to the ends of the quilt. Pin.
Sew the borders to the top and bottom of the quilt.
For the side borders, you’ll need to piece the strips. Then measure and cut the side border strips. Crease the centers of the strips and the sides of the quilt. Match them up and pin. Match up the ends of the borders and quilt. Pin some more. Finally, sew the side borders to the quilt.
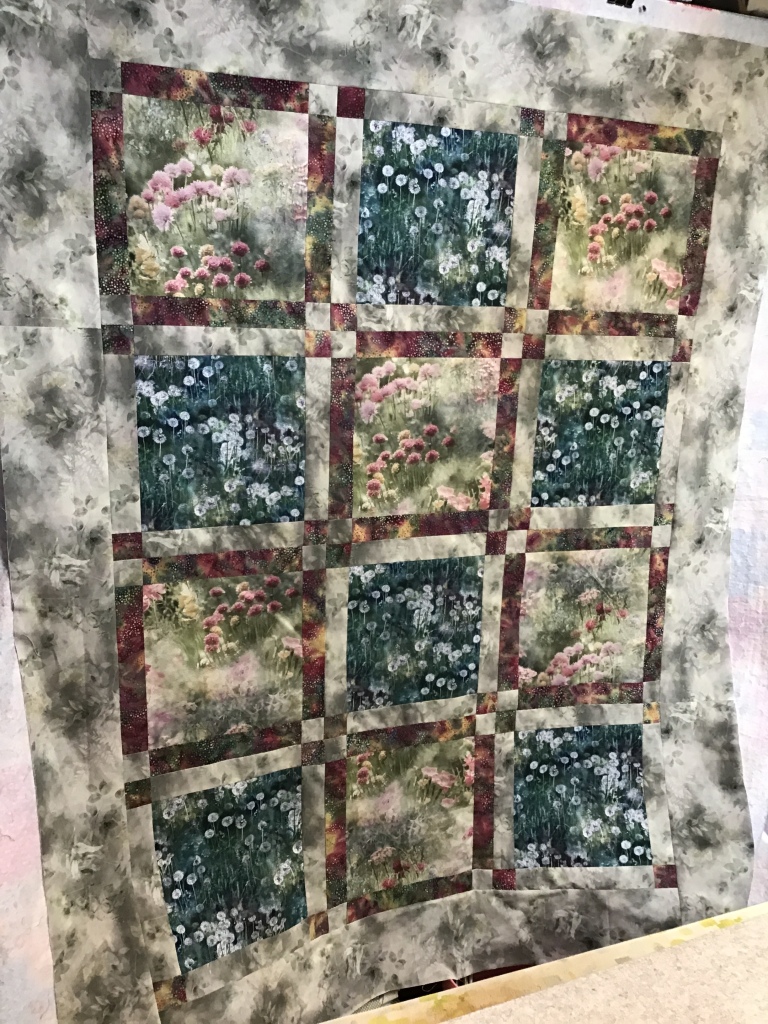
Isn’t it a really soft and pretty quilt???
Here’s a “beauty” shot on my back porch……….

I hope you enjoyed today’s tutorial. Angel Face is a wonderful project. Perfect for a beginner, yet fun and versatile for a more experienced quilter.
Don’t forget to stop and enjoy summer before it’s gone.
Until next week —
Sew. Laugh. RELAX. Repeat.
Always,
Tricia @ VRD

oh I love those beautiful, watercolor prints and 2 is always better than one!! A dreamy throw for your very pastoral view. A perfect place to plan your next project. Enjoy your summer❤️
LikeLike
Angel Face is a perfect pattern for summer sewing, and your quilt top is beautiful!! Nice to see how it turns out using two focus fabrics. I’ve got that pattern on my wish list and you convinced me to add what I own, ha!! Enjoy the holiday week ahead as we wait all year long for summertime fun!!
LikeLike