
Hello Quilty Friends!
Happy Thursday to you!
I hope all of you are having an amazing summer filled with family, fun, sun, and maybe a little bit of quilting and sewing, too! For me, the quilting and sewing has come in little fits and spurts, but never fear – I am still getting my creative groove on very regularly. Which is a good thing because I tend to get cranky when I haven’t spent time doing creative things for a while. Are you like this too?
We are now finishing Week 4 of our Small Project Summer Challenge and I’m thrilled to say that participation has been right around 50%. That is really terrific. I wasn’t sure what people would think of our smaller projects, but folks seem to be having fun and enjoying them. I’ve had many lovely comments about how fun the projects are and if it hadn’t been for the challenge, participants might not ever have tried making a particular small project. I’m hoping that next summer, we can do this again and my fingers are crossed that we’ll have even more small project options for you. My question for everyone is:
What kind of small projects would you like to see as VRD Rose Card patterns?
Please keep in mind that our space is limited for instructions, so each project has to fit on the back of a 4″ x 6″ postcard. This is not always an easy task and sometimes we have to get creative with our allotted space, which may even include several revisions. But somehow, we always figure it out in the end. It’s definitely a special skill to write a complete project pattern on the back of a postcard along with appropriate diagrams. Big high-five to all of our VRD designers for their creativity and problem-solving skills! Yay you!
Before we get started on our Week 4 Challenge, we can’t forget our Week 3 drawing winner!
Week 3 Winner
Big giant ovation for our Week 3 Winner!
Toss some confetti!
Where are those cheerleaders at?
Oh well…..
Congrats to…..
Pat C. of NY
Yay Pat! Well done! Kudos!
Here’s Pat’s version of Louisa Jane:
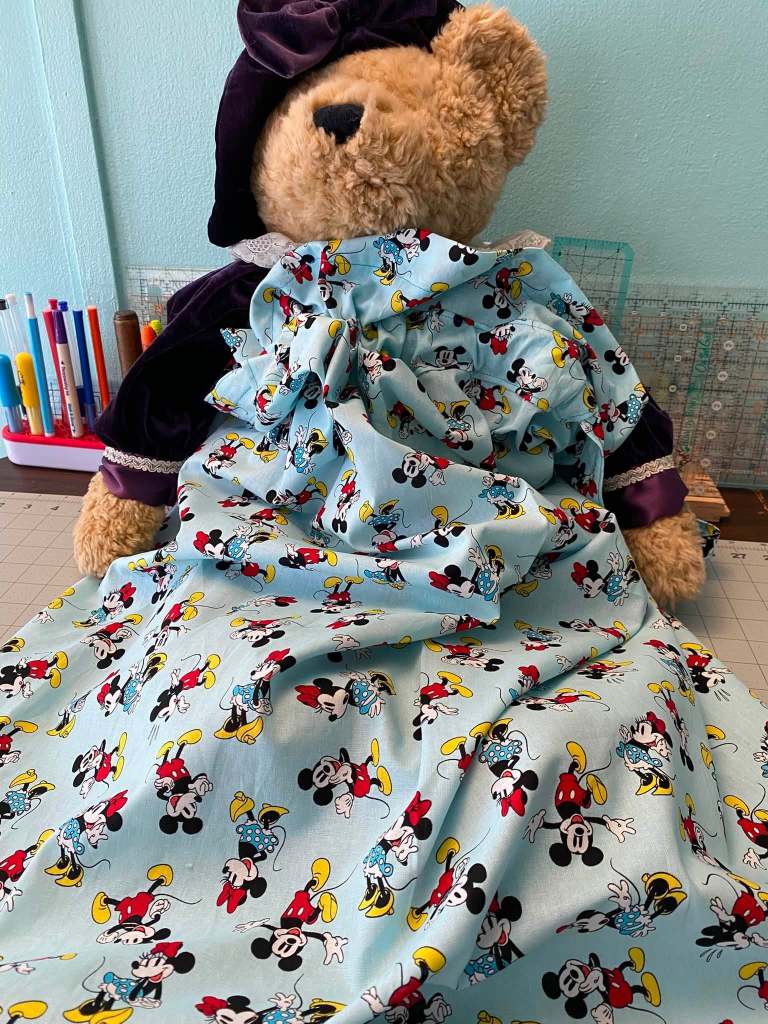
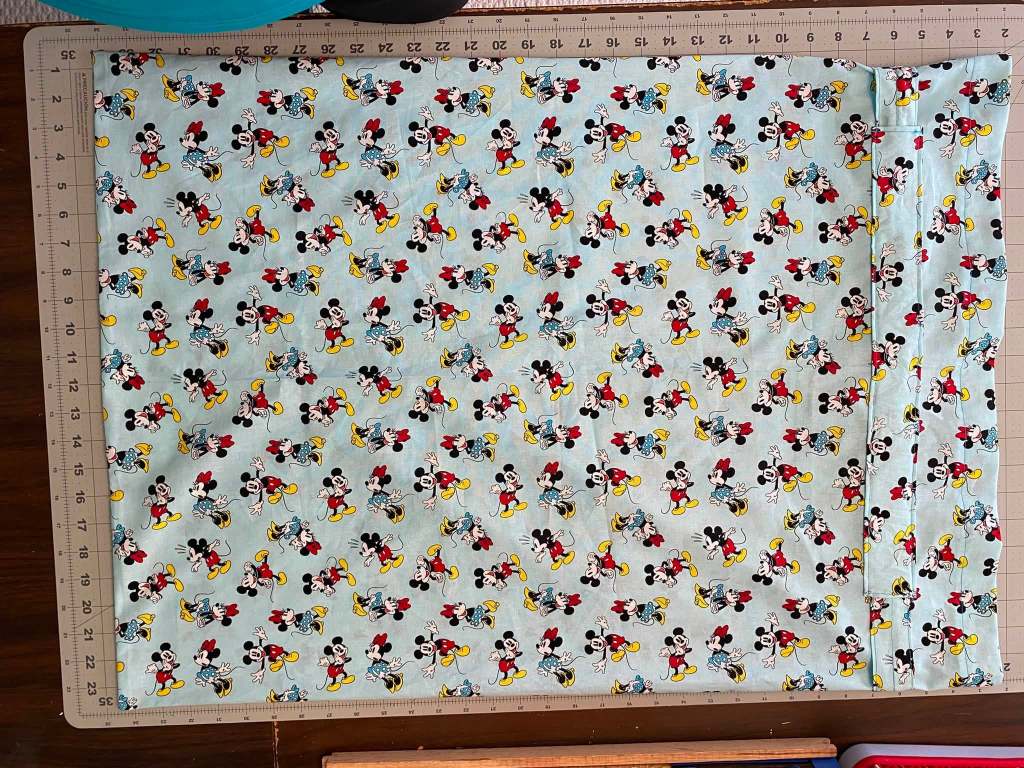
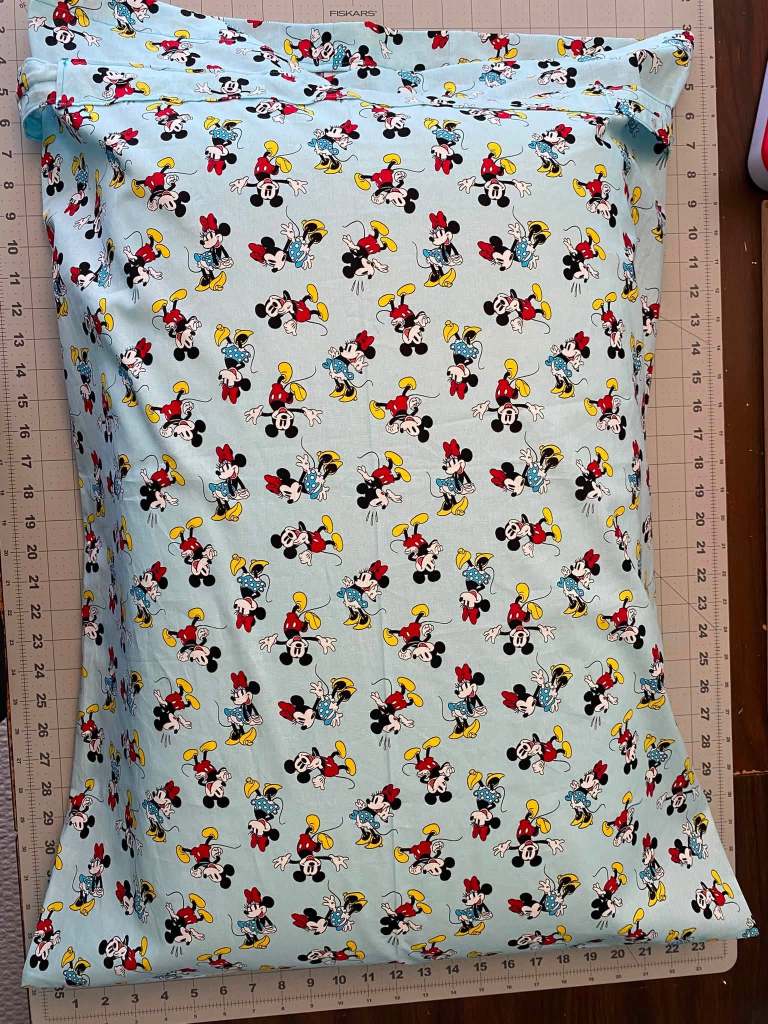
She made it for her granddaughter and the pillowcase doubles as a bag to carry toys and stuffed animals to Grandma’s house! What a wonderful idea, Pat!

You can find the digital pattern HERE or the print pattern HERE
What a cool pillowcase with a secret double life as a laundry or toy bag.
Let’s dive into our Week 4 Challenge next!
Week 4 of the VRD Small Project Summer Challenge
Wow! Hard to believe we’re in Week 4 already. This week’s project is a scarf, but not just any scarf – a VRD scarf. VRD has 2 fun and fast scarves:
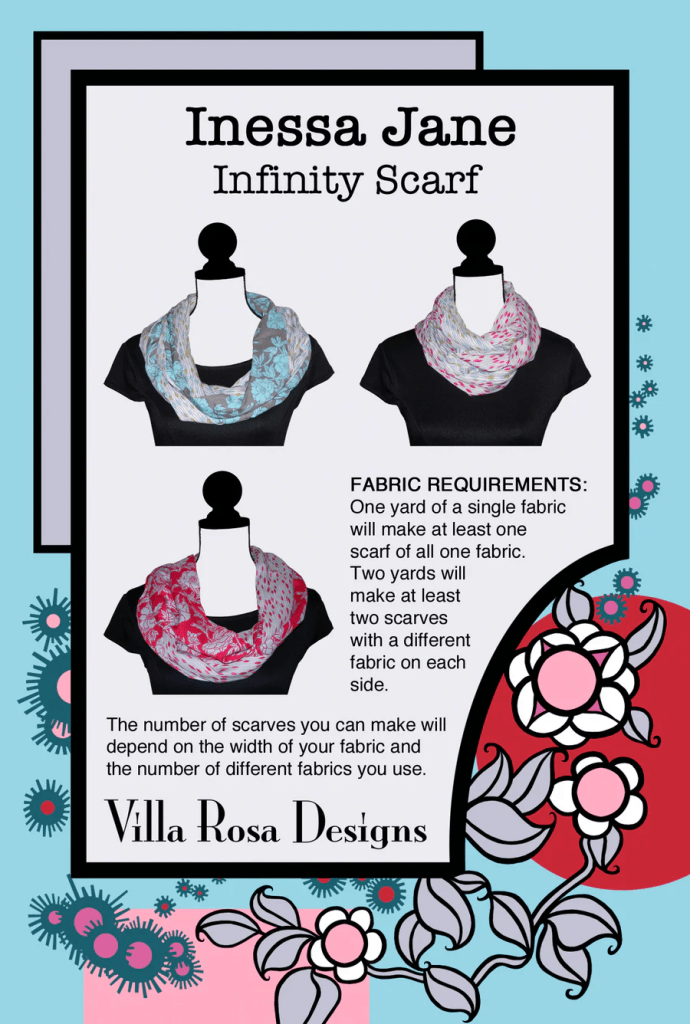
Get your digital pattern HERE or your print pattern HERE
and
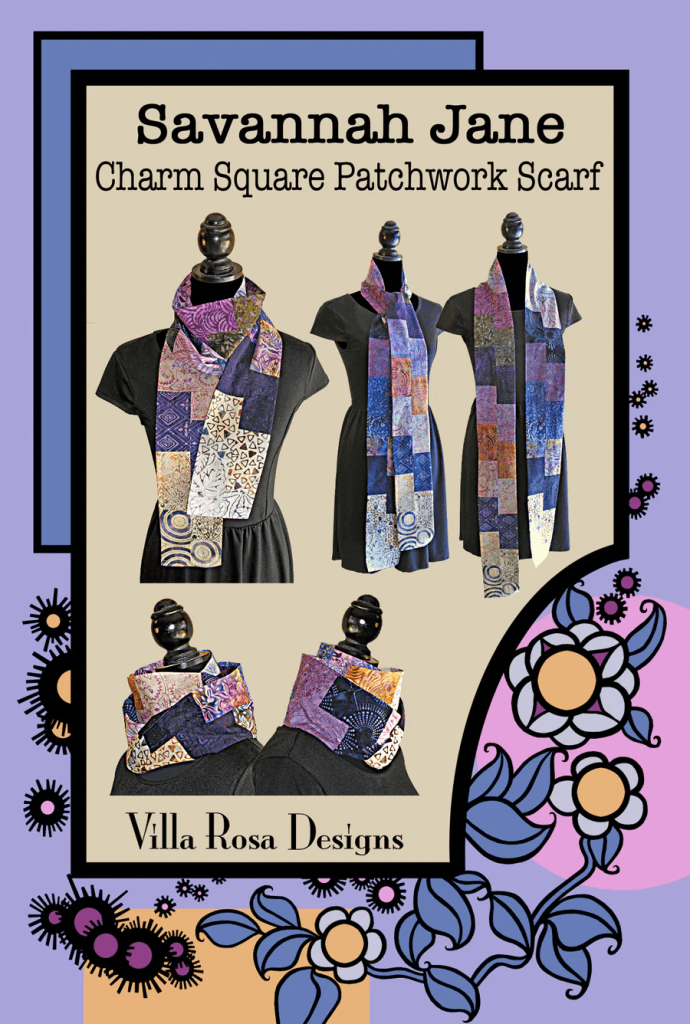
Get your digital pattern HERE or your print pattern HERE
Should you choose to accept the Week 4 scarf challenge, your scarf is due by midnight Friday, July 17th EST.
This blog post will self destruct in 5 seconds……no, not really. I just wanted to write that. LOL!
Do you wanna see my scarf for this week???
Here it is…….I made the Inessa Jane infinity scarf. And here I am modeling it.
I’ve never really worn a lot of scarves except for in the winter here in chilly NW PA, but…..I might reconsider. This scarf turned out great and I think the colors of these Hoffman batiks are so pretty. And funny enough, my blue frames look great with the scarf. LOL!

I thought a tutorial for Inessa Jane would also be nice…….
VRD Inessa Jane Tutorial
Of course, choosing fabrics is pretty much always our first step (and maybe a favorite, too). I picked two coordinating but different batiks for the scarf so it could be worn with the blue side out, the lavender side out, or folded so you could see both sides. Lots of fun options. You could use a single fabric too.
Now I’ll have to learn how to wrap and fold my Inessa Jane Infinity Scarf. You can check out a fun video HERE for 10 different ways to wear your infinity scarf!
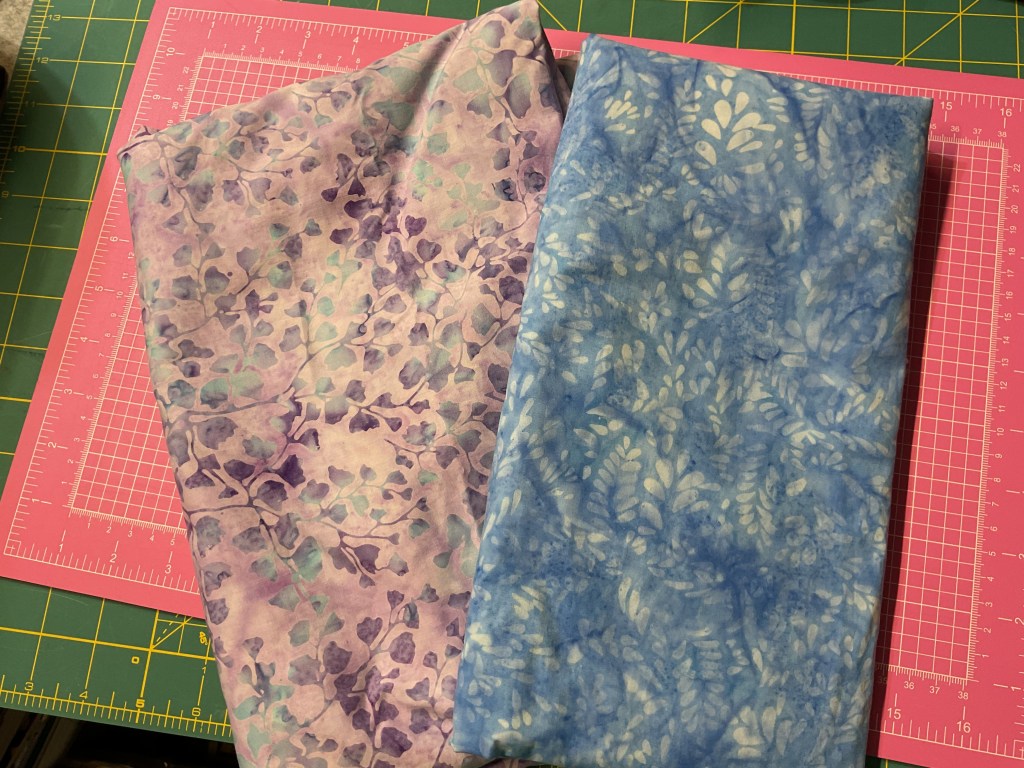
Next I cut my batik strips for the scarf. You can make your scarf longer by adding additional strips, just remember to increase the number of strips for both fabrics.
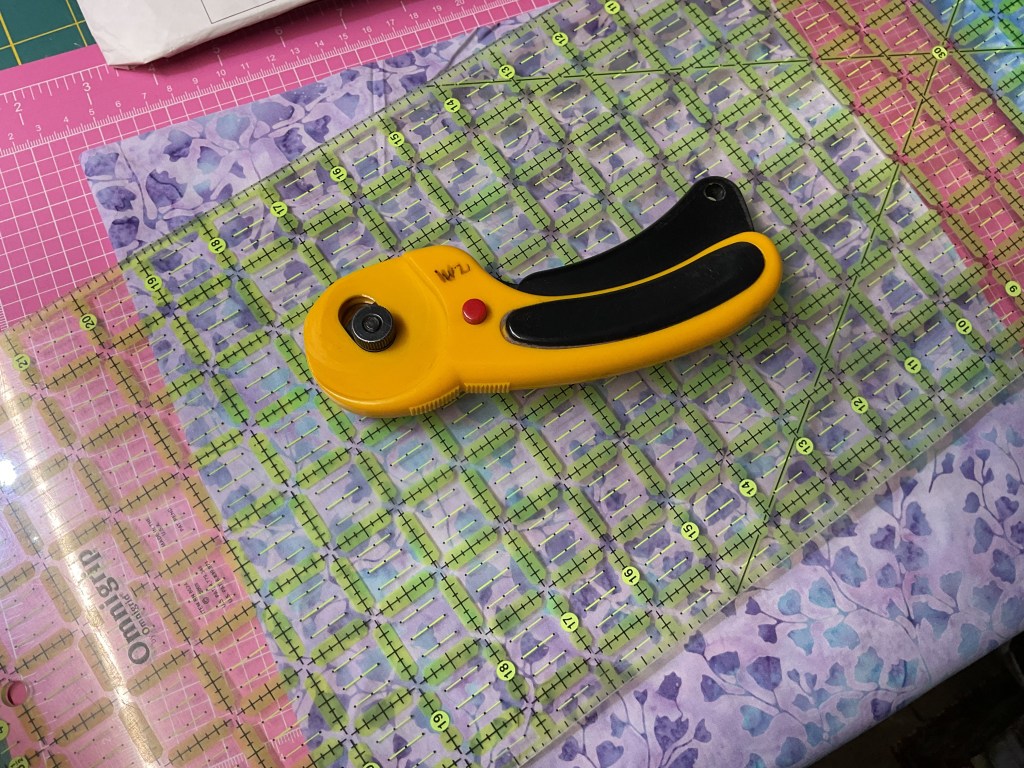

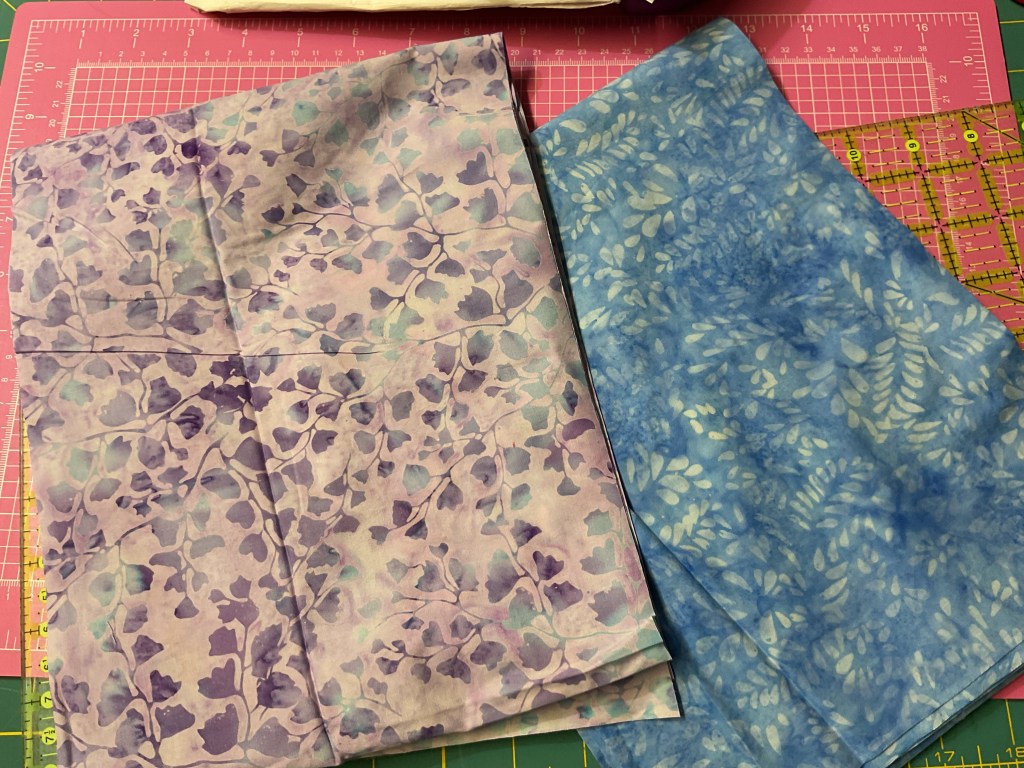
Off I went to my sewing machine to sew each fabric’s long strips together end to end.
Throughout the project, I back-stitched at the beginning and end of my seams so they didn’t have a chance to unravel while I handled and manipulated the scarf during the sewing process..
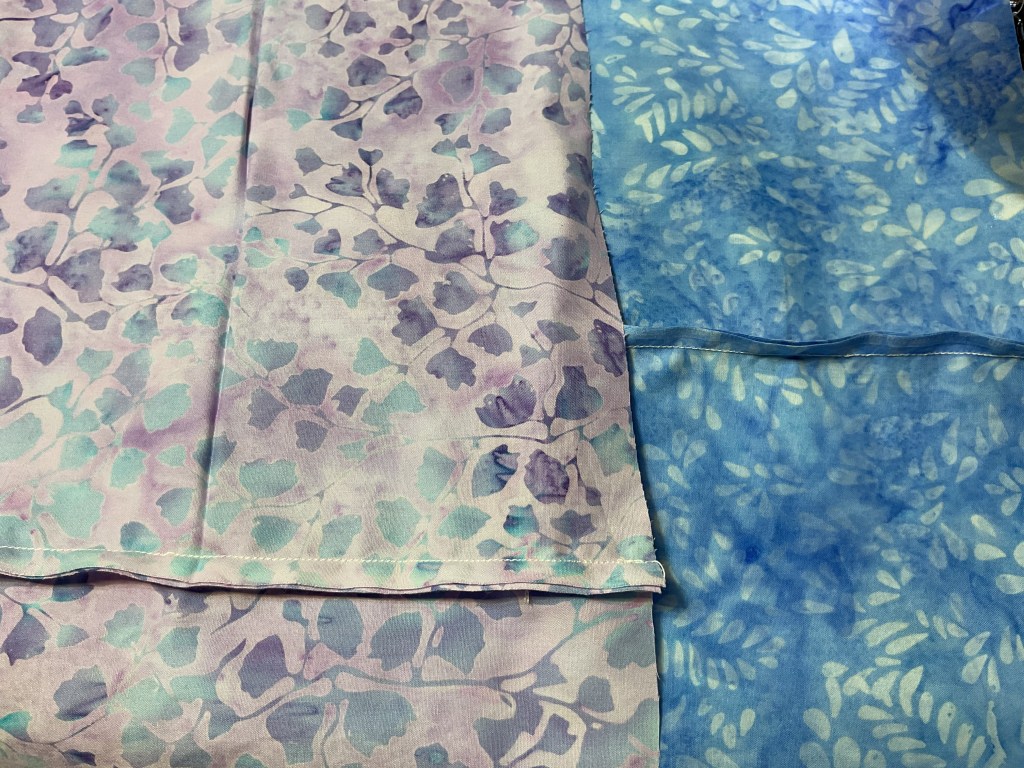
Next I layered the long strips of my 2 batiks together with right sides together (batiks are the same on both sides, so I had to watch to make sure that the seam sides were my “wrong sides”) and I stitched down both long sides of my scarf. I matched my seams and nestled them together.
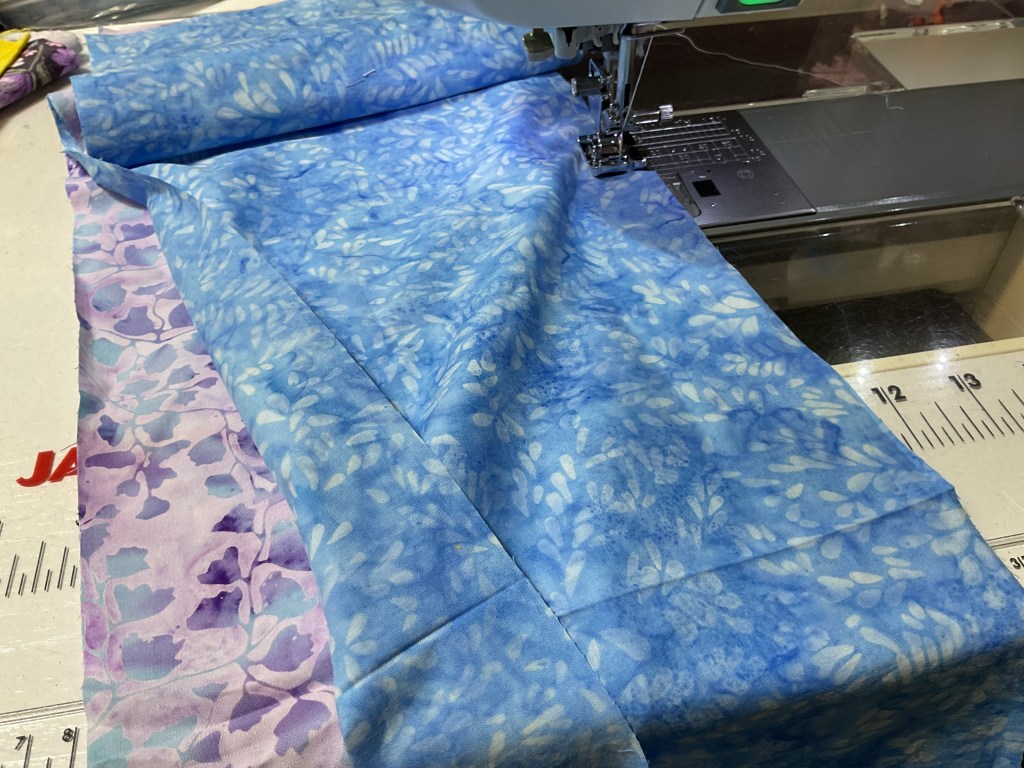
The fun part is next – turning the scarf right sides out. Such a weird feeling thing to do, but pretty cool, too.
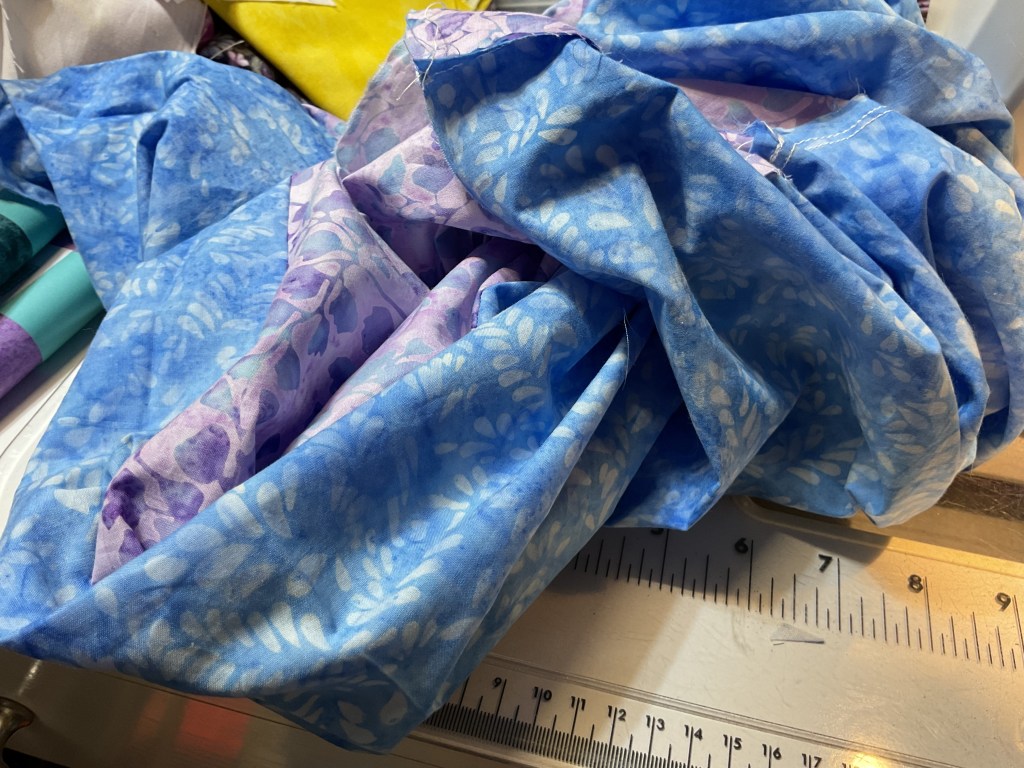
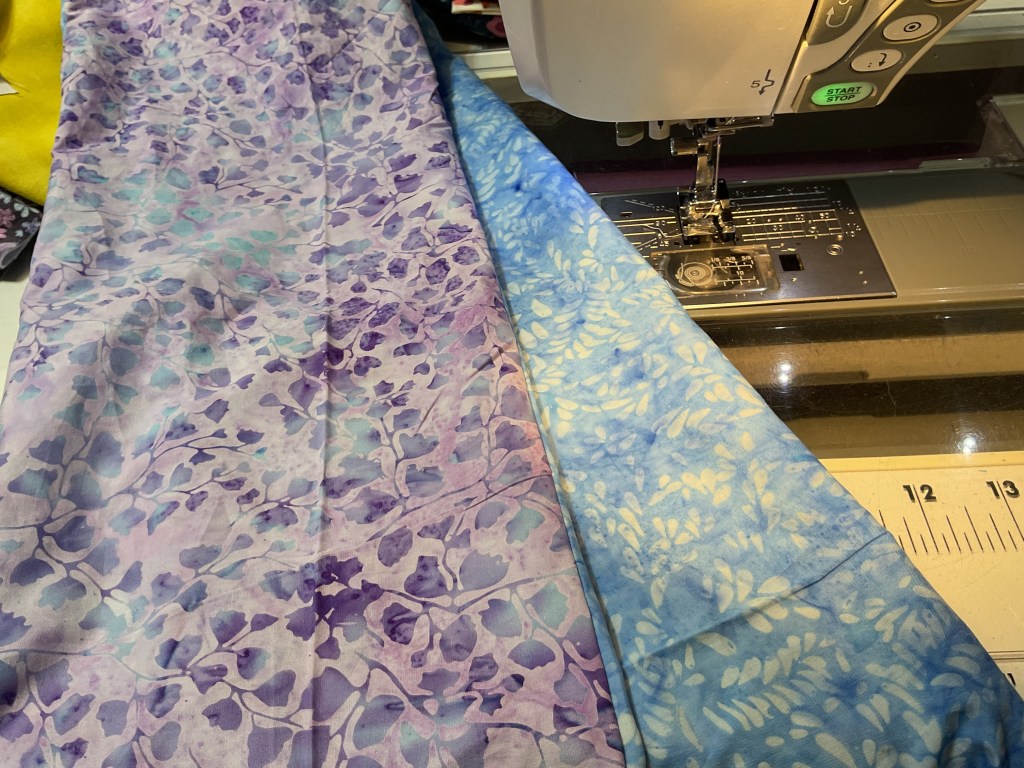
Now it’s time for the tricky part. I matched up the rights sides of the short scarf ends with the help of a few pins and carefully stitched around the scarf width as far as I could go. I also made sure to line up my seams and nestle them together again.
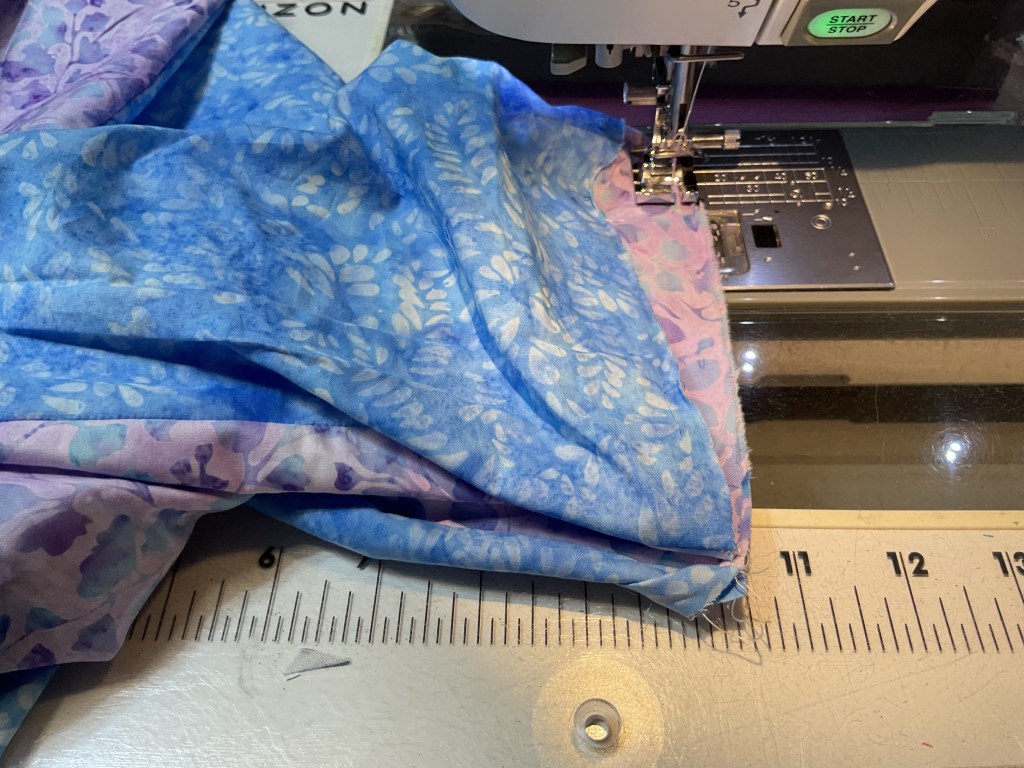
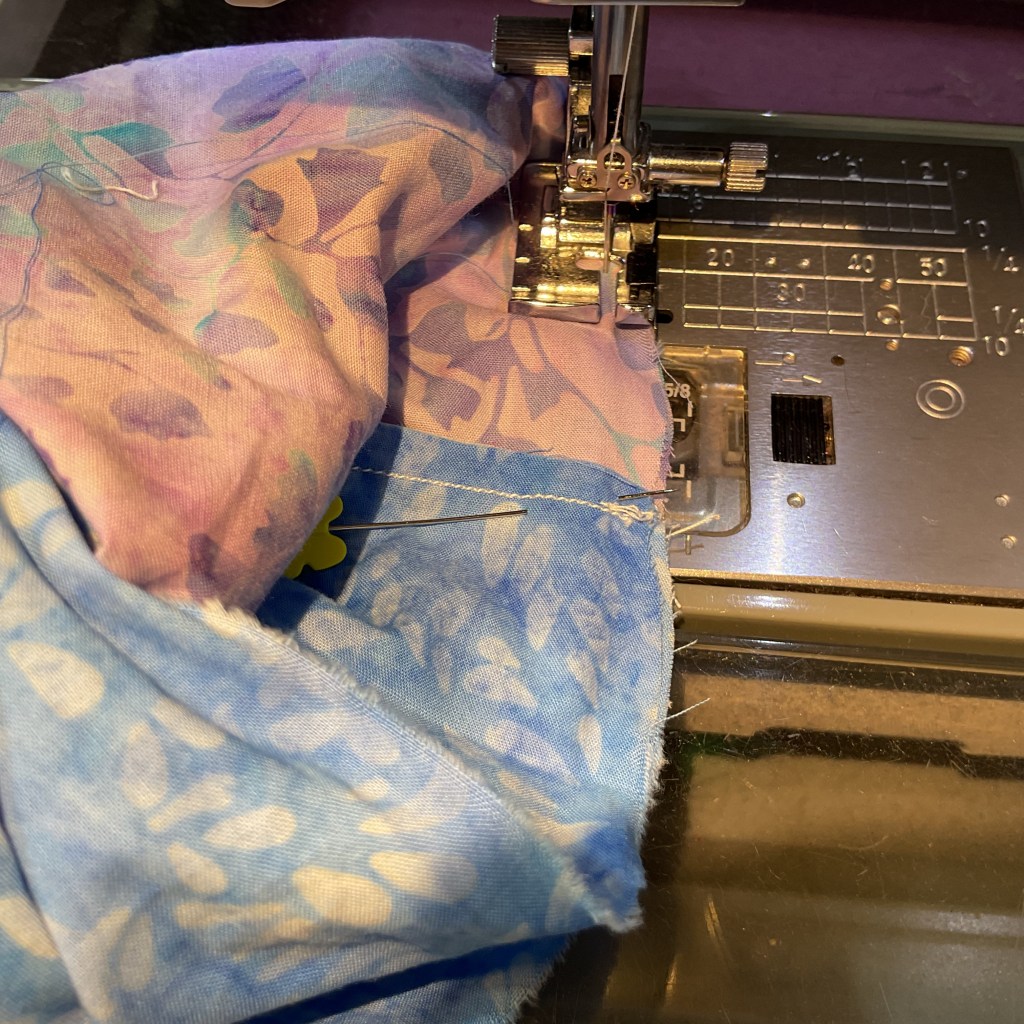
Once I sewed as far as I could, I back-stitched and stopped. There were maybe 4 inches or so left unsewn.
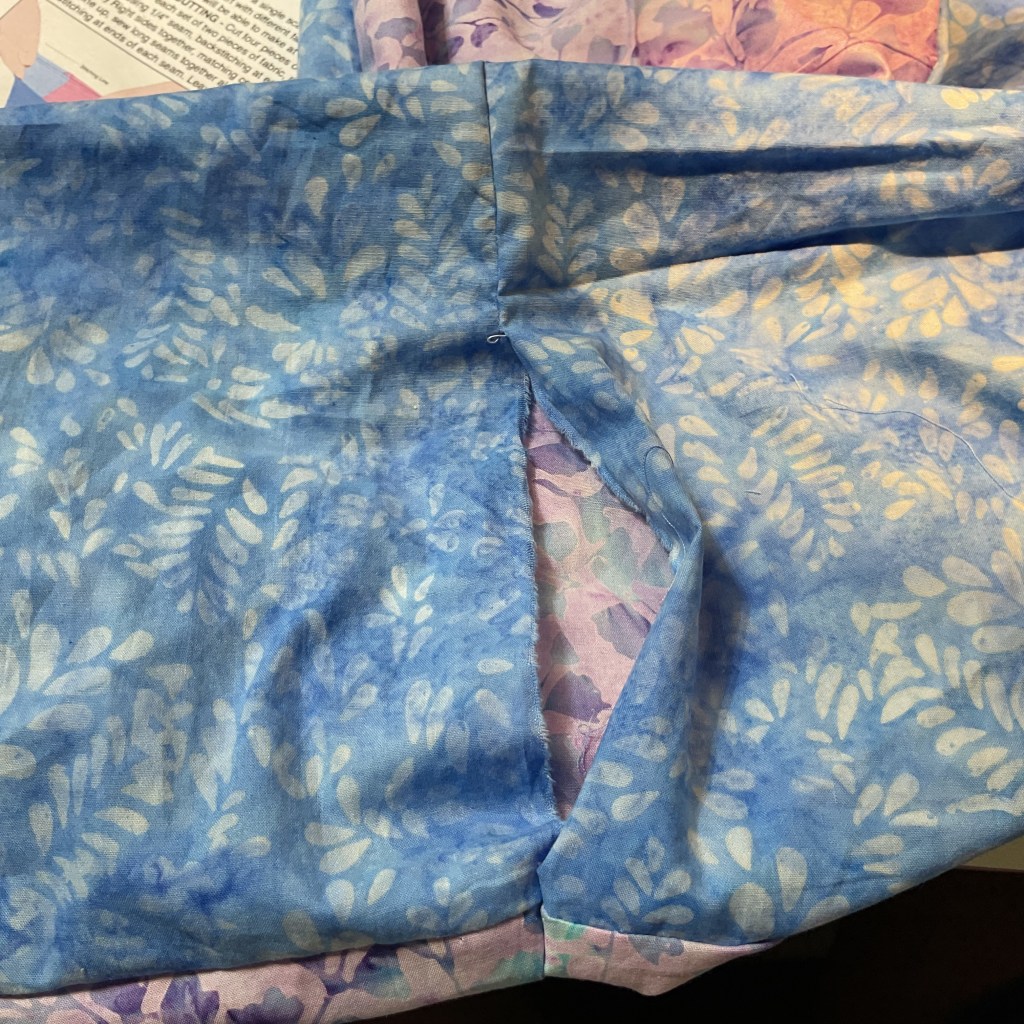
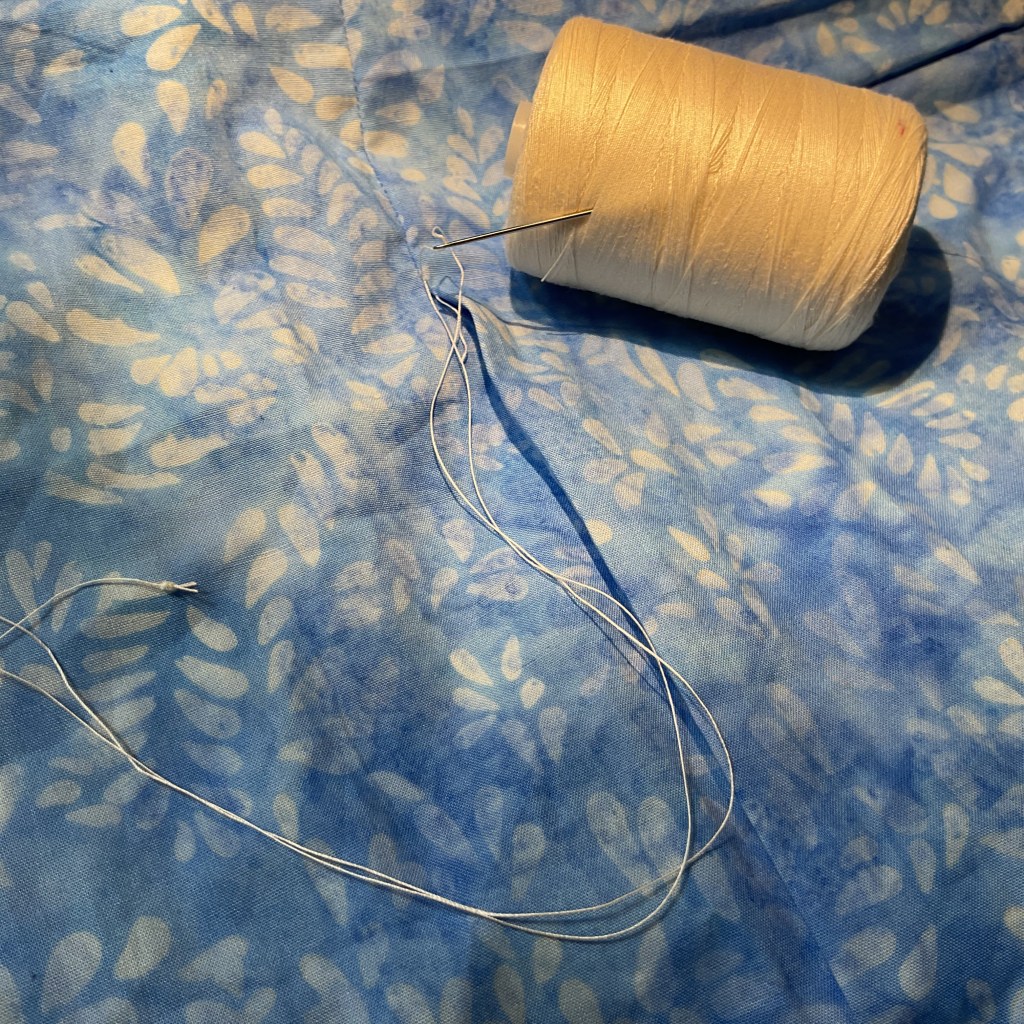
So, my final step was to slip-stitch the opening closed by hand. Boy, I learned something very important during this step – I’m not that great at slip-stitching especially really late at night. LOL! But I finished it. It wasn’t completely horrible but it did pucker a little bit. Oh well…..
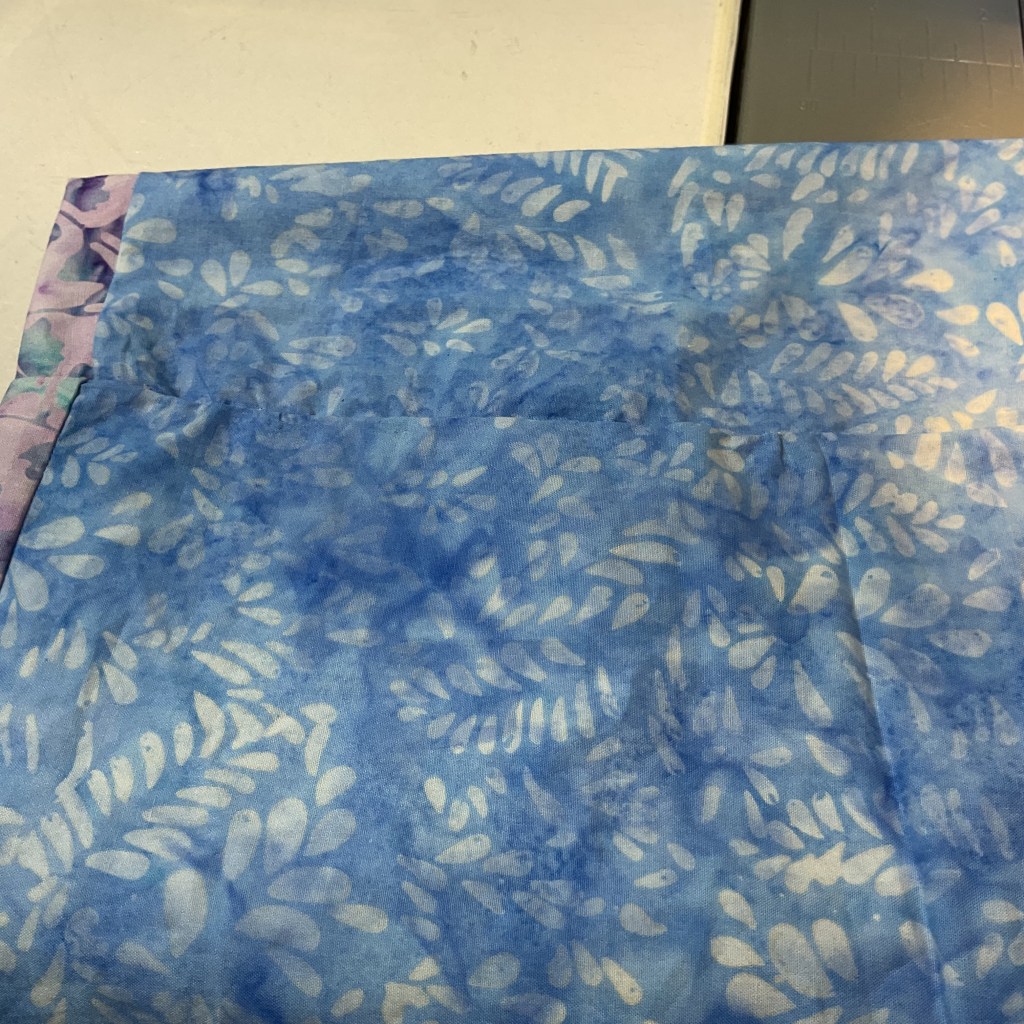
Ta da! Here is my finished scarf….again! Pretty cool. I think I’ll make some more of these and play with different ways to wear them.

Next week is Week 5 of our VRD Small Project Summer Challenge and our project is a finished table runner due by midnight Friday July 24th EST.
See you then! Don’t forget to take a moment and smell the roses. summer is going fast.
Sew. Laugh. Make. Repeat.
Always,
Tricia @ VRD


I woul like to see a bag pattern to donate to rehab centers for women to put there combs-brushes and other small things in for when they leave. I’m making quilts right now.
LikeLike
Thanks for the suggestion. I think a smaller toiletry-size bag would be great too. I’ll put on my thinking cap…… 🙂
LikeLike
I am doing this the hard way, I know. But I sent my Good Luck pillow picture on Facebook and was told to send my email. Thanks for entering me in the contest. Nancy
LikeLike
Thanks sew much for your email address (which I have now deleted from your comment). I needed it so I could contact you in case you won one of the weekly drawings. Happy summer sewing!
LikeLike
Sent from my iPadOn Jul 16, 2026,
LikeLike
Sorry, I can’t see any content on your message. Could you try again? Or you can email me at tricia@villarosadesigns.com
LikeLike