Hello Quilty Friends!
Greetings from snowy northwestern Pennsylvania! We had around 5 inches of lake effect snow (thank you Lake Erie!) dropped on us Monday night. It sure did look beautiful when I got up Tuesday morning. Suddenly I had the urge to listen to Christmas music and binge-watch Hallmark Christmas movies while sipping hot chocolate with scads of marshmallows floating on the top.
So apparently for me, the Christmas holiday season has begun. When do you usually get your Merry on?
It also made me start thinking about what holiday fun I wanted to do on the blog. Still brainstorming right now, in case any of you lovely readers have any holiday ideas you might like to see on the blog.
But for right now, let’s get back to our Challenge!
Our winner for Week 5 is ……………
Barb F.
Congrats, Barb! Keep up the good work!
Now let’s check out my Week 6 finish!
6 Quilts in 6 Weeks Challenge – Week 6
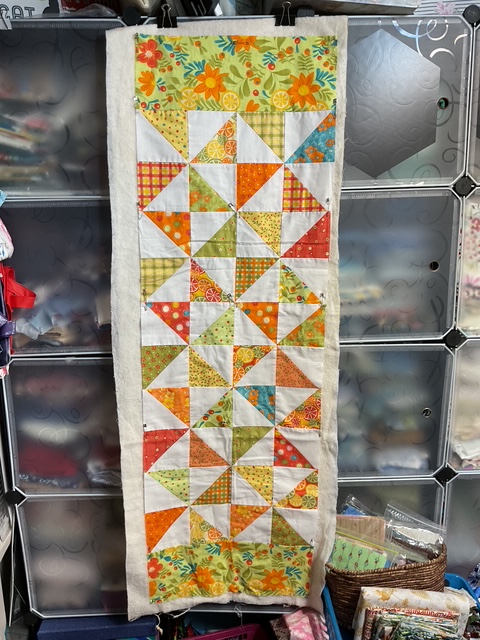
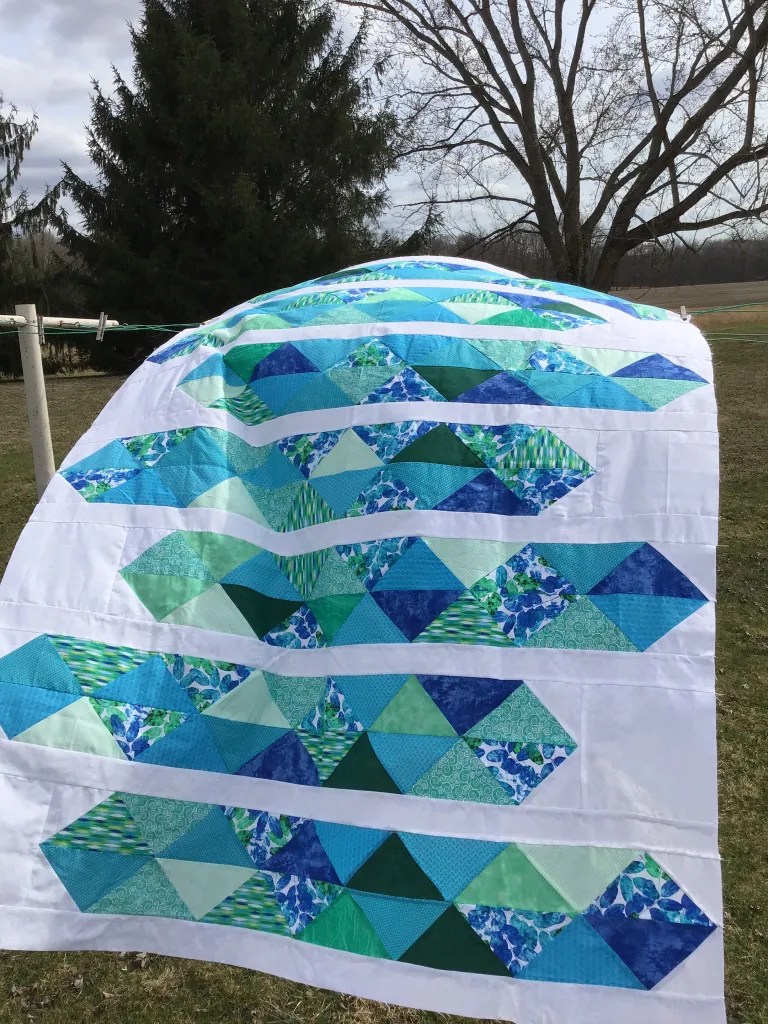
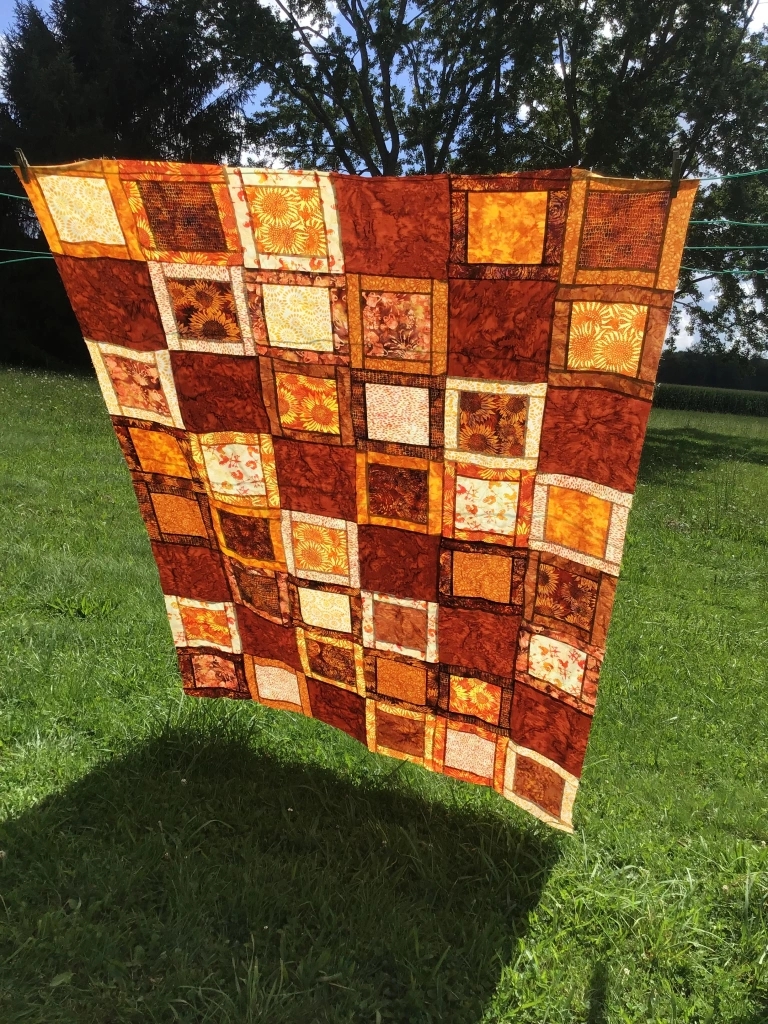
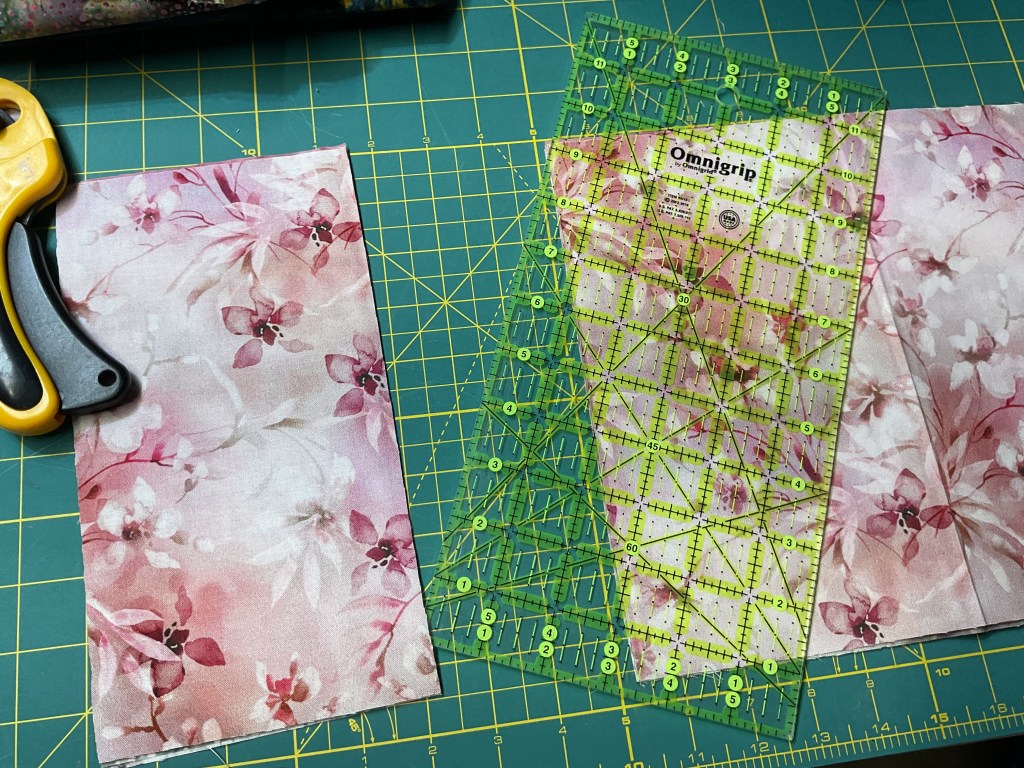
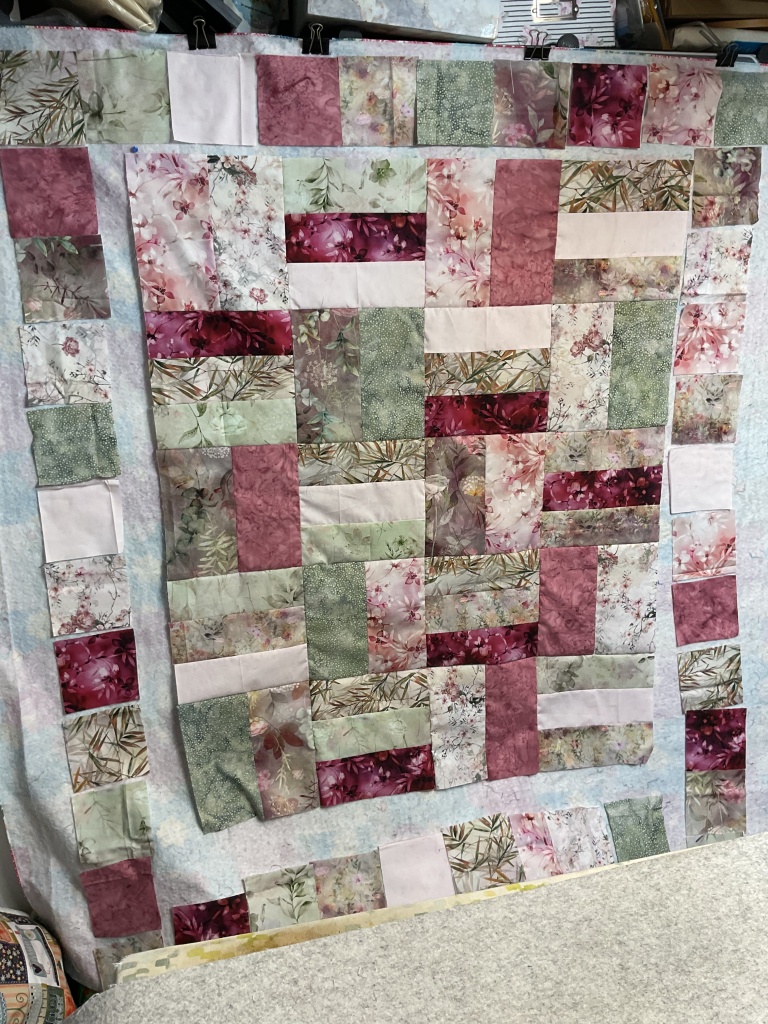
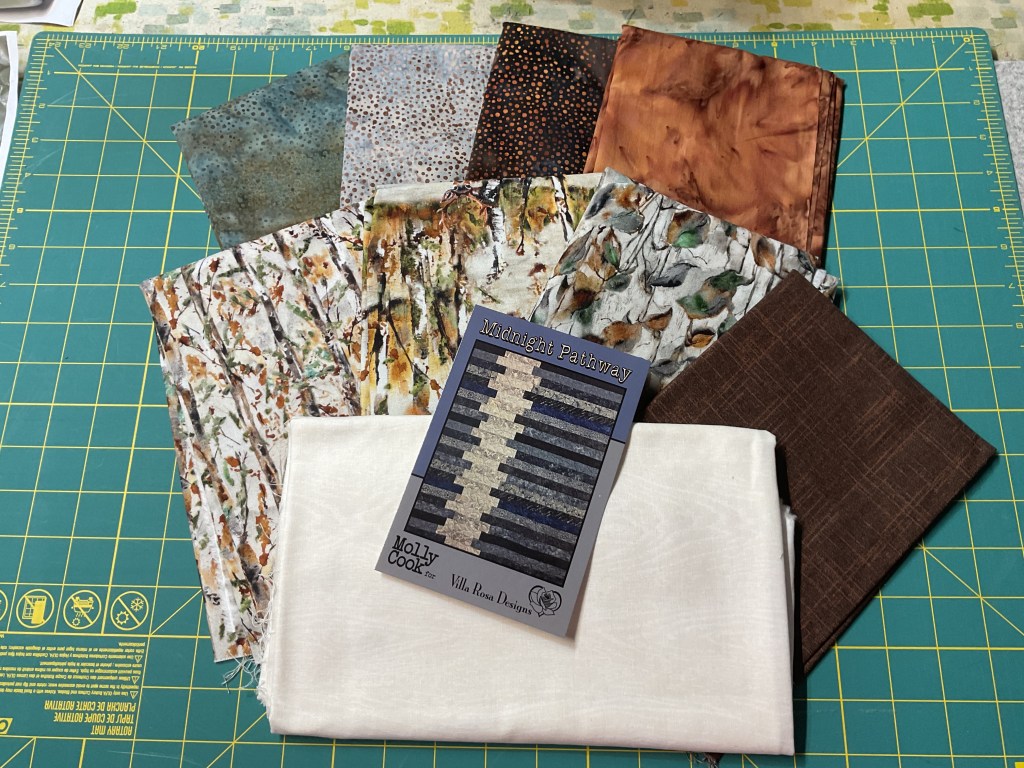
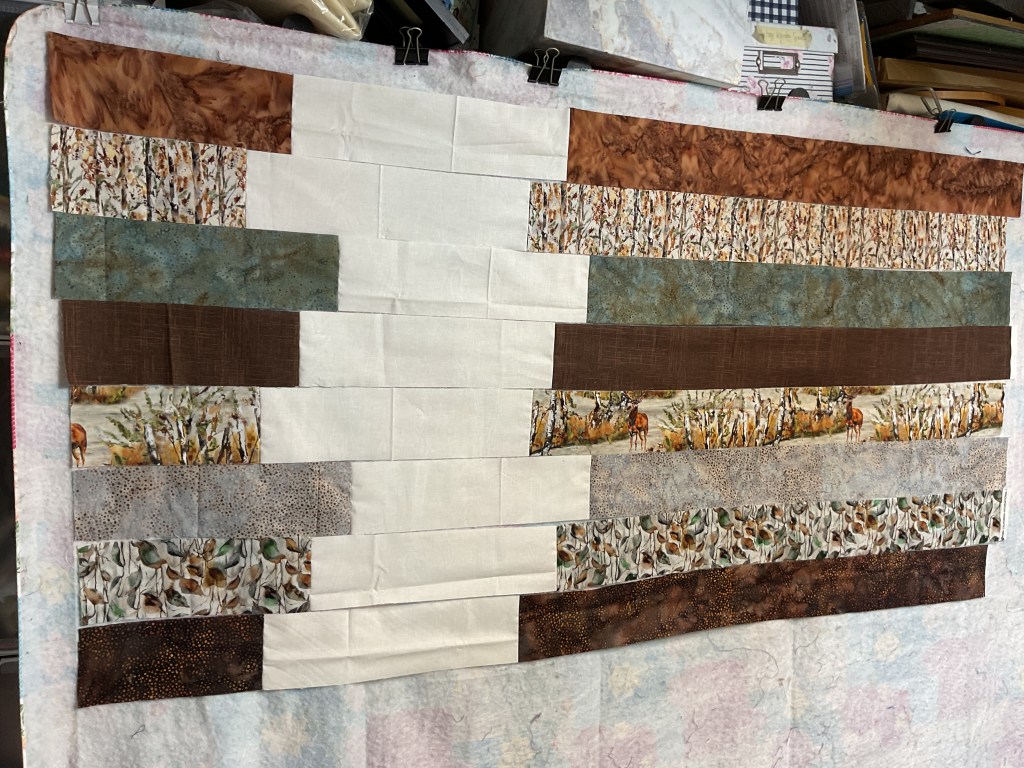
For my final Week 6 finish, I chose to complete my blog tutorial sample, Ebb Tide.

Get your digital pattern HERE or your print pattern HERE
This is one of my absolute favorite patterns for using large prints! The framing really gives large print fabrics room to shine as well as to breathe. It is fat quarter friendly and finishes at a nice 47″ x 61″. To make it larger, simply add an outer border – a 6″ finished border would make the quilt a nice 59″ x 73″.
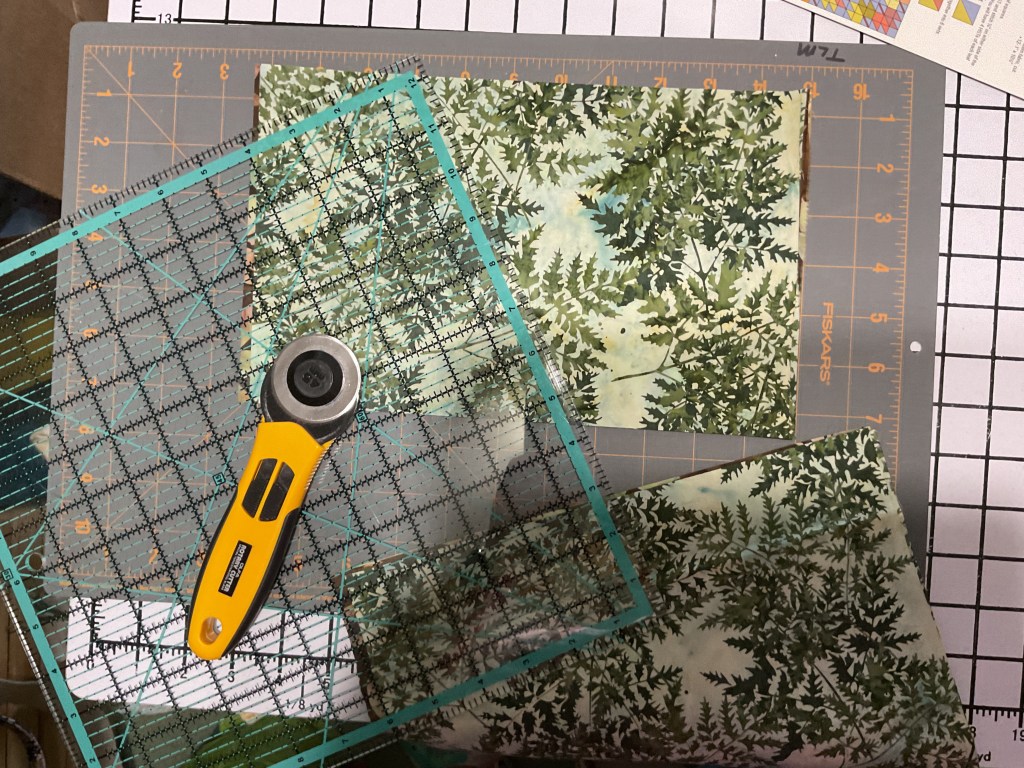
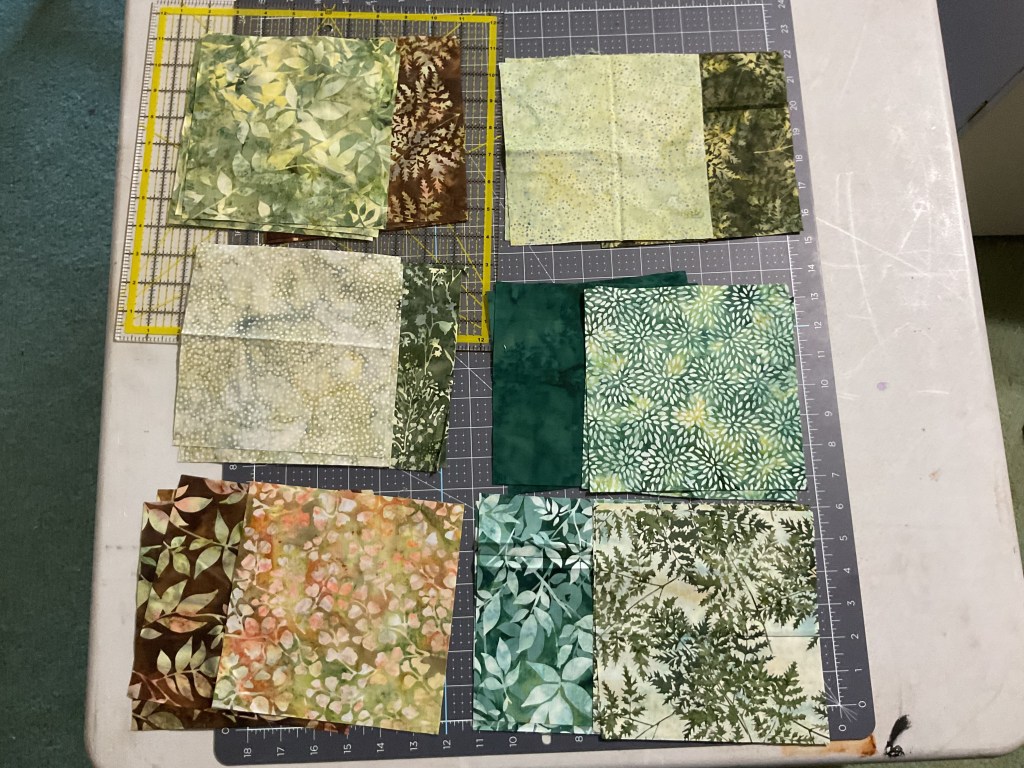
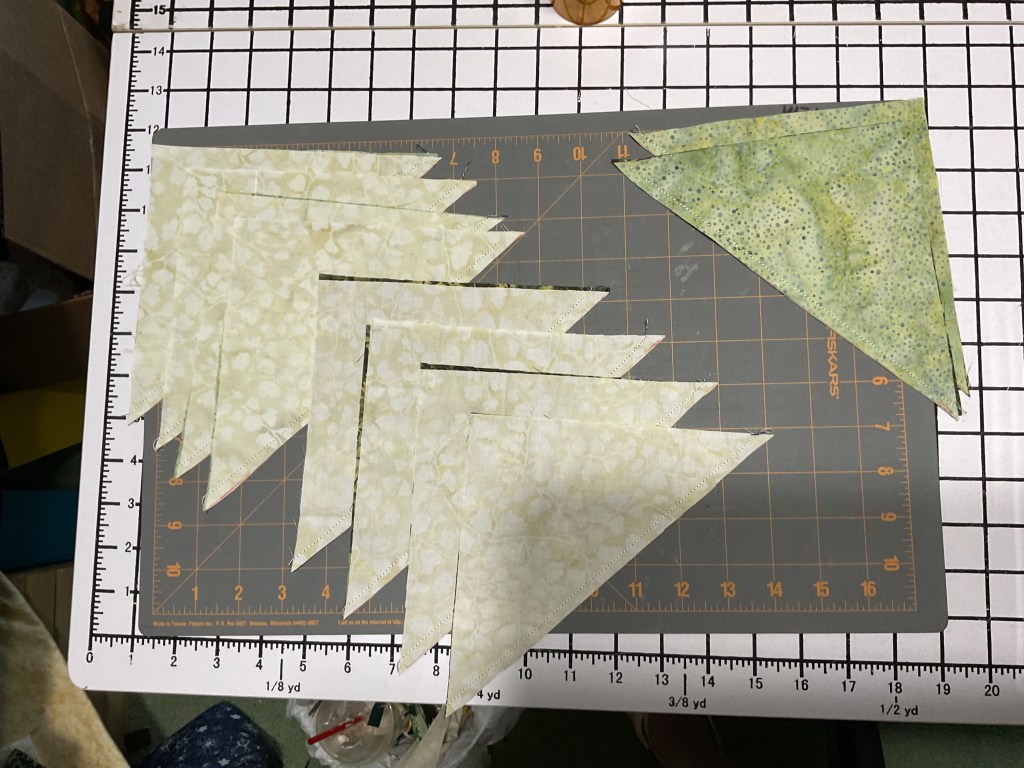
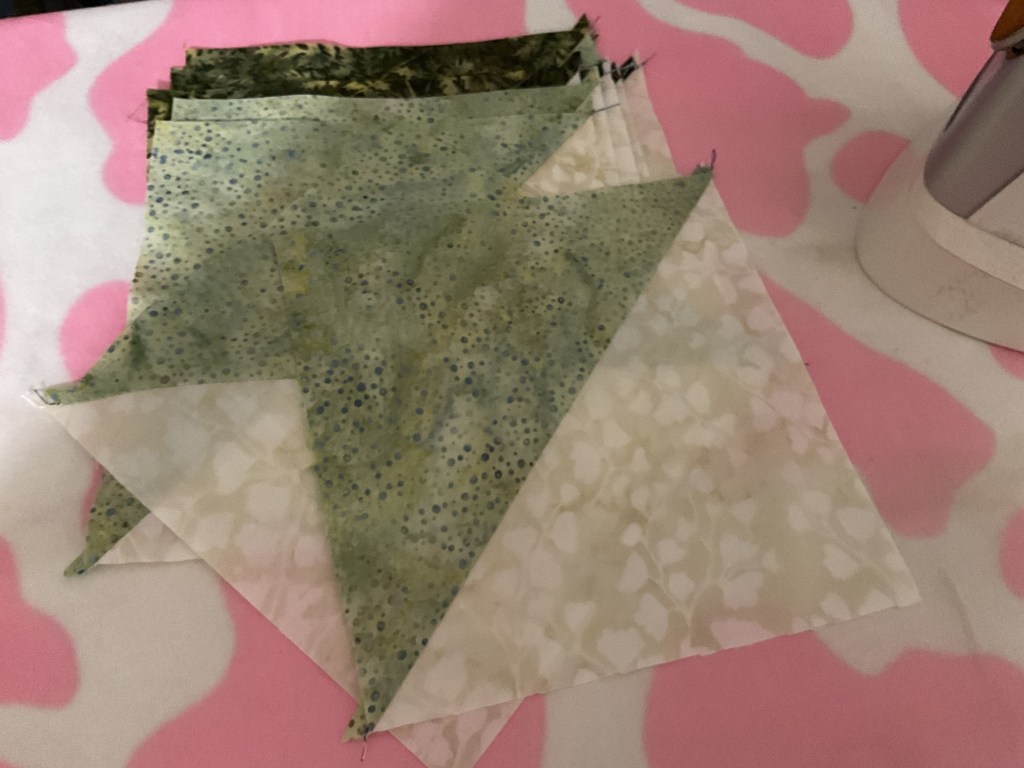
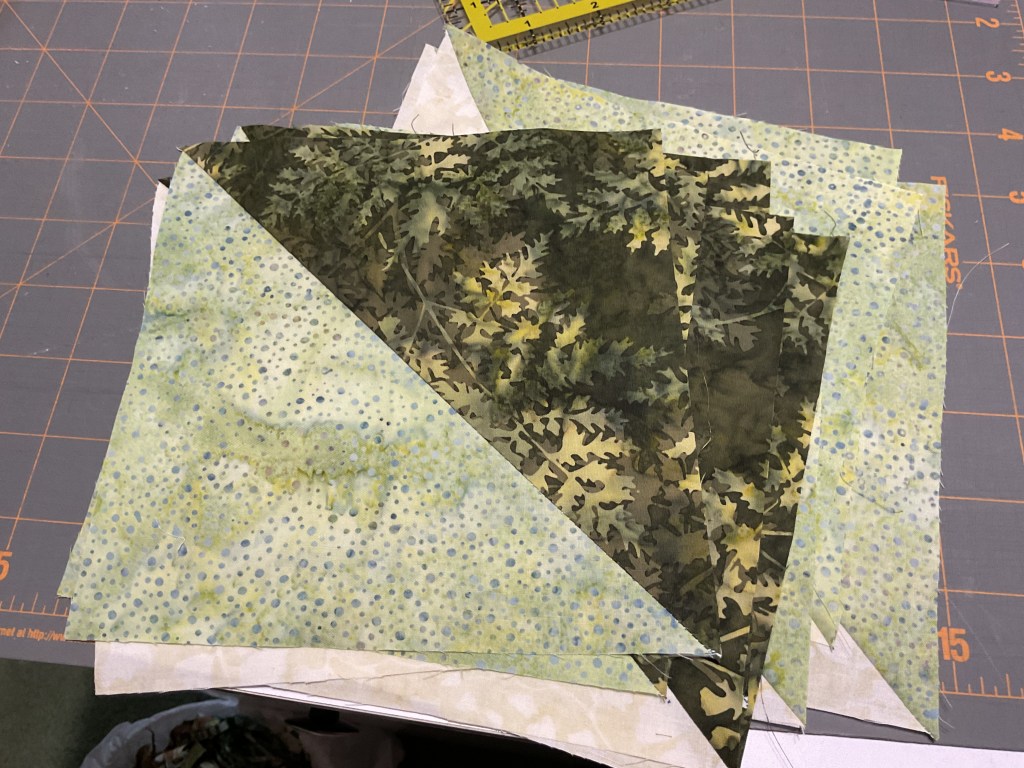
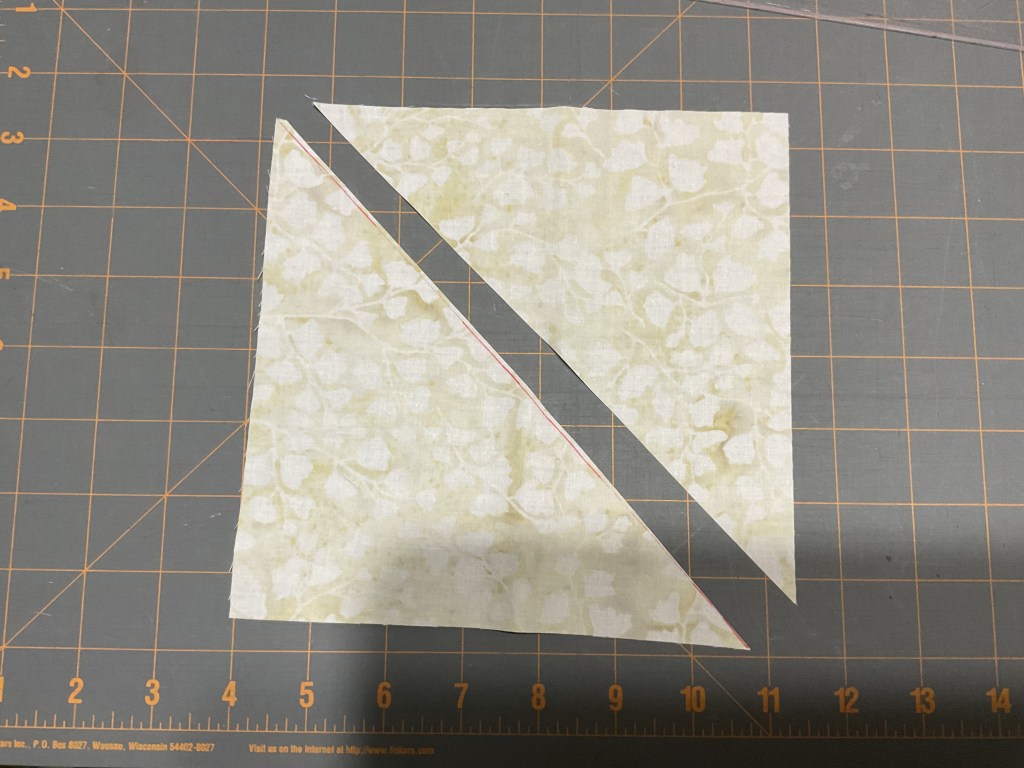
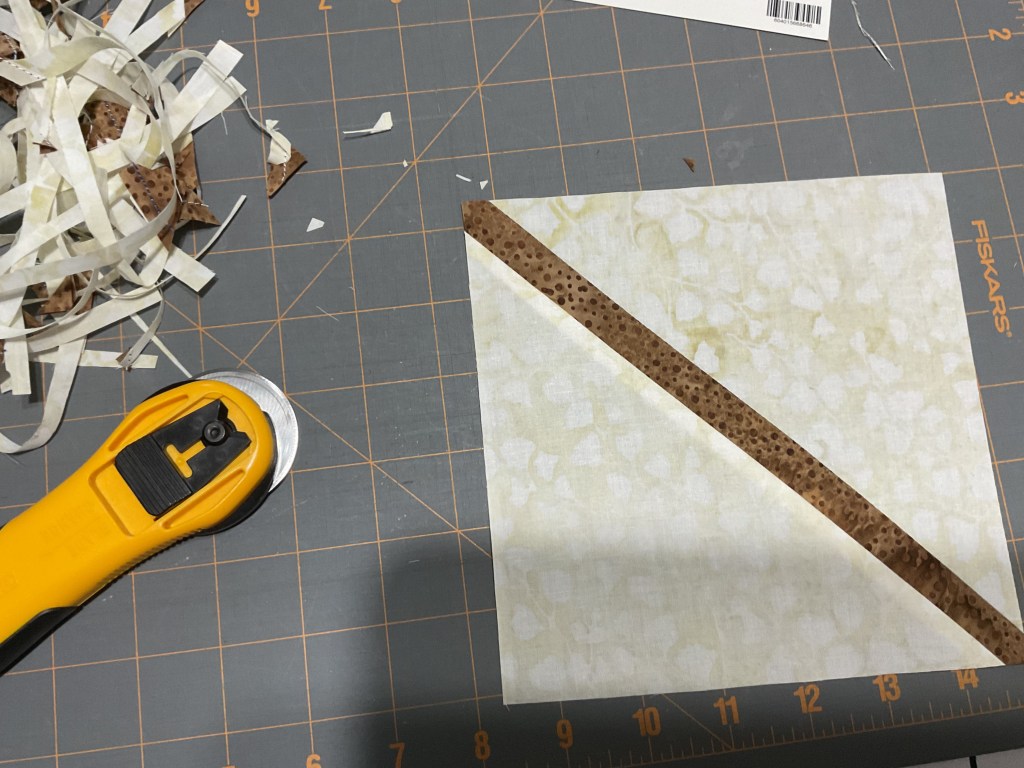
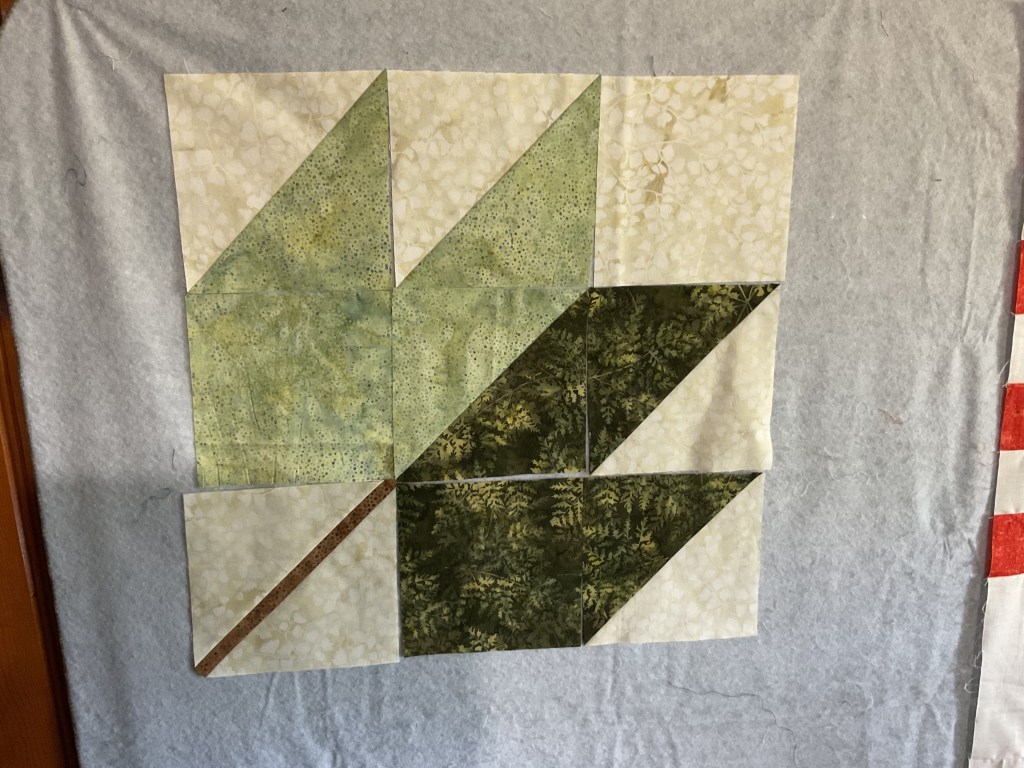
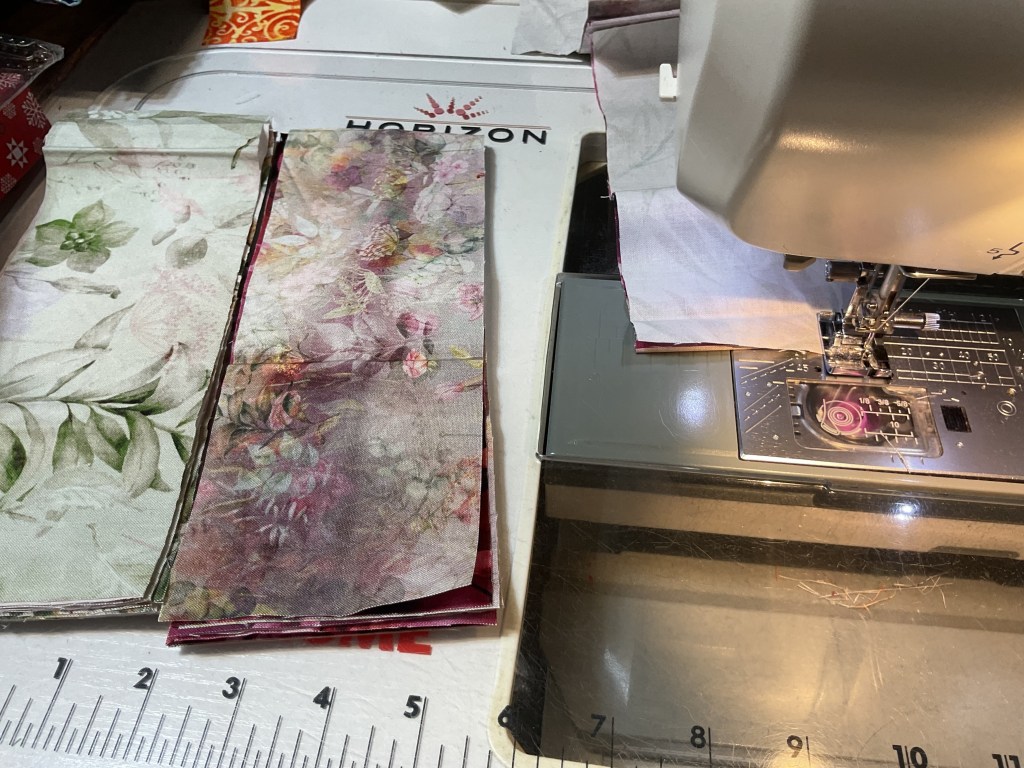
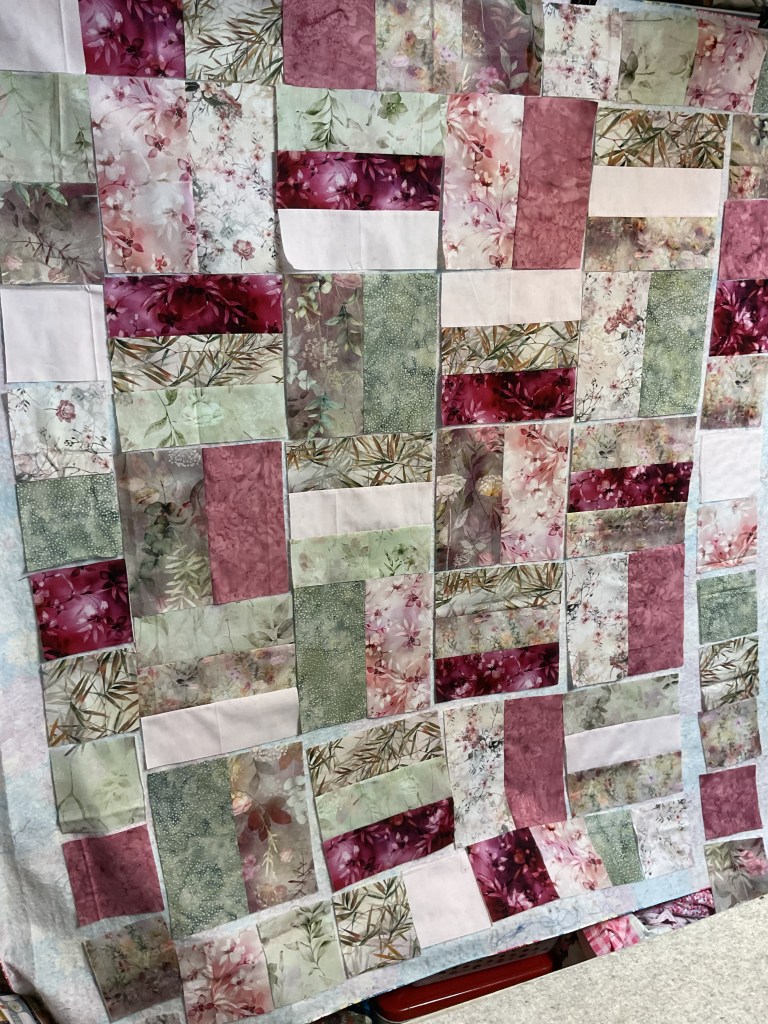
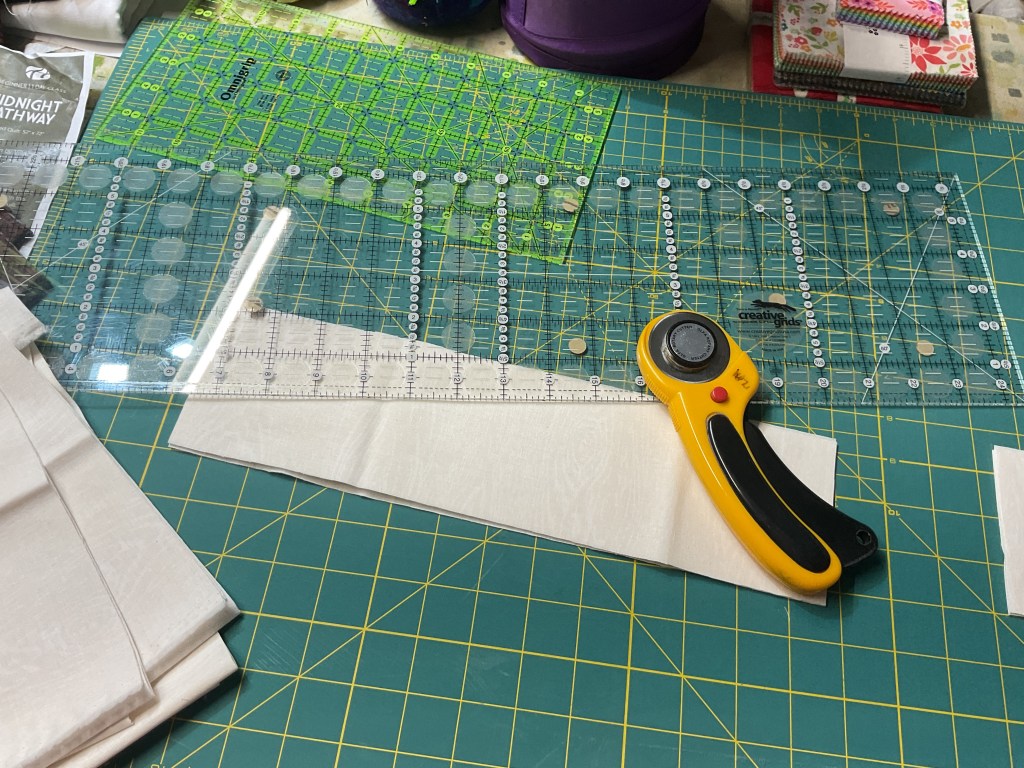
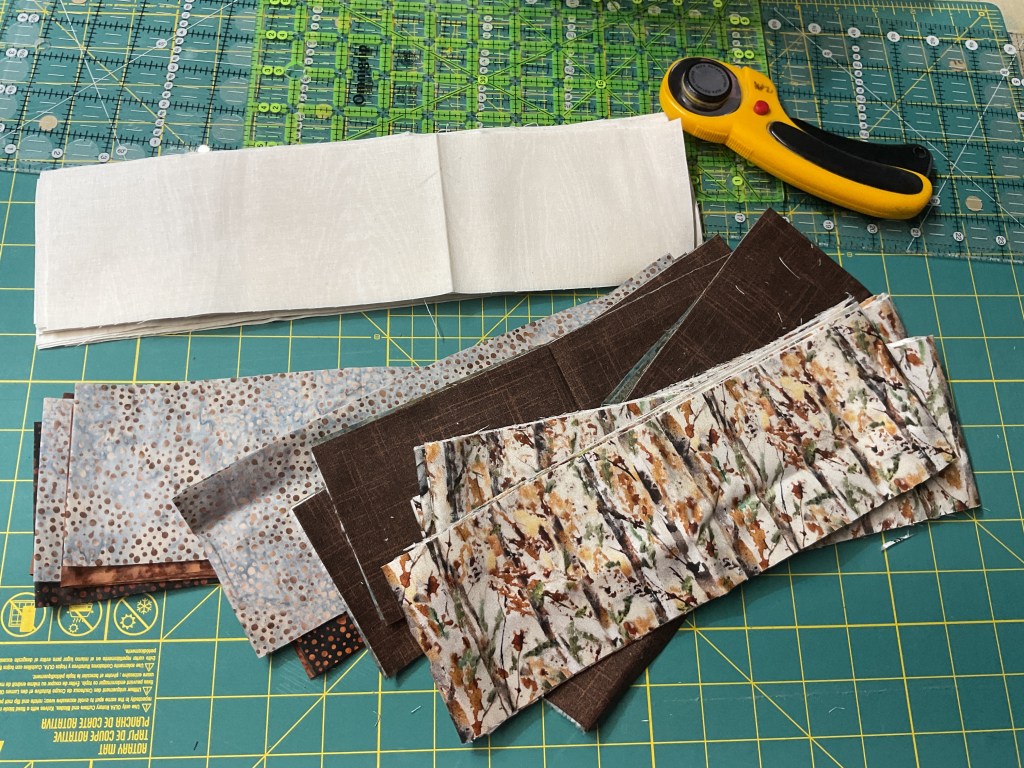
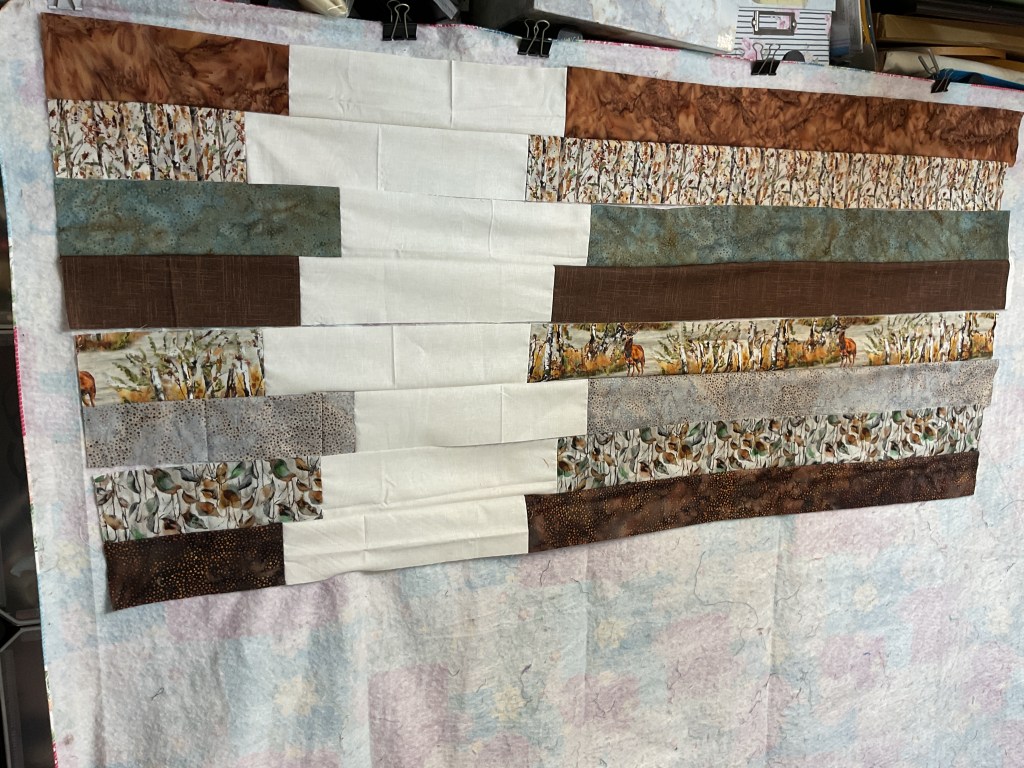
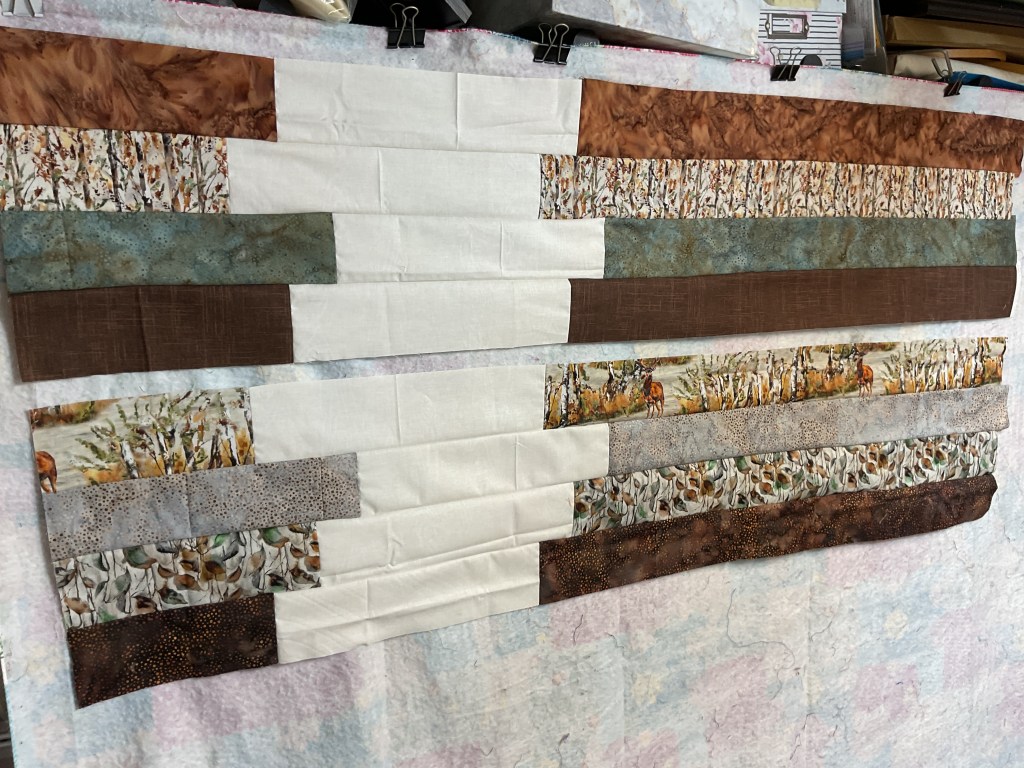
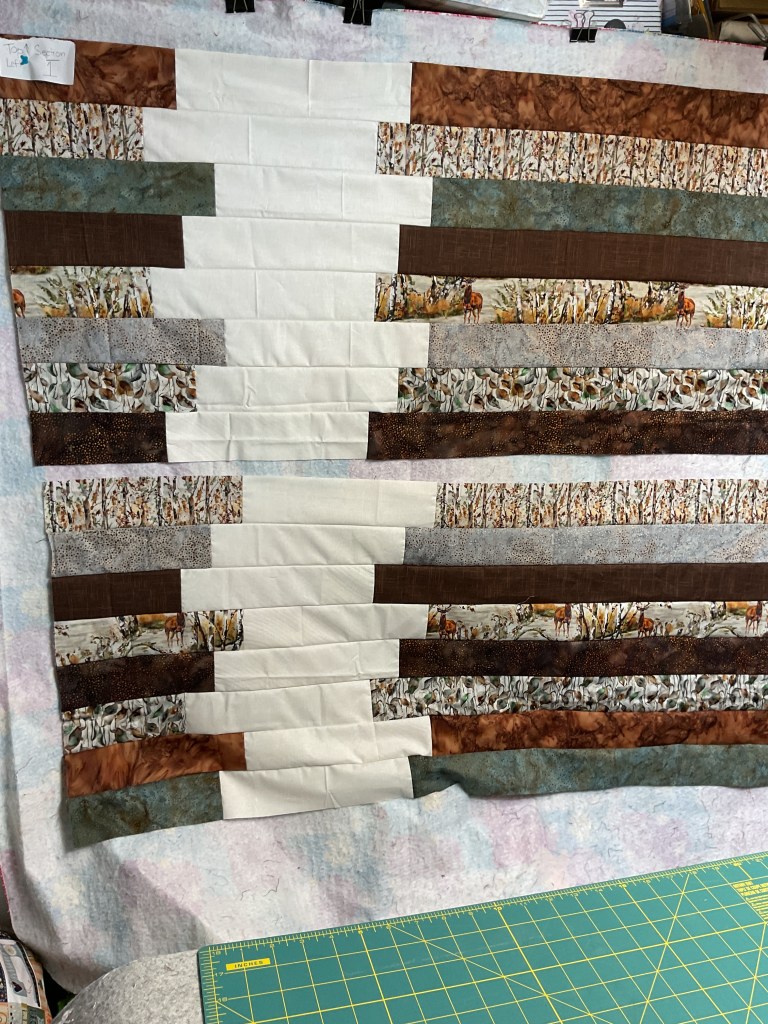
Here is my Before photo:

YIKES! In looking for my “before” photo, I discovered the Ebb Tide tutorial was from 2023 – way past time to get it finished, don’t you think?
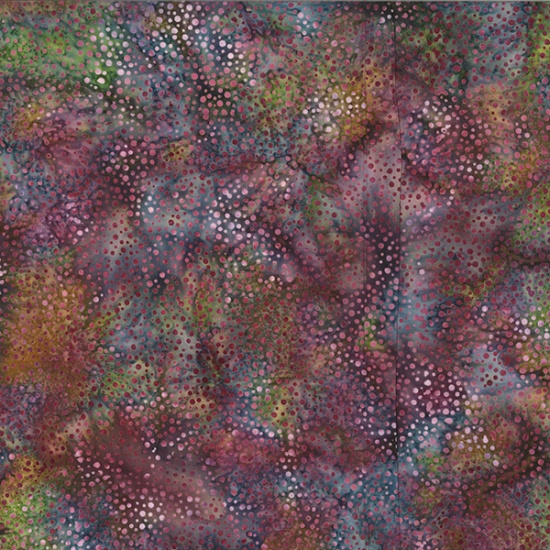
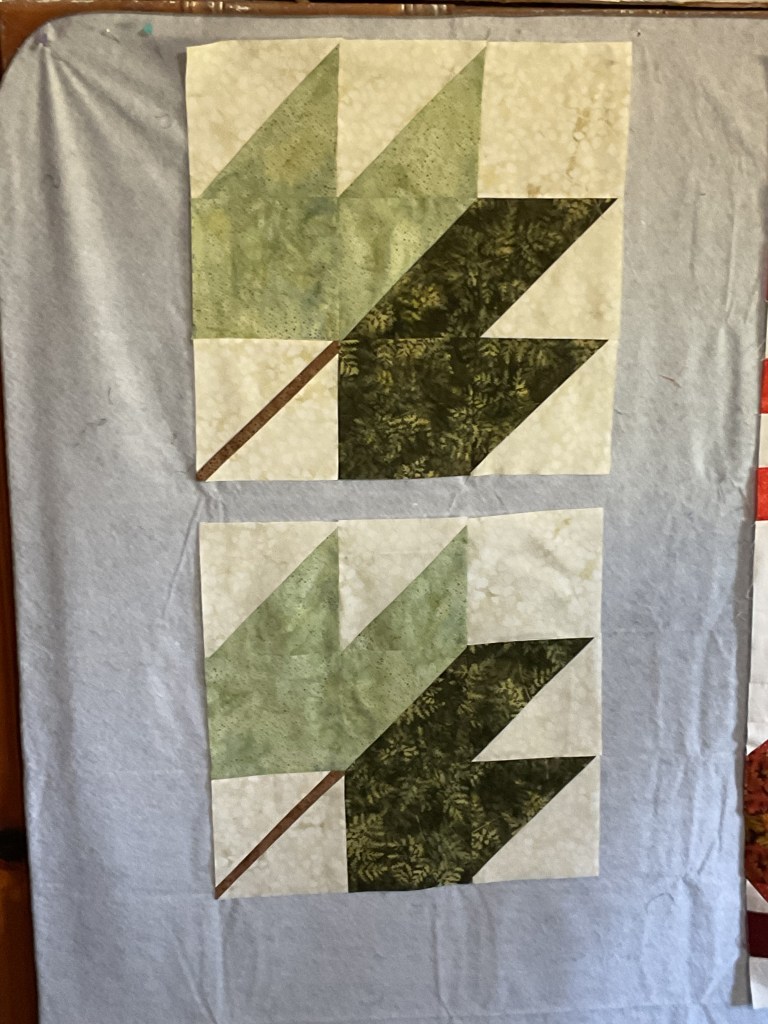
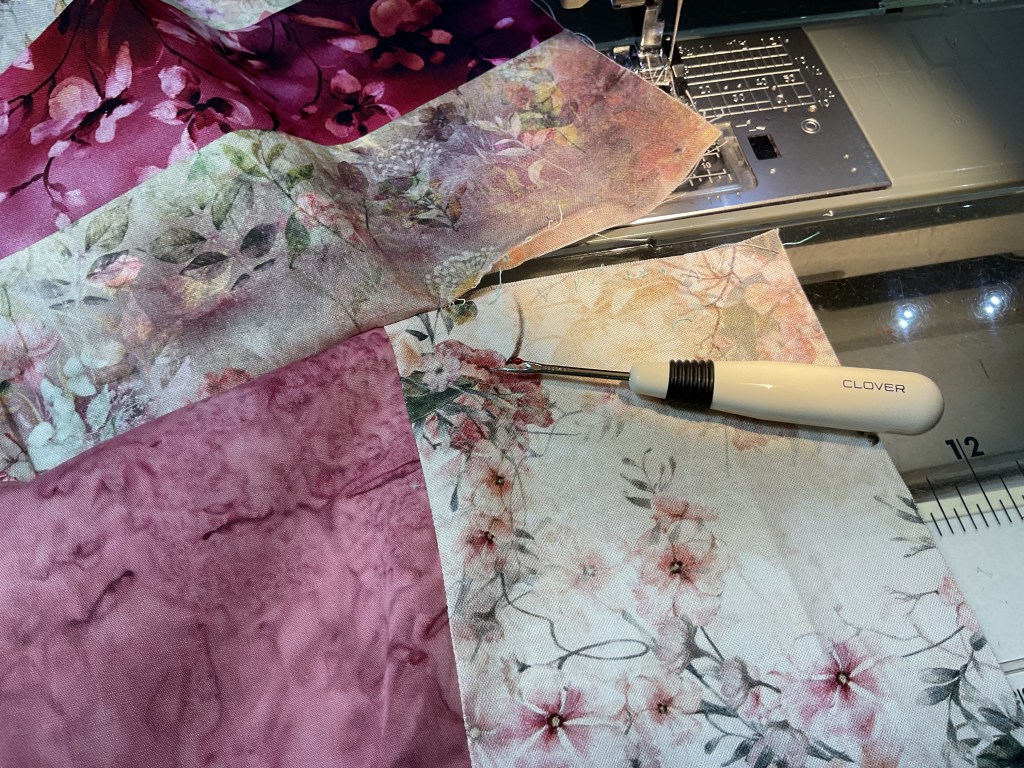
The fabrics are fall-licious batiks from our friends over at Hoffman.
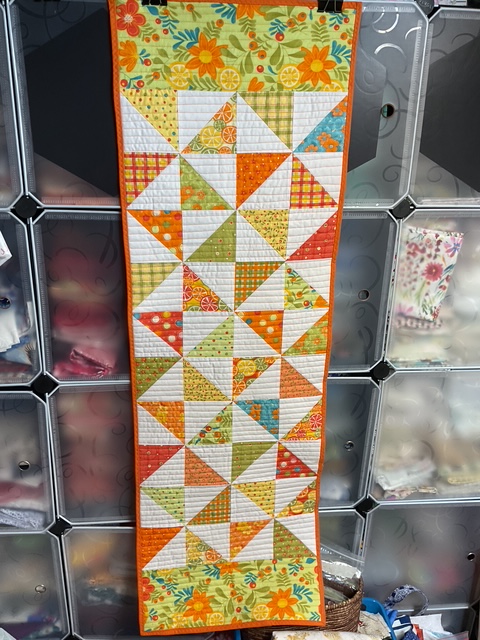
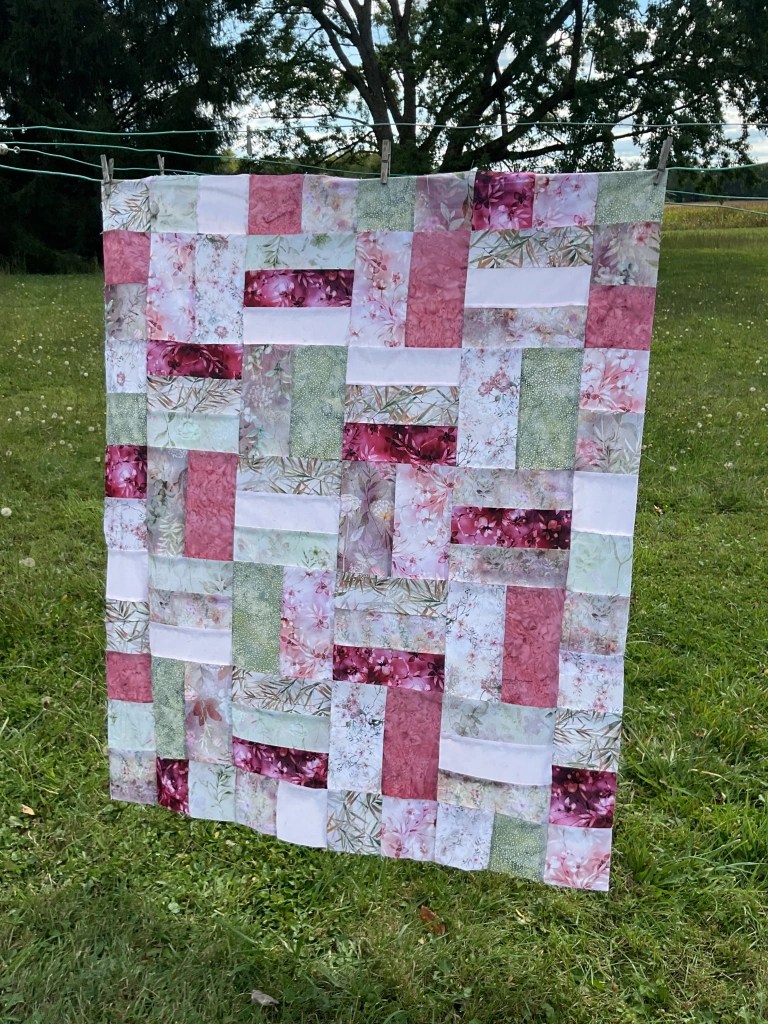
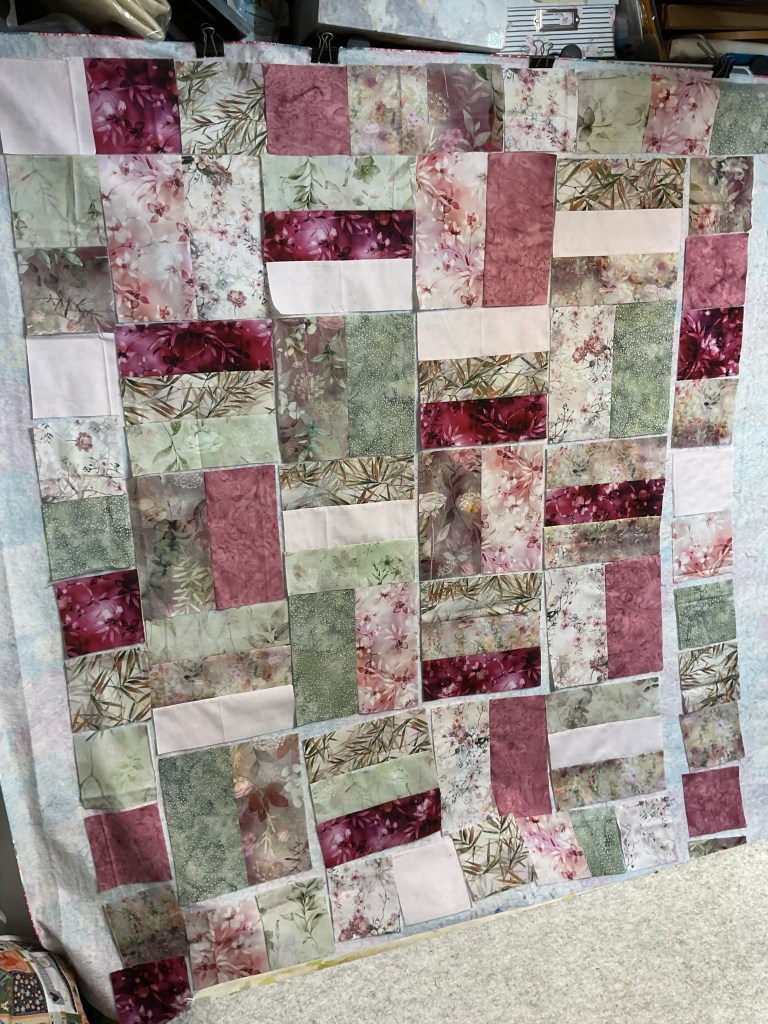
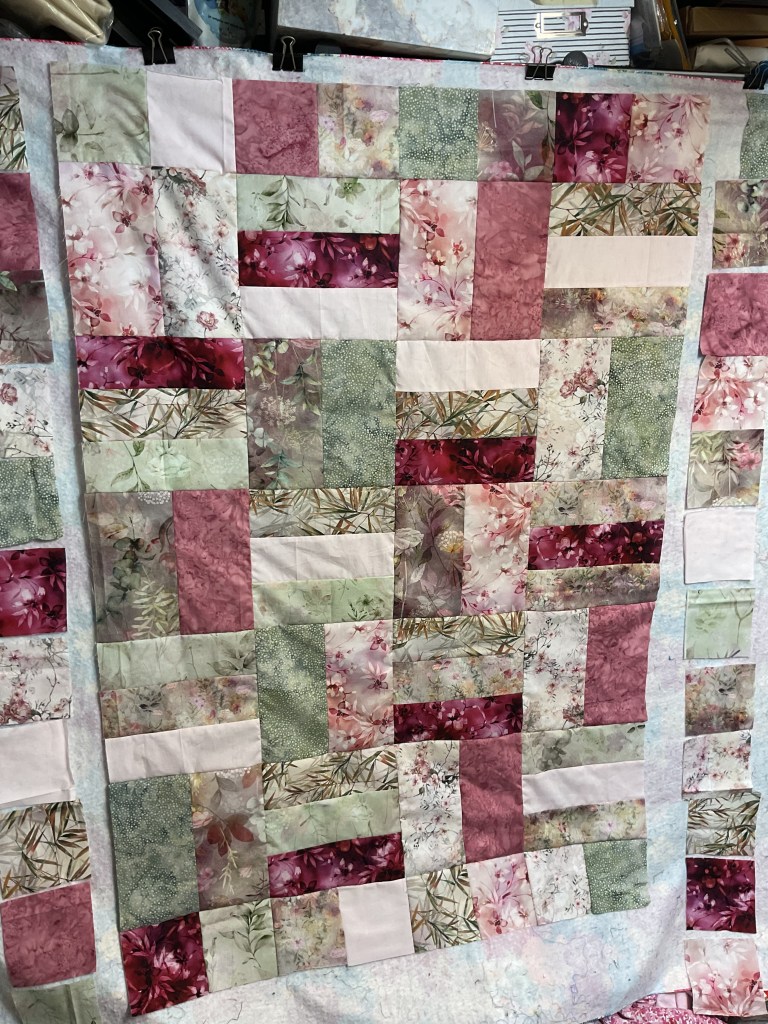
And here is my After photo:
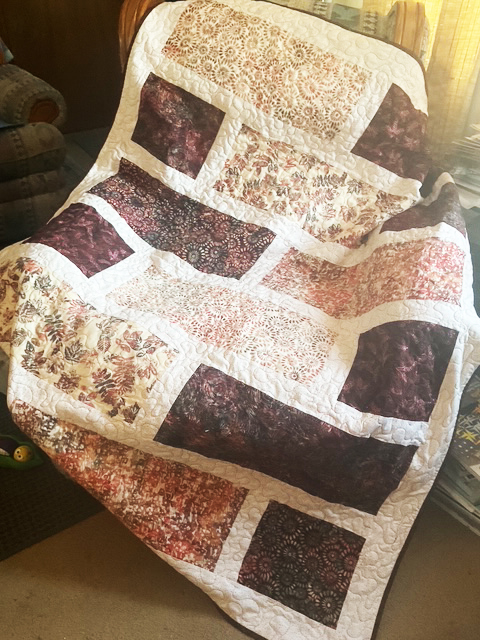
I considered photographing it out in the snow, but I didn’t want to bundle up in order to go outside so I ended up taking an inside photo.
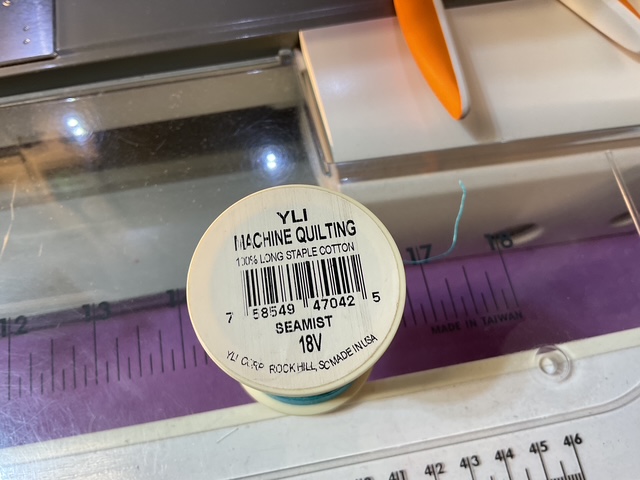
I quilted Ebb Tide with a copper colored cotton thread in my usual allover meander design. It is backed with a cream fleece that has little stars on it. The binding is a brown stripe batik, which I cut on the bias so my stripes are diagonal. I was a little nervous to finish the binding by machine because the last time I machine-finished a bias binding, the edges ended up rippling.
WHEW! What a relief – this time it finished beautifully with no rippling and the corners actually turned out quite well, too. I think finishing the binding by machine for the last 6 weeks has helped me gain a little more confidence with this technique. This winter, though, I plan to snuggle under quilts, watch movies, and do some hand binding.
I want to thank everyone who signed up and participated in this Challenge. I hope you are as pleased with your accomplishments as I am with mine. Let’s all pat ourselves on the back for a job well done.
We will have one final winner next week.
I’m thinking we’ll do this Challenge again in the New Year. That way, we can keep finishing our UFO’s and flimsies so we don’t feel a little guilty every time we start something new.
Now let’s take a look at the NEW VRD patterns for November. Yay!
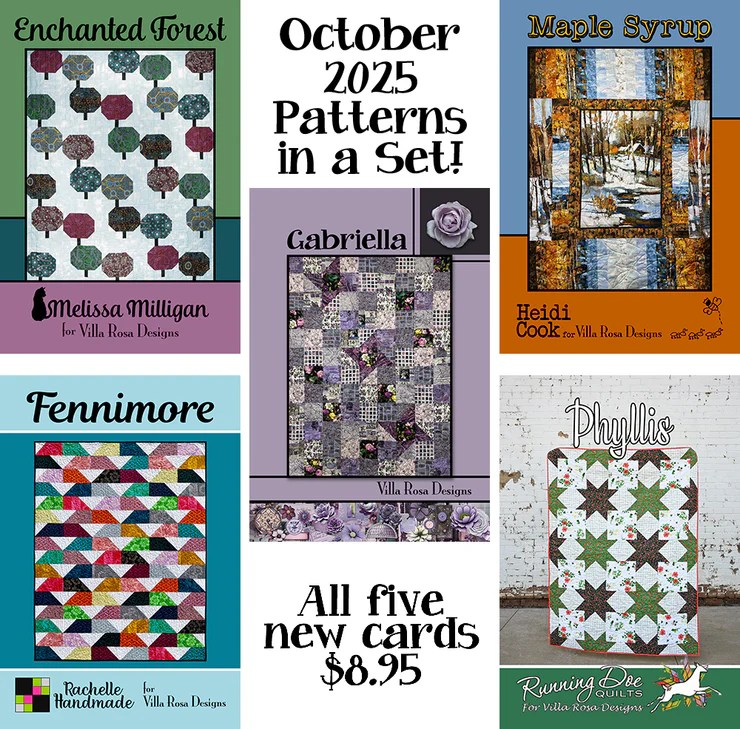
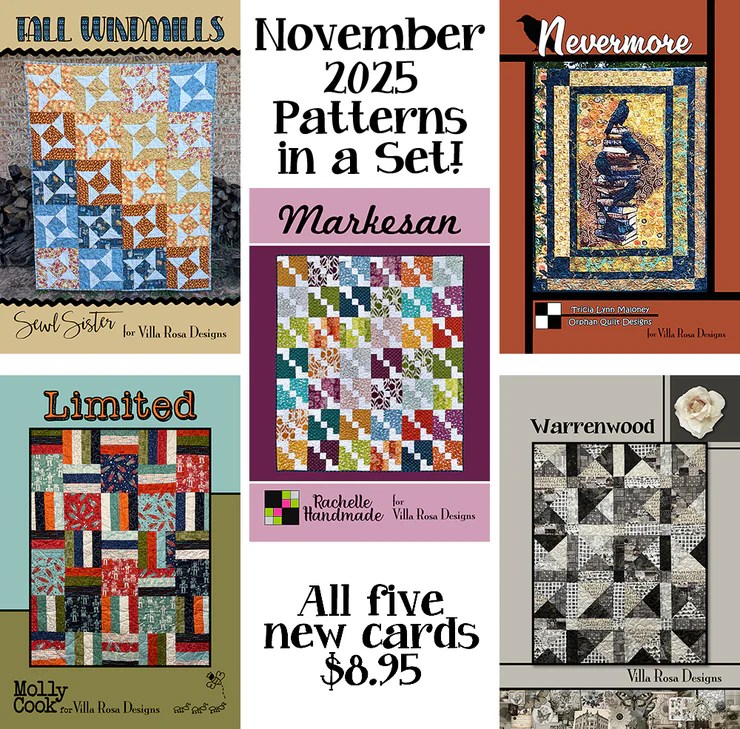
NEW November VRD Rose Card Patterns
I LOVE the Thursday after the first Friday of every month because that means – NEW PATTERNS!
Here is the set of 5:
Get the set of 5 print patterns HERE
Fall Windmills is Sewl Sister’s super fun quilt this month. It finishes at 48″ x 60″. You can find a Fall WIndmills kit on the VRD website featuring the Planetarium collection HERE.
Limited is Molly’s newest pattern. It uses either 10″ squares or FQs and finishes at 45″ x 59″. You can find kits featuring the same fabrics as the cover quilt HERE.
Markesan is this month’s new mod quilt by Rachelle Handmade. It is Jelly Roll friendly and finishes at a nice 60″ x 70″.
Nevermore is by yours truly and features a 24″ panel along with some coordinates and an accent. It finishes at 47″ x 66″. Anybody get the name reference of the pattern???
Warrenwood is Pat’s 11th Tim Holz Palette design and is fat quarter friendly. It finishes at 45″ x 59″. You can find kits featuring the Tim Holtz Charcoal Palette HERE.
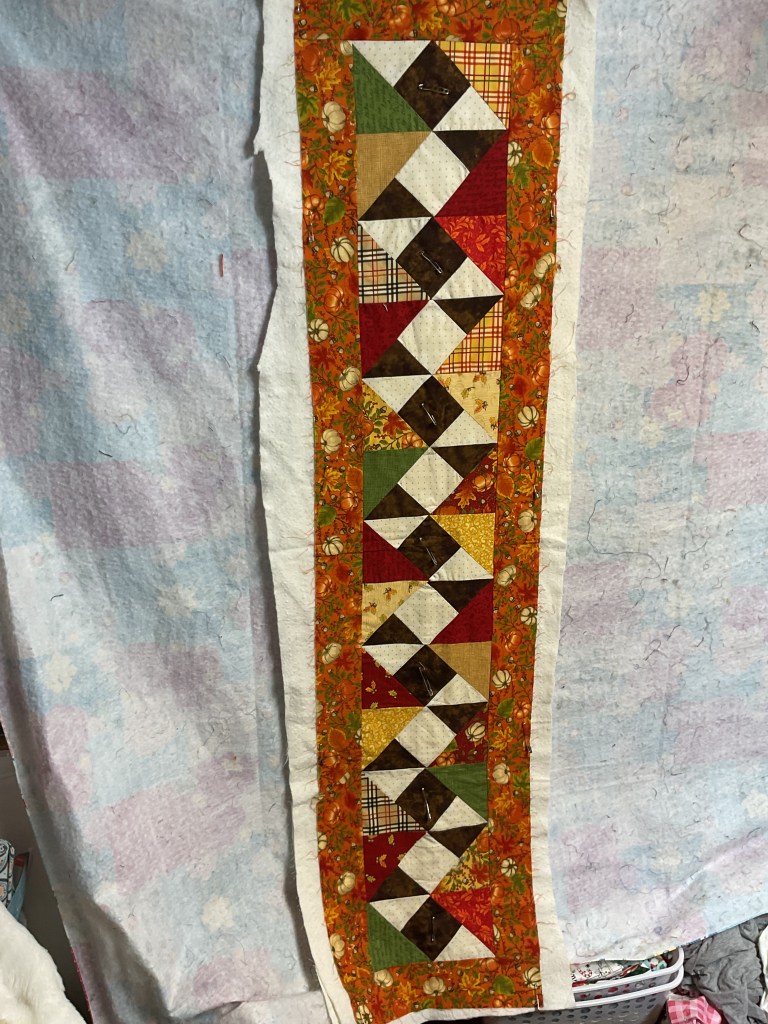
And this month, there’s a NEW Table Runner, too.

Get your digital pattern HERE or your print pattern HERE
Family Fun-gi is a cute little mushroom runner with a silly name (I can say that because it’s one of my runners, LOL!). And guess what??? The mushrooms could also be trees if you wanted. The runner finishes at 17″ x 45″ and goes together really fast. You can find a kit featuring the Sienna collection HERE.

One last thing before I go…….
NEW VRD Rose Card Storage Option
Our VRD designer and partner, Running Doe, has created a brand new storage option – a discbound binder for storing your Rose Card patterns. Each binder comes with 40 sleeves to hold 40 patterns. Get yours HERE.

Want to learn more about Catherine’s binder? Check out her Facebook video HERE.
Don’t forget – just because our Challenge is over doesn’t mean you can’t still finish one UFO each week. I’m going to try.
Take care and just keep quilting!
Sew. Laugh. Finish. Repeat.
Always,
Tricia @ VRD